
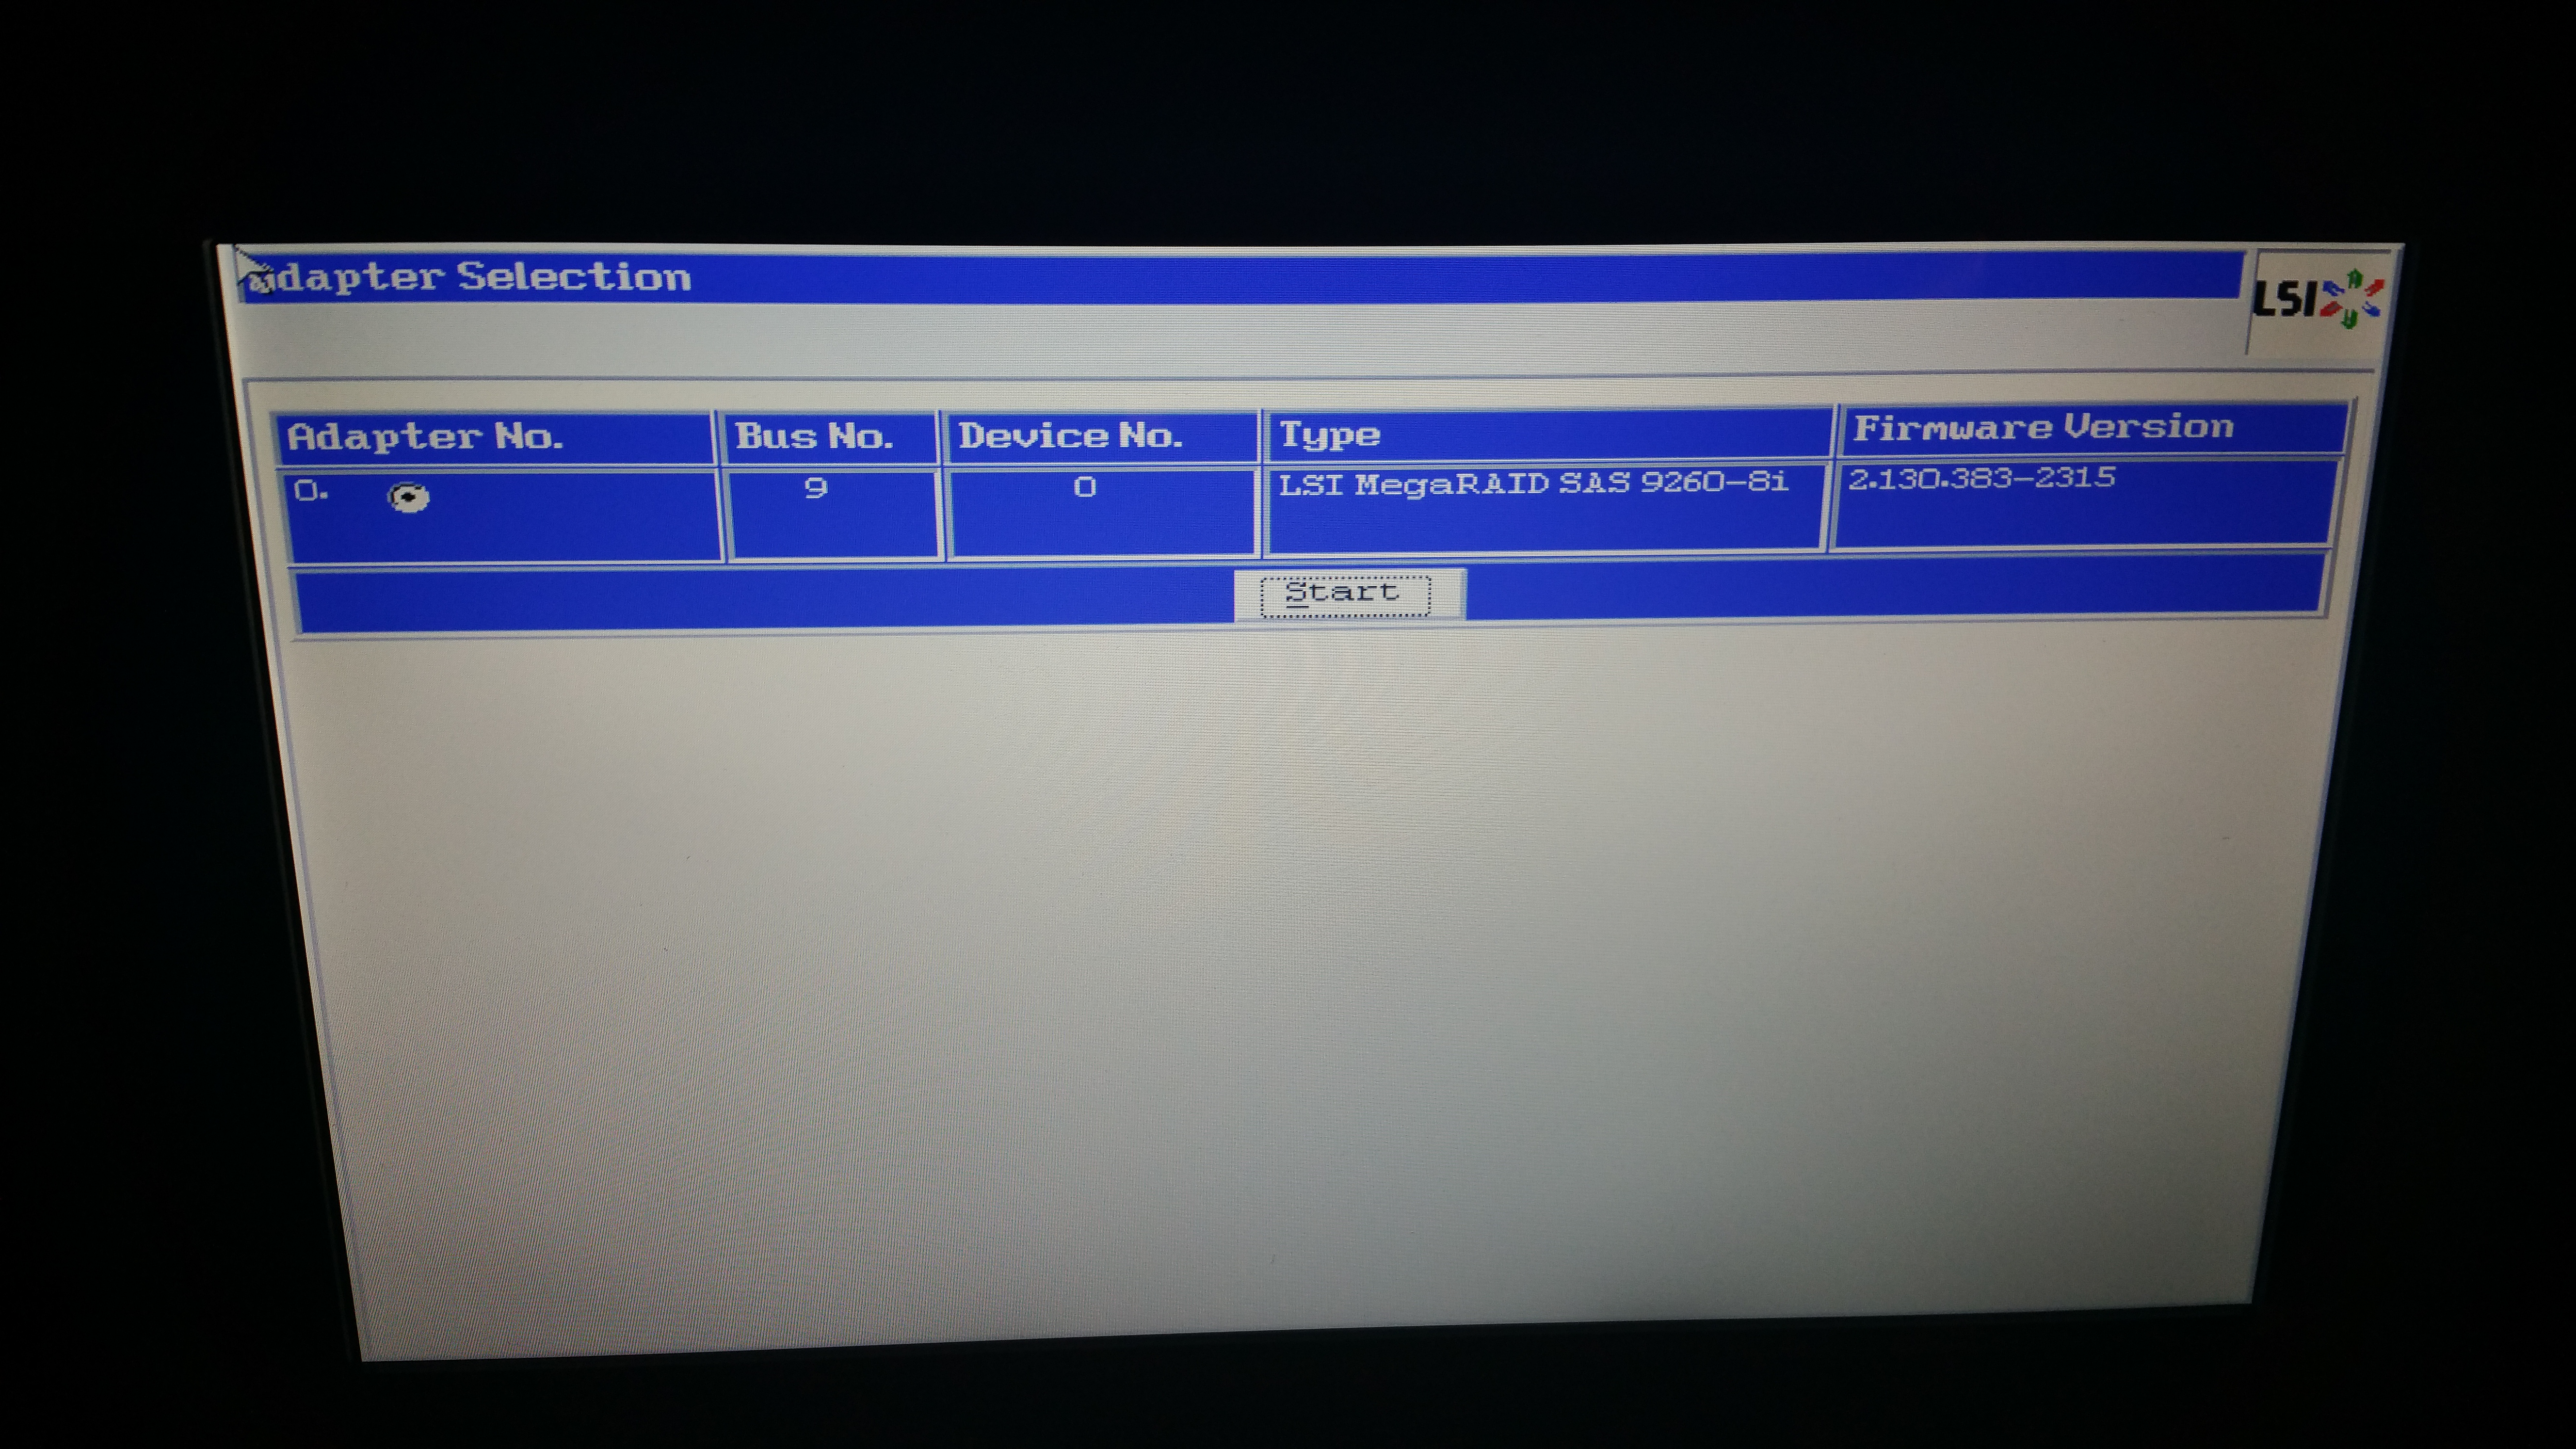
With the server up and running well, it was time to configure the network and install the OS. For the OS, I decided to stick with vSphere and go the ESXi 6 route. I was tempted by the Windows 2016 CTP, particularly with Hyper-V now featuring container on hypervisor and nested virtualization, but I do a lot of vCenter specific integration testing so W2k16 will be relegated to a guest. Of course before we can install an OS, we need a volume. Since this build will be hardware RAID, that means a trip to the HBA BIOS. On boot up the HBA BIOS takes a fair chunk of time (roughly 30 seconds) to scan its channels (fairly typical of RAID cards), so there is plenty of time to hit CTRL-H to enter the “WebBIOS”. Once the character mode “UI” initializes, the first step is to select the HBA you’ll be configuring. In our case there can be only one:
Once the HBA is selected we are greeted by a nicely laid out main screen presenting all available options on the left and adapter status on the right. Here we can see the adapter backplane with all of the 2.5″ drives successfully attached and online, but unconfigured:

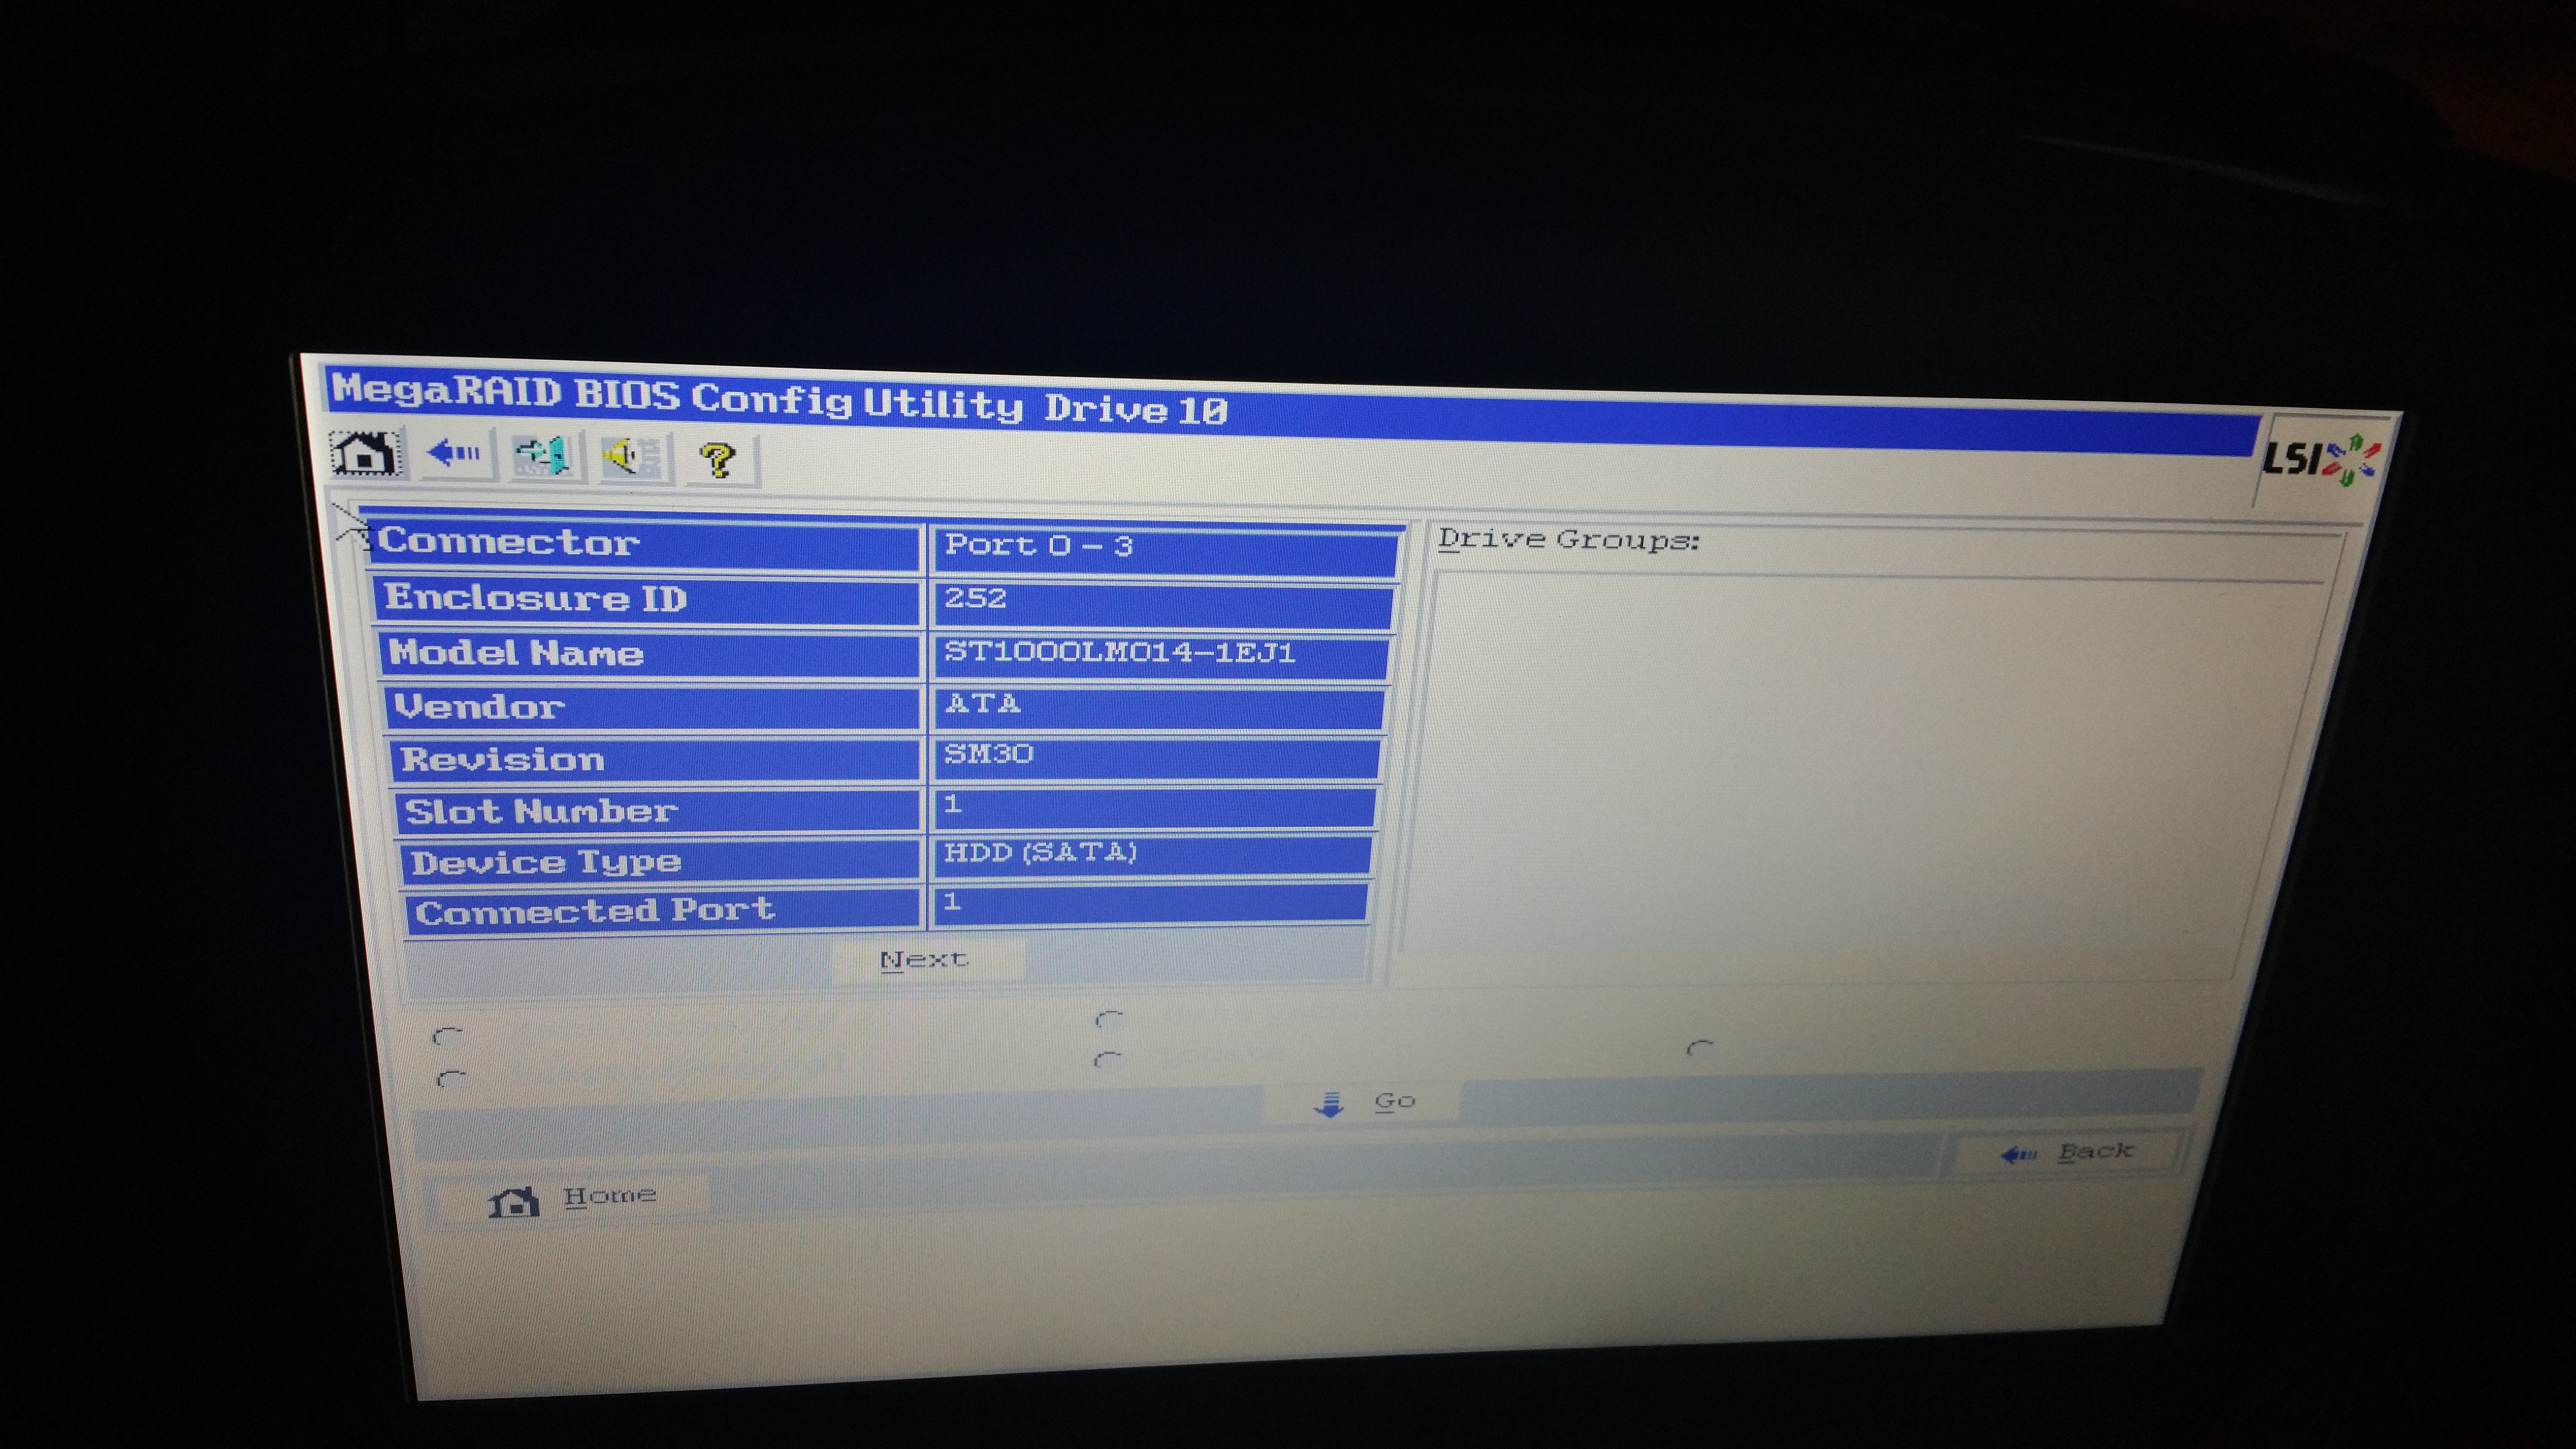
As an aside, controller properties provides some good info on the adapter including firmware rev:
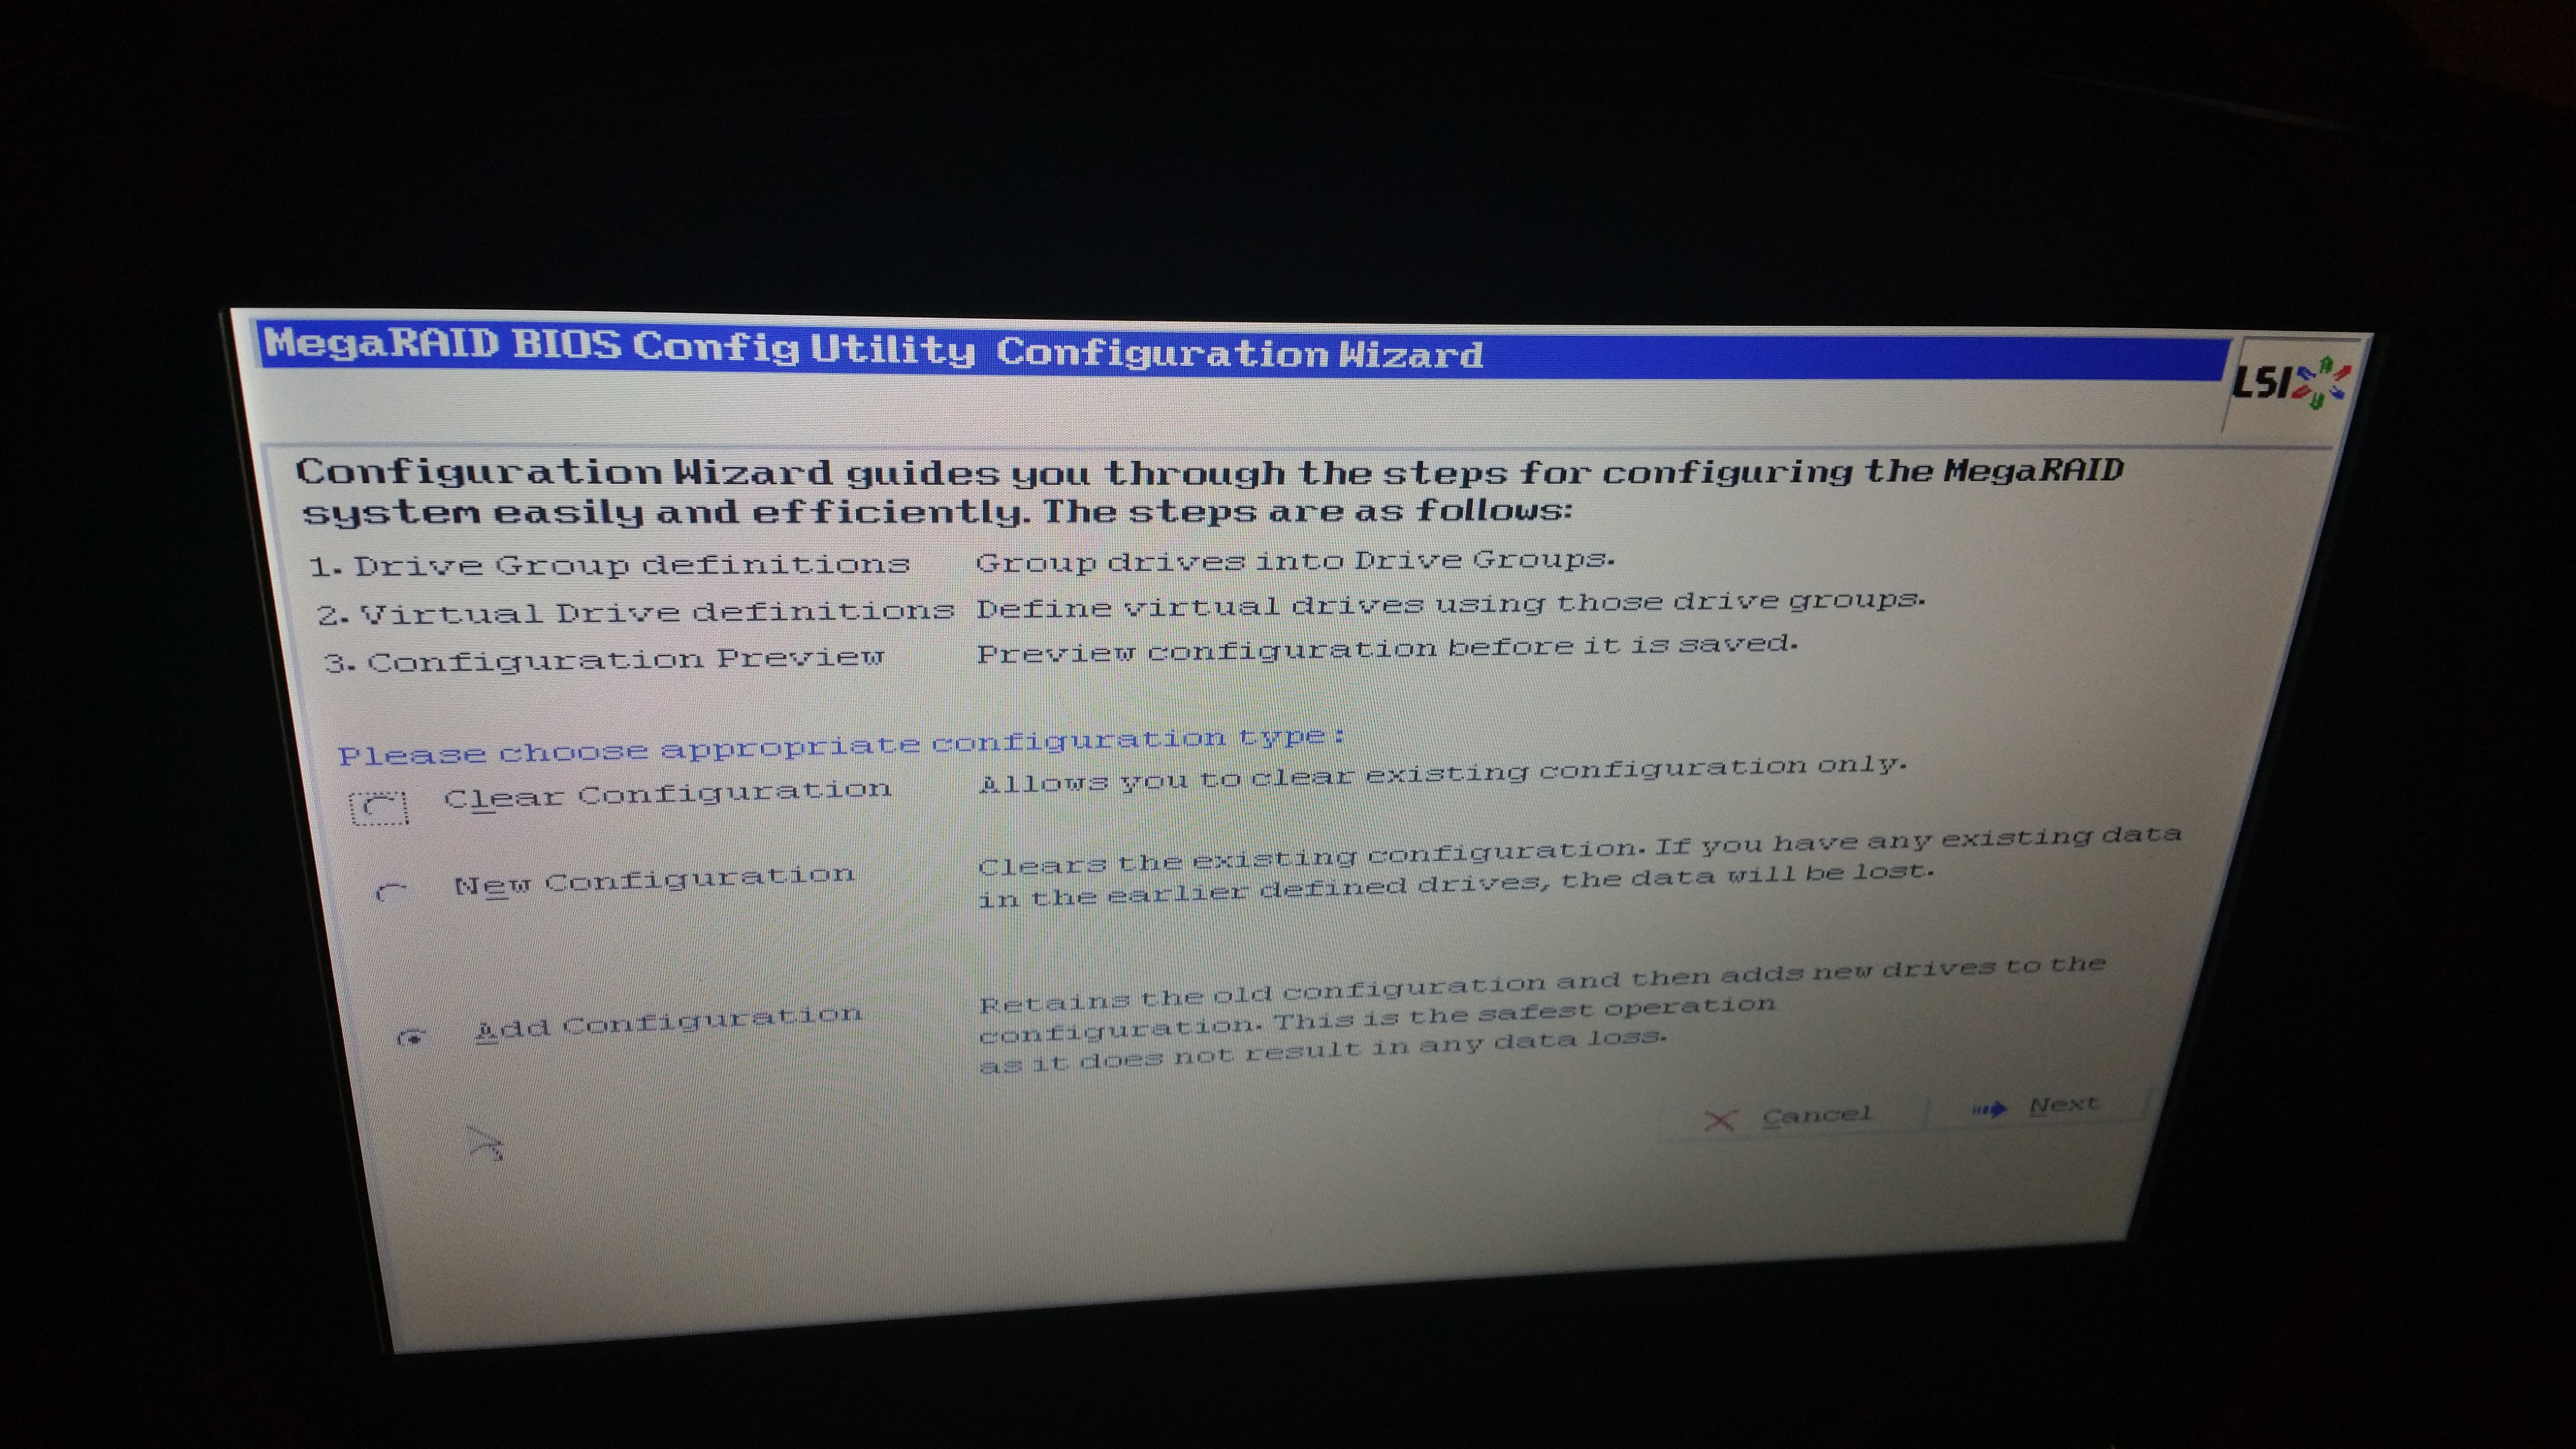
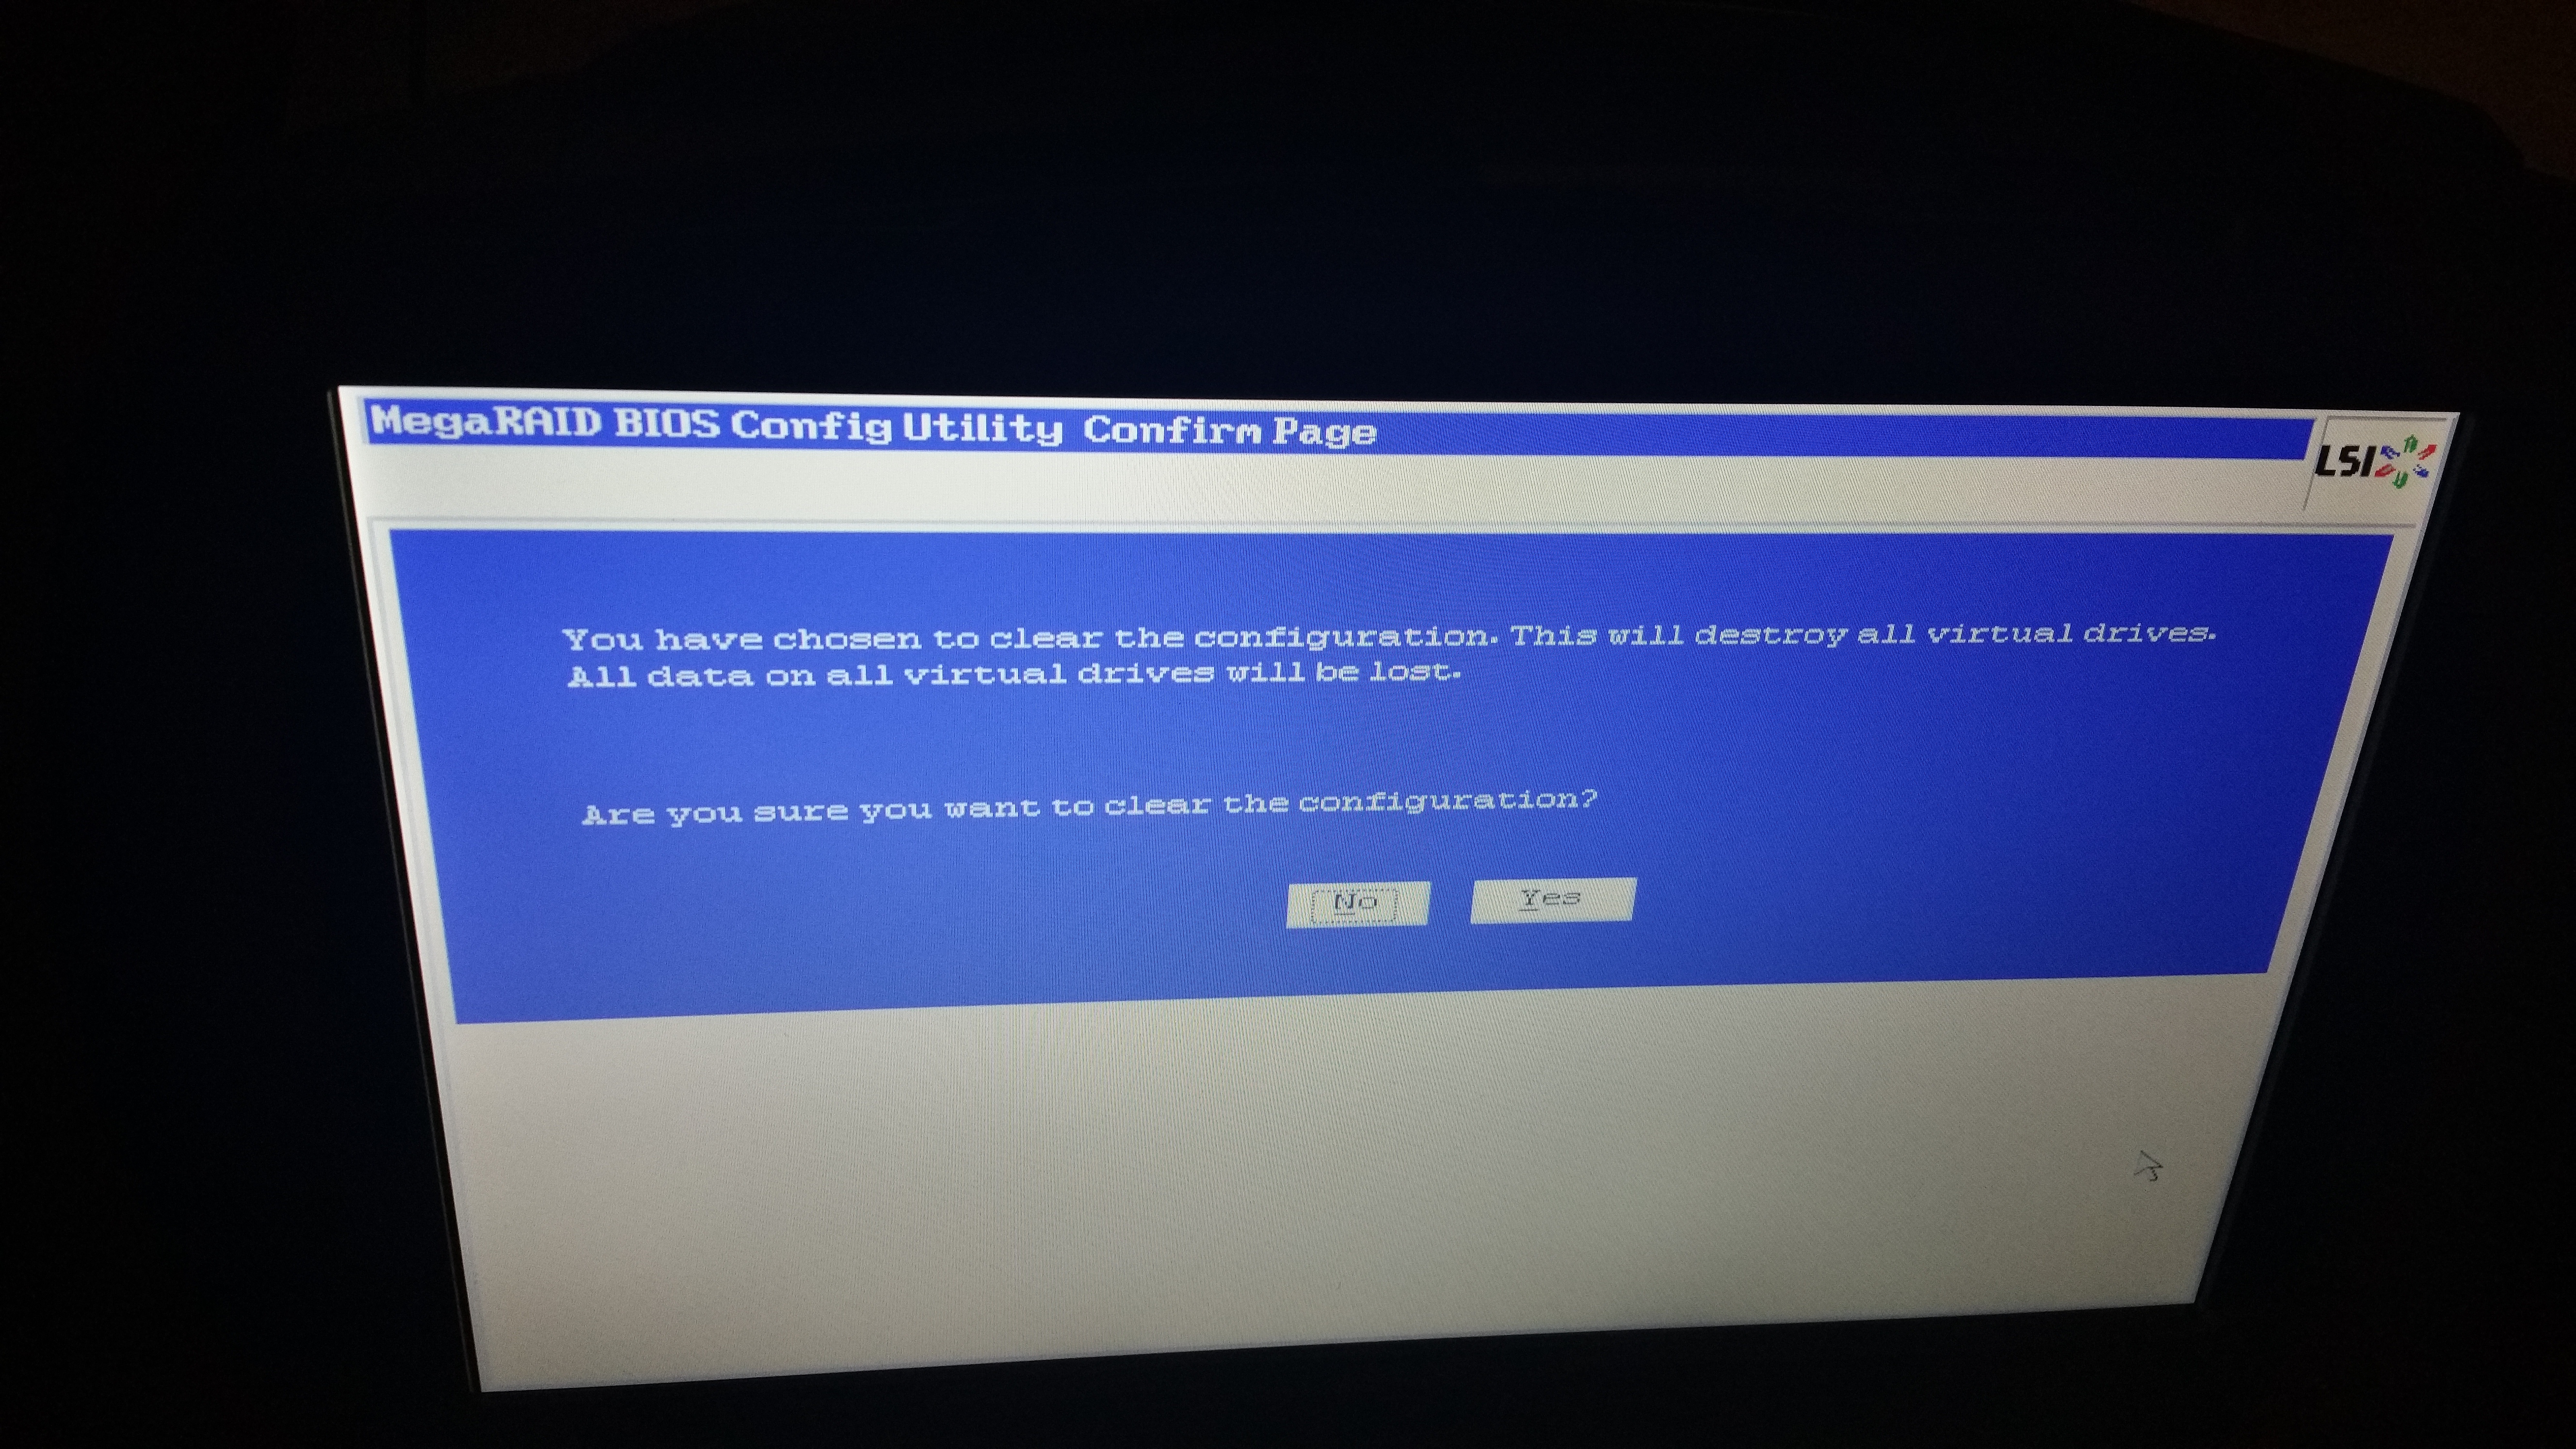
The first step with a set of bare drives is to create a RAID group. And look, there’s a handy wizard! The Configuration Wizard is a great place to get started. In our case we will be Adding a New Configuration. After selecting we get a confirmation that this is destructive:
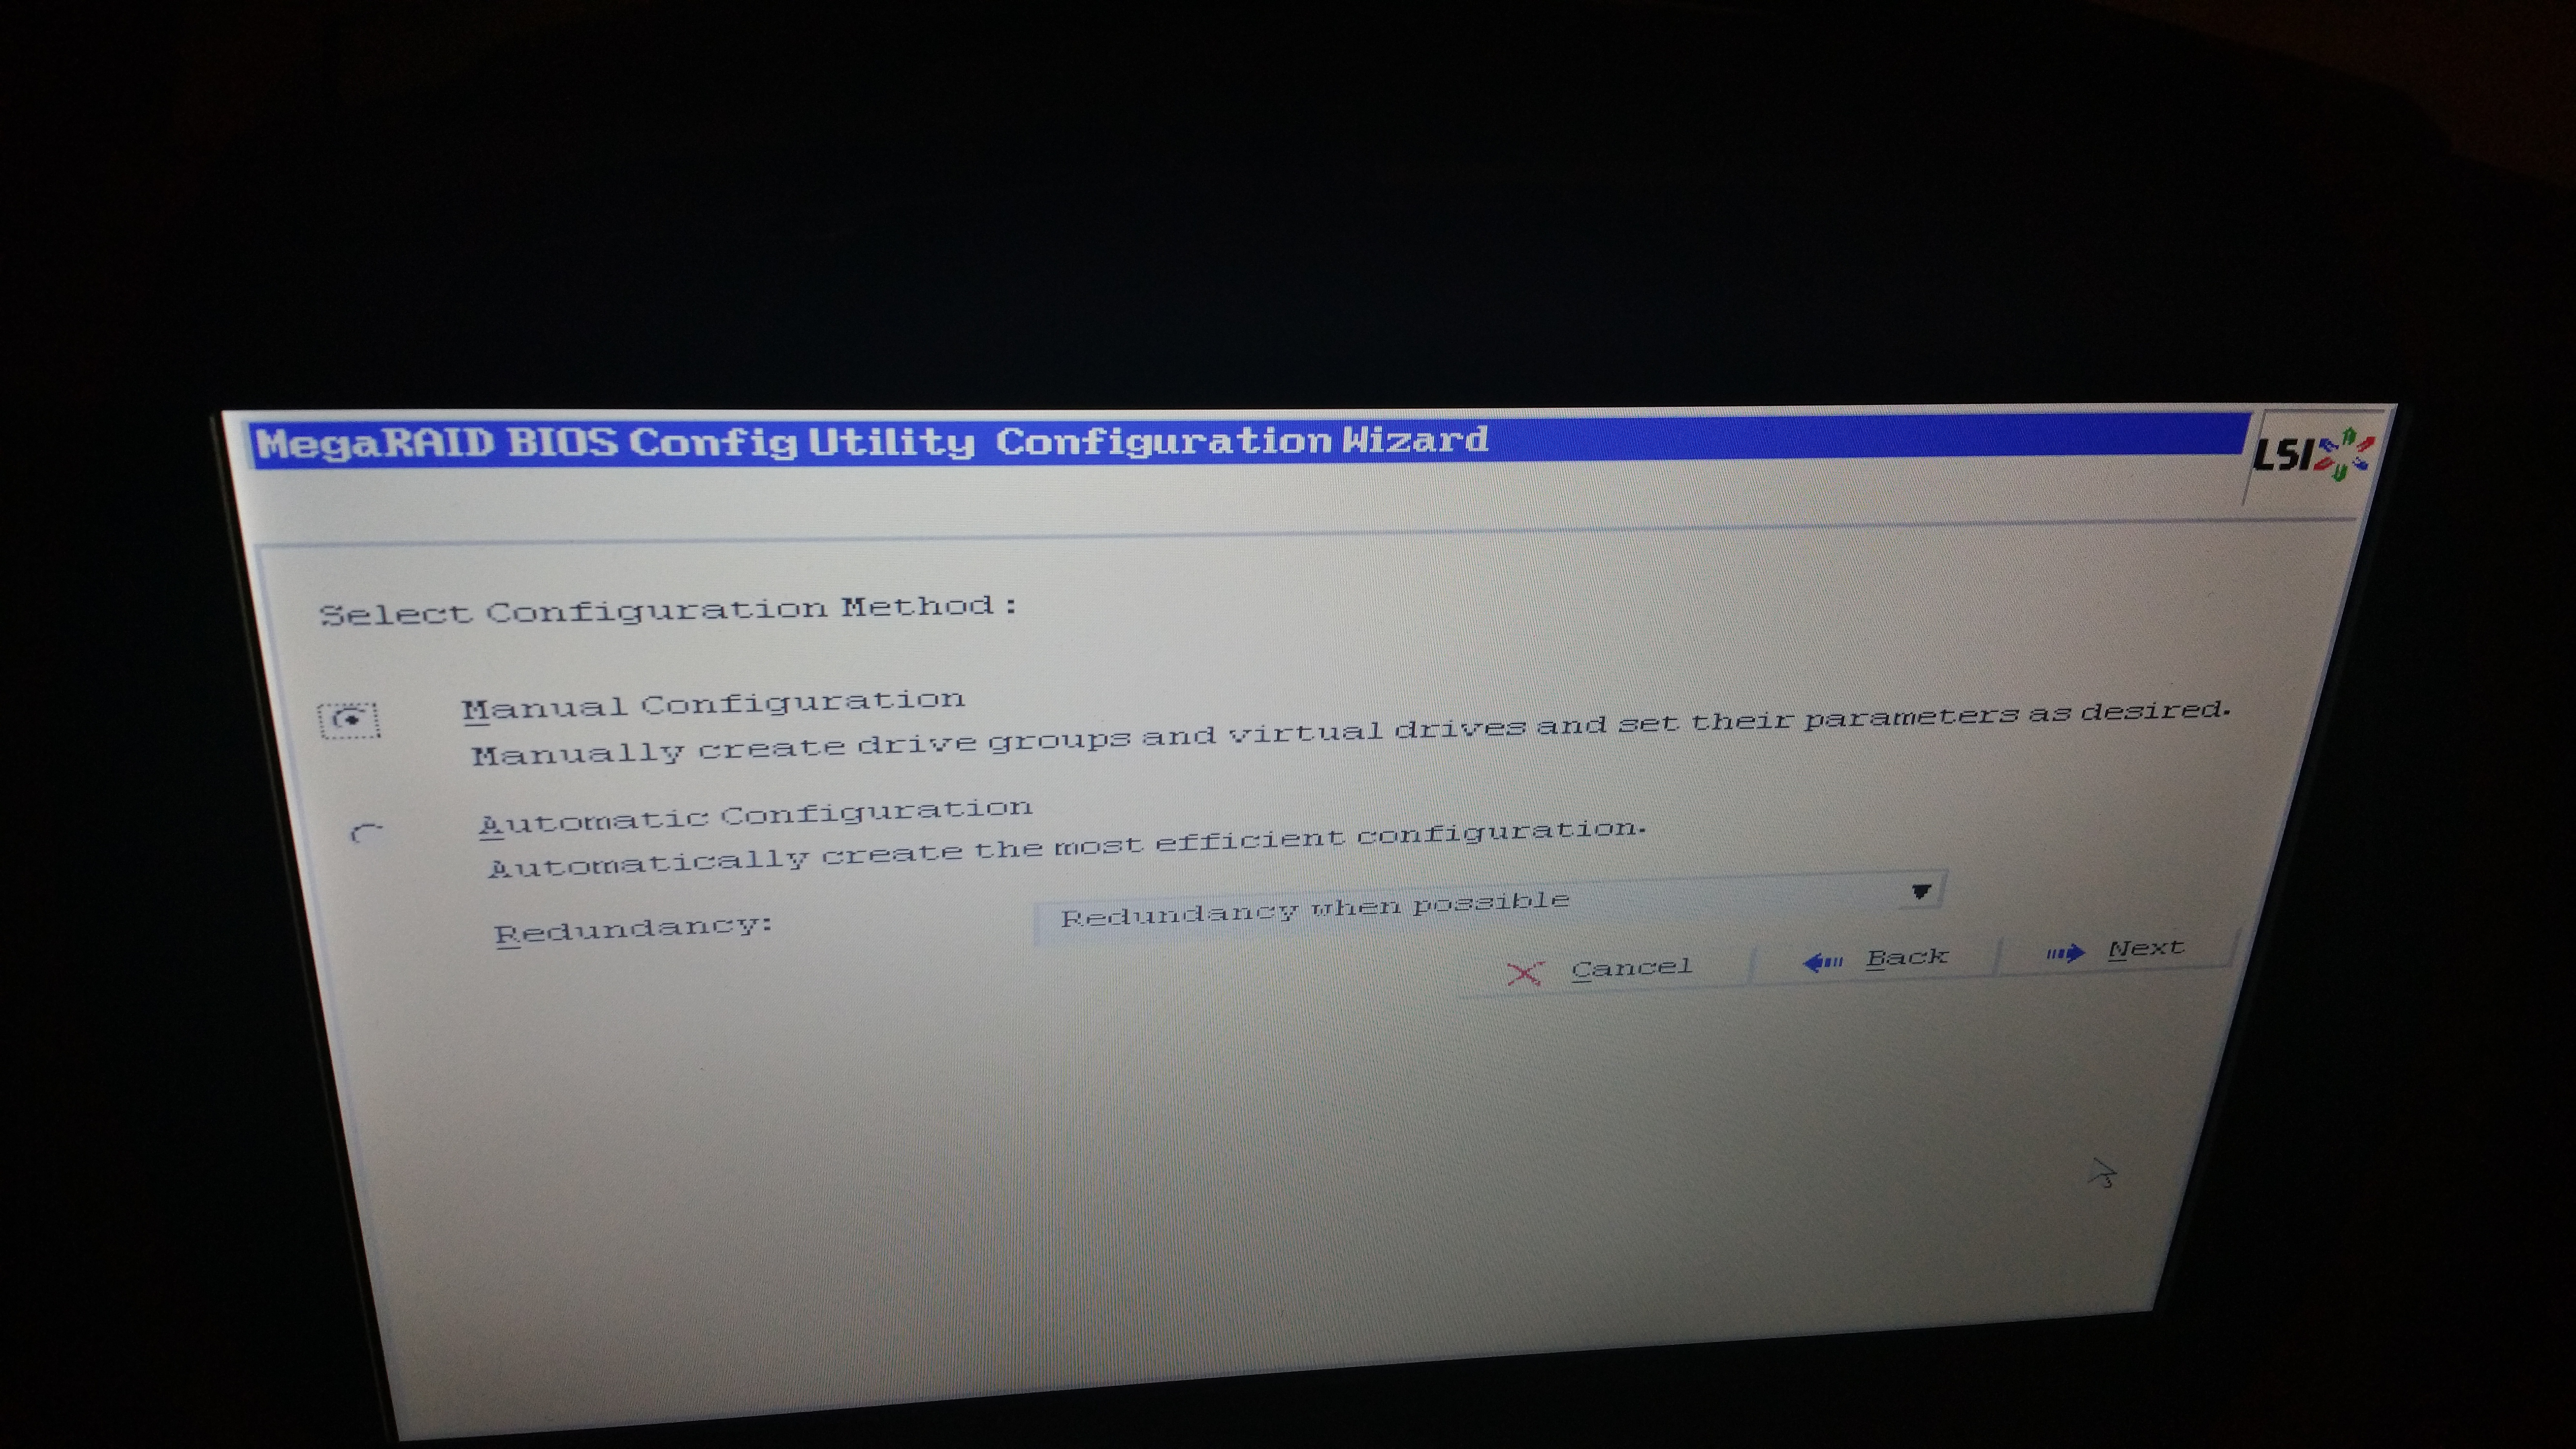
Select Manual Configuration if you want specific control of disk allocation and protection scheme configuration. I decided to go Automatic Configuration to see what it was about. Turns out the controller bases allocation on the option selected in the dropdown box on desired level of redundancy. In this case I selected “Redundancy When Possible” which interestingly enough chose RAID 6 for this 6 drive set. I had originally planned on RAID 10, but RAID 6 is actually a nice balance so lets commit it:

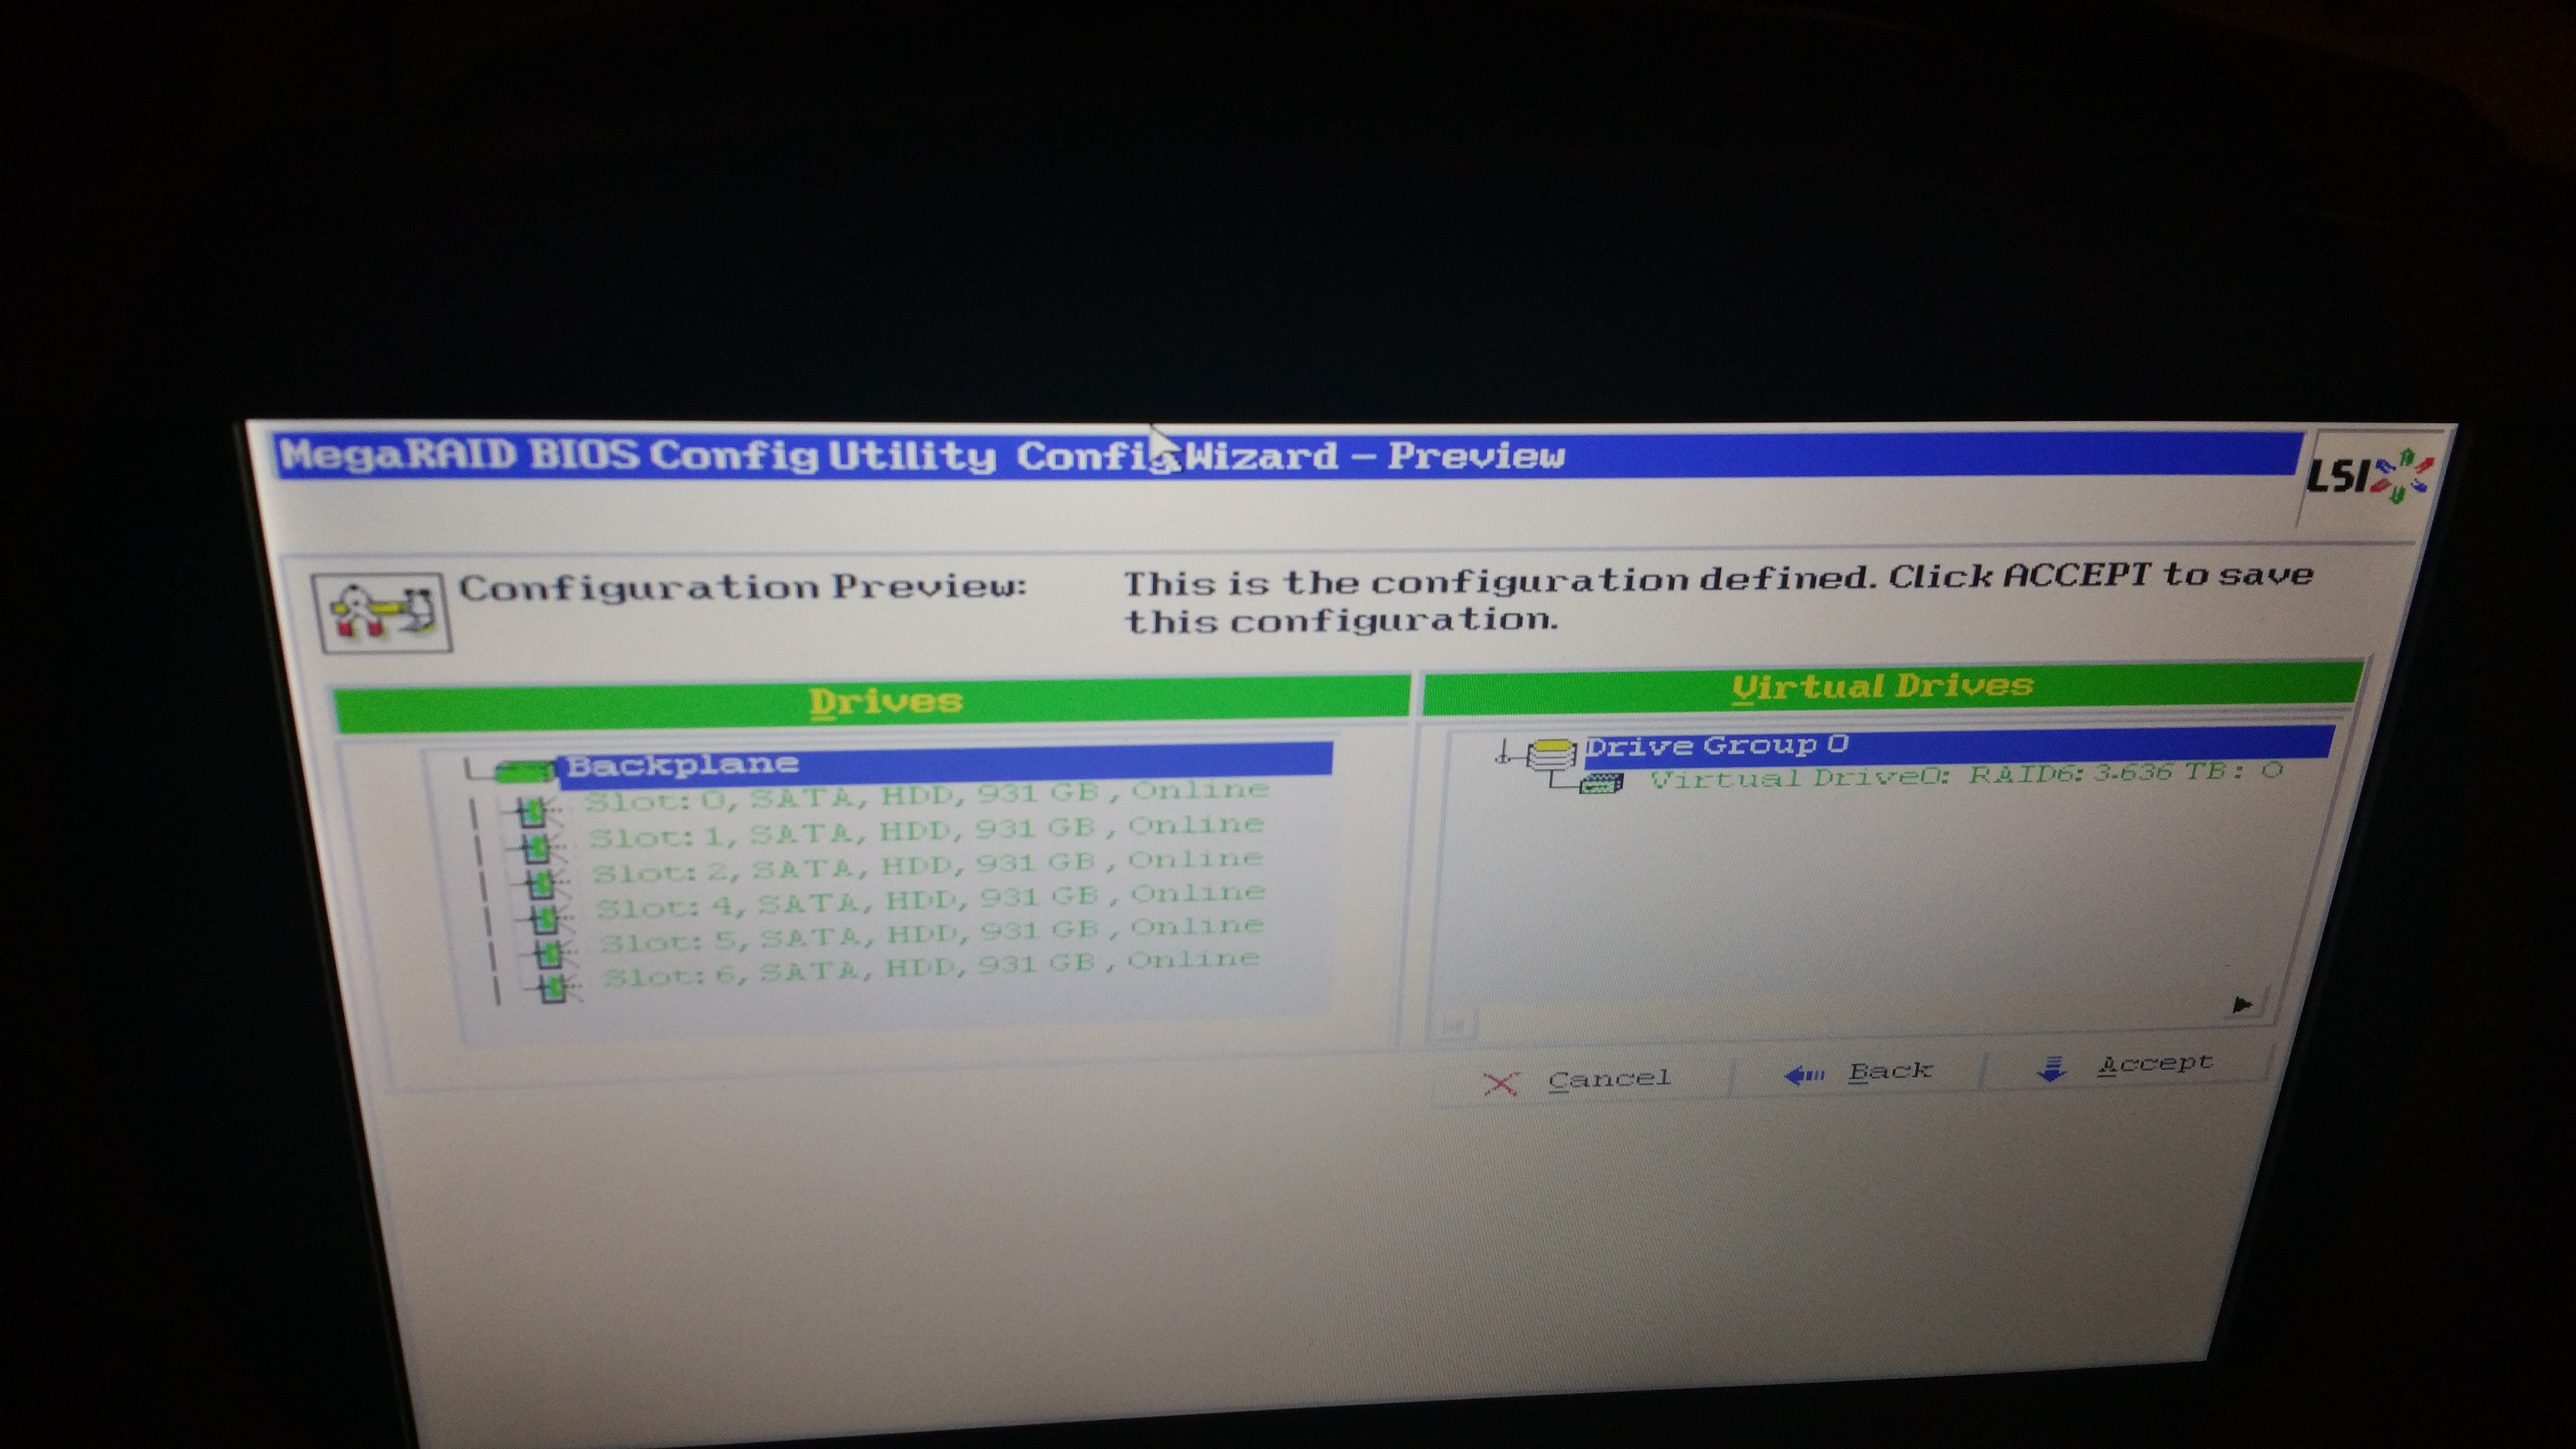
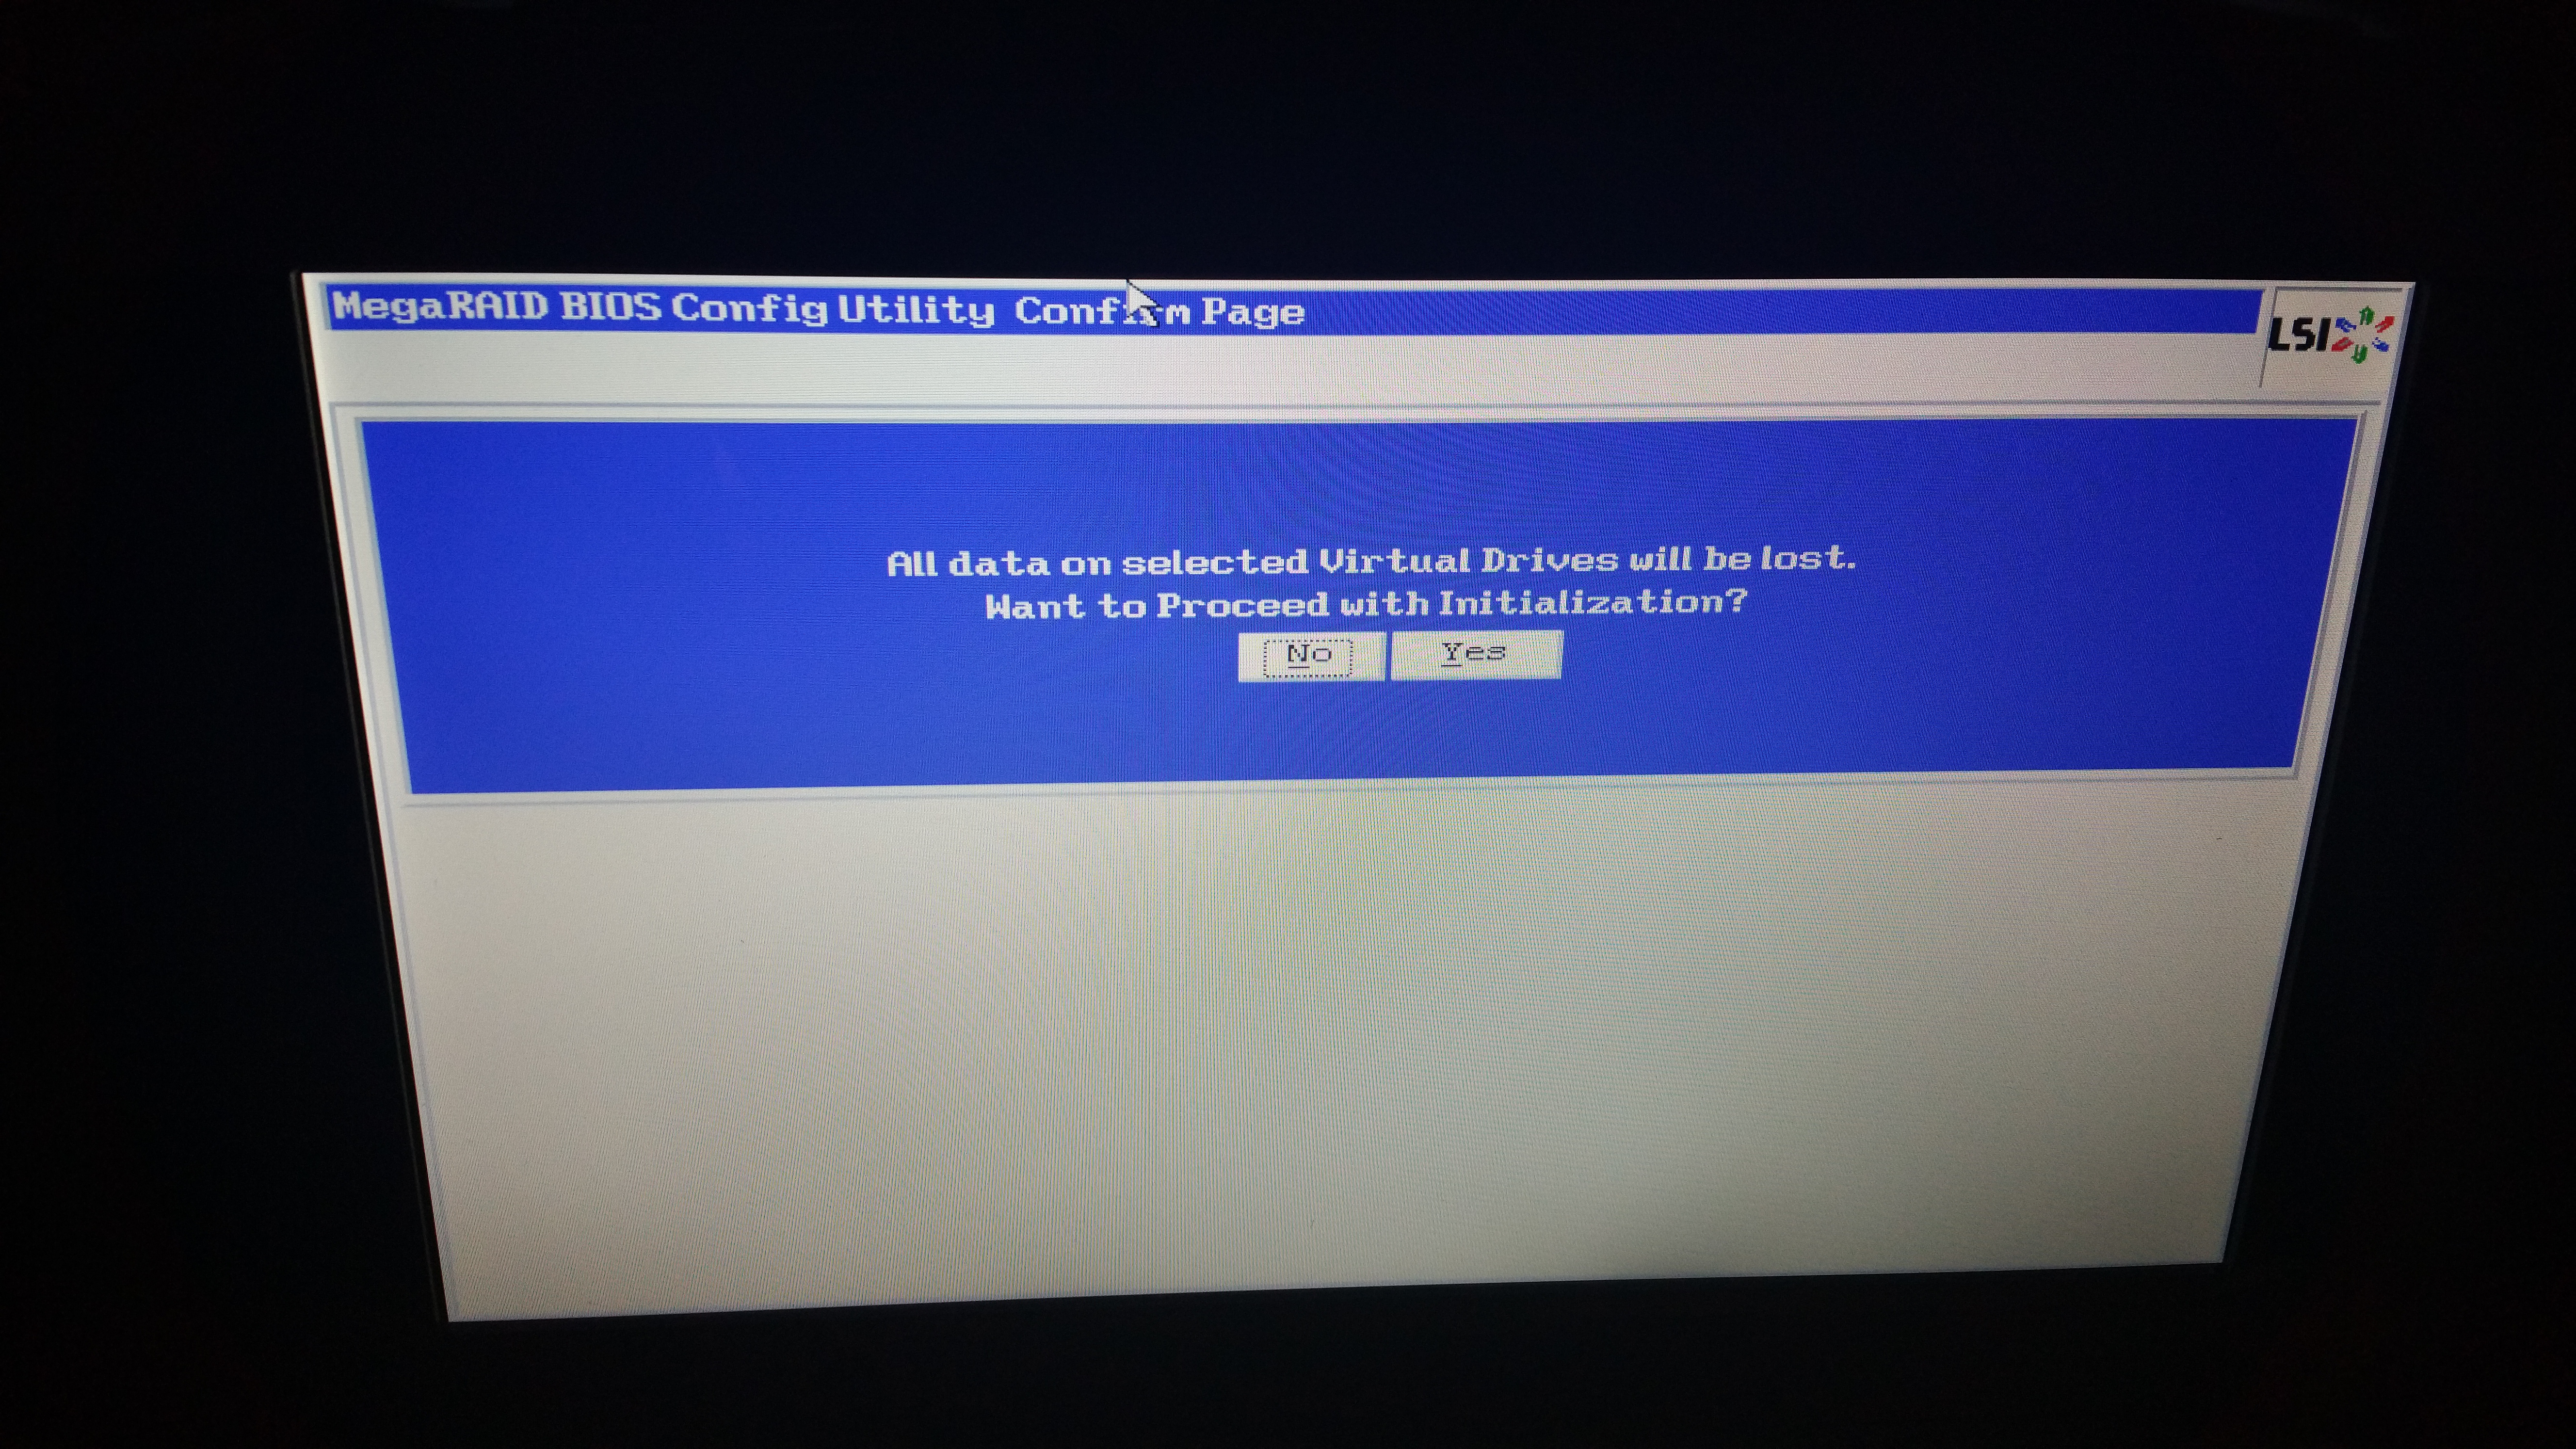
Protection group creation is extremely quick. It looks good so let’s Accept. We get a last chance to bail:
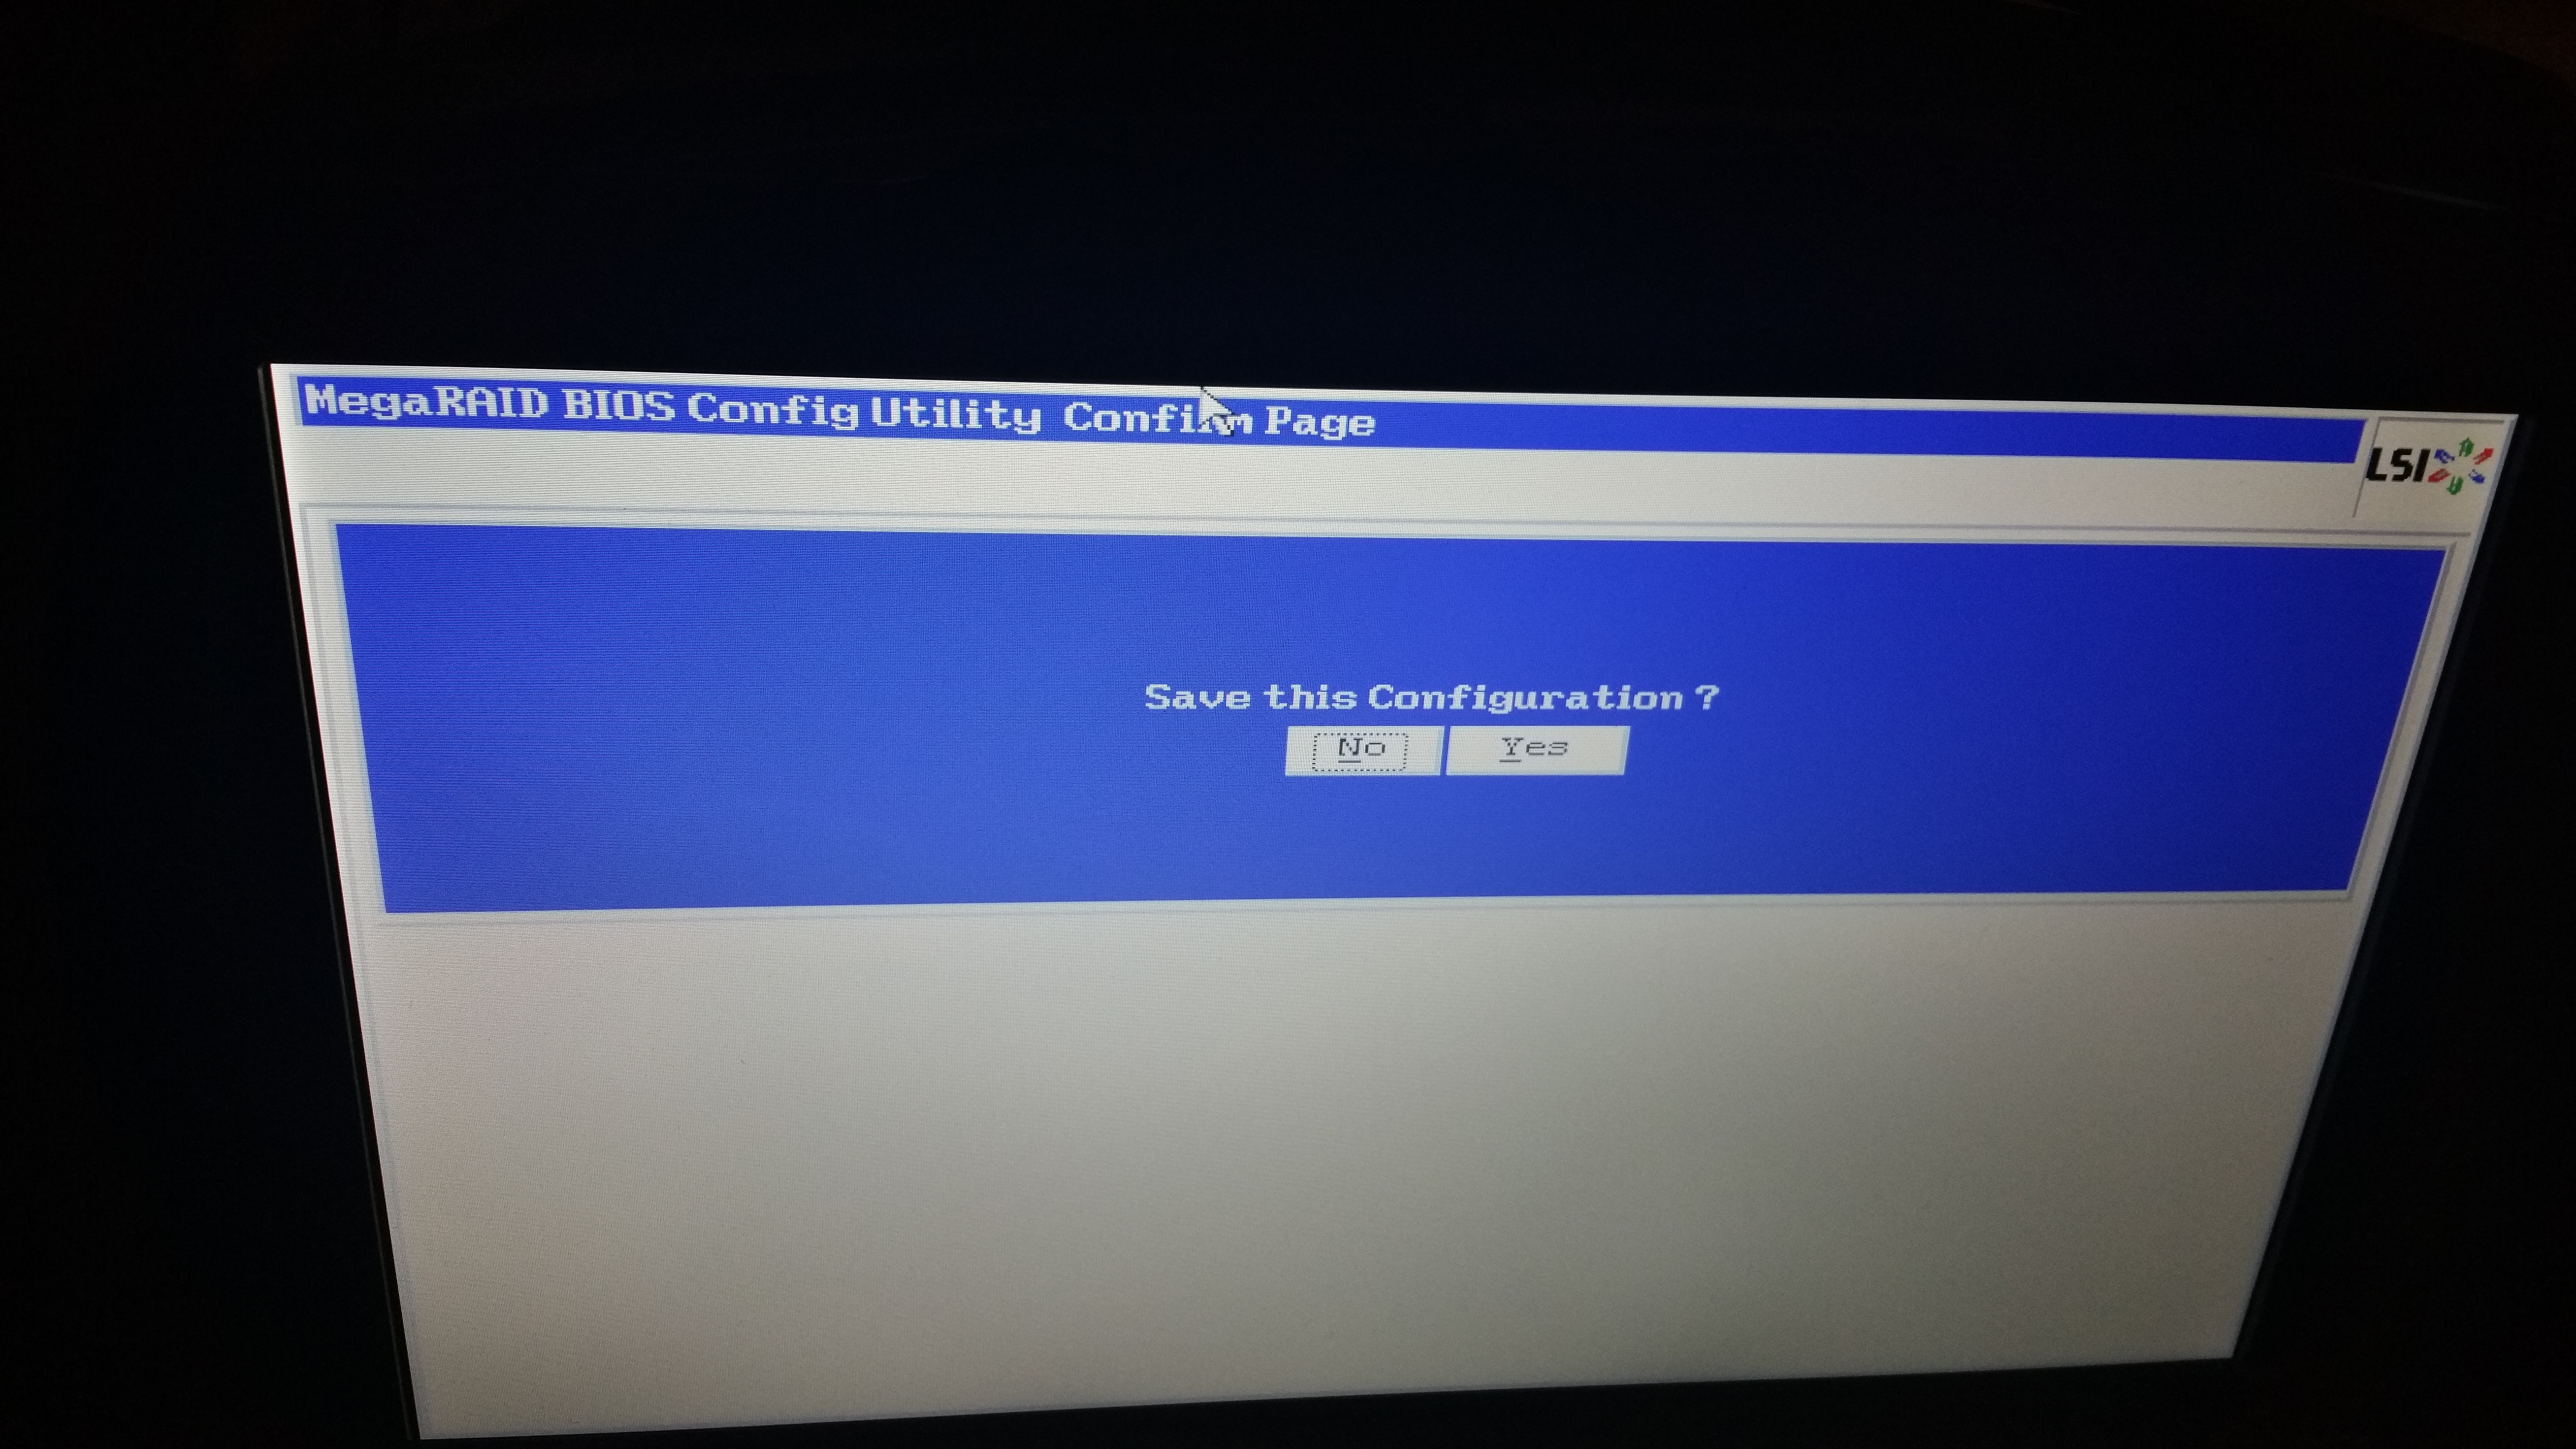
Want to initialize? Hey sure, let’s do this! And presto, a shiny new RAID 6 disk group:

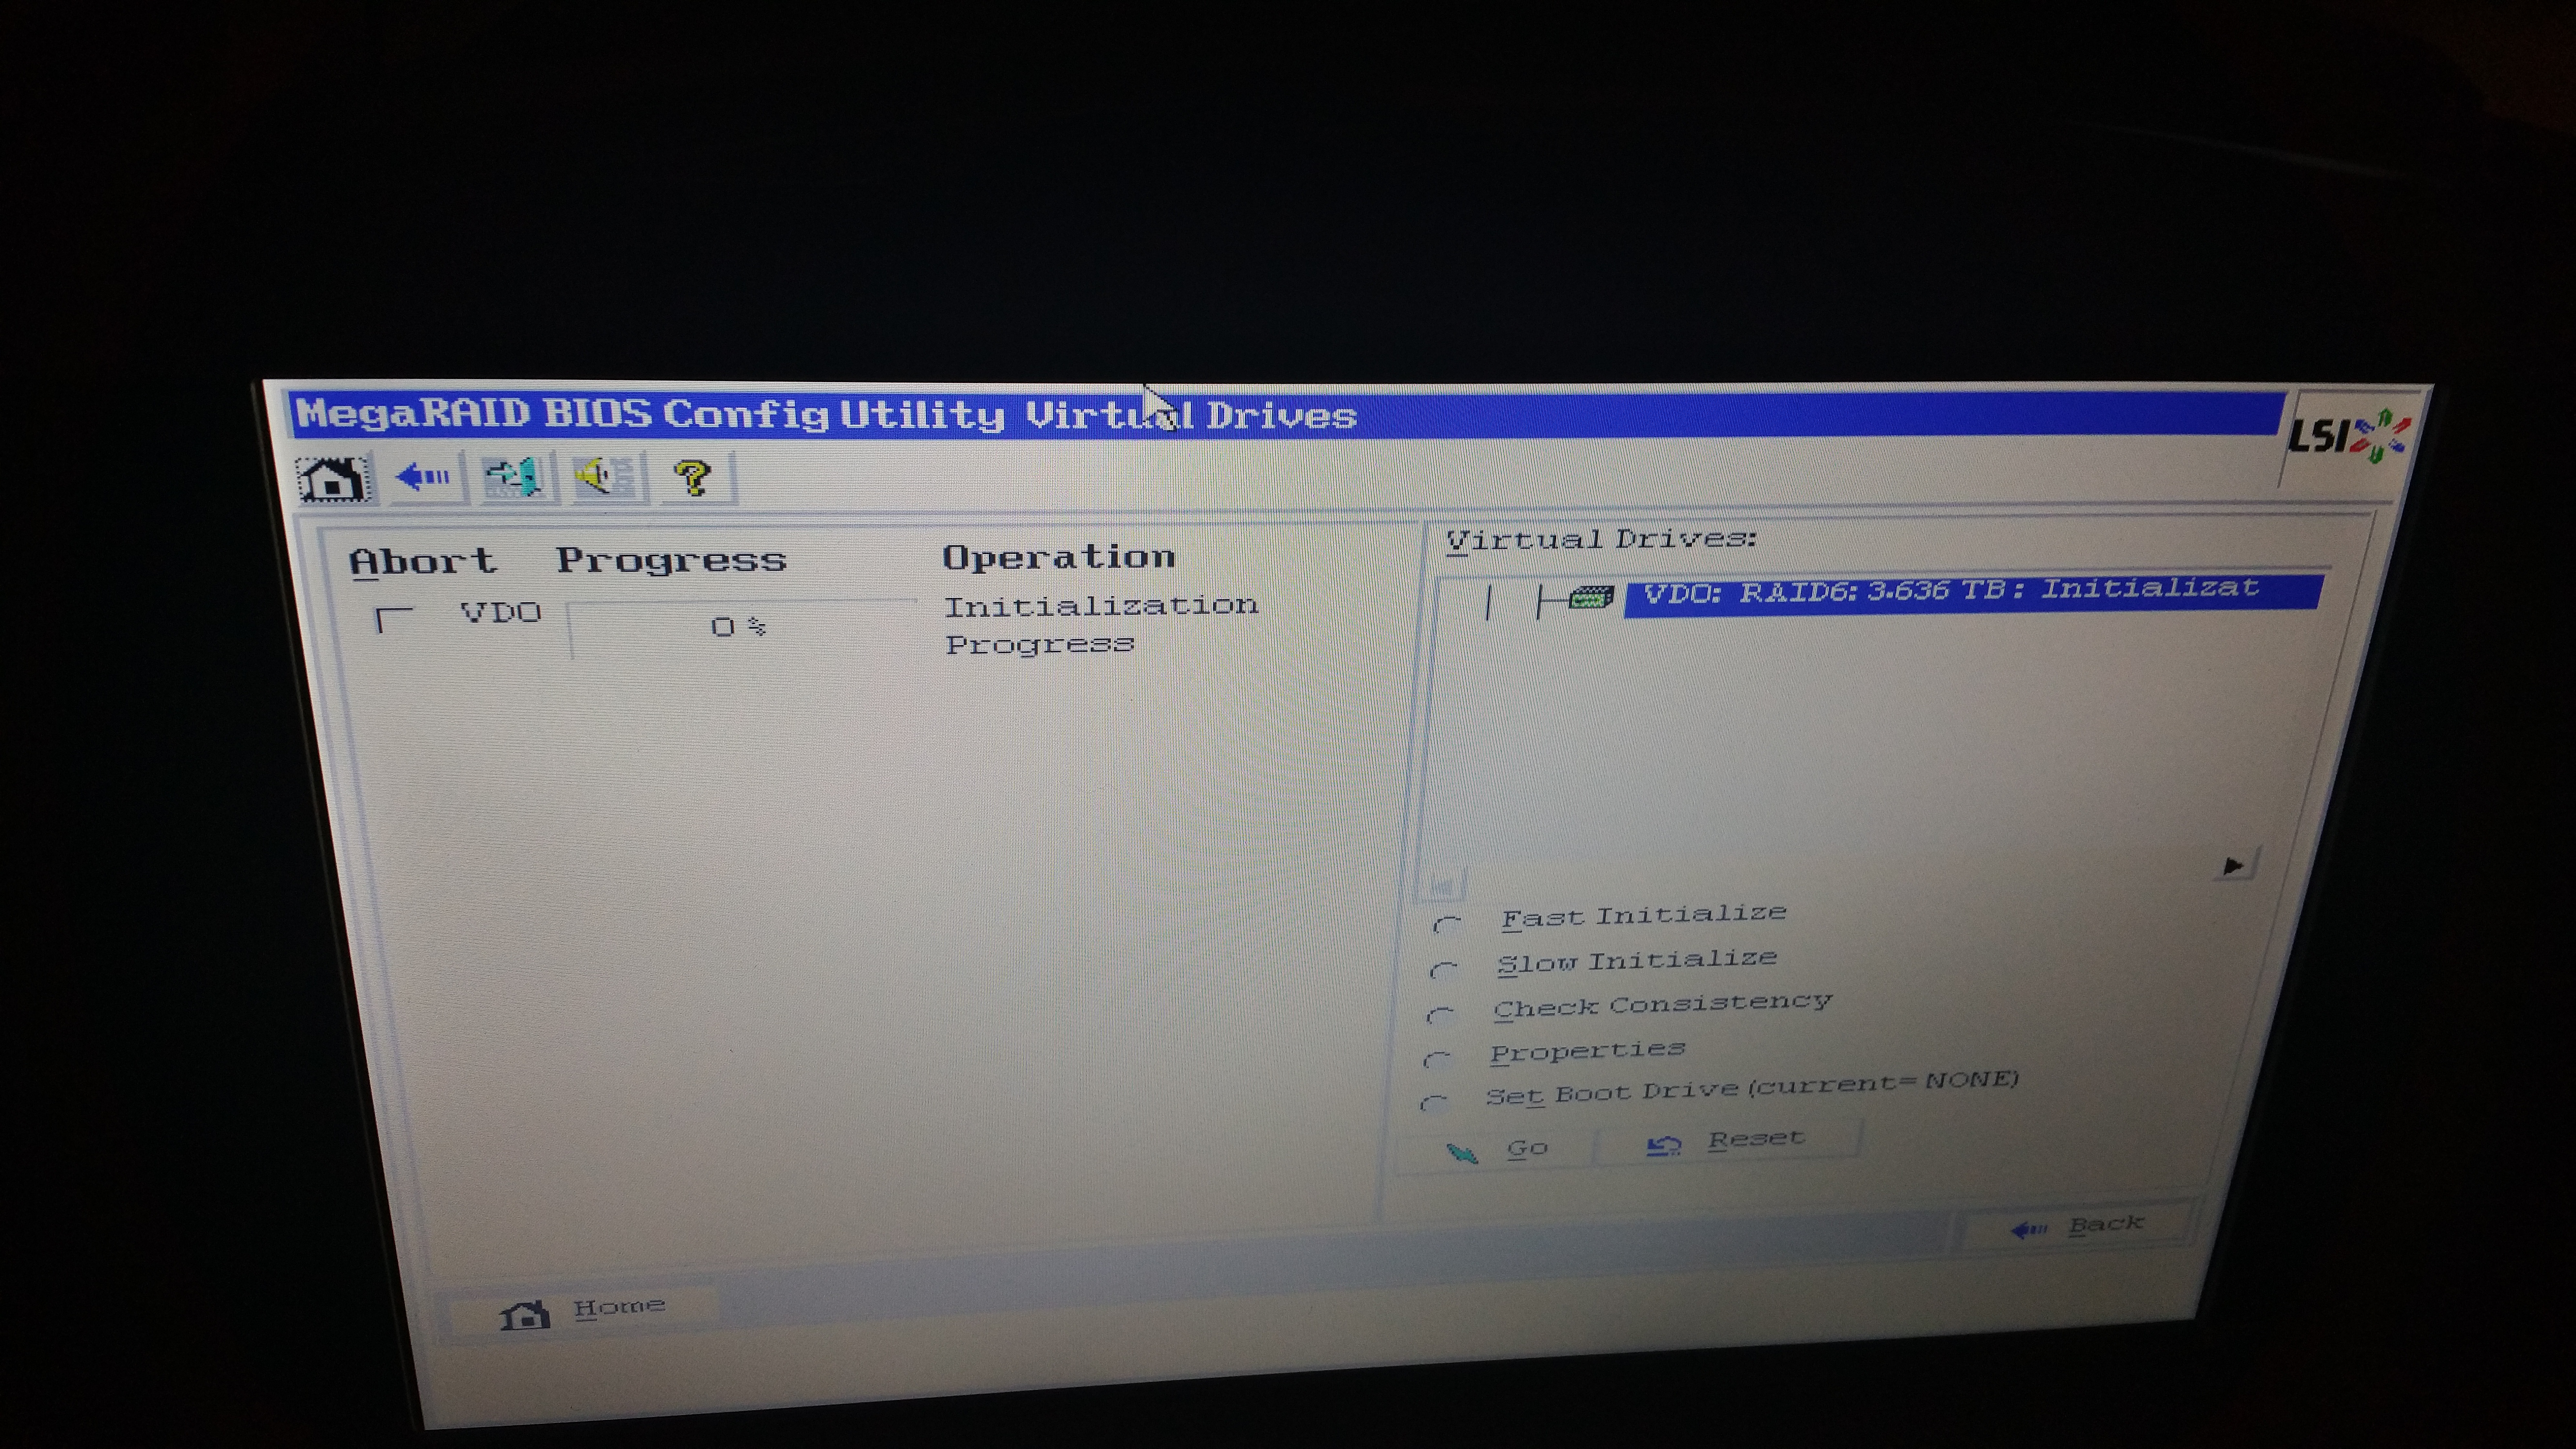
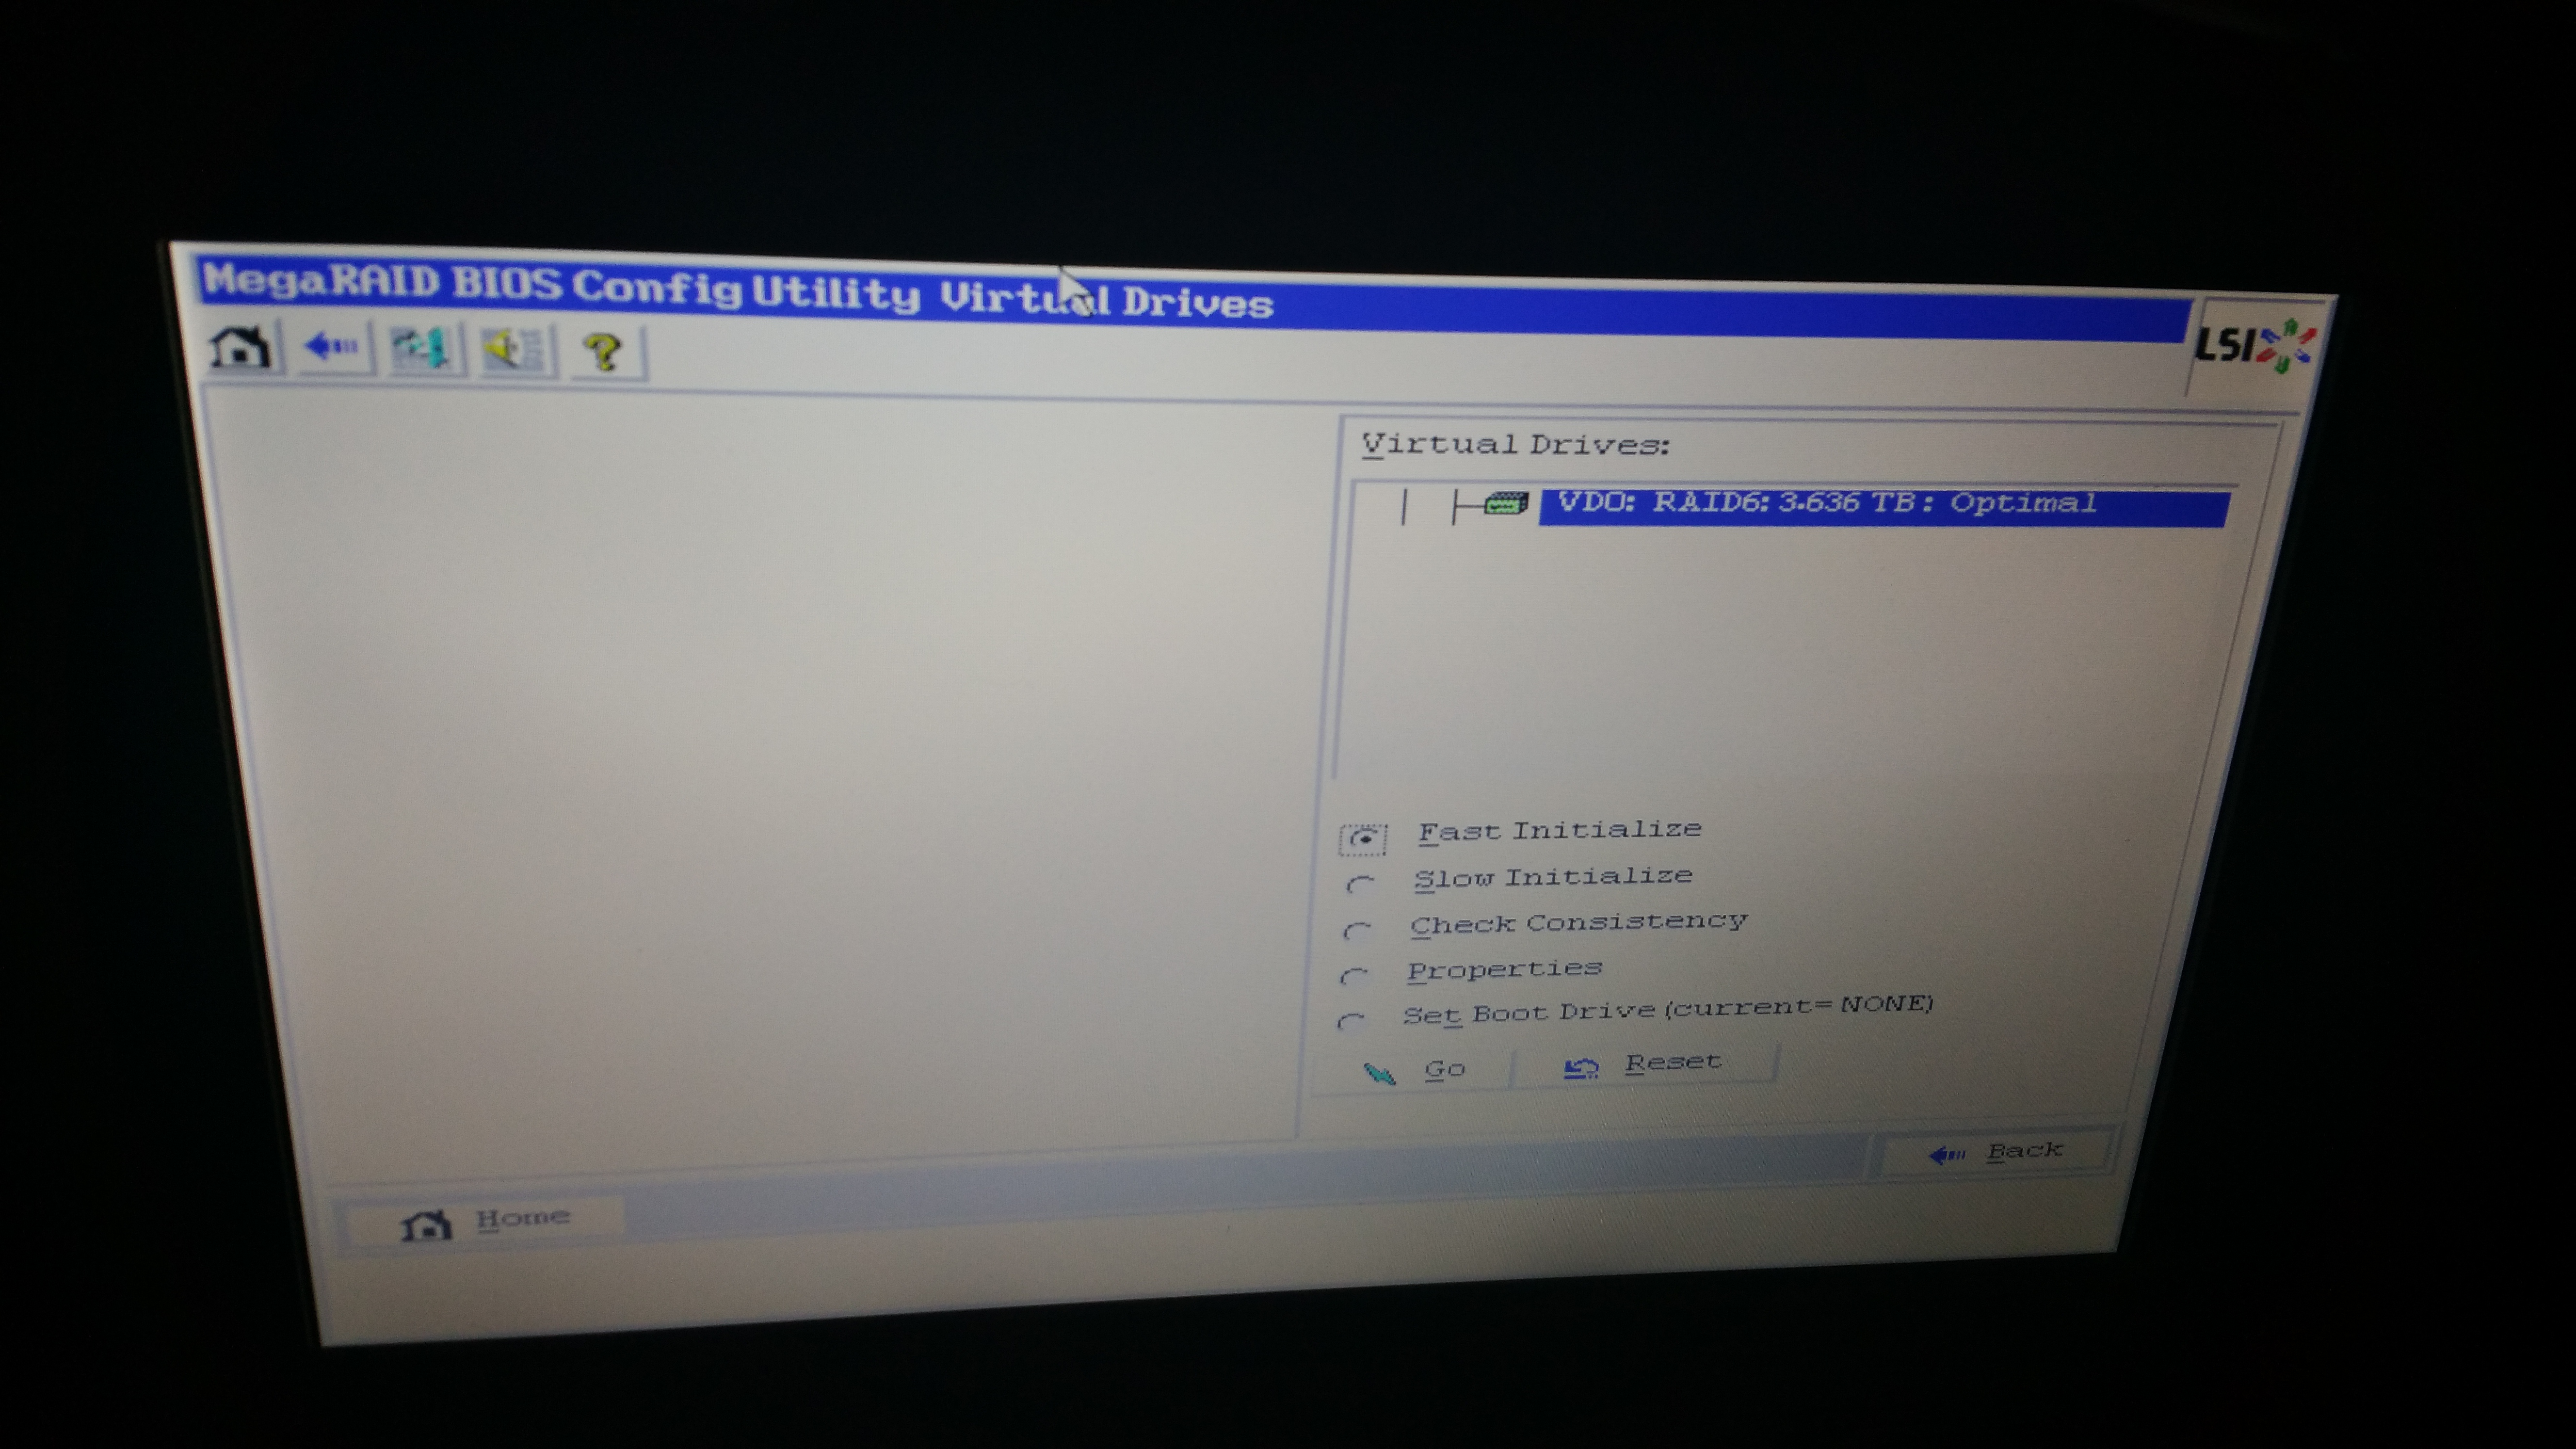
Range of volume and initialization options, but with brand new drives Fast Initialization is all we need:
One more last chance to bail moment… And…. we’re done!
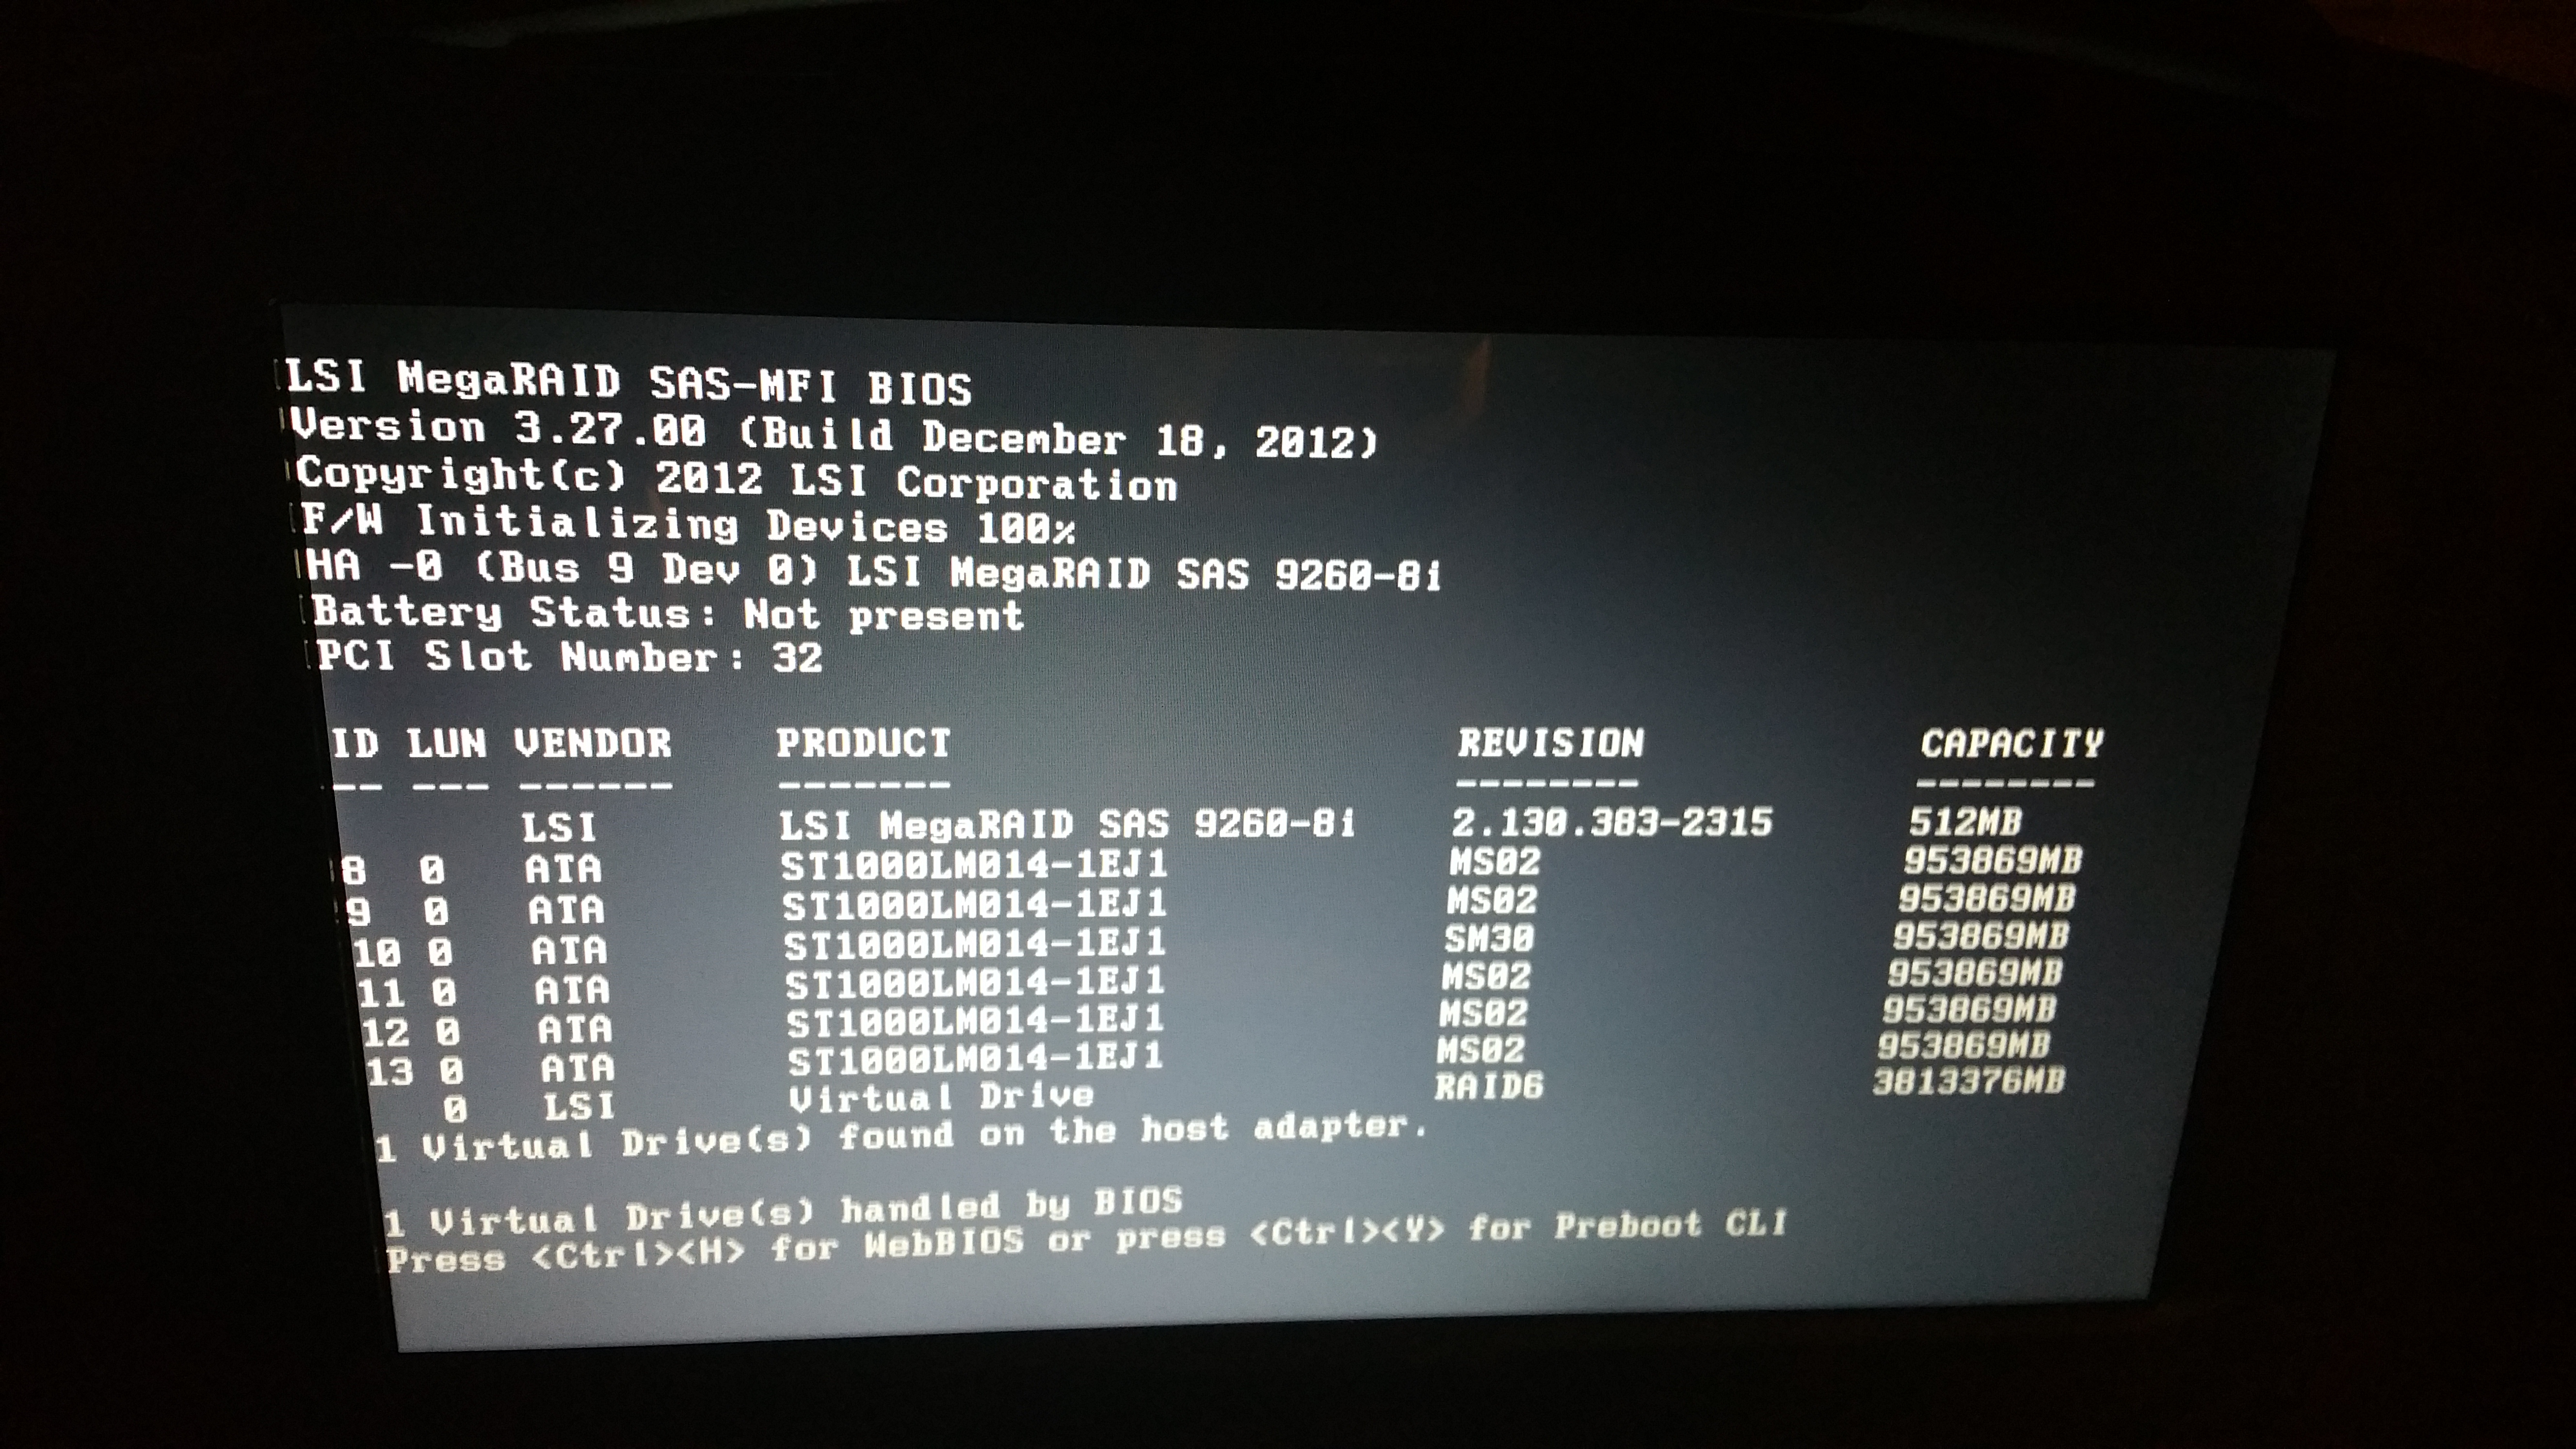
Rebootski… And the BIOS now shows our new volume along with drive status. 3.8 beautiful terabytes of RAID 6 goodness is the yield from 6 x 1TB as expected:
So how does it perform? Lets fast forward a bit to the future where ESXi 6 is up with 3 VMs running – 2 Windows 2012 R2 servers running SQL Server 2012, AD DC and vCenter and 1 Windows 2008 R2 server running the Horizon View Connection Server role. Crystal Diskmark 3 on the Vew CS server yielded the following results:
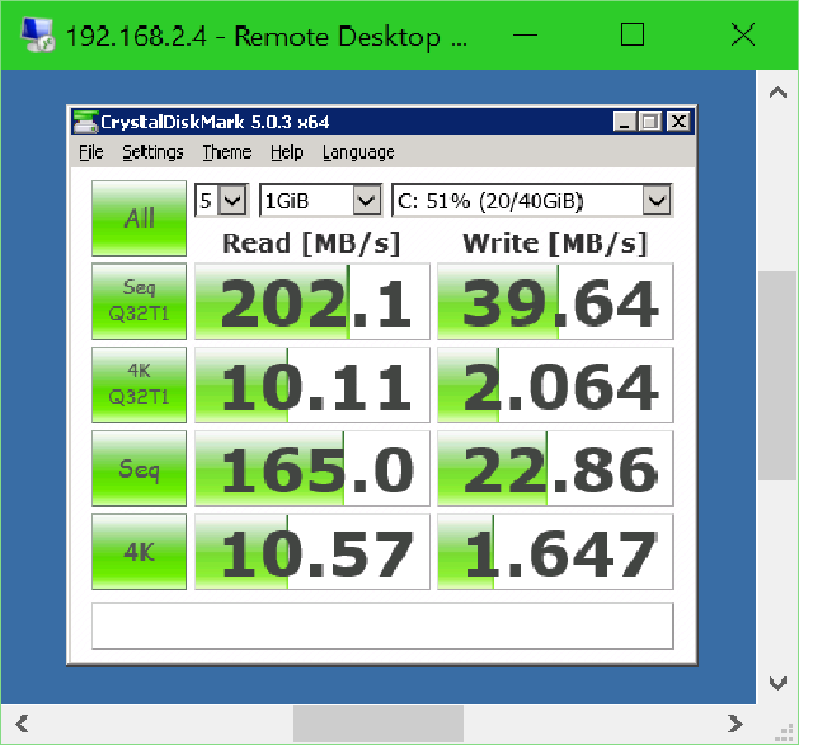
This is pretty solid performance considering this is in a 2k8 guest and is an array of laptop drives that are serving 3 running VMs!
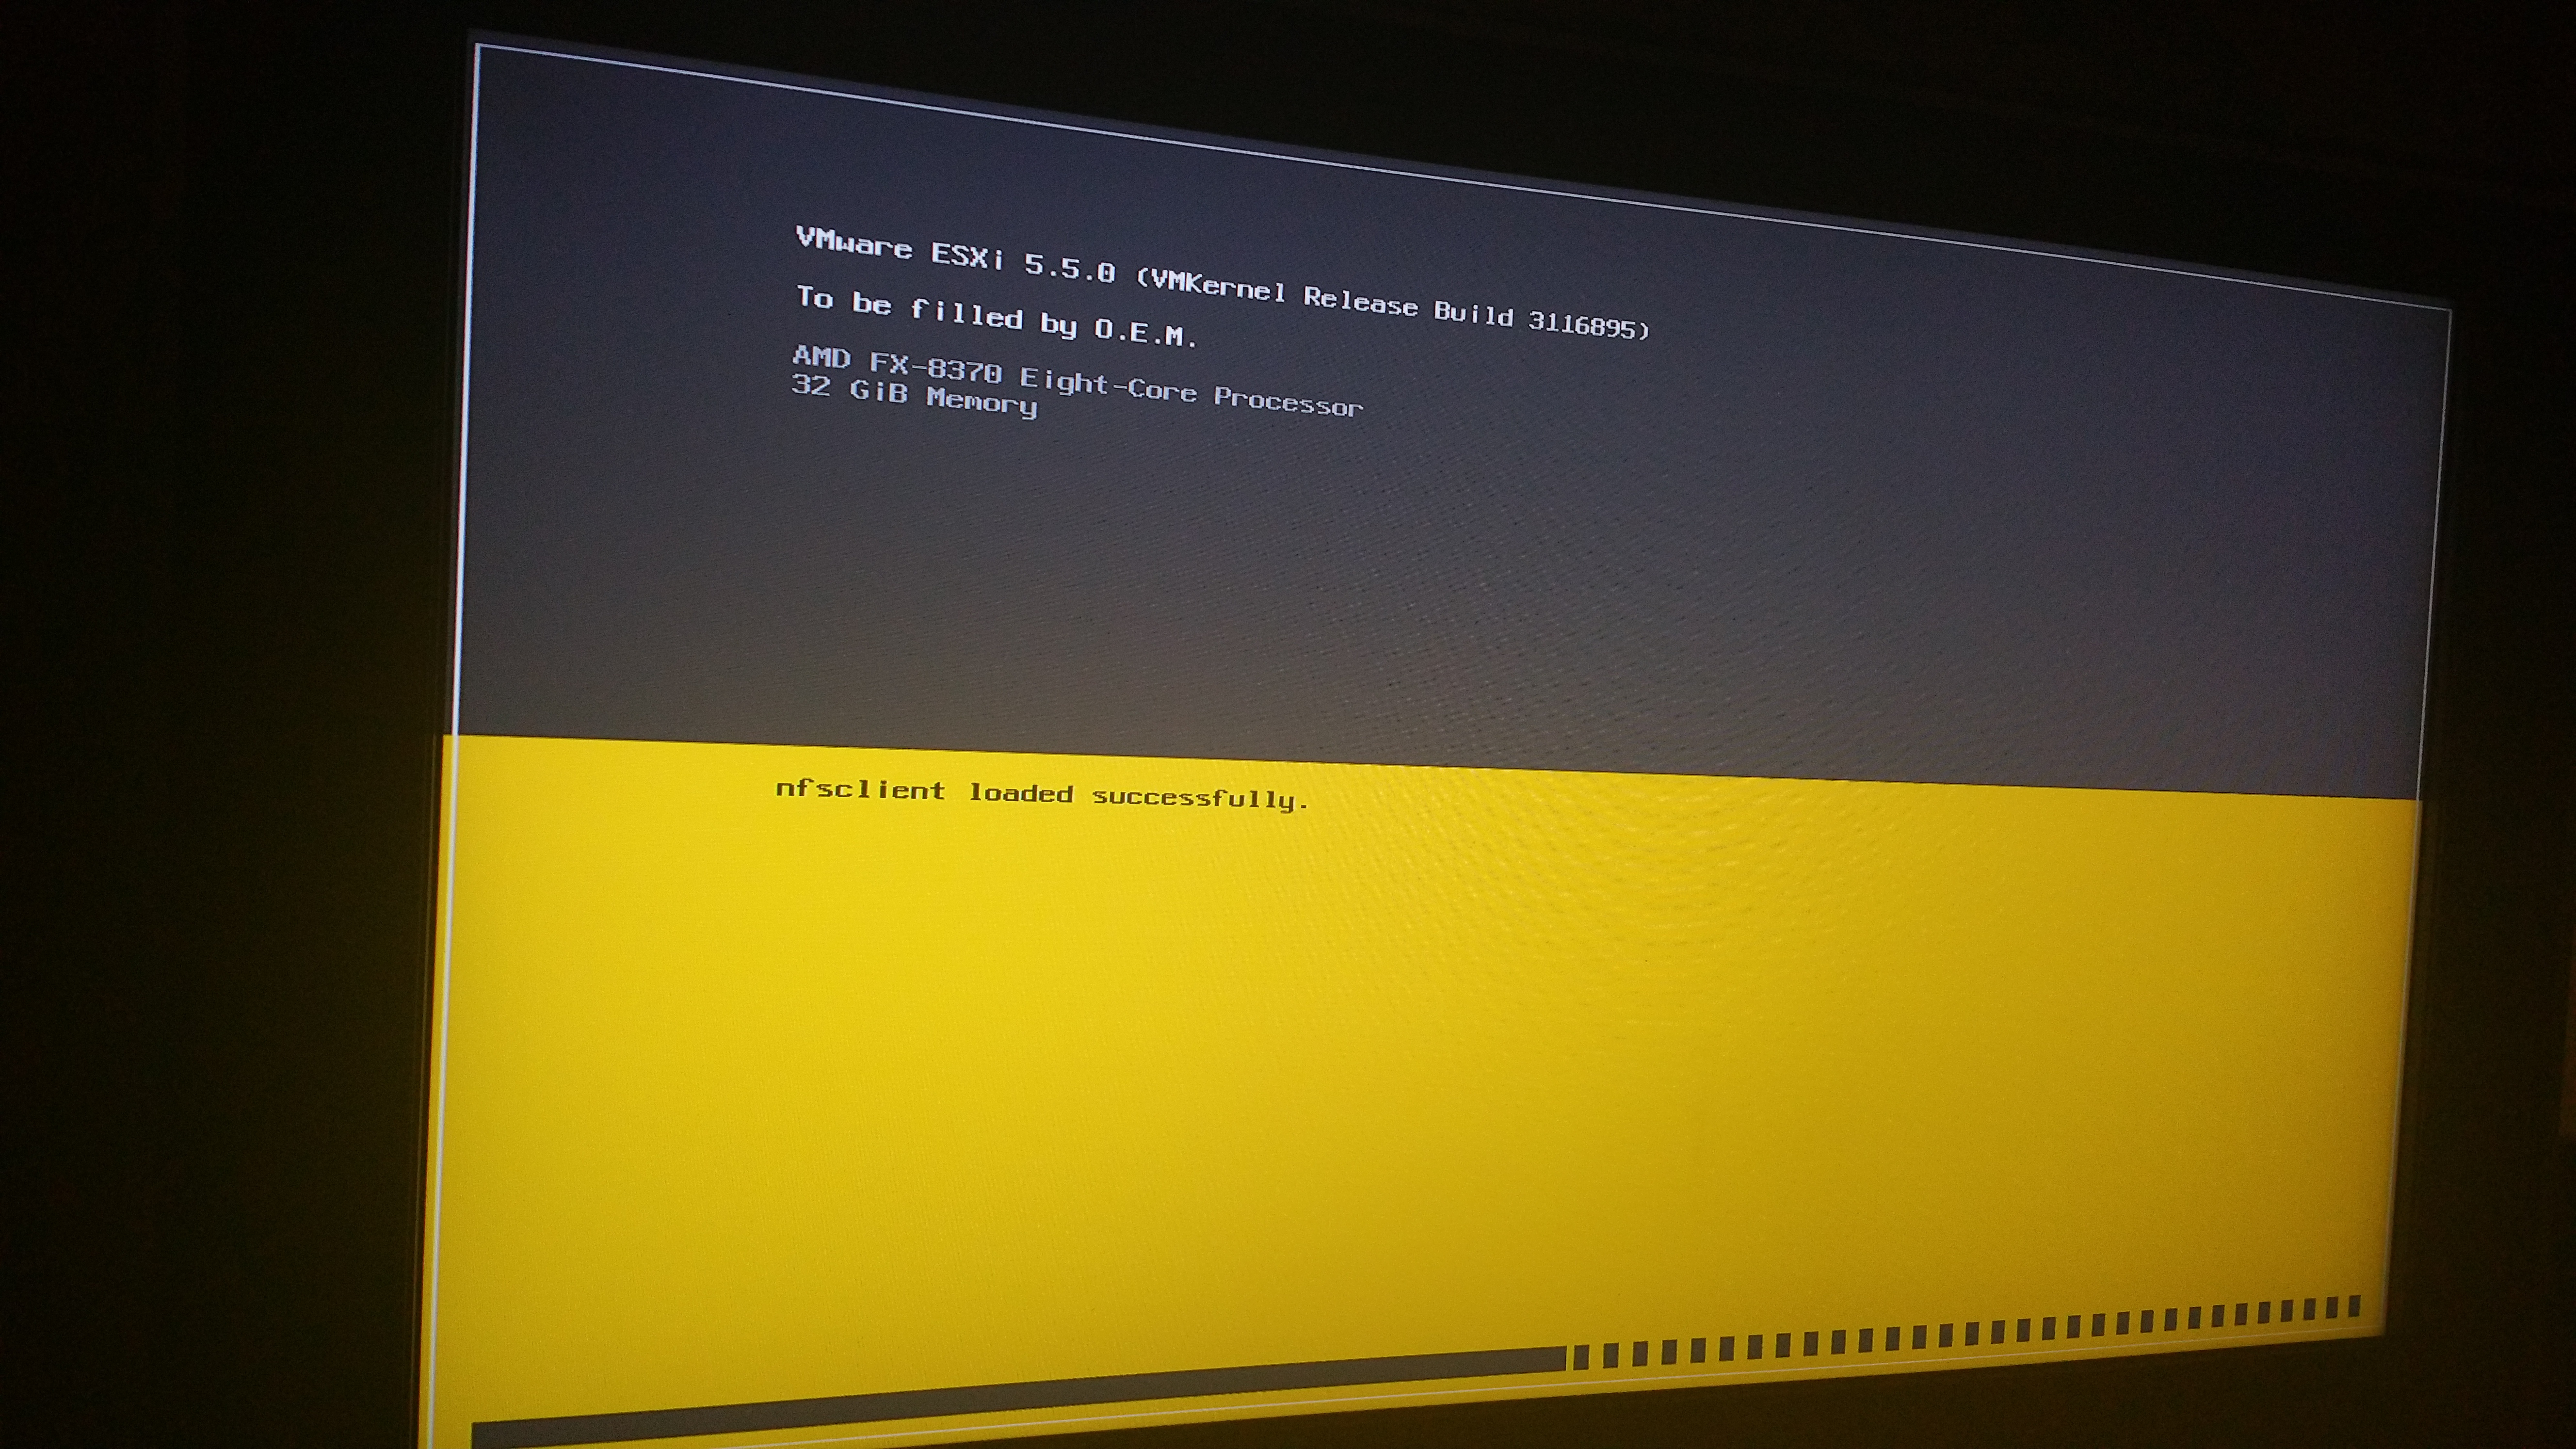
With the RAID online it was time for some ESXi magic! The install went as expected with one minor caveat. I found that the midpoint of the ESXi install, where you transition from the initial grey/yellow install screens to the first grey confirmation box, the keyboards would drop. This was even true of a wired Thermaltake gamer keyboard I had on hand. The issue seems tied to some xHCI driver issue for USB 3 host controllers on newer chipsets. Some have been able to solve this problem by disabling legacy support in the BIOS, or switch to a PS2 keyboard, but in my case the only solution seemed to be to use a plain vanilla USB Dell keyboard. Simple solution, but the problem definitely throws you off at first because every kind of USB keyboard “just working” is something we’ve all come to take for granted. Below is the point of the install where the problem occurs:

That’s it for this entry. Next up will be the network configuration and the initial vCenter setup!
