
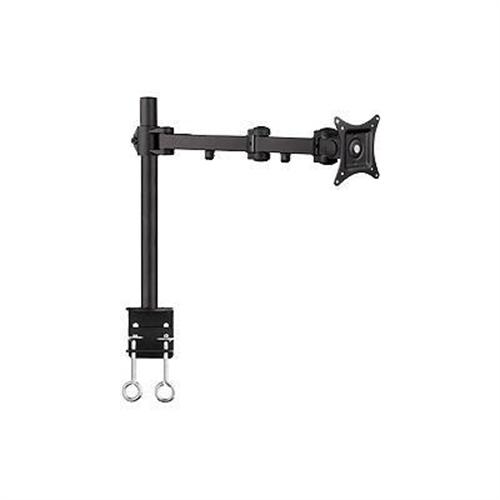
Monitors have gotten ridiculously inexpensive. That is an absolute fact. I was browsing through MicroCenter today (always trouble) and I noticed an open box Viewsonic monitor that looked like it was in great shape. It is a 23″, 1080P, IPS panel. The type of monitor that not all that long ago would have been $700. The price? $120. For $120, the pull of “accessory display” gravity was strong! (curse you NVidia) Needless to say, I took the fact that it was a Viewsonic as a sign (my 3 120Hz panels are Viewsonic and I’m very anal about vendor consistency with multi-monitor) and picked it up. This left me with the challenge of how to actually hook it up given my desk is pretty much already 100% consumed by my triple monitor rig (build detailed in these pages), so in addition to the panel I picked up another Siig (single arm variety this time) with the intent of jerry-rigging something together:
The first challenge was that the post is equal height to my triple monitor post, so standing it up parallel wasn’t going to cut it. Mounting the new arm on the edges of the desk might have been an option, but the 3 22″ panels actually go from beyond the edge to beyond the edge on either side, so this would have created quite an awkward setup. I quite like the extreme “4th monitor over” configuration, so I decided to take a shot at actually mounting the single panel SIIG horizontally clamped to the triple panel SIIG’s post. To protect the triple monitor post from scratches, and give the single SIIG clamp more grip, I wrapped the post in some plumber pipe insulation foam that I have around from past PC projects:
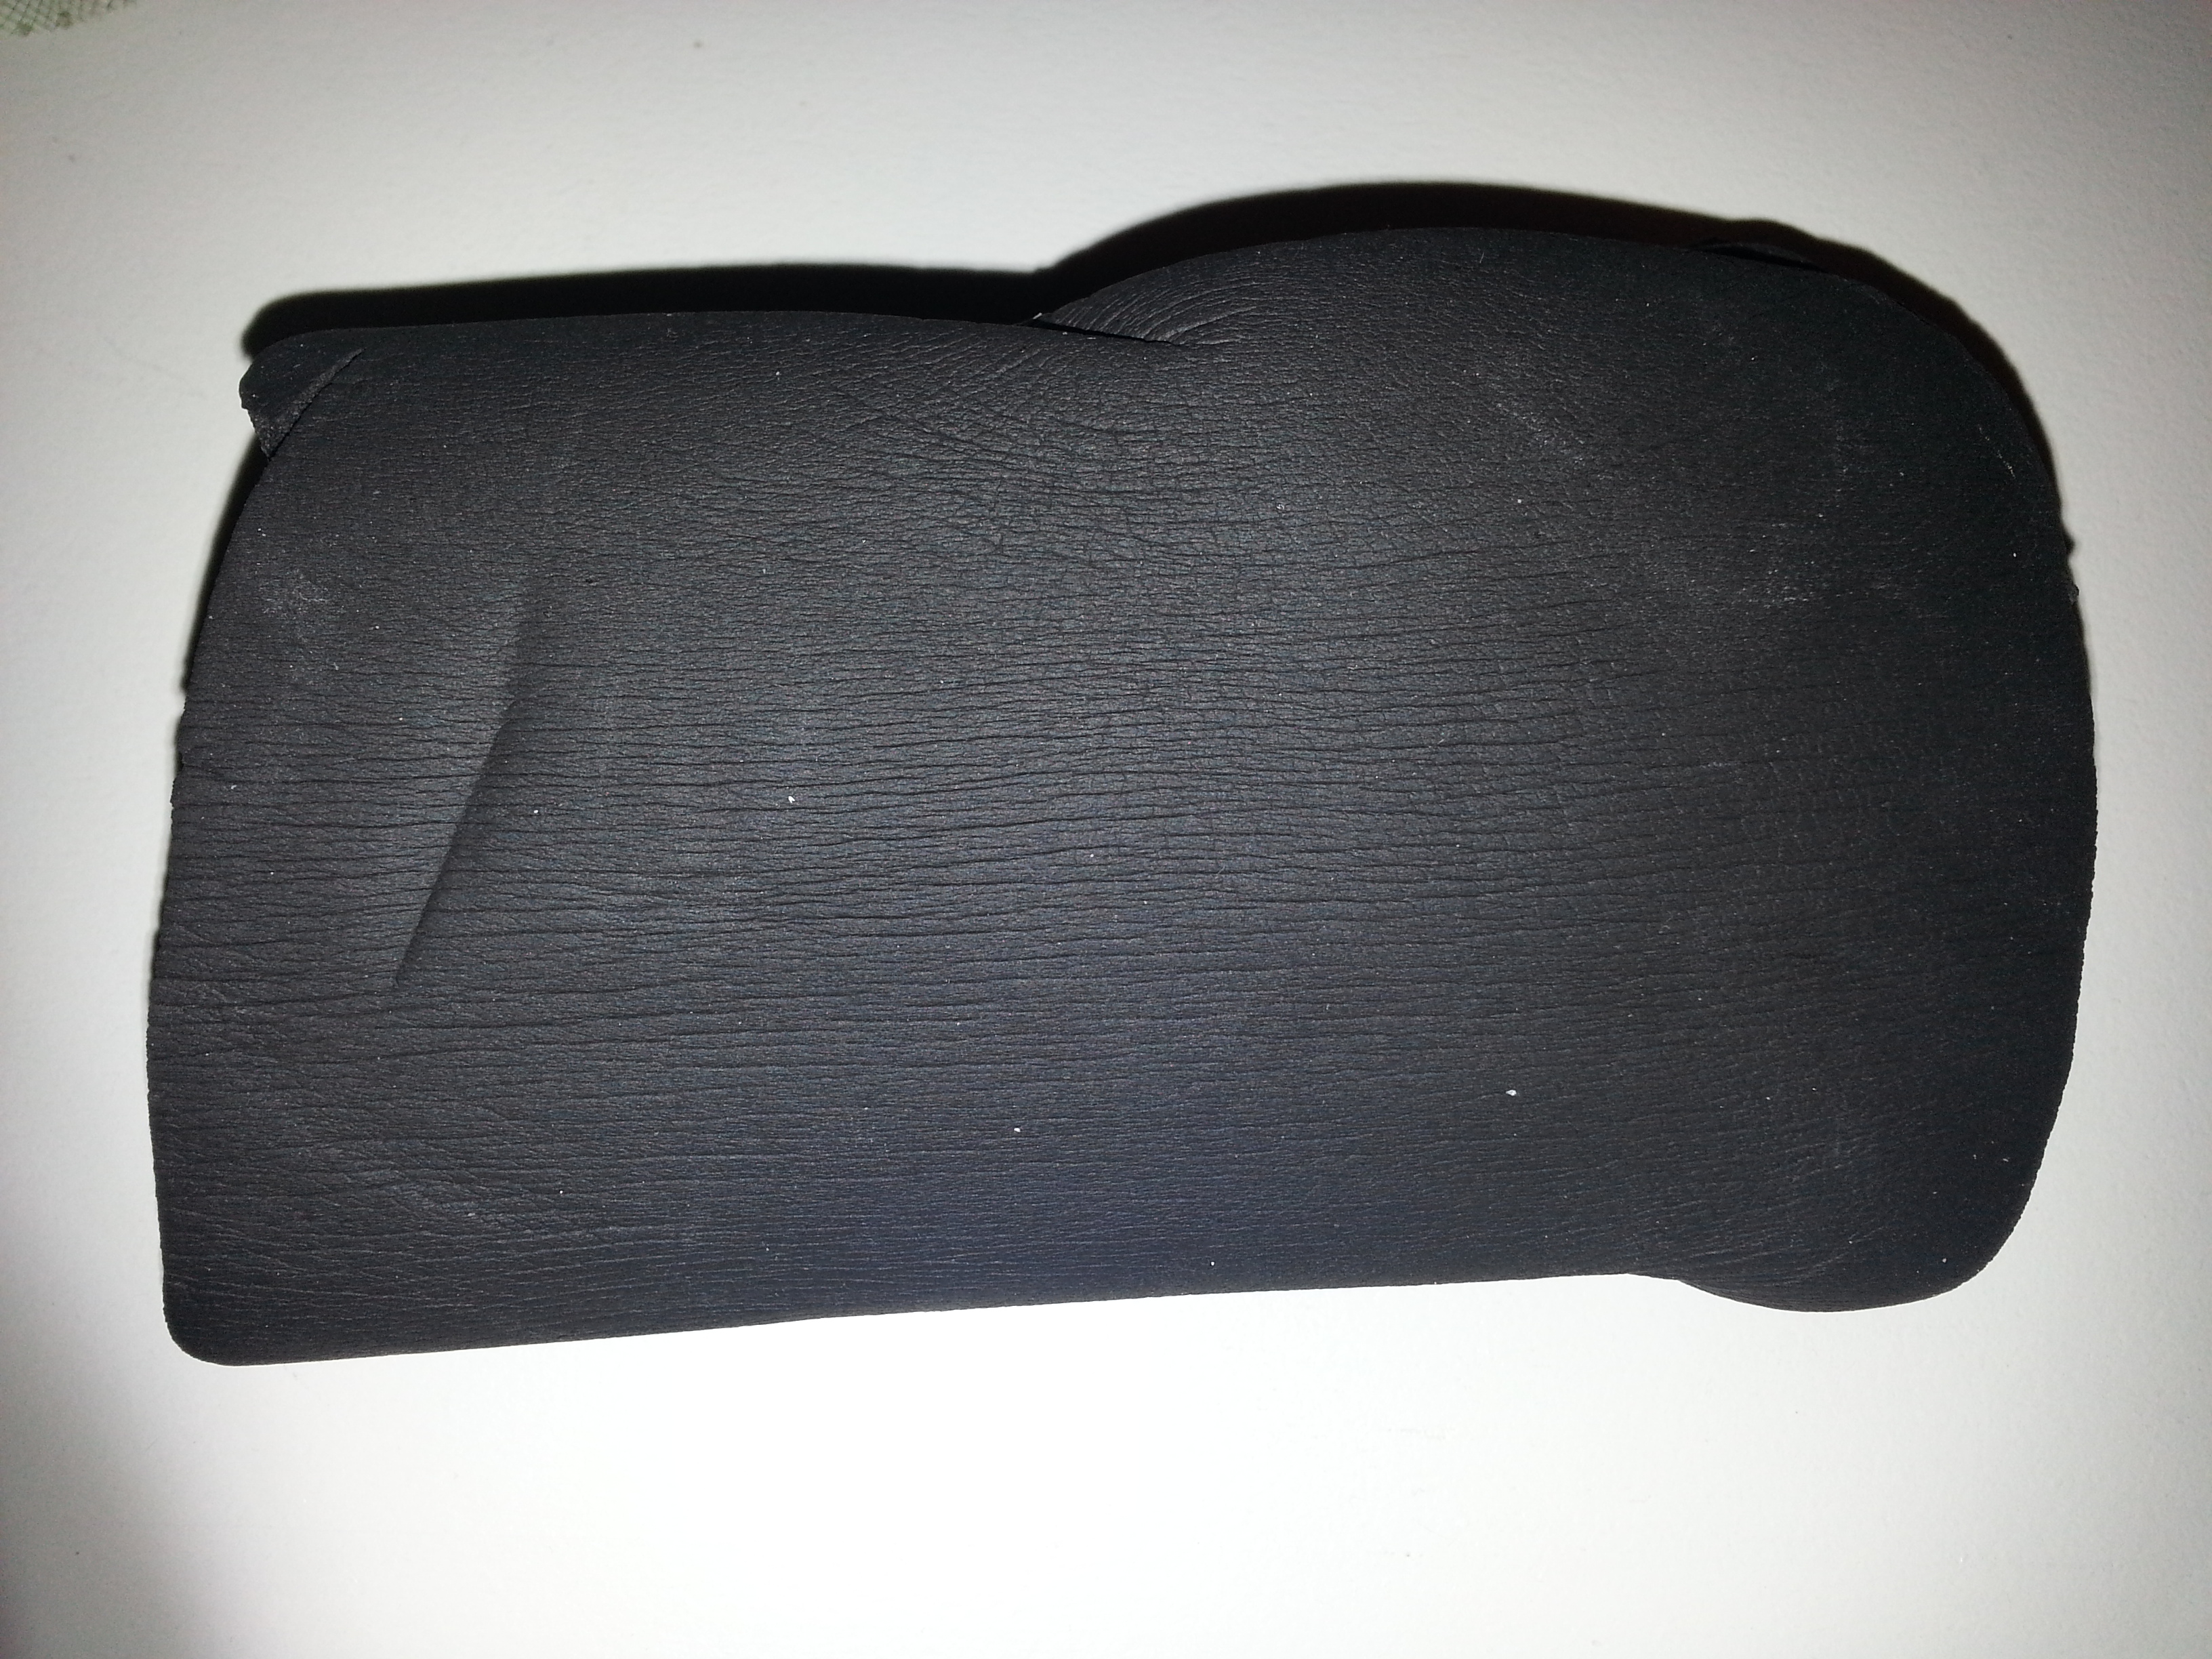
The insulation was a pretty good fit around the post and provided a nice amount of cushion:
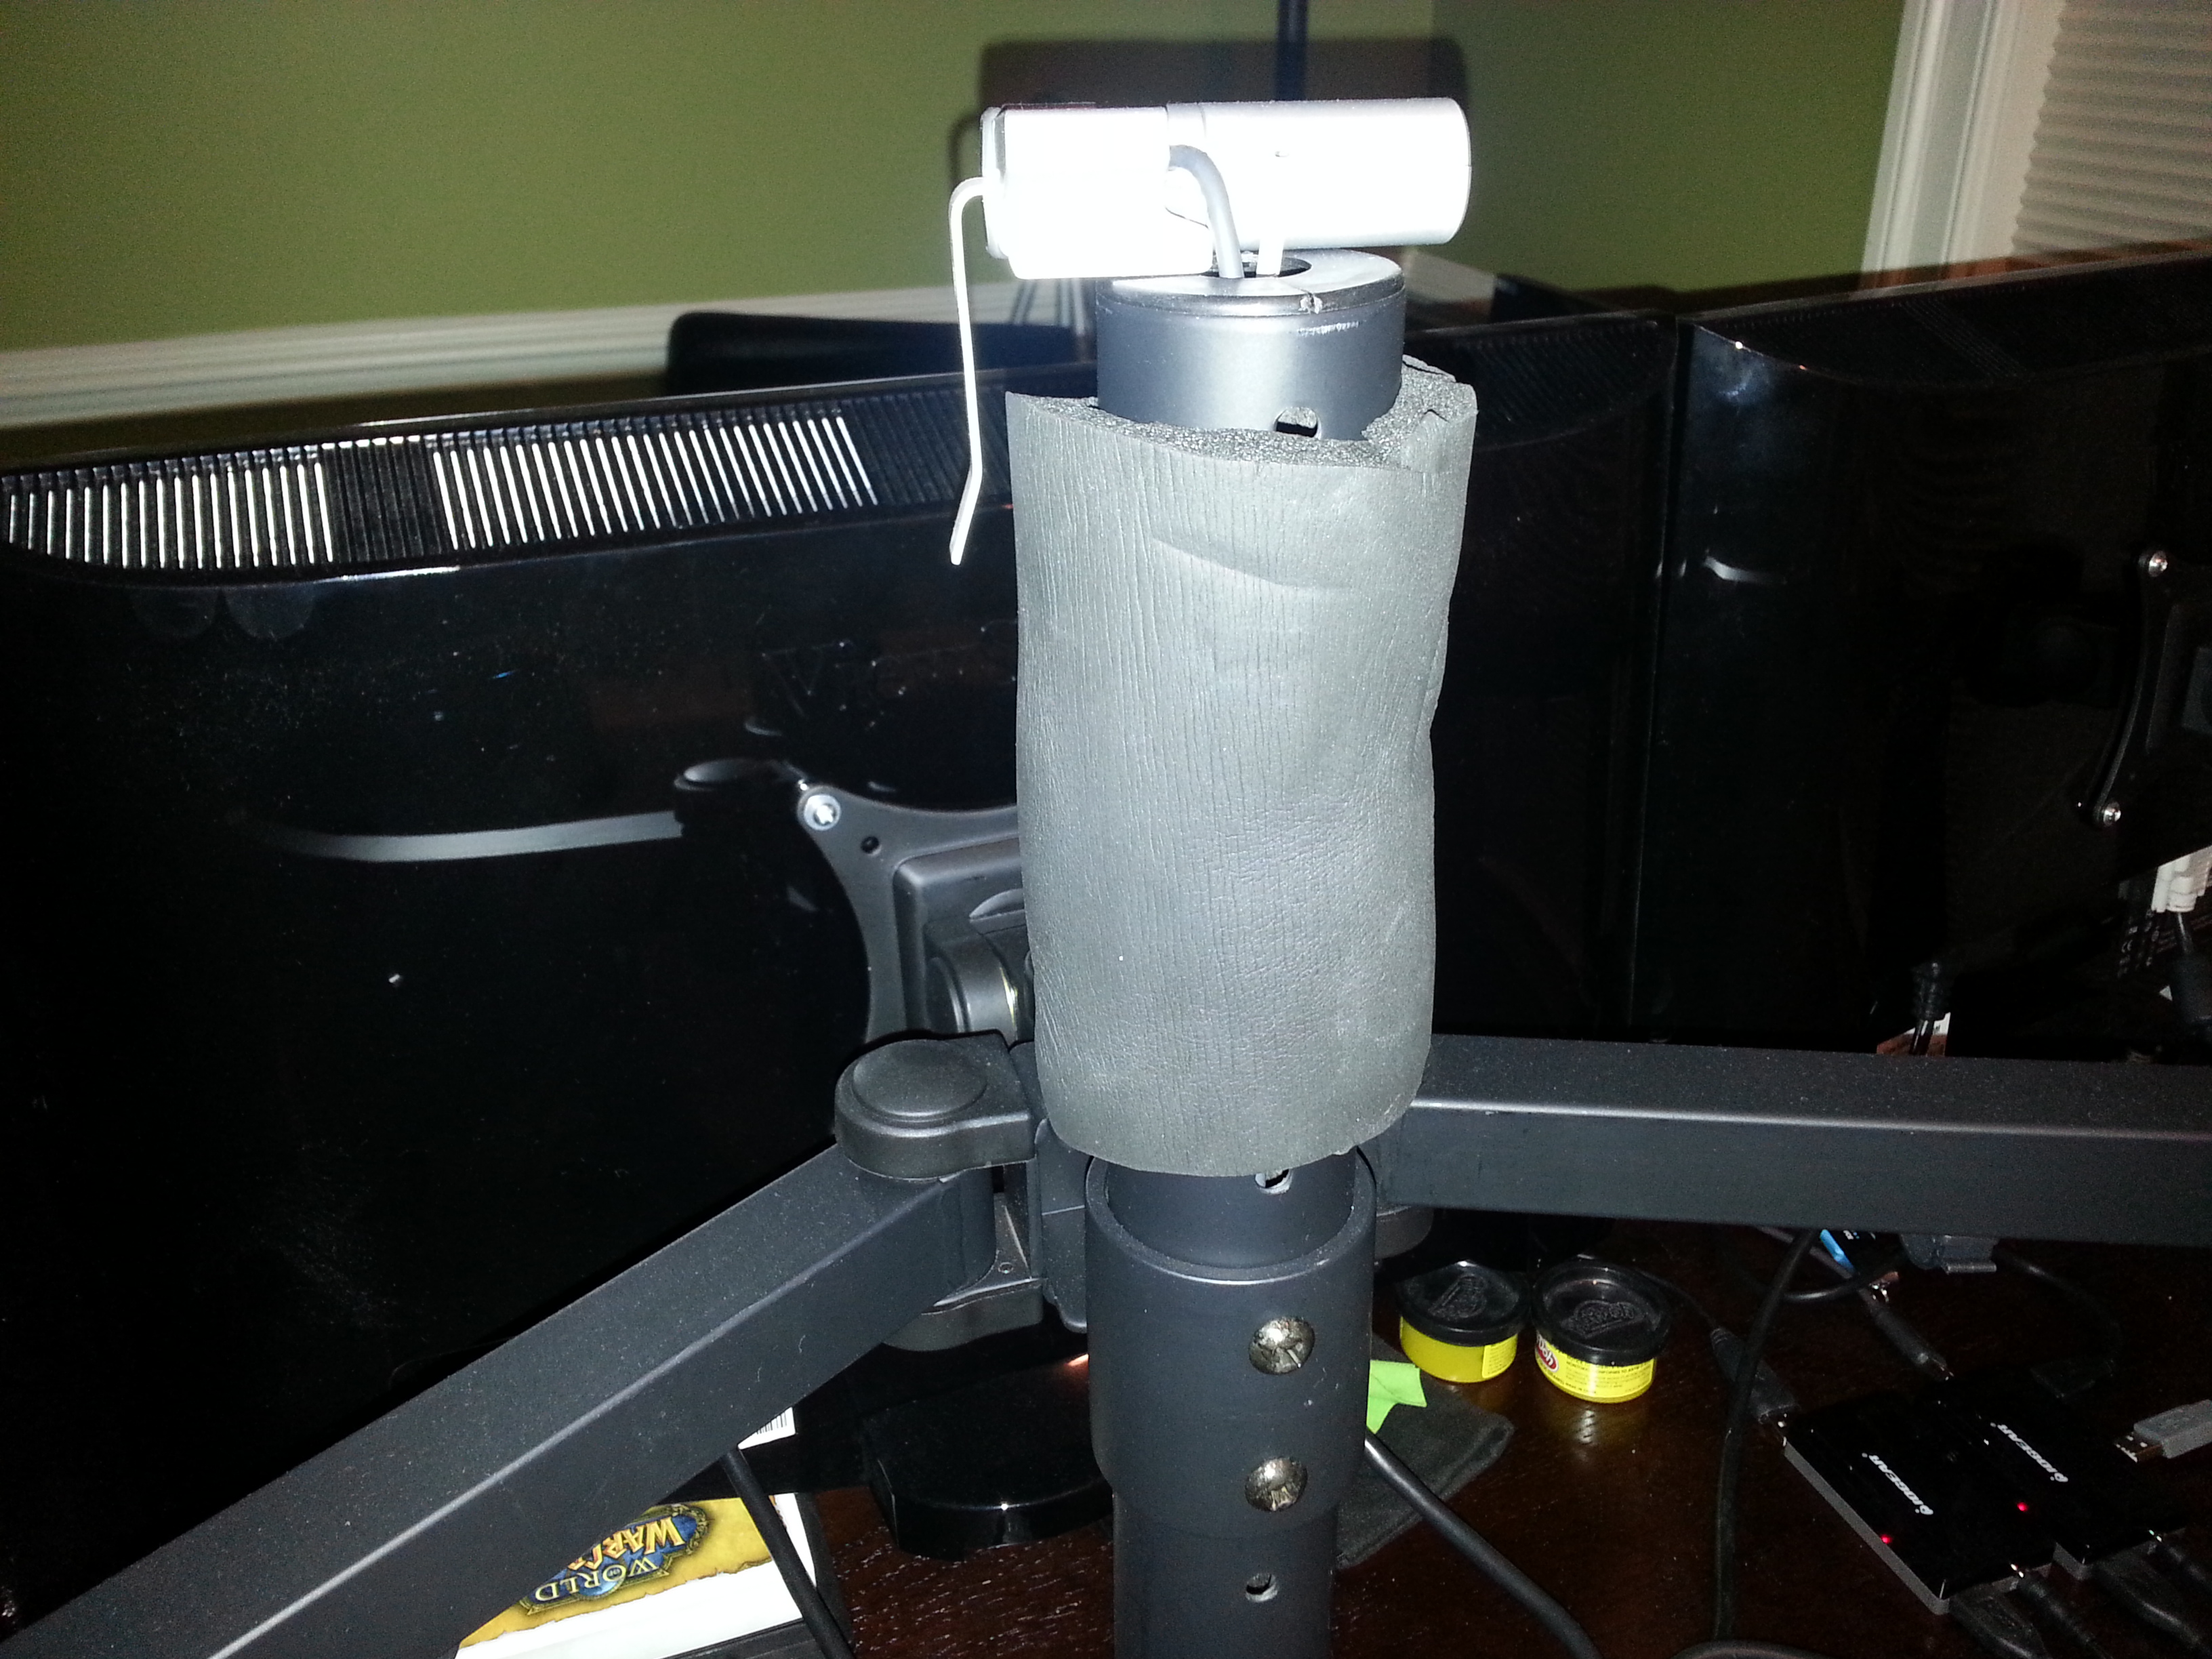
With the foam in place, it was time to attempt the clamping. This was the part that would make or break the entire install. If the horizontal attach wasn’t going to be tight and stable enough, the project would be a bust:
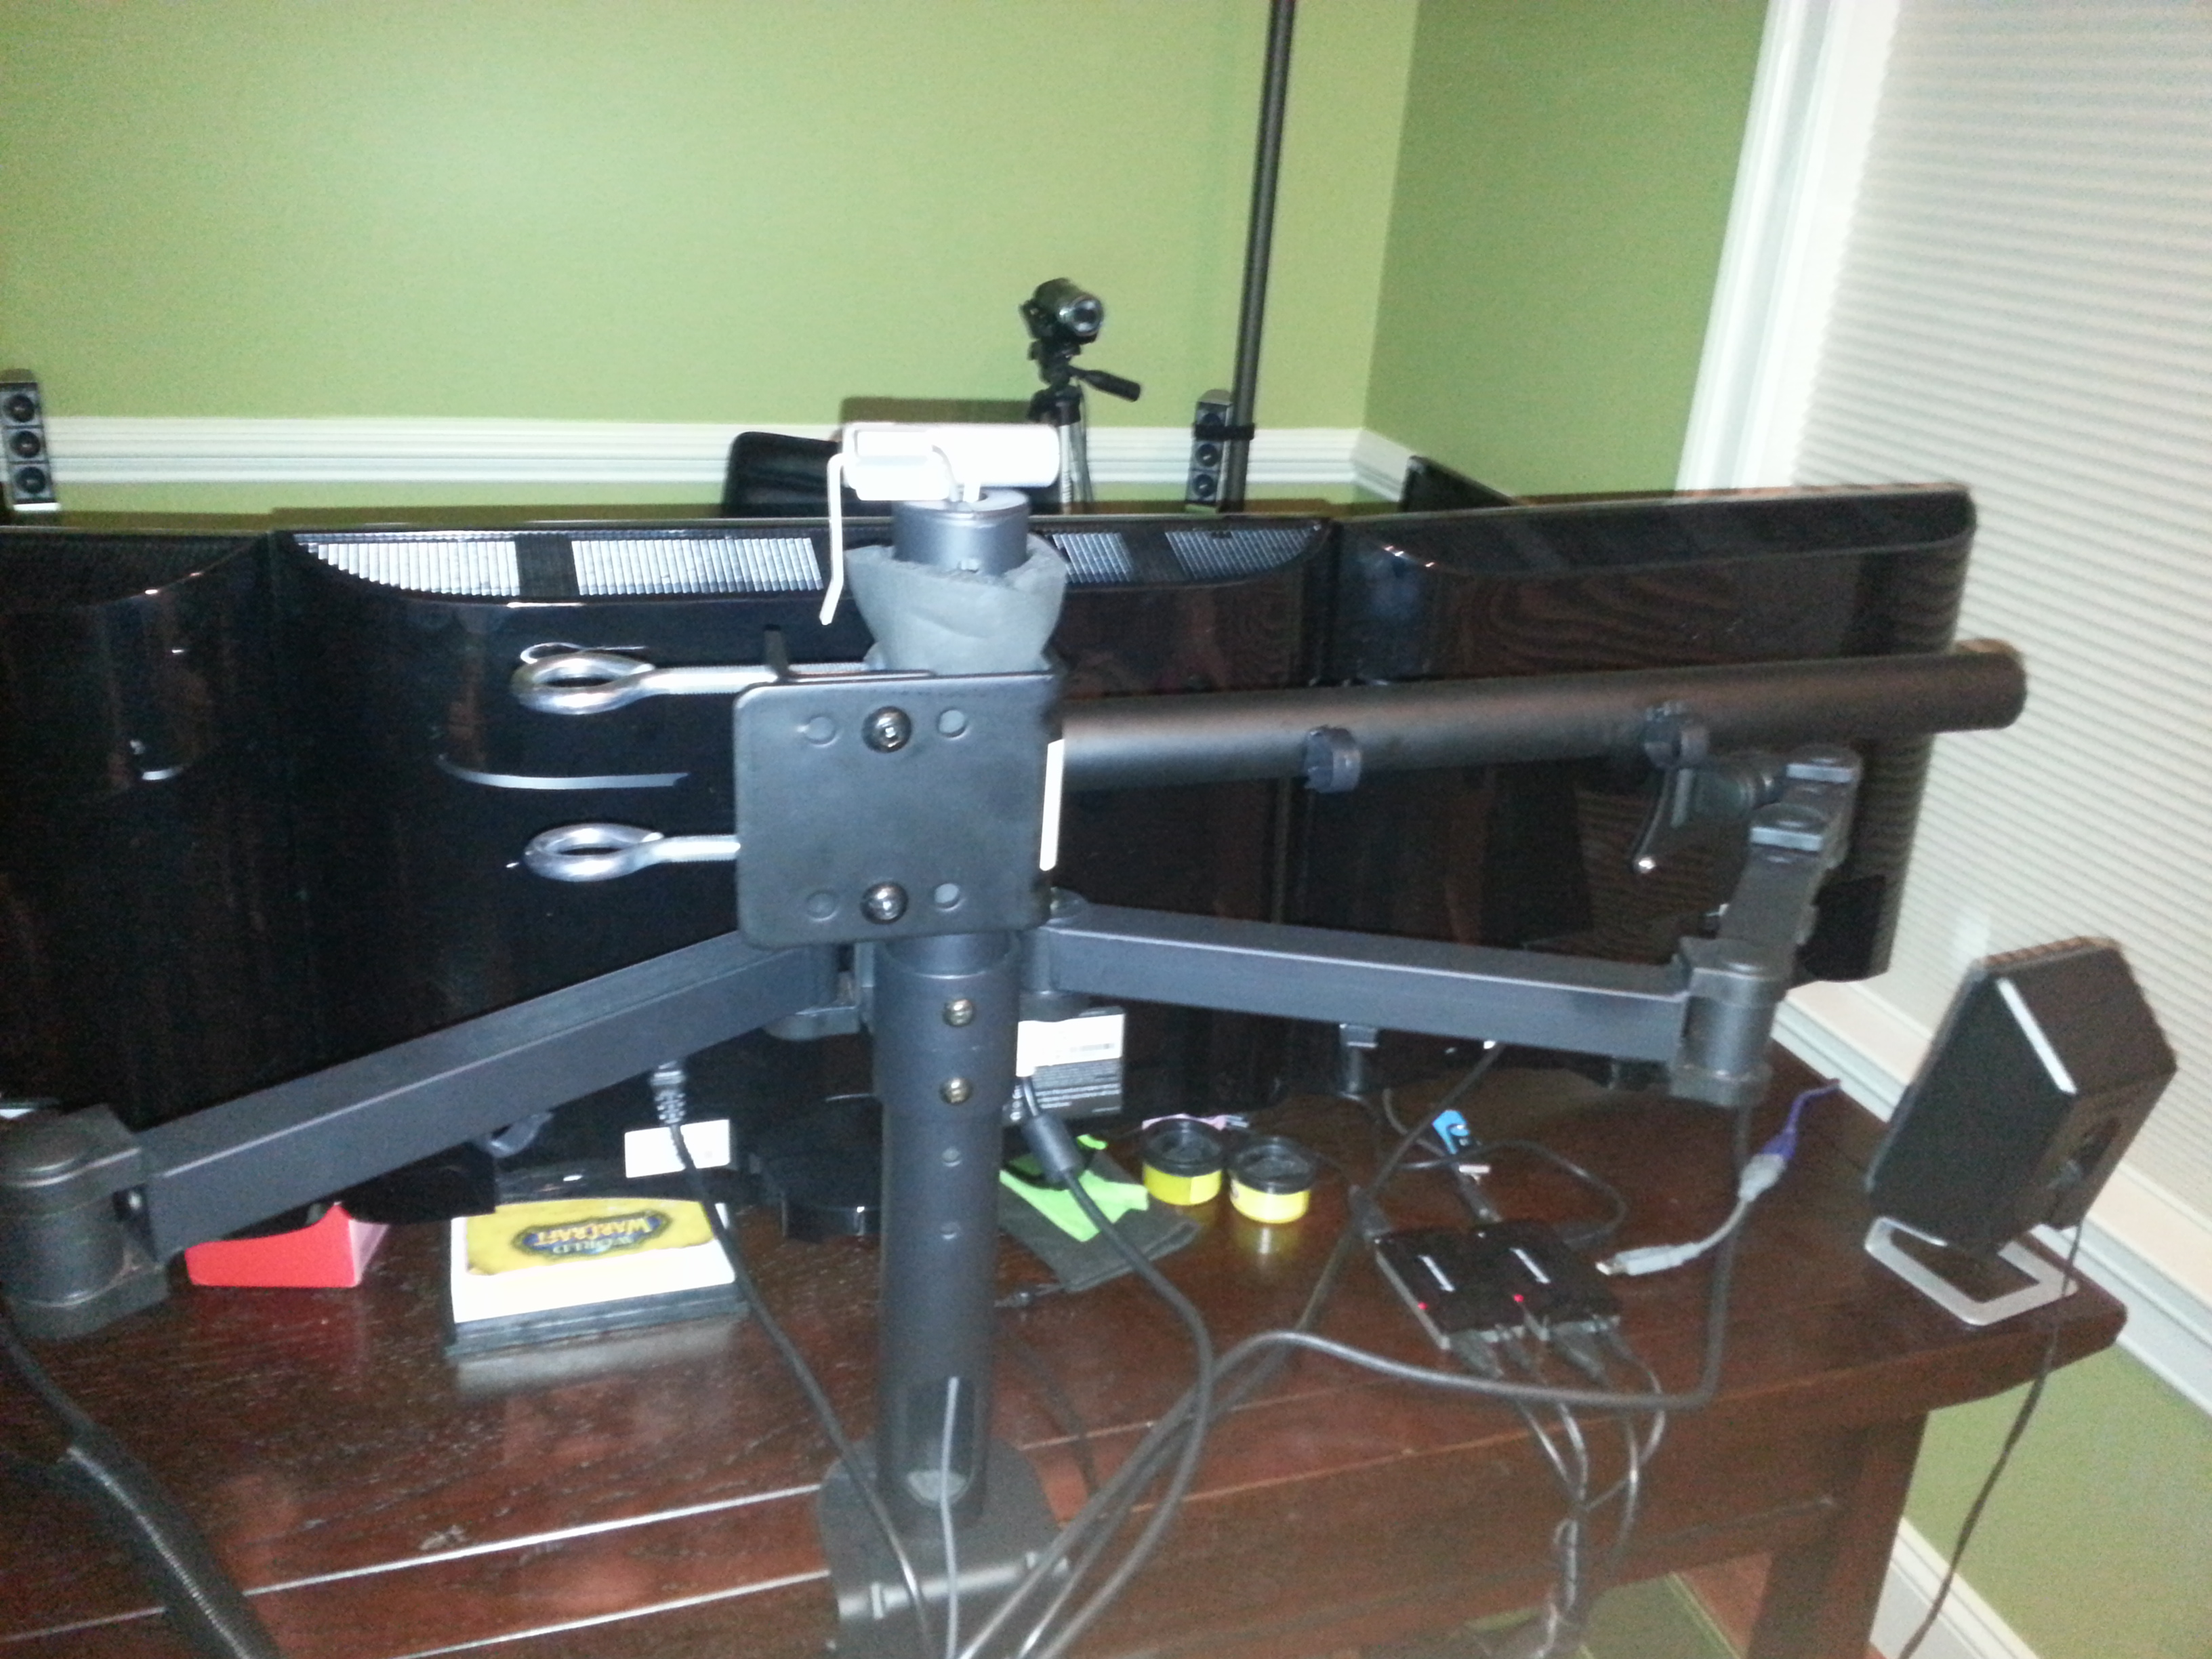
The clamp seemed to grip pretty well, and the foam was providing a nice sealant layer, so I decided it was worth testing the crossbar:

So far so good. The horizontal bar took the weight of the cross bar well, but there was still no monitor attached. Tightening it up was as tough as always, but it seemed to result in enough tension that the monitor might hold:

Four Vesa mount screws and some baited breath later and it was up! I wasn’t really thrilled with the stability of the whole thing, and as always the SIIG is tricky to get fully tight (one thing I was always less than thrilled with on the 3 panel and thought might be better on the single). The problem is a bit more pronounced by the unorthodox orientation that goes against the intended design profile. Still, it was tight enough, and there were enough interesting opportunities for resting the panel on stationary objects (like the top of the original post), that it was worth locking down:
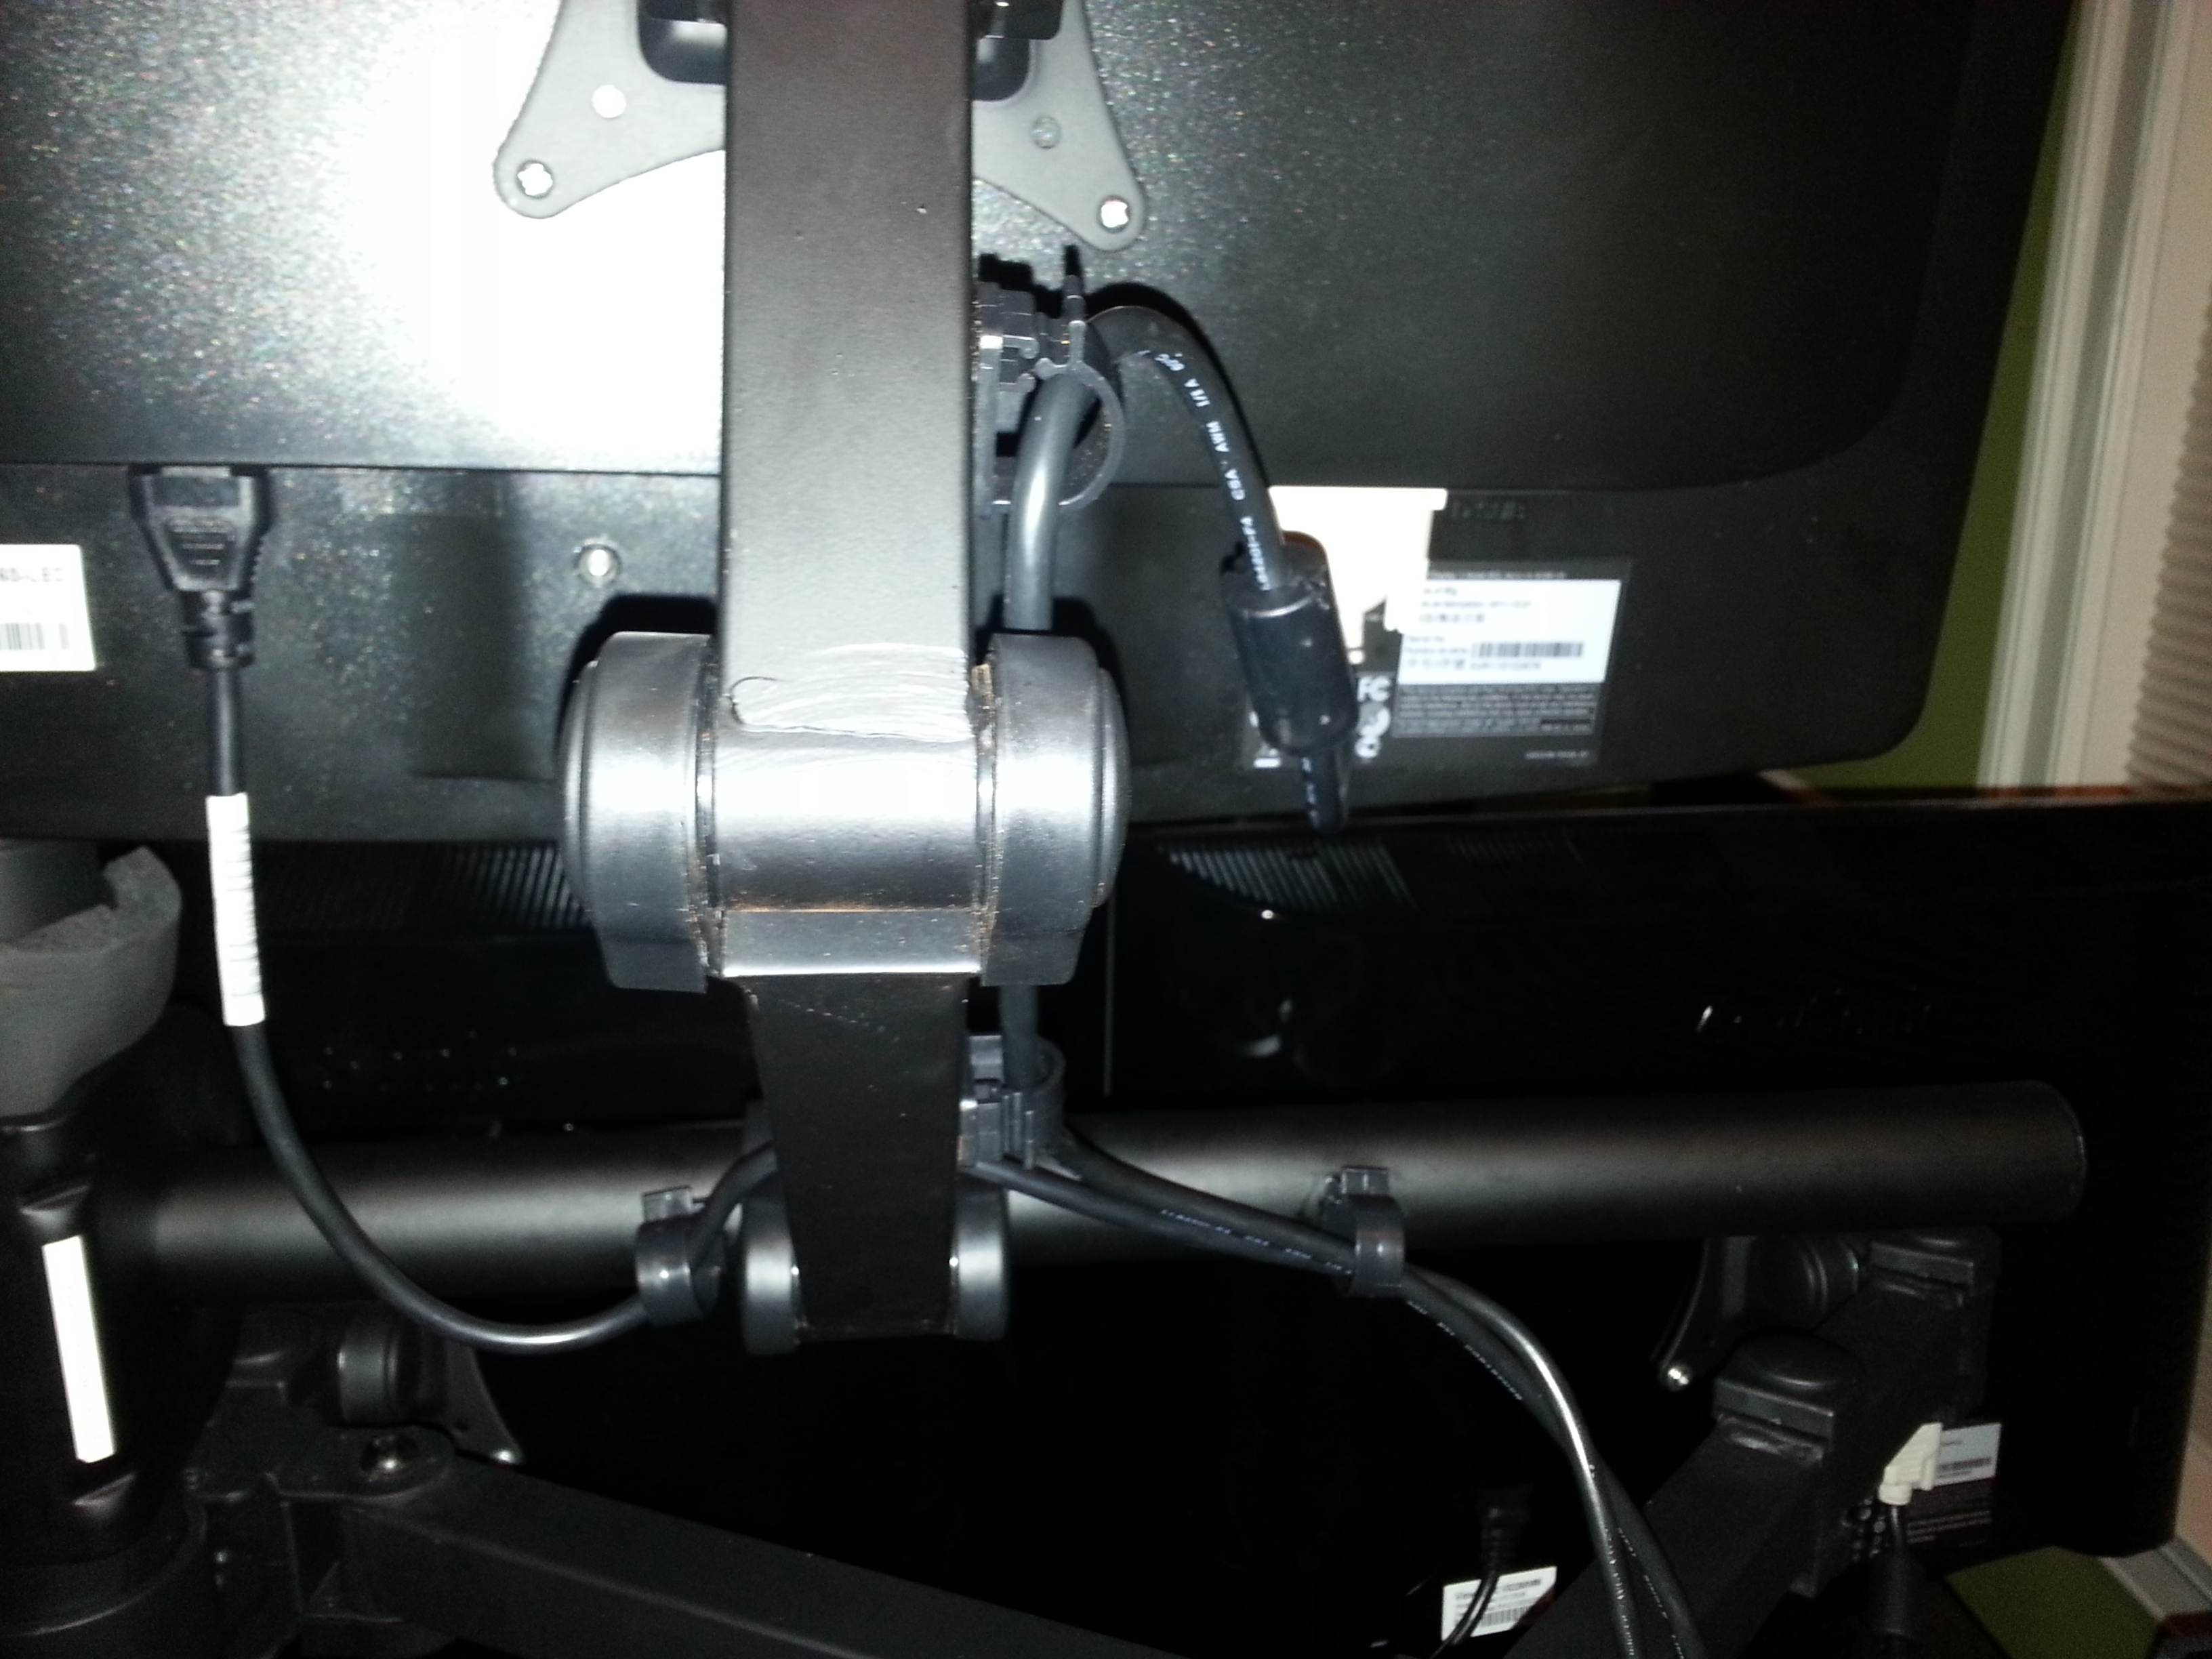
Cable management is basically just a few plastic clips, but at least it leaves the cables routing straight, so I clipped everything in and connected it up:
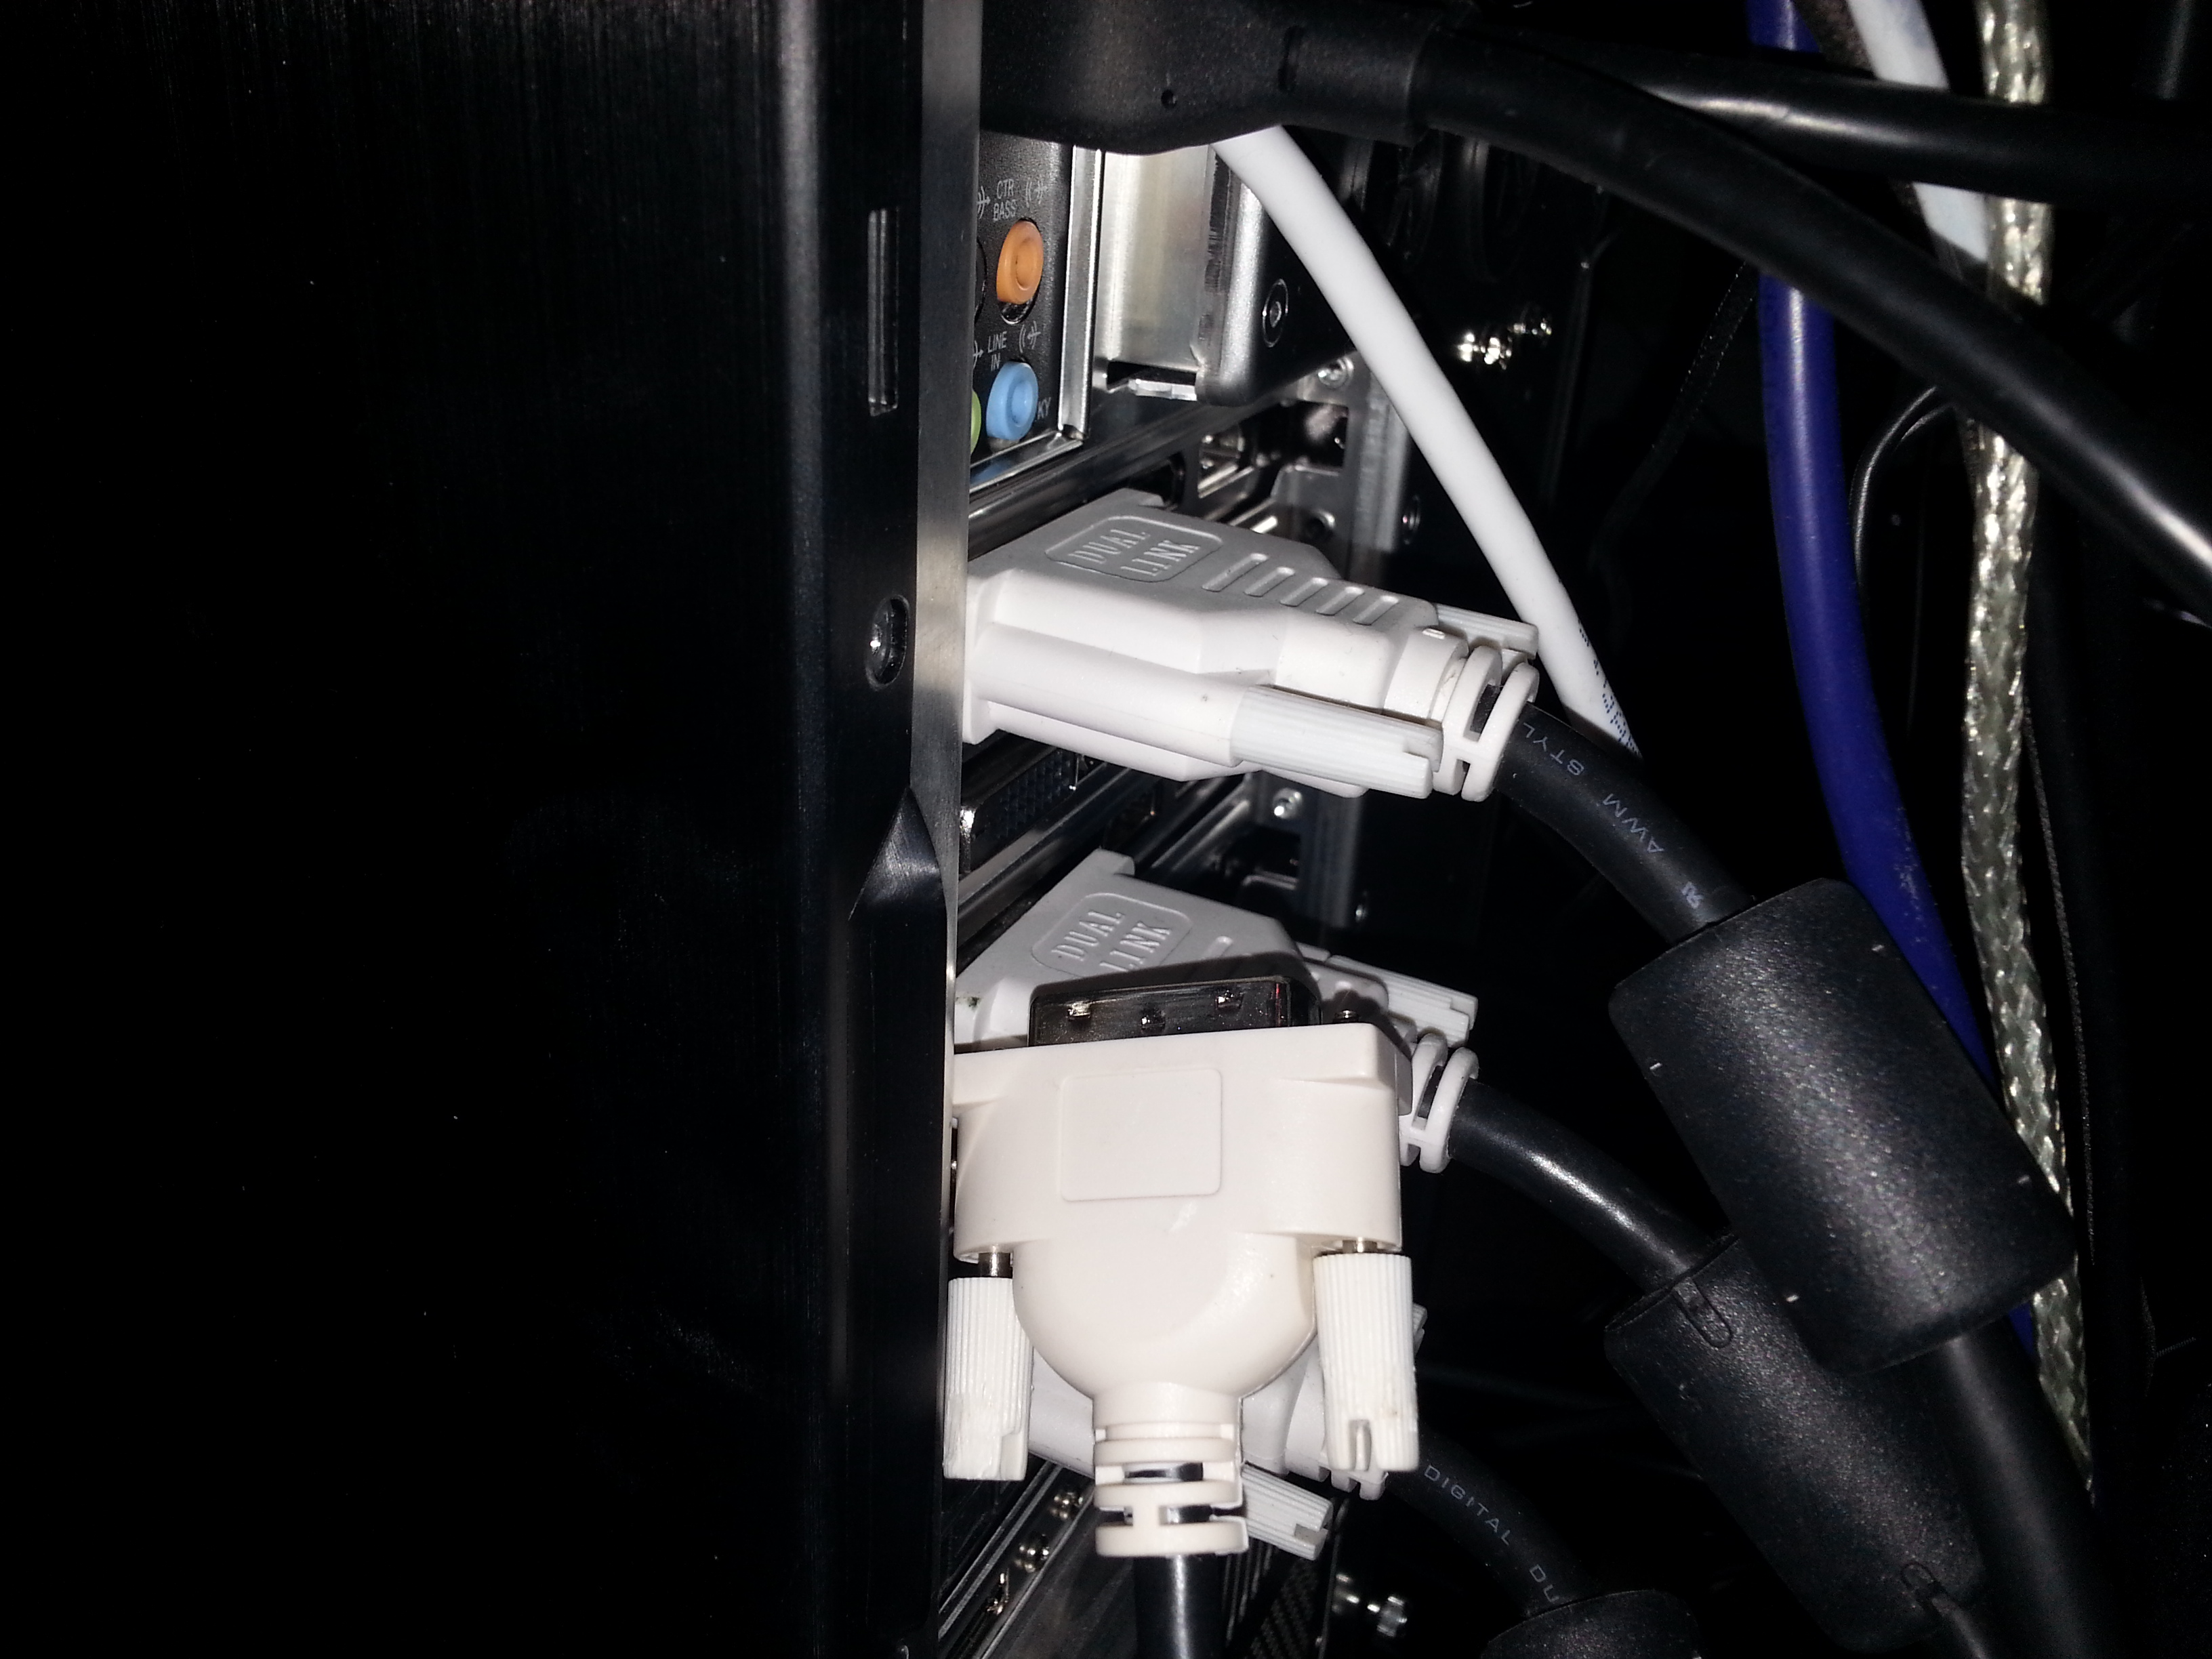
Note that the accessory panel is going to connect via DVI to the primary GPU (top of stack) and to the DVI-D port. The primary surround panels are all on DVI-I. As soon as DVI was plugged in, and before the monitor was turned on (or even plugged in), the GPU discovered it as the correct Viewsonic model and reverted back to single panel mode. So far so good. Time for the software config.
This part was as easy as re-walking through the standard NVidia “SLI and Surround” setup. I set my display configuration to “span displays with surround”, the setup moves forward with the 3 primary monitors showing the new accessory display as being there but unavailable for surround, reset the resolution to 5040×1040 and applied all of the settings. Surround was back so the only thing left to do was turn on the new display and configure it as accessory:
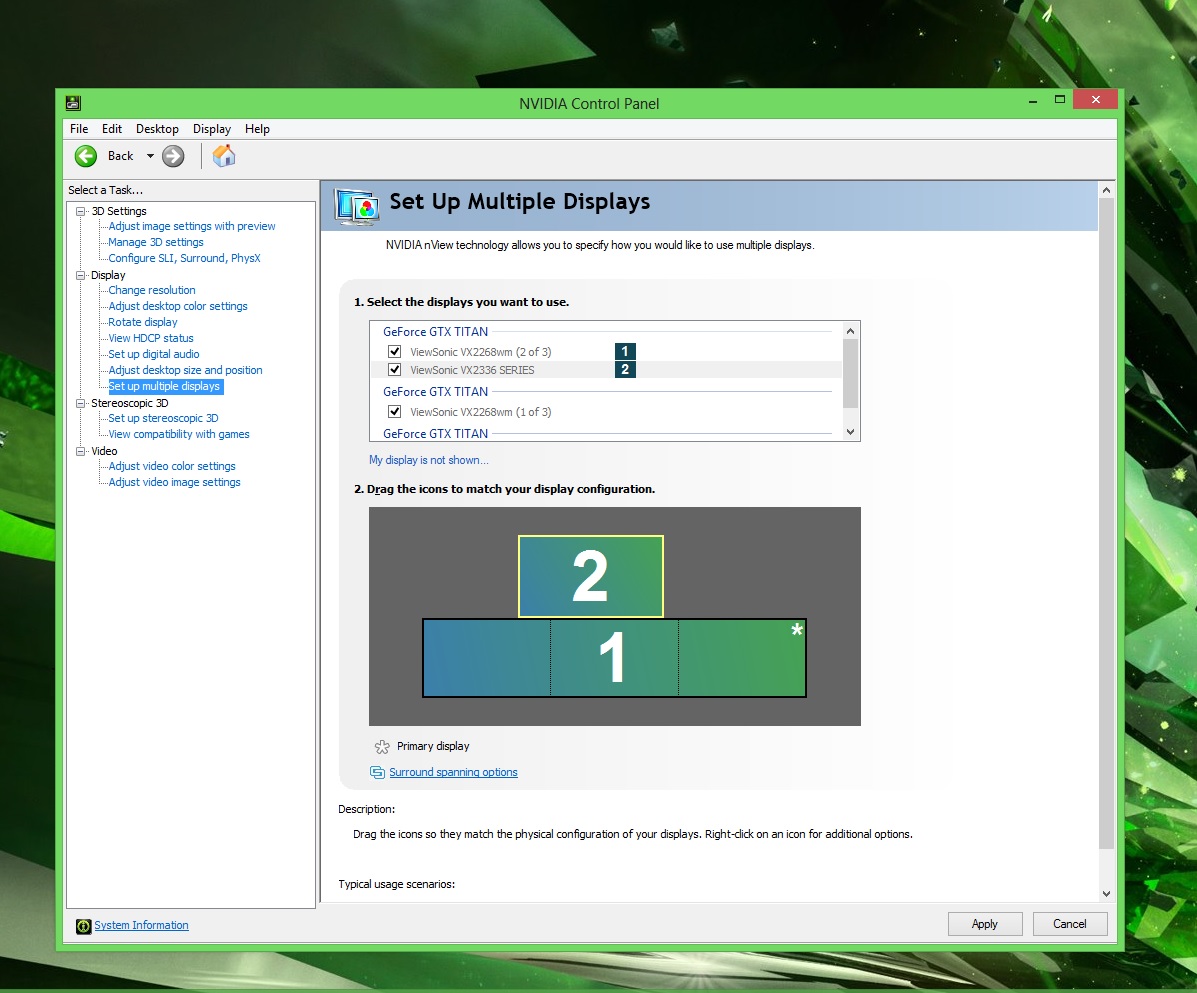
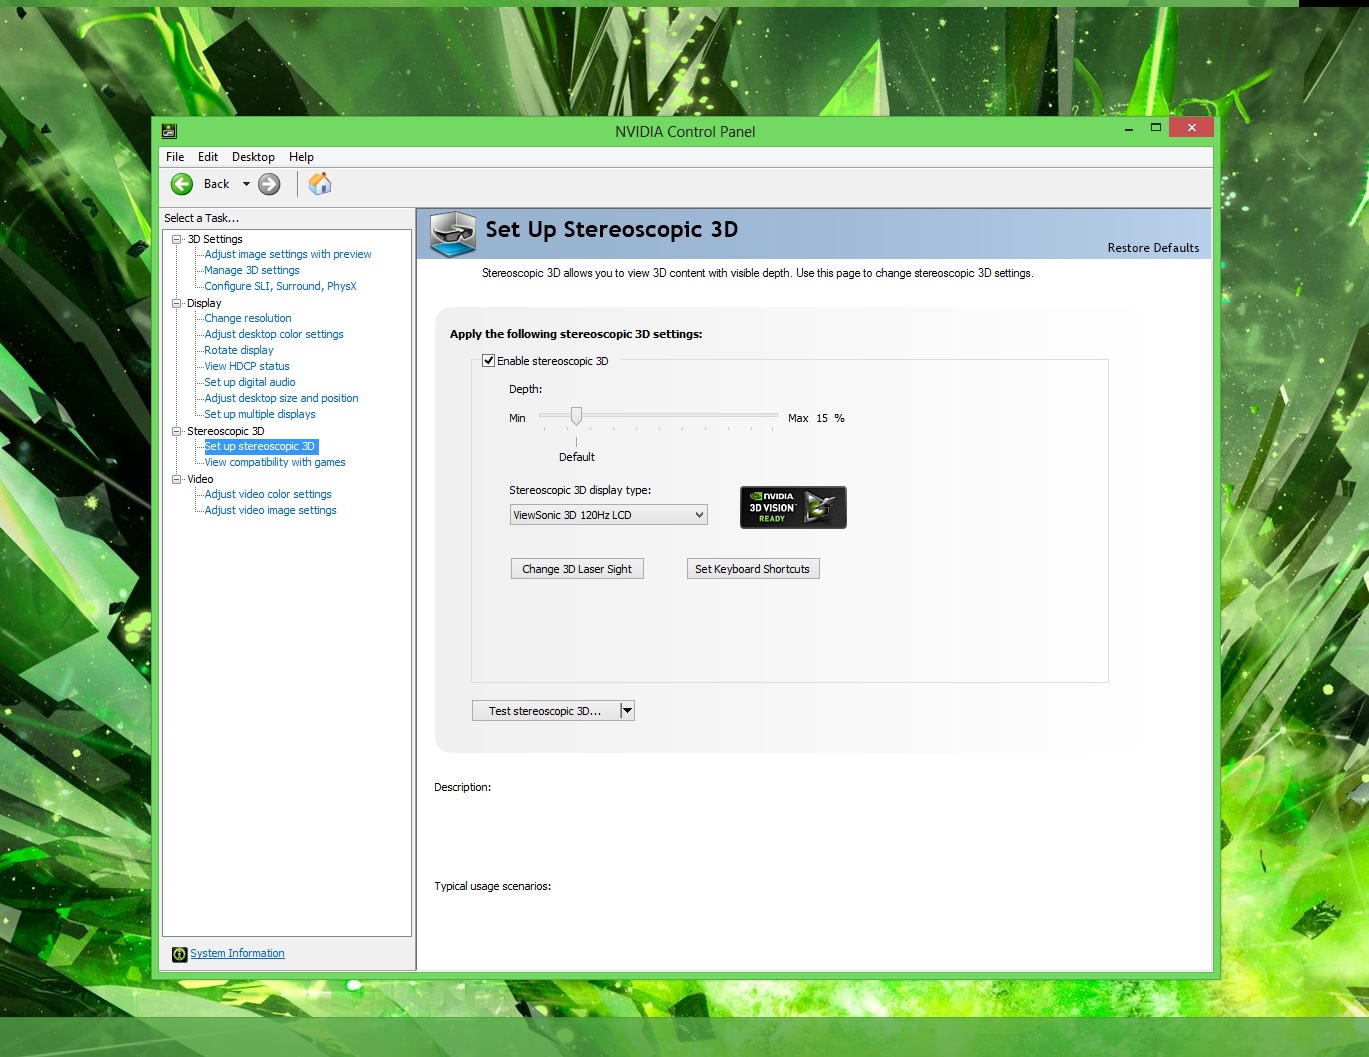
NVidia drivers and utilities have gotten really good. A quick click over to “configure displays” allows you to drag around the 2nd display so the visualization matches the actual physical config. In addition, it allows you to set the primary focus which was correct by default. The last step was to verify that 3D Vision still functions and wasn’t impacted, for whatever reason, by the 4th display setup:
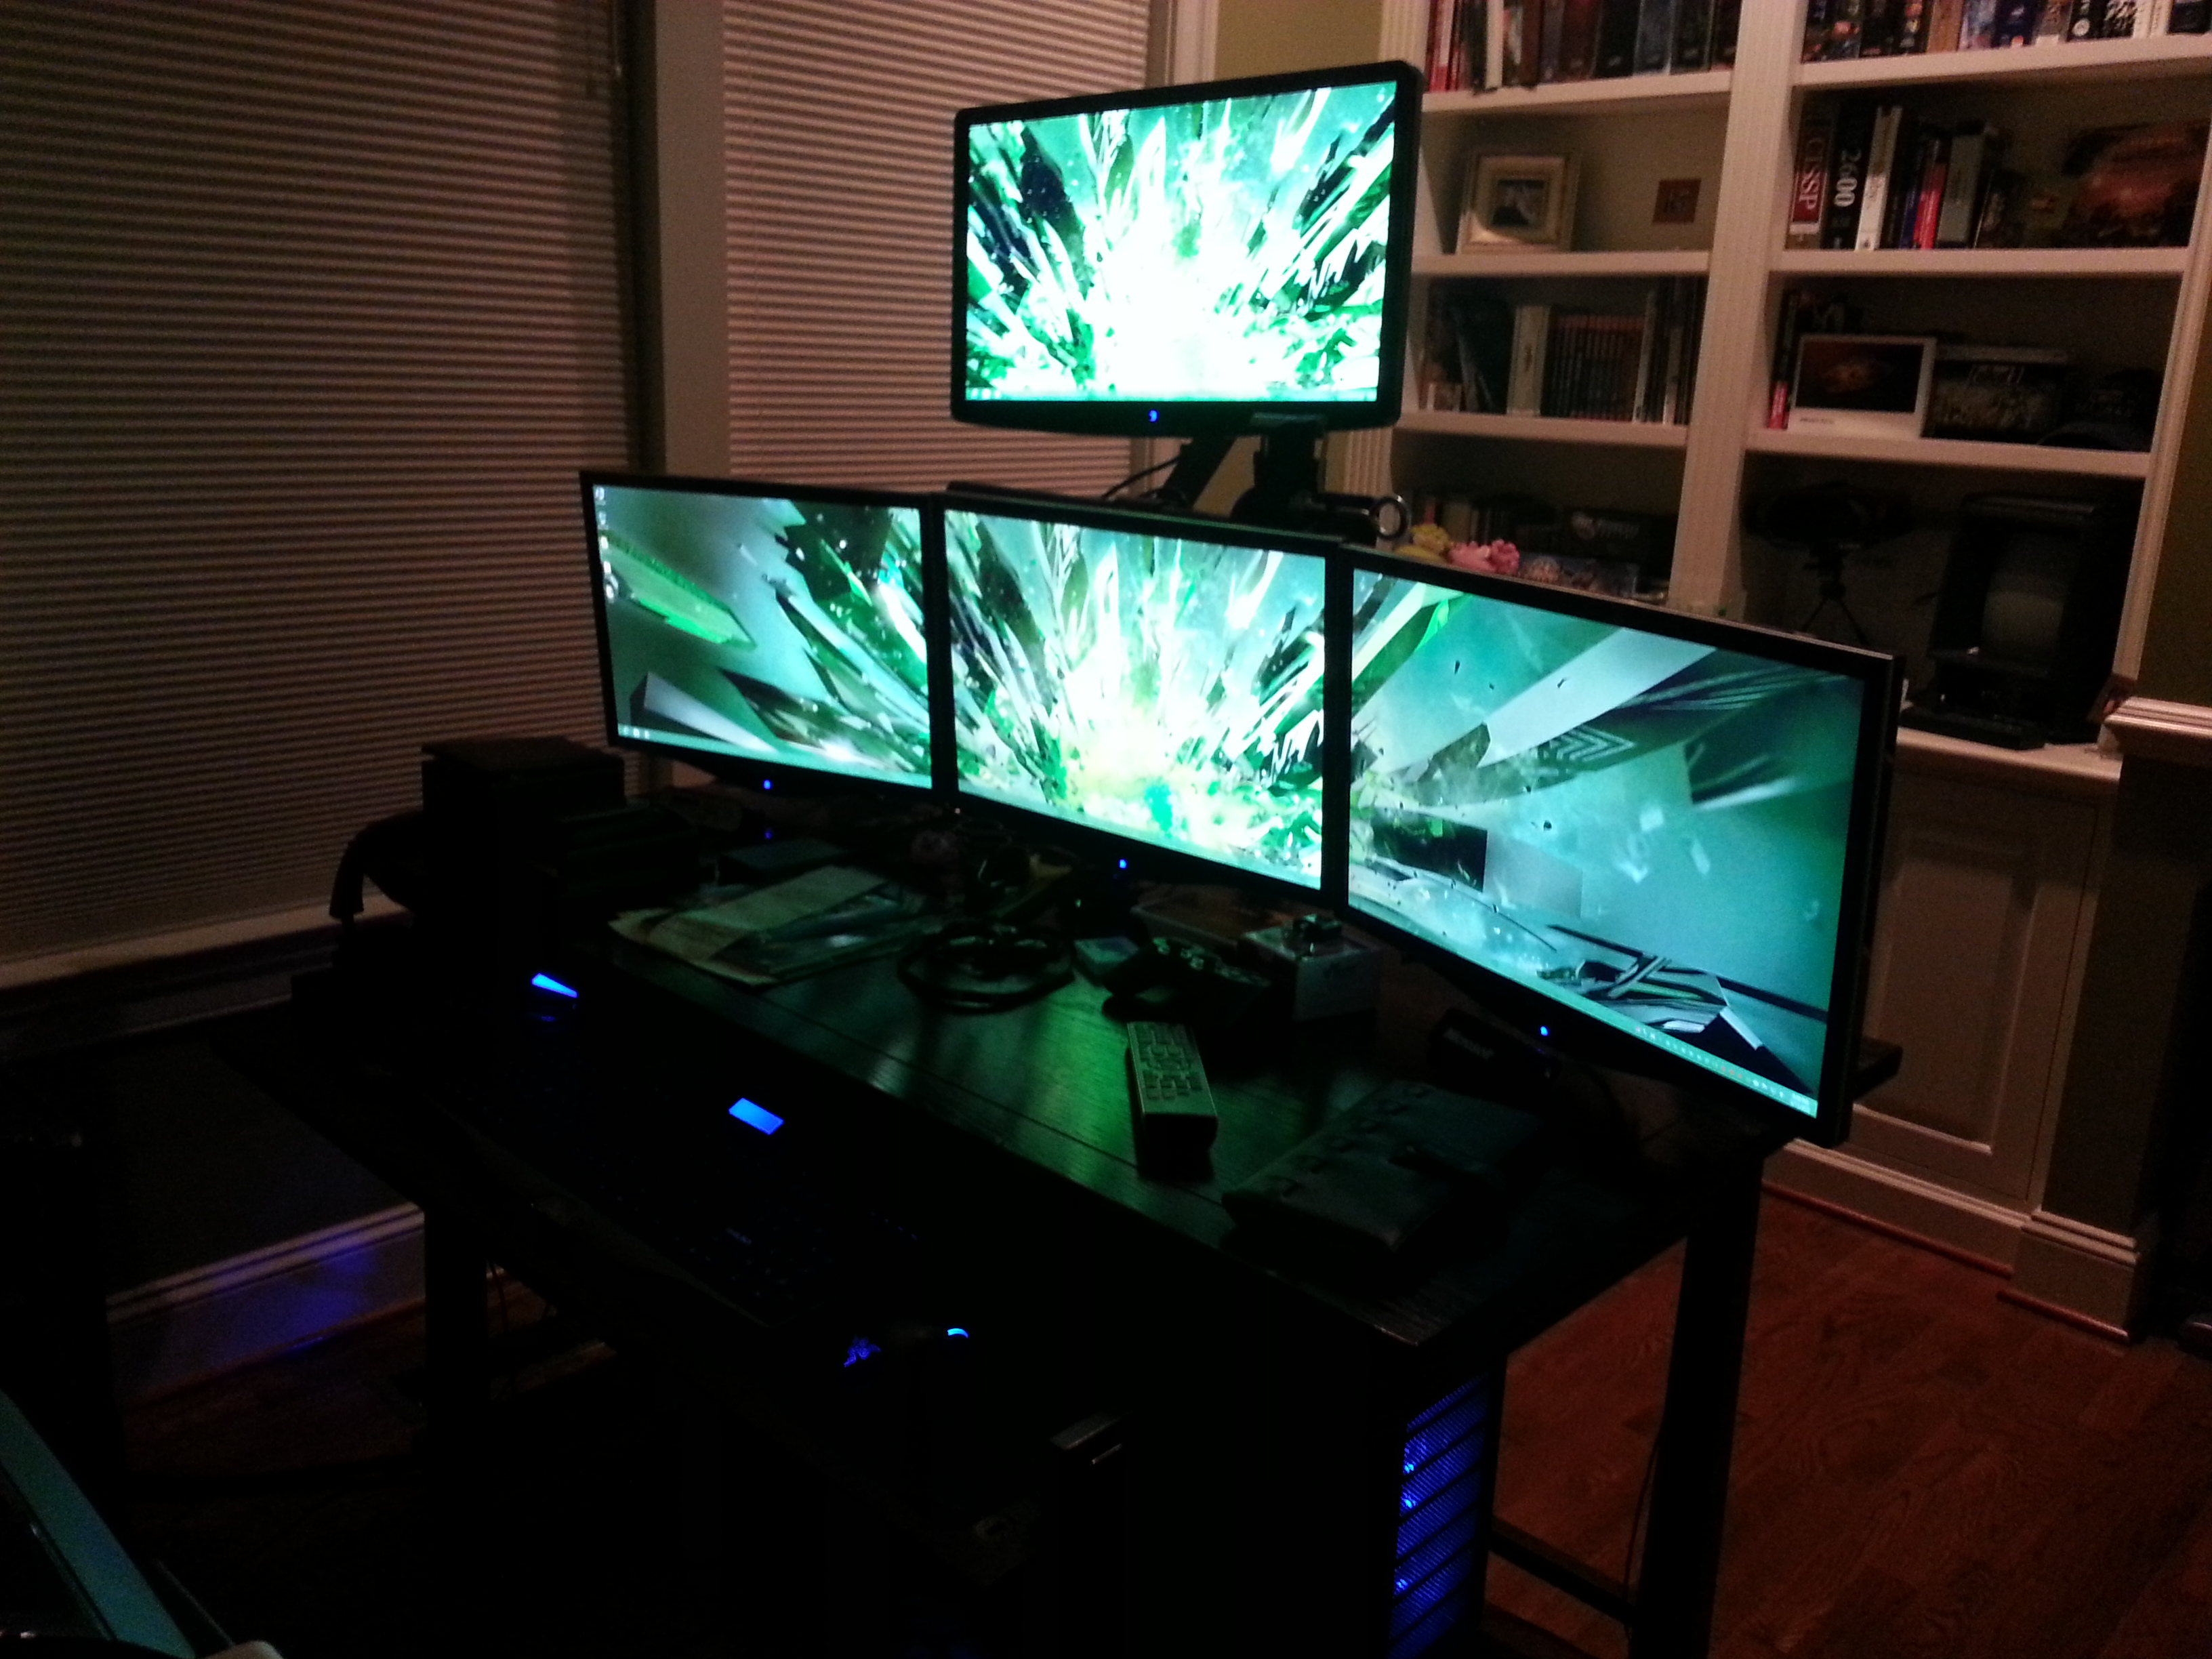
And with that the setup is complete! Here is a picture of the final product:
And here is a shot running GPU-Z render test full screen with the browser up on the accessory:

As always thanks for reading and hopefully anyone considering the insane scenario of daisy chaining SIIG arms will find this useful!
