The VMware NGC client is definitely super convenient being entirely browser based, but the legacy client undoubtedly had its charms. Chief among those charms is the ability to manage an actual ESXi host rather than just a vCenter instance. Except on a Mac where it doesn’t work at all. Admittedly this isn’t a huge issue for production where vCenter will be highly available and the admin console is unlikely to be a Mac, but in a home lab, it becomes a huge issue. The solution? Enter WineBottler!
For those not familiar, WINE is a recursive acronym that stands for “WINE is not Emulation”. It dates back to the early days of Linux (1993) and the idea is to provide a containerized Windows OS/API experience on *NIX systems. In a very real way WINE is one of the earliest runs at application virtualization. It’s an extremely nifty idea but, as with all cross-platform “unofficial” app virtualization technologies, it is not 100% effective. The VIM client falls into the edge cases that require some tweaking to get to work. The good news, though, is that it can be done:
OK, with the proof of life out of the way, let’s walk through exactly what it takes to get this thing working step-by-step. Note that it will not work straight out of the box. It will fail and need to be remediated.
Step 1: Download and install WineBottler. This article is based on the (at time of publication) current stable release 1.6.1.
Step 2: With WineBottler installed, download the MSXML Framework version 3.0 and copy it into the “Winetricks” folder (/Users/username/.cache/winetricks/msxml3) “Winetricks” are component installs that Wine can inject into the container during packaging (middleware, support packages, etc). VIM requires .NET 3.5 SP1 which WineBottler has standard, but also requires MSXML version 3.0 which it does not. The first pass through packaging will generate an error if this step isn’t completed, but the errors are extremely helpful and will provide both a download link for the missing package and the path to copy it to (so no fear if you miss this step)
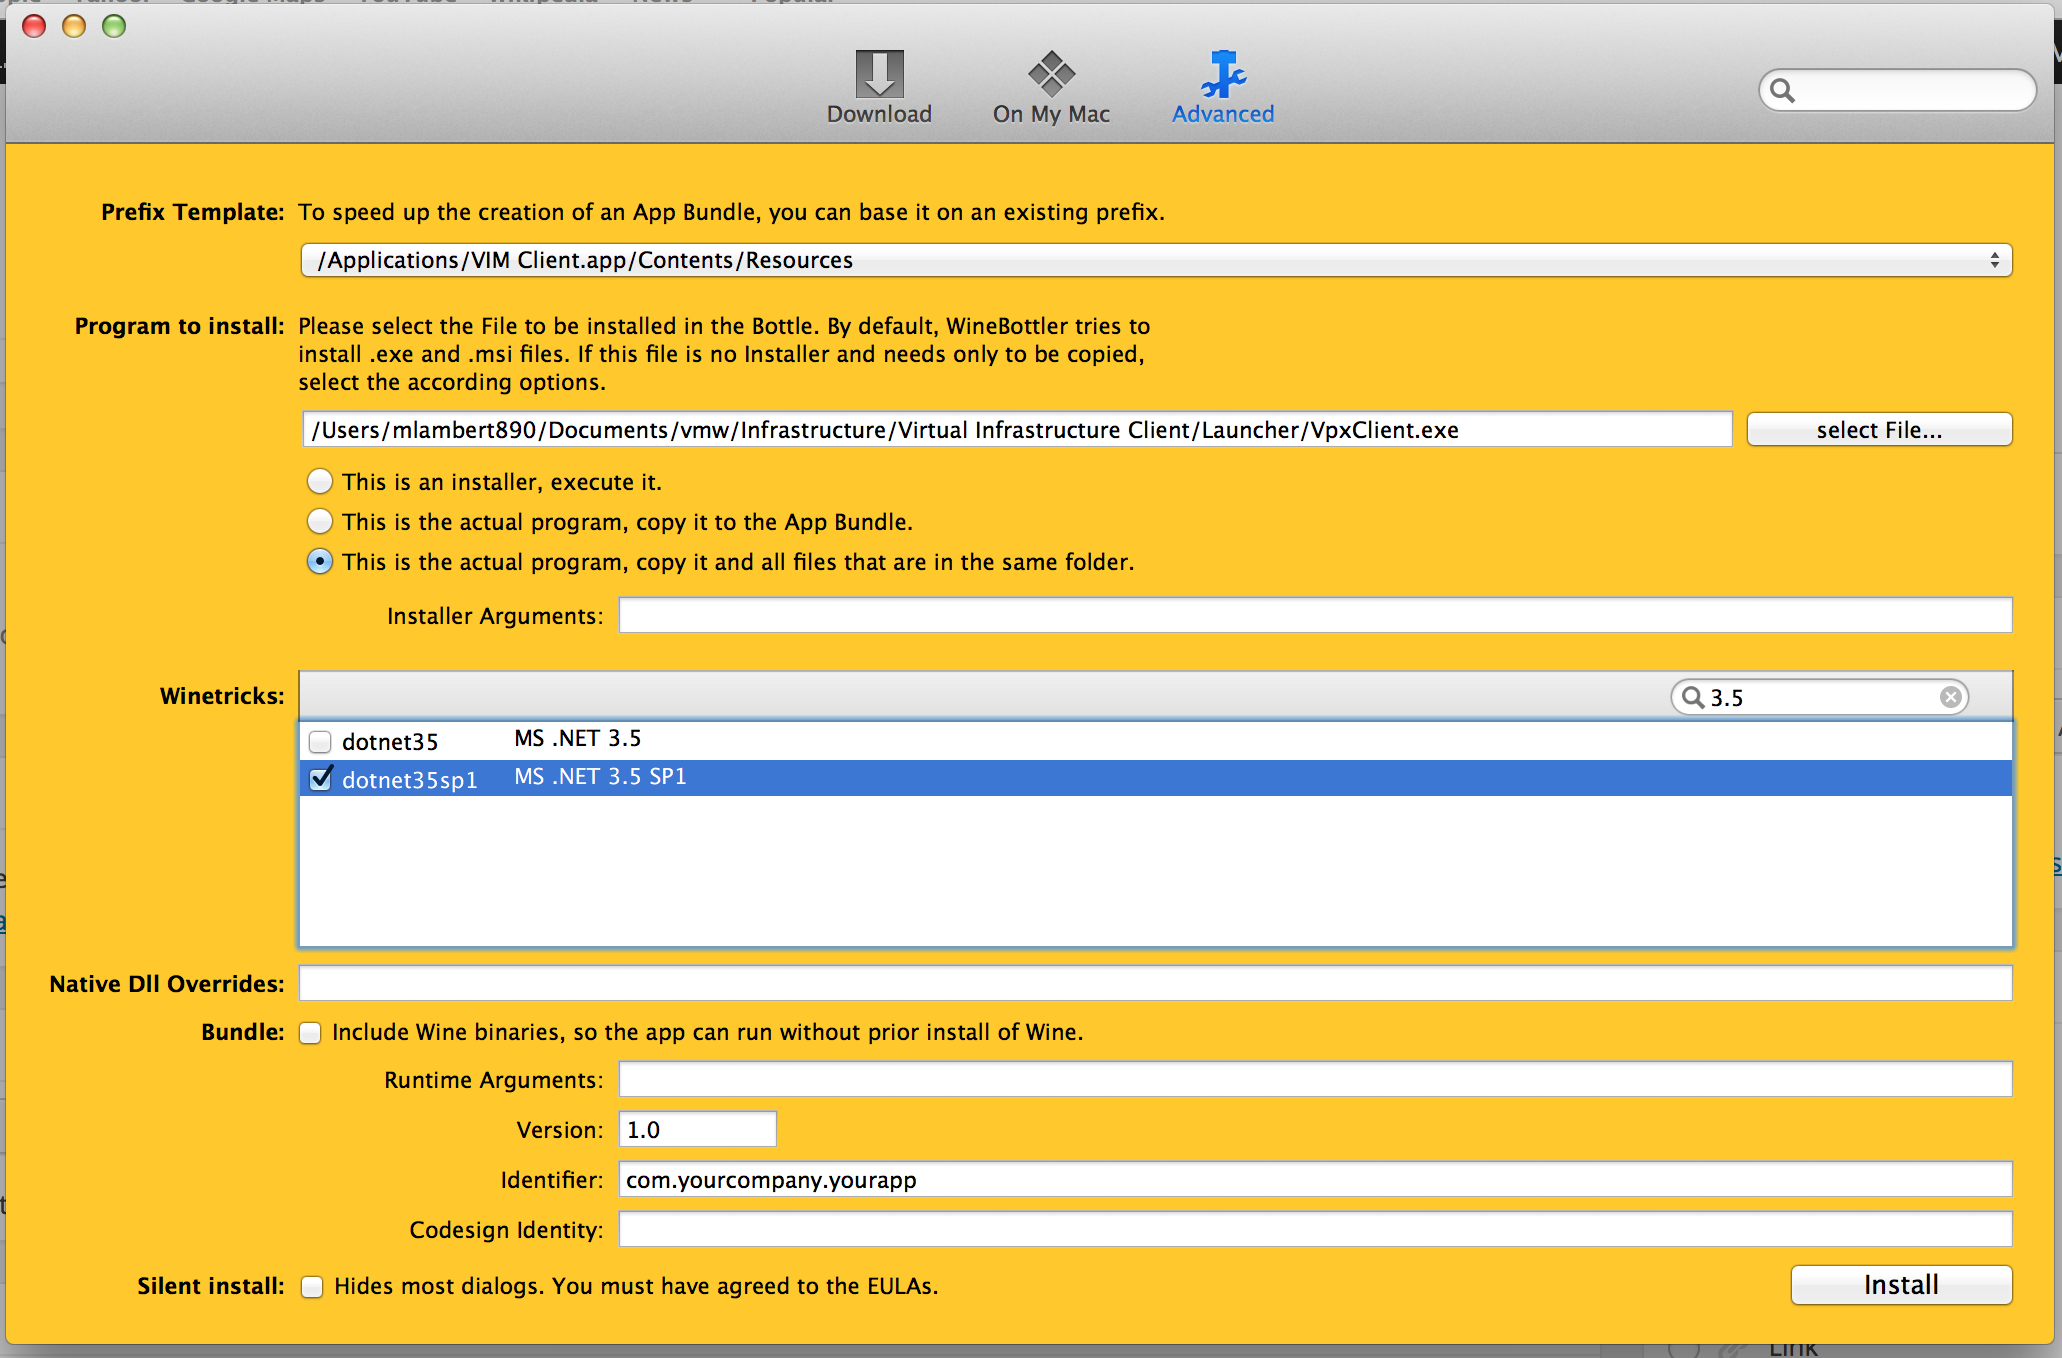
Step 3: We’re now ready to bottle up some WINE! Launch the WineBottler app and click the “Advanced” tab:
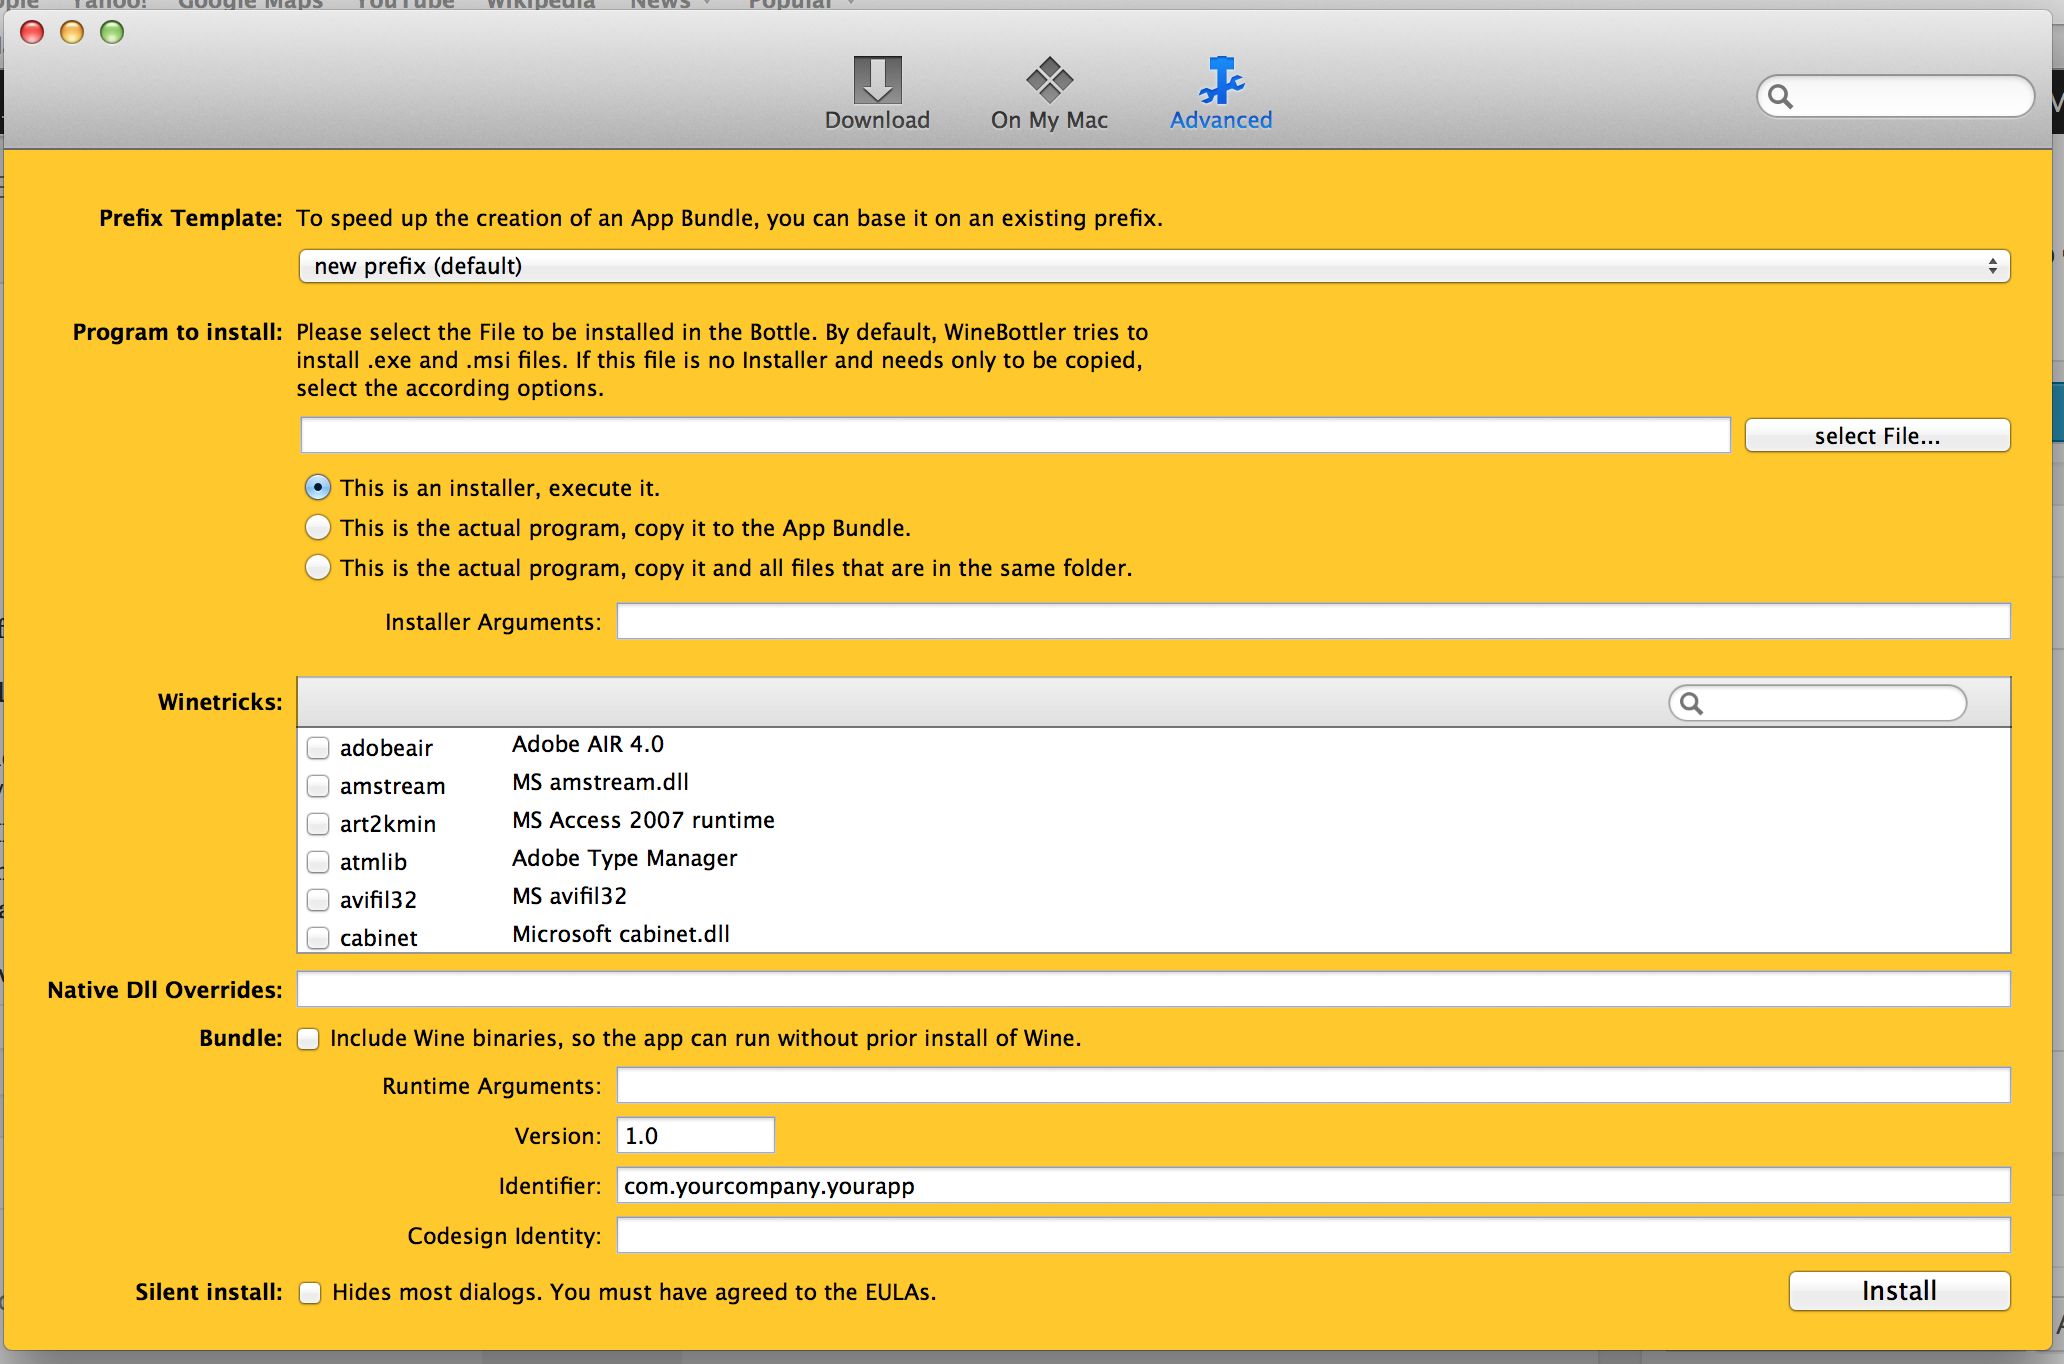
Lots to explain here, so let’s take it one component at a time.
Prefix Template: this option refers to the actual app container (the virtual environment that WINE bottler creates during this sequencing step for the application). This can be either a new container, or based on a previously created one. For now we are creating a new template, but later we will be reusing it.
Program to Install: this is the application we are virtualizing. In our case, at this stage, we want the actual VIM install package (VMware-viclient-all-5.5.0-1281650.exe) which can be downloaded directly from the host at https://esxi-hostname. This is an installer, so we want to select that option. Later on we will be repeating this with the actual app, but for now we are going to use the installer to lay the groundwork.
Winetricks: as discussed, these are optional component installs. Here we want to check “.NET 3.5 SP1”.
Native DLL Overrides: as the name implies, this powerful option gives us the ability to supplement and standard Windows DLL with an out-of-band version we would include here. Huge potential with this one, but we do not need it for our purposes.
Bundle: another powerful option, this gives us the ability to create a stand alone WINE container app. With this option, the OSX app file created could be copied over to another machine and run without having to install WINE.
Runtime Options, Version, Identifier, Codesign Identity: these are our important packaging options. Runtime as implied allows us to tweak settings at time of packaging. None required for our case here. Version is an admin process option that allows you to version your containers. Identifier is extremely important because the container path in the OSX filesystem will be named using the Identifier as a prefix, so use a name that makes sense and make a note of it. I used “com.vmware.vim”. Codesign Identity is also an admin process field allowing for providing validation of the package via unique identifier.
Silent Install: allows you to run silent for most of the install (WINE will “auto-click” through the installers). I left this unchecked.
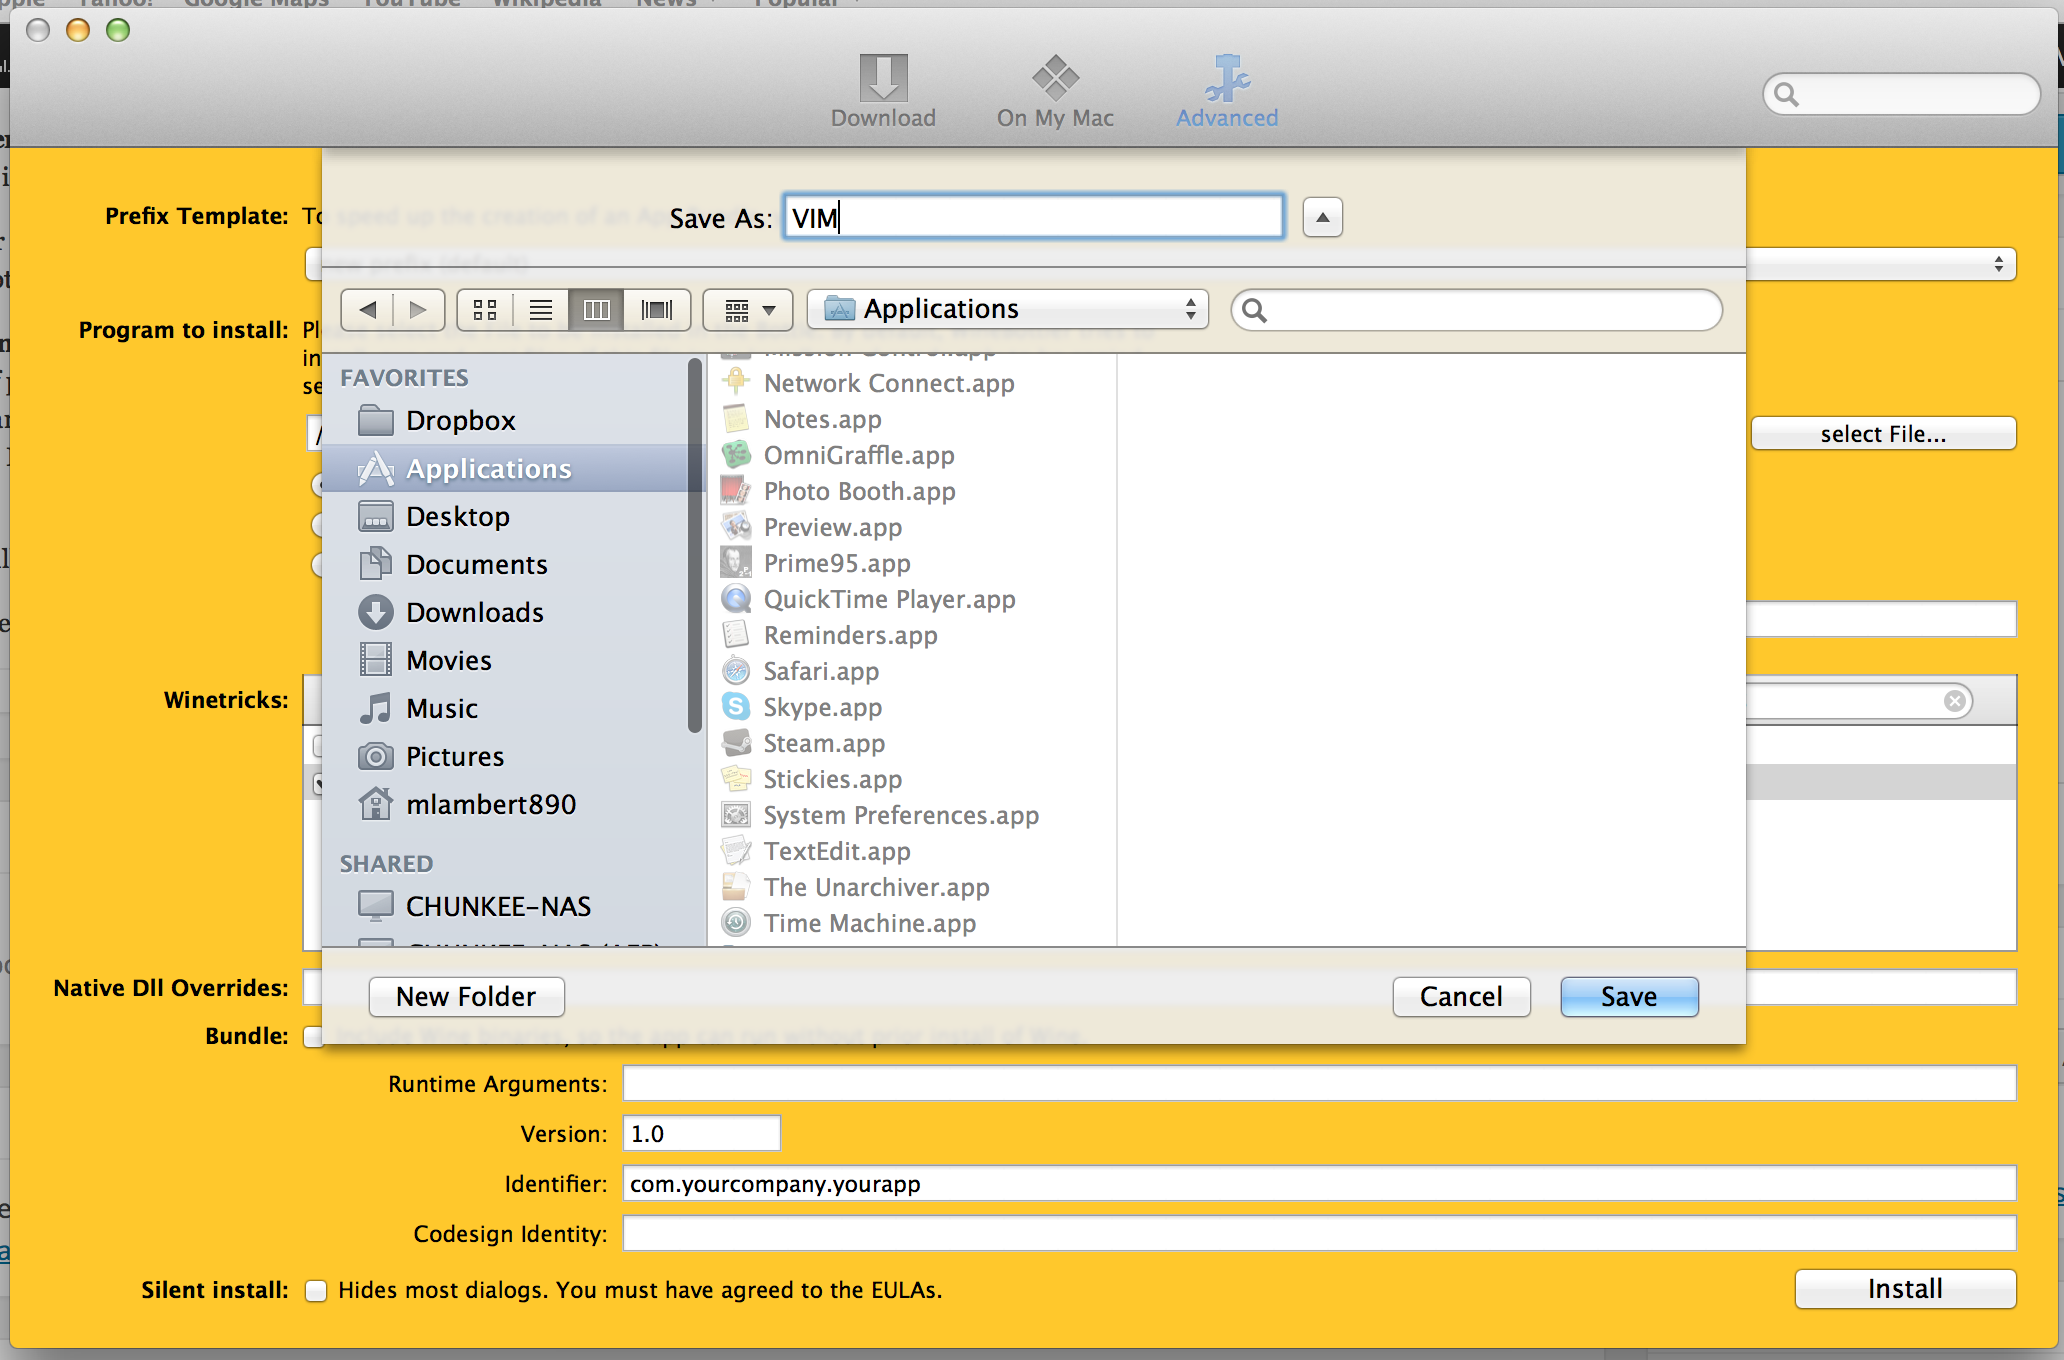
Once you have checked off .NET 3.5 SP1 Winetrick and assigned an Identifier, click “Install”. You will be asked to provide a name and location for the OSX app that will be created by the sequencing process:
Step 4: walk through the install. The install will now kick off in a partially unattended fashion, so watch for the dialogue prompts. If the overall sequencer Install progress bar stalls, there is a good chance a minimized Windows installer is waiting for input:

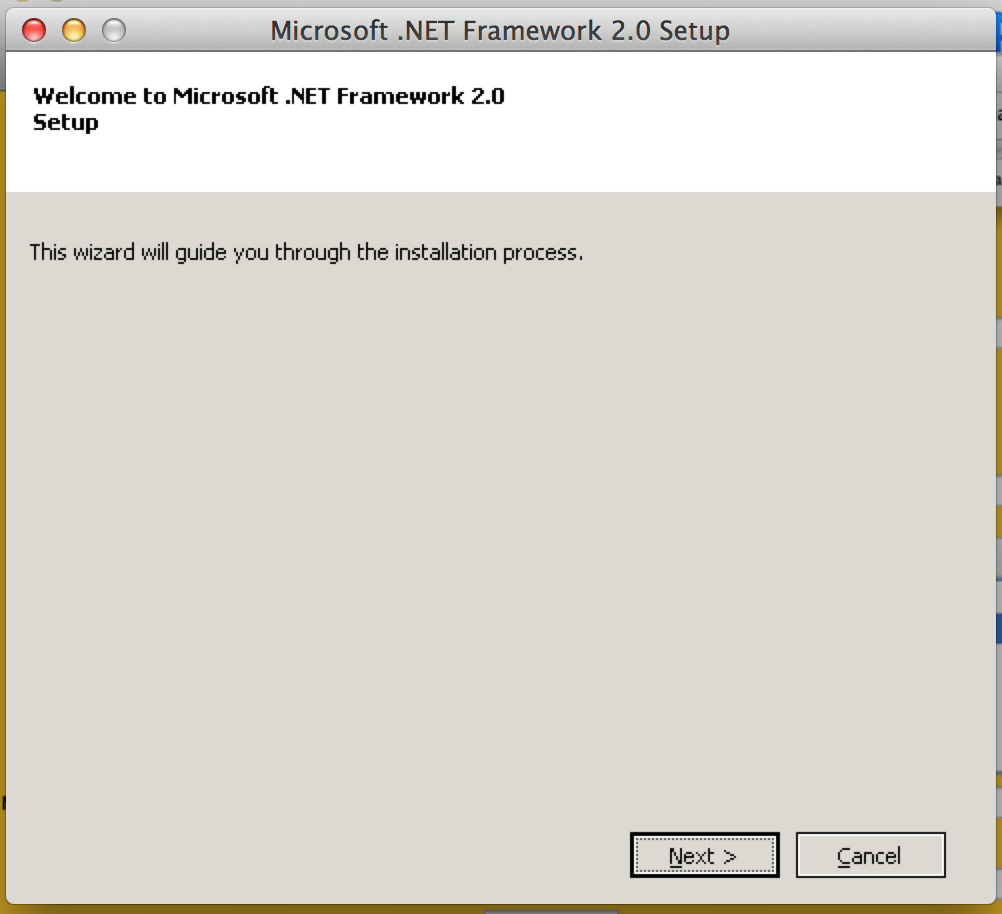
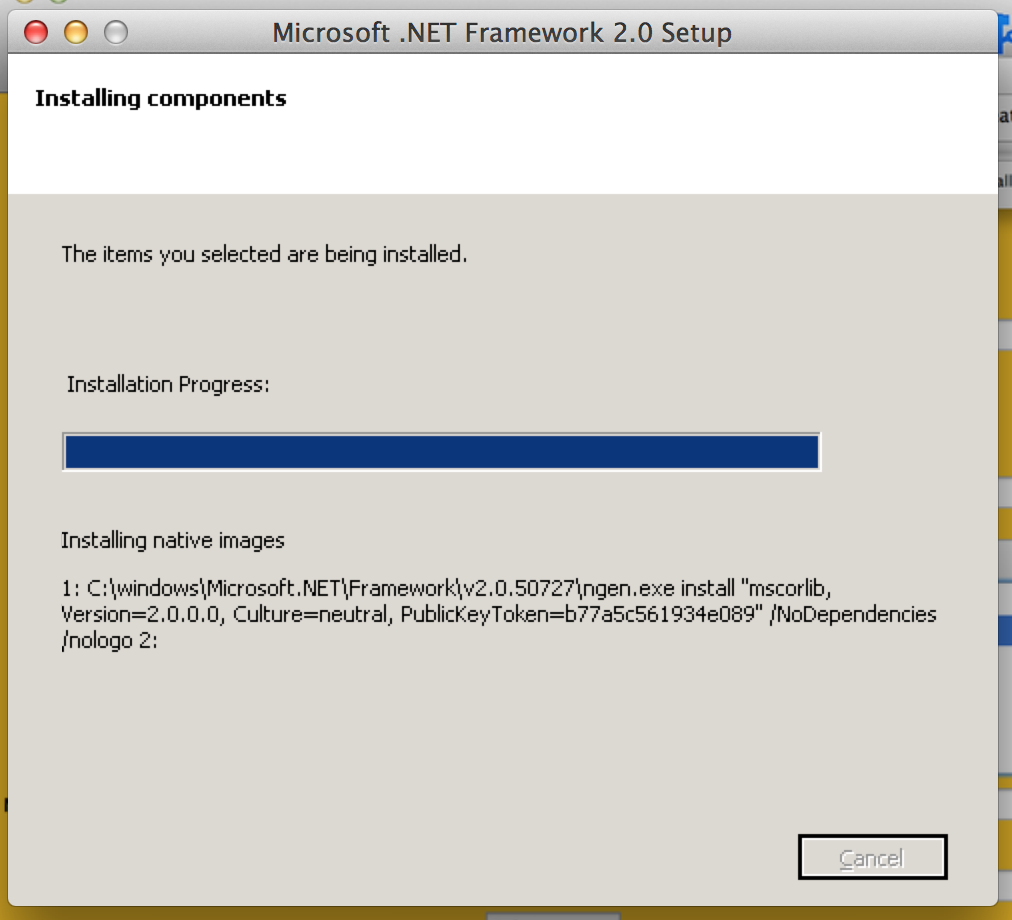
The Windows installer bits will look familiar and will be the base versions of .NET that WINE wants, the .NET 3.5 SP1 option that we selected, and the MSXML 3.0 package that is required. The process will kickoff with .NET 2.0:
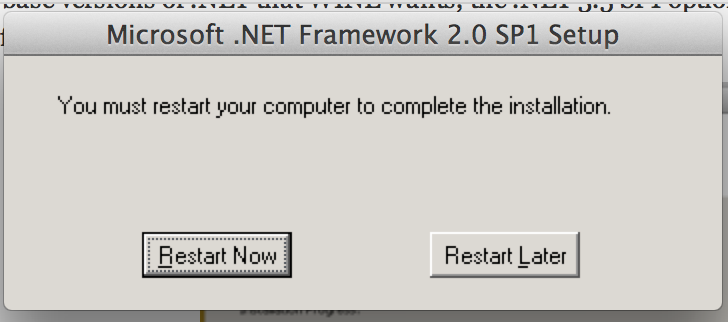
You’ll have to click “Finish” as each step completes and at times (during .NET 3.0), the installer will go silent or will act strangely (flashing focus on and off as it rapidly cycles through dialogues unattended). At times you may need to pull focus back to keep things moving. Once the .NET 2.0 setup is done, you will get a Windows “restart” prompt. Weird I know, but definitely perform this step:
During the XPS Essentials pack installation (part of base WINE package) you will also be prompted about component registration. Go ahead and register:

The XML Parser component install (part of base WINE package) will require user registration. Go ahead and complete it:

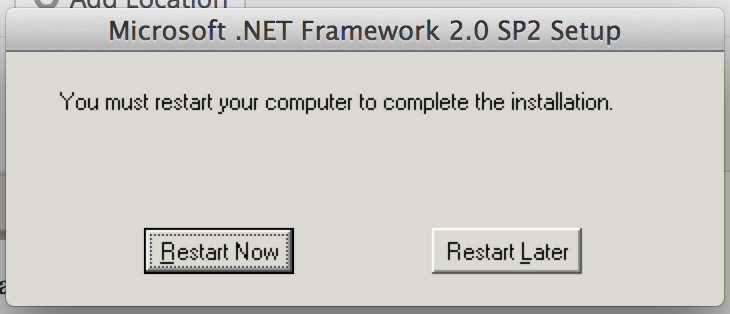
.NET 2.0 SP2 will require another restart. Go ahead and do that:
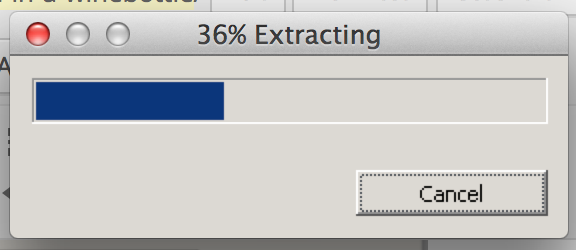
With all of the pre-requisites finally out of the way, the core VIM install will finally extract and kickoff:
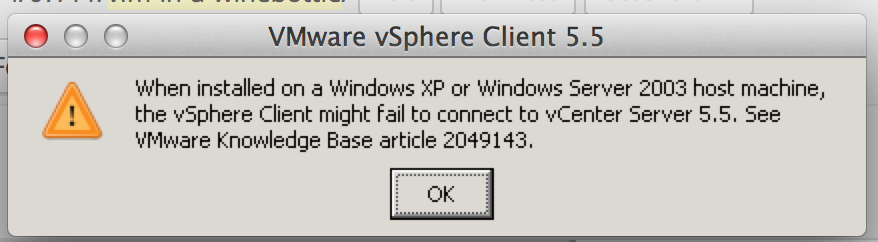
You will see the VIM Installer warning about XP. You can ignore this. I was able to connect to vCenter without issue:
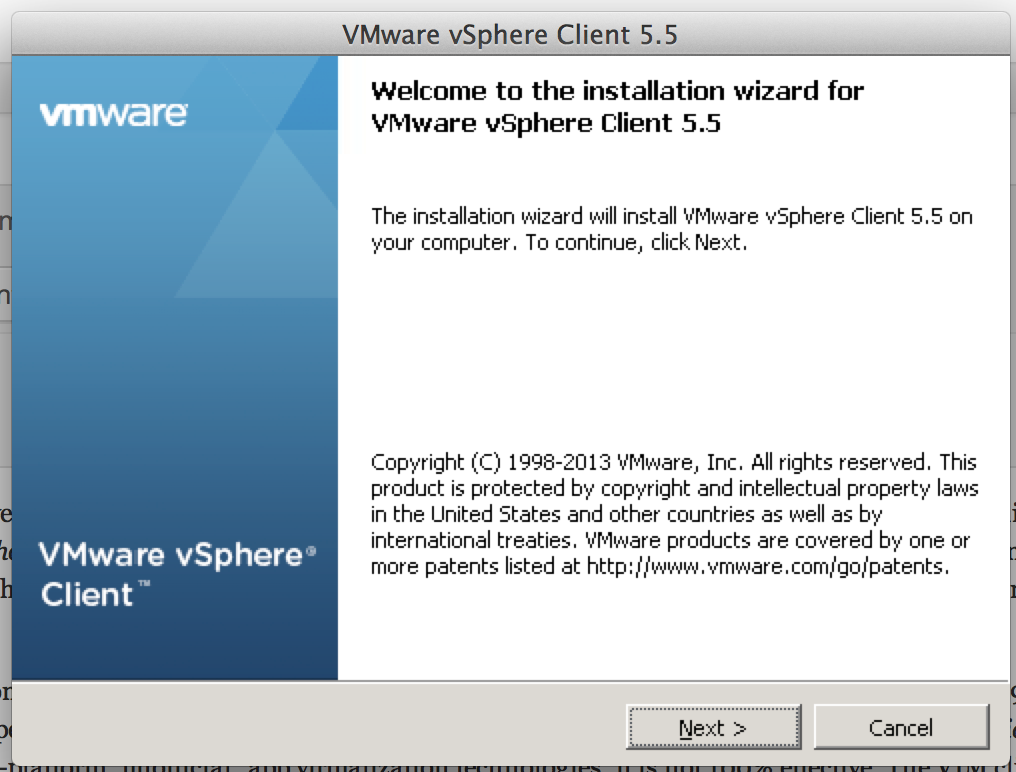
The install will now look and feel normal for a bit:
Until… dum dum duuuuuuuum. This happens:

HCMON is the USB driver for the VMRC remote console (a super awesome VMware feature). Long story short, for whatever reason, it doesn’t work in WINE. Have no fear though, this entry is all about getting this working (minus the console capability, sorry!). Do not OK this dialogue box. Pause here.
Step 5: once we acknowledge that dialogue, the installer will rollback and delete the installation which is currently being held in temp storage by WineBottler. We want to grab that before this happens and put it somewhere safe. So before clicking OK, go over to /tmp/winebottler_1405091227/nospace/wineprefix/drive_c/Program Files/VMware. Copy the entire “Infrastructure” folder and paste it somewhere safe, then rename it:
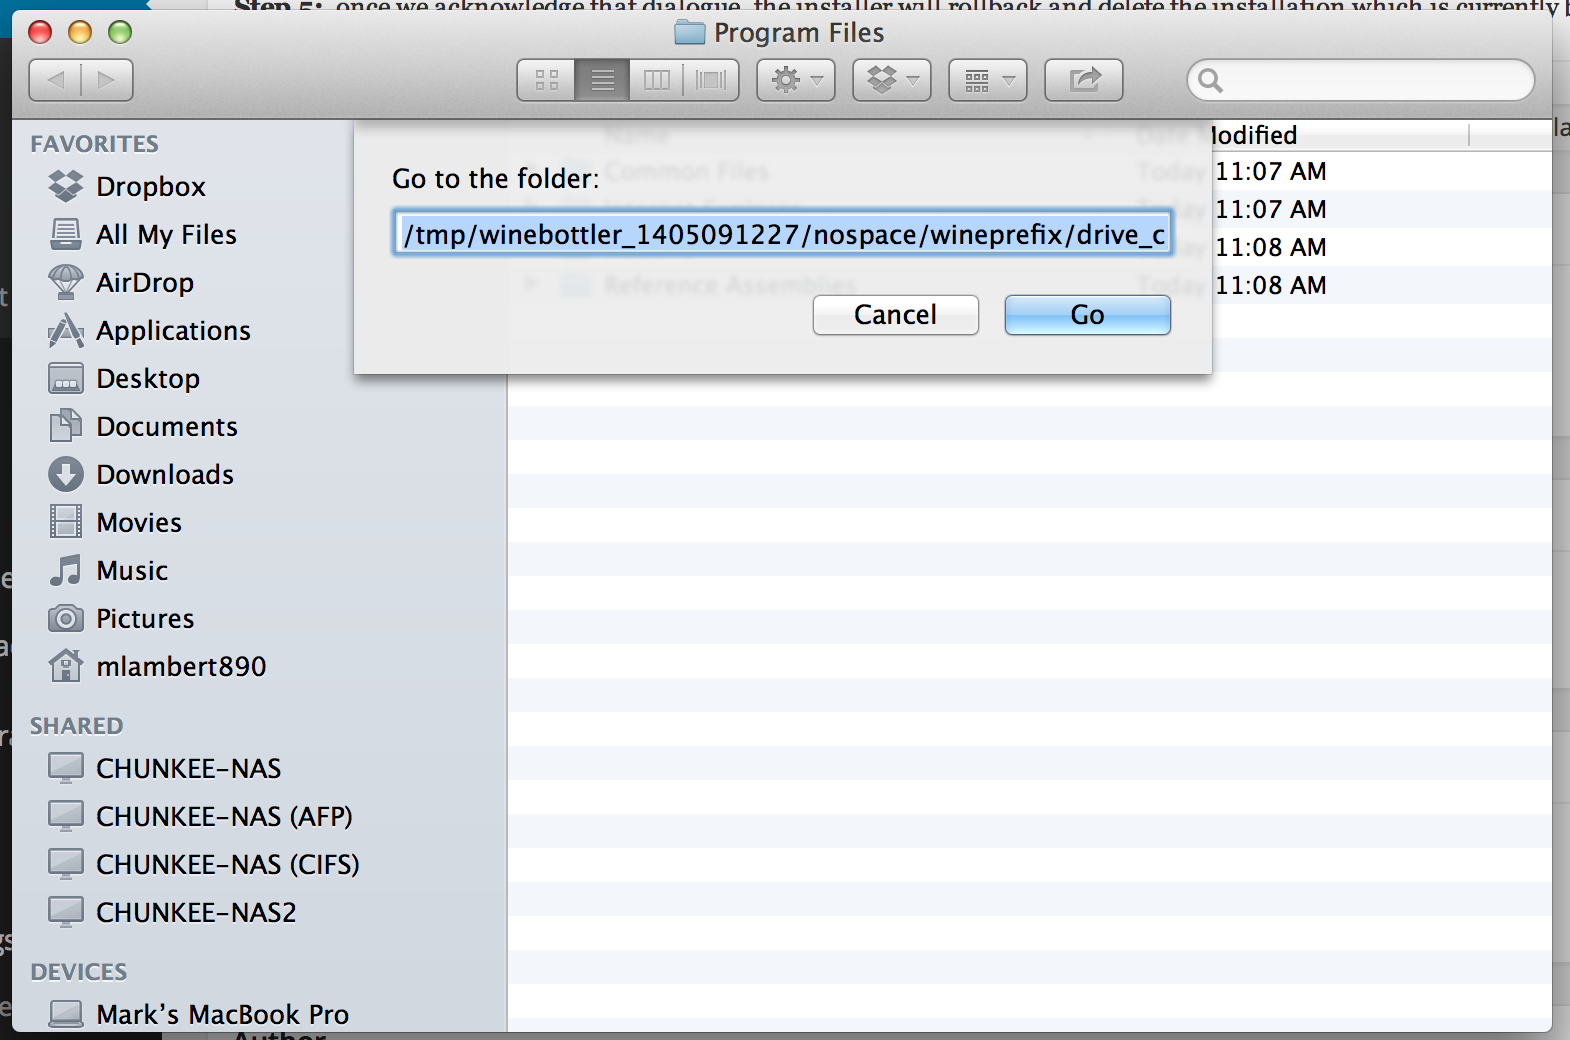
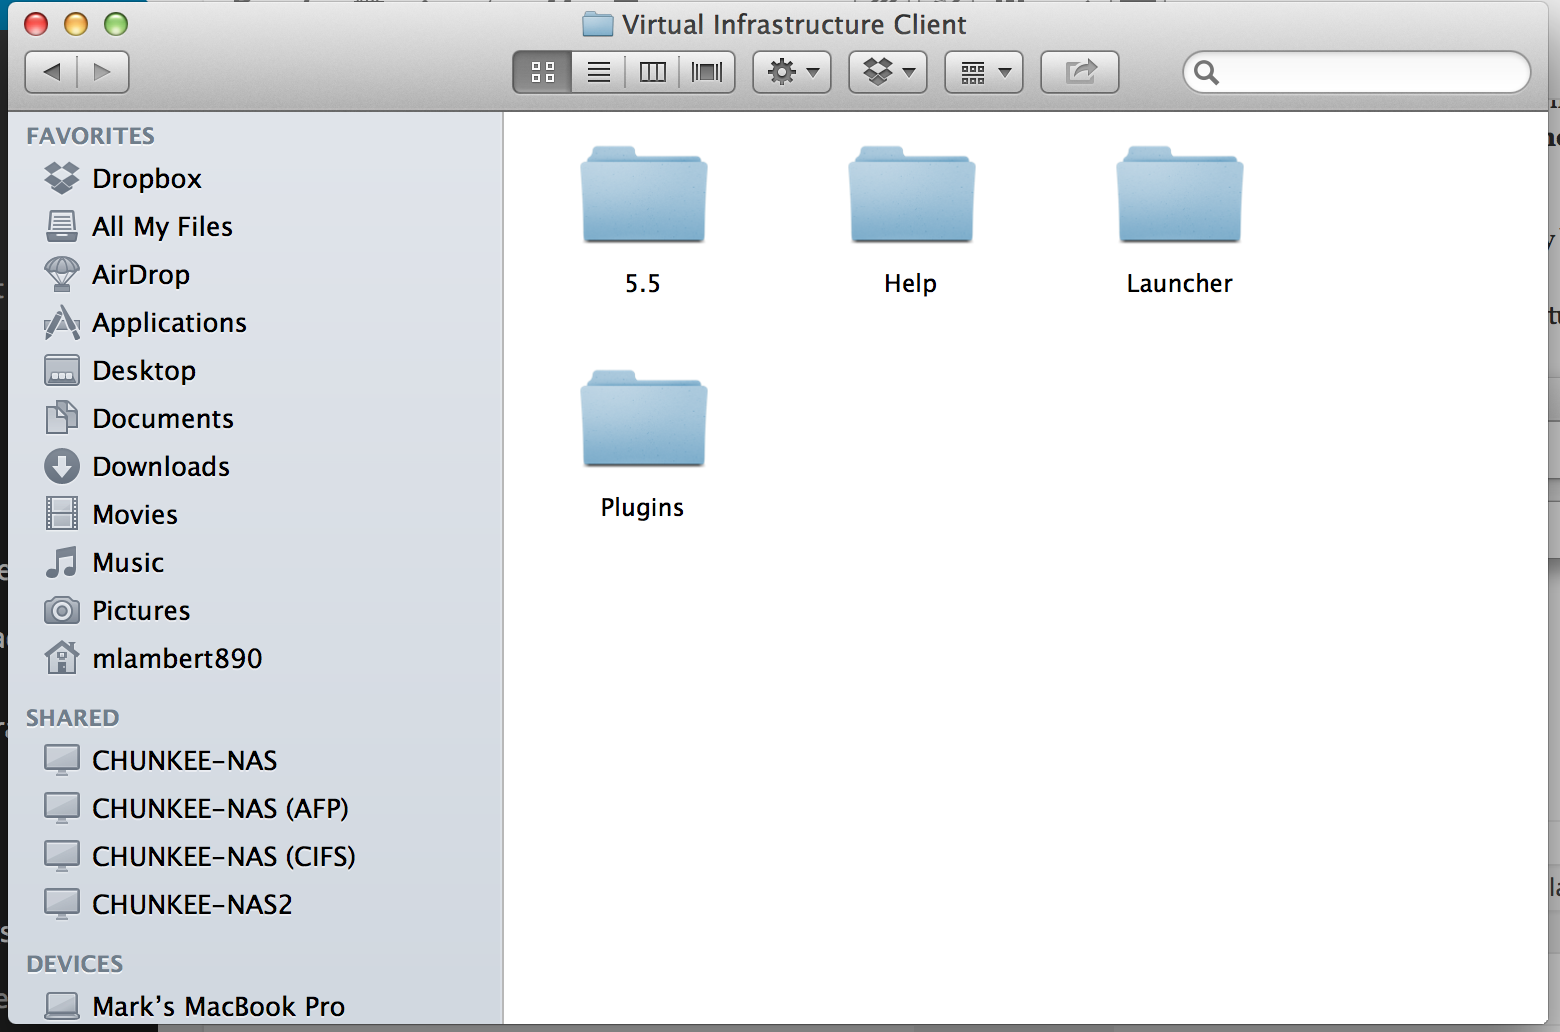
I dropped it into my Documents folder and renamed it “VMW”. What we are looking for is to make sure that “Infrastructure/Virtual Infrastructure Client” is fully populated:
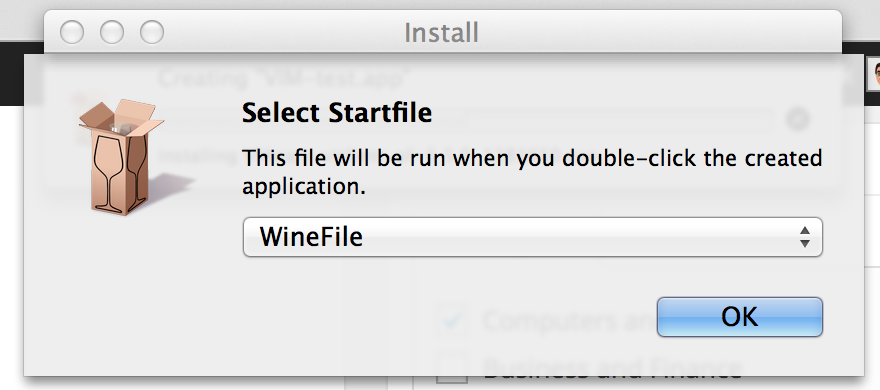
We can now click “OK” to the HCMON error and allow the installer to rollback and WineBottler to complete. It will look for us to select a Startfile. There is no good option here since our installer actually didn’t finish correctly (WineBottler doesn’t actually know this). It doesn’t matter what we select as we just want to get a completed install, so go ahead and select “WineFile”:
This dialogue will complete this step:
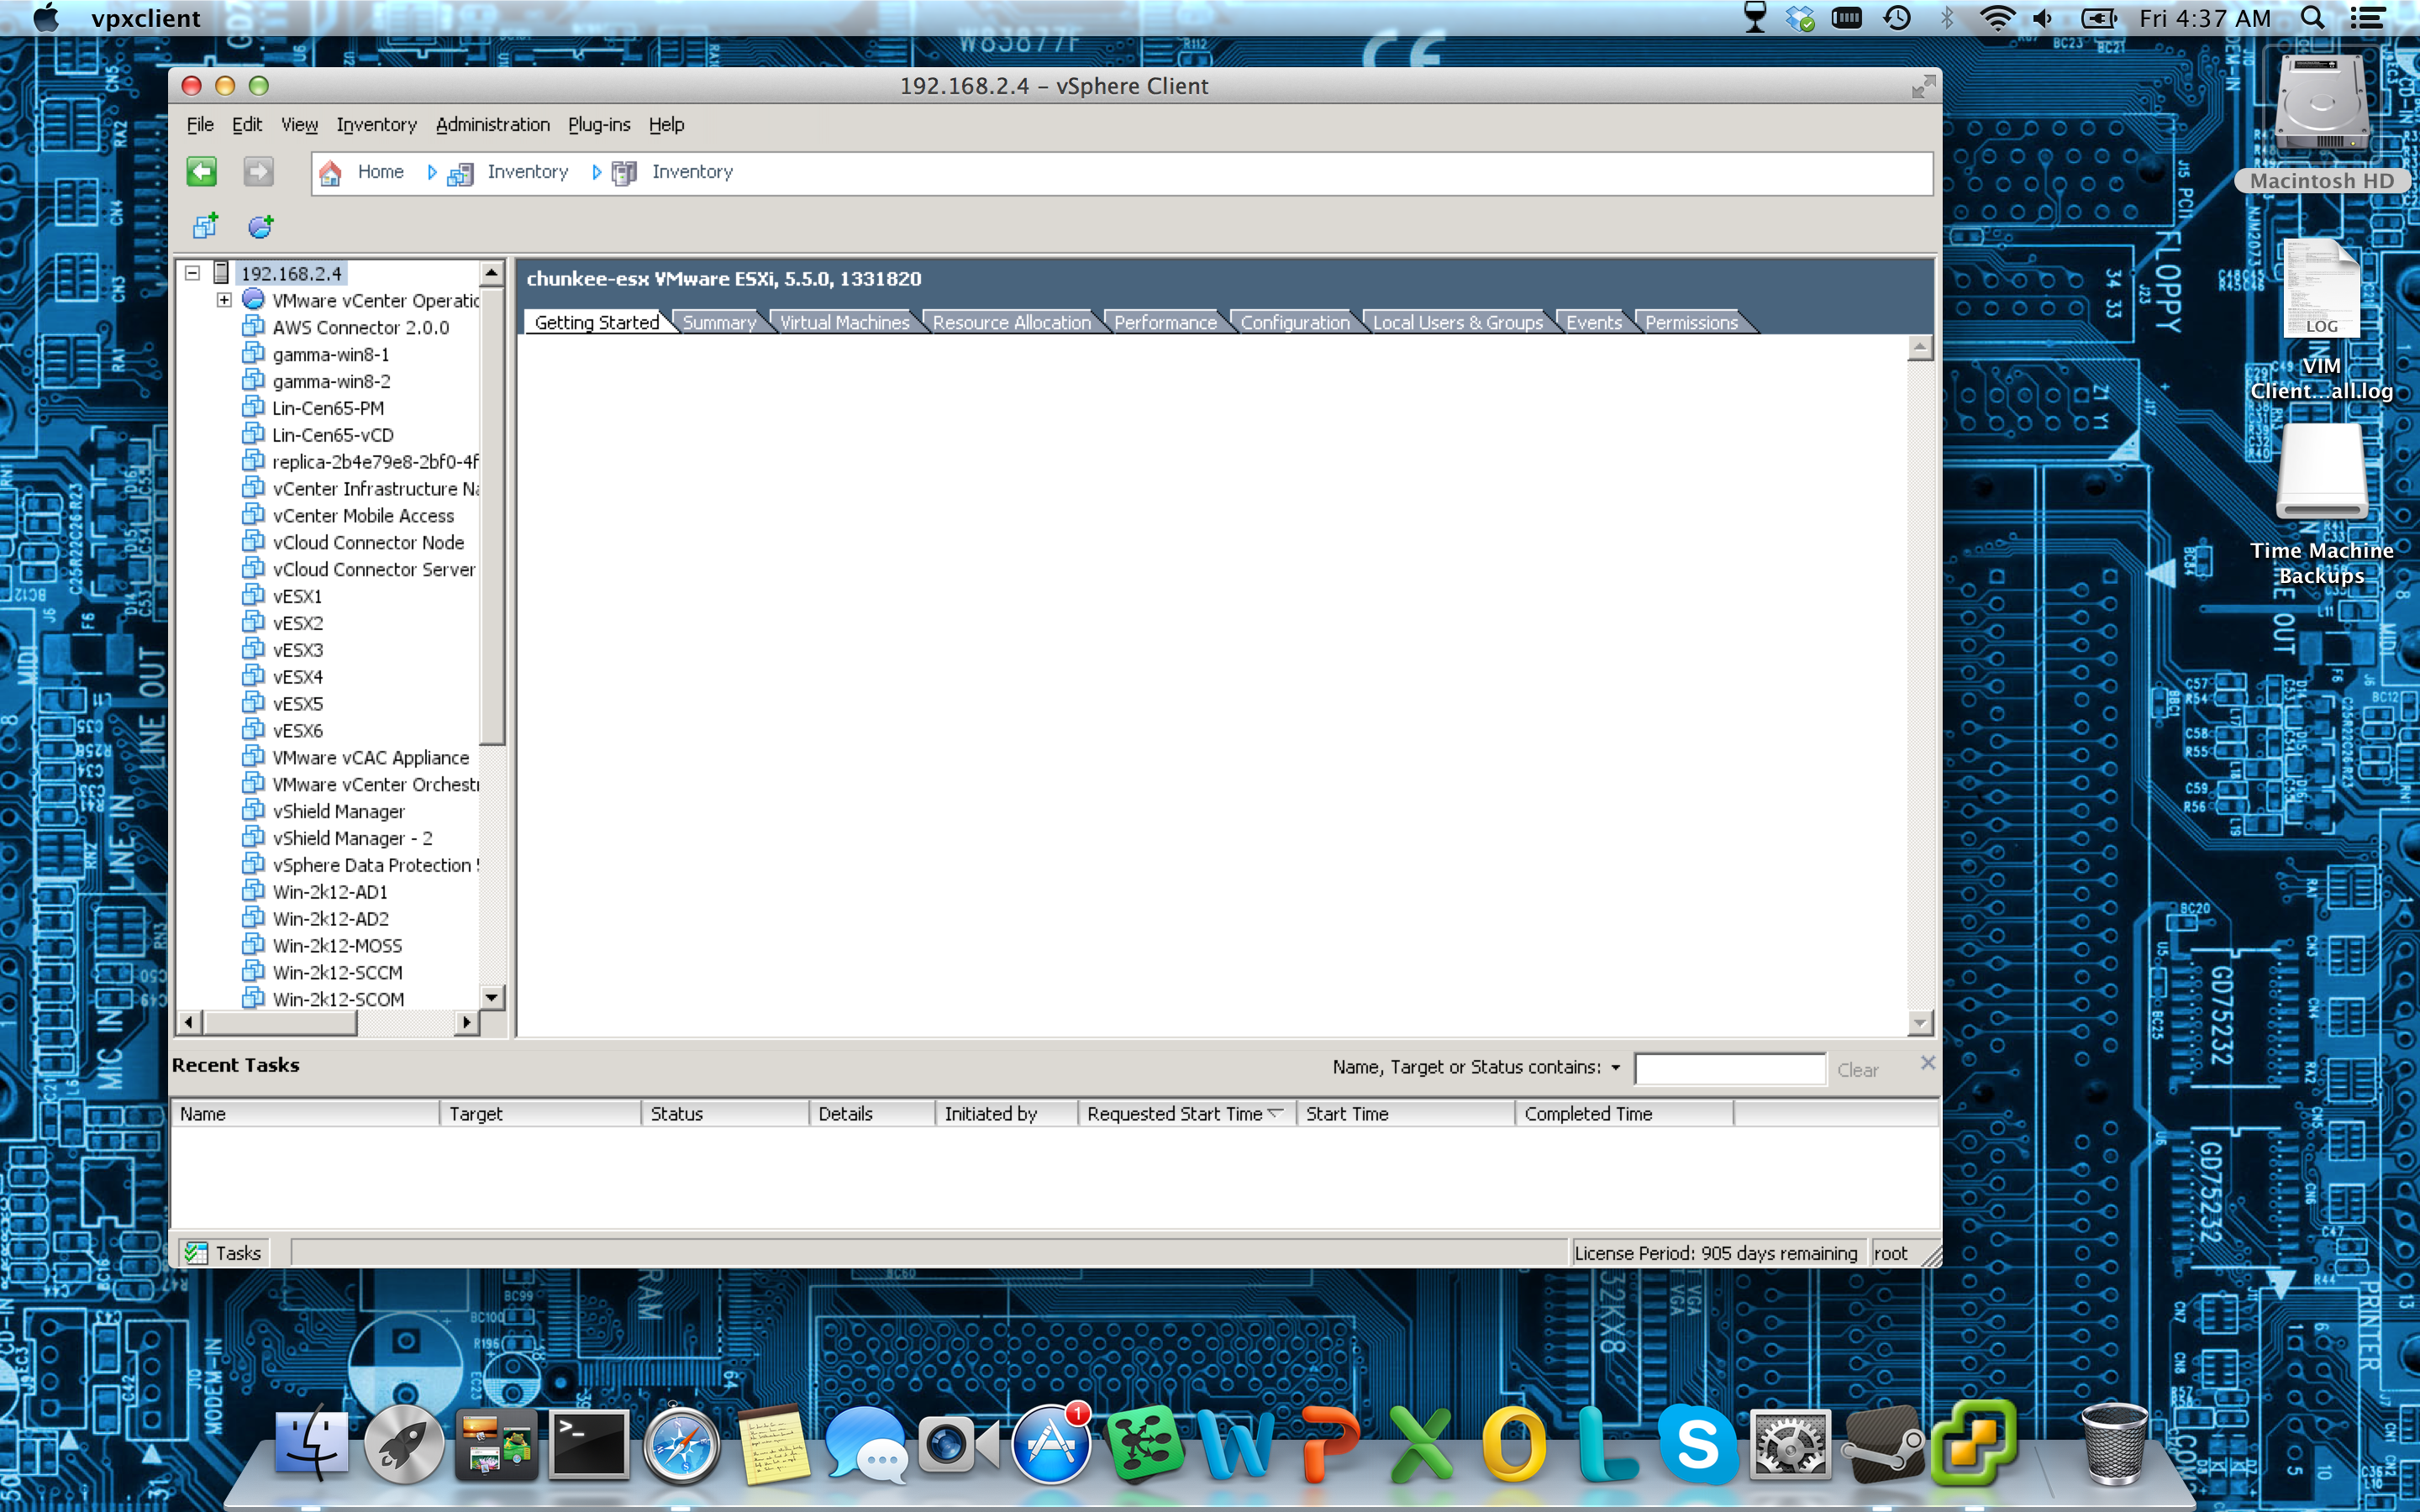
Step 6: At this stage, we do not have a working install. What we do have is a usable template on which we can build a working install. First go ahead and launch the app (the shortcut will be where the container was saved in step 4). Nothing will happen since there is no app, but the environment will be prepared. This is the important piece. The next step is to go back into WineBottler, and run a new sequencing, but with the options slightly changed:
Note, we are now selecting the newly created environment as the template (/Applications/VIM Client.app/Content/Resources in my case). For our “Program to Install”, we are now selecting: /path to saved client files/Infrastructure/Virtual Infrastructure Client/Launcher/VpxClient.exe and we are letting WineBottler know that this is the actual program and that it should copy the entire folder contents to the container. We can now go ahead and click Install (it will be quicker this time). At the end of this install, be sure to select VpxClient.EXE as the “startup program” before completing.
Step 7: unfortunately, we’re not done yet! The last step is the do some manually copying since the container will still not be prepared quite right. Once again, copy the “Infrastructure” hierarchy. Head over to /Users/username/Library/Application Support/ and find your WinBottler container folder (com.vmware.vim_UUID in my case). Navigate to drive_c/Program Files/VMware and paste Infrastructure over the existing file structure.
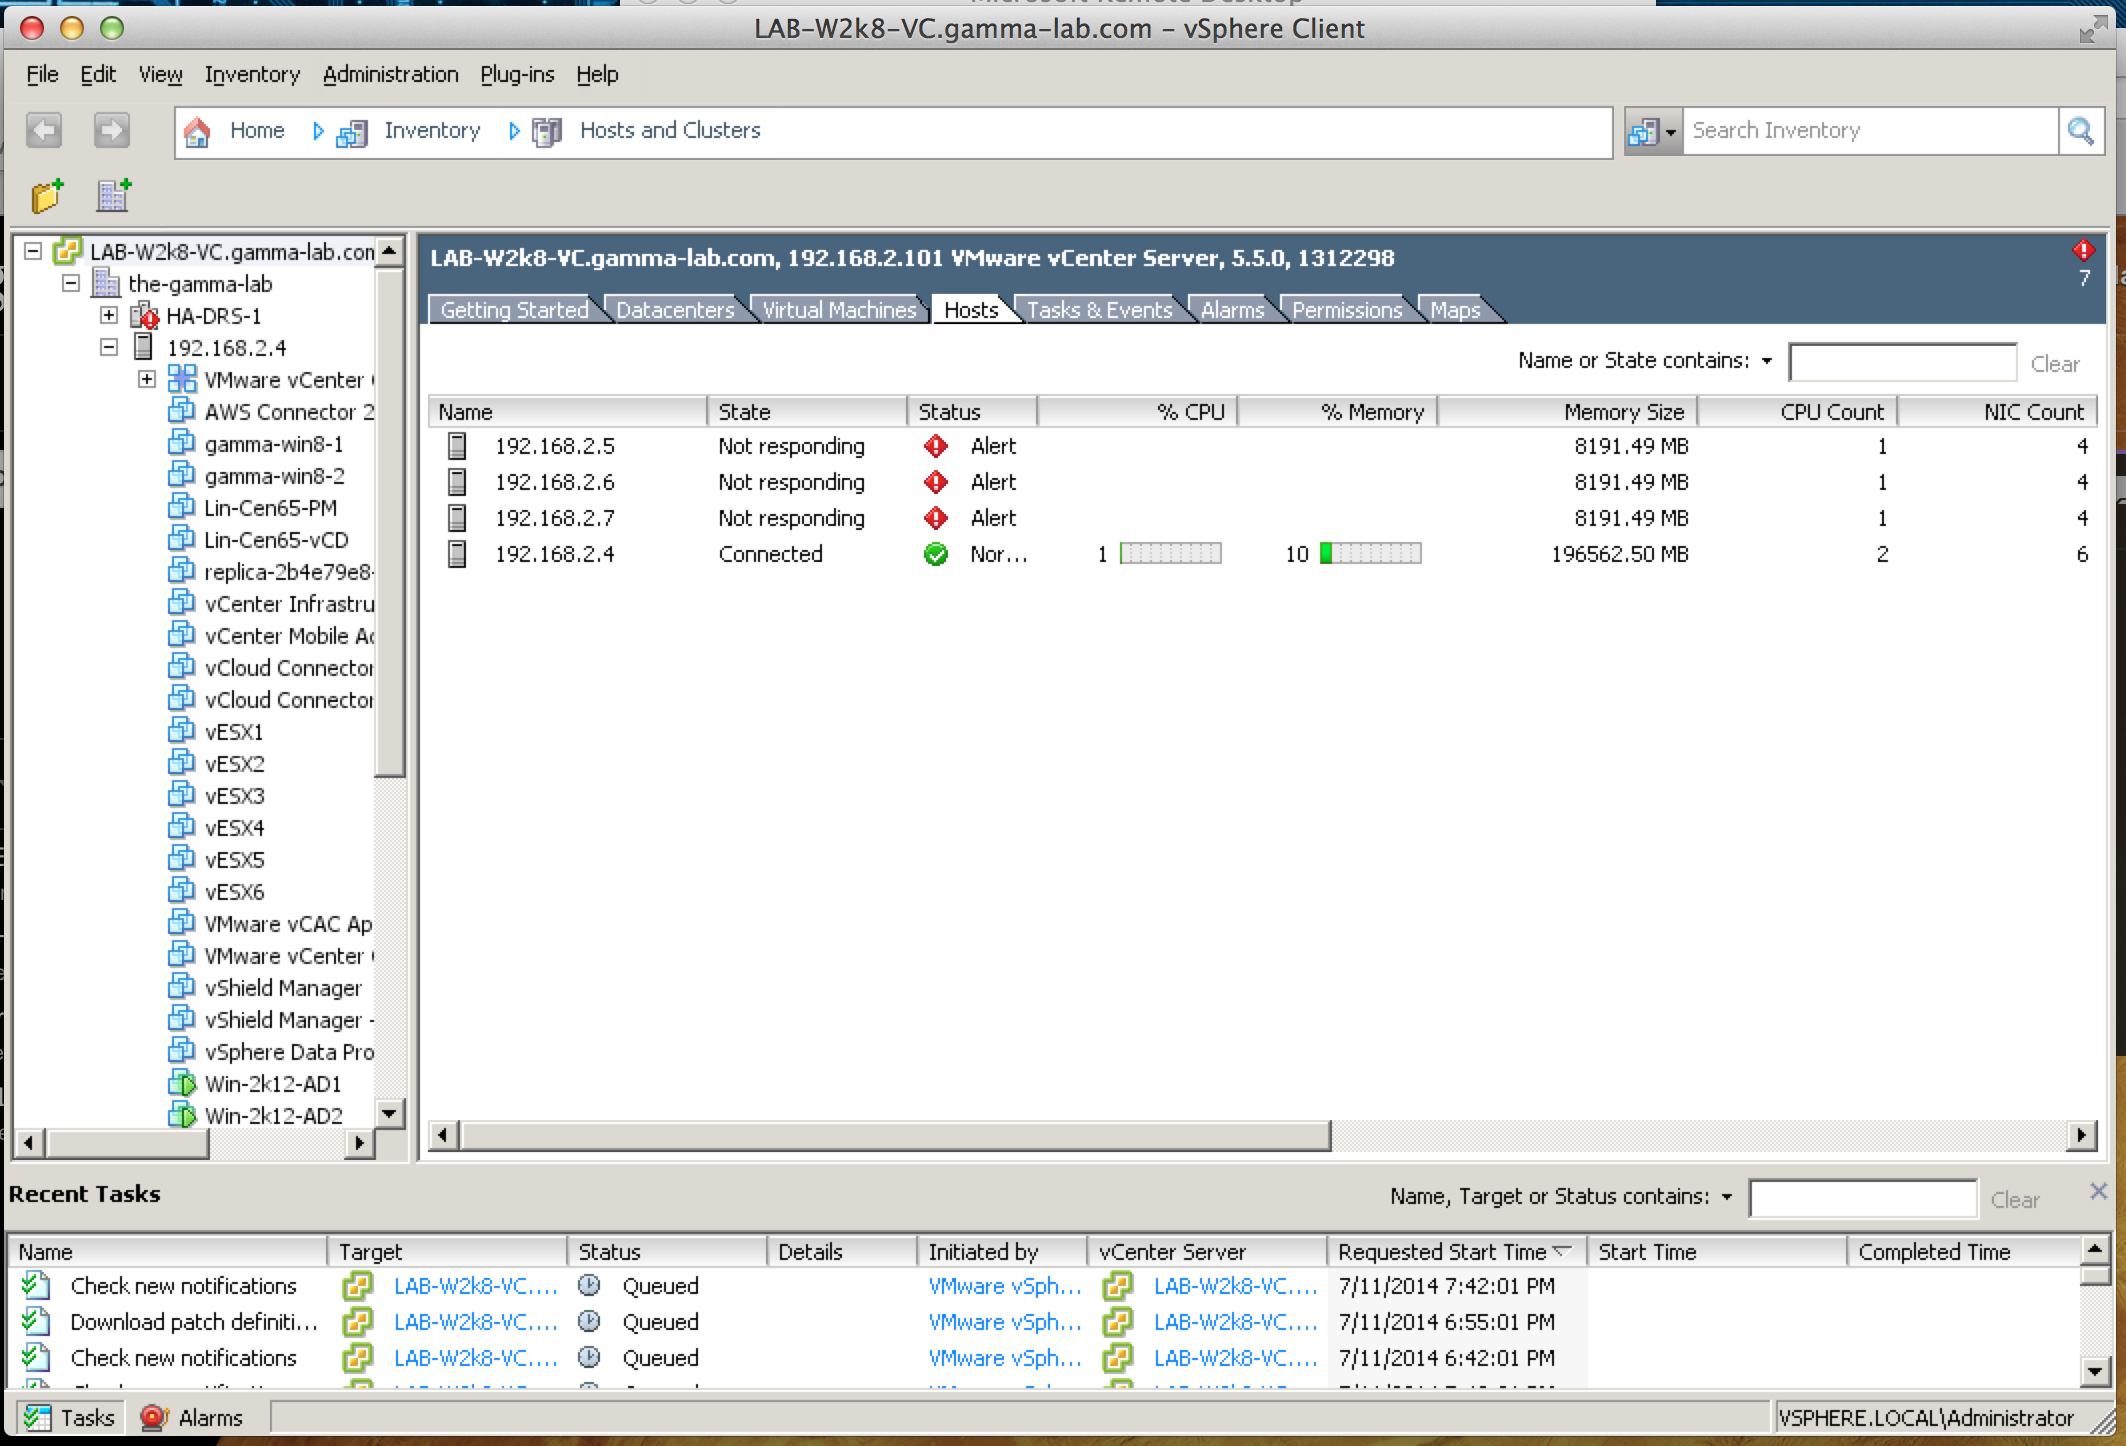
With this step you should be complete! The original environment can now be deleted and a new shortcut should exist that works. Here is a final shot of VIM client managing vCenter via WineBottler on OSX: