
Well there is truly no rest for the weary. Or is it the wicked? Let’s compromise and say in this case it’s both! It’s no surprise that even a really sweet piece of kit like the Dell T620 isn’t going to stay stock for long at ComplaintsHQ where “live to mod” is a life motto. Luckily the recent generosity of family members wise enough to provide MicroCenter gift cards as presents provided just the excuse required to get some new parts.
It was hot on the heels of the initial install of the Dell that we added an SSD for VSAN testing and two ATI cards for vDGA View testing. Honestly though, vDGA isn’t cool. You know what’s cool? vSGA! For those saying “uh, what?”, both of these are technologies which allow a hardware GPU installed in the host to be surfaced in the guest OS (View desktops generally). With vDGA, a single GPU is dedicated to a single guest OS via Intel VT-D or AMD-Vi (IO MMU remap/directed IO technologies which allow a guest OS to directly access host hardware). This does work, but obviously isn’t very scalable nor is it a particularly elegant virtualization solution. vSGA, on the other hand, allows for a GPU installed in the host to be virtualized and shared. The downside is that there is a (very) short list of boards supported none of which I had on the shelf. The last item on the “to do” list from the initial setup was to get some sort of automated UPS driven shutdown of the guests and host in the (likely around here) event of power failure.
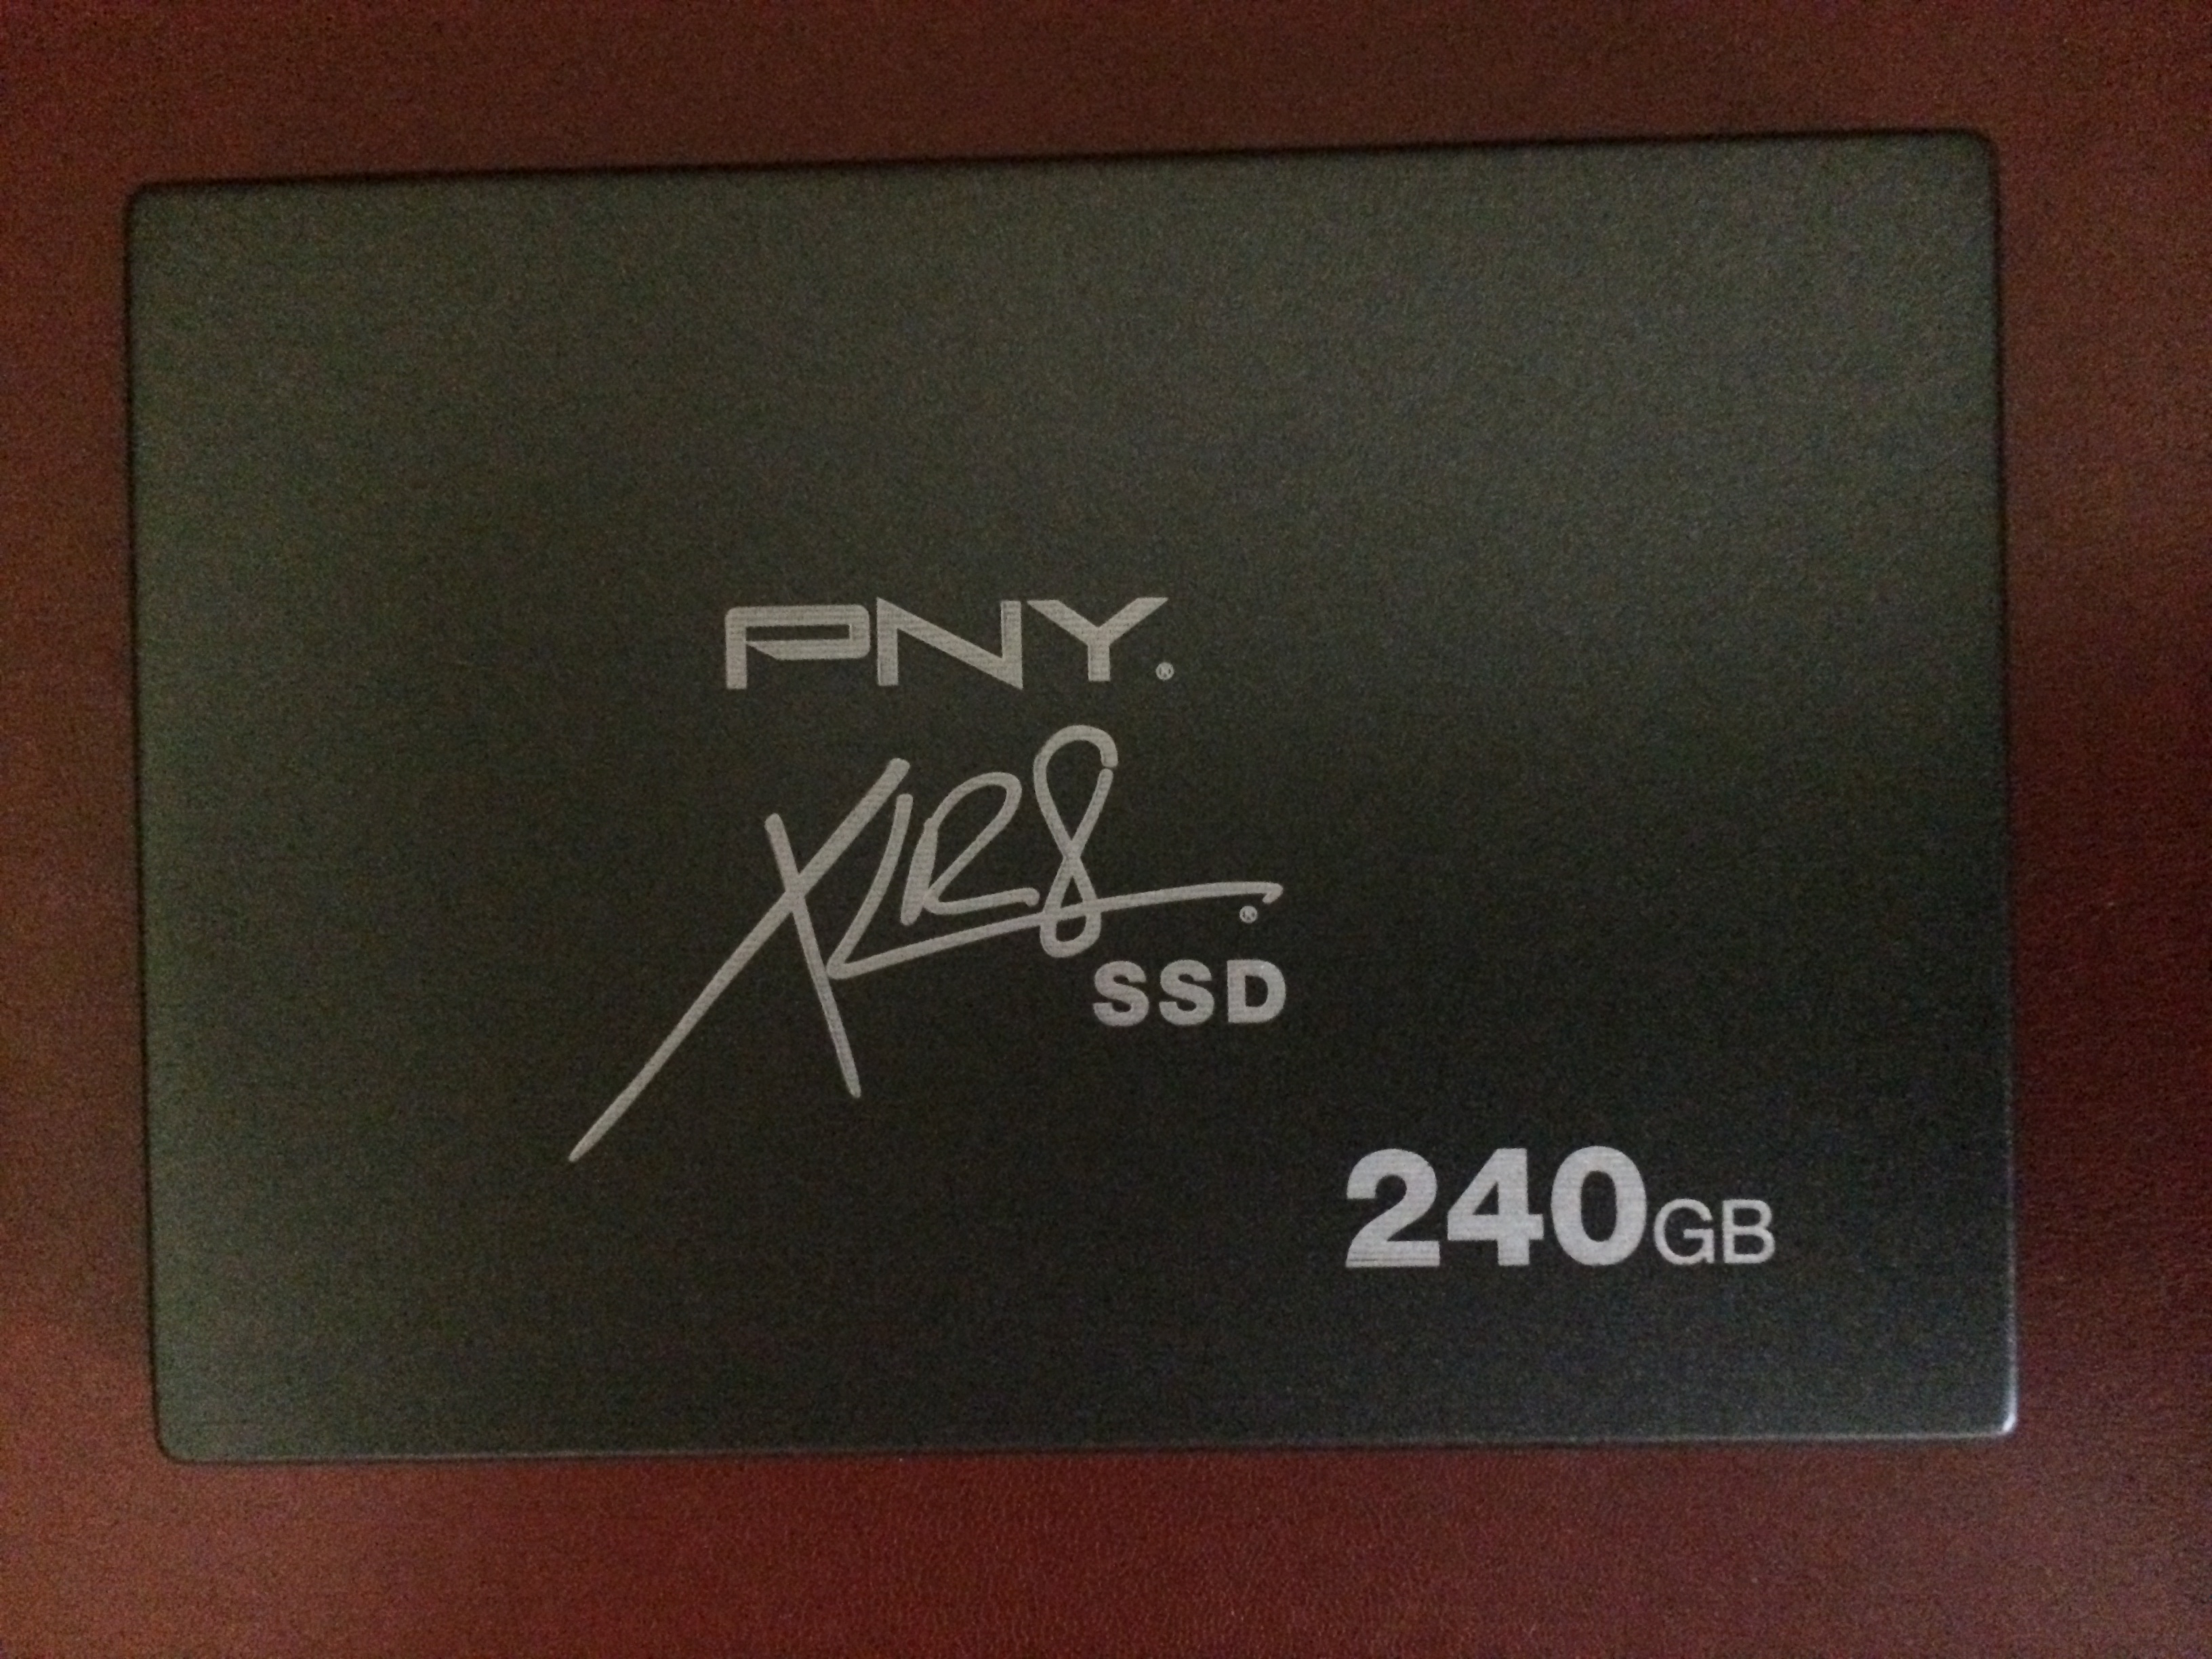
The current status to date (prior to the new upgrades) was that I had an old Intel X25 80GB SSD successfully installed and shared to the nested ESXi hosts (and successfully recognized as SSD) and vSAN installed and running. I also had a View config setup with a small amount of SSD allocated for temporary storage. With aspirations of testing both vSAN and running View 80GB of SSD really is tight so beyond saying “OK, it works!” not much could actually be done with this setup. Since SSDs are cheap and getting cheaper, I decided to grab this guy on super sale at MicroCenter for $99:
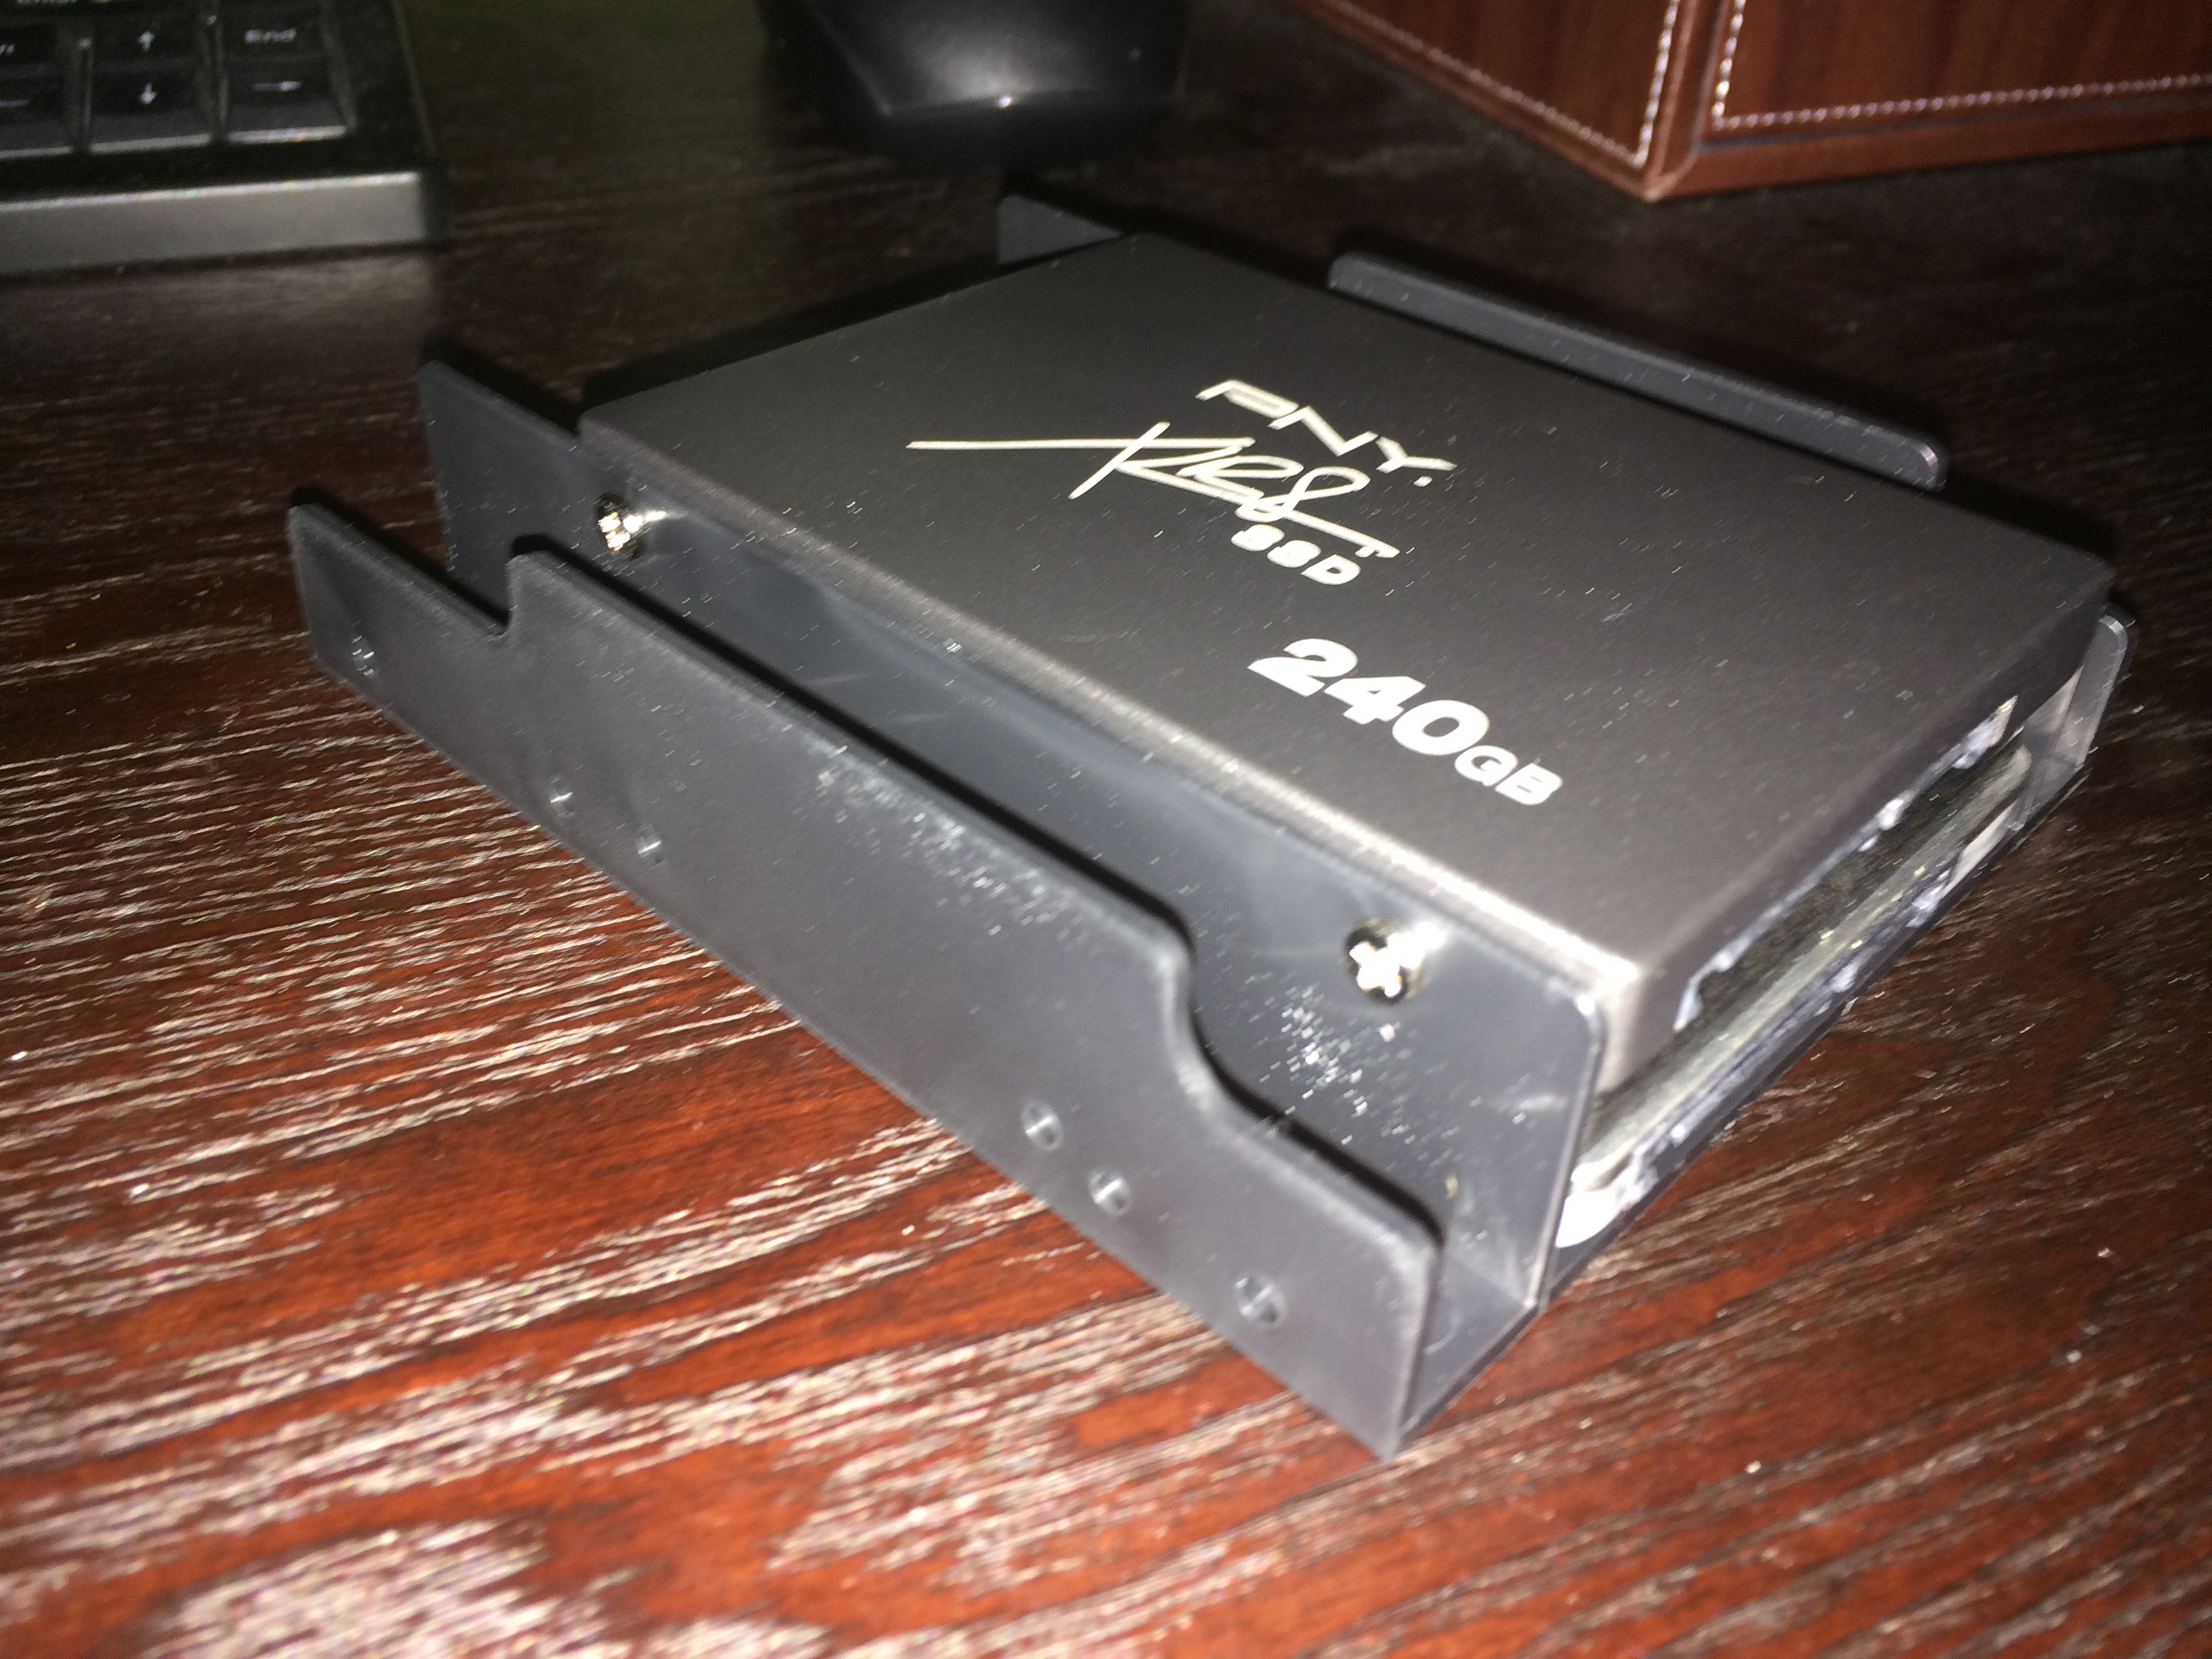
While there I also picked up a small carrier to mount both SSDs in. I decided to also utilize some rails and mount the SSDs properly in one of the available 5.25 bays:
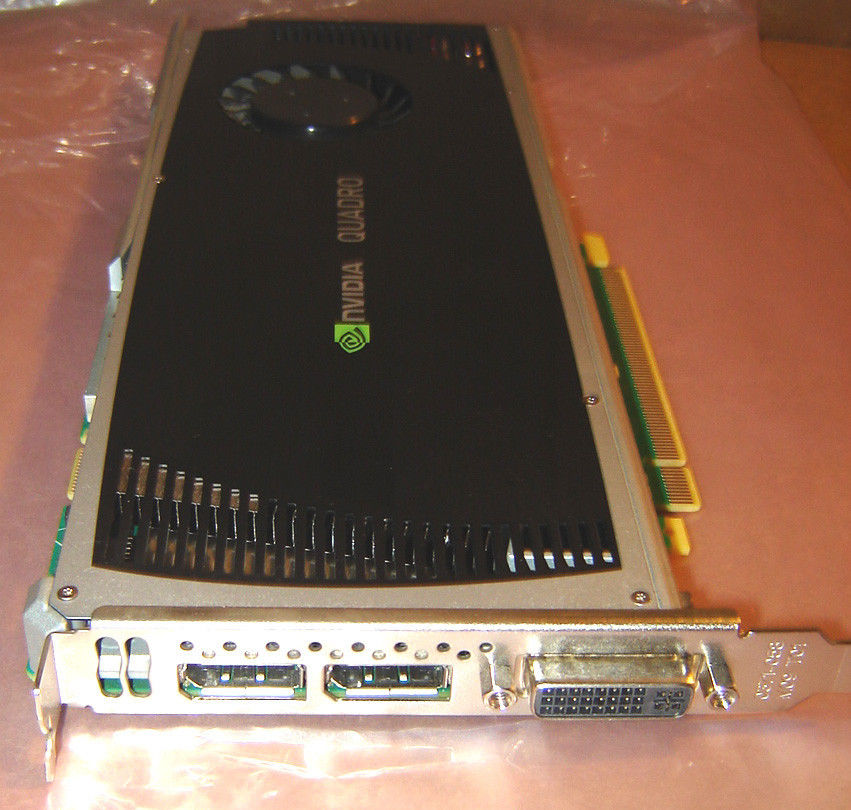
The vSGA situation is certainly trickier than simply adding a budget SSD, but perusing eBay the other day, I happened upon a great find so, since I was upgrading anyhow, I jumped on it. Not only one of the few supported cards, but an actual Dell OEM variant for $225:
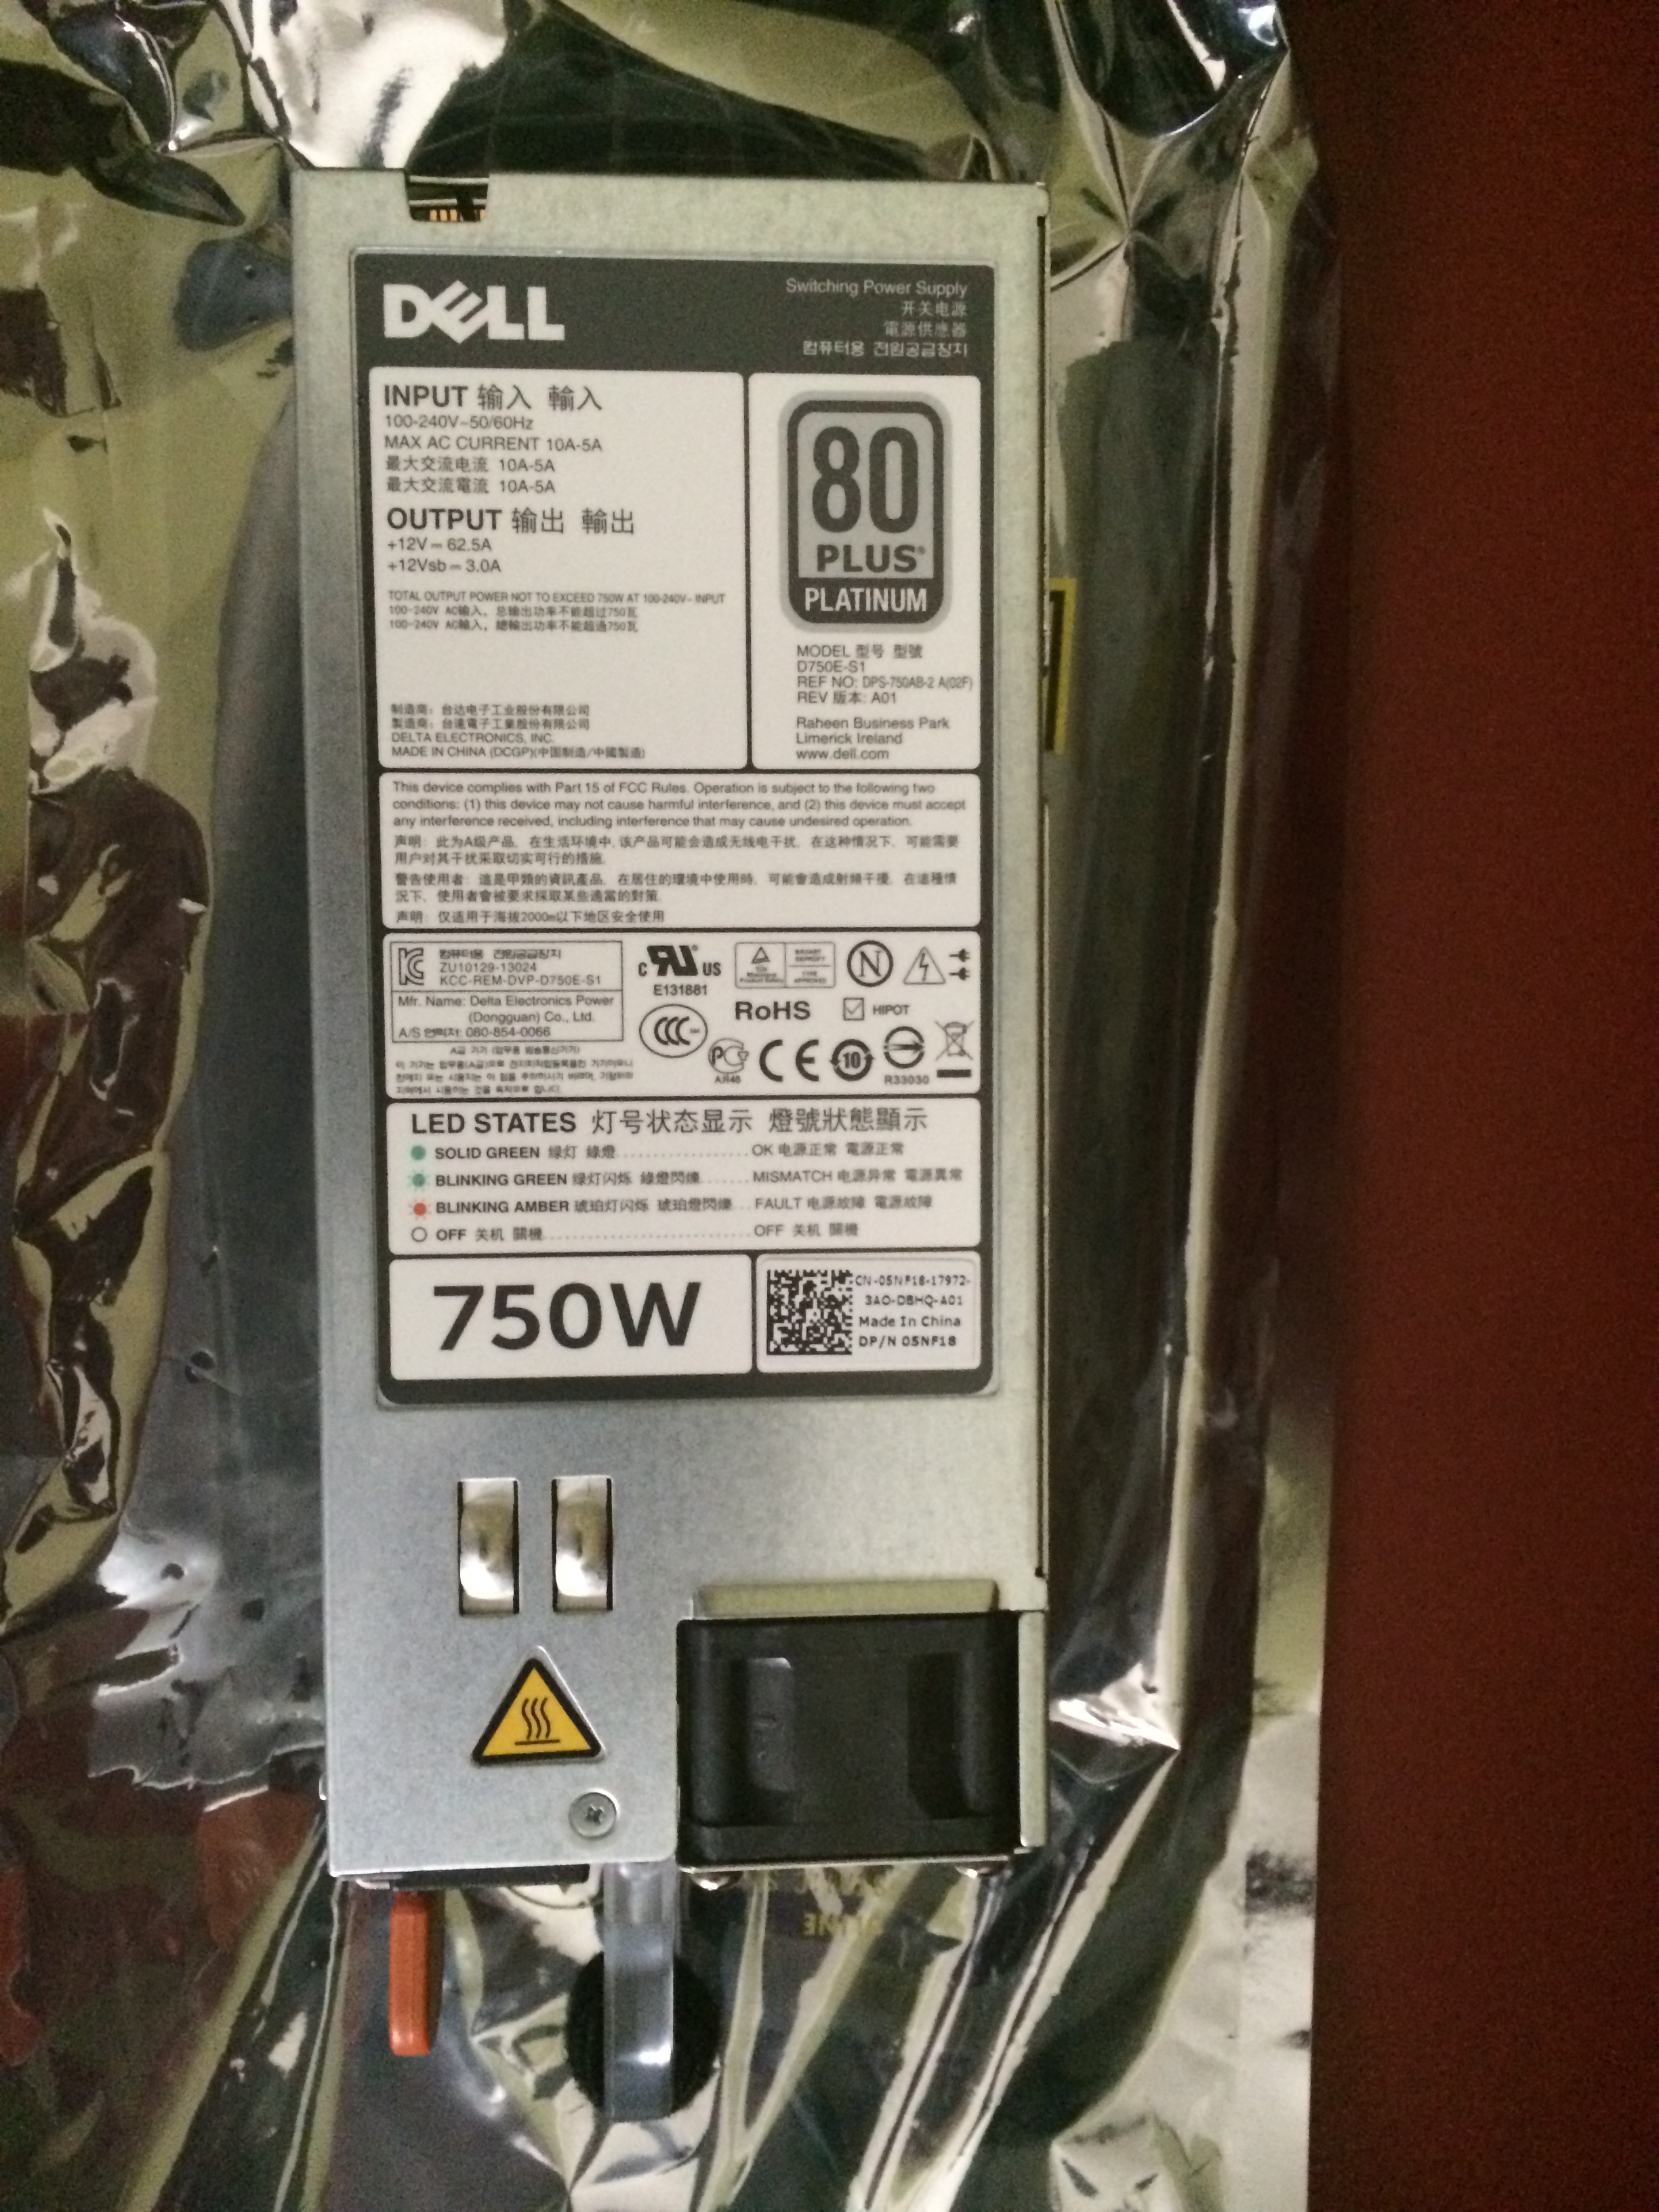
Another refinement I’ve been wanting to do to the server is to add power supply redundancy (mainly because I can leave no bay unfilled!). I’ve committed to definitely resolving my UPS driven auto-shutdown challenge this round, so while not necessary, the redundant supply fits the theme well. Luckily eBay yielded some more good results. Dell OEM at $145:
On the UPS side, you may remember that during the initial install of the server I had added in a BackUPS 1500 to run the ReadyNAS and the T620. Unfortunately, APC is a pain in the ass and VMware doesn’t make it any better. Getting the ReadyNAS on managed UPS backup is as easy as plugging the USB cable in and clicking a checkbox using any APC unit. In VMware, this is pretty much impossible. Unless you buy not only the highest end of the SmartUPS line, but also buy the optional UPS network card (hundreds more), there is really no native support to be found. I had explored some options using USB passthrough from the host to a Windows guest, combined with some great open source tools like apcupsd and Network UPS Tools. I never quite got things working the way I wanted though. More on that later…
OK, so that is the part list! Total damage for all of the above was $900. Steep, but almost half of it was actually the UPS. As always, there is no better way to start healing from the emotional trauma of spending money than to start installing! Let’s begin with the super easy stuff; the PSU. I can honestly say that installing a new hot-swap supply in a T620 actually couldn’t be any easier. First step is to access the back of the case and pop off the PSU bay cover (it pops right out):
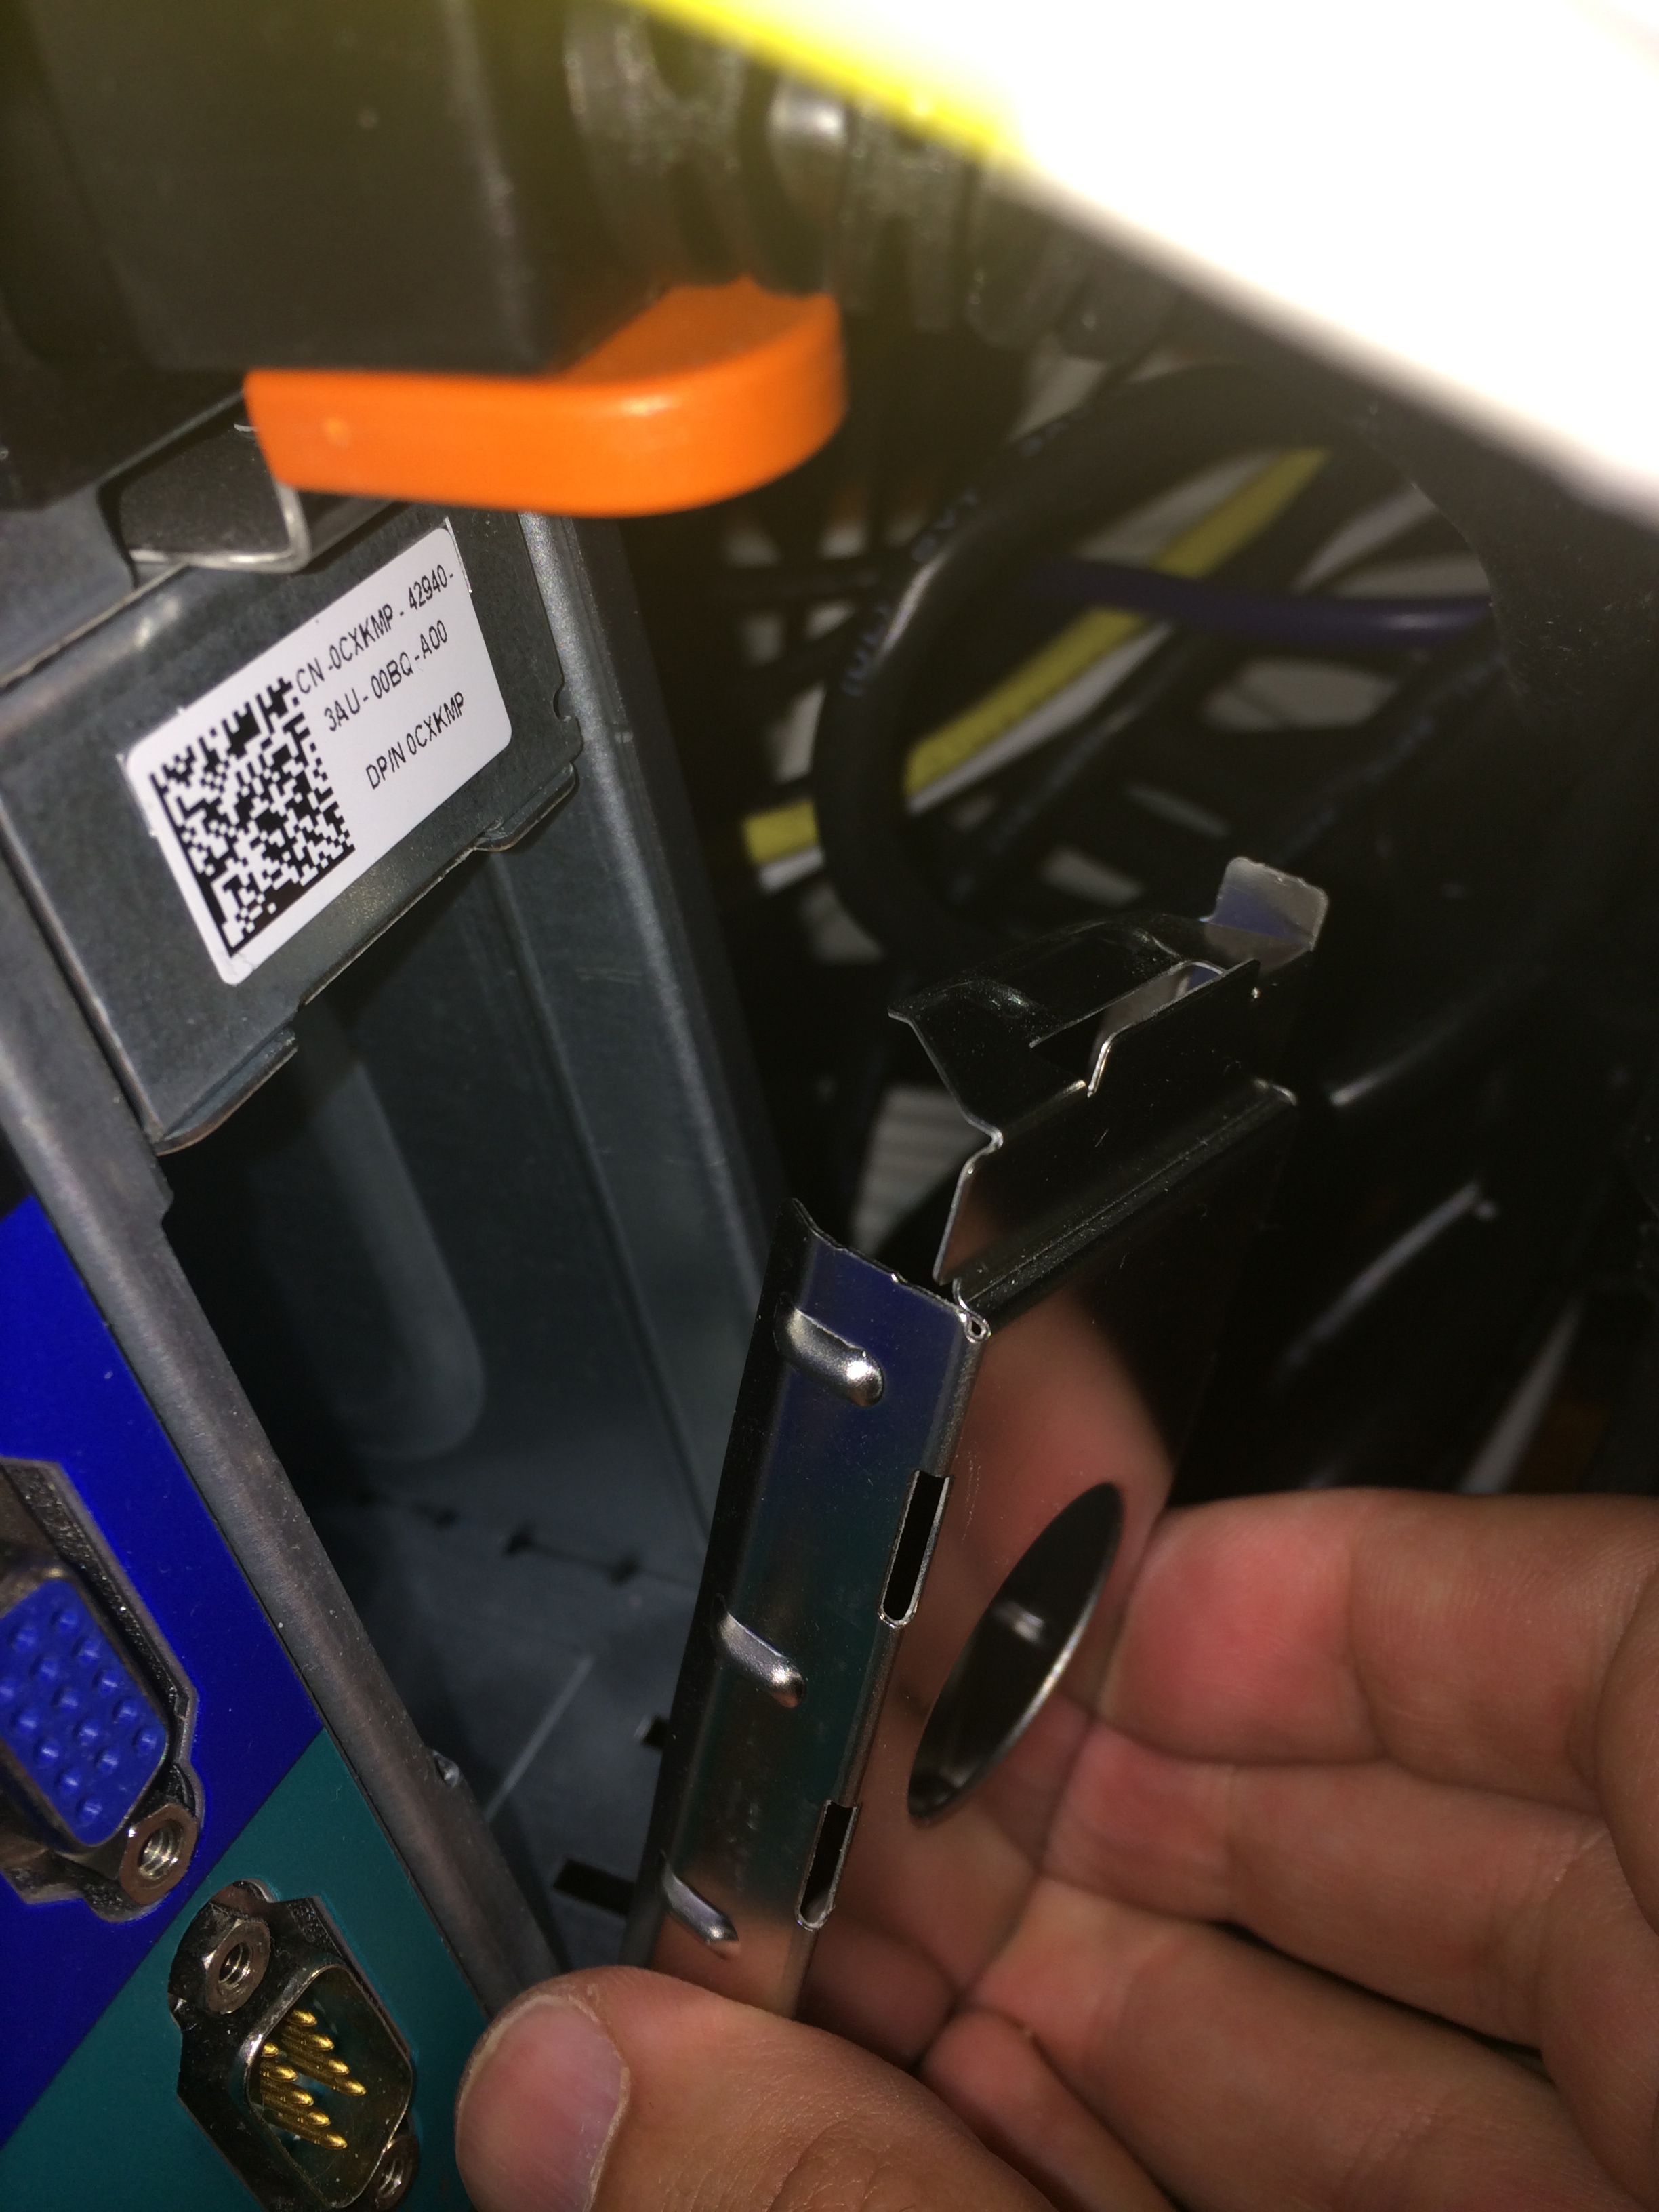
With the bay open, you literally just slide the new supply in and push gently (you will feel the connector catch and seat):

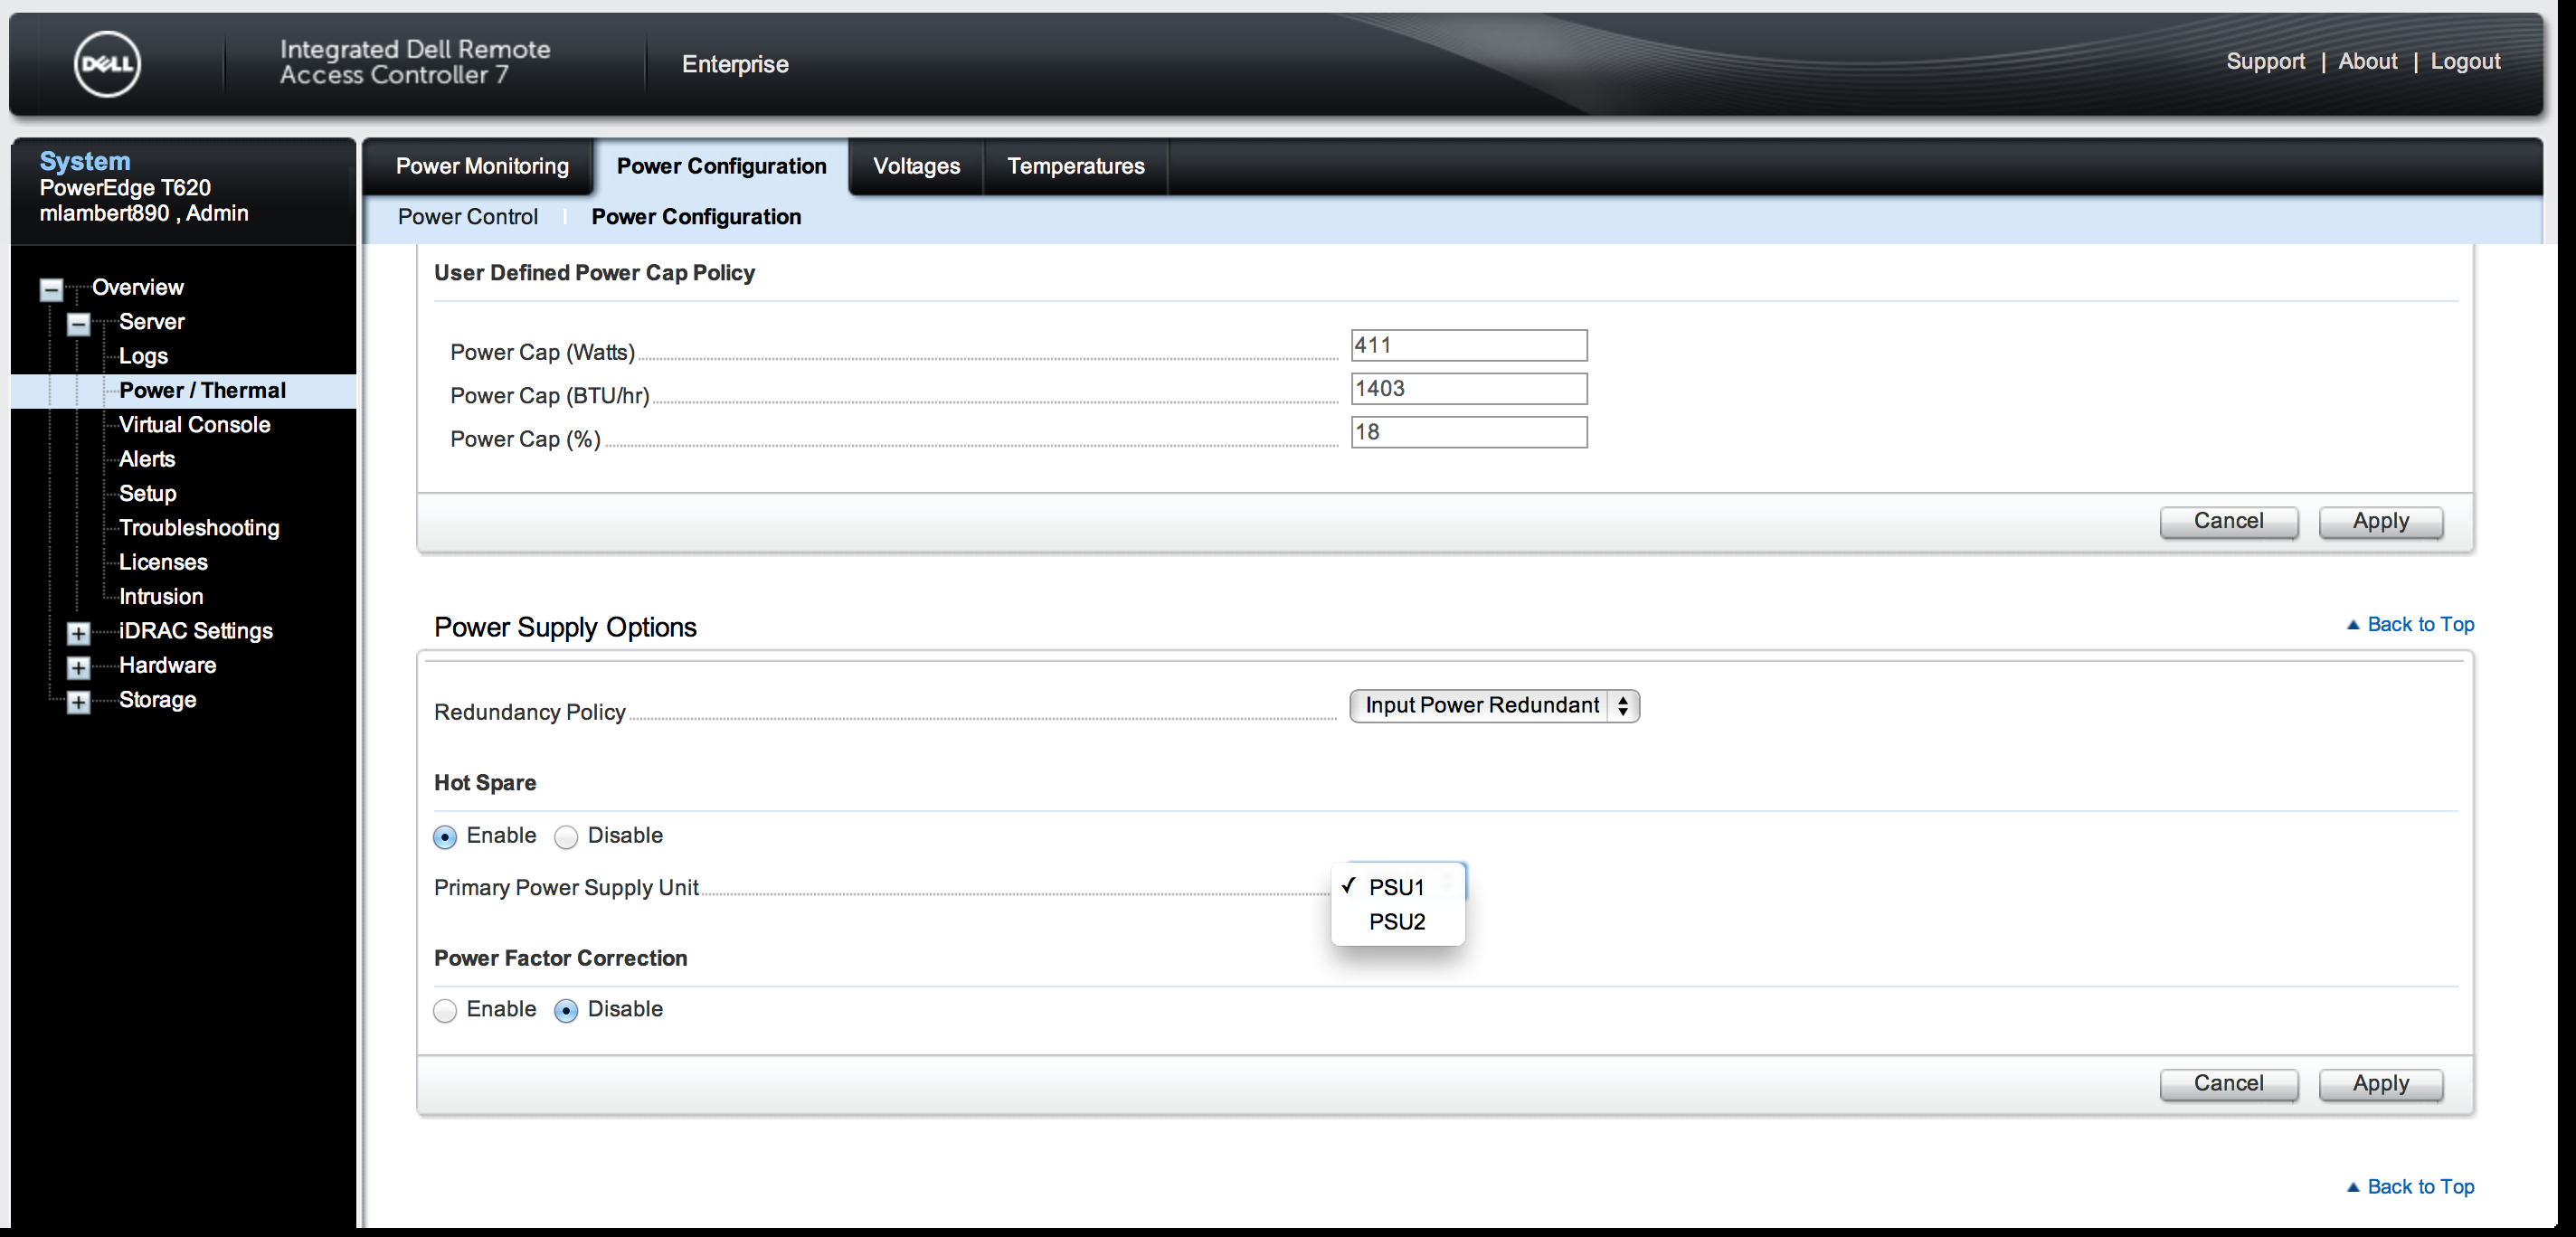
Once installed, head into iDRAC to complete the power supply reconfiguration. The options are very basic. You can either enable or disable PSU hot sparing once the new one is in (and set which one is primary) and you can enable input power redundancy:
OK, back to the UPS quandary! The general idea of VM based UPS control is as follows:
- plug in UPS, plug server into UPS
- attach UPS USB cable to server
- enable passthrough for the USB channel (requires AMD-Vi or Intel VT-d, under Advanced Options in the Server Configuration in the VIM client)
- add the USB device to a Windows (or Linux) guest VM
- install the open source APC driver
- install NUT
- develop a script that fires off scripts on the ESX host prior to executing a VM shutdown (the host scripts will ultimately pull the rug out from under the UPS host VM which is fine)
- make sure that VMware tools is installed in all VMs so they can be gracefully shutdown by the host
- utilize either WOL (or an awesome ILO board like the iDRAC) to ensure that the server can be remotely brought back
Since I was in a spending mood, I decided to add a companion to my BackUPS 1500 just for the server. Here she is:
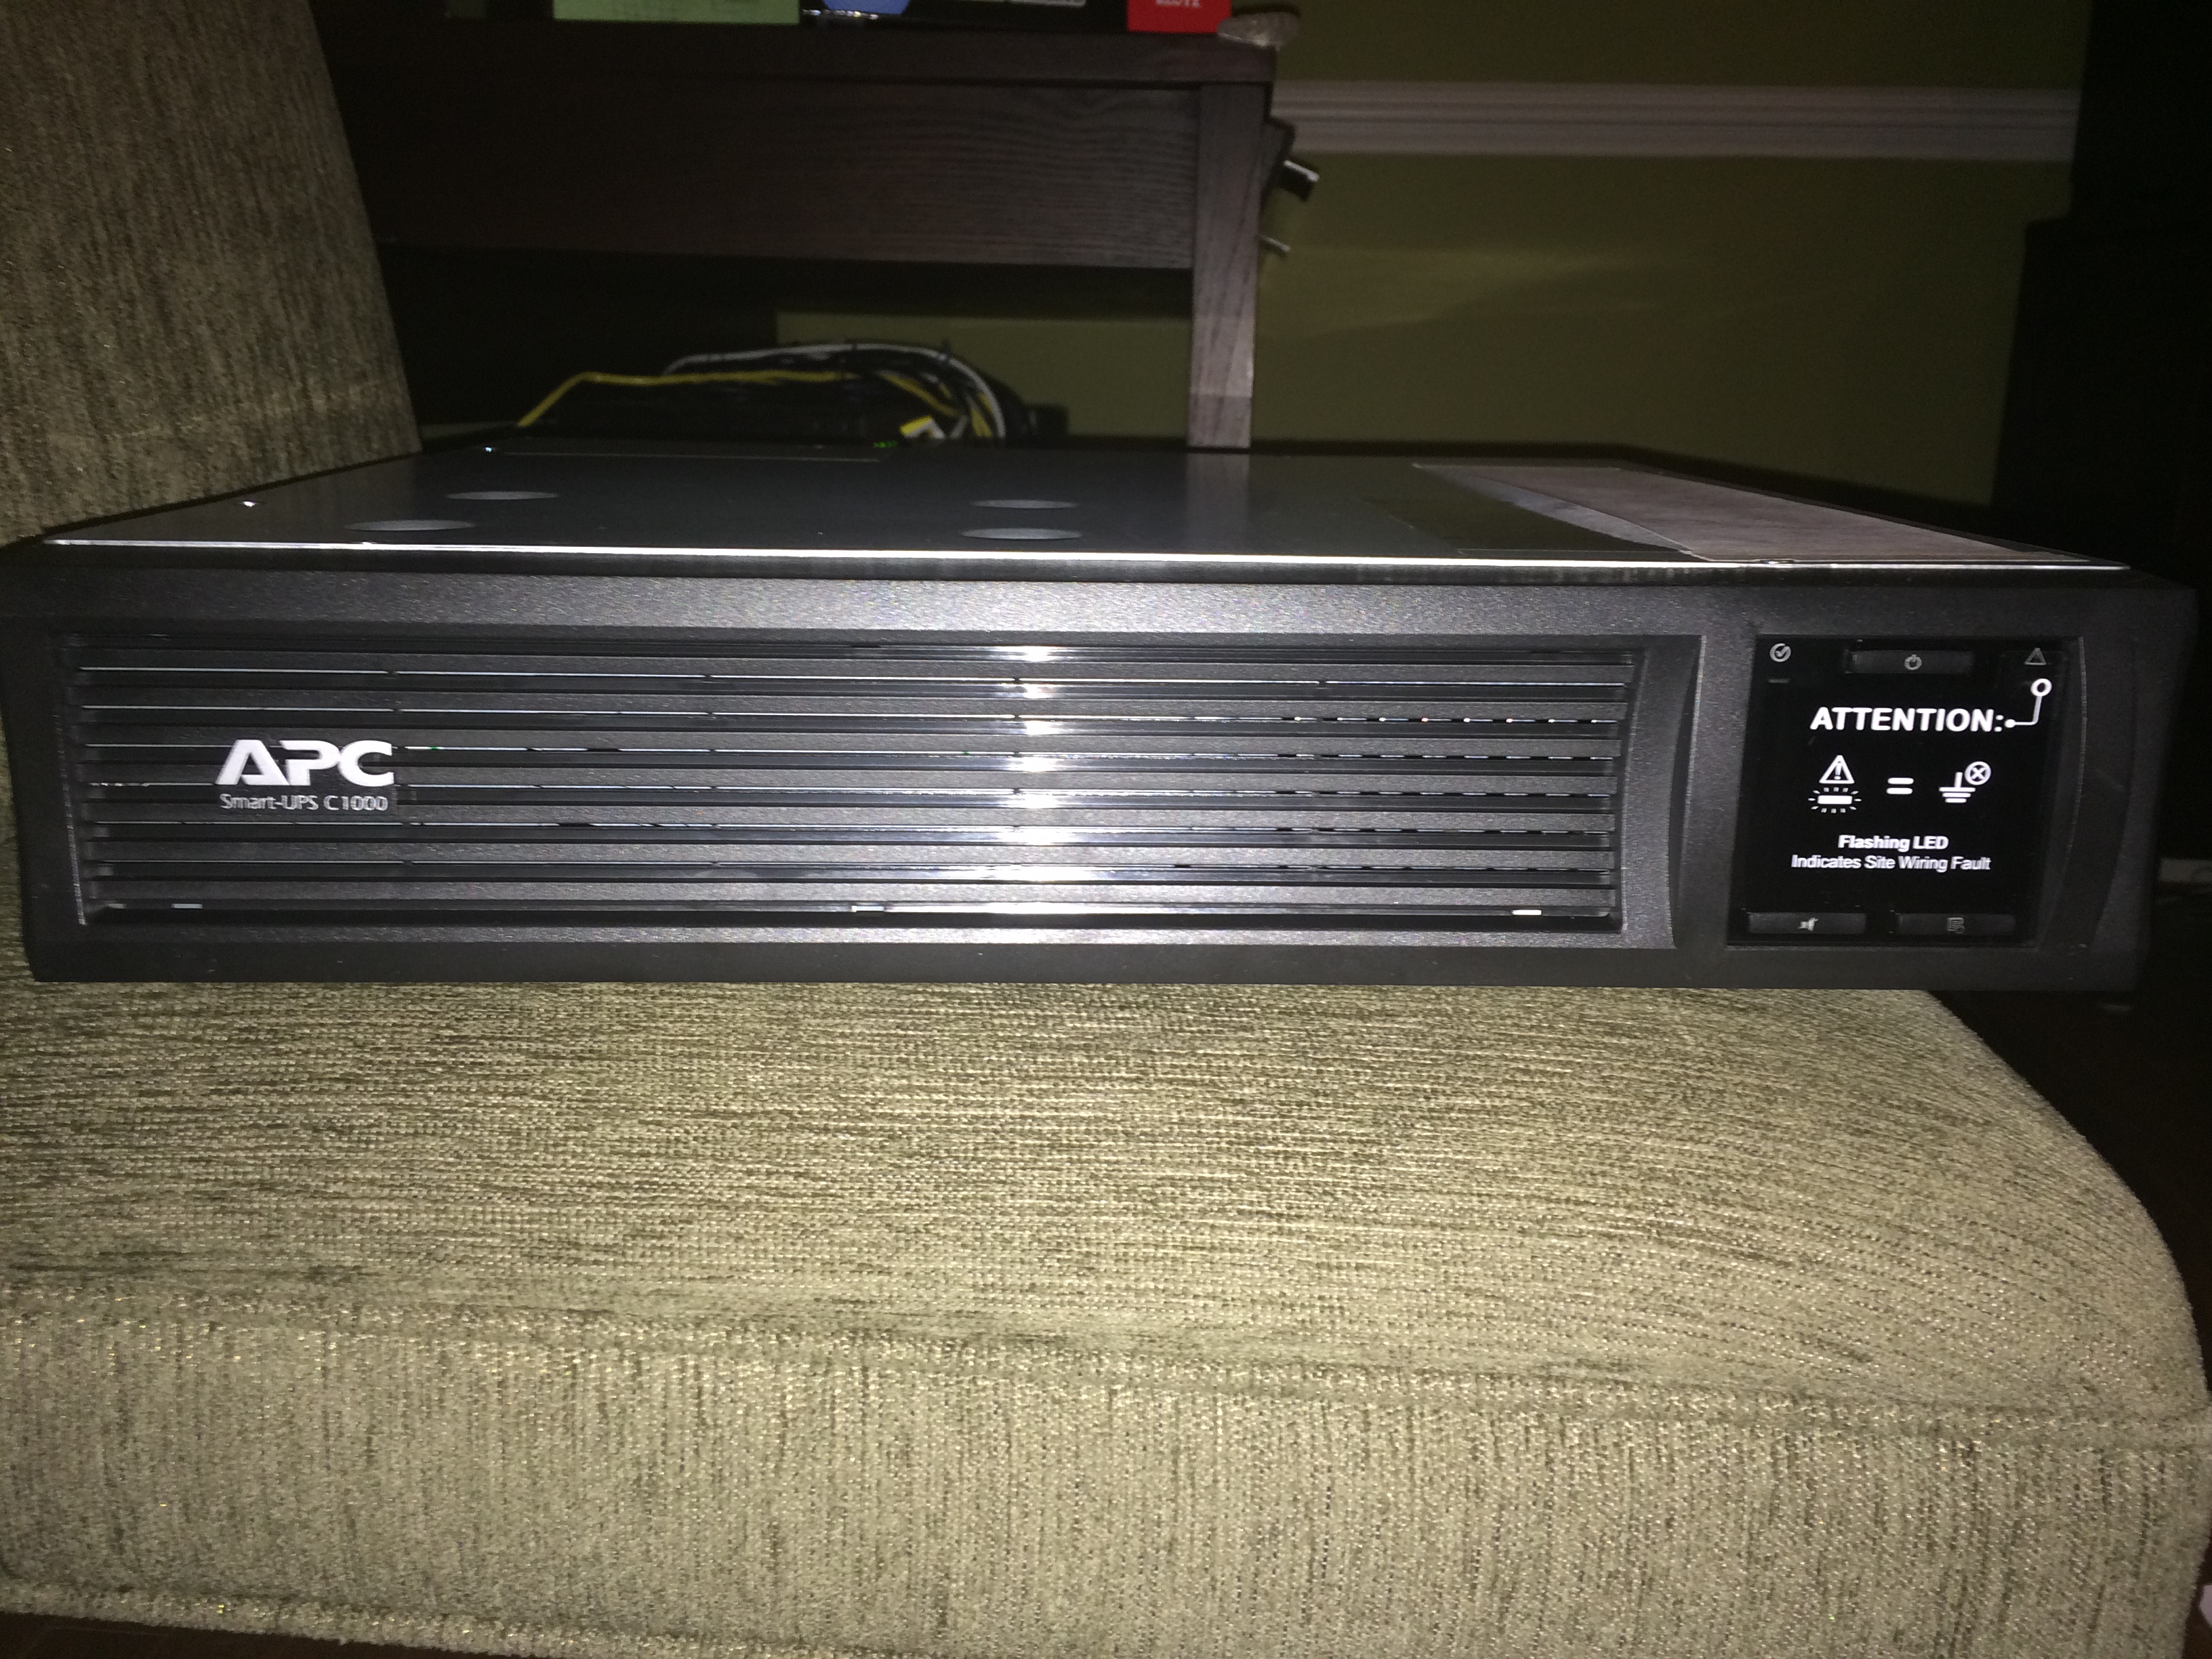
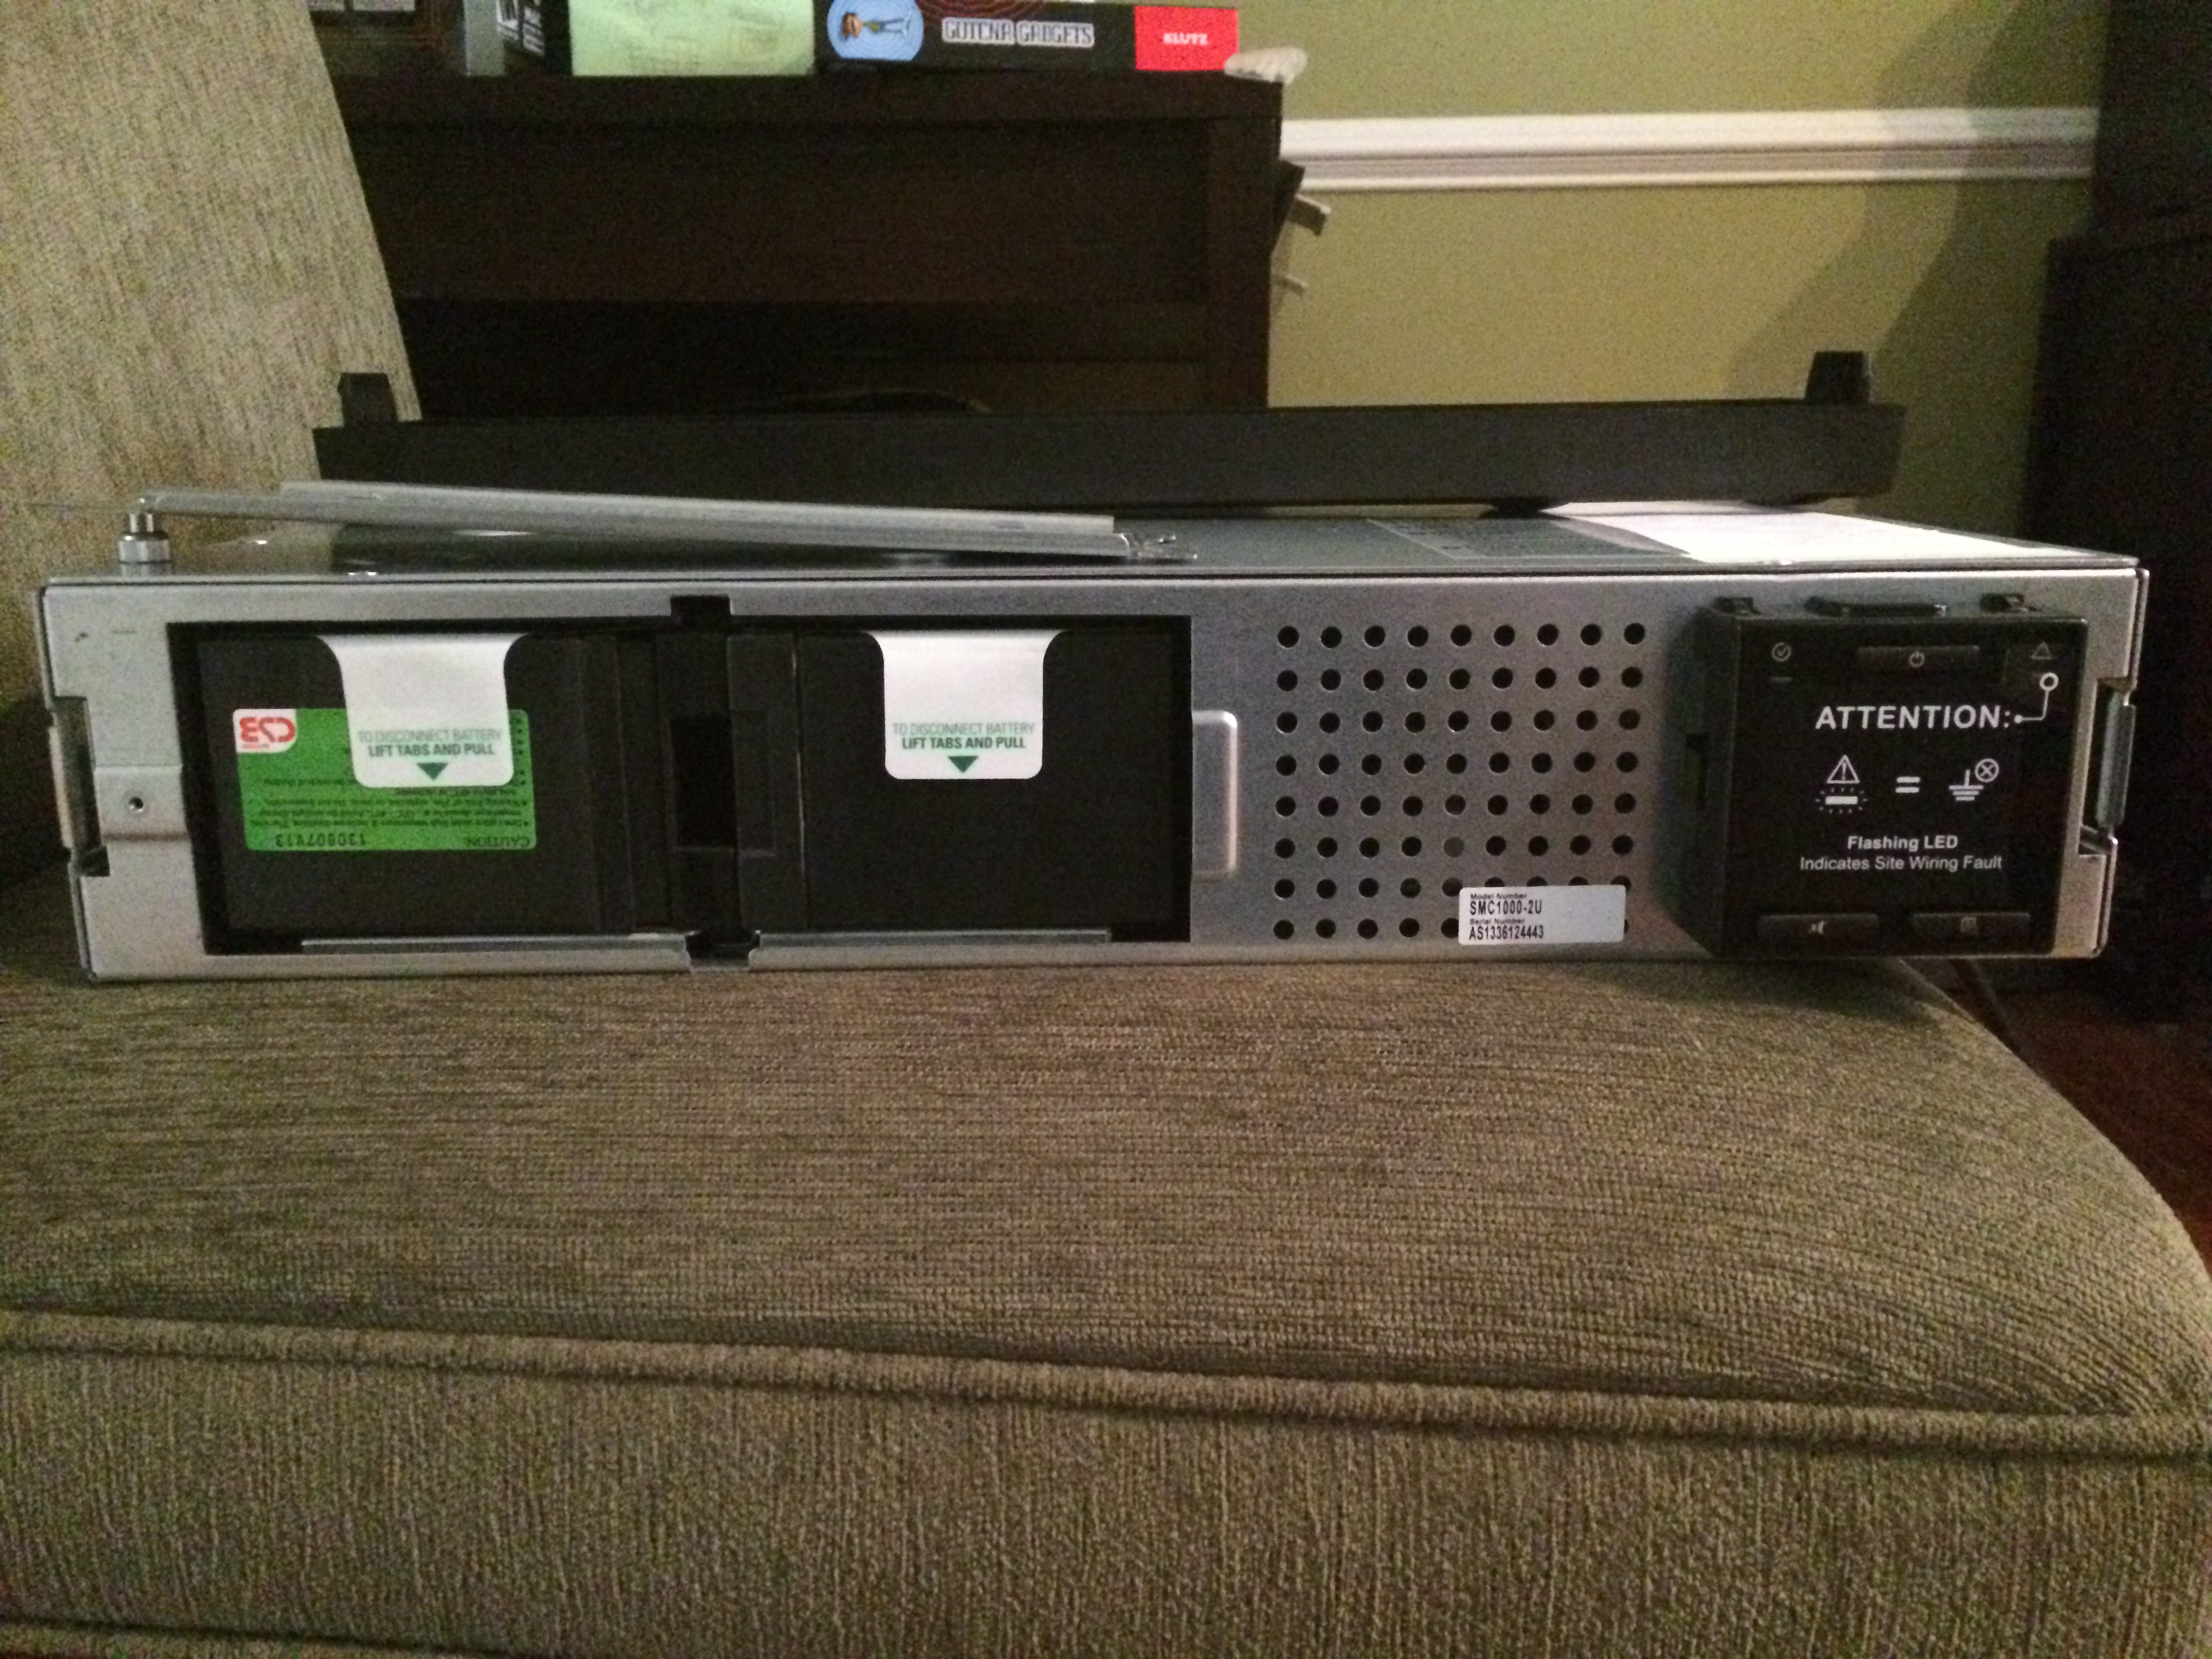
That is the SmartUPS 1000 2RU rack mount version. So problem solved right? Yeah no. But before we get into that, let’s get this beast setup. First the batteries have to be installed. The front bezel pops off (it actually comes off and I popped it in for this photo) revealing a removable panel:
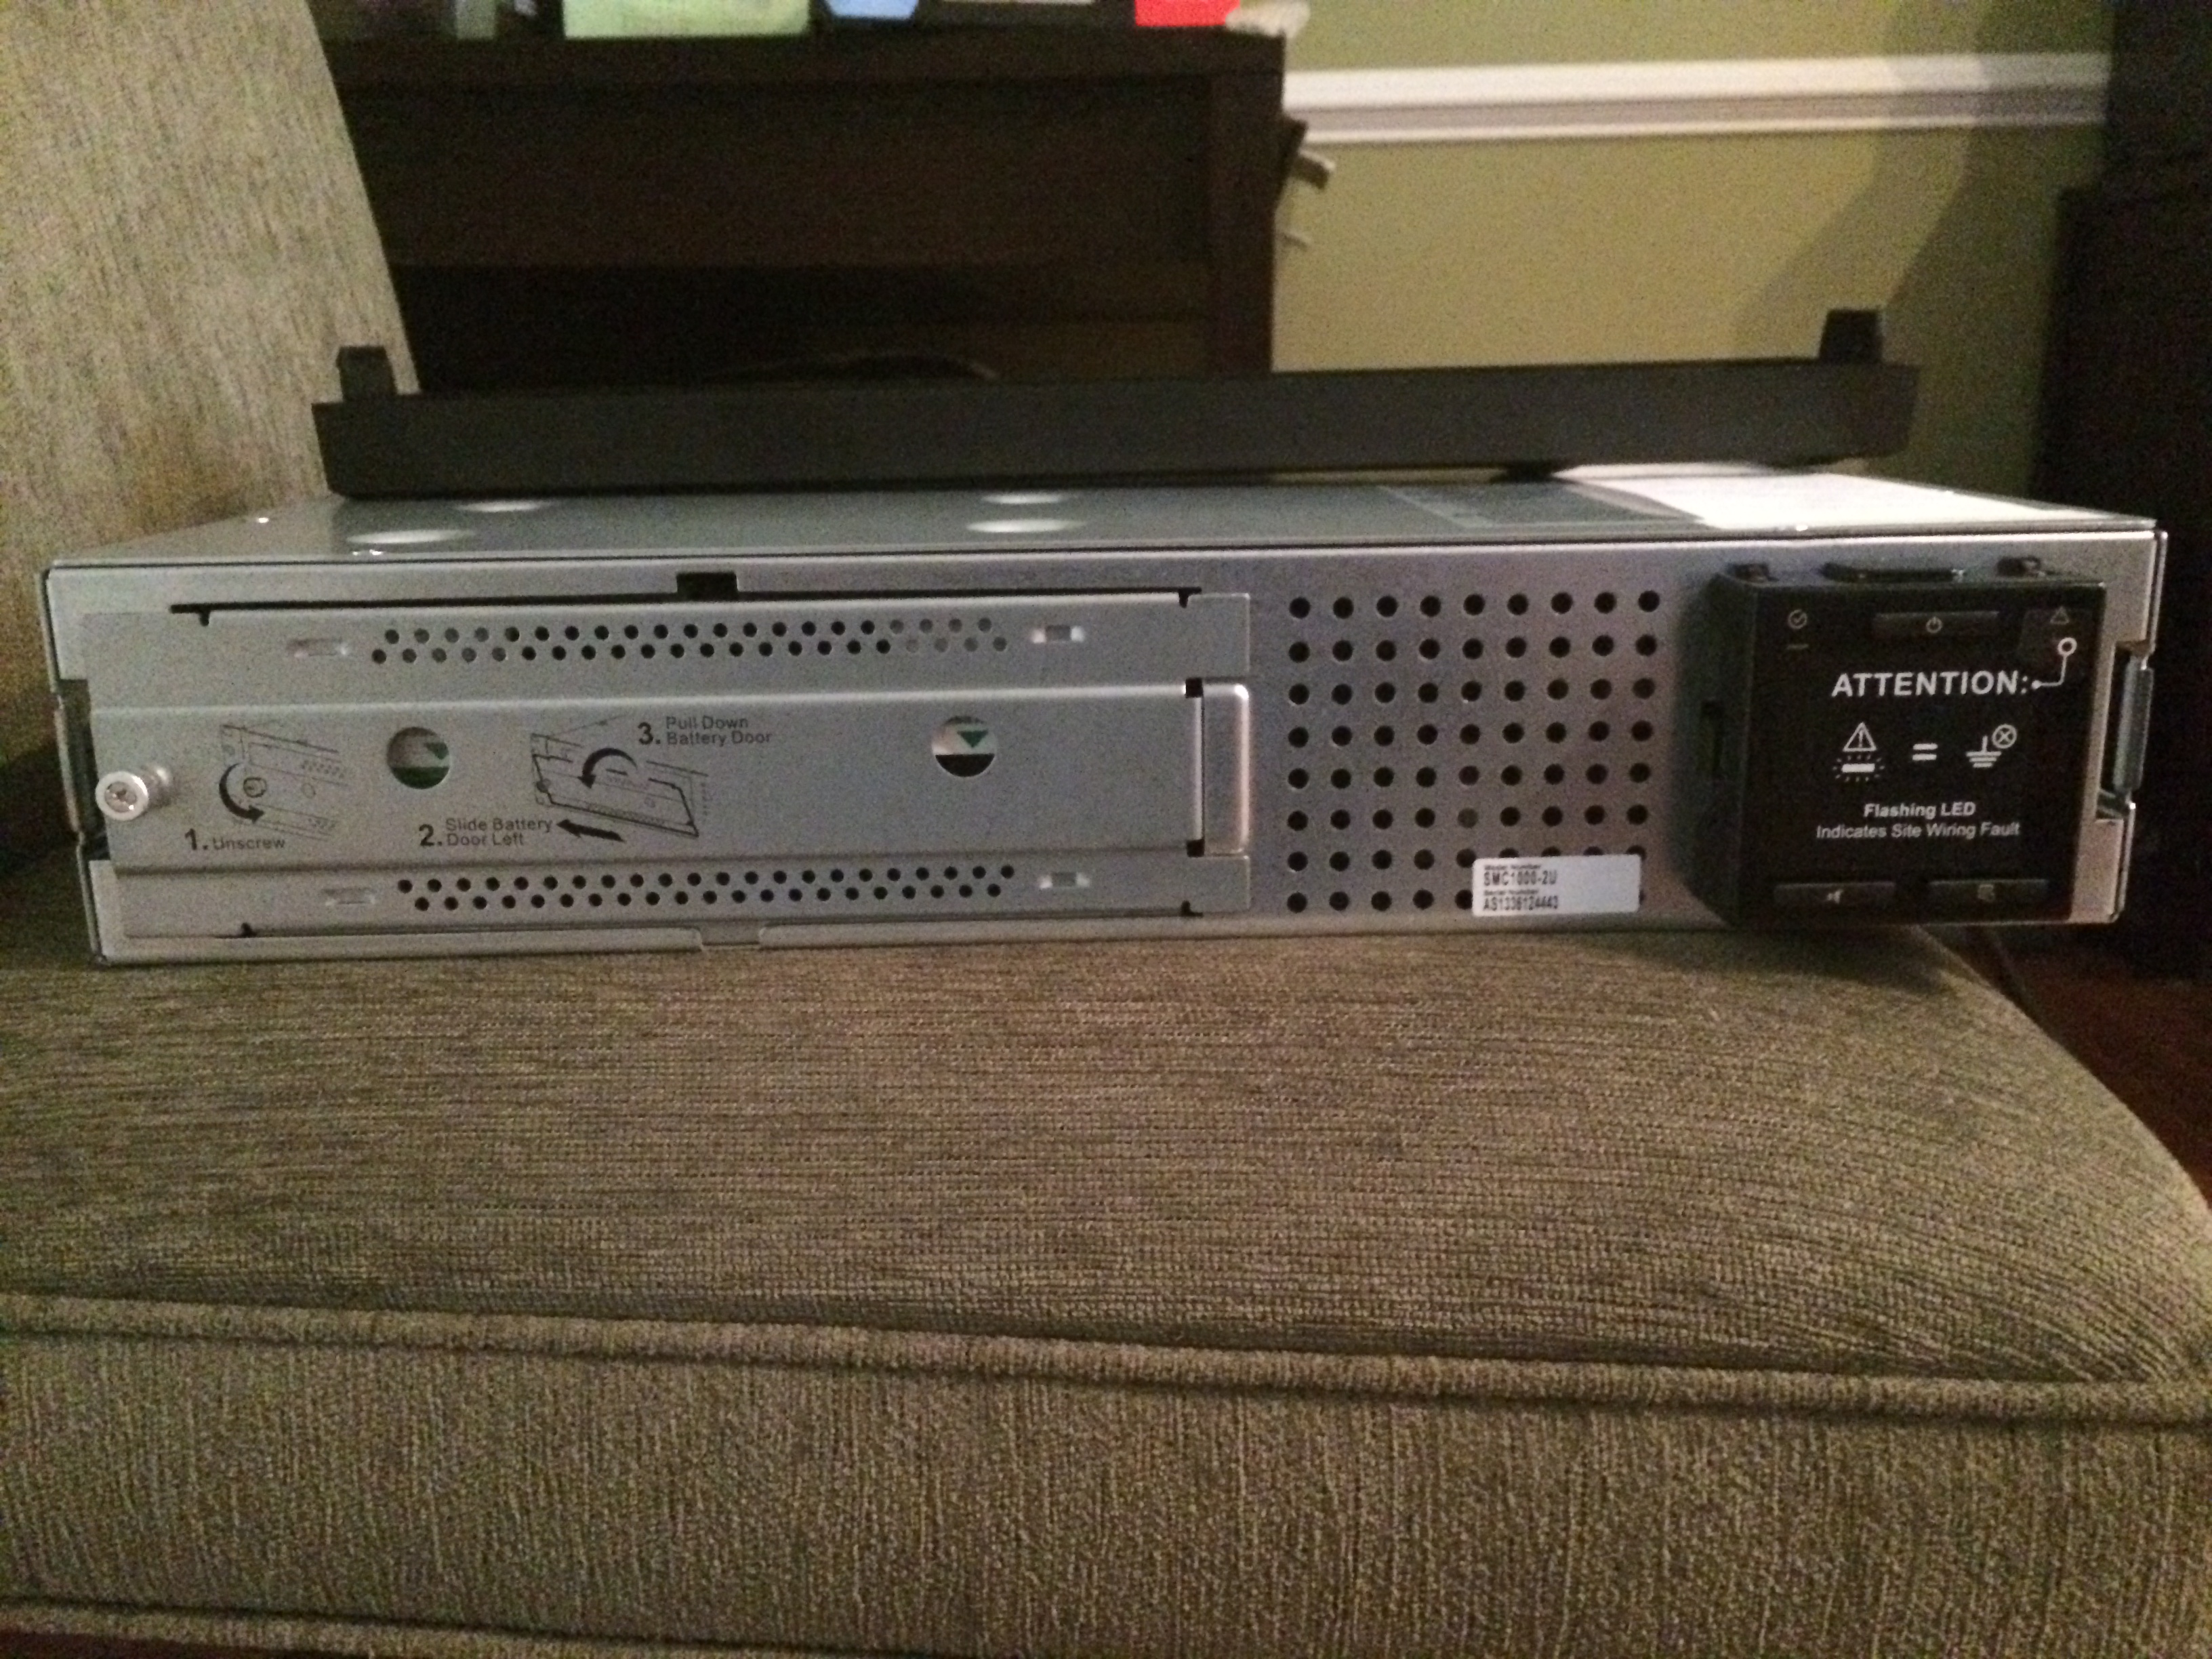
A single thumb screw holds the panel in place. Removing it allows the panel to be slid left and pulled forward revealing the battery compartment. As always, the battery is pulled out by the plastic tabs, flipped over, and put back in where it will now snap into place (it’s own weight is enough to really seat it well if the unit is a bit angled). The final product will look like this:
In terms of connectivity, here is what you get (not joking):
Now, let’s take a look at what APC requires for VMware host support:
- a SmartUPS unit – check, we have this one
- the optional network card – bzzzt… nope
- a serial only connection to the host – bzzzt… nope! (THIS one really pissed me off)
So somehow APC can’t figure out how to get a USB connected UPS working on ESXi, and the latest SmartUPS somehow has no included serial cable. Really fantastic! I considered a few options including attempting to do a DB9 to USB conversion using the RJ45 to USB cable from my lesser BackUPS 750, but I shot all of the options down. USB to serial requires driver support and there is zero chance of getting that working on the host. Some of the other options I considered were publishing serial over network, but this seemed like a poor approach also. At this point, I was stumped and seriously considering returning the seemingly useless SmartUPS to MicroCenter. Before packing it in, I decided to try one more approach.
Returning to the basic architecture I had planned for the BackUPS, but this time using the native PowerChute Business app included with the SmartUPS (at least it comes with something useful!), I setup UPS support on my vCenter. Passing through USB worked from the host and PowerChute server, console and agent installed without a hitch and successfully located the UPS. So far so good!
The critical step was now to figure out a way to get the vCenter guest to shutdown all of the VMs and the server once PowerChute detected a power event. Luckily, it wasn’t too difficult and I was able to find this awesome script to handle the ESX side. Here is the logic:
- add a custom command in PowerChute. The custom command calls Putty from the command line with the option to run a script on the host upon connection. The command is inserted into “batchfile_name.cmd” in the APC\agents\commandfiles directory and should be formatted like this:
@SMART "" "C:\Program Files (x86)\putty\putty.exe" -ssh -l login -pw password -m C:\script.sh
- the contents of “script.sh” is that amazing script above. The gist of it is:
- use the ESX command line tools to enumerate all running VM’s to a temp file (basic string processing on the output of a -list)
- pipe that file into a looped command to shut them down (a for or while loop construct)
- shutdown the host
Here are the contents of the script:
#/bin/sh
VMS=`vim-cmd vmsvc/getallvms | grep -v Vmid | awk '{print $1}'`
for VM in $VMS ; do
 PWR=`vim-cmd vmsvc/power.getstate $VM | grep -v "Retrieved runtime info"`
 if [ "$PWR" == "Powered on" ] ; then
 name=`vim-cmd vmsvc/get.config $VM | grep -i "name =" | awk '{print $3}' | head -1 | cut -d "\"" -f2`
 echo "Powered on: $name"
 echo "Suspending: $name"
 vim-cmd vmsvc/power.suspend $VM > /dev/null &
 fi
done
while true ; do
 RUNNING=0
 for VM in $VMS ; do
 PWR=`vim-cmd vmsvc/power.getstate $VM | grep -v "Retrieved runtime info"`
 if [ "$PWR" == "Powered on" ] ; then
 echo "Waiting..."
 RUNNING=1
 fi
 done
 if [ $RUNNING -eq 0 ] ; then
 echo "Gone..."
 break
 fi
 sleep 1
done
echo "Now we suspend the Host..."
vim-cmd hostsvc/standby_mode_enter
I am happy to say that it worked like a charm and successfully shutdown all VMs cleanly and brought down the host! You can set some delays in PowerChute and I set them to 8 minutes for the OS shutdown and 8 minutes as the time required for the custom command to run, but it really won’t matter since the custom command will kill the VM (and PowerChute) anyhow.
A couple of things to be aware of with this approach:
- the PCBE Agent Service needs “interact with desktop” checked on newer versions of Windows (2k8+). Make sure to run the SSH client once outside of the script first to deal with any interaction it needs to do (saving fingerprint, etc)
- the USB passthrough can be a bit flaky in that the USB device doesn’t seem to be available right at first OS boot (so the service may not see the UPS). Eventually it does refresh and catch up on its own, however
Coming up soon will be the Quadro install and the SSD setup, followed by some (finally) notes on VSAN and accelerated View (both vDGA and vSGA), so stay tuned!
