
A new motherboard build is always a bit daunting. The case has to be fully broken down which, even with a great case like the A77F, is a lot of work. Sometimes it almost seems easier to just buy a new case and supply and start from scratch fully, but there was no reason to change from the excellent Thermaltake ToughPower 1200, and of course I have already professed my undying love for the Lian Li PCA77F. Pretty much everything else with the exception of the LG BluRay burner was coming out, though, so it was time to start breaking down. We’ll do this like the Rachel Ray show (if only it were this easy in real life!). And… POOF! She’s empty:
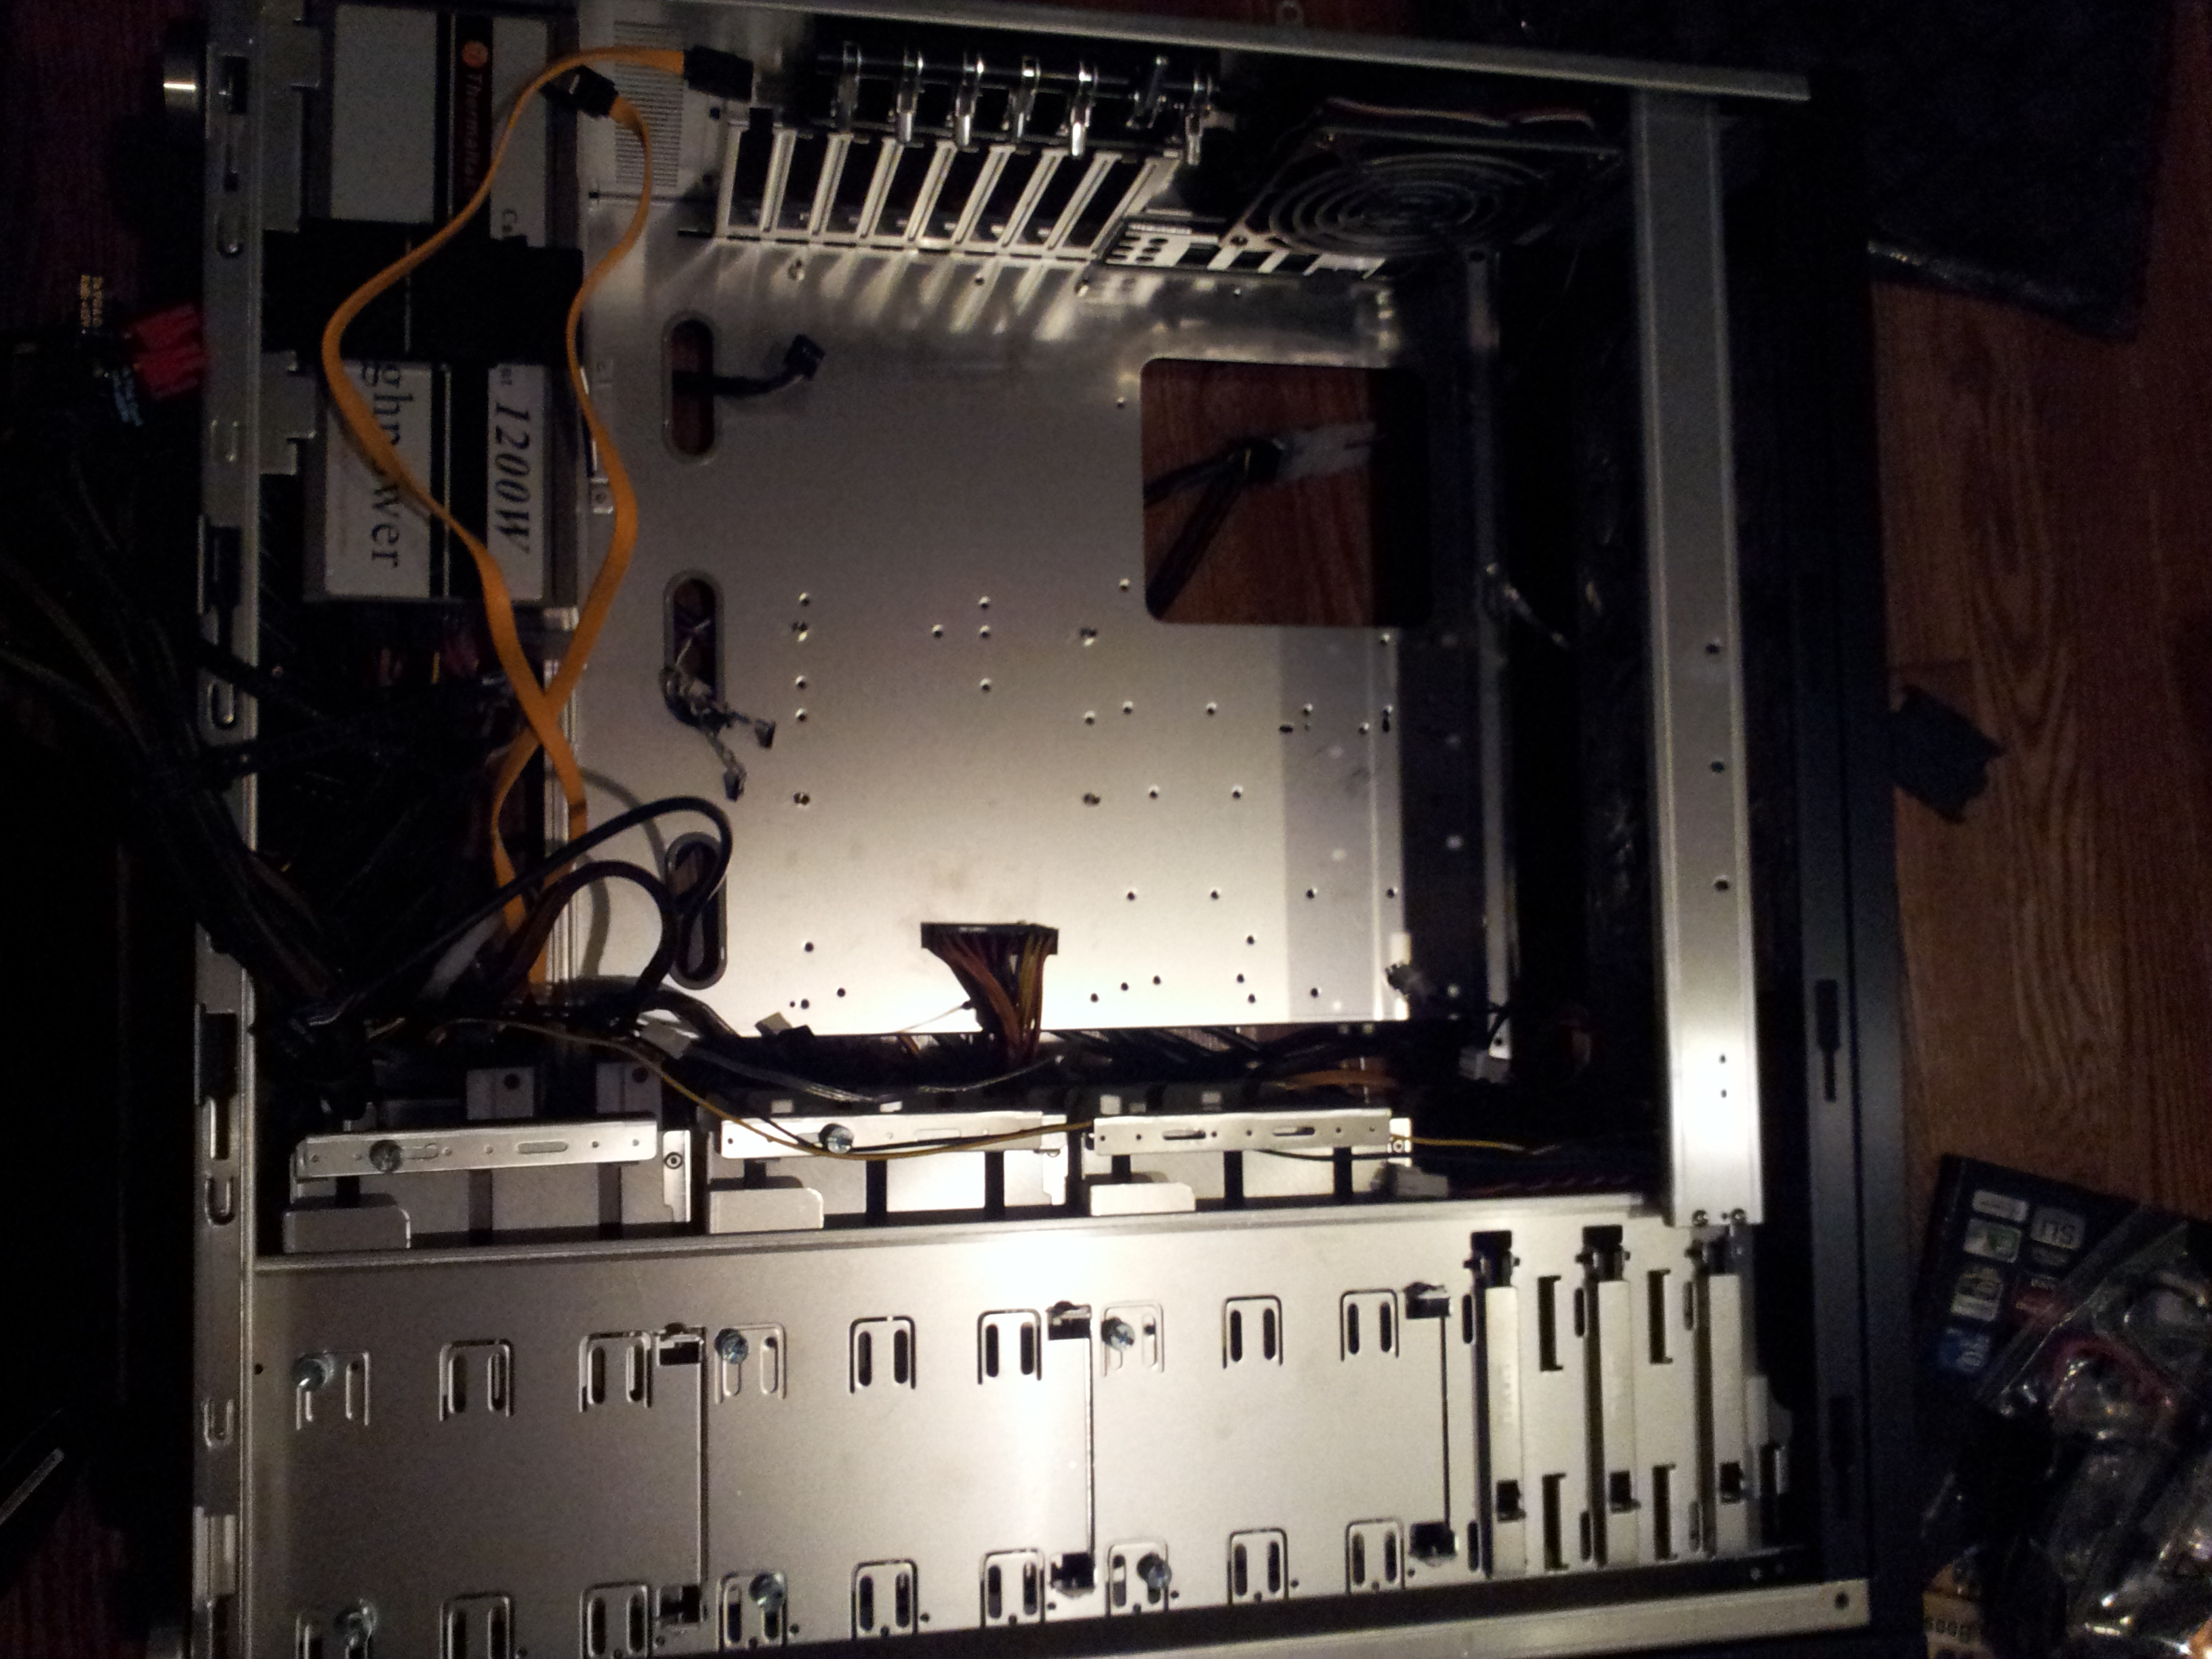
Everything came out pretty easily including the Corsair H50 and it’s cumbersome 120mm RAD. With all of the old parts out of the case and set aside it was time to start installing! But first, a look at the customized case door nicely modded by the friendly folks at FrozenCPU:
Really nice, clean and straight dremel work here. About 1000x better than I could have done! They also included grills and screws which will be going on later along with two 120mm Corsair 2000RPM LED fans (keep it tacky Seattle!) And now, the stars of the show! Introducing the socket 2011 (on the Asus P9X79-WS), the pintastic underside of the Core i7 3960x Extreme and the Corsair Vengeance 16GB 1866Mhz DDR 3 kit (4×4 for quad channel):


I did consider the more economical route of going with the i7 3930 (really, I did!), but in the end I had to accept that I am precisely the target market of idiots that Intel aims at with the extreme parts! The Core i7 980x (still my favorite CPU to date) was a fantastic 3.2Ghz, 6 core, 12MB cache part. It is an amazing value statement that the 3930 is for all intents and purposes a SandyBridge re-imagining of the 980. Because of that, however, psychologically it felt more like a side grade to me. When you’re spending this kind of money (close to a new build really), and plan to keep these parts for upwards of 2 years, the difference of a few hundred dollars becomes less dramatic (even if it represents a 100% uplift on a single part). As great as the 3930 is, the 3960 is a better part. The 3930 is a better value, but honestly I don’t really go for value in my builds. The benchmark goodness will be coming later, but overall the 3960 was a solid, if somewhat lackluster, upgrade over the 980x. The real problem is that nothing is CPU bound at this level, so even a decent gain in clock and IPC doesn’t translate into much in the real world.
The chipset, socket and system board side of the equation is a mixed bag as well. I had had great luck with the EX58-UD5 from Gigabyte, but I heard that their X79 offering was not living up to the bar they set with the X58. The forums are running just a bit too hot with problems that are a bit too random for my liking. That was all the incentive I needed to return to either EVGA or Asus and in the end I settled on the Asus board and, in particular, the Workstation variety. The board itself is great with a nice layout and the usual Asus quality and workmanship. The caps look good, the solder points are clean. Parts have really come a long way since the old days and it’s good to pause sometimes and just appreciate the great manufacturing we enjoy today! Unfortunately the components on the board aren’t as great. I can’t help but feel that X58 shines just a bit brighter than X79. I definitely don’t like the lack of native USB and SATA3 support at all. Having the ASMedia and Marvell controllers on there definitely adds to the complexity and is a bit of a bummer. The switch to UEFI is a mixed bag also. The ODMs are definitely taking advantage of it bringing a genuinely compelling mix of tools and capabilities to the stodgy old BIOS setup and this feels like a big breath of fresh air (unlike on the Mac where EFI was a pretty much transparent replacement for OFW and a non-event). On the downside, though, the inherent complexity of the PC ecosystem means that you need to do some planning and homework before installing (as covered in the last entry) Ideally I would have liked to have seen Intel bake SATA3 and USB3 into X79, address the PCI-E3 situation more clearly, and also possibly for them to have done some work making the transition to UEFI more intuitive.
On the brightside, those UEFI tools really are a gem. Asus has built in some incredibly cool stuff into this WS board. Two features that really jump out are the EPU and TPU switches. In my opinion these two innovations are a real jump forward for the built-it-yourself PC platform. The EPU switch puts the motherboard into an active, automated, energy management state where dedicated circuitry actively monitors and manages the programmable VRMs. This gives you an unprecedented level of voltage control at the software layer and, as a result, enables very interesting automated overclocking scenarios (more on this later). Working in concert with the EPU switch, the TPU switch is circuitry backed automated overclocking at the chipset level. I have seen many folks advise the curious that the TPU should be off, that the “old manual” method is best, etc. This is no surprise, but I feel it is 100% wrong. I experimented extensively with both of these features, and with the software that leverages them, and I feel that the combined package can easily take care of what 90+% of enthusiasts are looking to accomplish and do it in a way that is safer, more energy efficient and likely more performant. In my case, combined with the Asus OC Tuner Windows app, which cycles through various overclock scenarios (tweaking baseclock and multiplier and testing stability), I was able to achieve a perfectly stable 4.48Ghz overclock. Tweaking manually I was able to achieve 4.6Ghz, but not with great stability. I am pretty sure I can get 4.6 or 4.8 stable with enough tweaking, but honestly, why bother really? If a utility can take a 3.3Ghz proc and within 10 minutes drive it with perfect stability at nearly 4.5Ghz (a 1.2Ghz bump – to keep things in perspective it wasn’t long ago when the fastest x86 proc’s couldn’t reach that speed) for anyone adept enough to work a mouse, that is an impressive thing and a big leap forward for enthusiast computing. Well done to Asus on this stuff, it is most welcome and a move in absolutely the right direction. And for those who want to go for extreme overclocking and cooling, or just spend an extra 12 hours to get an extra 200-300Mhz on a nearly 5Ghz clock speed, that ability is still there – just disable TPU and EPU and you can manually tweak, and draw 100% power full time, just like last generation.
RAM of course is RAM and not much has changed with DDR3. Quad channel means that now it must be installed in 4’s, the new DIMMs are 1.5V which means safer overclocking and there are big RAM kits galore (16GB, 32GB, etc) so it isnt hard to get a nice sized chunk of RAM running full speed (this was tricky with X58). Quad channels, much like PCI-E3, don’t provide any real appreciable benefit outside of purely synthetic measurements, so not much excitement to speak of here.
As always, throwing together RAM and a CPU onto a mobo and putting it into a case is a quick affair so in short order things were on their way:

That big old Corsair H80 radiator, with push/pull fan setup, was a bit of a challenge. I decided that for the new build I would do a slightly more efficient job than I had done with the H50 (where I had done push fan only and zip tie mounted it onto the back of the middle drive bay, directly behind the CPU) and so it was time to do some case modification. As big as full tower cases are, its still surprisingly difficult to find a good spot to mount a 120mm rad internally. Making matters trickier, I really wanted to do the push/pull arrangement this go around. The Corsair closed loop systems are great, but they do dump heat, off the rad, back into the case. Air flow into them is really critical as is excellent negative pressure to get that hot air vented out. After thinking a bit about airflow, positive and negative pressure, aggregate cfm, case geometry and hot/cold zones, I arrived at the following (quite likely suboptimal) airflow design. I consider it good enough for government work! 🙂
 I decided to recess the fan component of the radiator into one of the drive bays (I only utilize one slot of the bottom bay since I am running SSD only) and sacrifice the standard Lian Li intake fan design for that bay. I chose one of the middle bays, across from the CPU, to minimize travel for the water lines and try to give the hot air coming off the rad the clearest possible path to the rear and top exhaust. To accomplish this, I ended up having to do a bit of jury-rigging, turning the drive cage around so the intake fan would now be on the inside of the case. I turned the fan around so it would still pull air in and then attached the push/pull 2 fan plus rad assembly to the front of that fan. The end result was like this (sort of… ok, crappy pic I admit, but you get the idea):

I decided to attach one more intake fan to the open side of the bay since I wanted the case to have the same consistent blue led fan look from the front and figured more cfm to the radiator couldnt hurt. Once I had the entire assembly tucked into the mount area (it did fit backwards which was good luck), I realized that there were no longer any screw holes aligning (not even something you could “make work”), so it was back to the trusty old neon zip ties. I’m going to accept that I’ll never have a build which doesnt have to resort to zip ties somewhere!
Skipping forward a bit, I ultimately learned that the P9X79-WS has some interesting fan control quirks. First off, some of the headers are capped at a 60% minimum (CPU and CPU OPT). This means that even if the system is running cool/idle, you’re stuck with 60% fan noise on those headers which sucks honestly. In addition, I found that, no matter how I tweaked it, the motherboard wasn’t really controlling the rpm of any of my standard 3 pin fans. The result was my cool new Kepler/SandyBridge build sounded like a 747 full time (it was actually louder by far than the 980x build!). I lived with it for a bit but finally decided it was time for drastic action and picked up two of these guys to control the 11 fans manually:

I’ve never done manual fan controllers before, but I absolutely love them! The system is now running dead silent and if I find things warm up a bit, it isn’t the worst to reach over and push some of the fans higher by a bit to cool it down. Auto control is fantastic of course, but not when it doesn’t work consistently! A manual switch is tough to beat for consistent control. I attached its thermisters to various places around the case (CPU, SSD, PSU, mobo, GPUs) in order to get a rough sense of how things are going inside. It’s interesting to compare to the internal sensor readings if nothing else.
That pretty much rounds out the more interesting aspects of the physical build. Next up will be testing, some interesting observations, and a quick review of my experience with Windows 8!
