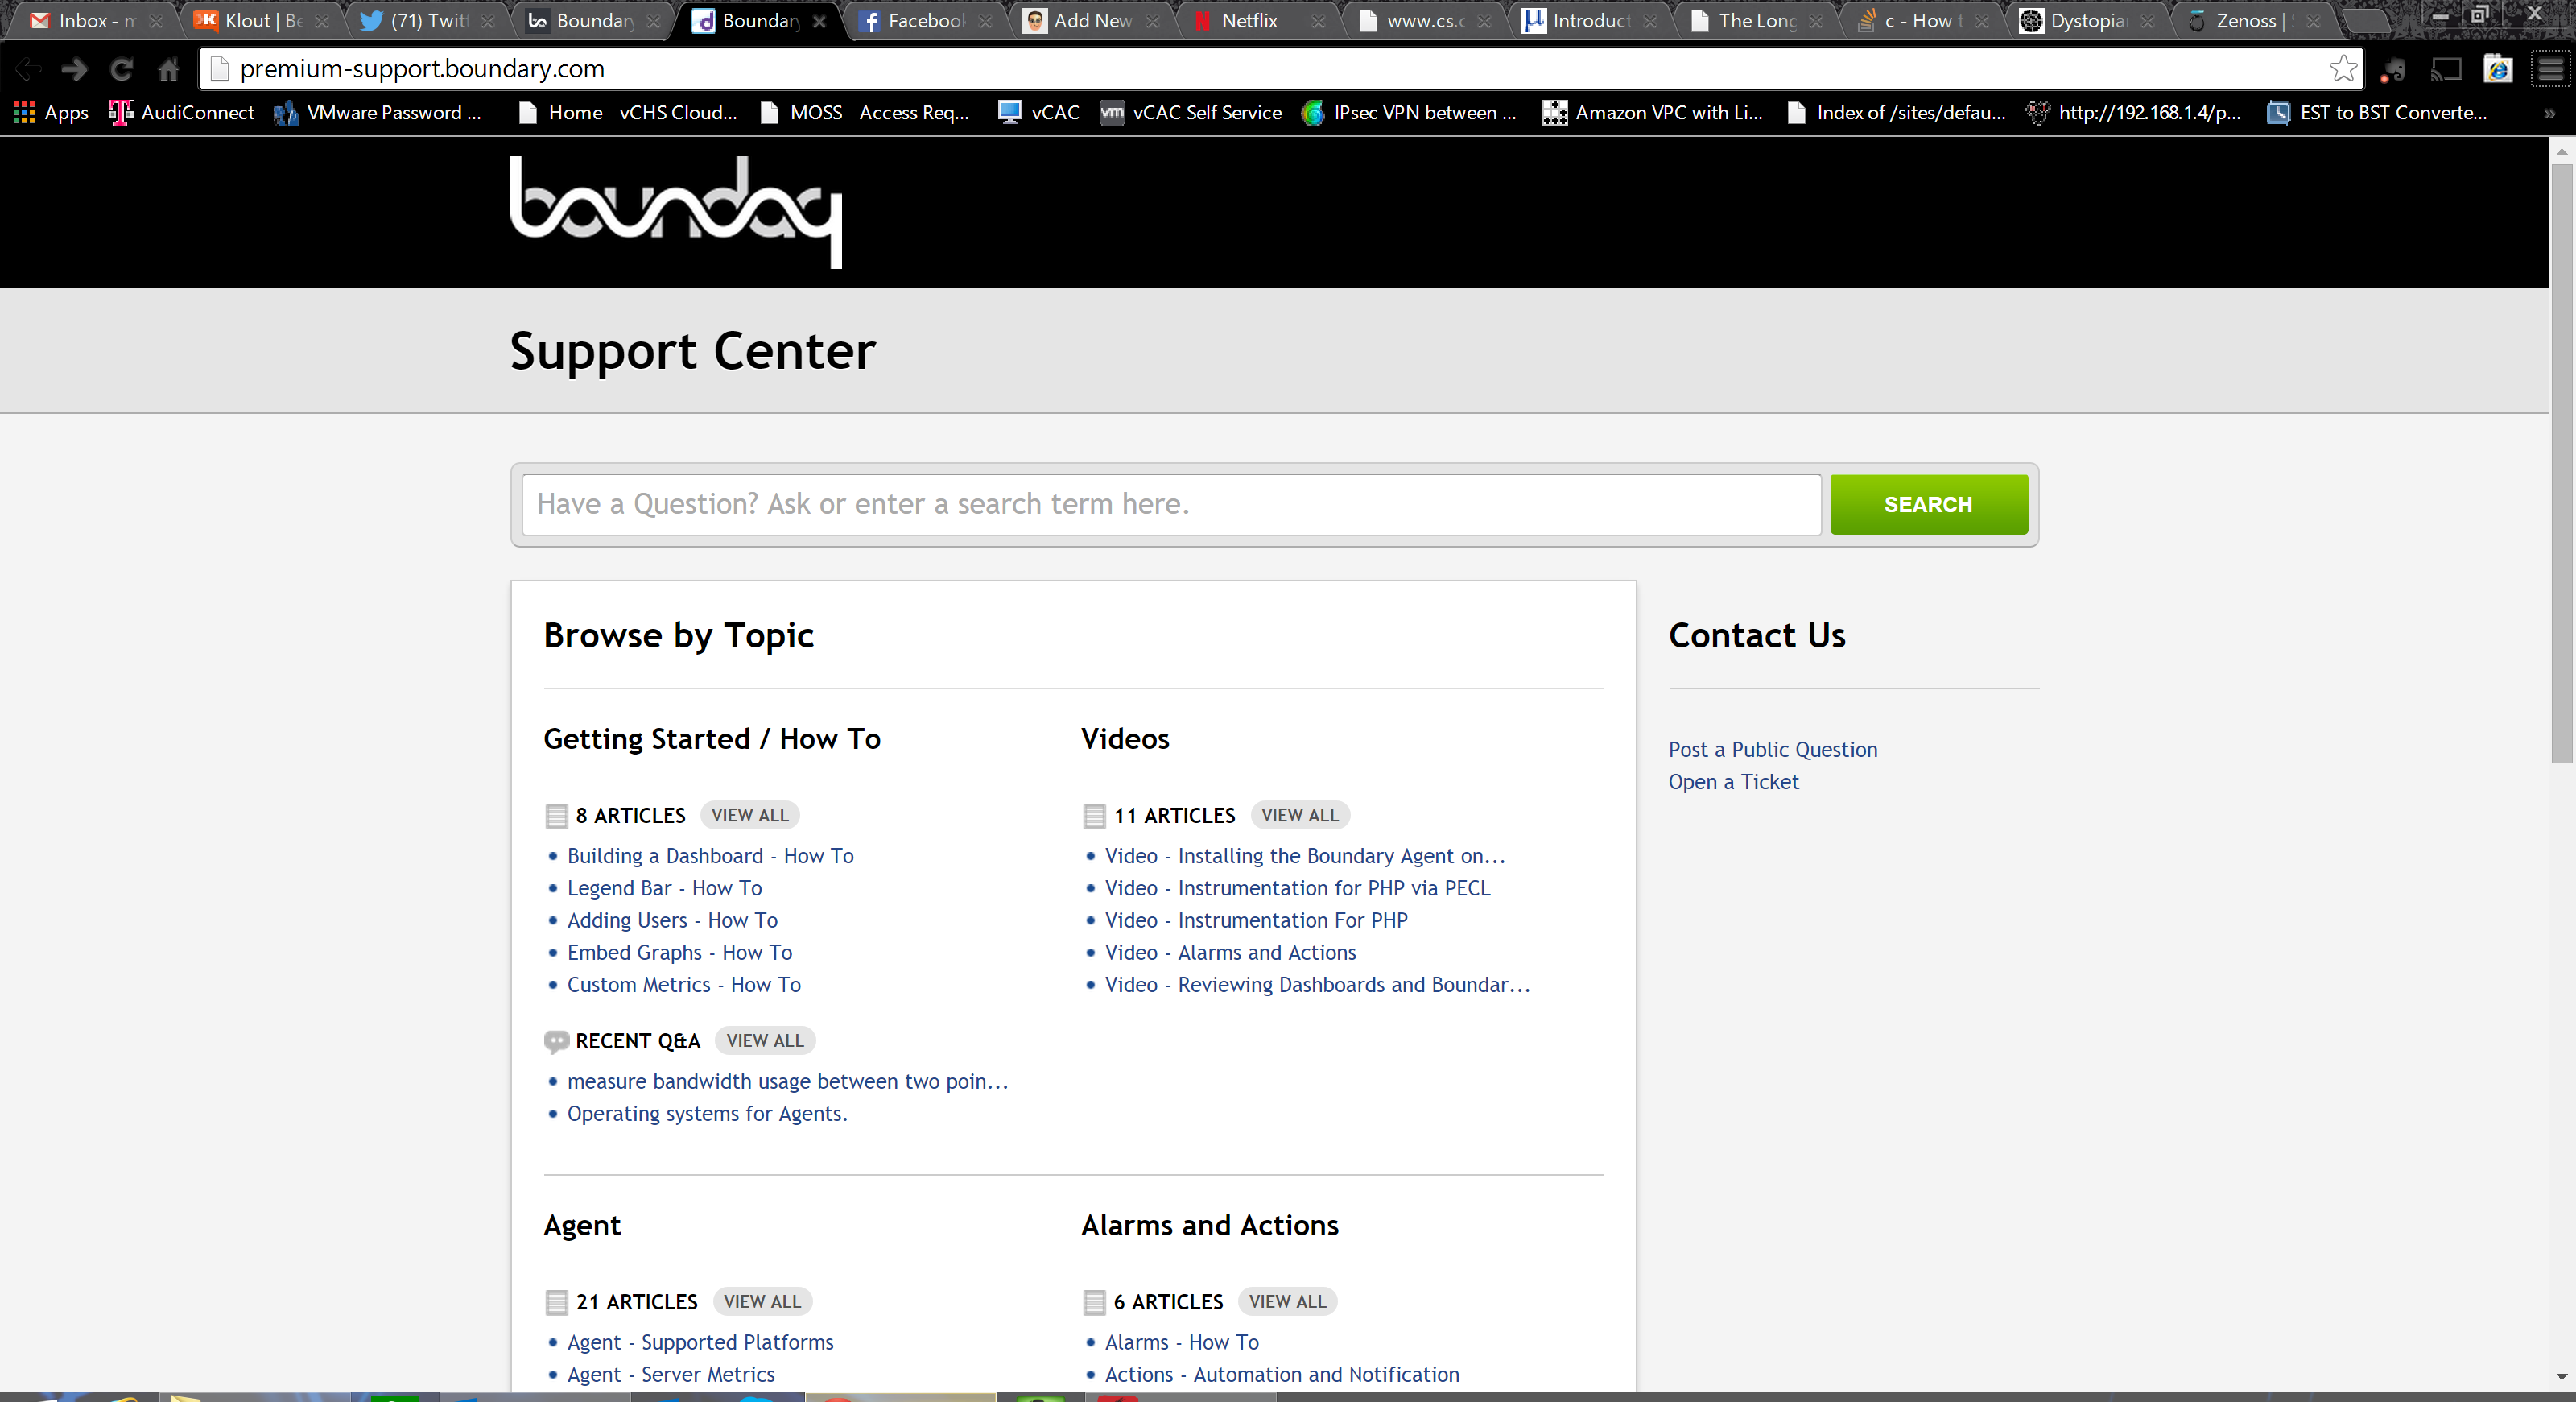
I was catching up on Twitter today and noticed some of my trusted connections retweeting the cloud based system monitoring as a service offering from Boundary. There are lots of these tools on the market and some, like ZenOSS, are quite excellent. It’s a developing space, though, and I always love checking out new approaches to classic problems, so I decided to take a look. I clicked their bit.ly and was greeted with this:
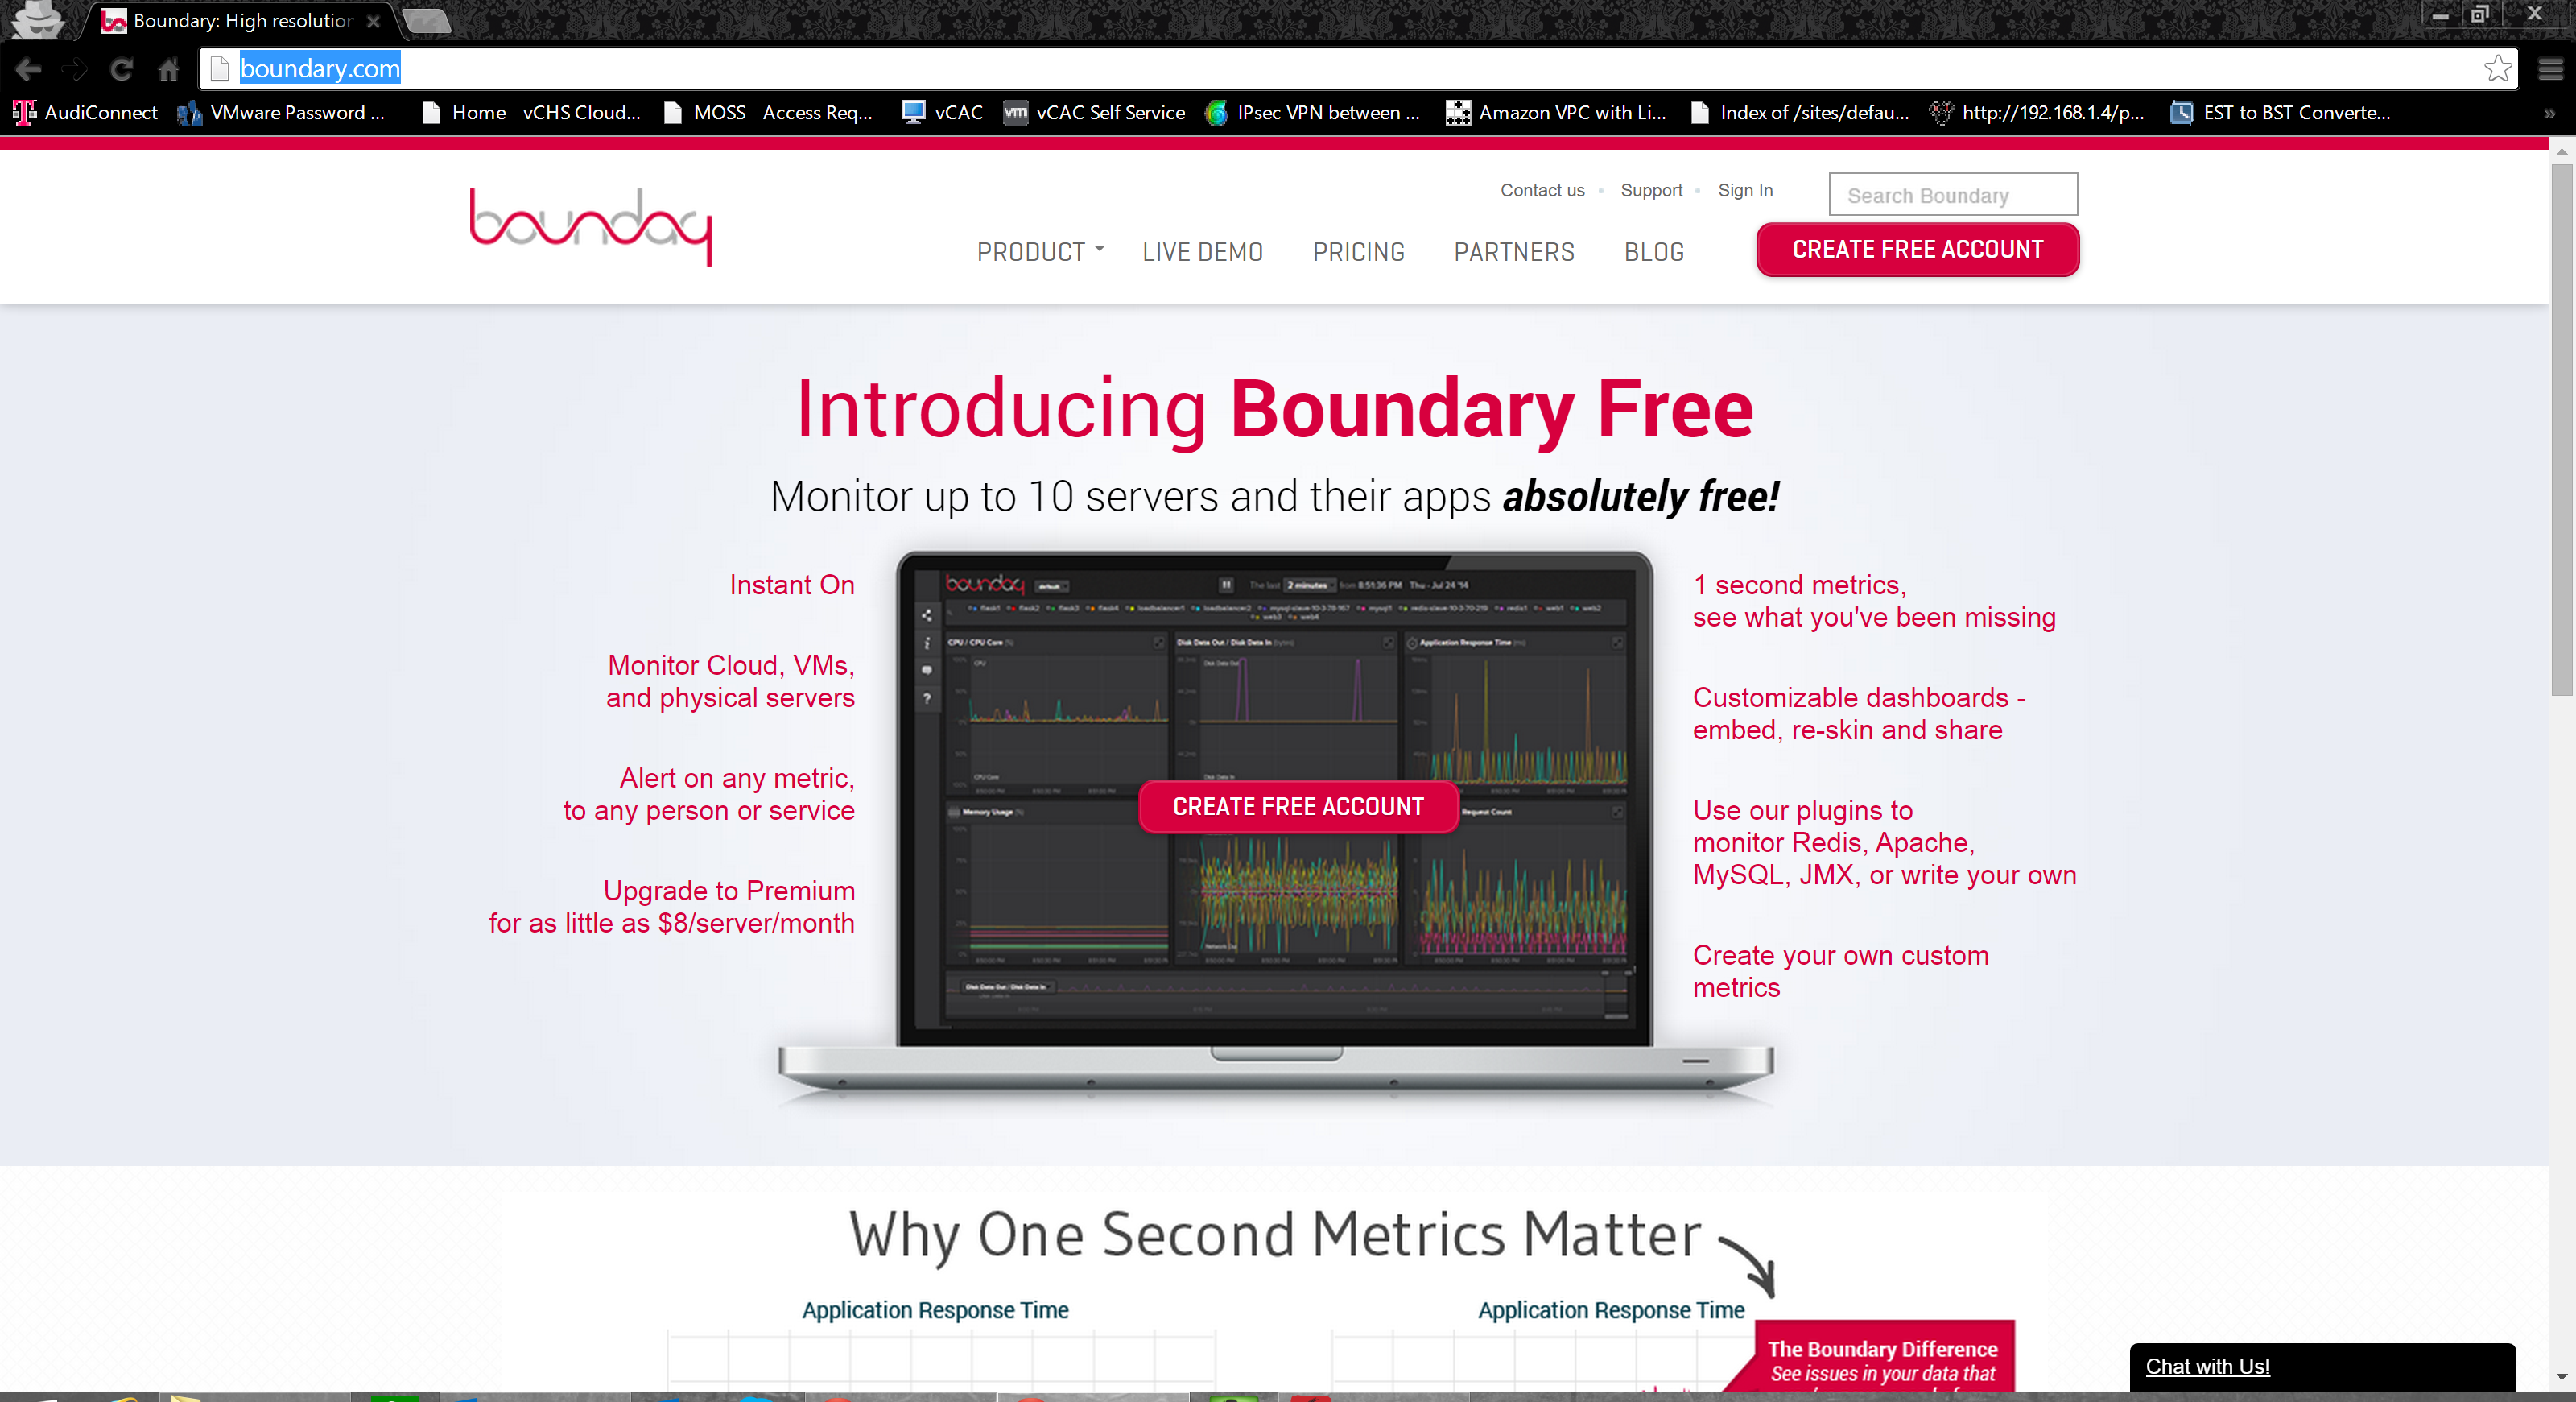
I see a nice clean UI (check). I see “free” (double check) and then I see “10 servers and their apps absolutely free” and start getting interested. They definitely have my attention so I decided that I will go ahead and create a free account (funny how these days vendors have to compete for your attention even with complex software that they’re offering free!). I had assumed that any service like this is agent based (pretty much has to be if you think about it), and I verify that it is, so no show stoppers in the architecture. Clicking “Create Free Account” brings up a similarly no fuss dialogue:

I enter my precious info, click Signup Now, and POOF. Instantly I am transported to…

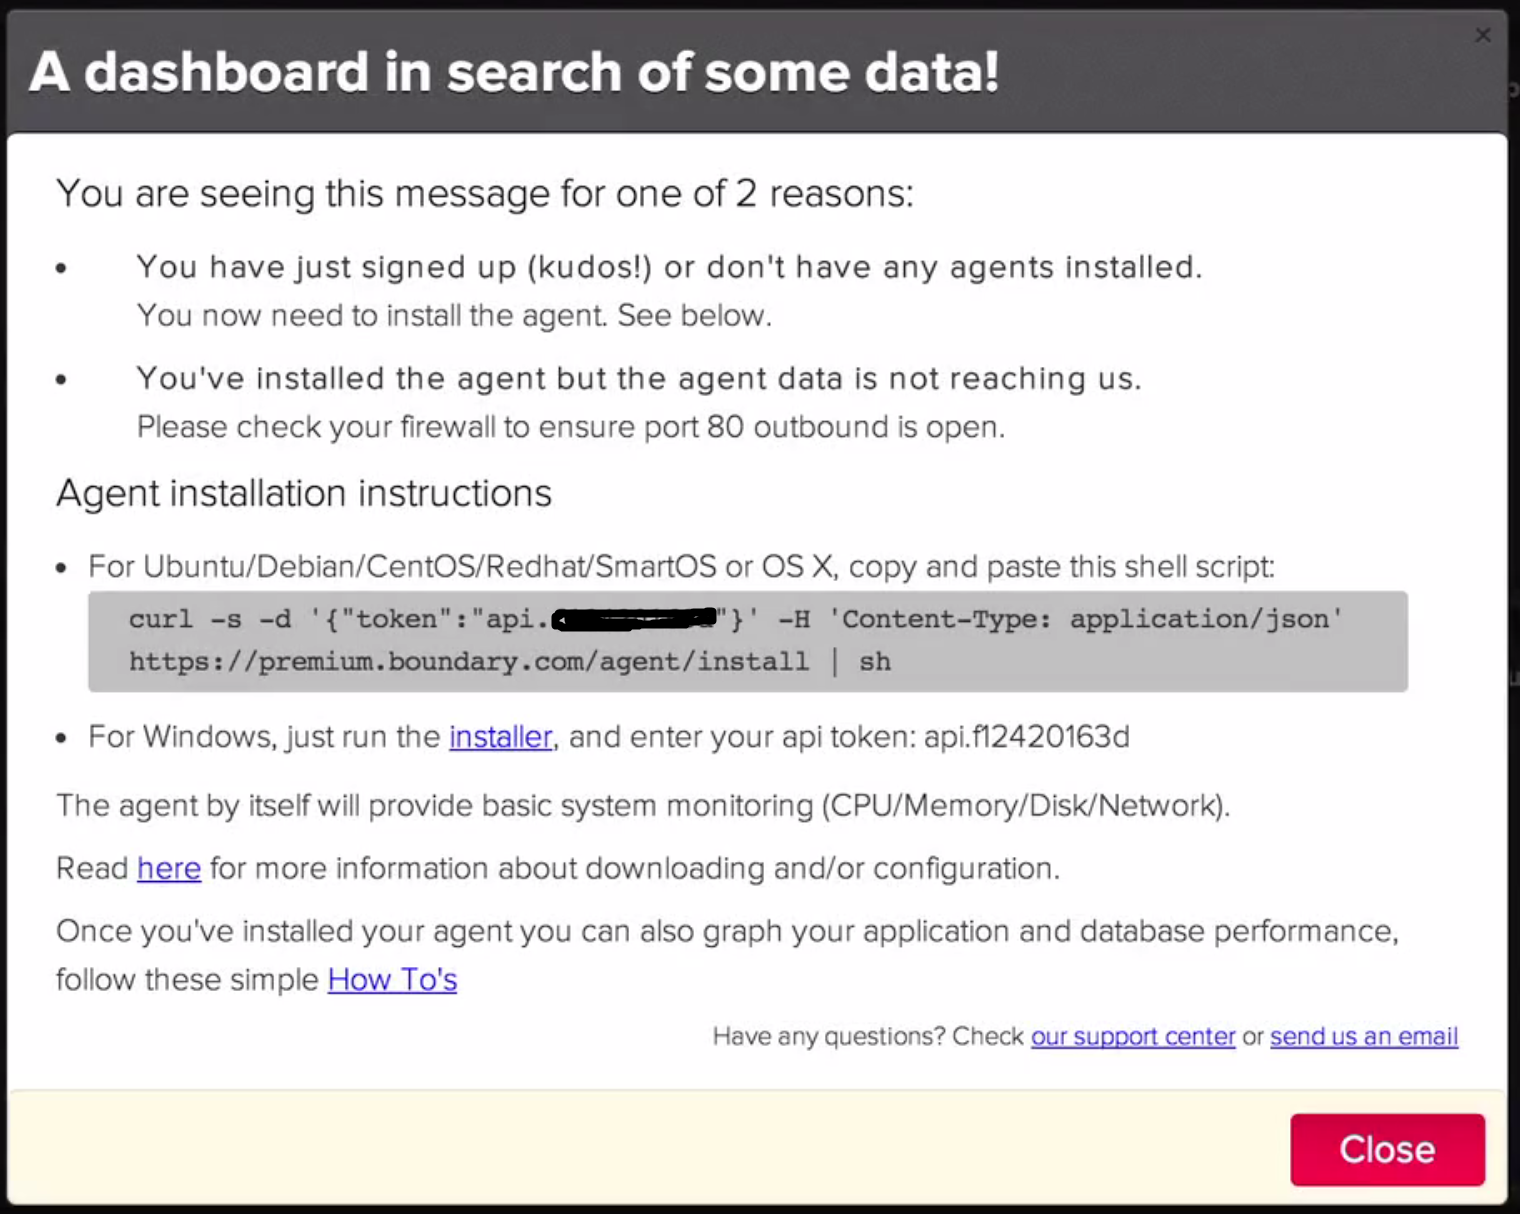
My shiny new (and blank) dashboard. Now that is “no nonsense”! Notice how it says “hey, you no data, click for assistance”? Well, click I did. The assistance tab keeps the theme going and is extremely direct and contextual. Adding new servers is right on the surface and it provides you with a CURL CLI example for Linux and a link to grab the Windows agent. It also provides a personalized API key to associate the agent with the service (love this):
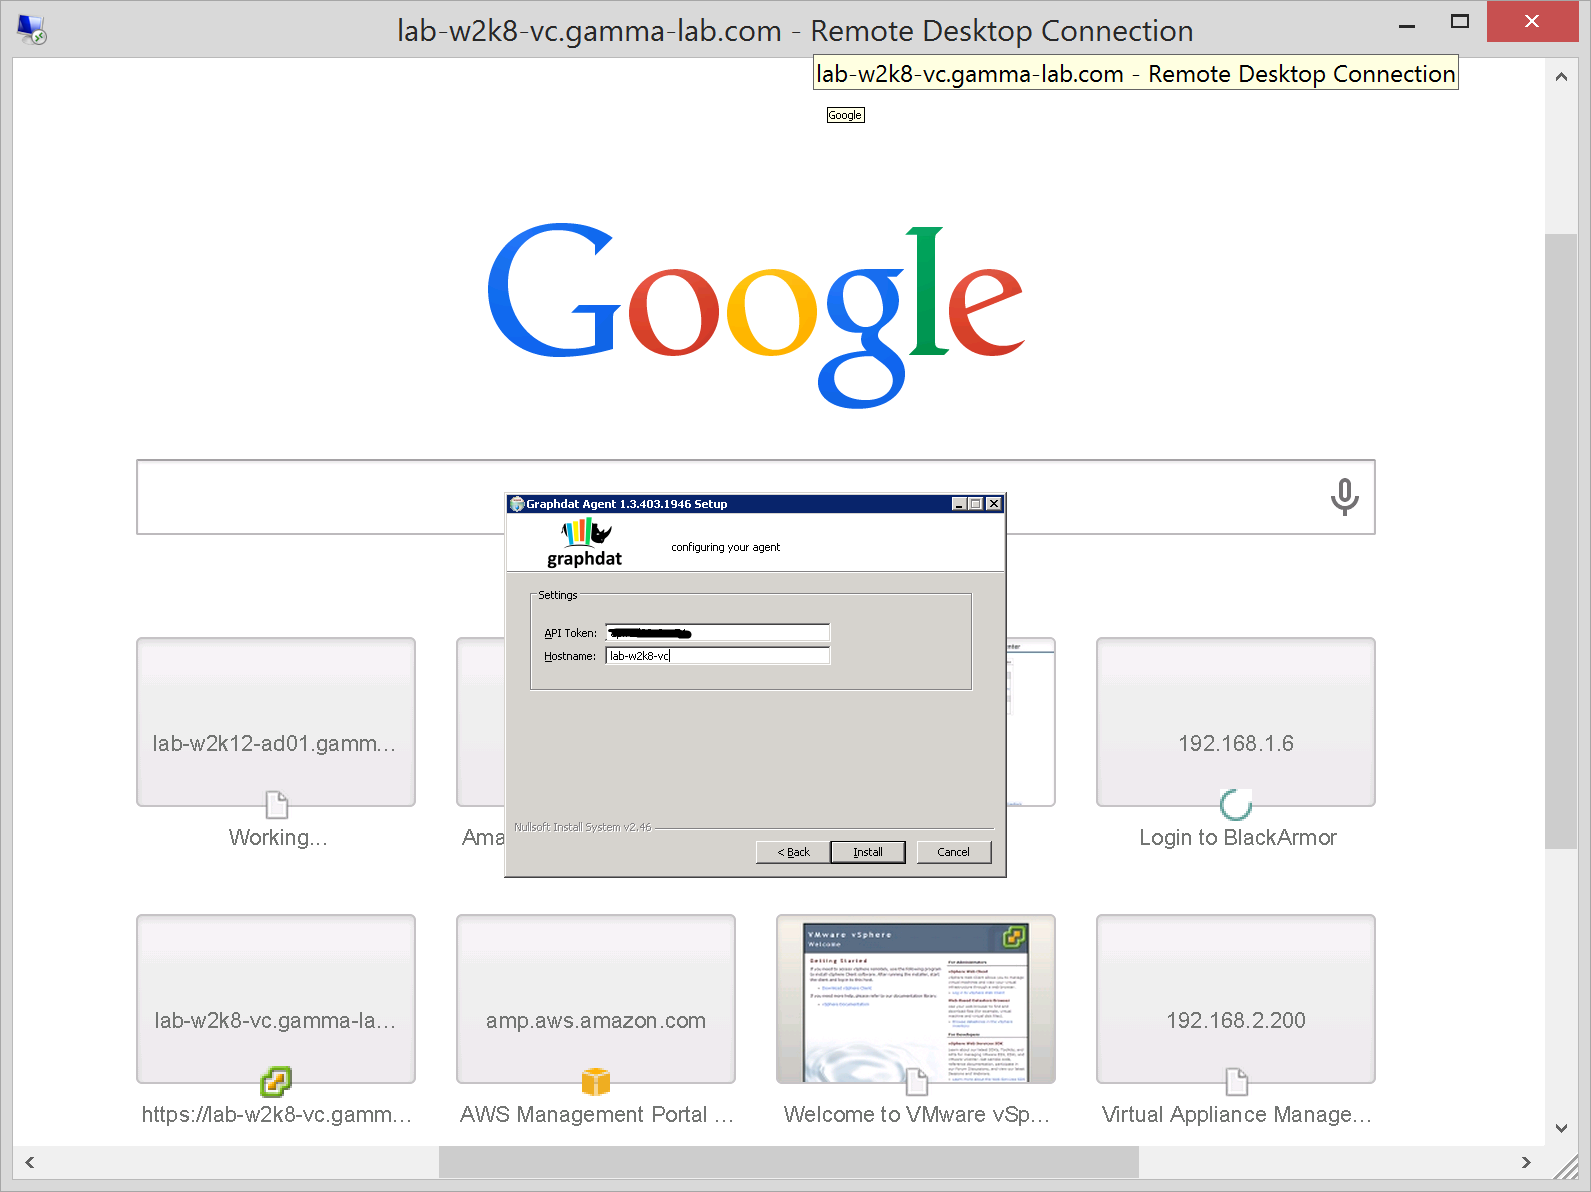
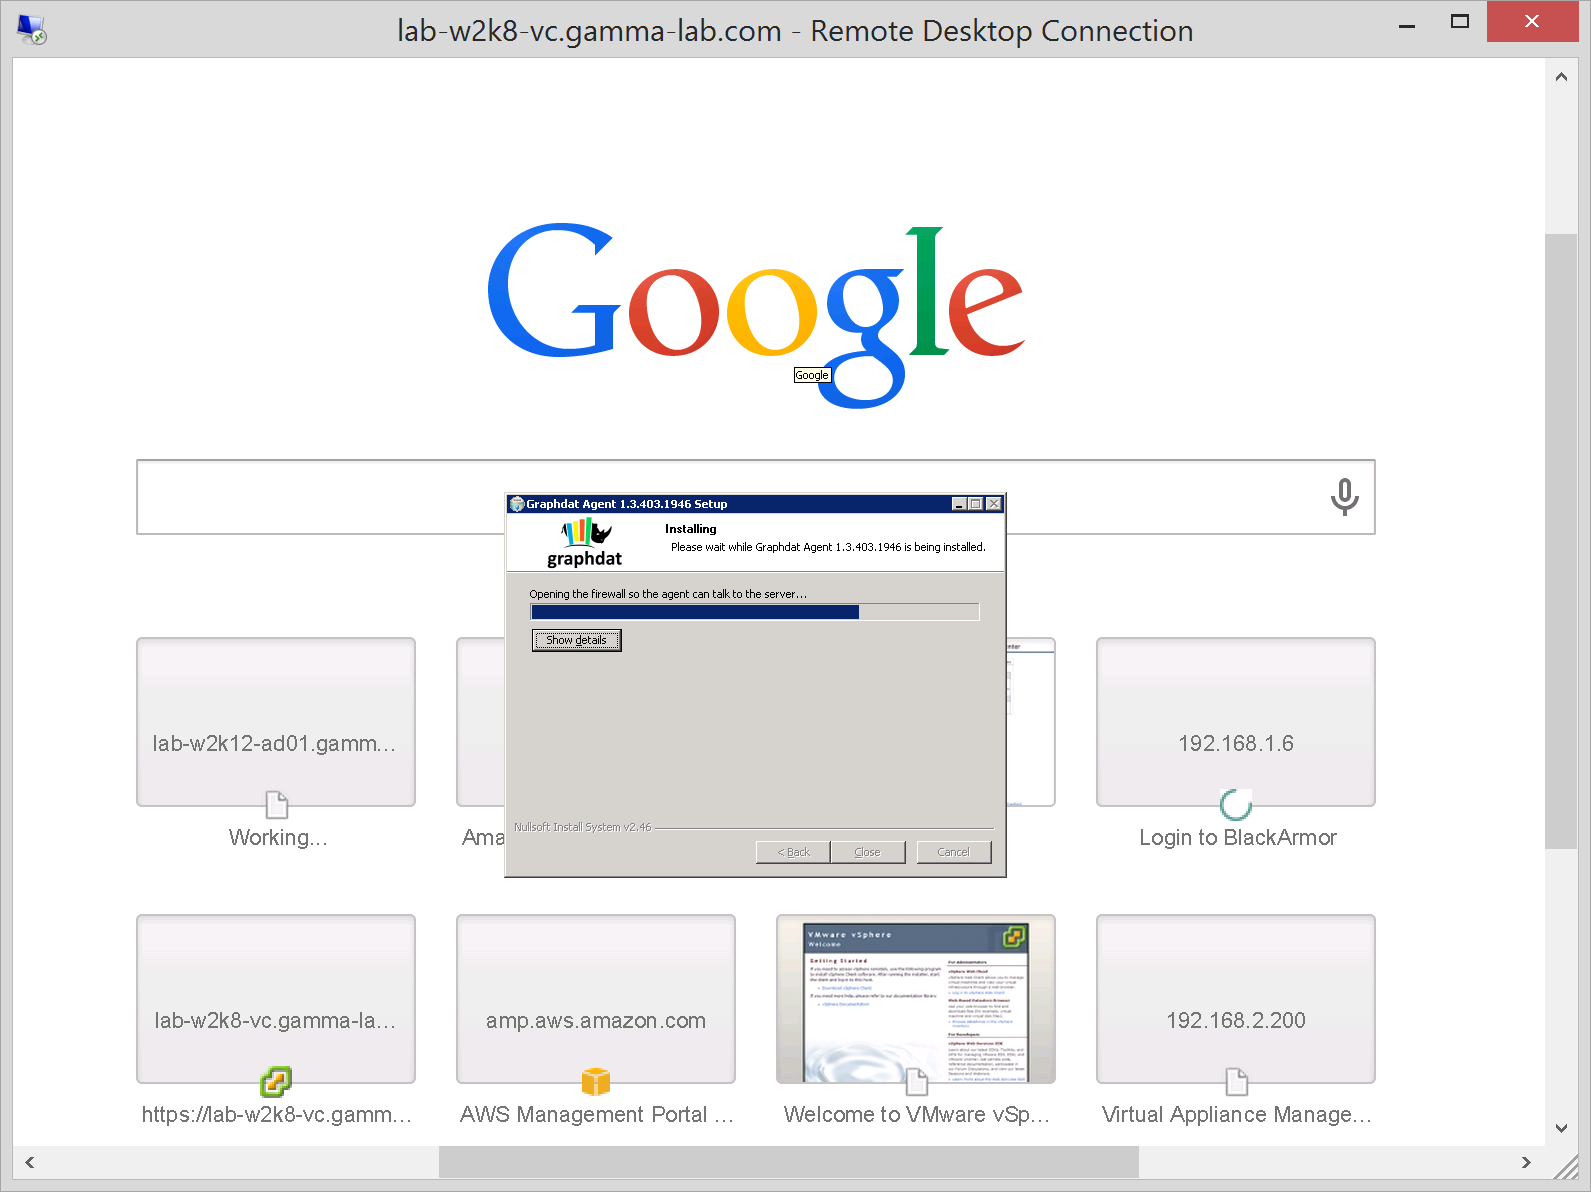
I decide that monitoring my vCenter would be neat (since it’s busy all the time), so I choose that as my first server. I opened an RDP and lobbed the URL in. It’s a path to a file on S3 (big shocker) which instantly downloads a (very small) agent installer:

First up we have to associate the agent with our cloud monitoring instance. This happens right in the installer and is super slick. Just drop in the aforementioned API key and provide a hostname to identify the server in the dashboard:
The installer will connect to the Boundary REST API and validate the association:

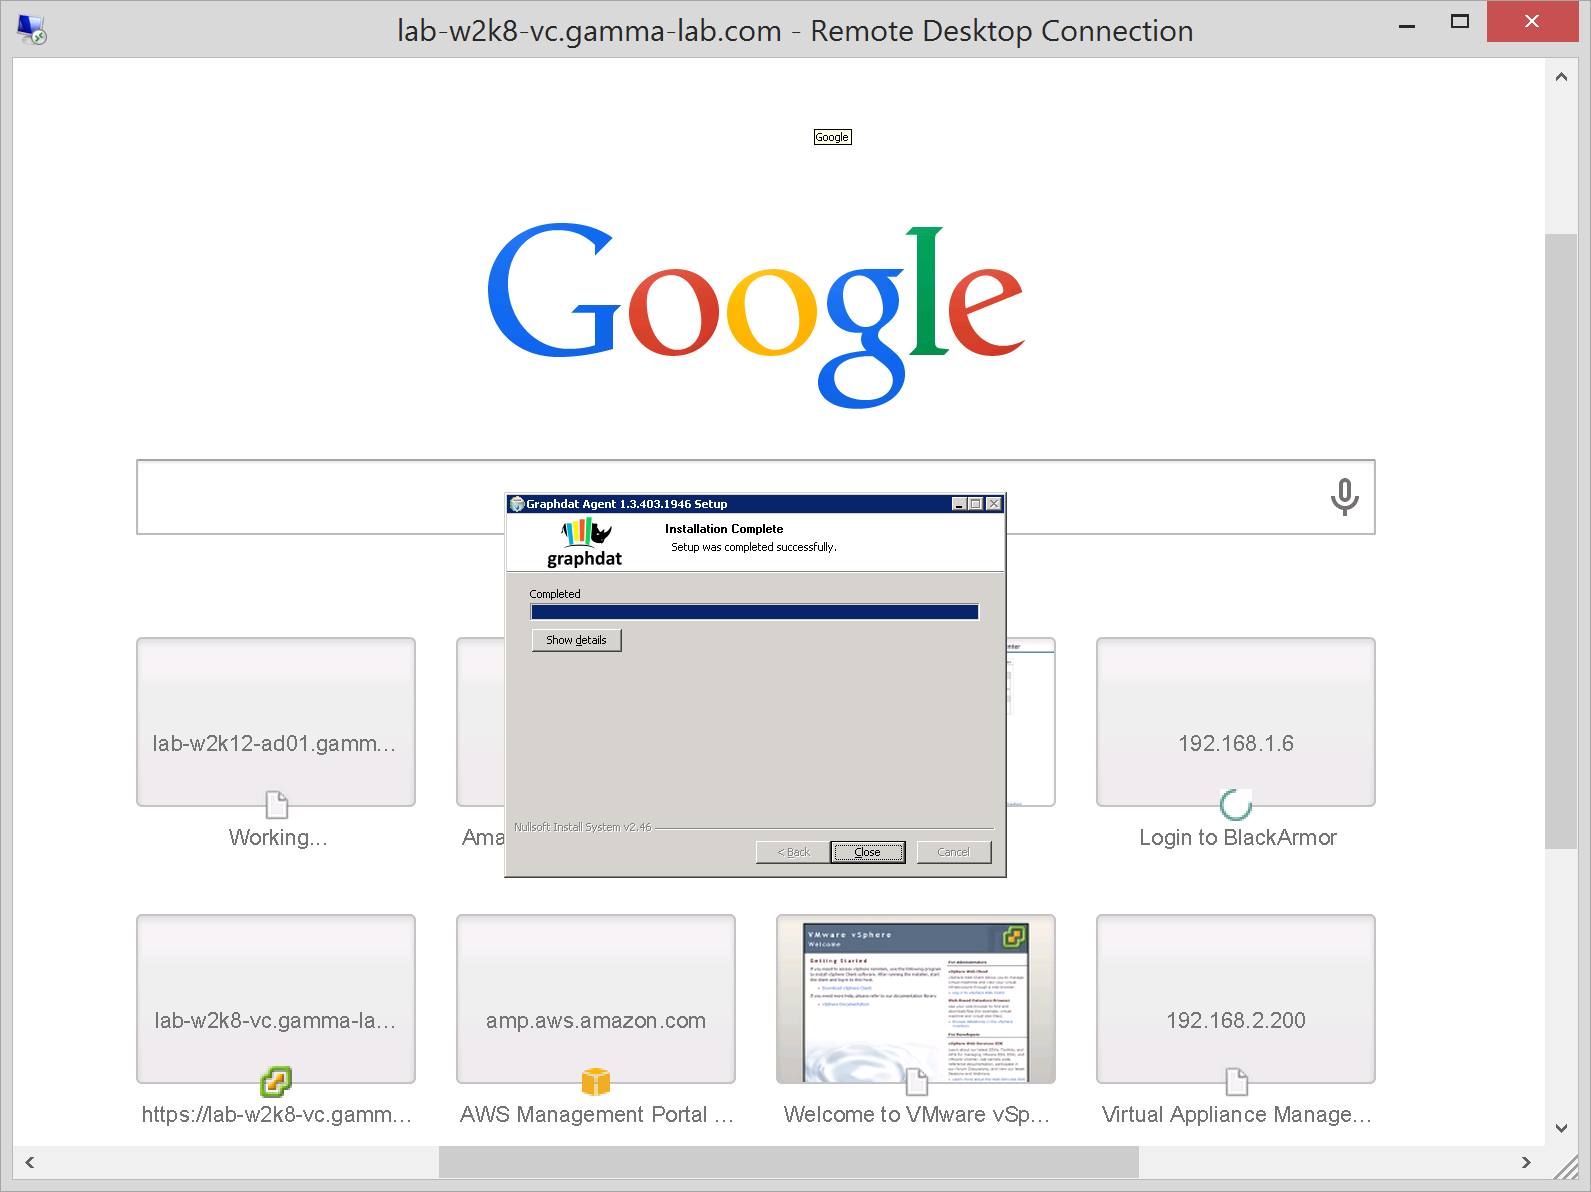
It proceeds with a quick file copy:
And viola! Extremely fast intsall:
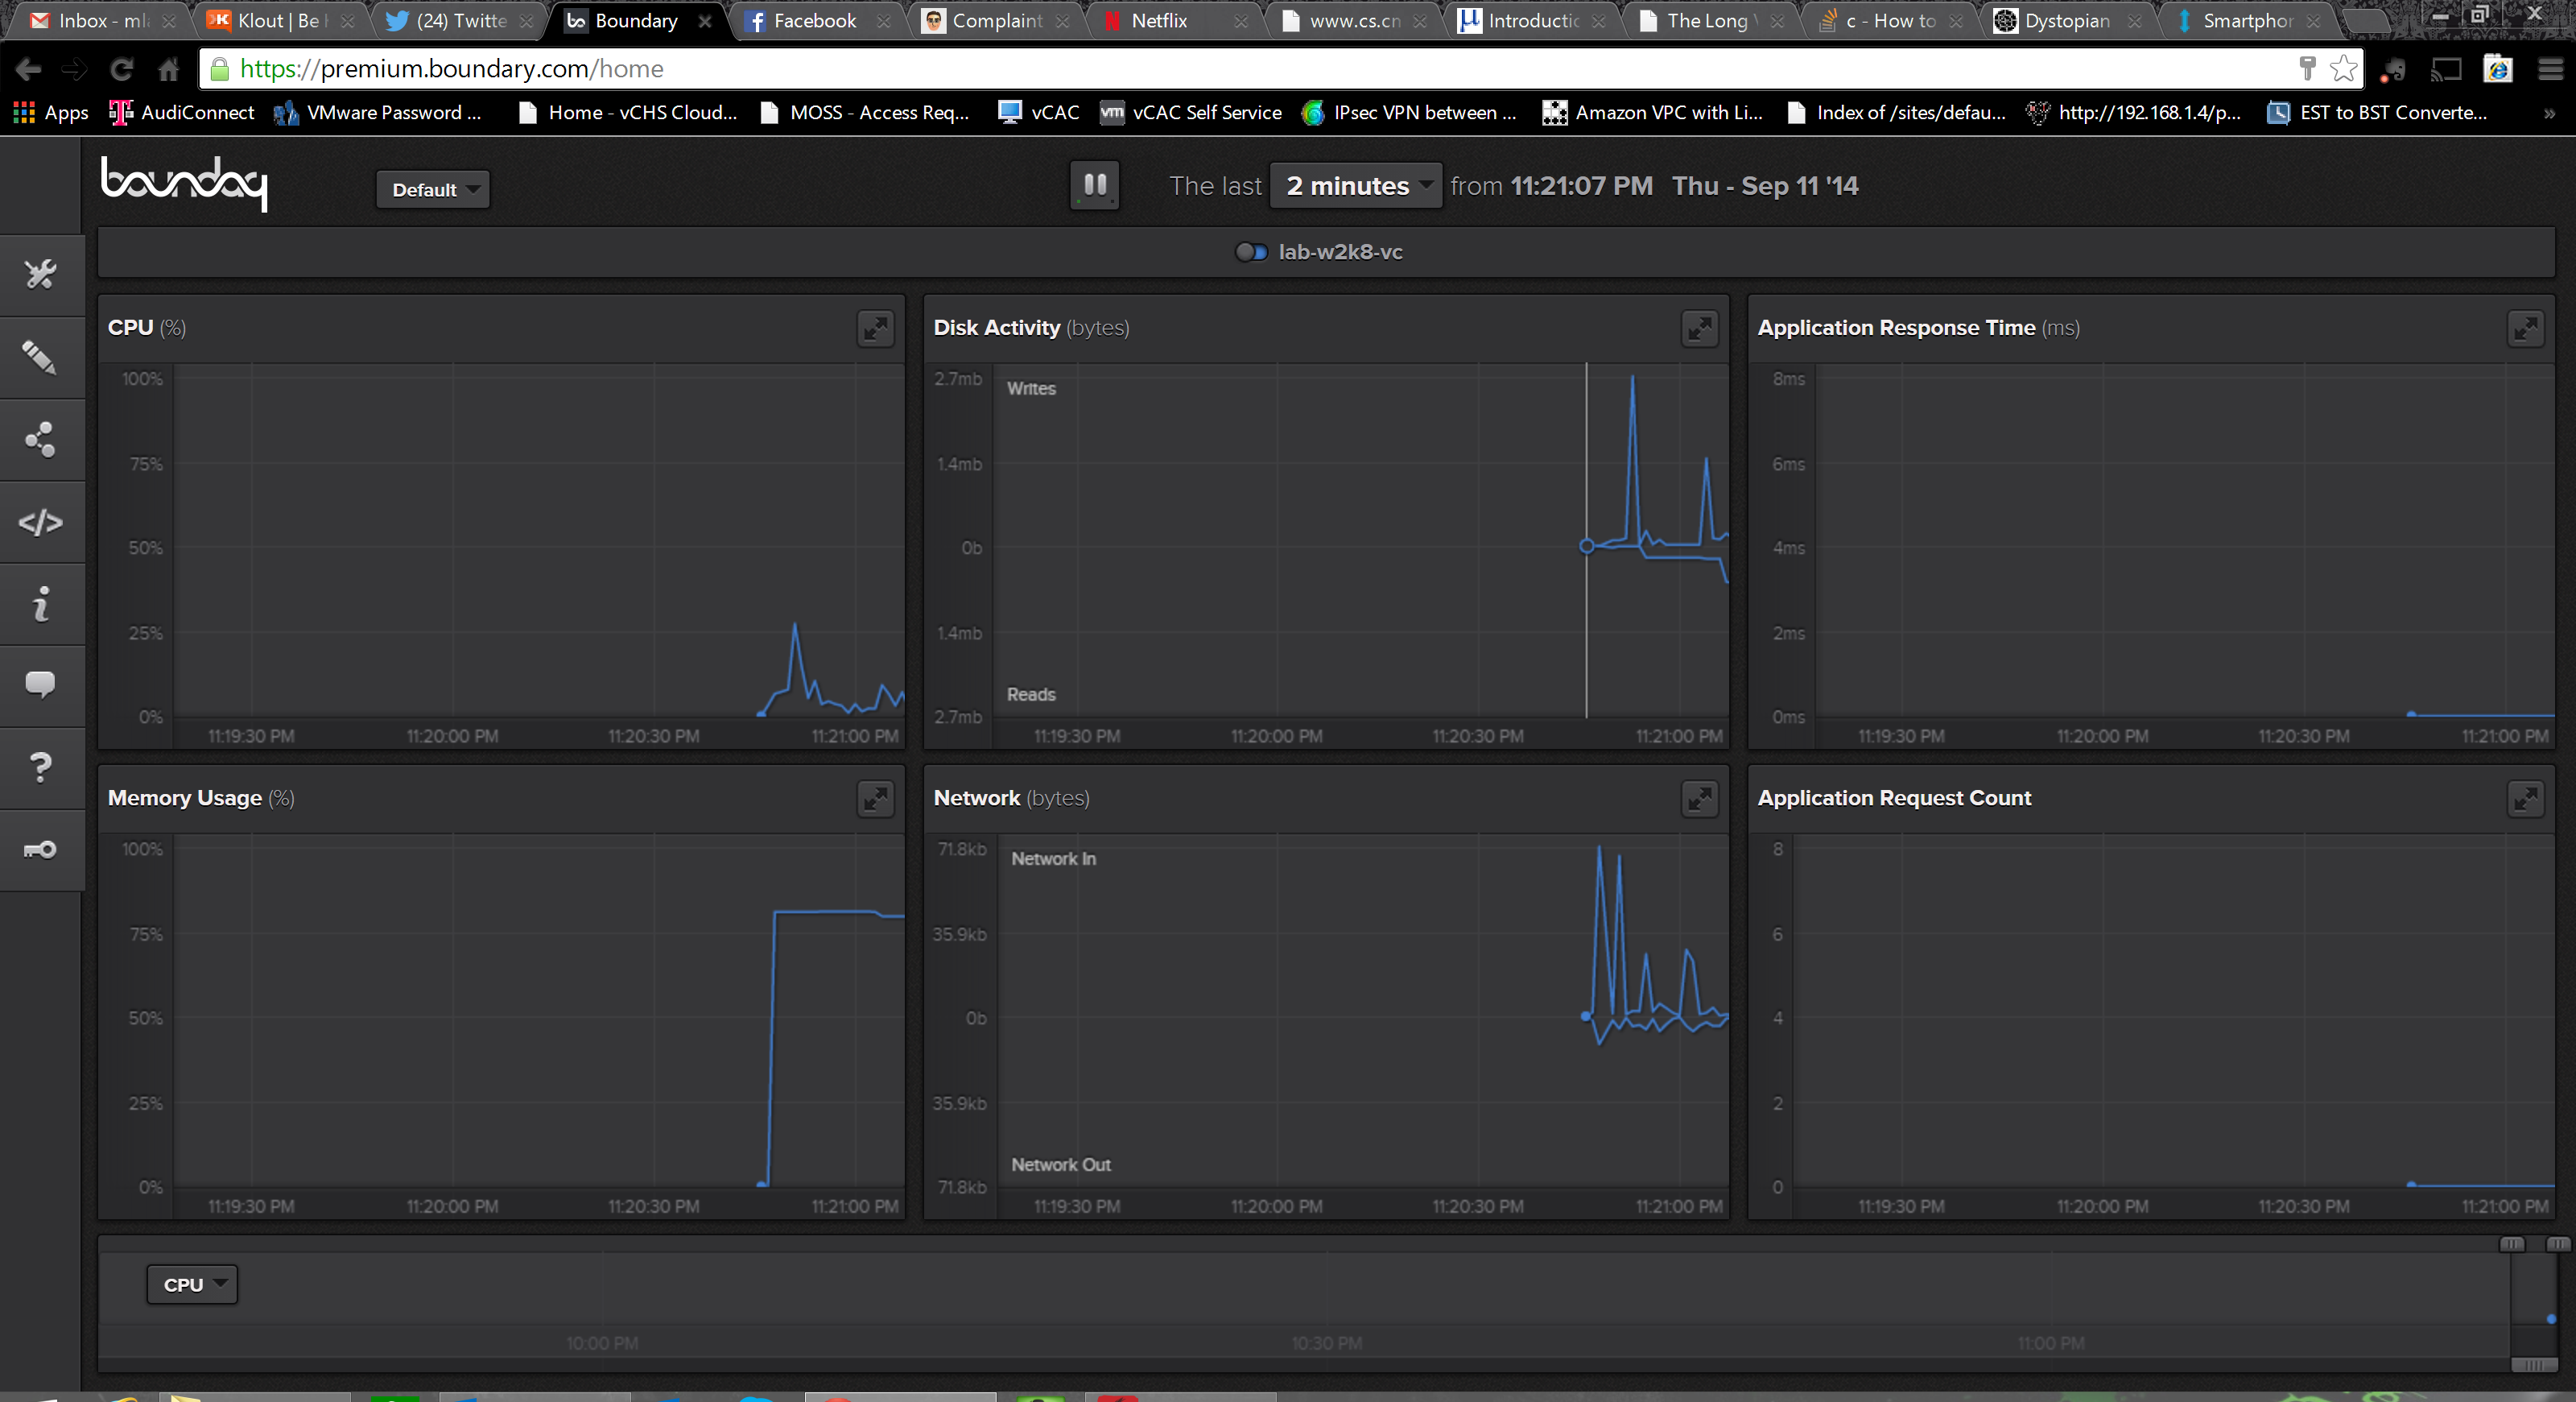
The really nice part? Seconds after the install completed, the dashboard, still open on my admin console, refreshed and started showing real time data!
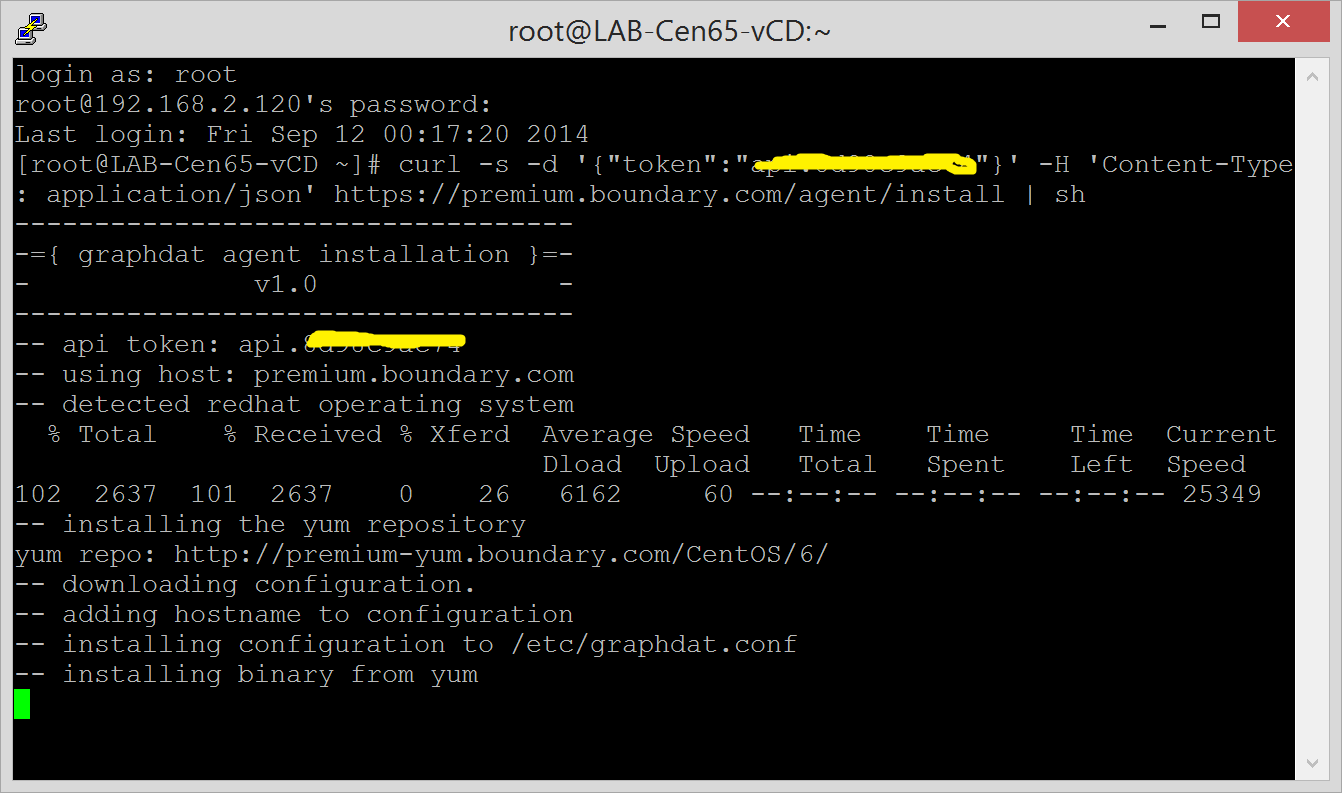
Next I decide that vCenters little blue line looks lonely and not nearly as cool as the dense seismograph Boundary uses in promotional materials! Plus, what’s life for an admin without some Linux action? To keep vCenter company, I decide to add my vCD 5.5 instance (now extinct, but still running in my lab). First up, we SSH into the primary cell and enter the handy provided CURL syntax (note, API required to associate the instance):
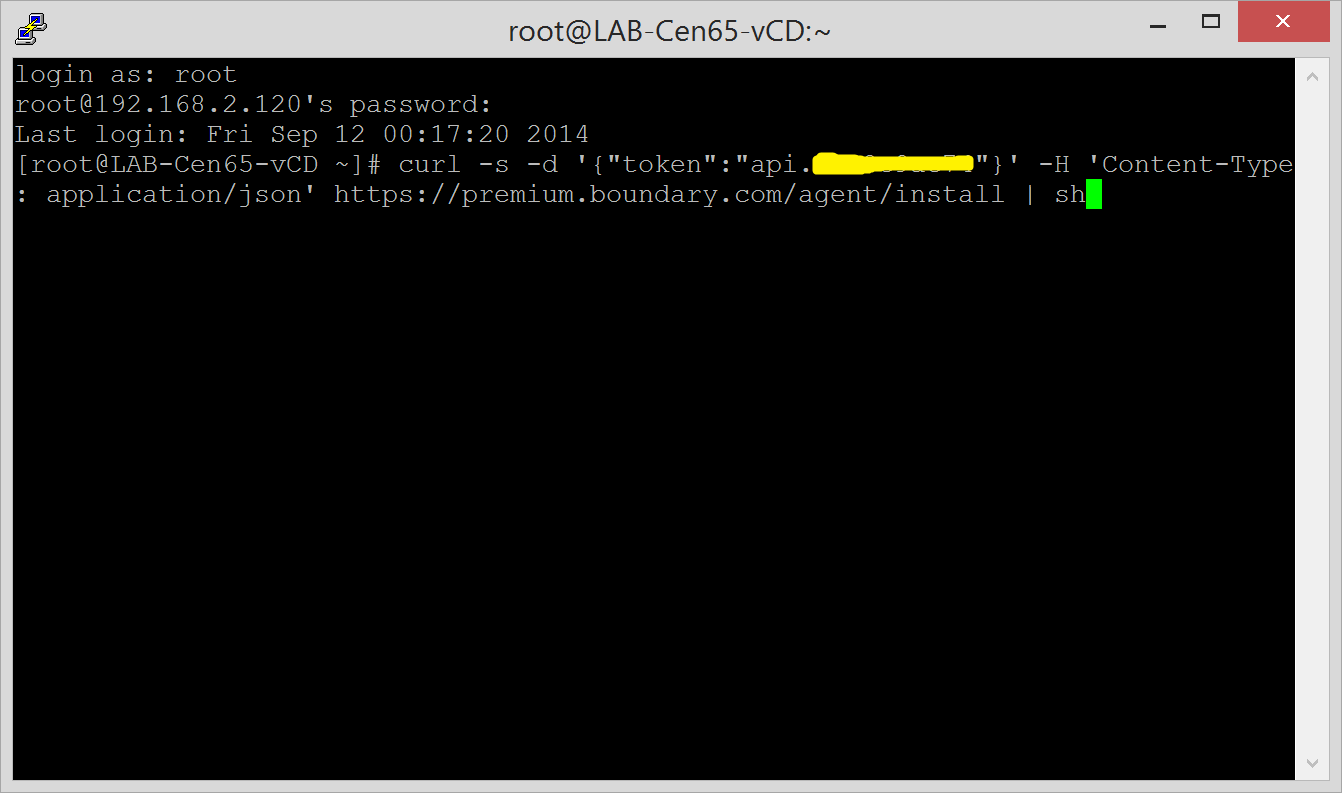
The syntax is good, so CURL goes to work (note, my vCD install is not the OVA appliance and is instead a manual install on CentOS because that is how I roll!). The install script calls YUM, we’re on CentOS, it’s all good. Not on CentOS? Then you need to look at the script and possibly roll your own:
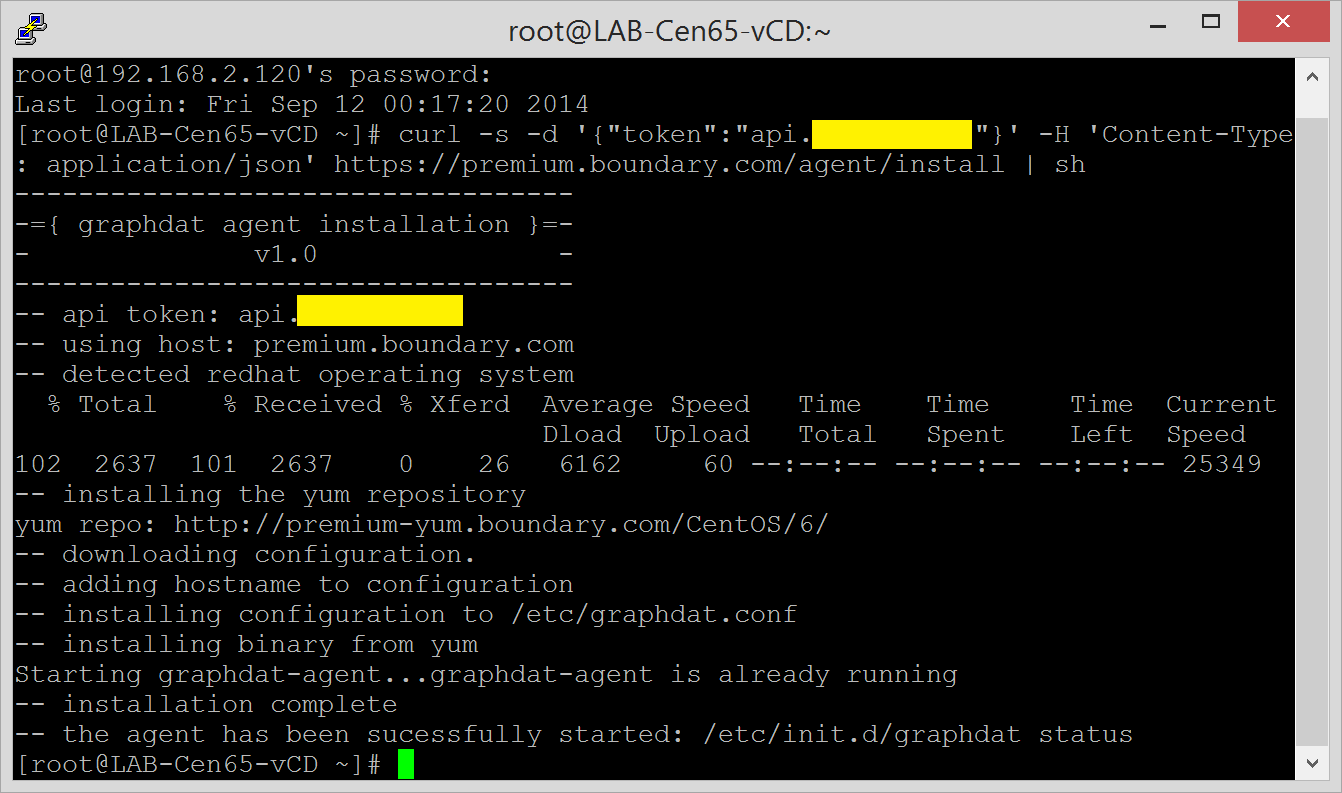
Quick as lighting (as quick as Windows actually) and she’s all set. No issues at all installing on vCD:
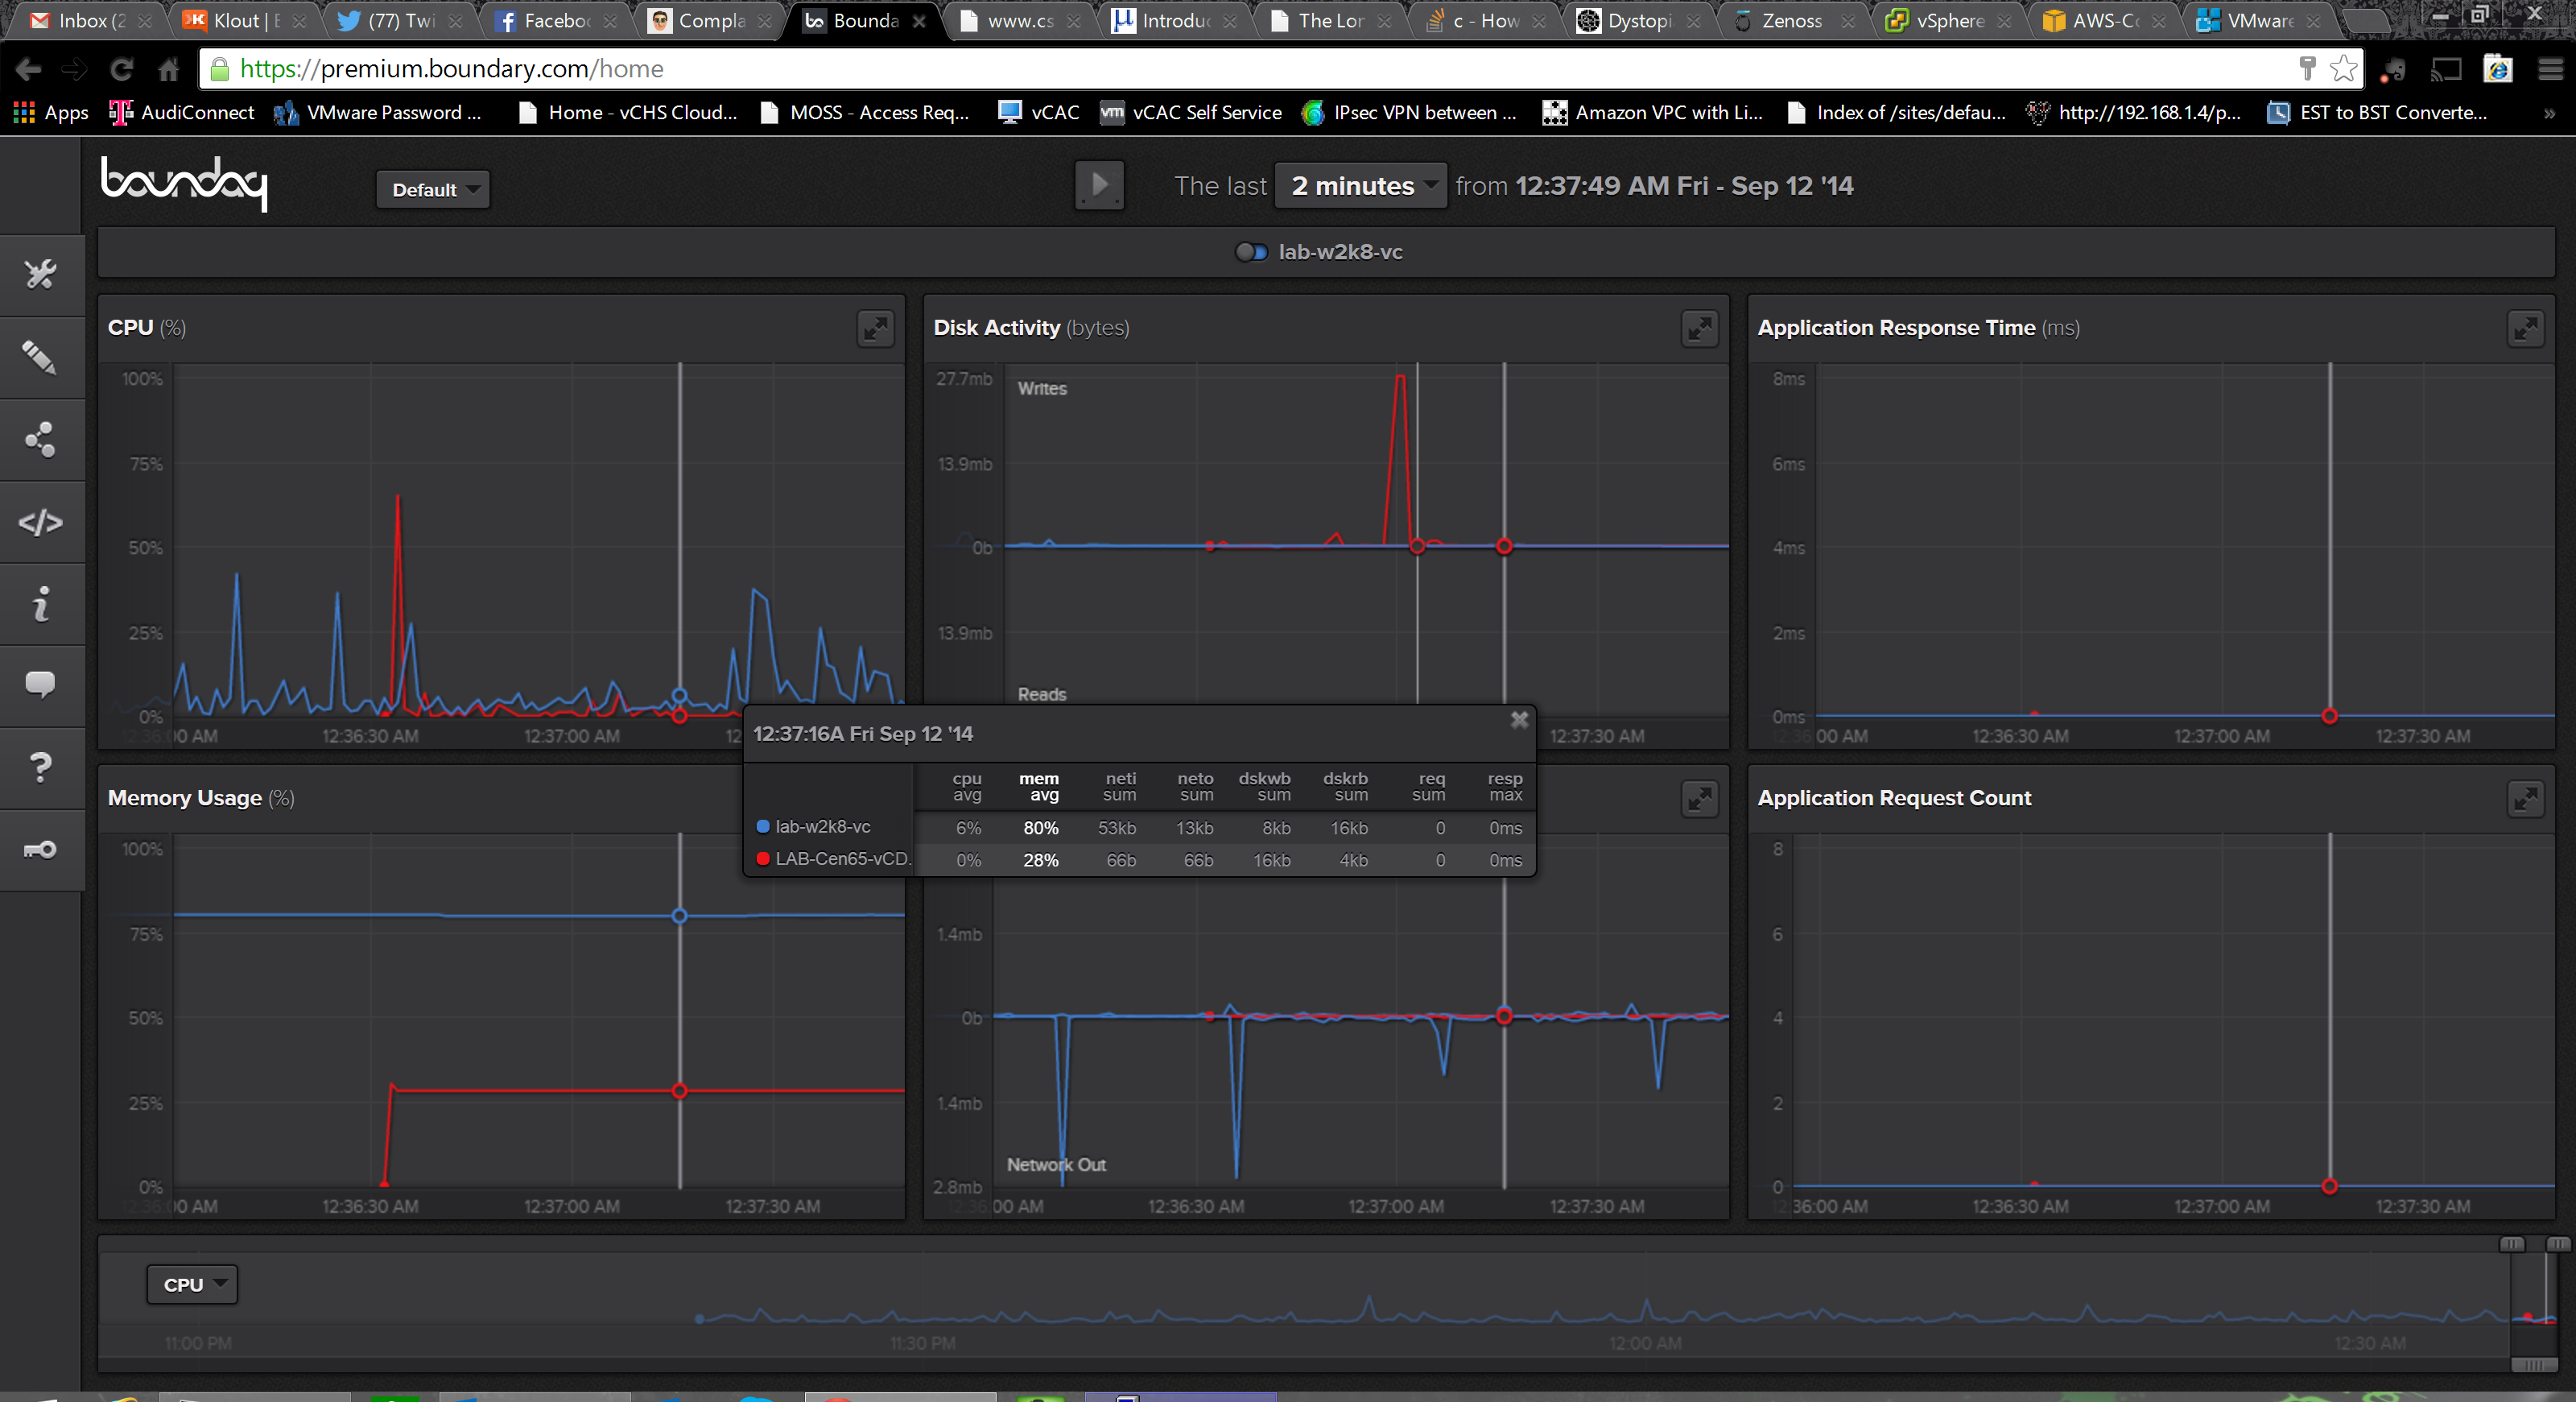
And once again like magic, vCenter has company pretty much immediately after the install completes. Below you can see a red line accompanying the blue, and bringing up detail shows the associated hosts:
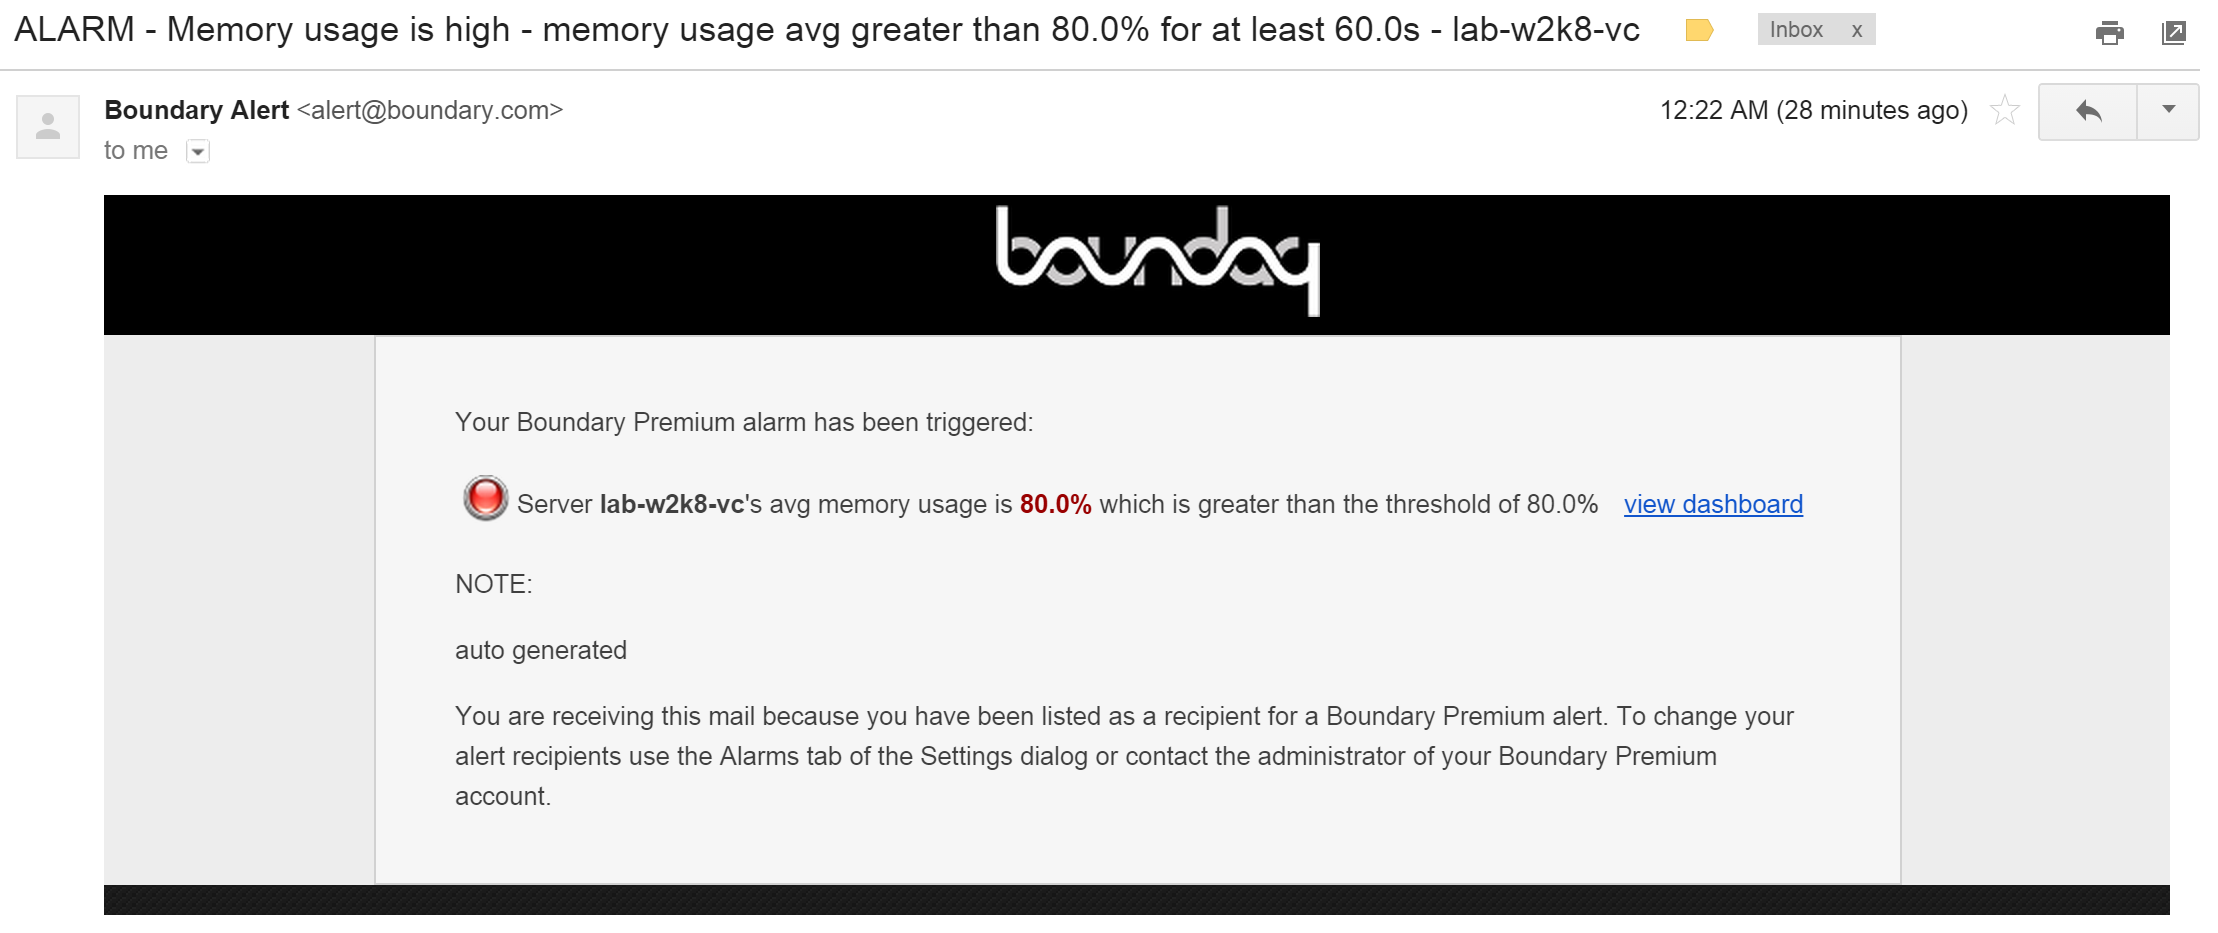
And… it wasn’t long until I got my first alert! (hey, it’s a lab!). Came directly in email without me having done any configuration at all, so a default set of alert thresholds is configured for you automatically. Nifty!
I have to say I am extremely impressed with Boundary so far. I took a look at the tutorial section (screenshot below) and there are a plethora of advanced customization options hiding below the deceptively simply surface. Make no mistake, despite the gentle onramp this is an extremely powerful tool. I plan to do a bunch more testing and dive into the advanced bits, but wanted to start off by sharing the “out of box” experience. Stay tuned!