
Big changes recently at Complaints HQ. The TL;DR is that Complaints East has become Complaints West! The good news about moving cross country to California is that you end up in California. The bad news is that you end up in California living in a shoe box. Three people in a shoe box doesn’t leave much room for full tower based multi-monitor gaming rigs and rack mounted home labs. As a result, the true star of these pages, the infamous “Big Bertha”, who served faithfully through five generations of SLI… is no more (moment of silence). Fortunately, laptops don’t take up too much room, and the Razer Blade 14, 2015 edition has proved to be a great gaming platform. The GTX970M can handle basically anything you throw at it, at max details and 60fps, as long as you cap the res at 720p. Windows 10 has corrected the annoying non-native res scaling issue in DirectX on touch screens, so 720p full screen looks great even on a native 1800p panel. Yes you could take many games to 1080p, but it’s hit or miss and you’ll often have to sacrifice detail or frames. I’m fanatical about giving up resolution before either of those (especially minimum frames – hence all of the SLI builds over the years), so I’ve stuck with 720p.
On a 14″ panel this isn’t as bad as it sounds, and the detail level on max means most games that I have on both Windows and PS4 still look better on the Razer despite running at 1080p on the Playstation. All of this said, there is a storm on the horizon. For anyone who has been on an expedition in the Arctic, VR is finally a legit thing. I’ve heard some things. And I’ve seen some things. And believe me when I say, VR is (Trump accent) gonna be huuuge! The problem of course is that a GTX970M doesnt quite cut it for VR. NVIDIA acknowledges this and as a result, for the first time ever, is releasing a desktop GTX980 in MXM. Thing is, I kind of like a laptop to have a hint of portability. The Razer is fantastic in this area. It’s about the same form factor (slightly smaller) as a MacBook Retina. Highly portable. In addition, battery life using Optimus is excellent (I’ve gotten 7 hours on battery doing regular work, and have even gotten about 2 and a half hours gaming on battery). The GTX980 MXM isn’t going to be finding its way into anything south of a large 17″, and even then isn’t going to result in a power efficient system.
So this left me with a dilemma. Miss out on PC VR (I’ll save PS4 VR for a different entry), or try to sell the Razer, wait for the GTX980 MXM release and switch to a tank laptop? There had to be another way right? I mean it’s 2015. How could it be that the GTX980 was making its way to MXM, yet there were still no true gaming ultra small form factor solutions? As it turns out, the past few generations have really legitimized Mini-ITX as a gaming solution (Mini-ITX?!) In the past I had had great success with Shuttle PCs (even as gaming rigs – once building an FX-60 / ATI X1900XTX Shuttle), so it was nice to see an industry standard small form factor becoming mainstream for gaming builds. Unfortunately though, the shoe box is a problem. Basically, the absolute dimensional limit I was facing for the case was 7″ x 11″ x 14″. In addition, I wasn’t going to bother unless I could manage a full height dual slot 290mm GPU. And I wanted it delivered by unicorn! In all seriousness, pouring those filters into any case search doesn’t yield many choices. And the X factor here is that the design had to be “living room worthy”. Without further ado, here is where the roulette wheel landed:

Let’s go through the full list and I’ll explain my choices:
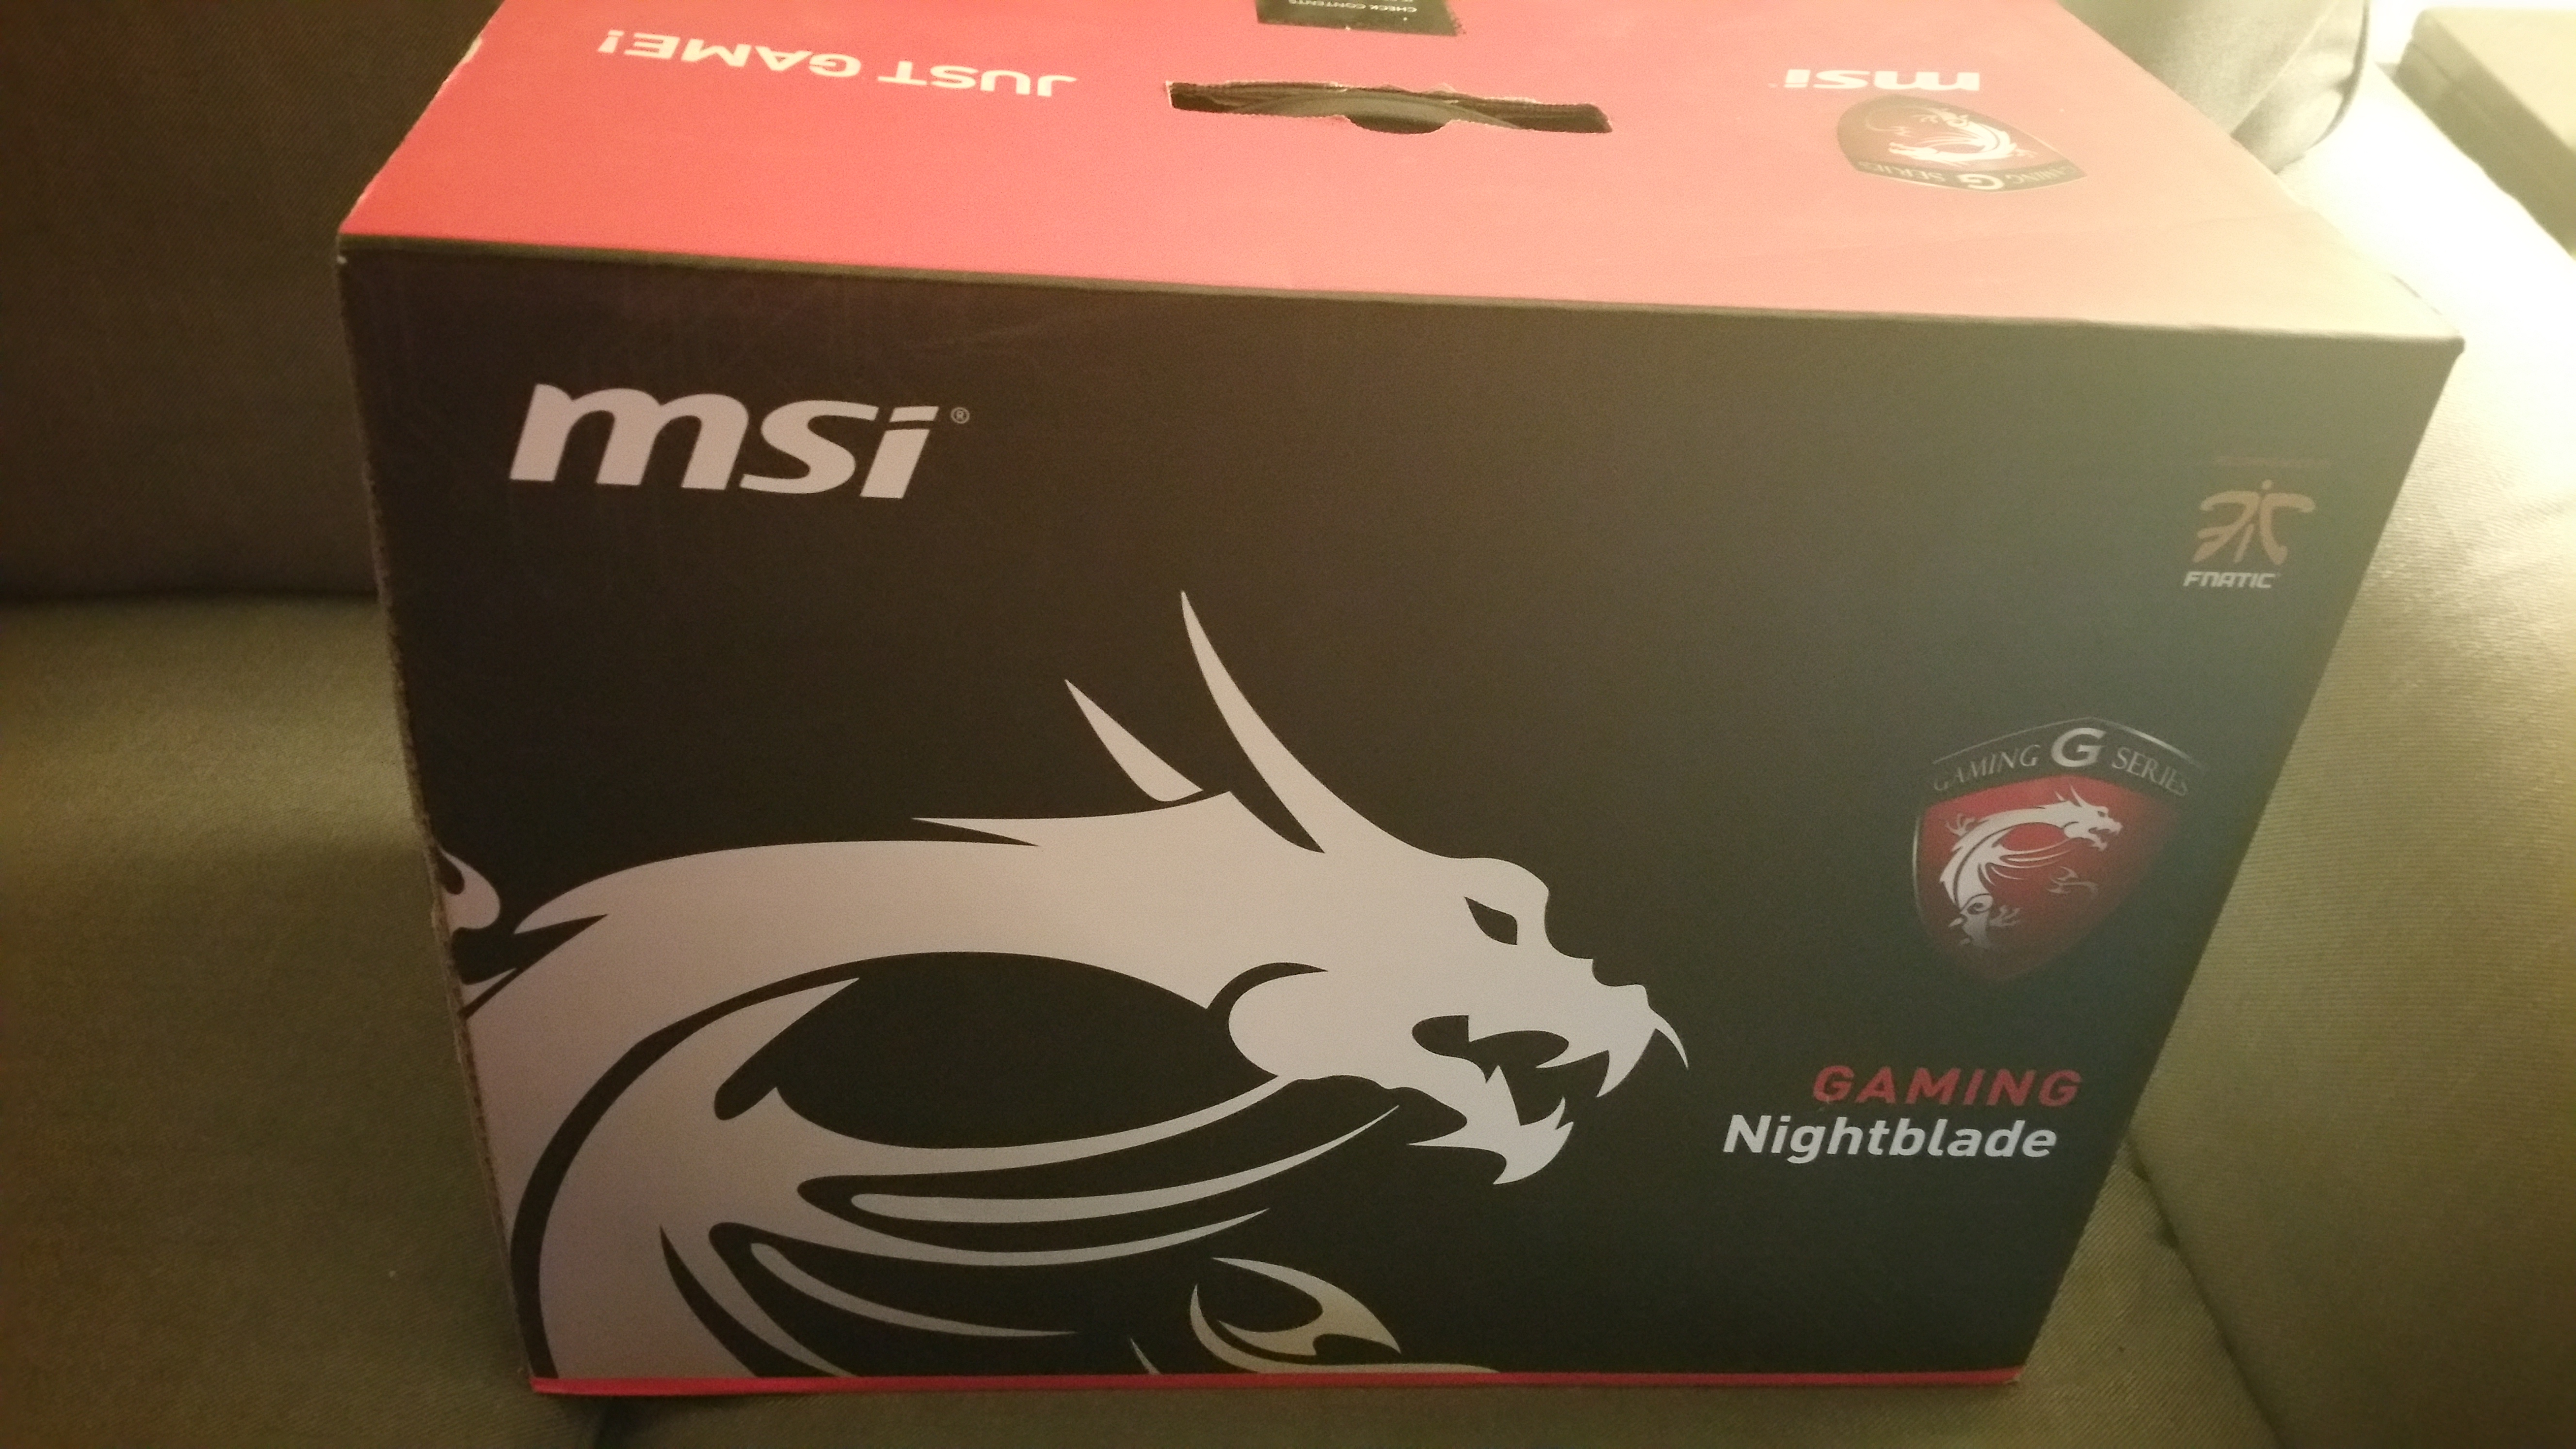
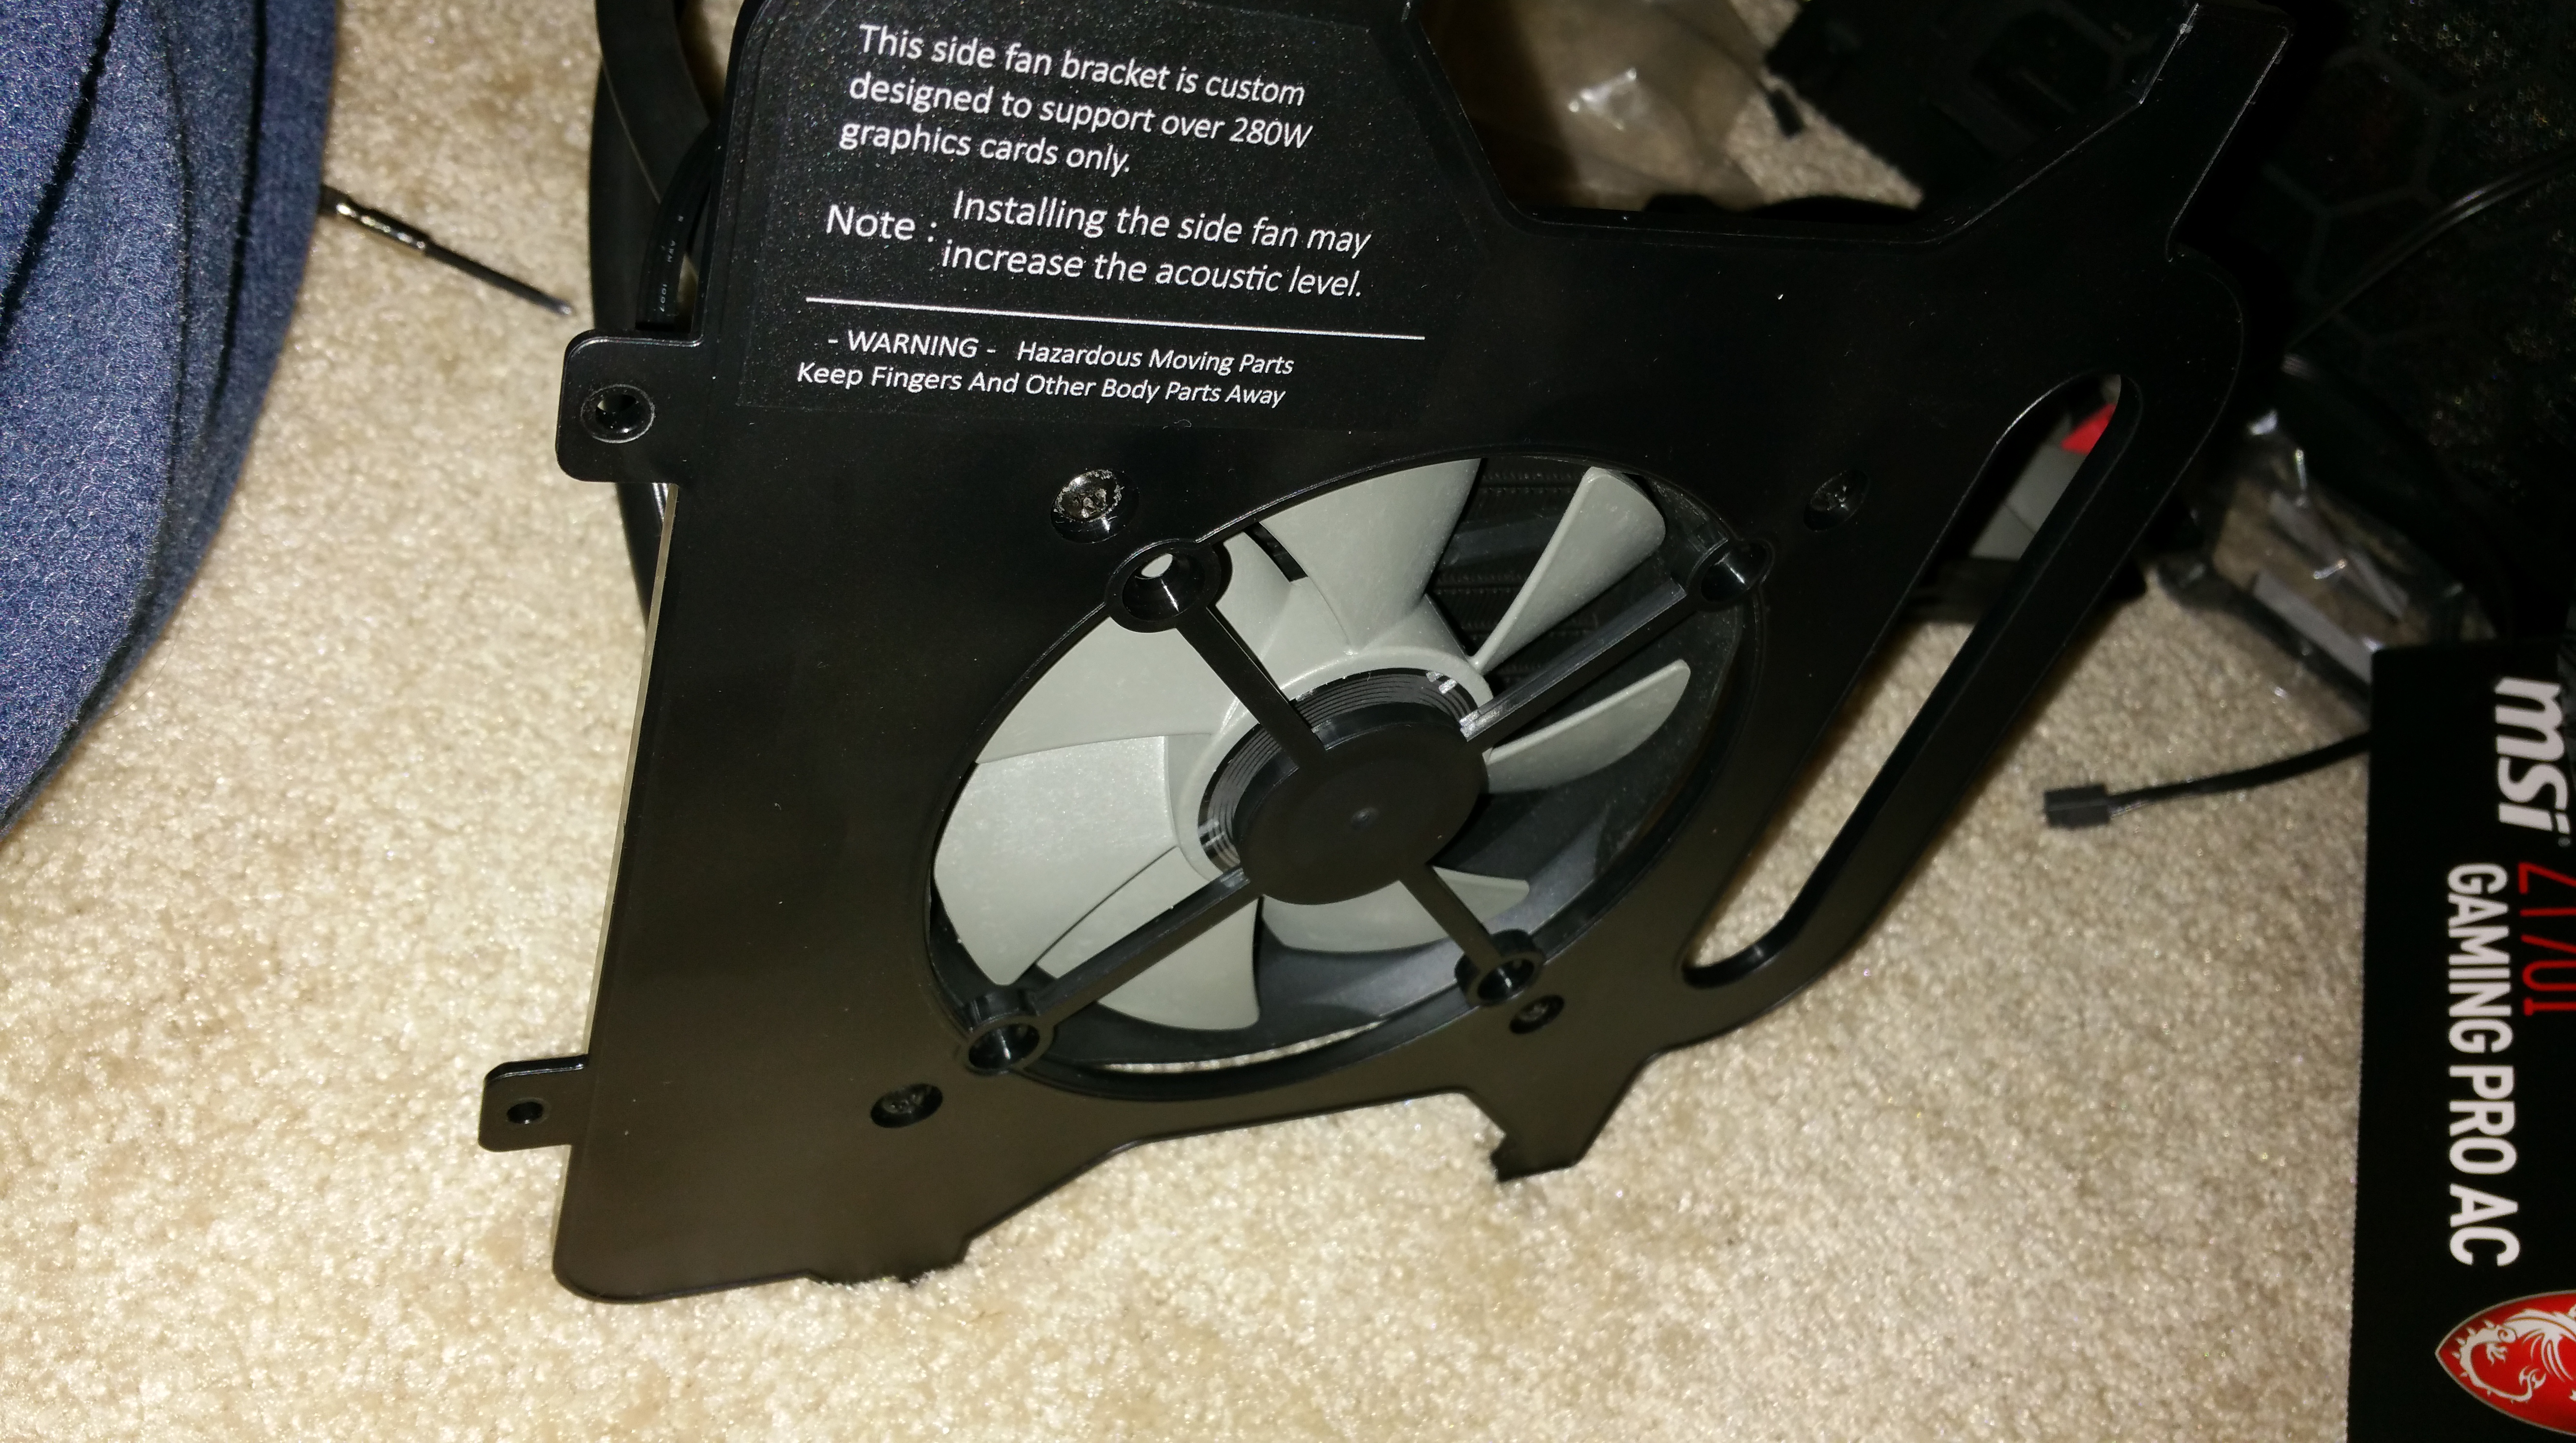
- CASE: MSI Z97 Nightblade – absolutely the slickest looking case that can handle a full sized GPU, while still fitting into 7″ x 11″ x 14″ (at 6.7″ x 10.92″ x 13.46″). The downside was that MSI is still shipping the Z97. At first I had disqualified the Nightblade for that reason. Then, after a lot of case research and spotting a special at Fry’s, I decided I would pick it up and just swap the board for a Z170 Mini-ITX.
- CPU: Intel 6700k. With Skylake out, albeit yielding only nominal gains over Devils Canyon, the 6700k is a no brainer. I briefly considered X99, but it doesn’t make a lot of sense in a SFF ITX build in my opinion. Not a lot of use for 40 PCI-E lanes when you have one slot. In addition, Z170 provides the M.2 slot allowing another storage option in the premium real estate of a mini ITX.
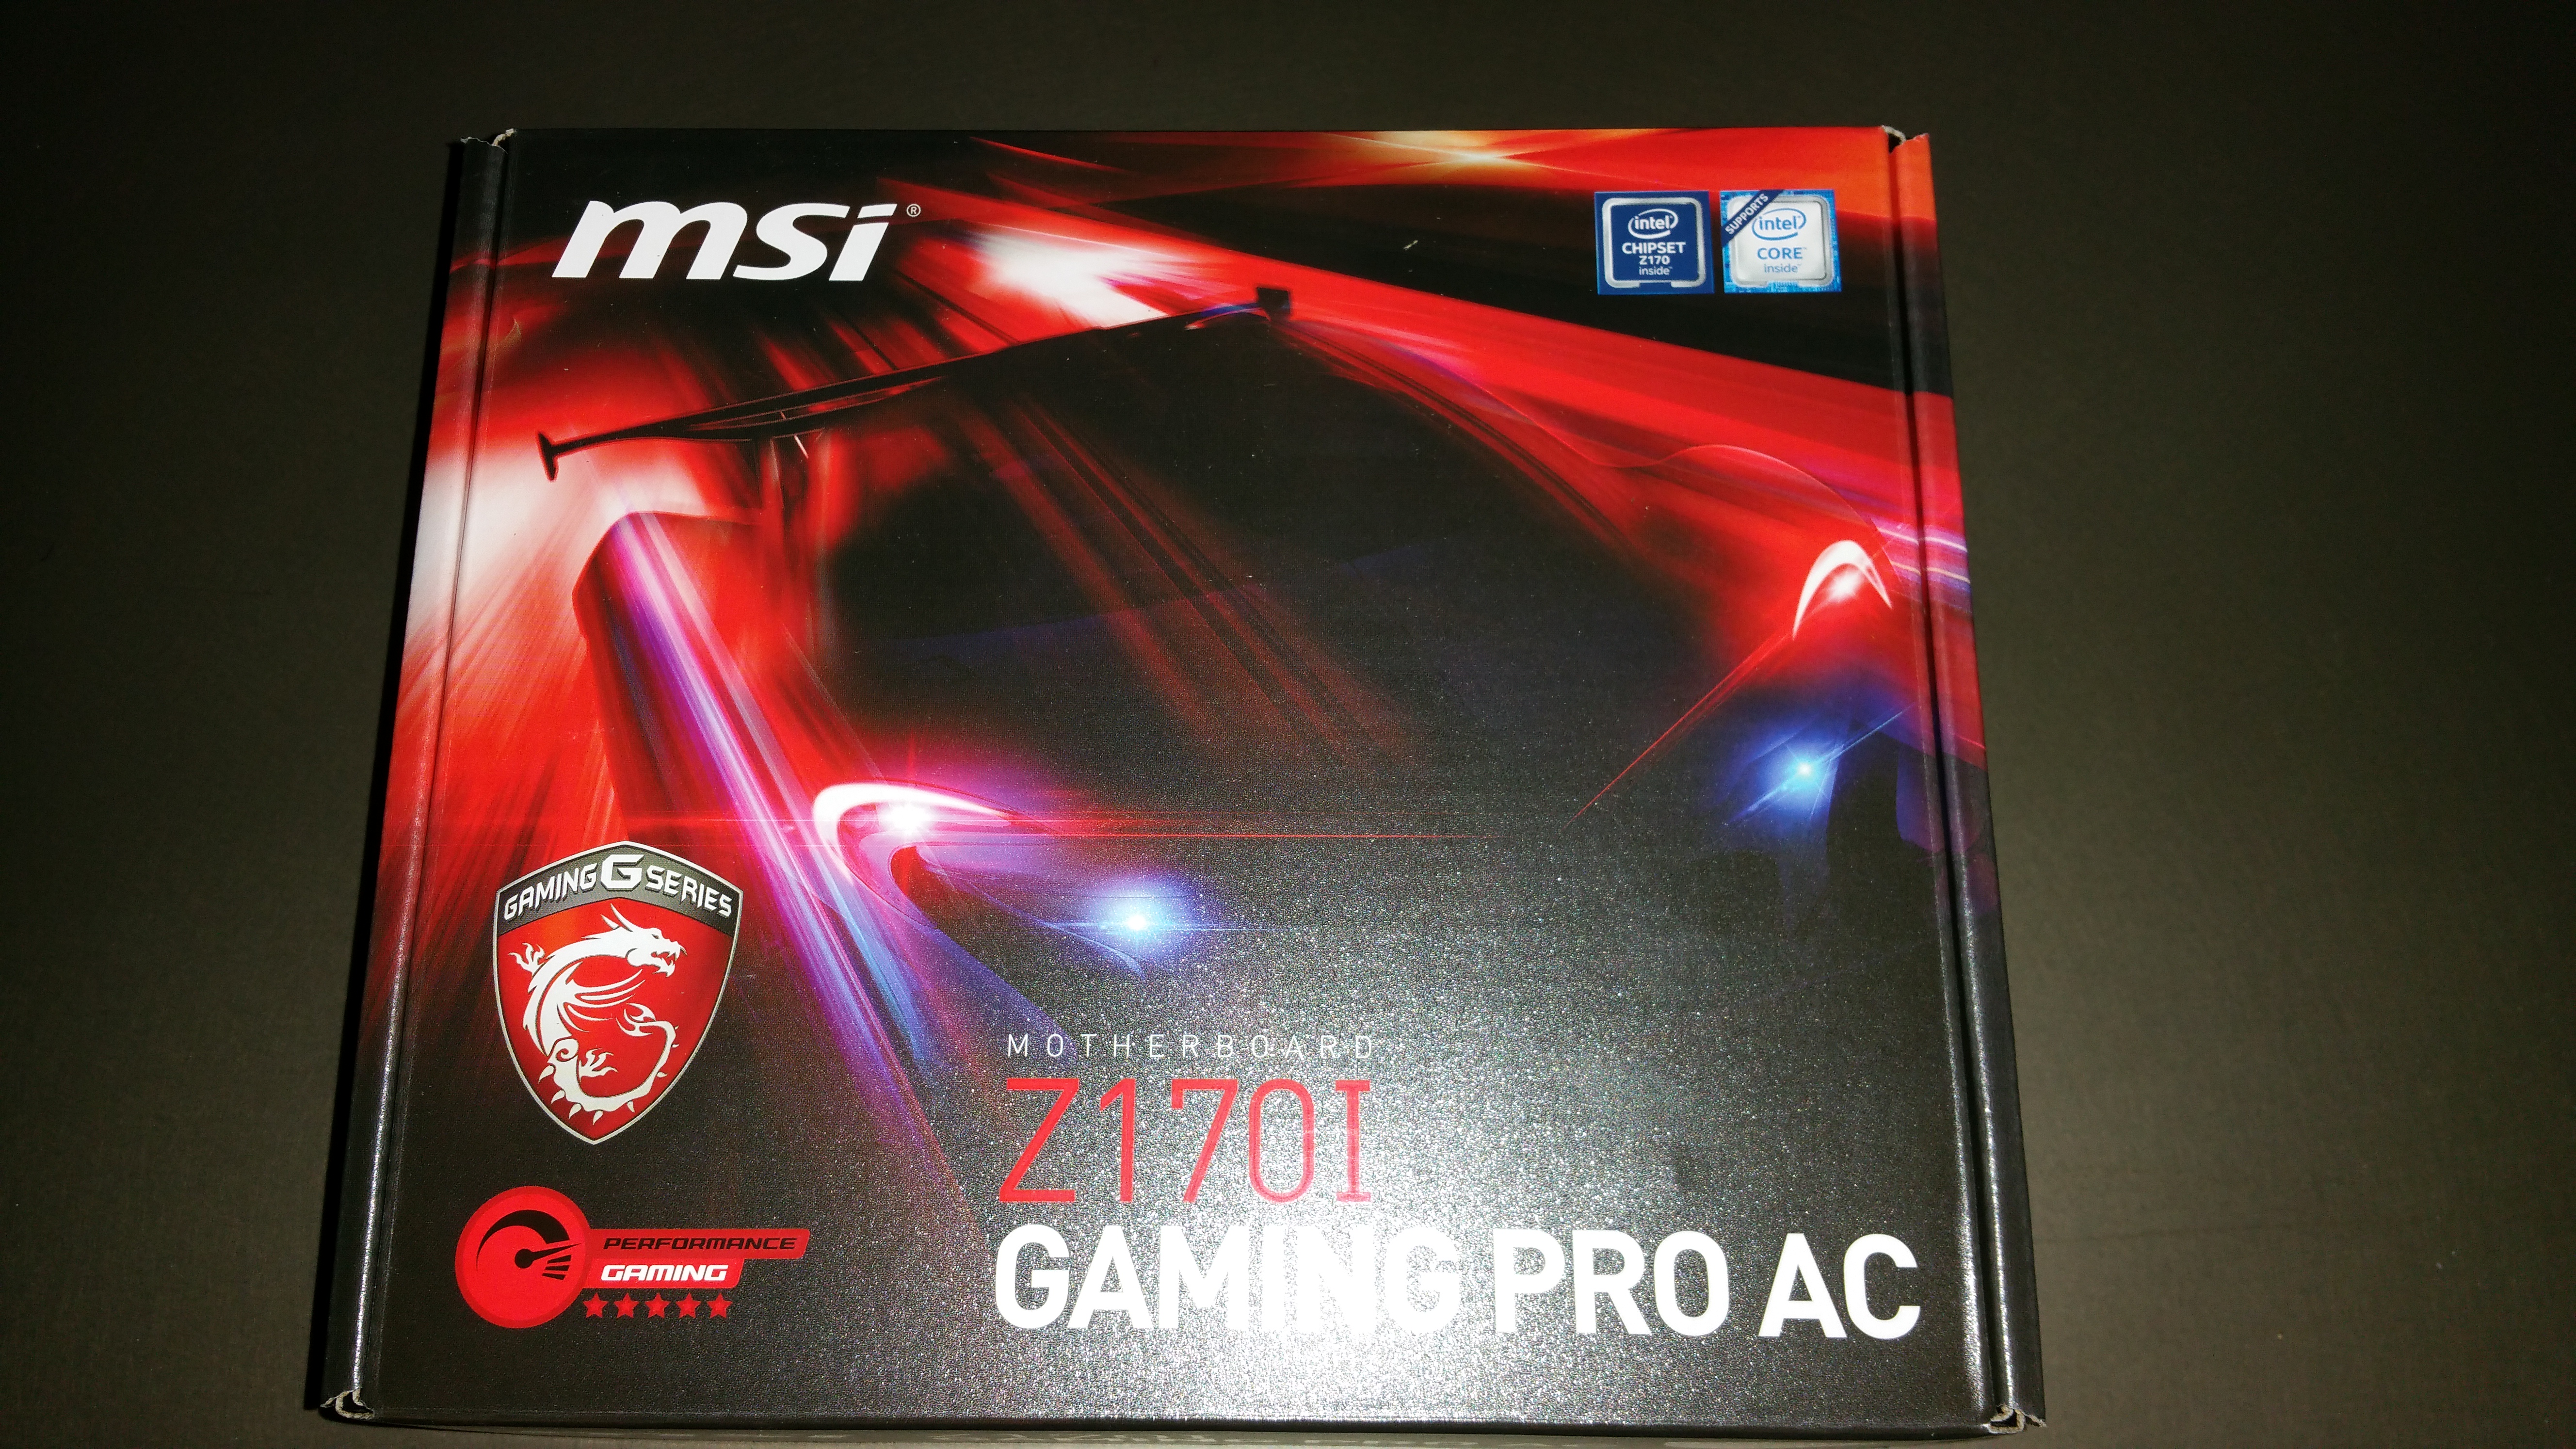
- MOBO: MSI Z170I Gaming Pro AC – Since the Nightblade is an MSI package it seemed fitting that the replacement board should also be an MSI. It doesn’t hurt that this round MSI has one of the best Z170 options for mini ITX! Admittedly there aren’t many choices and they’re a bit of a commodity, but the MSI includes an Intel I219-V NIC, USB 3.1 and an M.2 slot underneath.
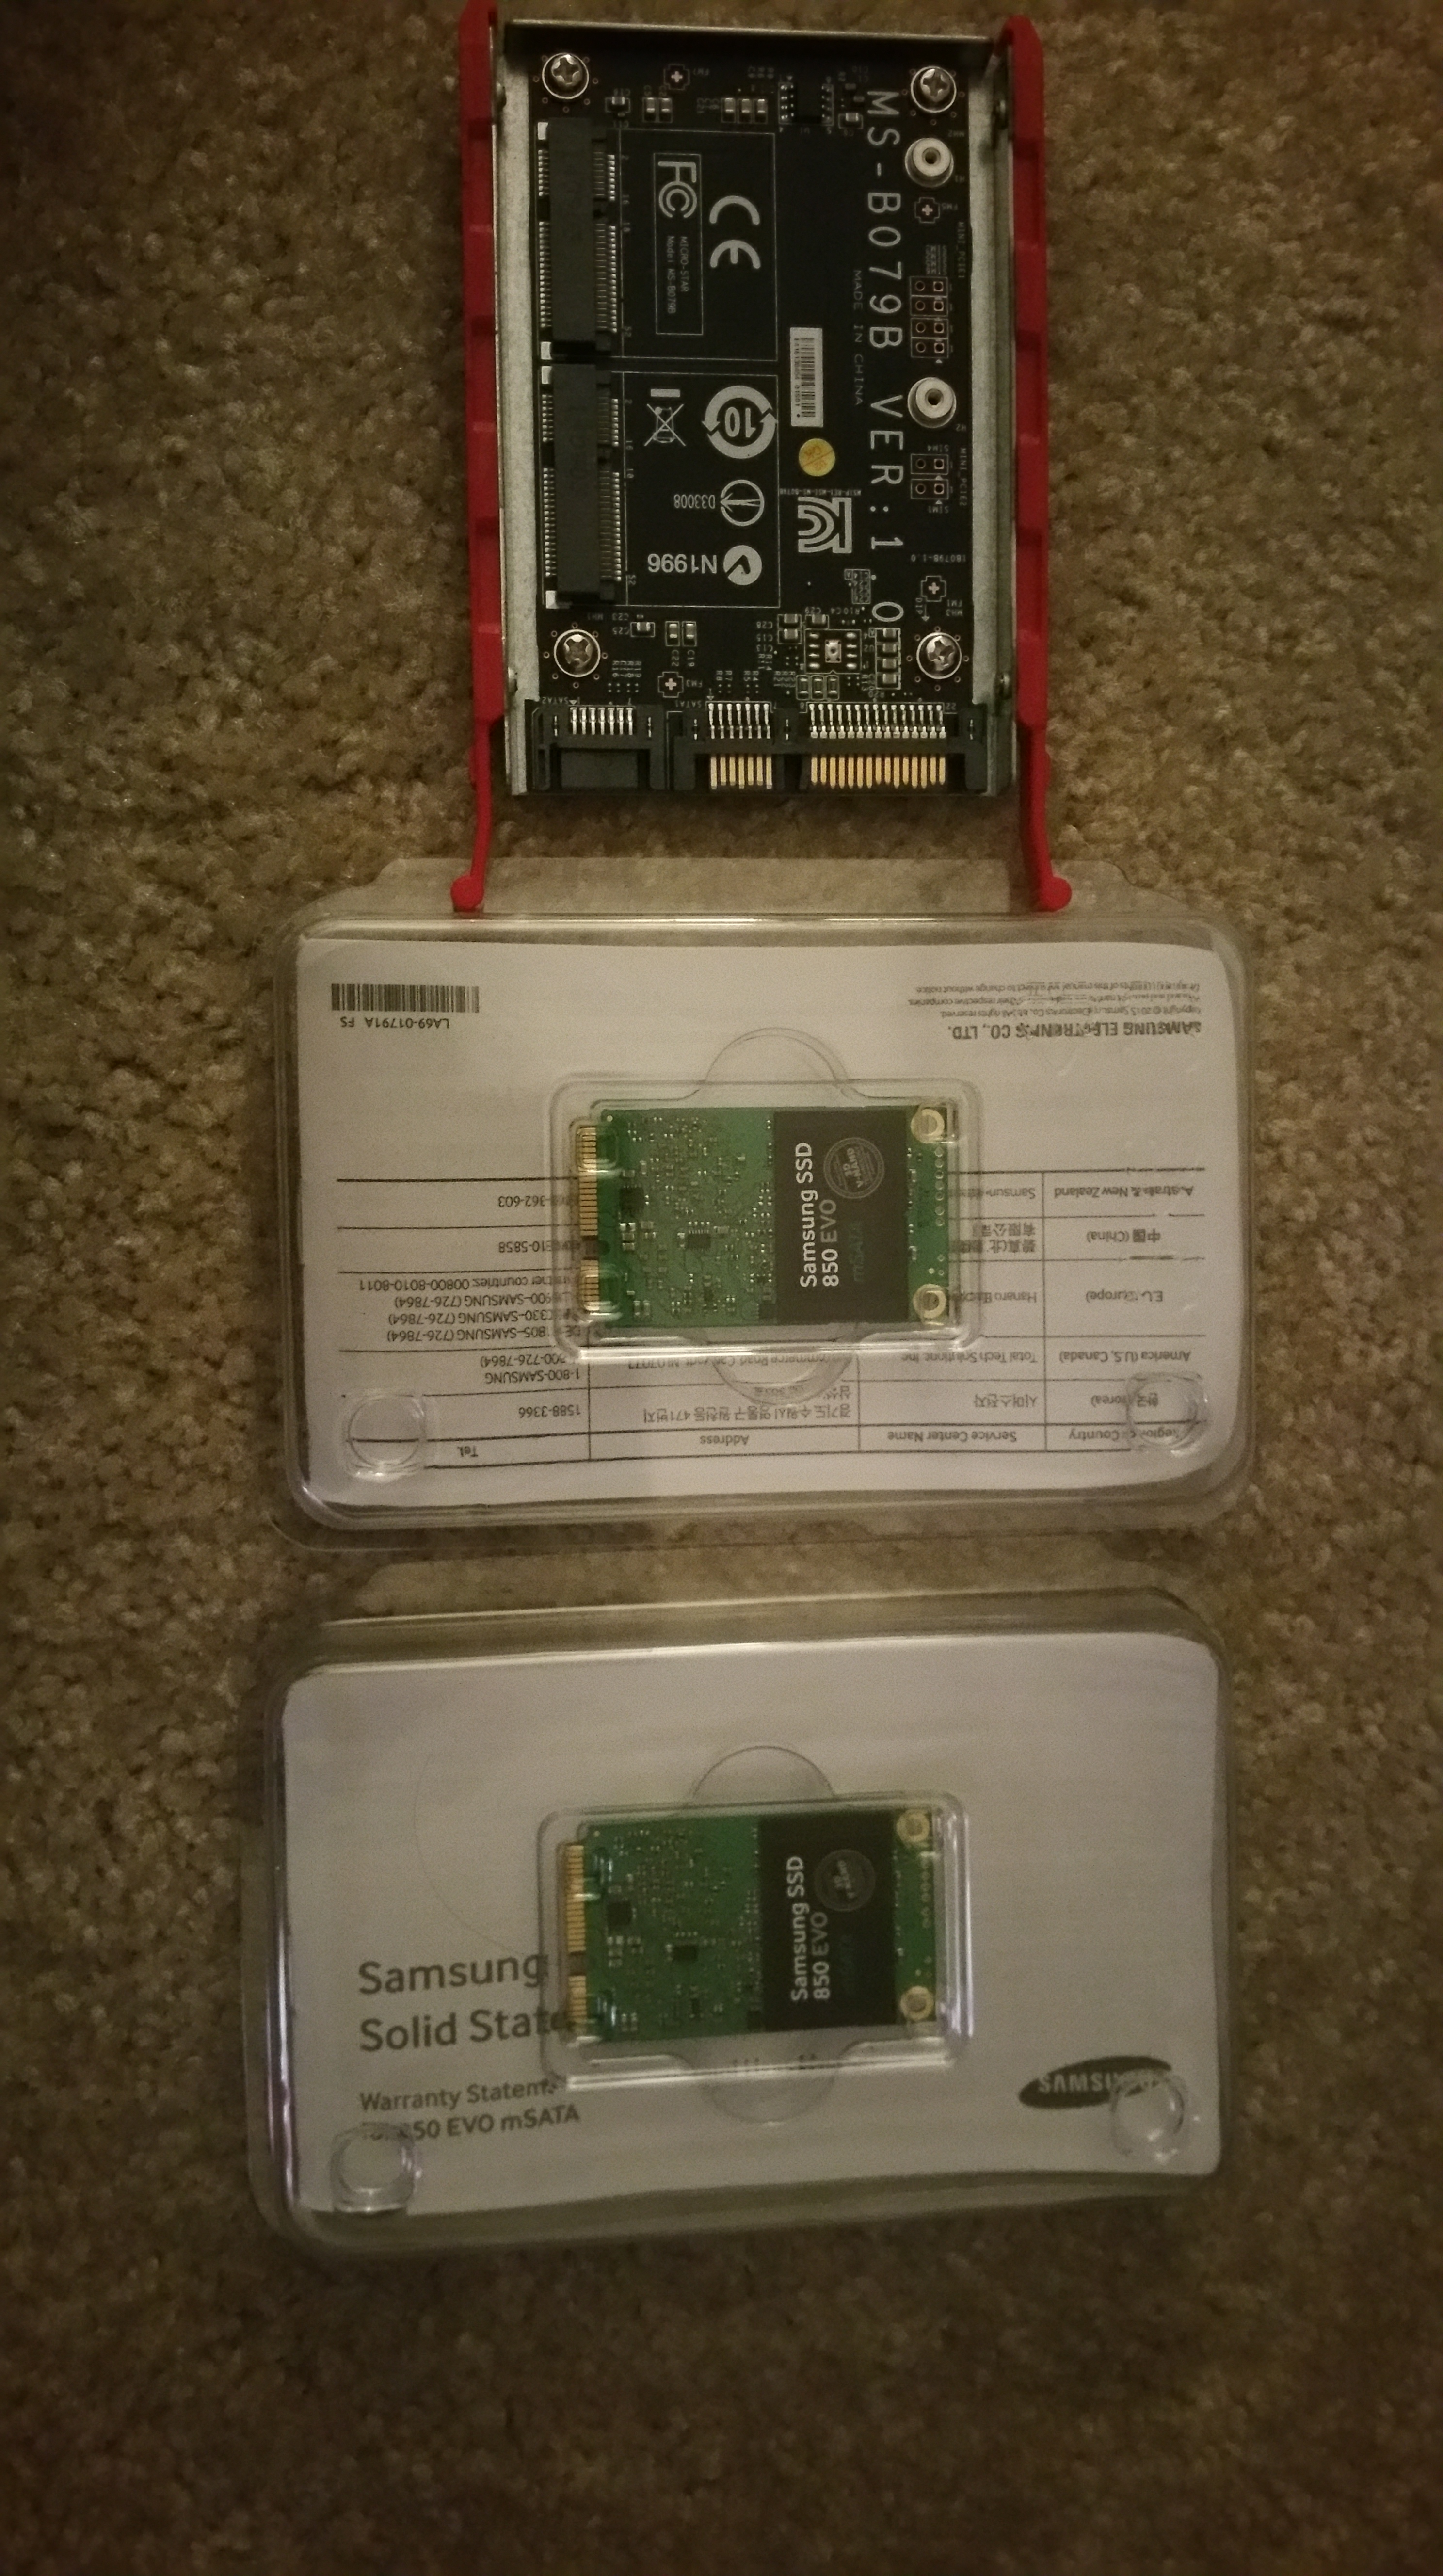
- STORAGE: 3 x Samsung 500GB EVO 850 in both mSATA and 2.5″ form factors (2 mSATA, 1 2.5 SATA) in a “you only live once”, caution to the wind, RAID 0 setup. Why the mix? Simple. It goes back to the ITX real estate issue. The Nightblade provides room for 2 2.5″ drives, but also includes a custom caddy allowing 2 M.SATAs to occupy a single 2.5″ slot. The motherboard also provides a bottom mounted M.2 slot, but you have to be careful here as it can only handle up to 60mm length cards. This means that 2260 models are the physical limit. In addition, the M.2 slot can handle either SATA or PCI-E bus cards, but if a SATA card is inserted, two SATA ports on the front of the motherboard will be disabled (port 5 and port 6). And of course M.2 cards in SATA mode are no different than any other SATA SSD, so that tradeoff really isn’t worth it. What this means is that only a 2240 or 2260 PCI-E M.2 SSD makes sense, but as of this writing no such part exists. It’s a shame because I really liked the idea of an M.2 boot drive mounted right on the motherboard in super-fast PCI-E. Possibly a future upgrade!
- RAM: Skylake is a controversial release because early benchmarks showed modest (at best) gains. What has become apparent over time though, is that Skylake is hungry for bandwidth. The faster the DDR4, the better it performs. Paired with very fast RAM, it can put a 20% hurting on Haswell in many benchmarks. With this in mind, I opted for Corsair Vengeance LPX PC3200 with a CL16 latency in 8×8 form factor.
- GPU: The motherload here. EVGA GTX980Ti SC+. Yes it fits. Yes the 600W supply is sufficient. It’s a beautiful thing!
- COOLER: Corsair H75. A no brainer to me. I’m a huge fan of closed loop water. It’s quieter, easier to work with, and less ugly than a giant air tower and, while not necessarily as efficient as a well tuned bespoke water configuration (with a large rad), it’s a hell of a lot easier. The H75 is marked 1150 on the box but is just fine for 1151.
Ok with the inventory out of the way, let’s get down to it. First things first – the Z97 board has to go. Pulling the board is doable (although the case is very snug). The first step is to lay the case on its solid panel side and find the red tabs on the back. This is a very nice tool-less design. The two tabs slide towards each other with a nice solid motion unlocking the panel. Once unlocked it can be slid back and lifted off:
Underneath the vented panel, we find a fan shroud. We also find that our tool-less design has hit a wall. Two small screws hold the shroud in place. Incidentally this is where we will be installing the H75 rad in just a bit:

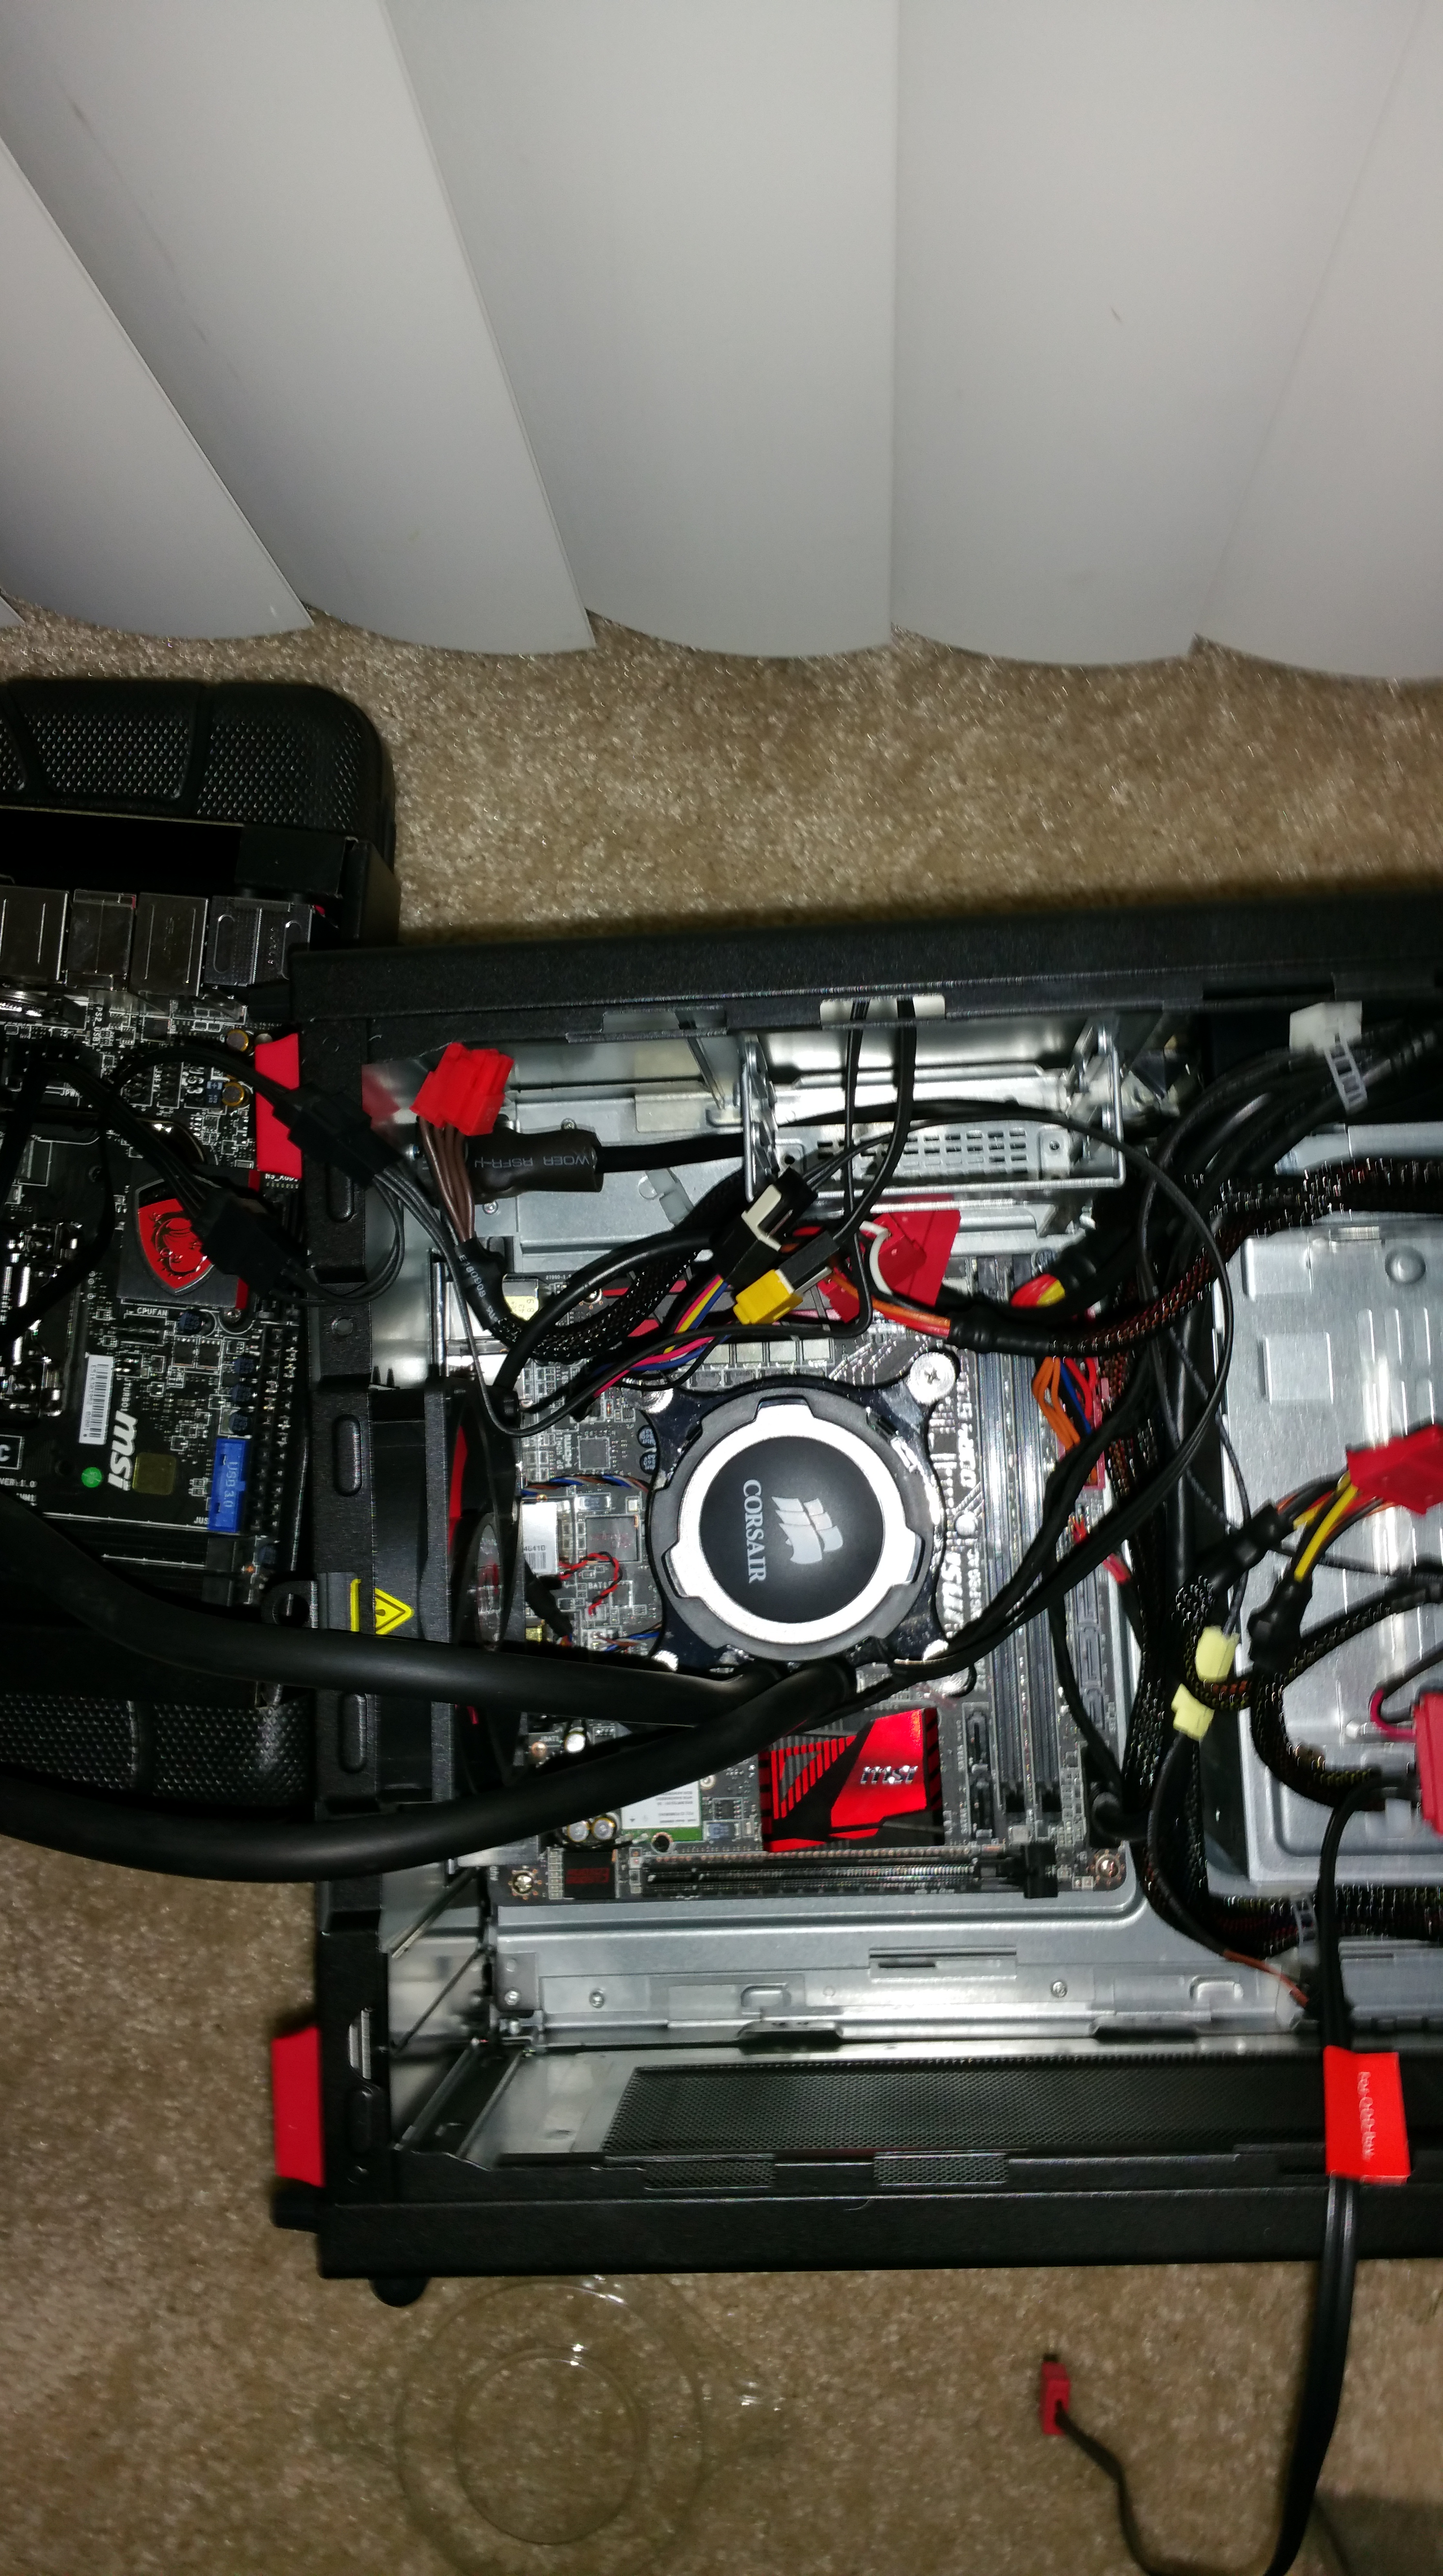
With the fan shroud out of the way we can get at the internals. Again, it’s a bit cramped, but really nicely laid out with great cable routing. The first step is to pull and tuck away all of the cables. Four screws hold the standard Z97i AC Mini-ITX board in place:
So the Nightblade really is a standard Mini-ITX case, but with a few caveats:
- the case has a built in LED bar that connects to the JLED1 header on the Z97i board. It color cycles between red and white based on the position of the front panel “Turbo” button
- the Turbo button lead connects to the turbo jumper on the Z97i board
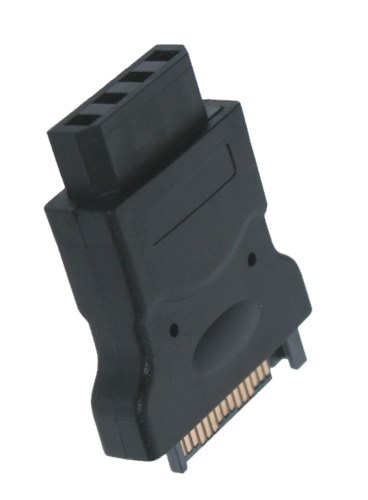
- there is no standard PC speaker
- the front panel connects via a 20 pin USB 3.0 header and a 10 pin front panel header for the power switch and power LED. There is no reset switch.

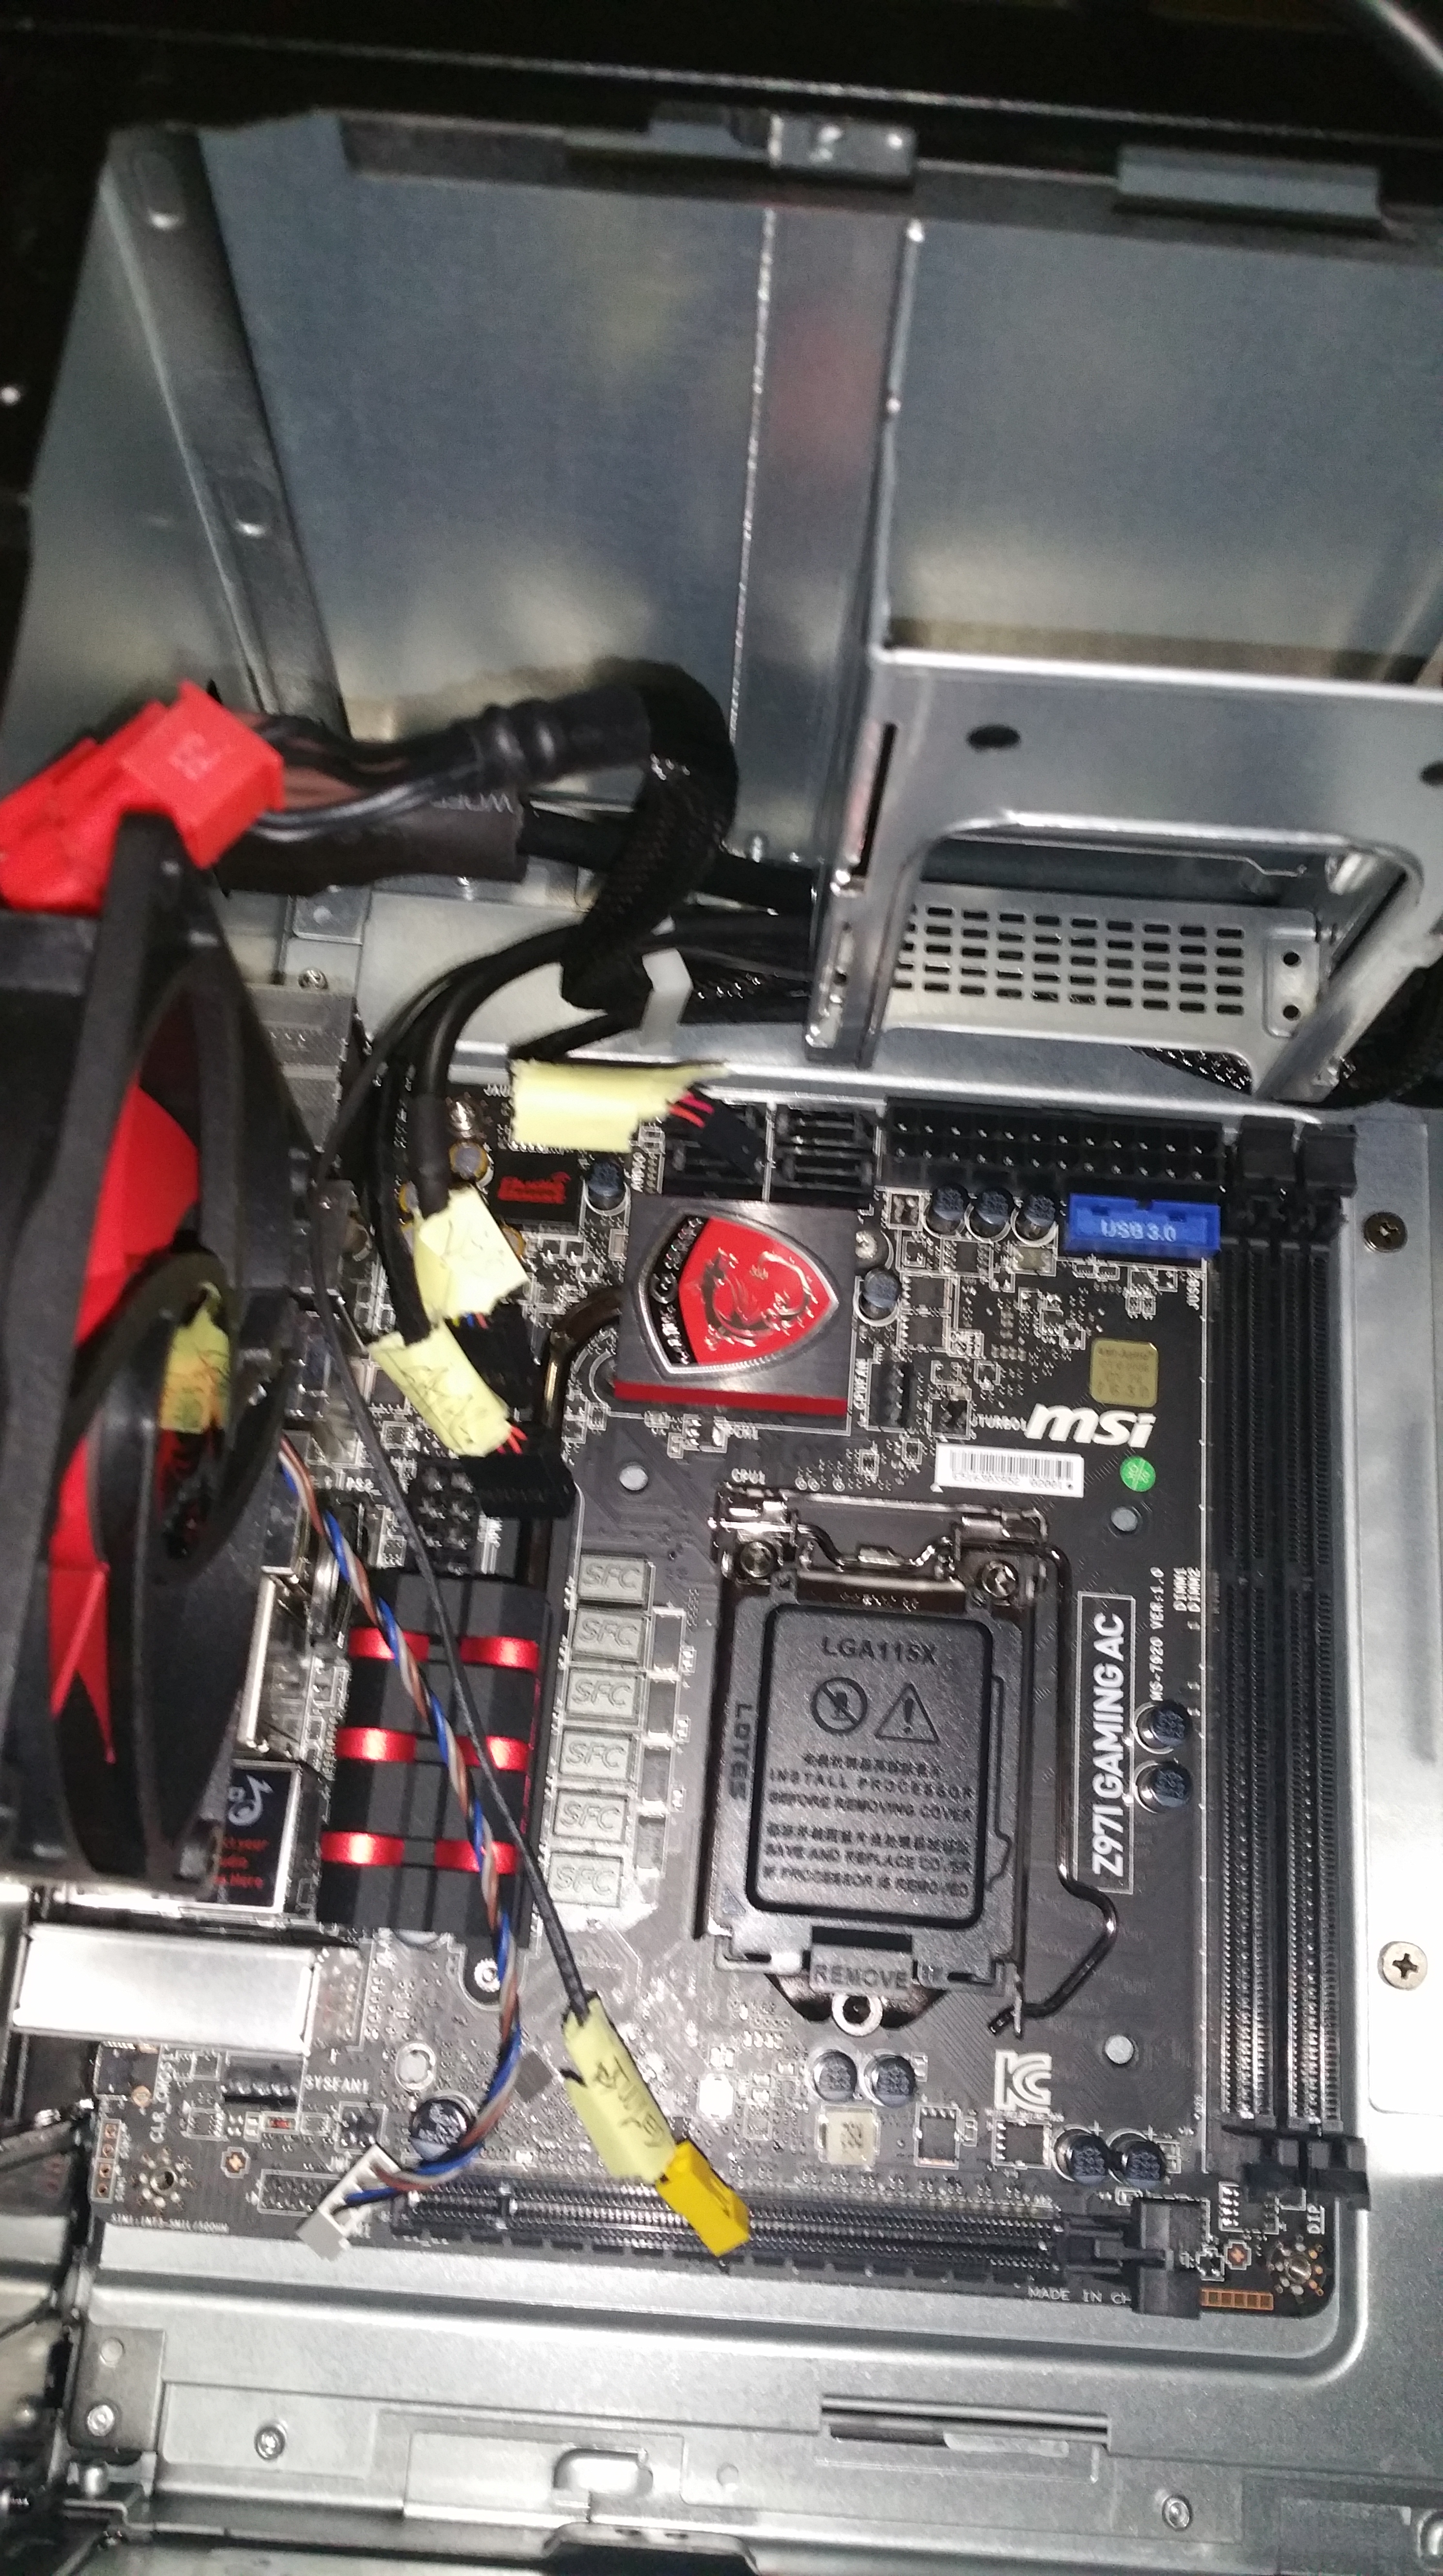
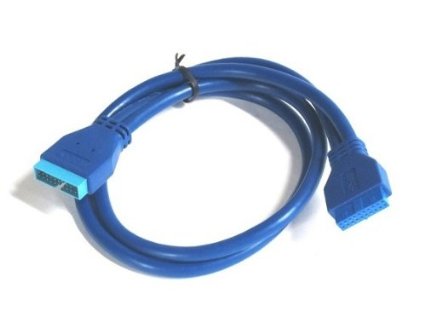
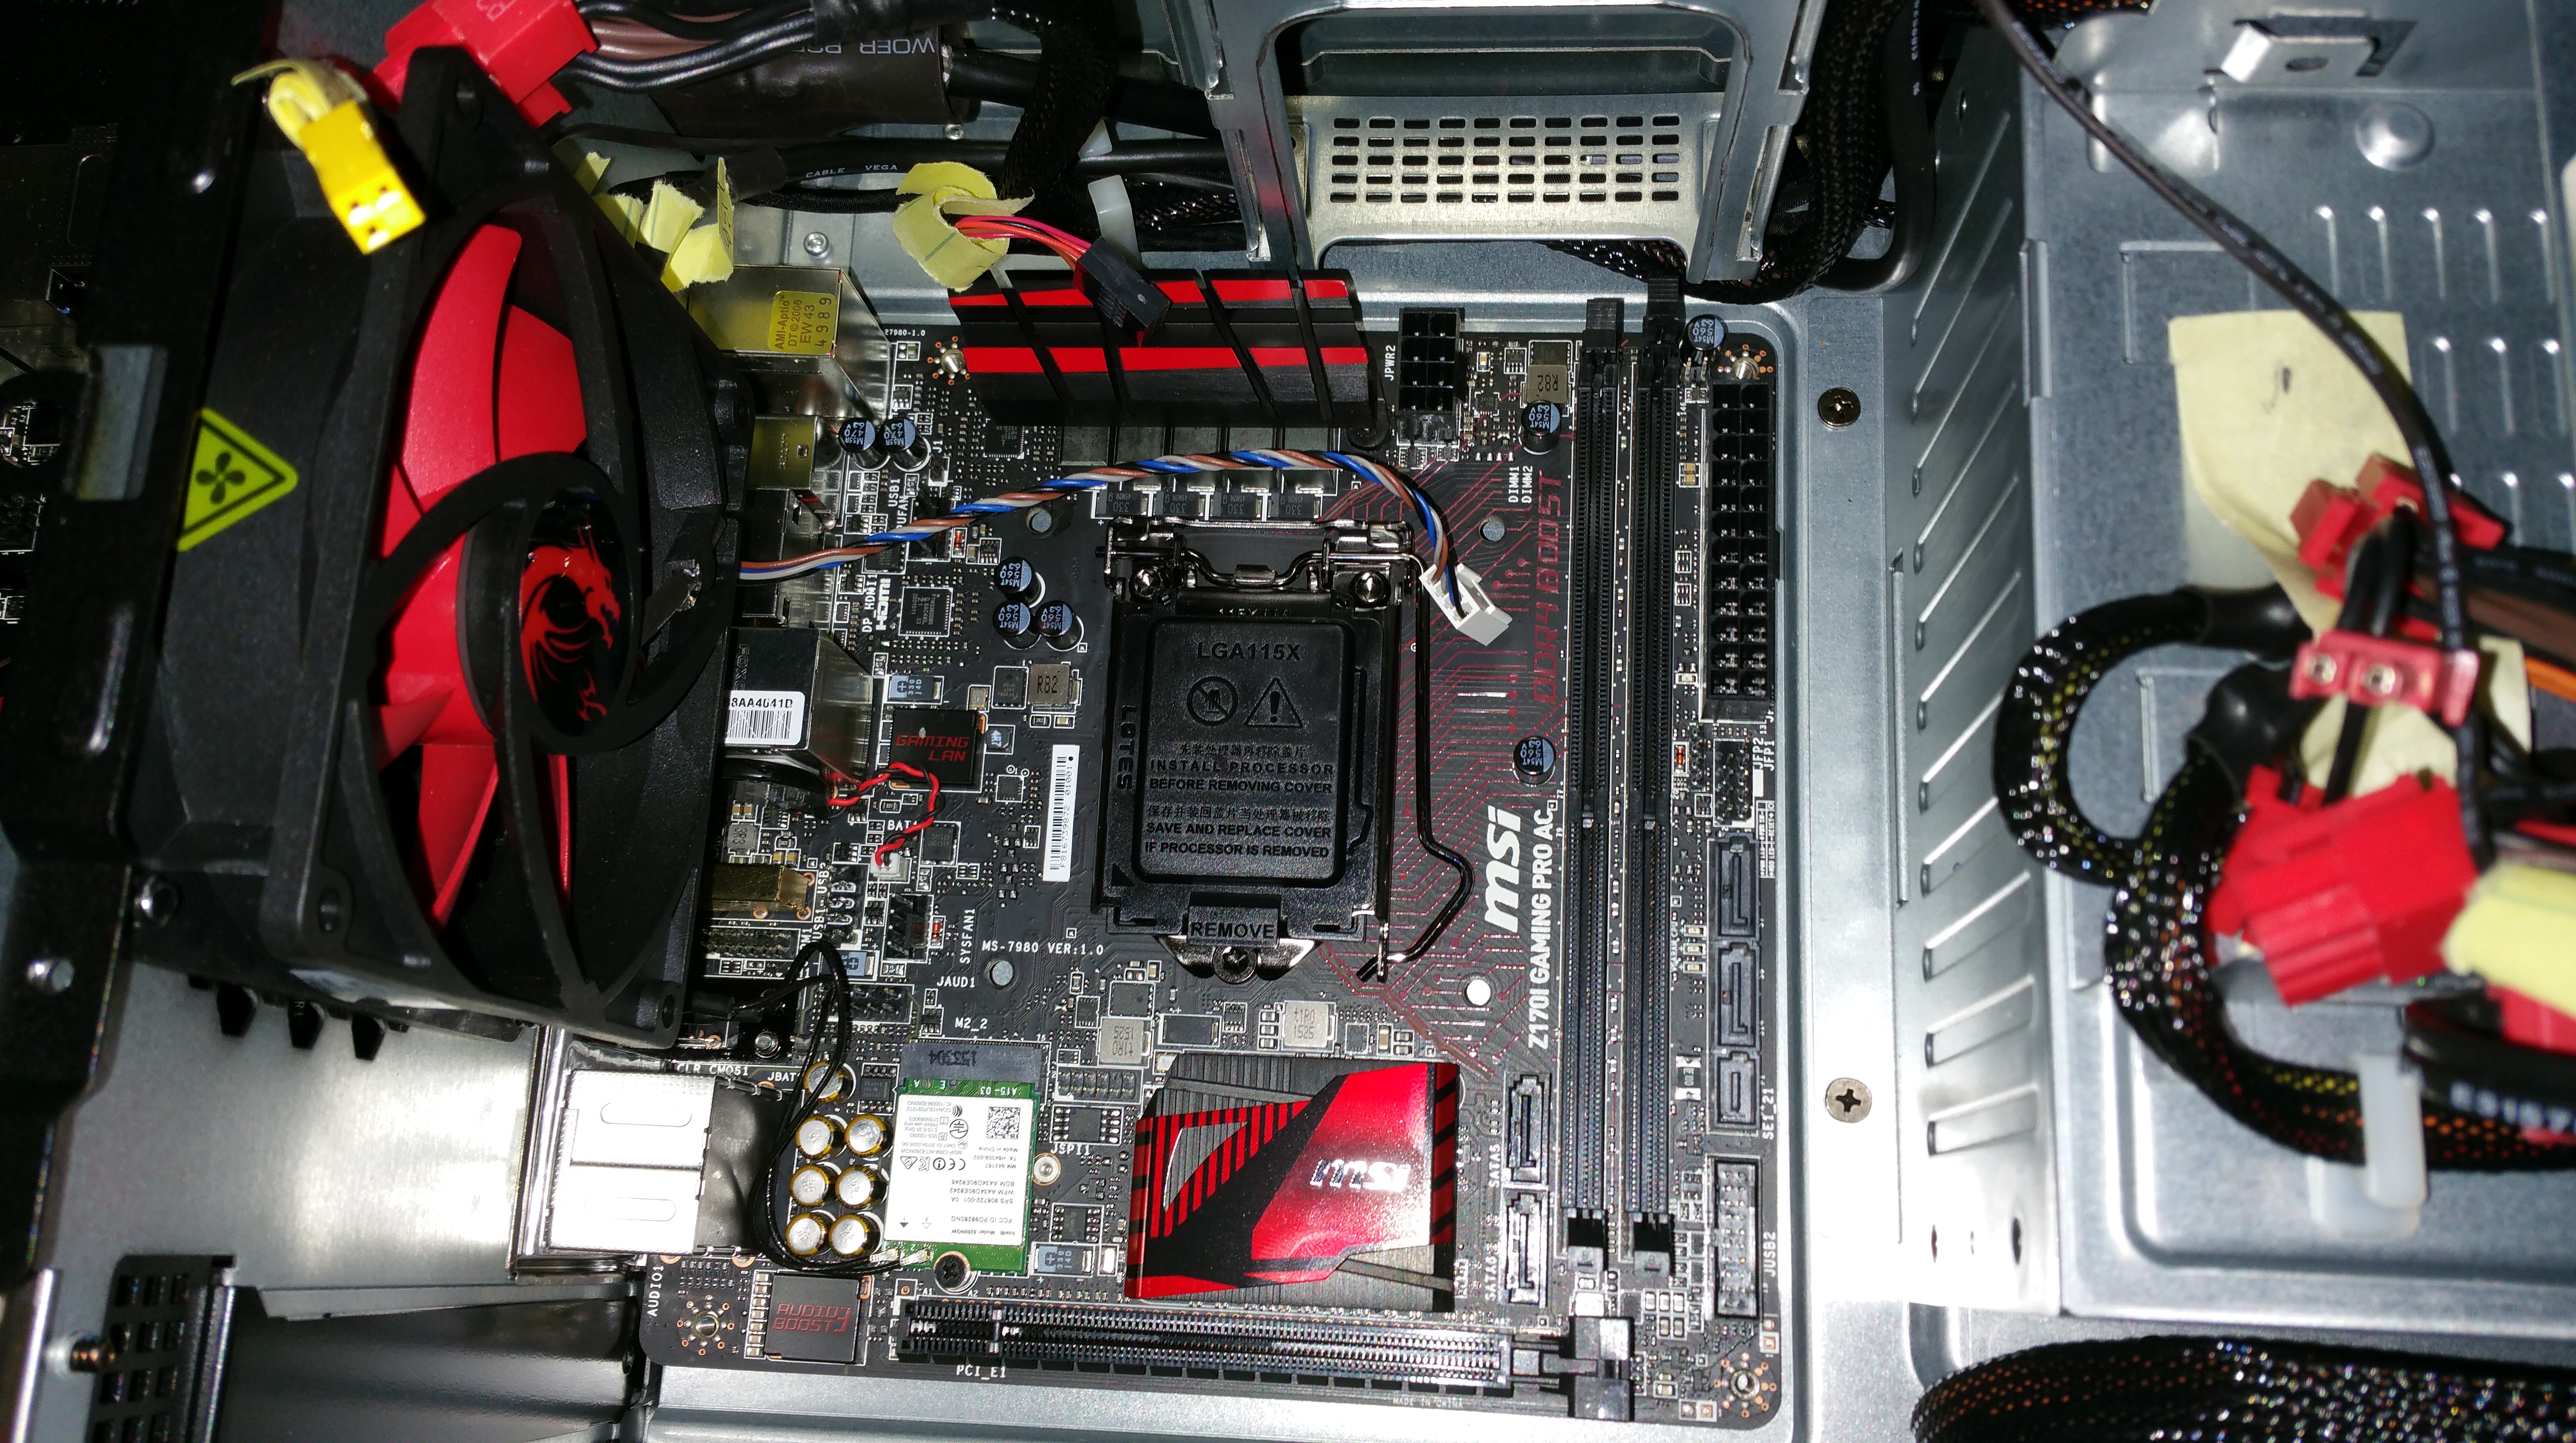
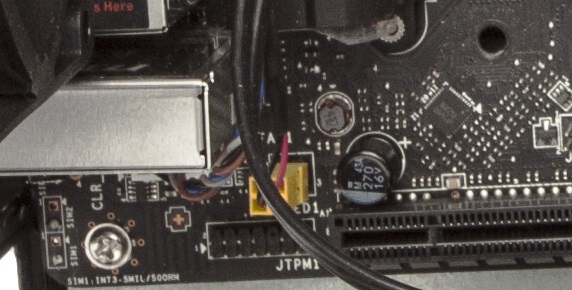
The Z170i is a standard Mini-ITX and so drops right in. Important to note is that it is missing the JLED1 header, but has a speaker header. Like its Z97 sibling it features 2 fan headers. Otherwise the boards are functionally identical and even the layouts are similar enough that it lends itself well to the Nightblade interior. One caveat is that the USB 3 header location on the board is along the top edge rather than the side. It’s a minor difference, but enough that the USB 3 cable included with the kit does not reach. Easy fix with a USB extension, but a bit of a nuisance:
With the exception of the USB3 header location the Z170 fills the shoes of the Z97 nicely:
Next up the 6700K drops in and the H75 115x mounting bracket goes on the back:

Time for the H75 to mount up. The H75 includes two 120mm fans and a 1x120mm rad. The fans should be arranged in a push/pull config, setup as intake to bring cold air from outside the case across the radiator, and mounted on the cases fan shroud:
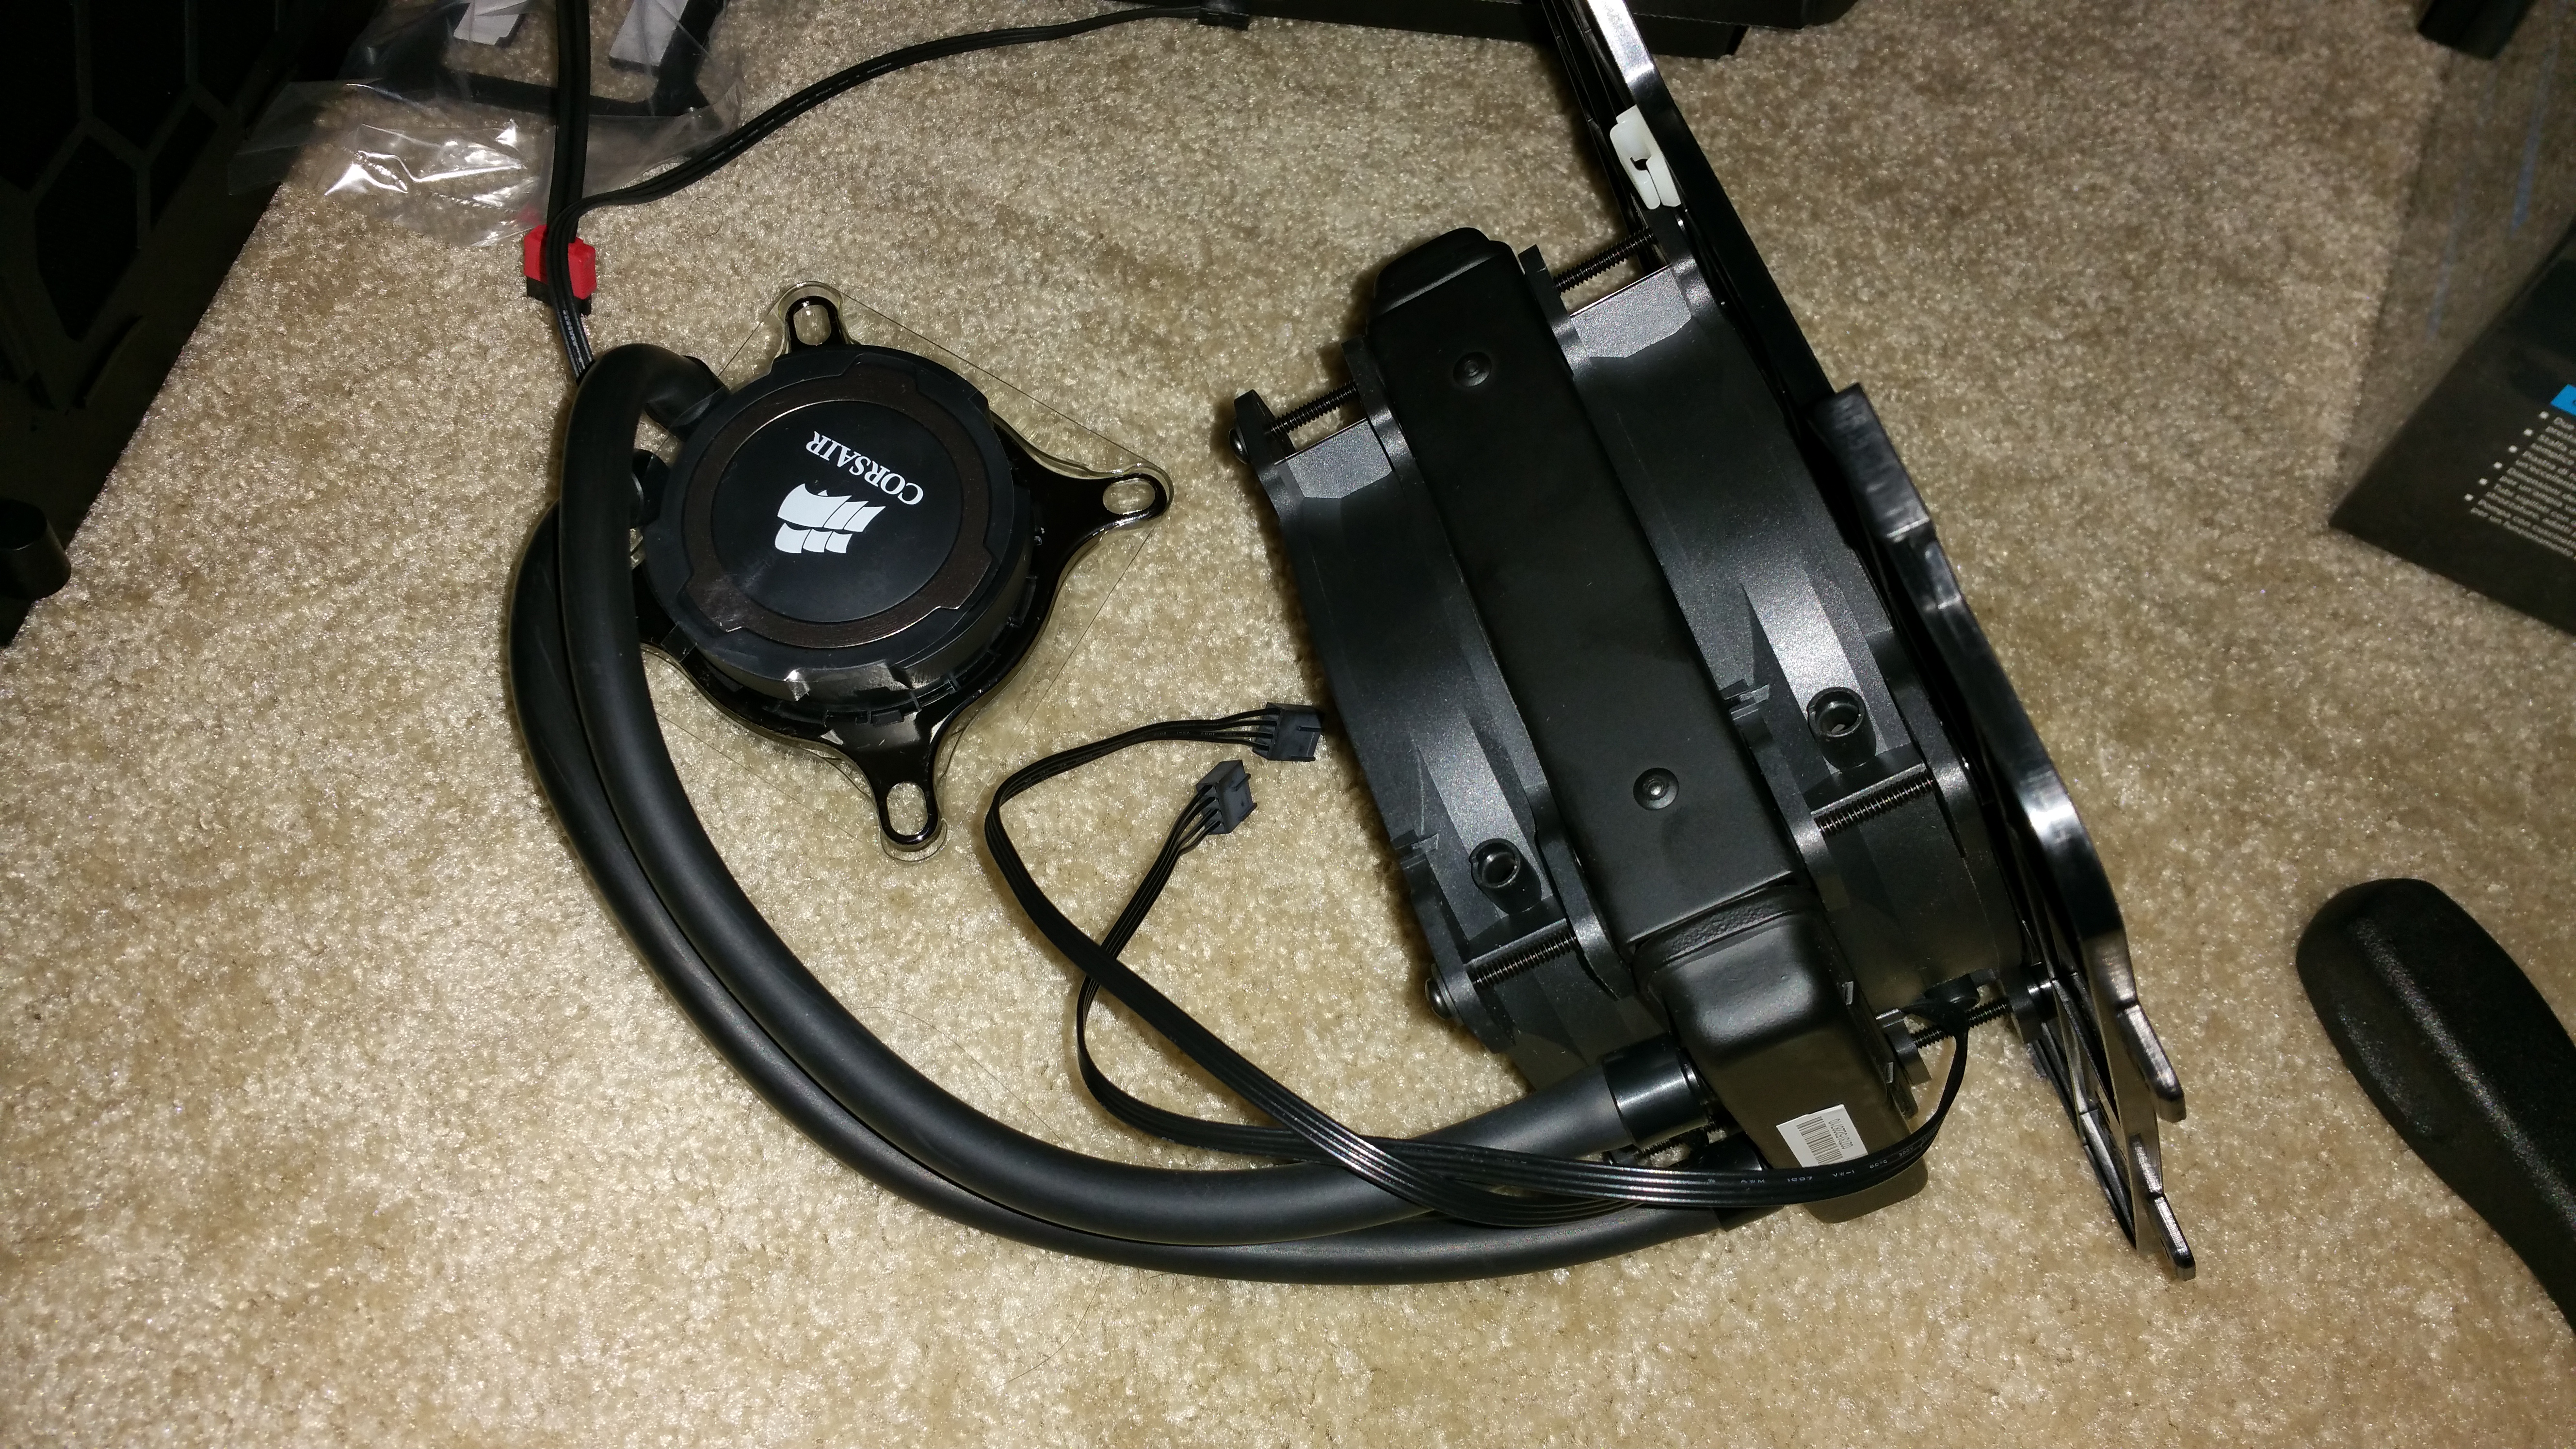
The CPU block is an effortless install. Corsair has been at closed loop for a while now and has it really dialed in:
The dual mSATA to 2.5″ format converter is a really nice custom piece that MSI includes. Unfortunately they only include one, but basically you slot in the two mSATA drives and secure them with a single screw each, attach two data cables and one power, and then slot the carriage into the tool-less drive bay on the supplied rails:
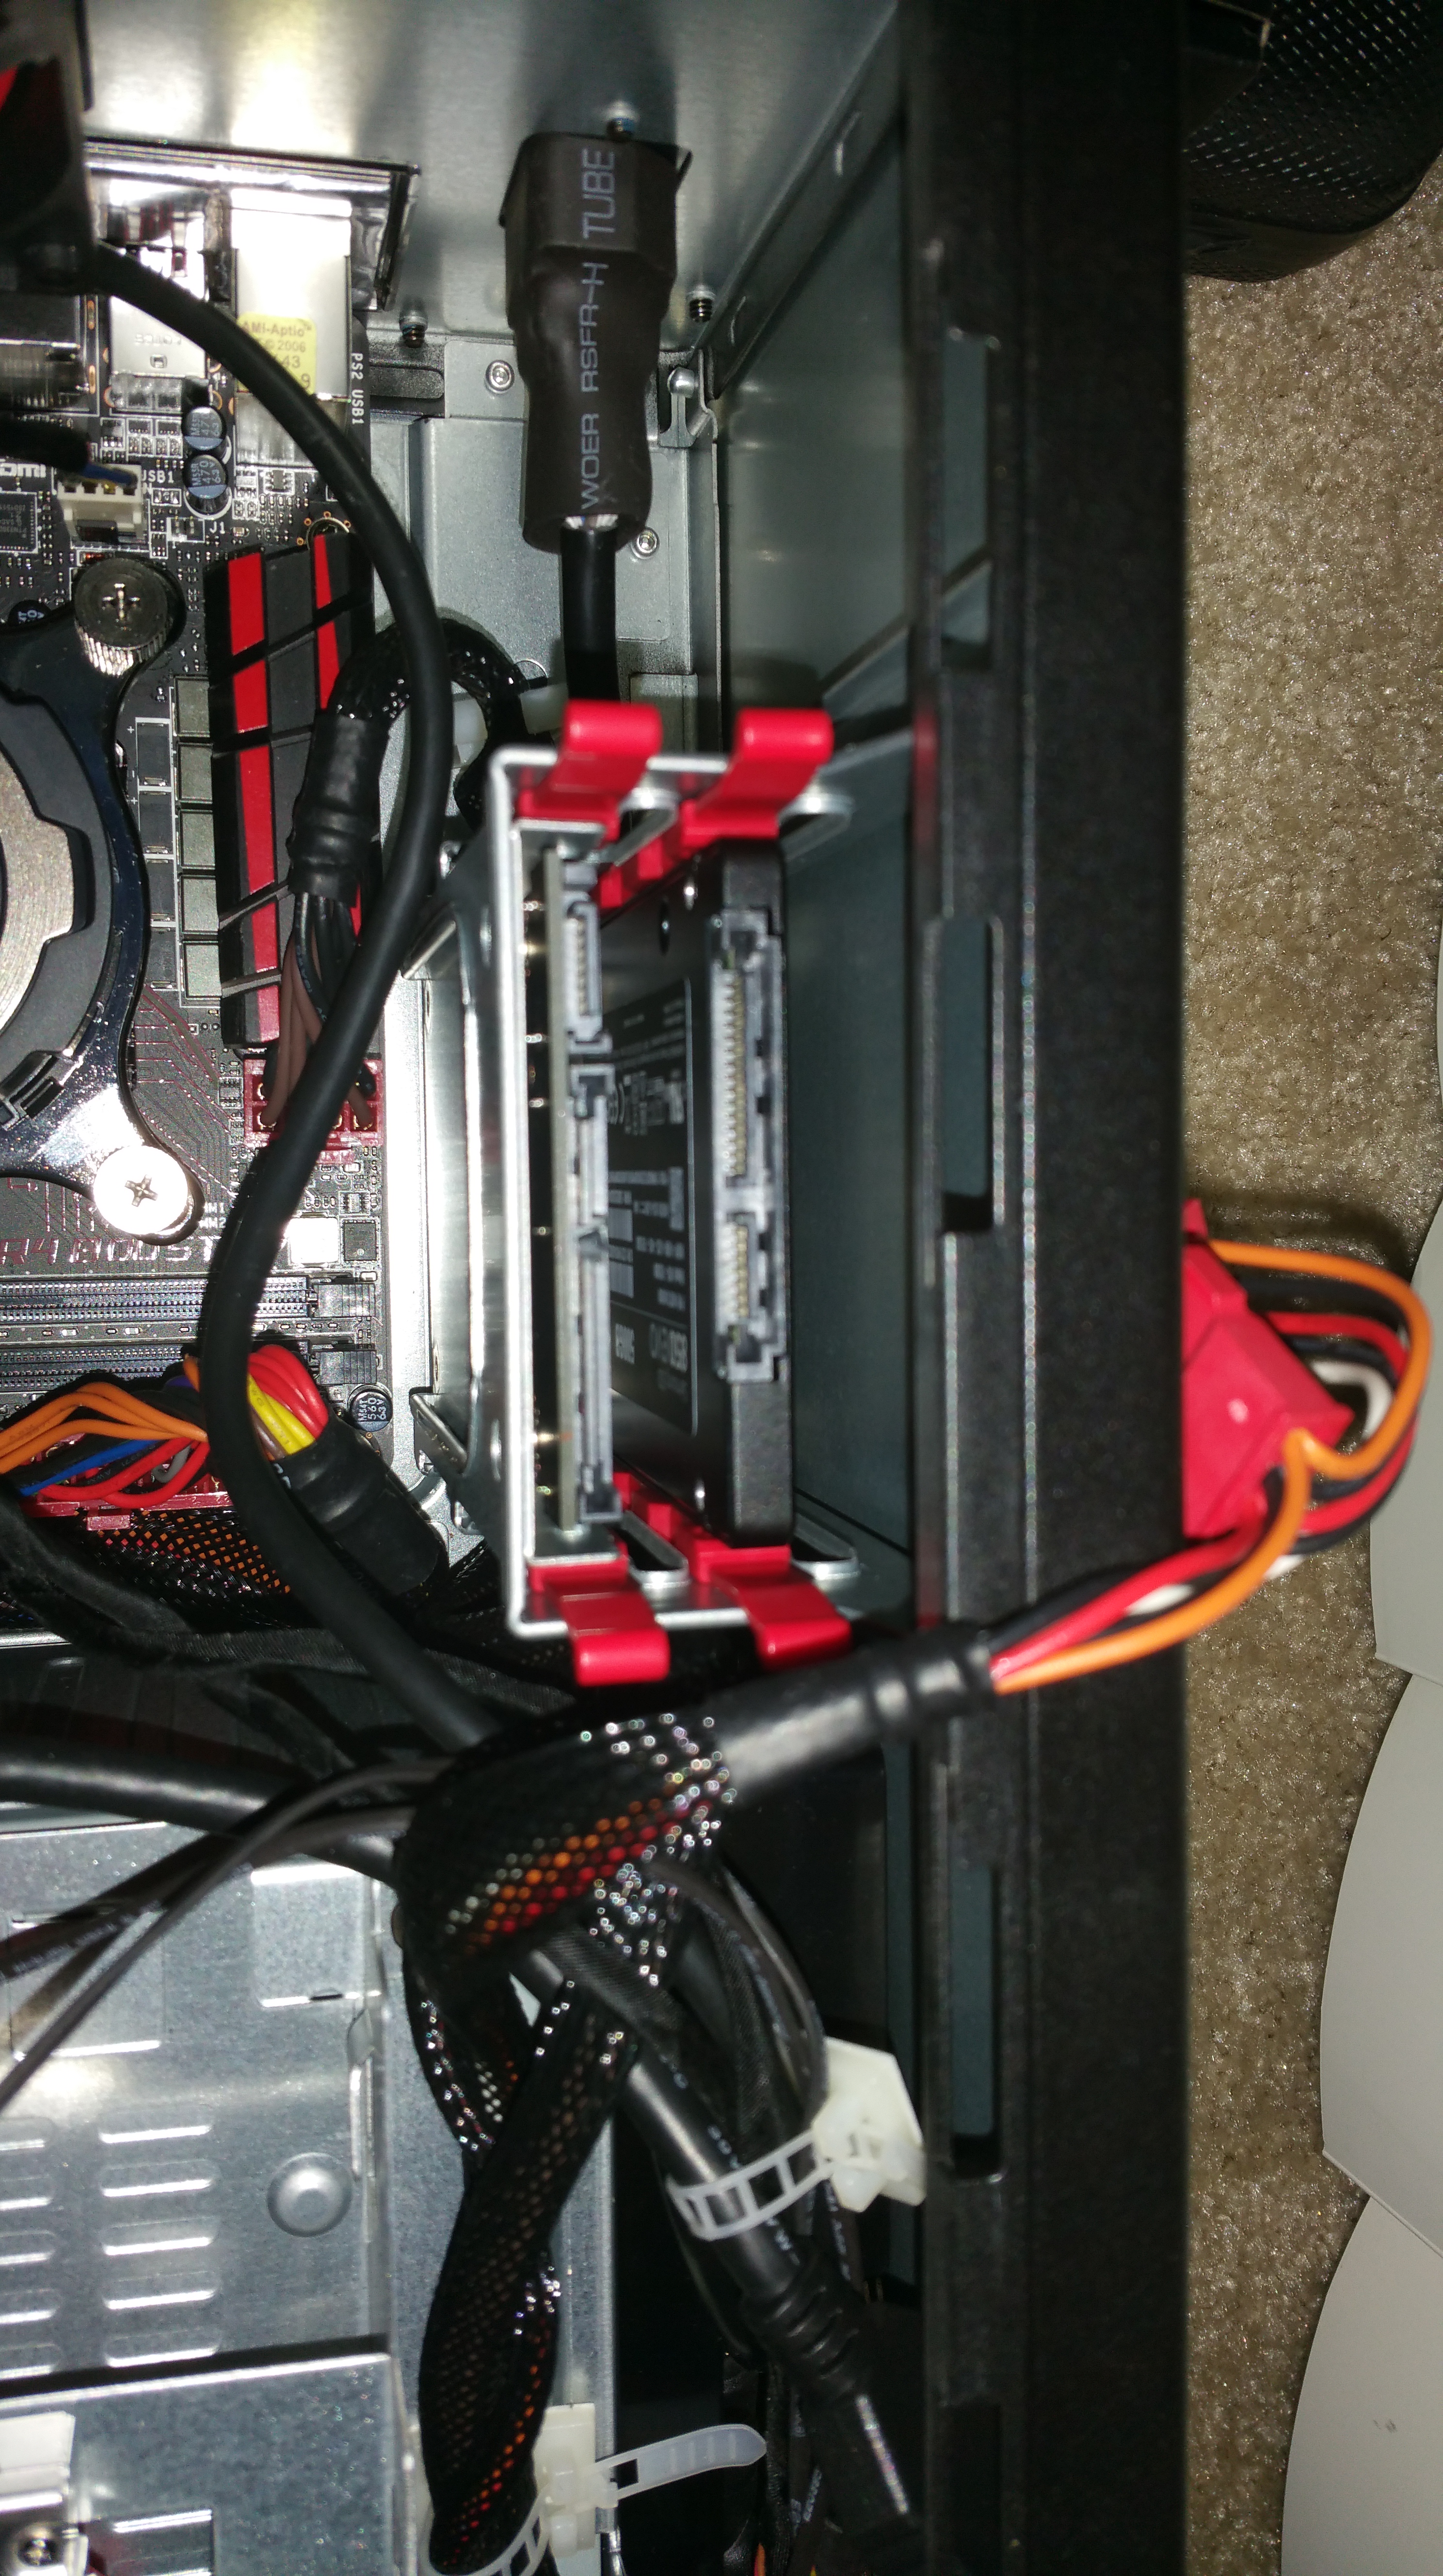
For the other 2.5″ bay, rails are included to mount a standard SSD:


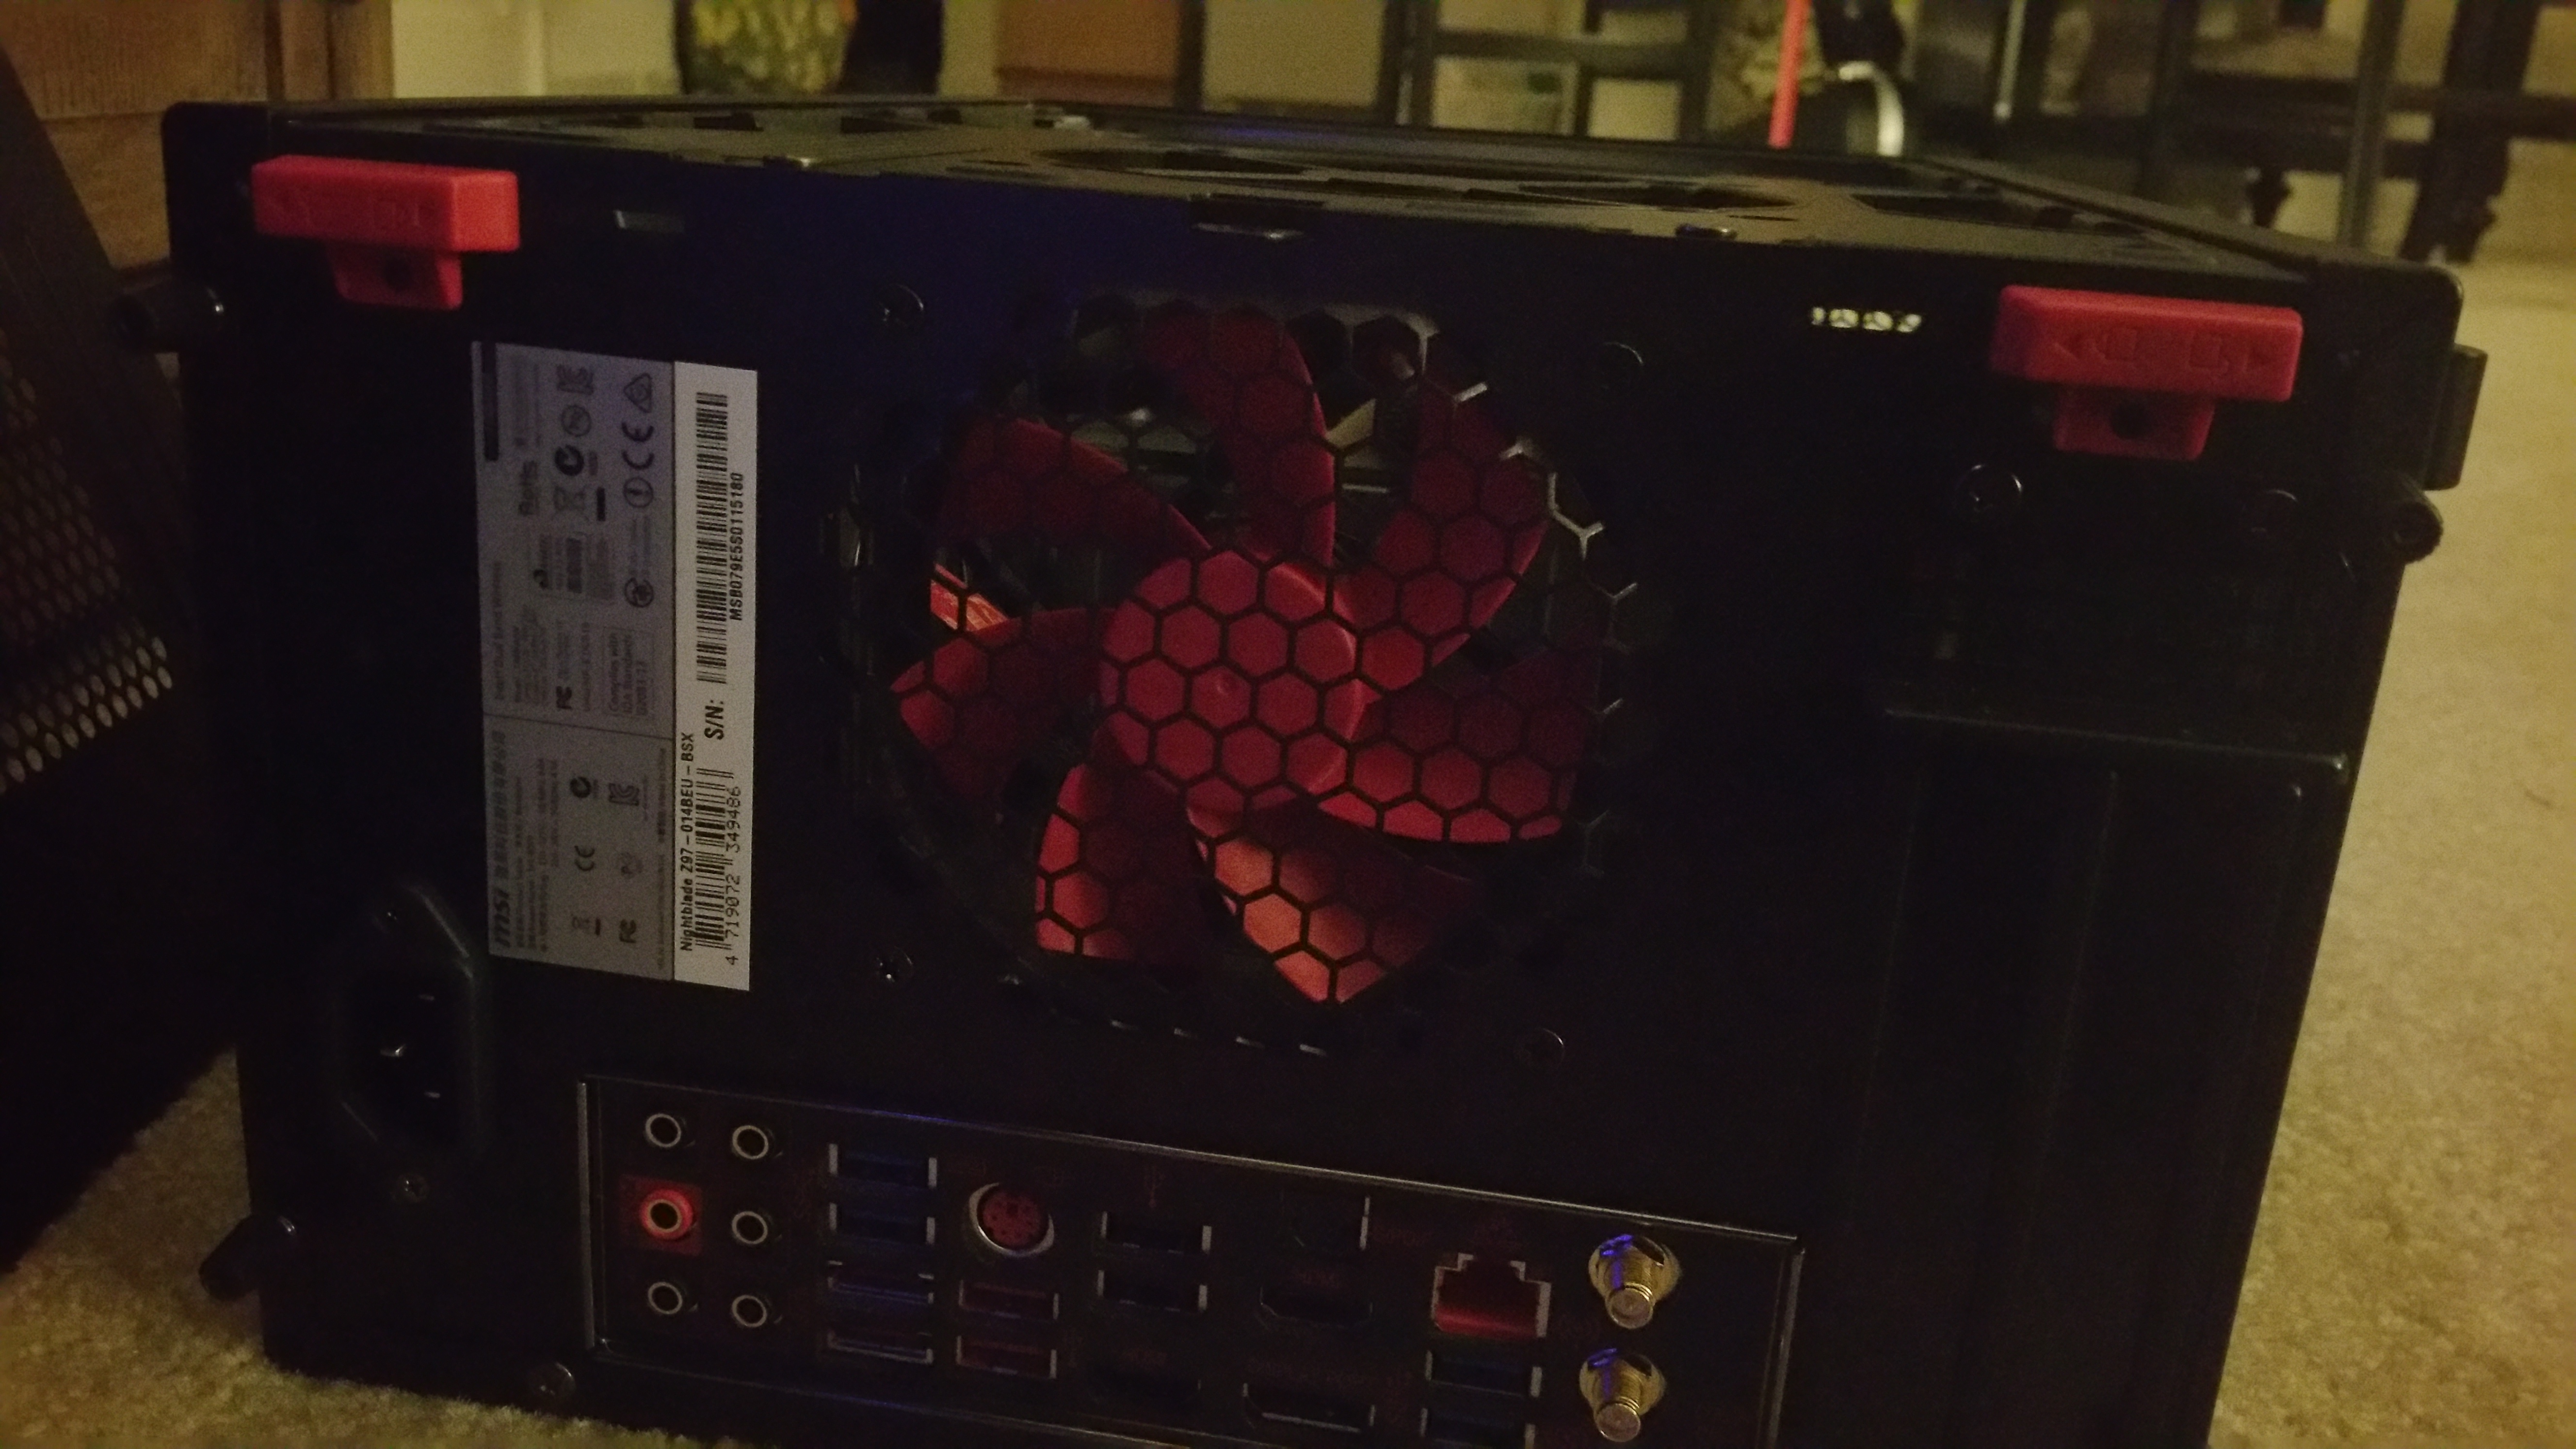
And last but not least in the component install process, the GTX980Ti. Nestled in snugly, but a great fit. The PSU has flexible power connectors and the slot is fully tool-less (both nice touches):
Before closing her up, all cables are connected to their respective headers. For the missing PC speaker, I opted to get one of these:

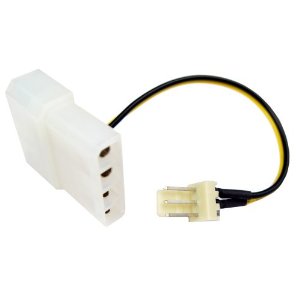
That leaves just the case LED. with no LED header and no turbo header on the Z170i, I decided to wire up the LED permanently. It was a simple matter of wiring up a SATA power lead and converting it to 3 pin:
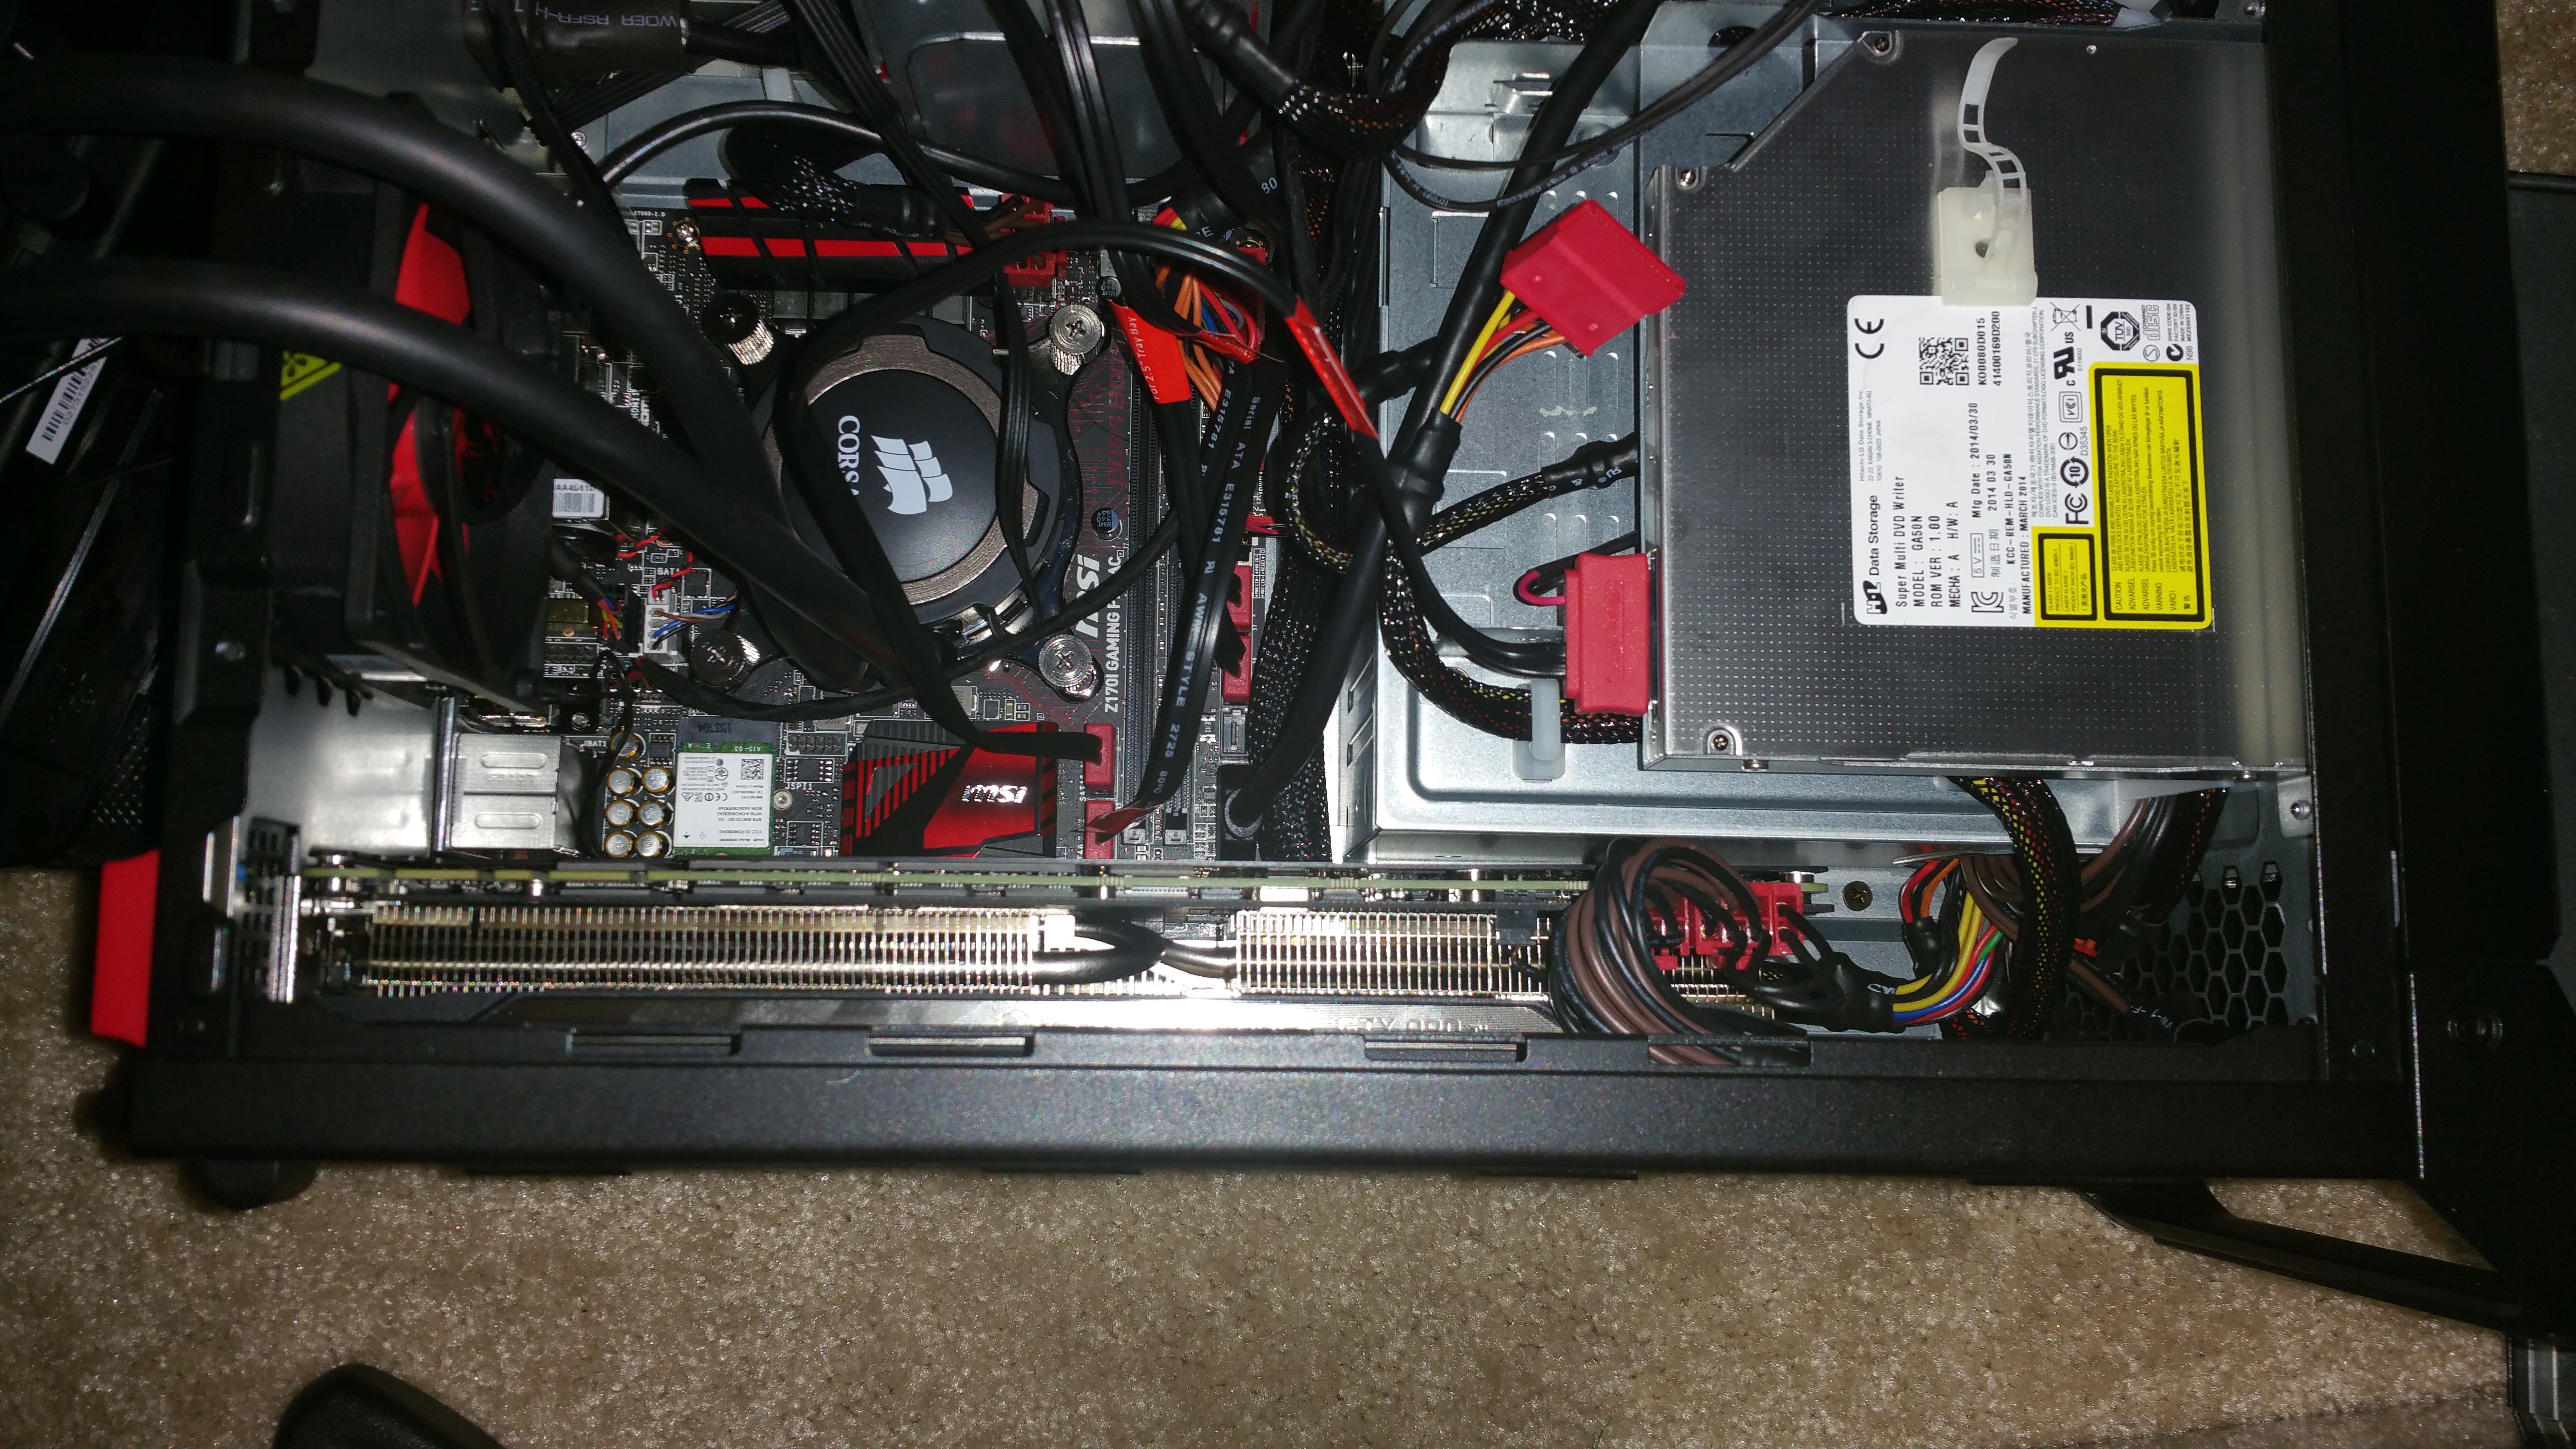
The final assembled package cleans up quite nicely and runs reasonably quietly. In the upcoming entries Ill cover the BIOS settings, RAID config, and software configuration experience before moving on to Steam Streaming and some benchmarking, so stay tuned!
