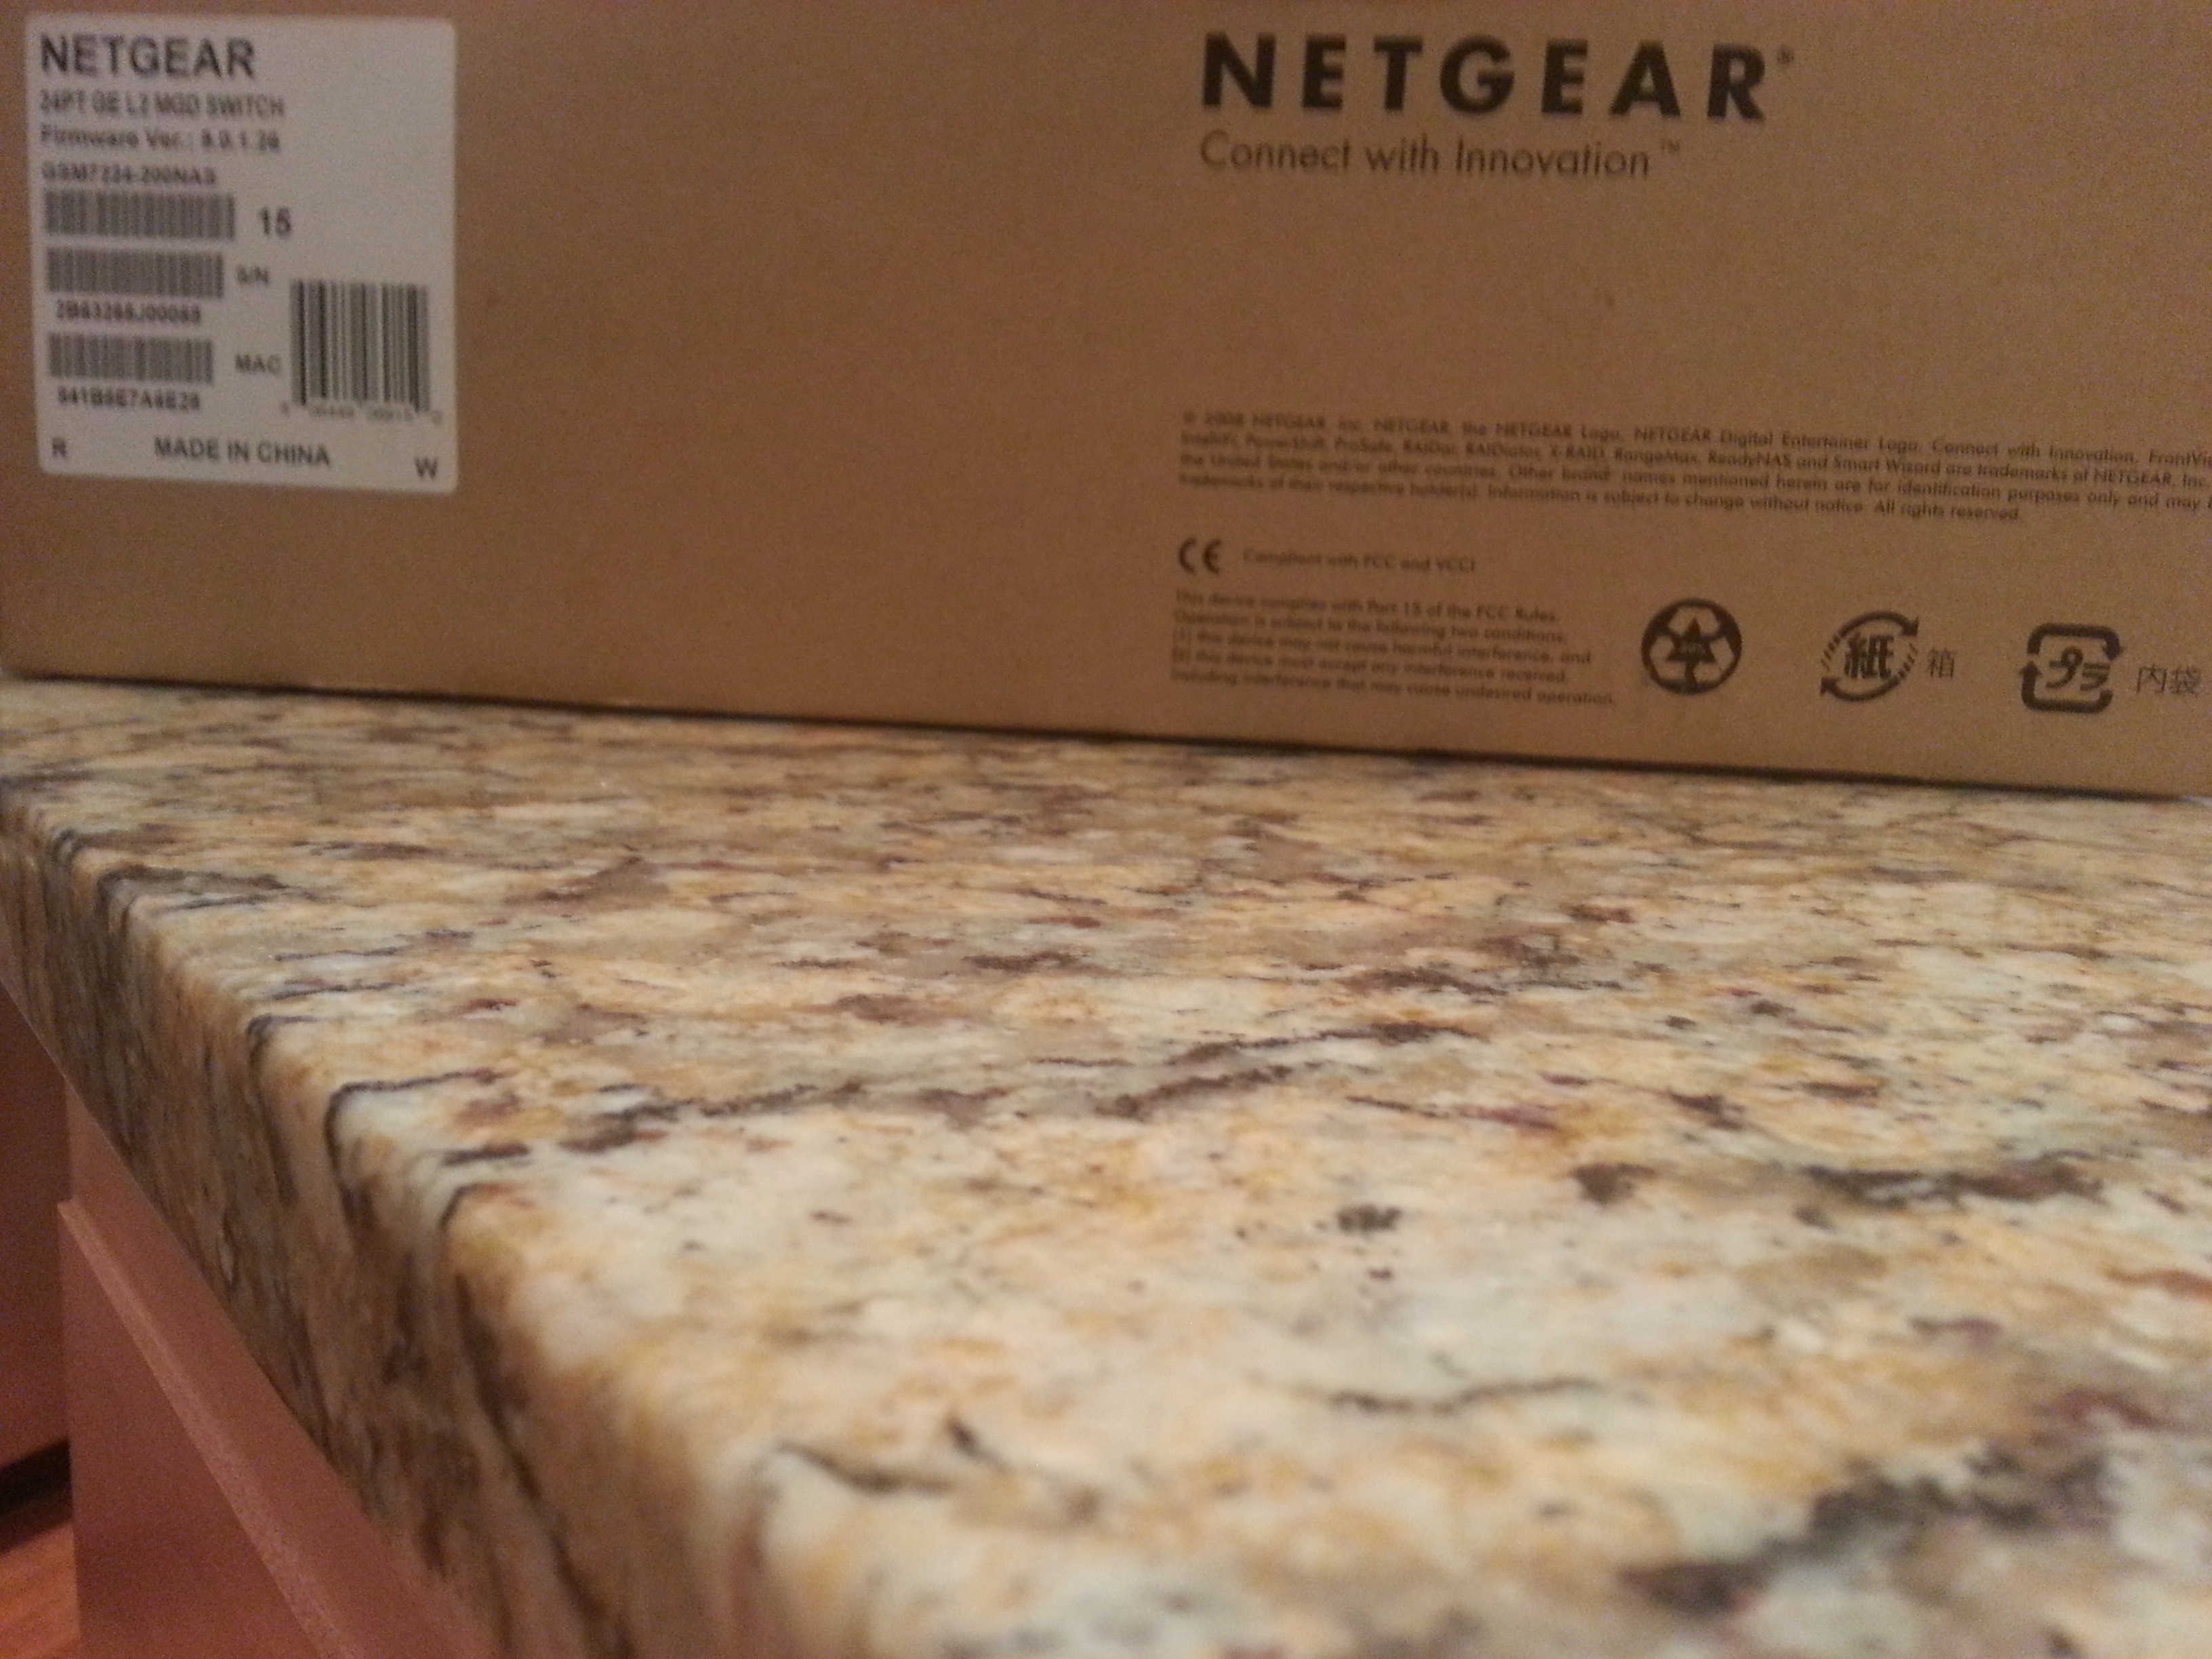
As I’ve said many times over the years, trips to Microcenter are just never a good idea for me. I always go with intent to browse and end up leaving with something I really “need”. This time I had gone in search of the NVidia Shield and somehow came home with a L3 switch that was actually more expensive than the tablet cum gaming device from Santa Clara! Here is the beast; a Netgear GSM7224-200NAS:
Now admittedly this is a really ironic purchase in light of the last entry, so some explanation may be in order. Since coming to VMware, I’ve really had a need to test more advanced scenarios. In my current role it’s actually probably more than a “nice to have” (although I also can’t really call it a “must have”). Of course these “advanced scenarios” I’m speaking of all involve the distributed virtual switch configurations. As a quick refresher:

The vDS is a beautiful thing (as software goes). It links physically disparate hosts together in a single collective harmony of virtual networking goodness. The vDS is also the building block for even more cool things like VXLAN, VCDNI and (presumably) any of the emerging SDN networking technologies that we’ll be seeing come out the Nicira acquisition (assuming that extrapolating based on how Open vSwitch works is reasonable). So in deploying fun stuff like vCD and vCC into a multi-host home lab, it is no surprise that a vDS starts to look really good. The issue is that each of my lab hosts had only a single NIC being, of course, claimed by the default vSS. Now I know what you’re probably thinking; “but there is no problem migrating a single NIC ESXi host to a vDS! Chad King was nice enough to show us how right here ages ago!” And sure, that’s definitely true. I am sure a more fiscally responsible person would certainly go through the effort to migrate 4 single NIC hosts, loaded full of VMs, multiple port groups and VLAN definitions, to the new vDS. It would absolutely be a workable config and a manageable migration. If there is one thing I tend not to be, though, it is fiscally responsible; much to the benefit of these pages and the detriment of the better half!
Honestly though, there were some pretty good reasons for the upgrade. DD-WRT is a pretty amazing thing, and I’ve detailed some of more advanced use cases here (like using it as a wired router in a multi-segment 802.1Q environment), but honestly it always leaves you feeling a bit at risk. It’s good once it’s working, but each time you revisit it to make a configuration change (particularly in the core networking piece), you feel like you’re walking a tightrope without a net. In addition, running ESXi hosts on a single NIC is totally fine for a lab, even a crazy lab that runs the full VMware stack, but it isn’t very representative of any real customer environment (even when you add in VLAN isolation) At the end of the day, while 4 single NIC hosts, a DD-WRT router and a Cisco SLM2008 works, 4 dual NIC hosts and a GSM7224-200NAS is really quite a bit nicer!
So with the money spent and the decision made, it was time to get installing! For the new NIC’s, I chose these nifty white box Intel PCI-E 1x gigabit CT desktop adapters. They’re awesome for a few reasons; they’re cheap, they’re small and they work with pretty much anything!

- Of COURSE the big bracket is the default! Now where’s that philips?
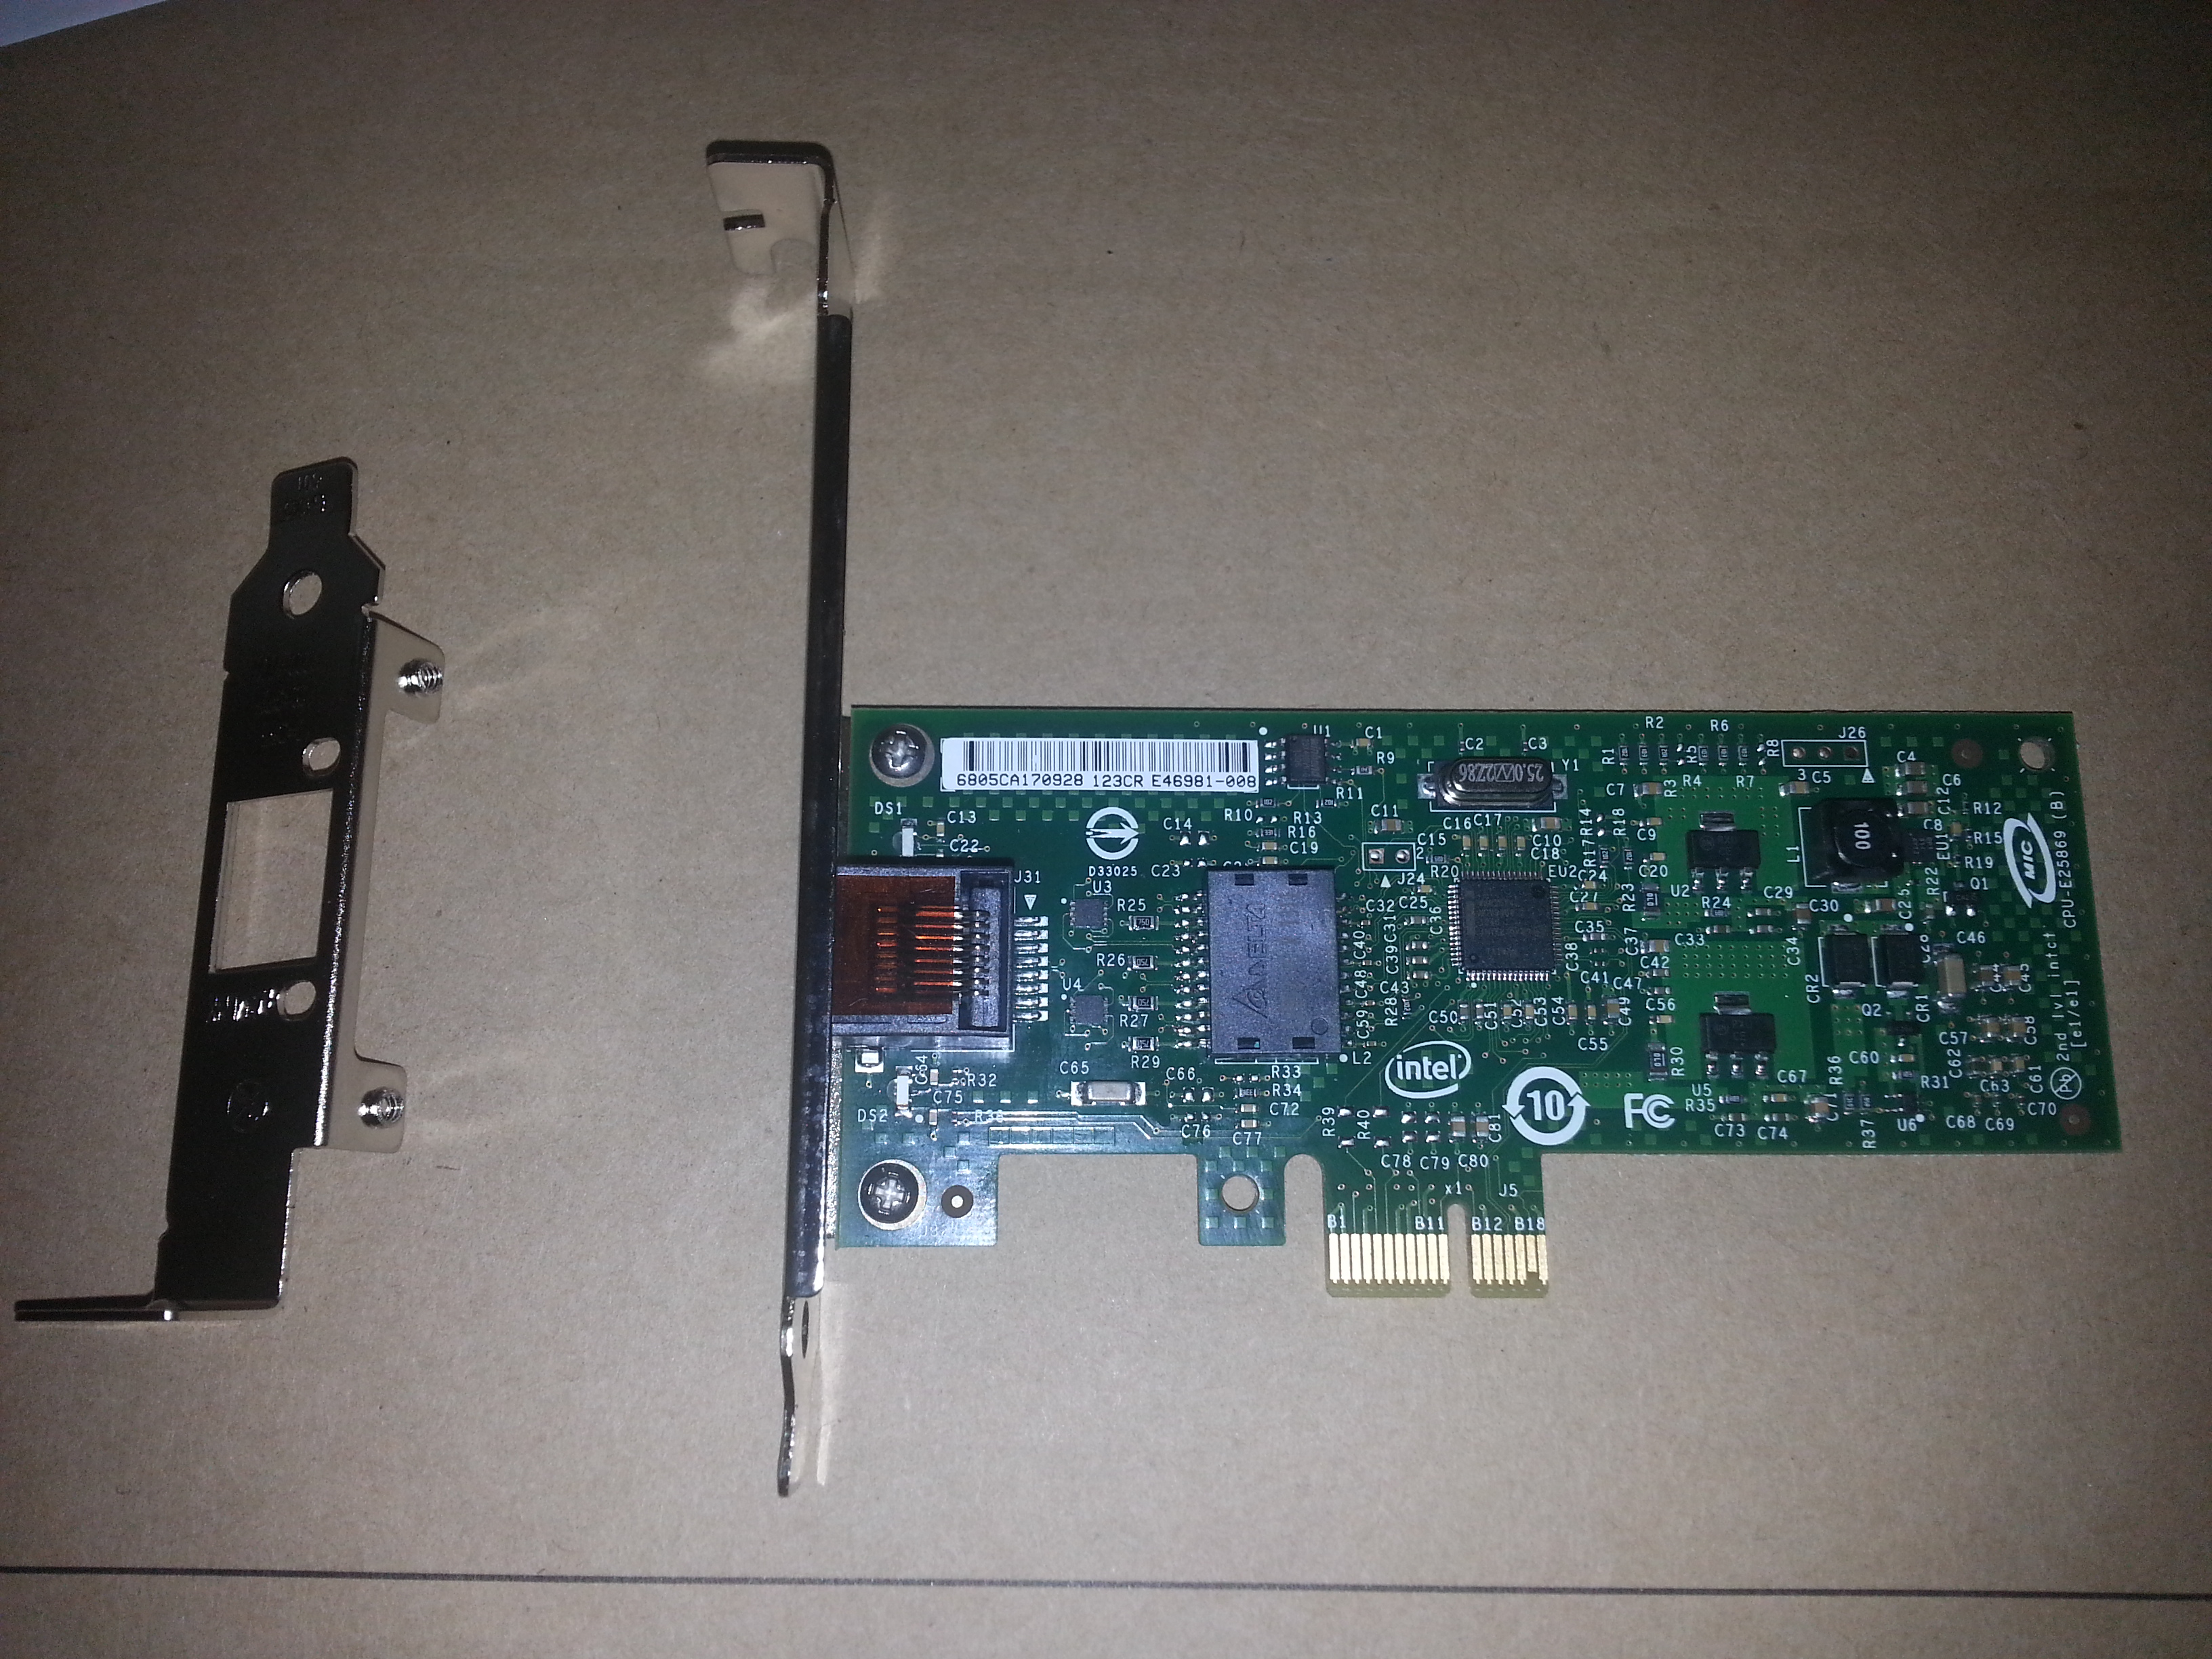
With the bracket swapped, it was time to jam the first card into the first host, starting with the Gateway SX2801-01e:

- Cramped but clean… these OEM SFF boxes have come a long way

Next up, the white box AMD’s:

- Admittedly not as clean and rougher around the edges, but they get the job done!

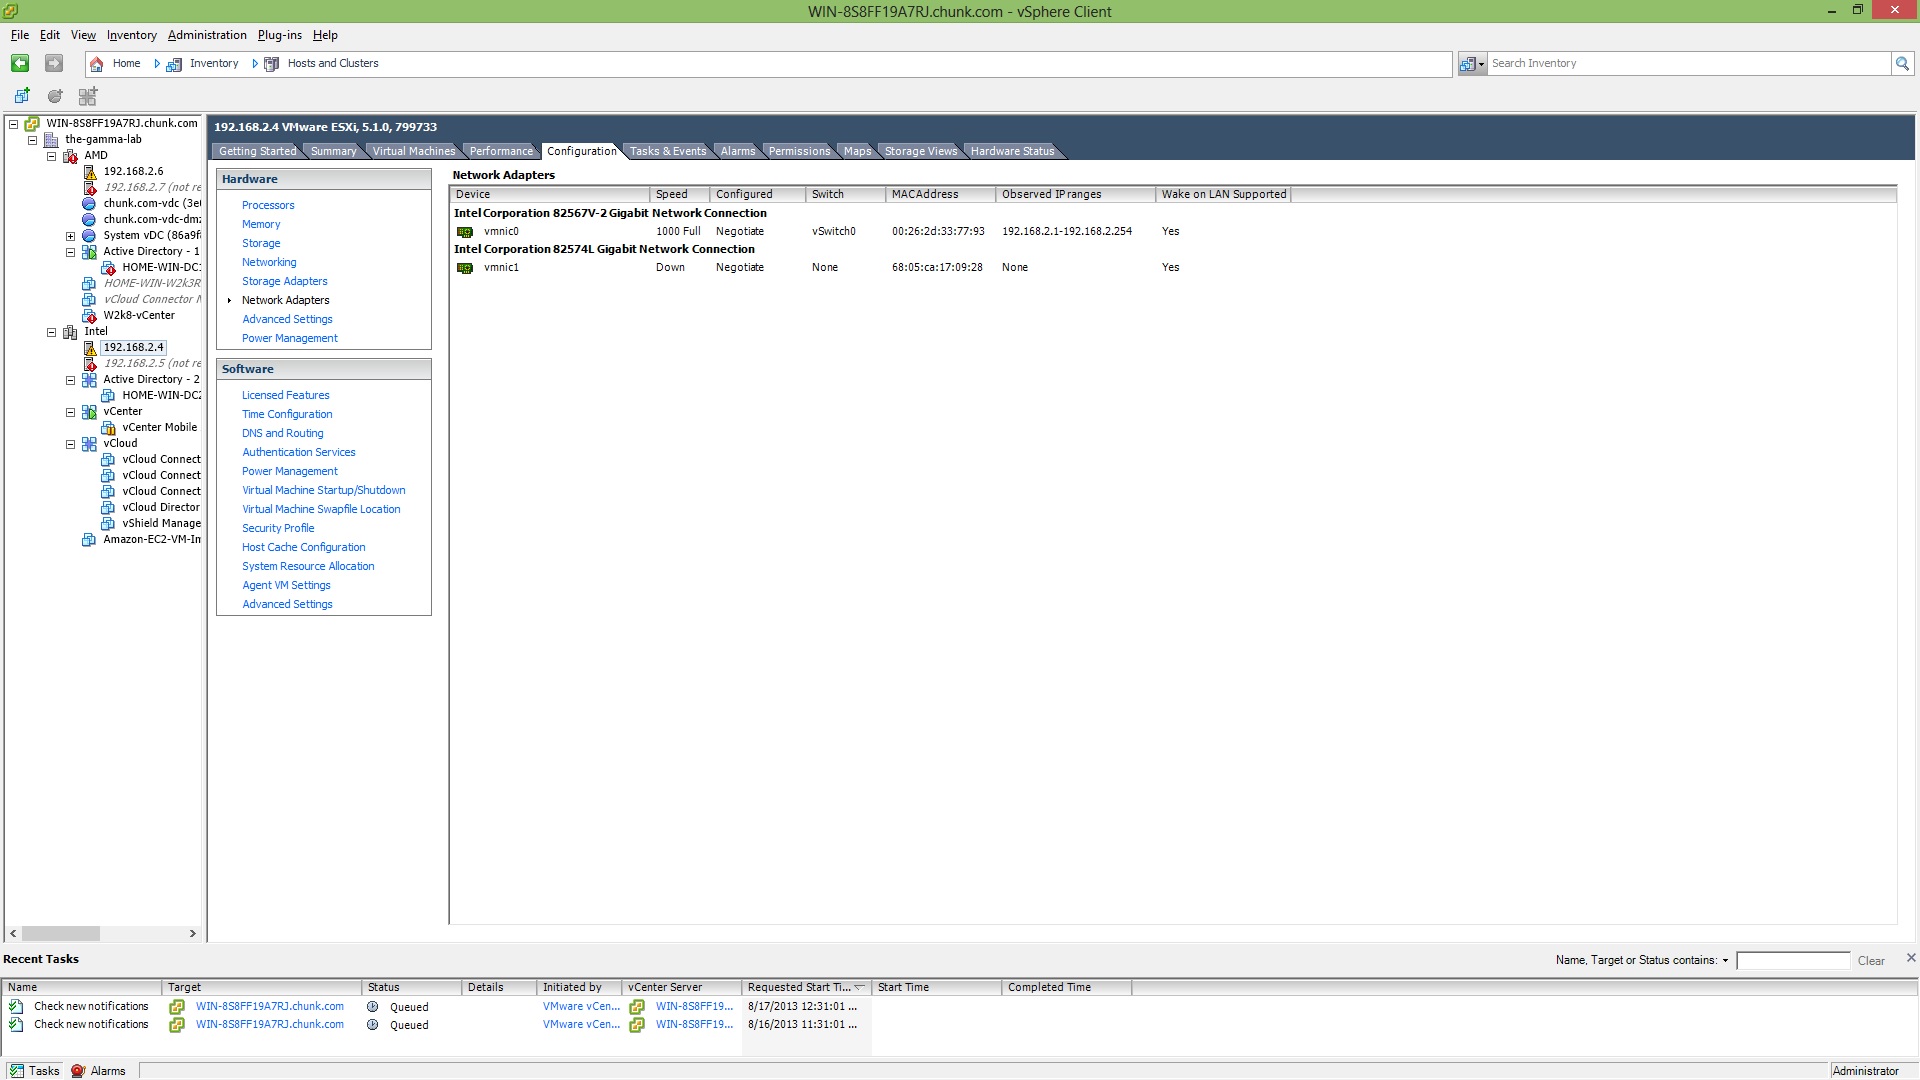
Bringing the first host back online with it’s newly added NIC, we are greeted with this nice sight under the network adapter config for the host in vCenter:

- Can’t beat OEM Intel for compatibility!
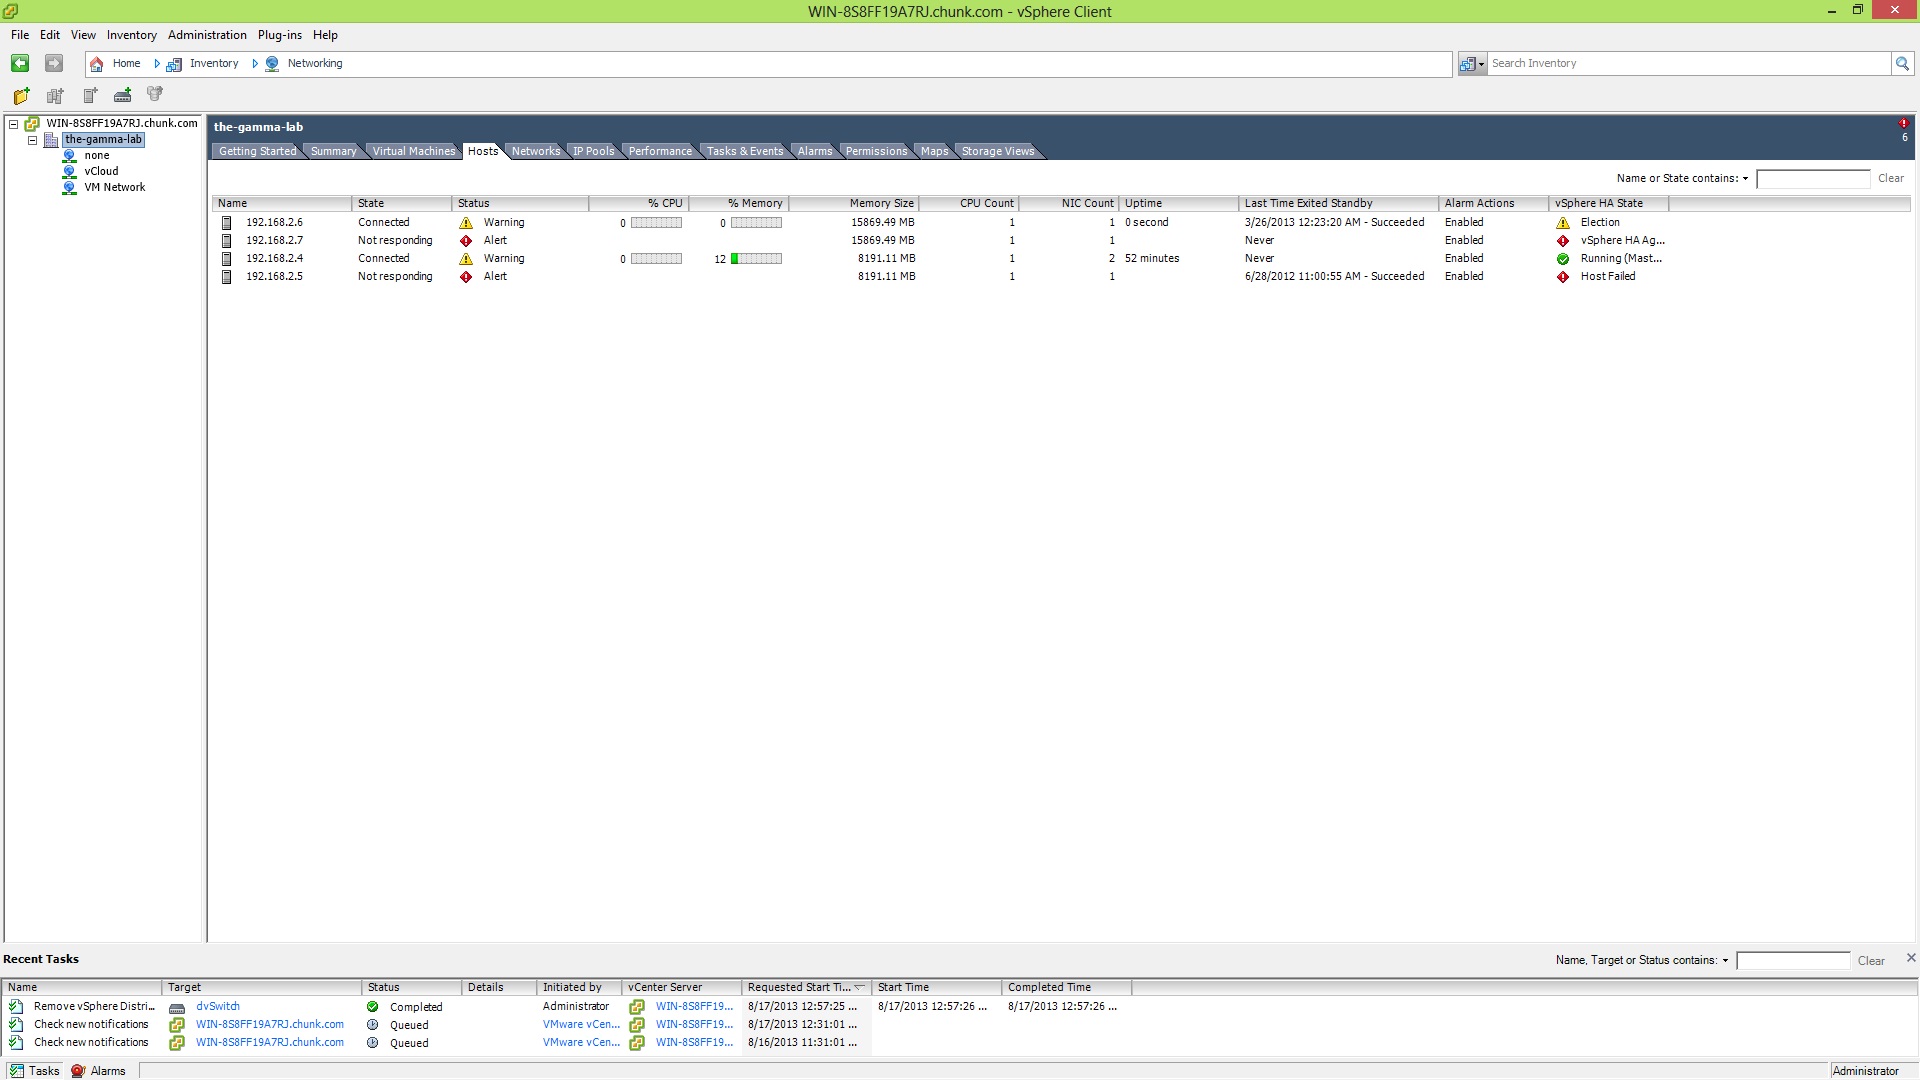
With the new NIC alive and kicking, it’s time to add a dvSwitch to our vCenter config. First stop is head Home in the vCenter client and then head over to the Networking group under Inventory:

In the networking context, the next step is to right click on the datacenter (denoted by a nice little building icon!) and select “New vSphere Distributed Switch”:
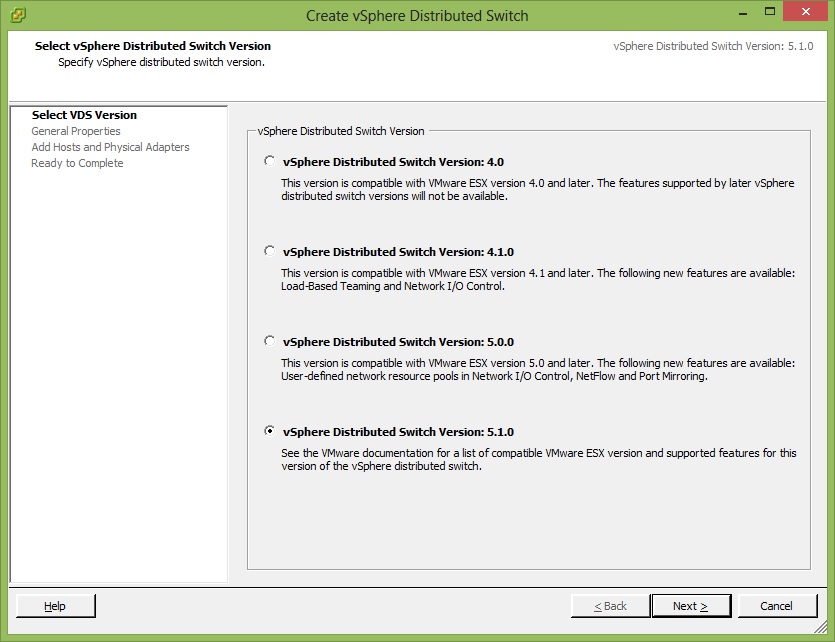
The Create vSphere Distributed Switch wizard is surprisingly straightforward. First we select the vDS version. In this case we’ll go with current (5.1.0) since there are no legacy hosts in the lab:
Next we specify the switch name (which I’m leaving at the default) and the number of uplink ports. The uplink ports setting dictates how many physical NIC connections each host can have to the vDS. The default is 4, I set it to 2 since, post migration, I plan to go with a topology that migrates all NICs for all hosts to the vDS:

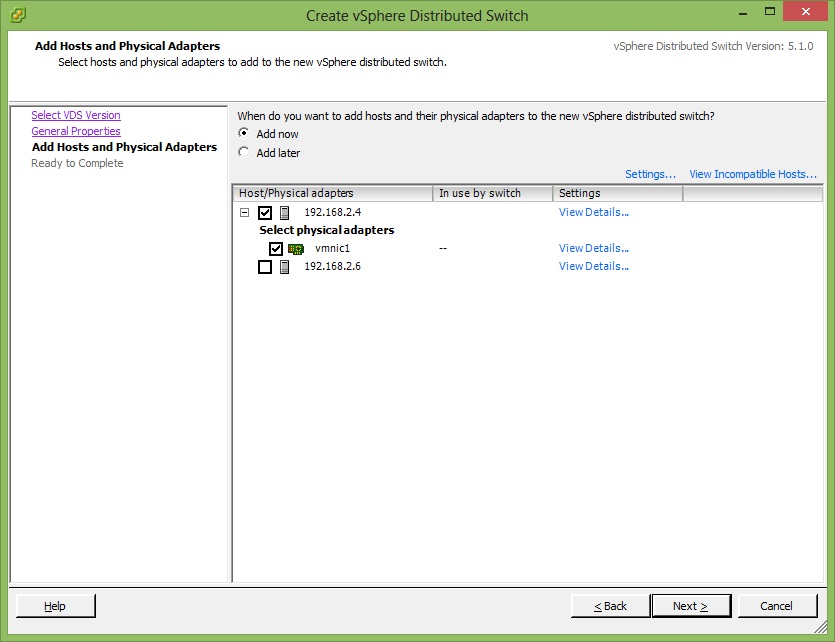
Next we have the option to add hosts to the vDS we are creating. Note that this is optional. A host must have a free NIC to appear here. The great news is that you can select “Add later”. In those single NIC scenarios, that is the option you would go with and then once the vDS was created, migrate each host in at the host level (rather than assigning an individual NIC at a time to the vDS). Once again, this is covered in the Chad King video linked earlier:
And that’s it in terms of setup options! The last dialogue shows you the newly created topology and allows you to finish the installation:

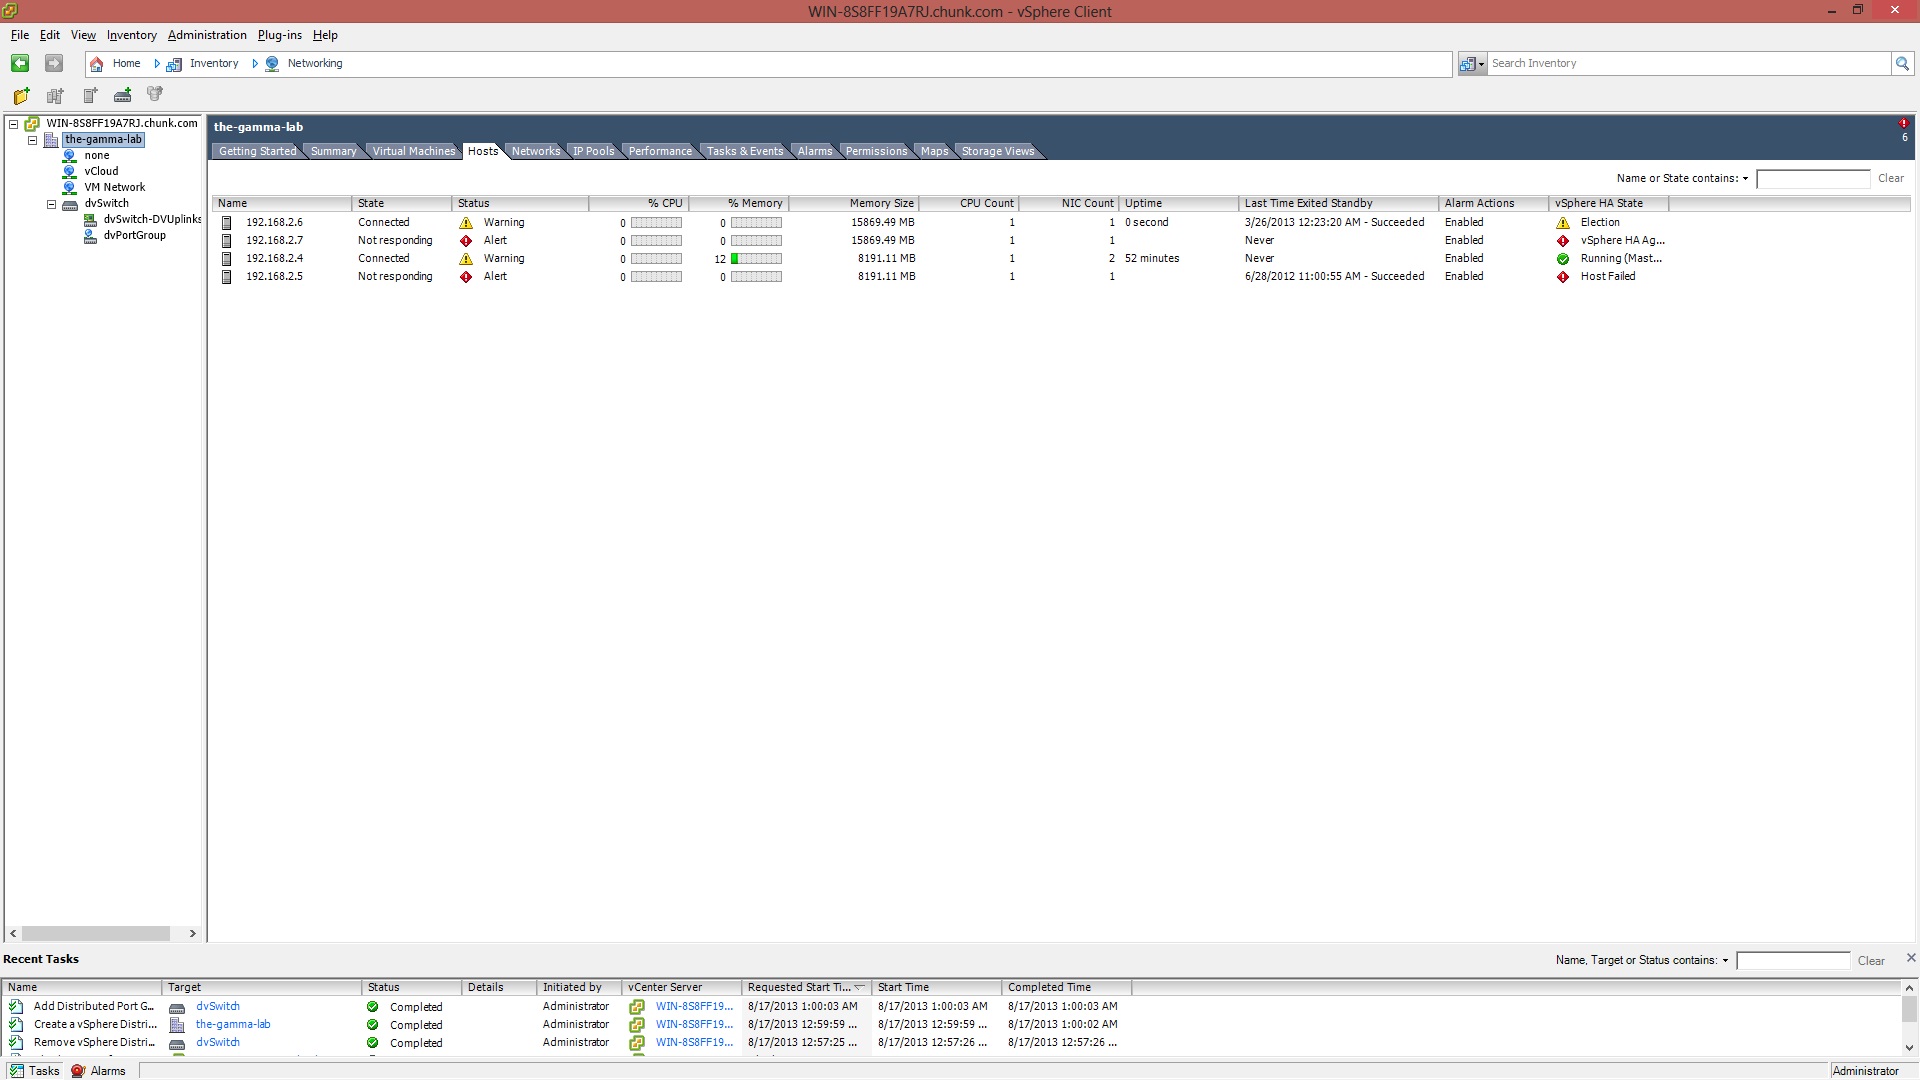
With the new vDS creation task queued, we are deposited back into the vCenter client networking inventory section where we will see the new virtual distributed switch, and it’s default port groups, turn up quite quickly:
One interesting thing rinse/repeating the above for my hosts was that on the AMD boxes, the Intel NIC in the PCI-E slot took precedence over the onboard Realtek 8168 and became the default NIC. This took a few minutes of head scratching and “restart management network”ing at the console to figure out (“link down” is a clue!) A quick cable swap was enough to bring it online and ESXi was actually no worse for the wear. Not a surprise, but always nice when things work as expected!
With the vdSwitch created, additional hosts are now added it. The process is a bit different then adding the host during initial creation and so worth taking a closer look at. Heading back over to the network section of our inventory, we select our new vDS and choose the “Add a host” option:

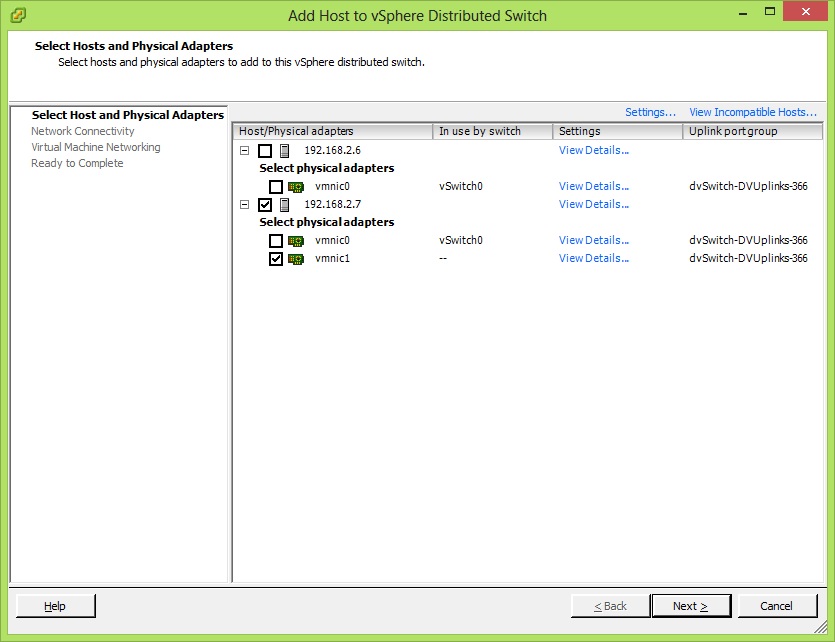
The first step is actual host selection. We see that we can now add our original vCenter host which still only has a single NIC. This would be our first stop after initially creating a vDS and choosing “add later” for host selection and is where we would begin our single NIC host migration. In this case, we are going to focus on our newly dual-NIC host and select only the NIC that is not currently bound to a vSwitch:
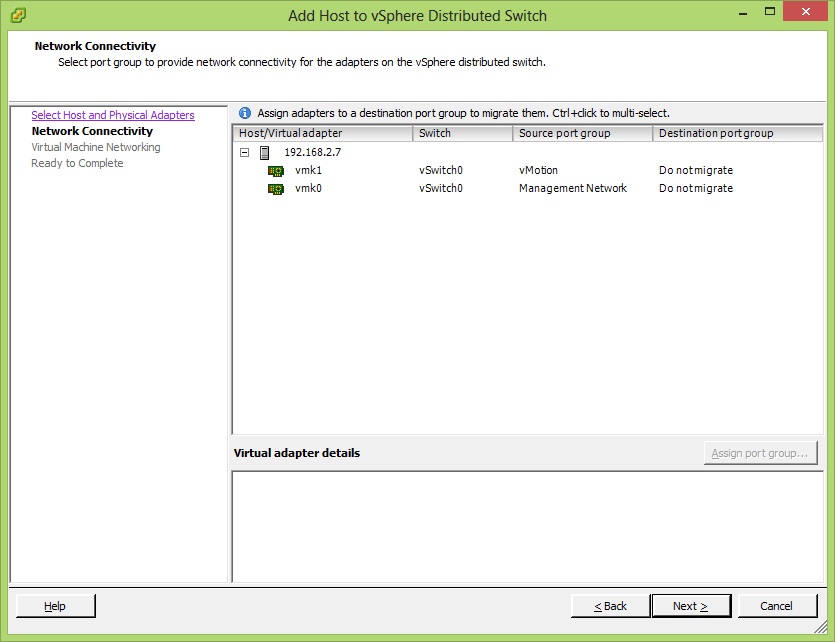
The next step is to select port groups on that host to migrate. Since we are leaving the existing vSS configuration alone, we do not create a migration mapping for any of the existing port groups (that will come later on in the network reconfig). For now we are just adding an unbound and unused pNIC to the vDS:
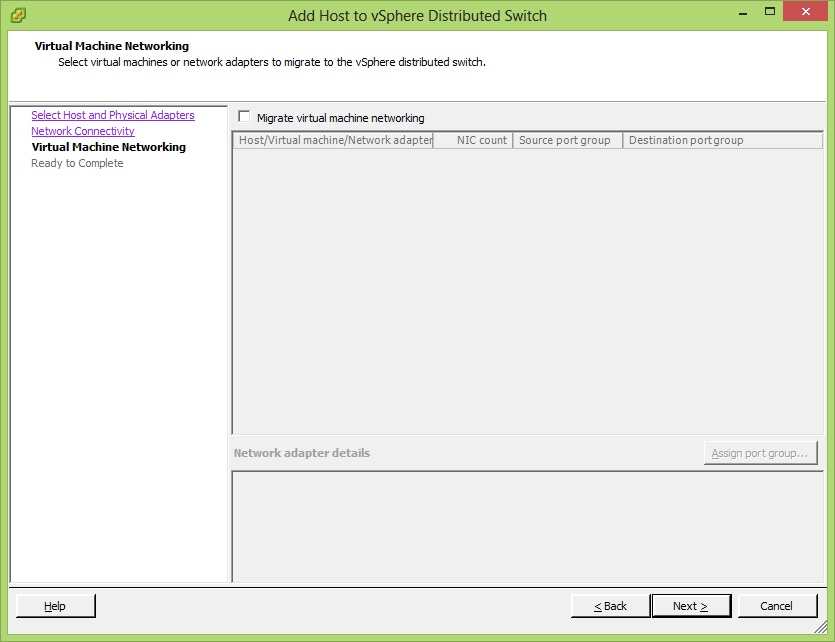
With no port groups tagged for migration there isn’t much to see here in the migration summary section. If we had selected port groups, we’d have the opportunity here to select individual virtual machines or network adapters attached to those port groups and have the opportunity to move them around:
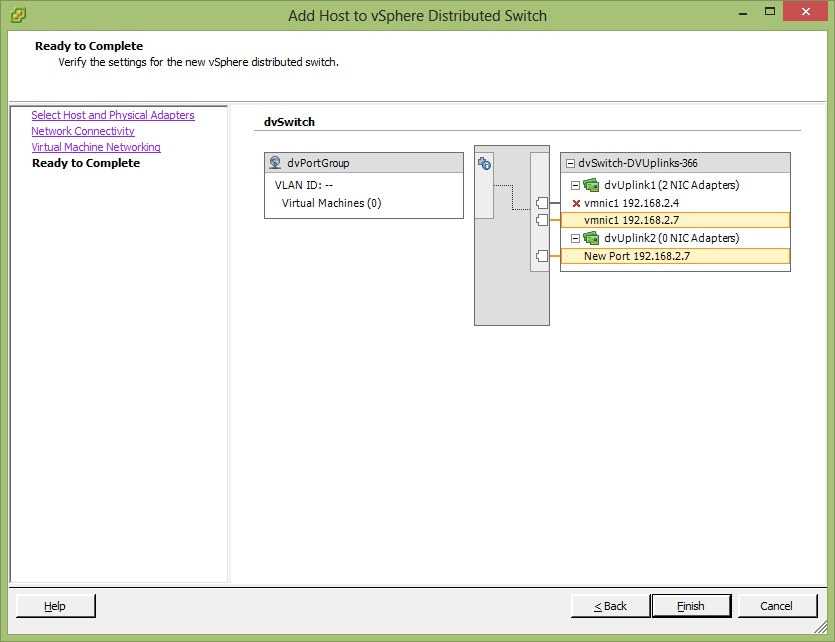
Once again, with the work complete, we get a topology overview picture and a chance to finish the configuration task:
OK, the moment of truth! With all of the vCenter work that can be done at this stage complete, it was time to either go forward with the network infrastructure re-architecture, or take the cowards path of retreat. Curmudgeons never retreat, so unboxing we shall go!

- Plain brown box reveals interesting plastic wrapped goodness!

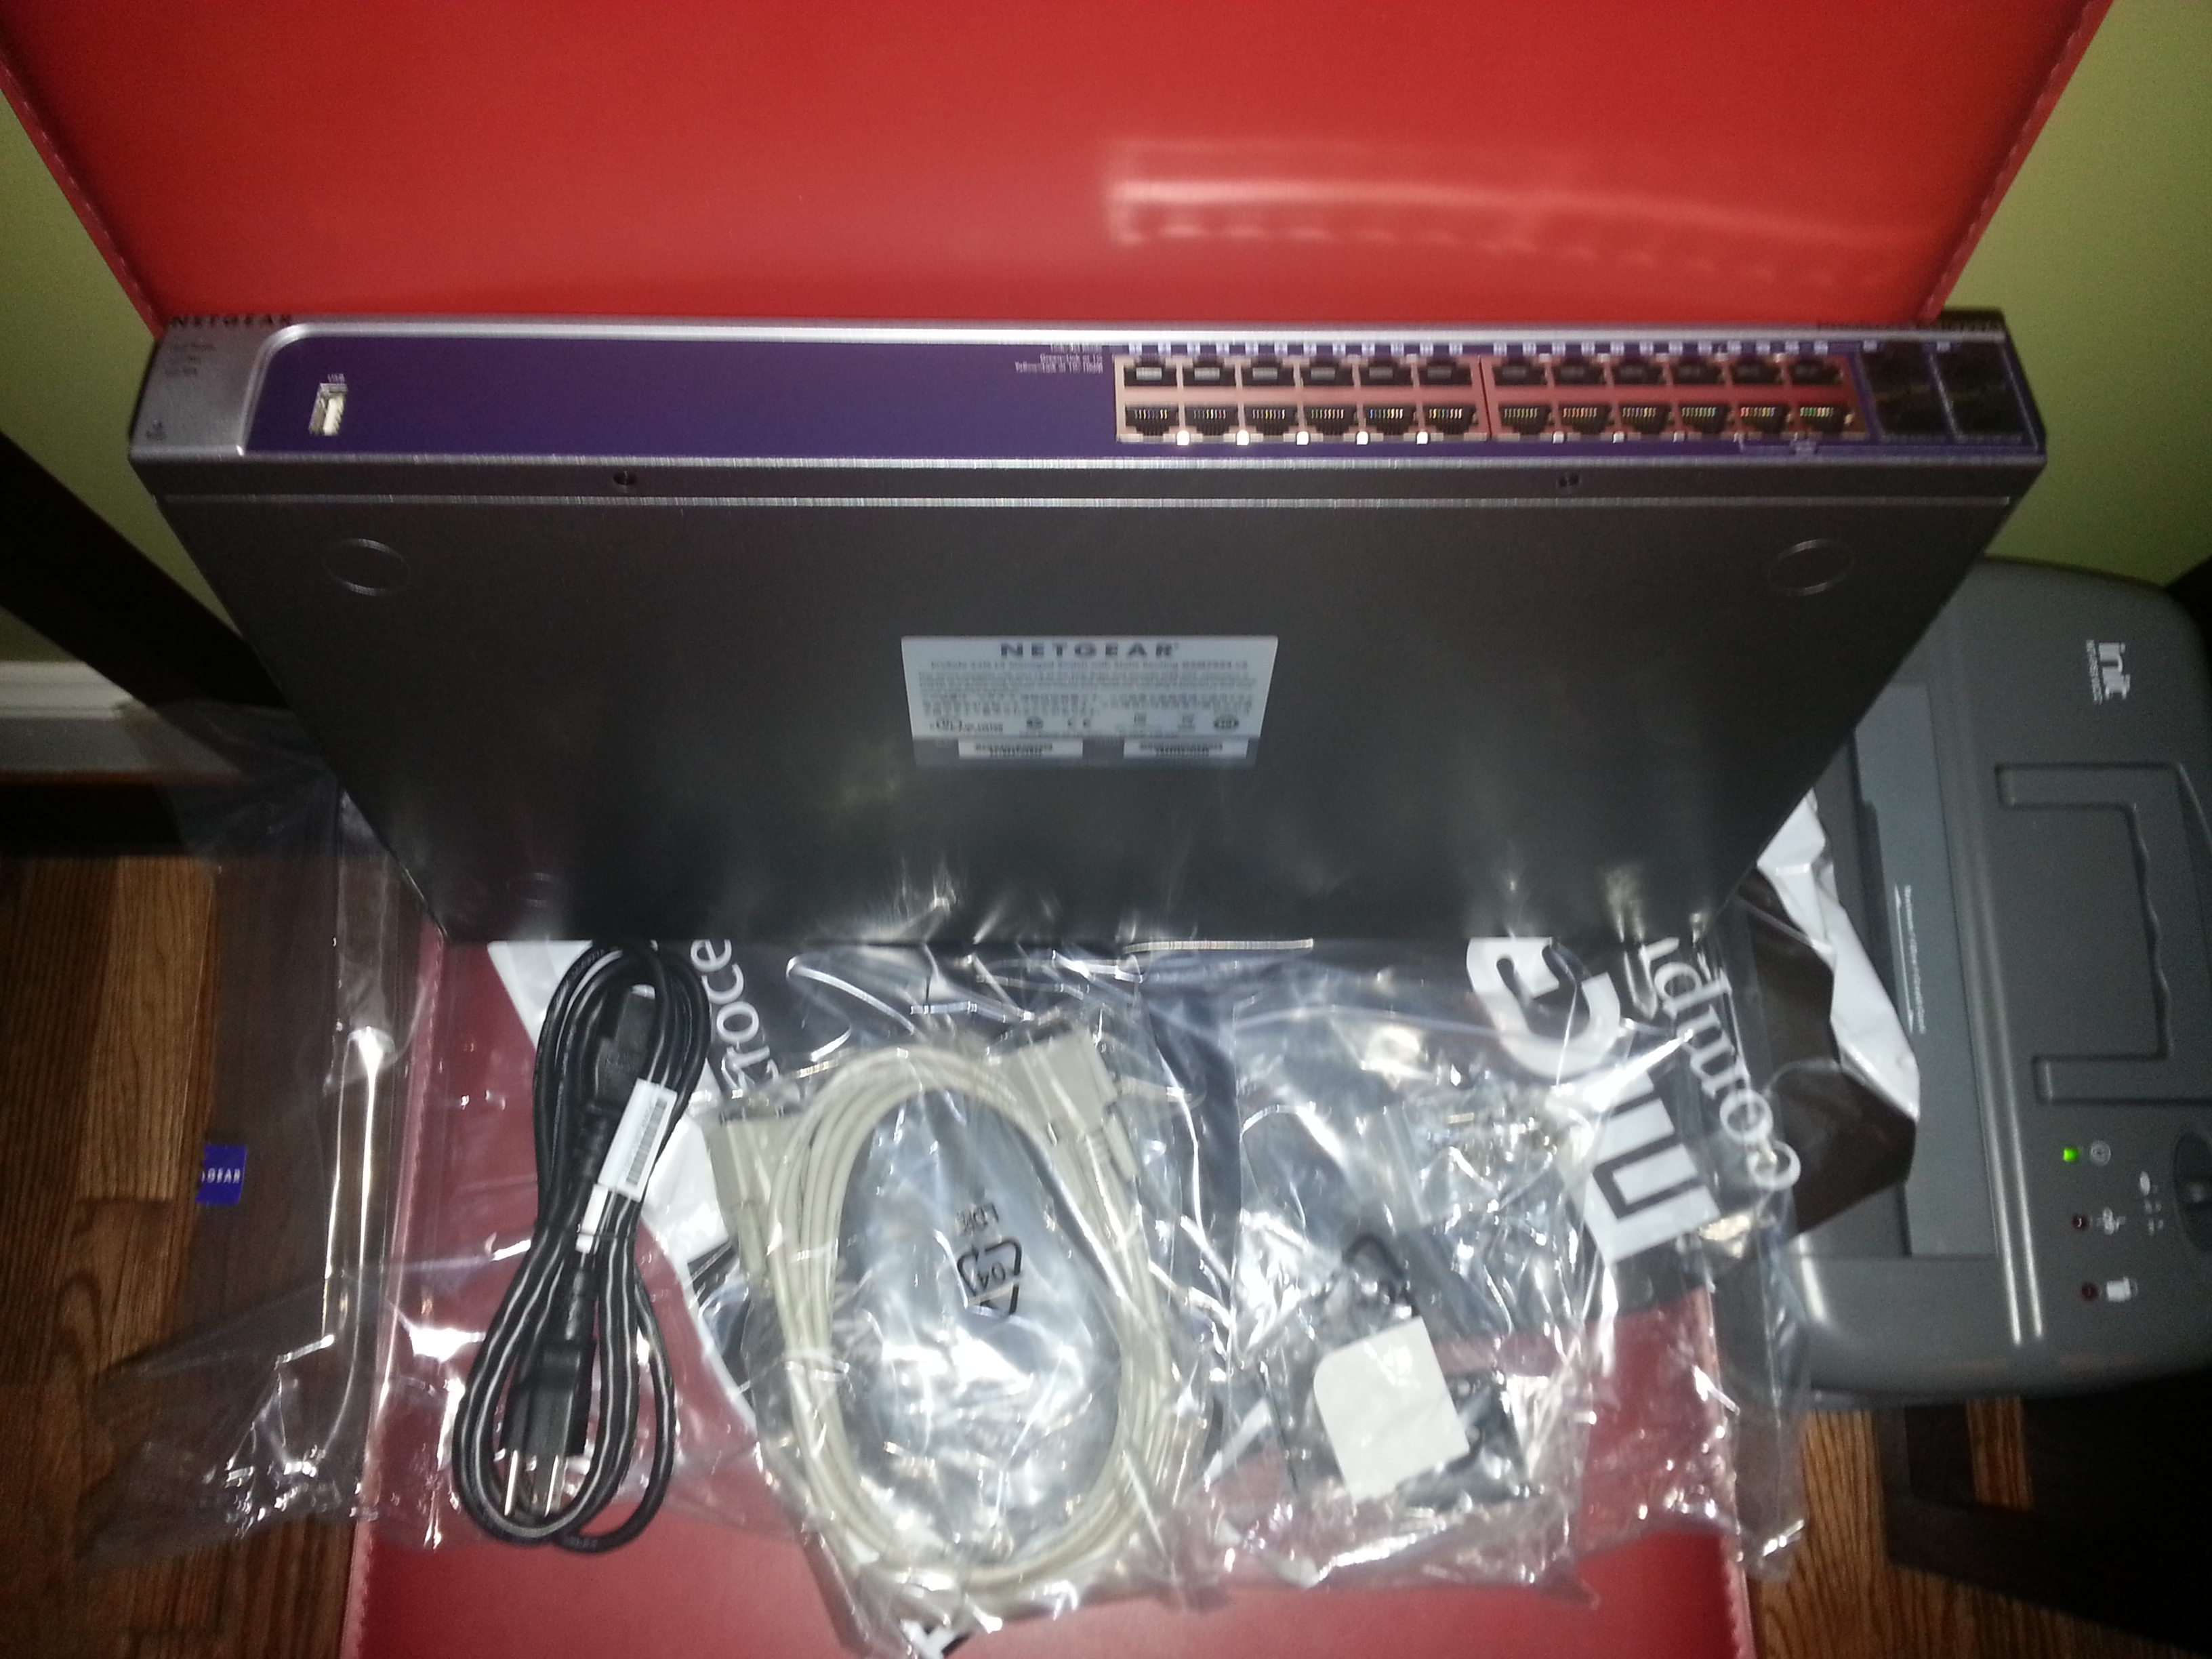
Opening the box reveals some Styrofoam, a bigger switch than is reasonable to use in any normal home, some basic goodies like a rackmount kit and console cable, some manuals and a setup disc (along with a cool glossy poster) and that’s about it. With the exception of the glossy poster, its all very enterprise-ish. And of course, even at $400, not a single Ethernet cable to be found!

- An admittedly odd sight to see in a house! Look, it has a rack mount kit and console cable!
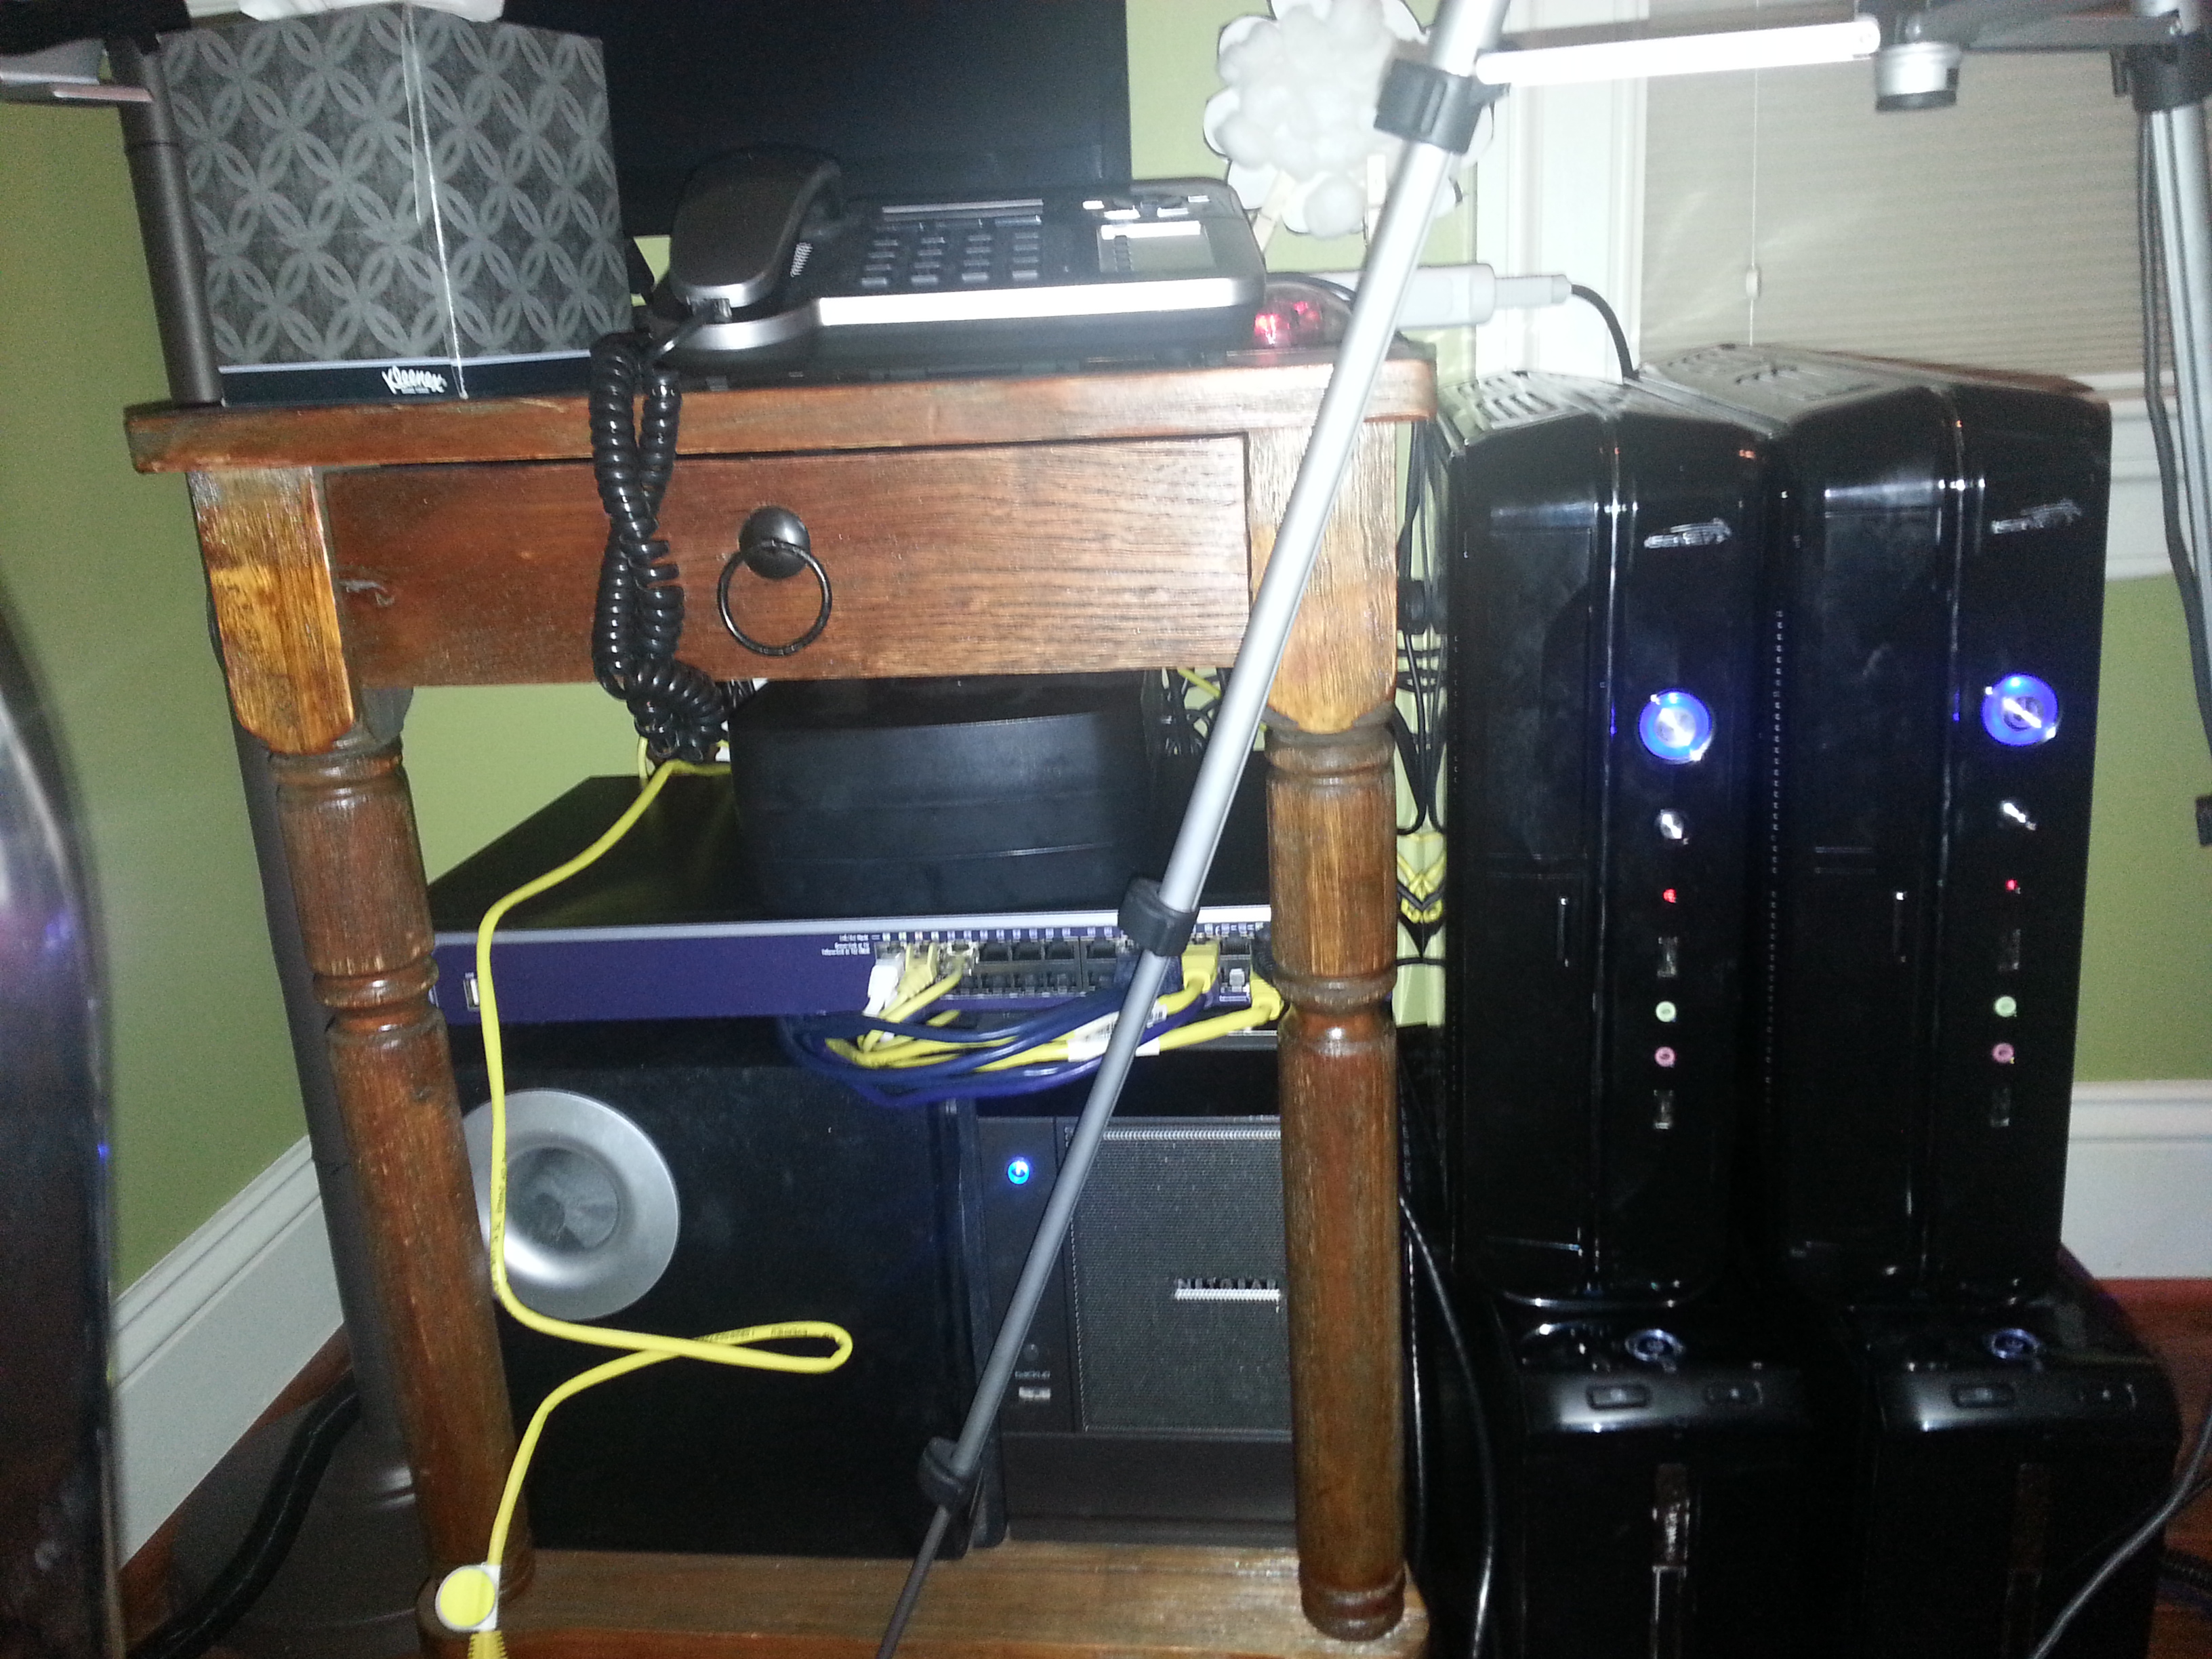
Its a pretty quick and easy job to unpack it. A bit of a harder job to jam this giant switch into my little side table that serves as the “lab rack” and an absolute huge pain in the ass to get the cabling moved over. Like Rachel Ray we’ll skip all of that nastiness though, and jump right to here:

- Its alive!
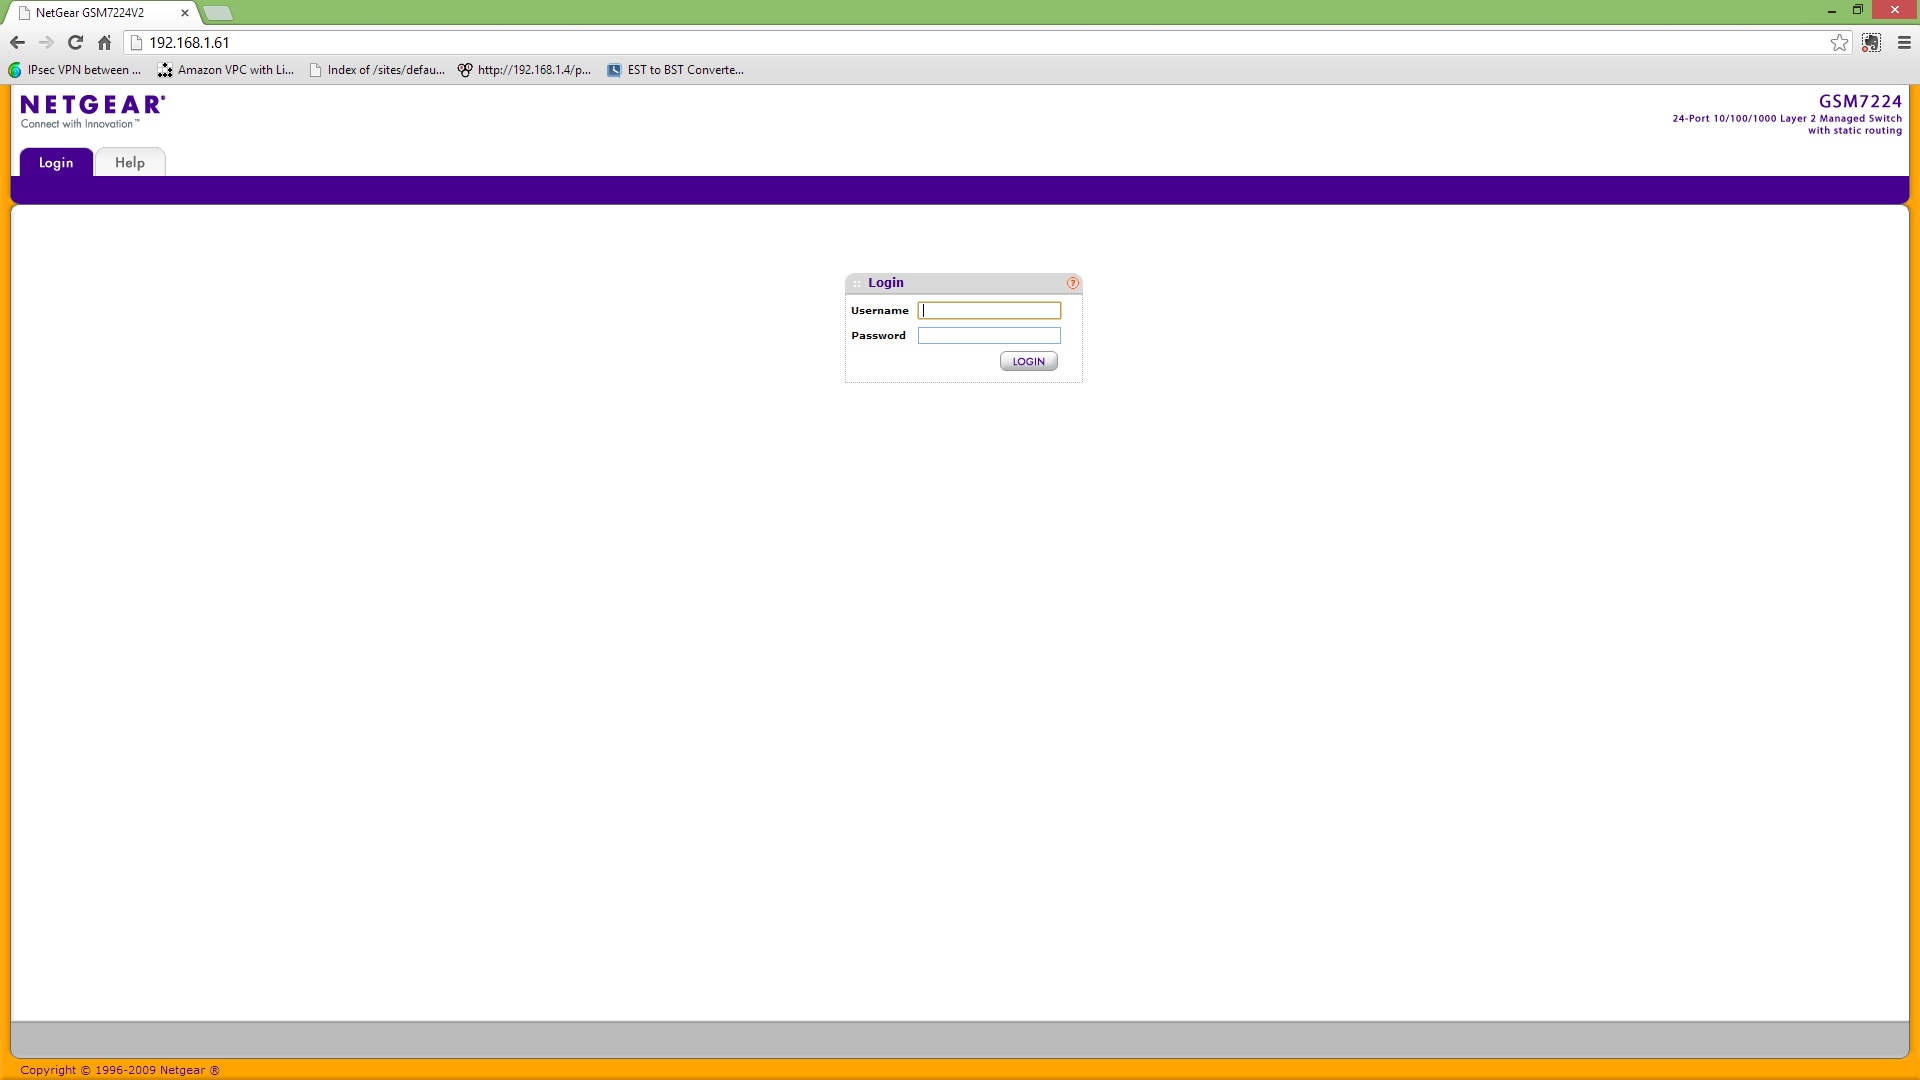
The GSM7224 is a DHCP enabled device, so a quick stop at my core production router provides me with the IP info and quick as that we’re in. The default login is admin and the default password is…. blank. So first step is to change that pronto:

- Mmmm… Access Control
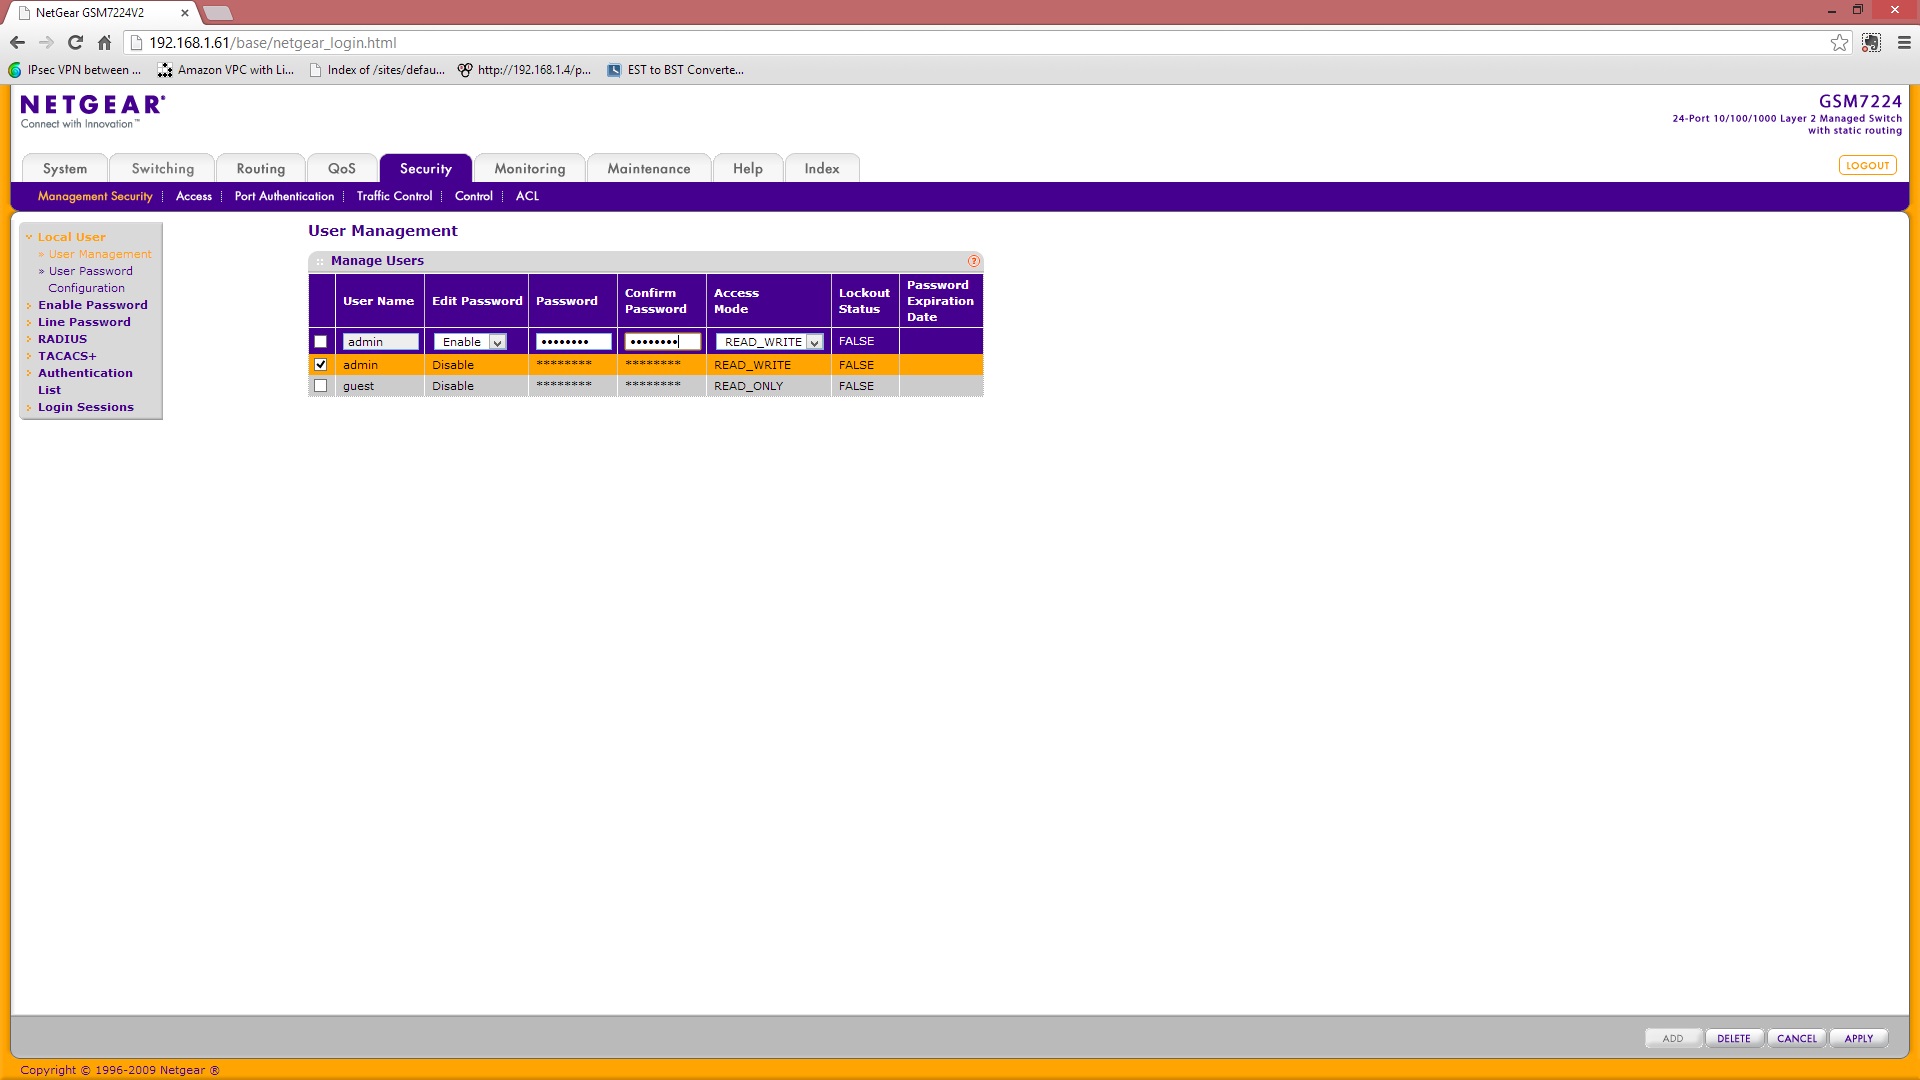
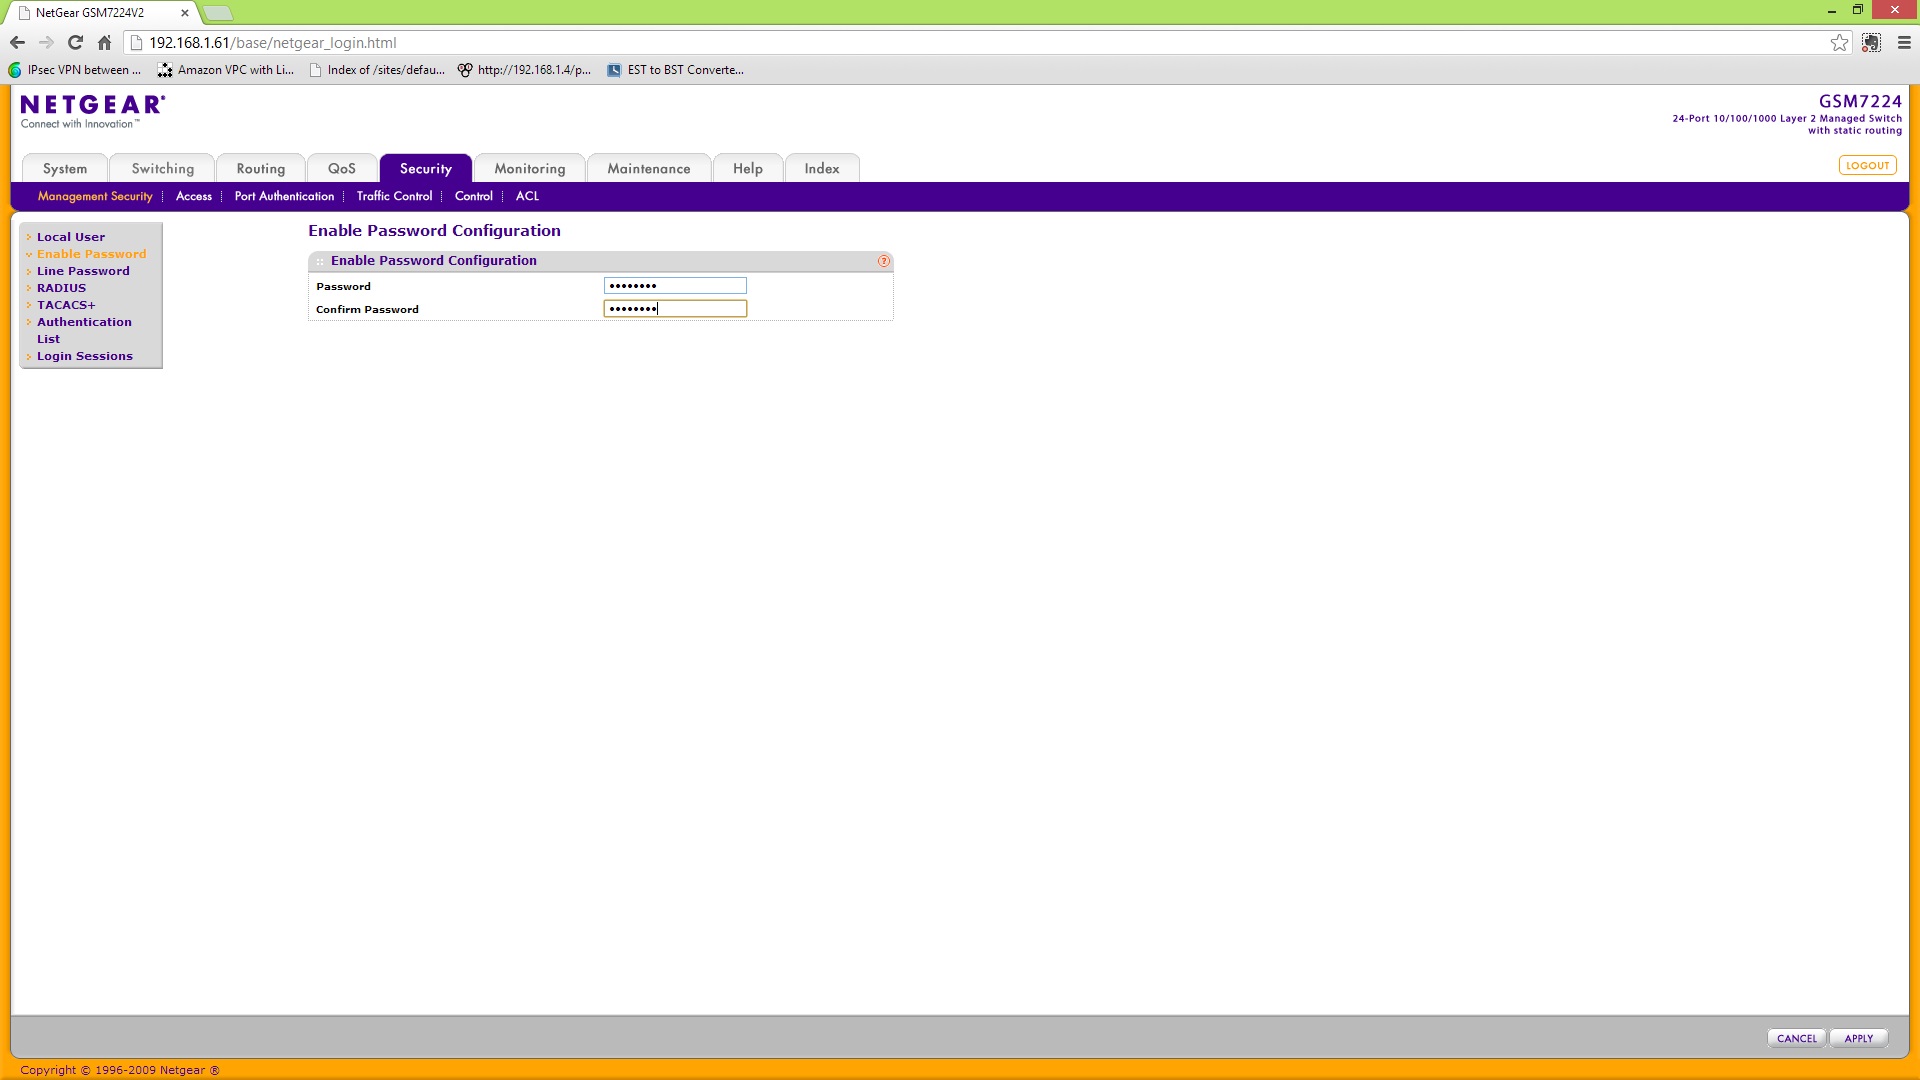
Immediately we see a big divergence from the consumer stuff. To change the password we navigate over to the Security tab and on the left select User Management. Here we can see that multiple users can be configured and their access mode can be set individually. Password policies can be set (length, complexity, change interval, etc) and by default the ability to change the password is disabled. Since we are doing a brand new install and haven’t locked this down yet, we can flip that to “Enable” and go ahead and make the change by clicking Apply. Next stop is to prevent being able to flip that Enable bit without entering a secondary password – pretty cool!
With the basics done, there is now a huge amount of cool stuff to configure. That will have to wait for the next update!

- New Years resolution to simplify life and save money? BROKEN!