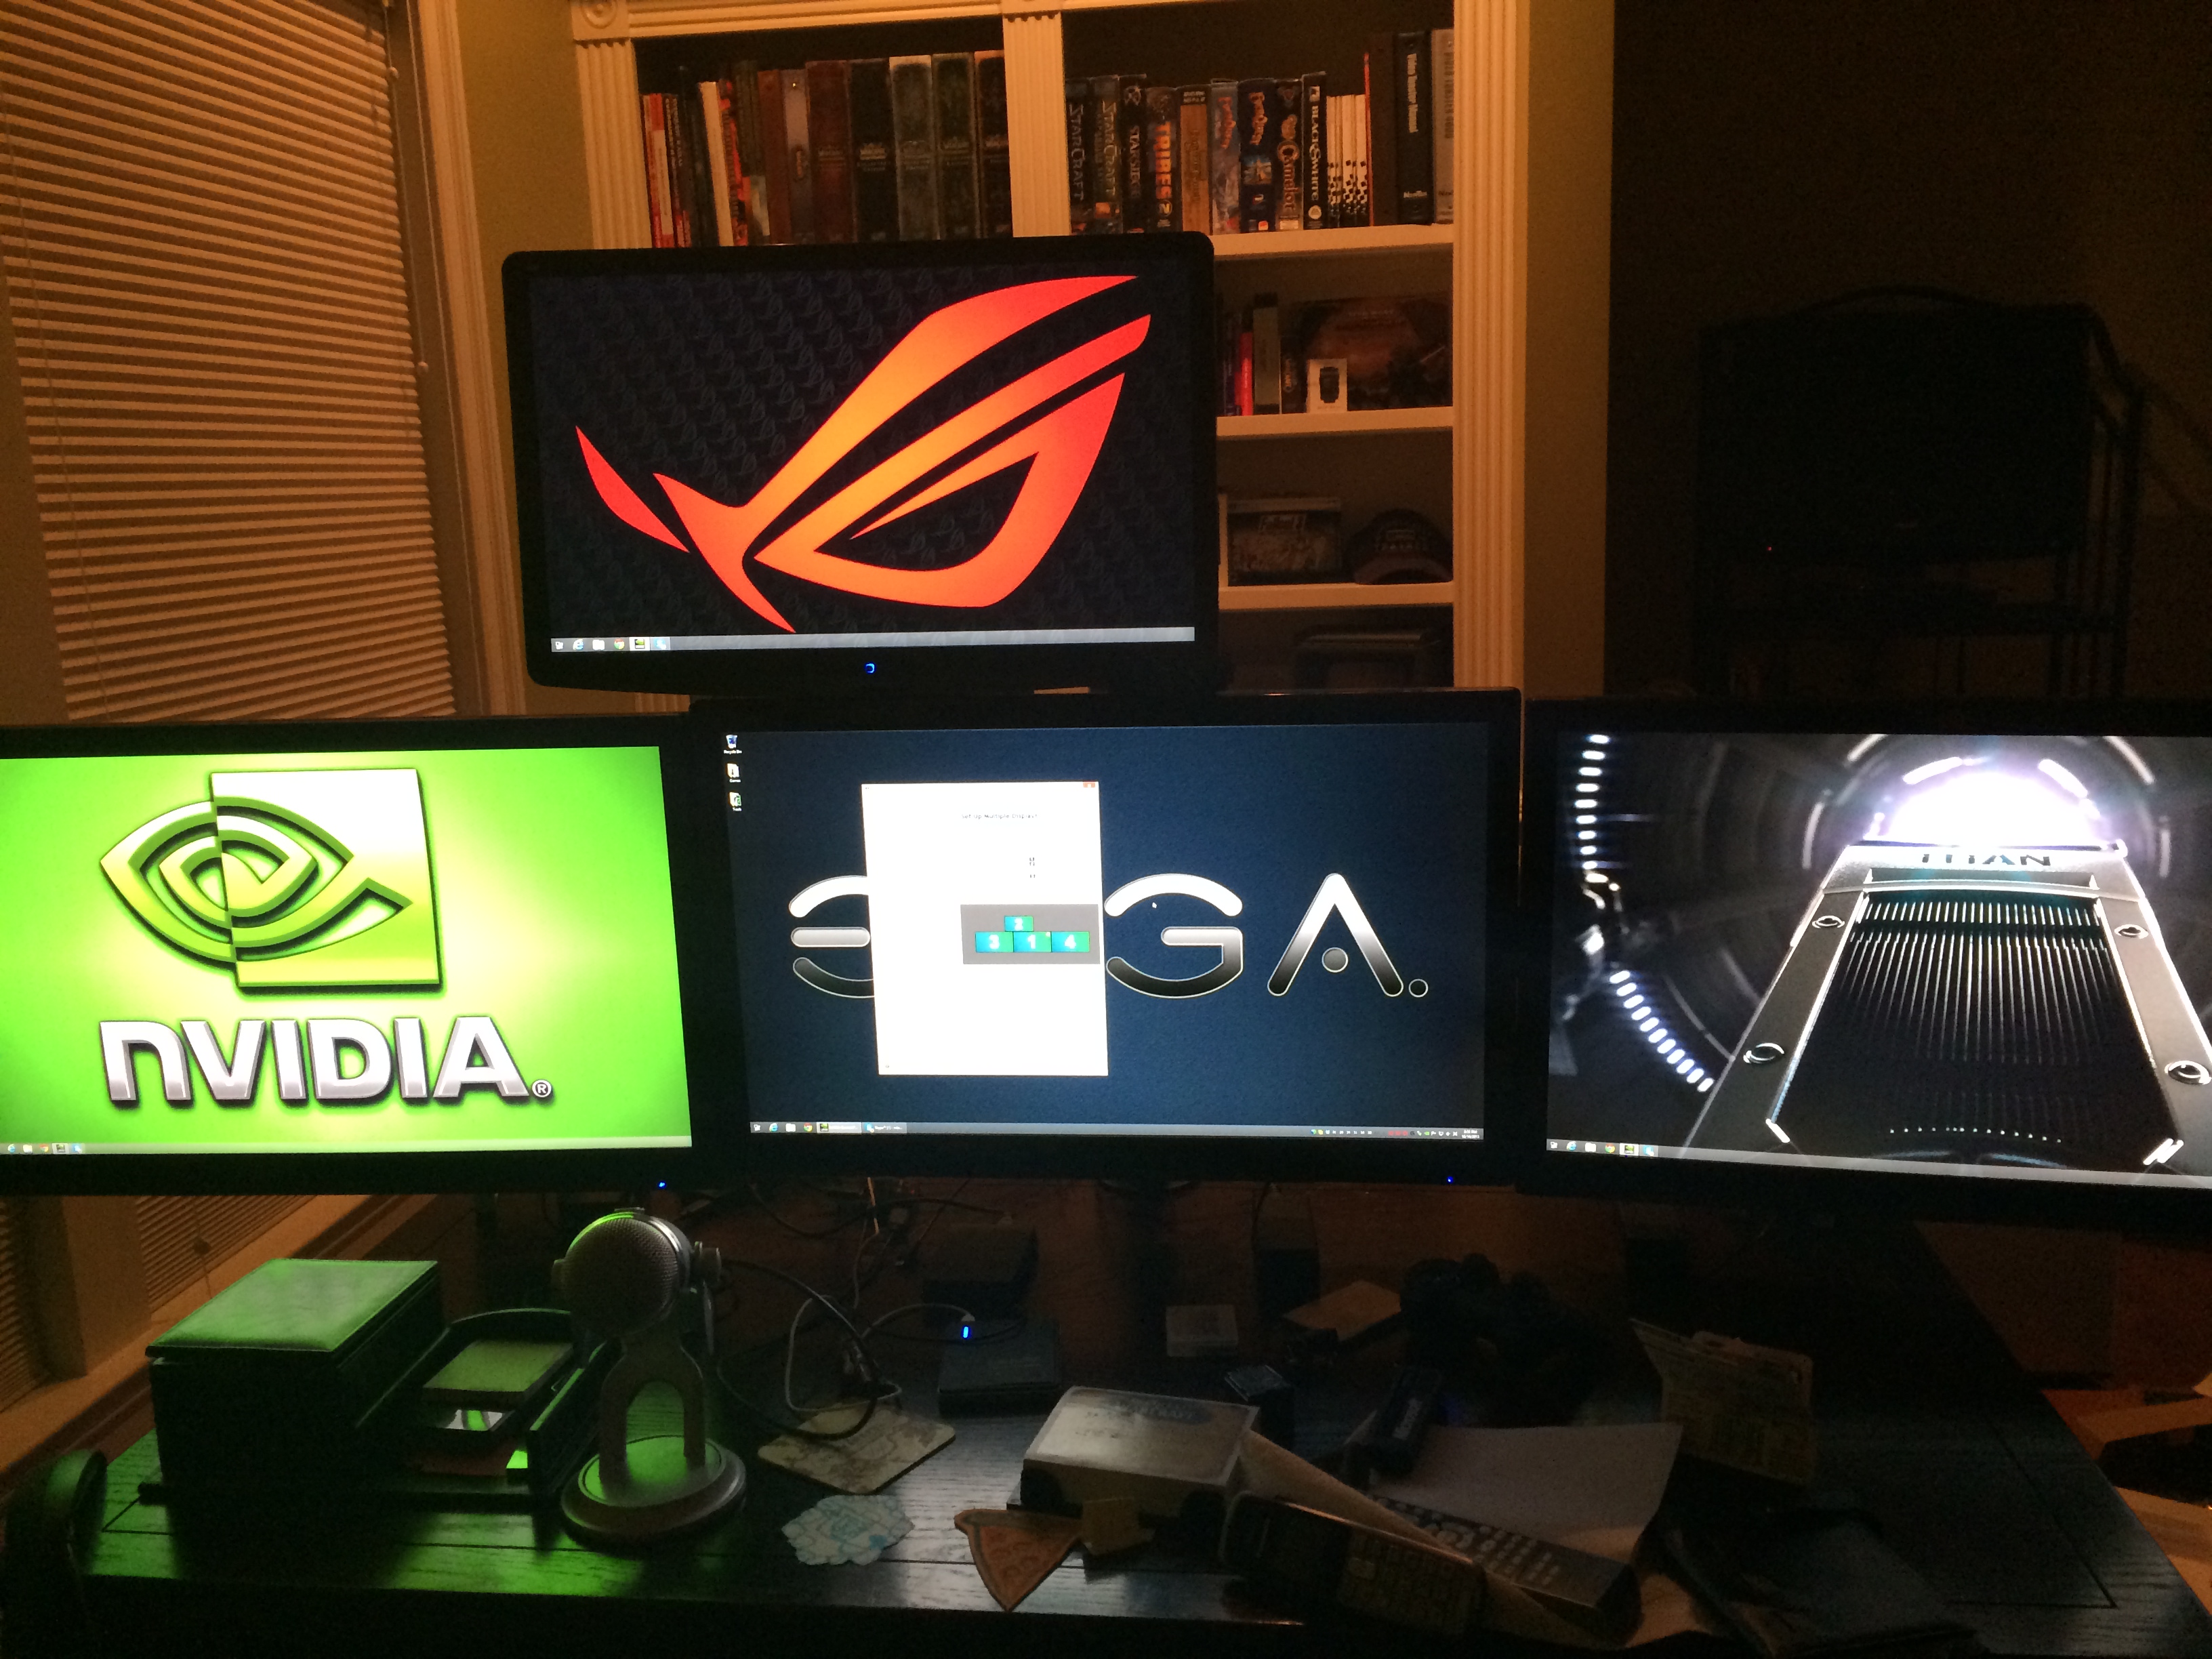
With the recent Windows 8.1 driver debacle still unresolved, I’ve decided to hedge a bit against NVIDIA and divest myself of a bit of their more proprietary tech. 3D Vision is definitely cool, and I had fun with it, but I get the feeling it has had its time and the tech has gone a bit stale. Big giant monitors with huge res, on the other hand, are always pretty much universally awesome, so it was time to upsize Korean style!
I was torn between getting a well established and obviously solid panel from a reputable vendor and being a “cool kid” and getting the fugazy, overclockable, near grey market Korean jobs. In the end the little hacker devil overcame the little “tried and true” devil (because honestly both influencers on my shoulders are pretty evil) and I took the Qnix plunge! I was lucky that Amazon was actually fulfilling directly, with full Prime support, for one of the usual vendors, and had 4 Qnix 2710 evolution II perfect pixel panels left at $369 (these panels have really market driven pricing!). After some soul searching I grabbed 3 of them. Packaging is plain, but actually not quite as spartan as I’d have imagined:
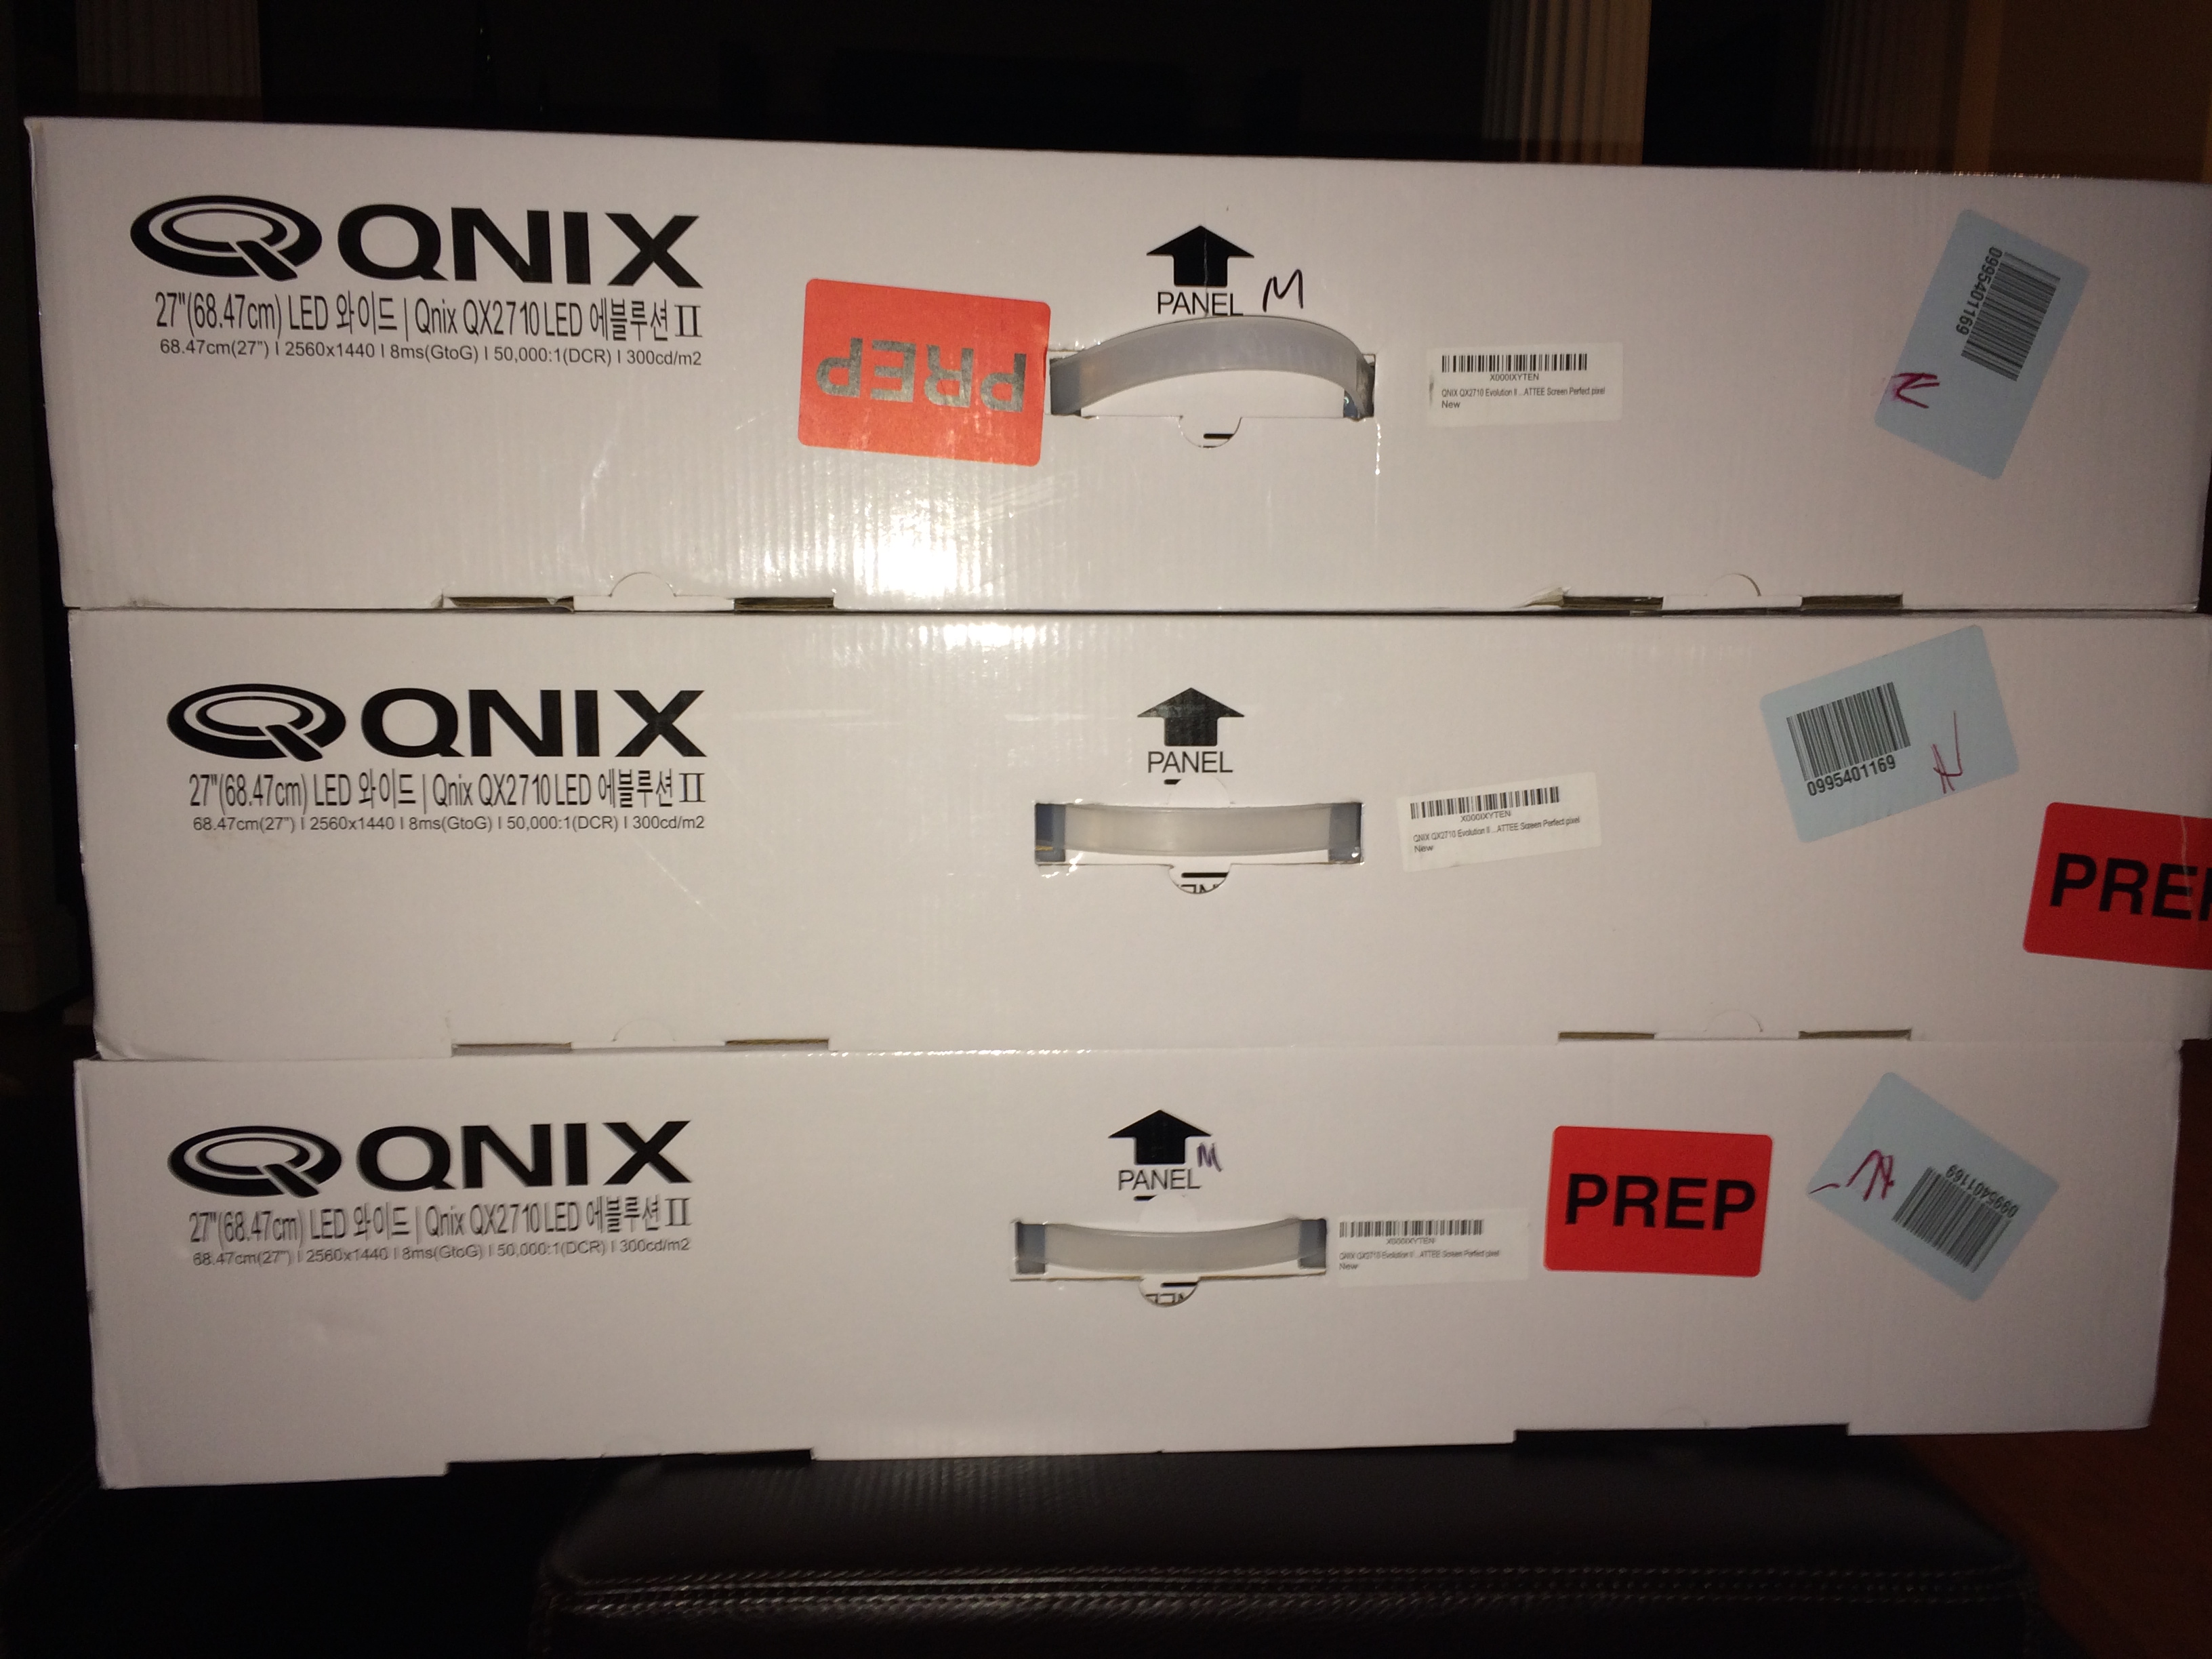
First step was to unbox these things and so, with fingers crossed I forged on:
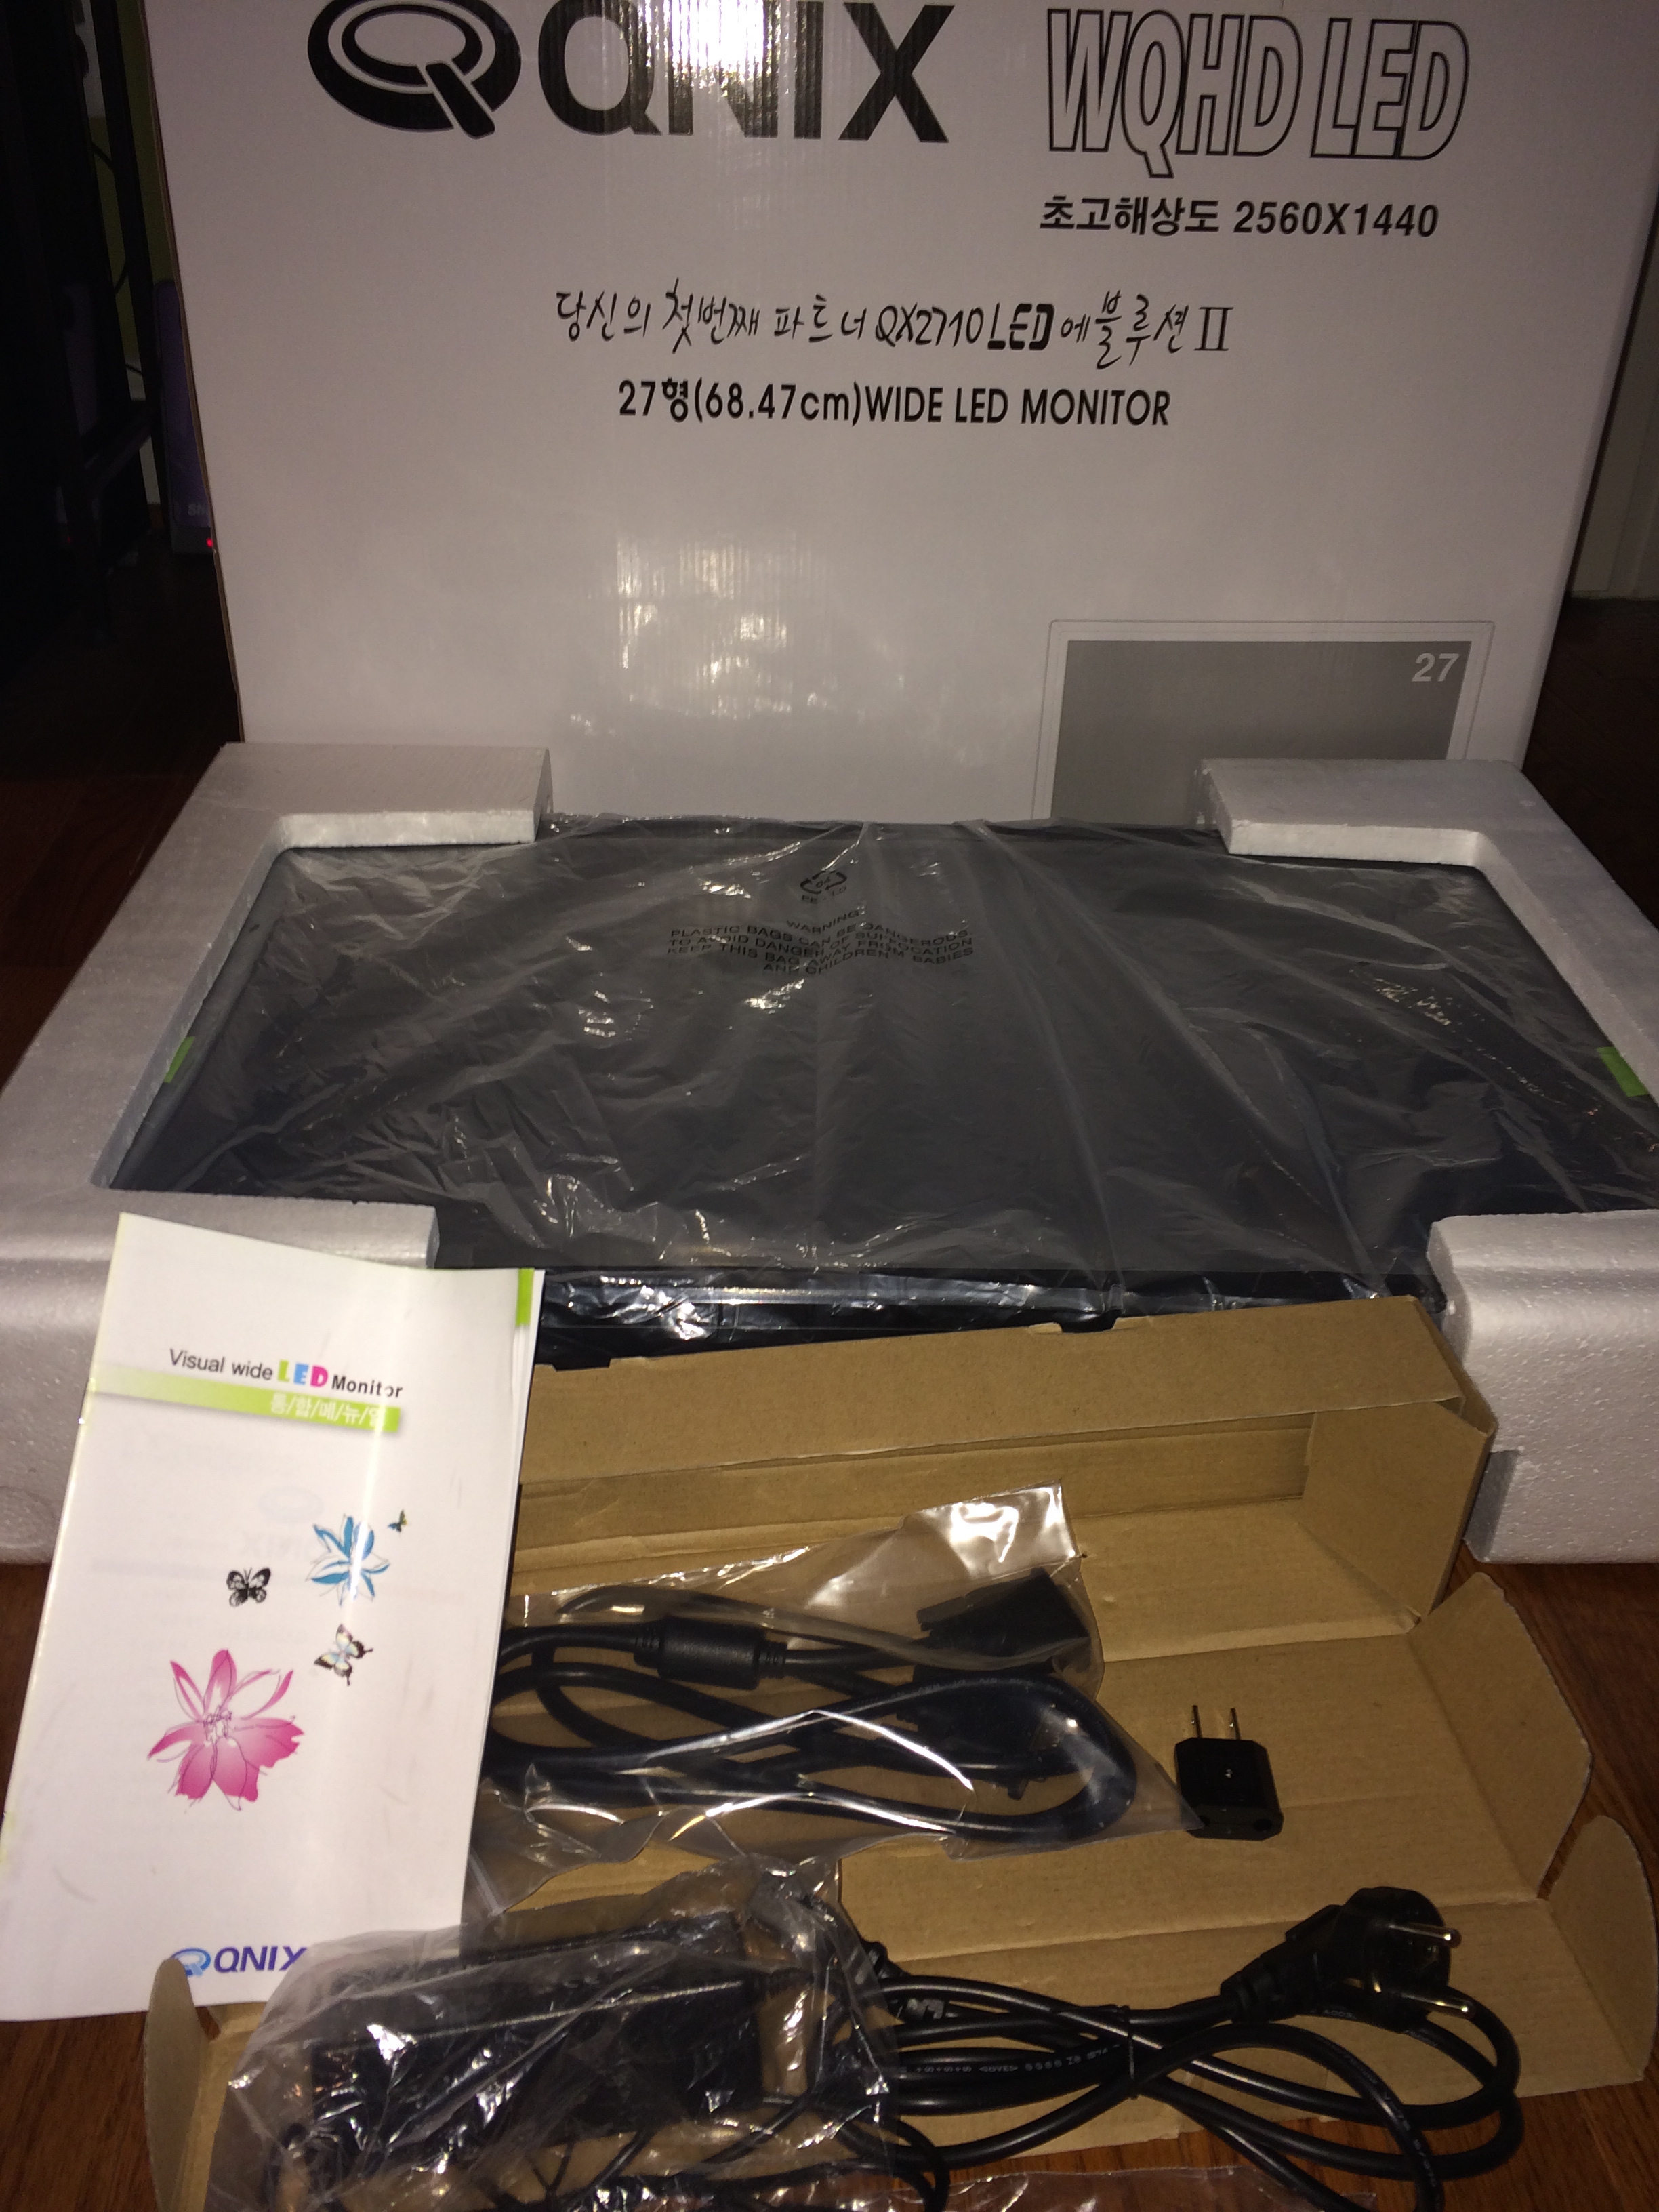
No frills packaging, but thats fine. Seemed like it had been opened before, which is actually sort of a good thing potentially since this is a “Perfect Pixel!!!!” Edition. OK, let’s take a quick inventory:
- Super thin instruction manual that we’re going to ignore
- Unobtrusive 110/220 switching power brick
- Power cord with wacky (to my eyes) Korean plug configuration
- The cheapest Korean to US adapter ever made (no ground FTW!)
- Bargain basement DVI cable
- One potentially perfect, potentially overclockable, 2560×1440 27″ PLS panel… ahhhh… so THAT’s what all the noise is about!
Obviously only #6 really matters, so let’s take a closer look at it:
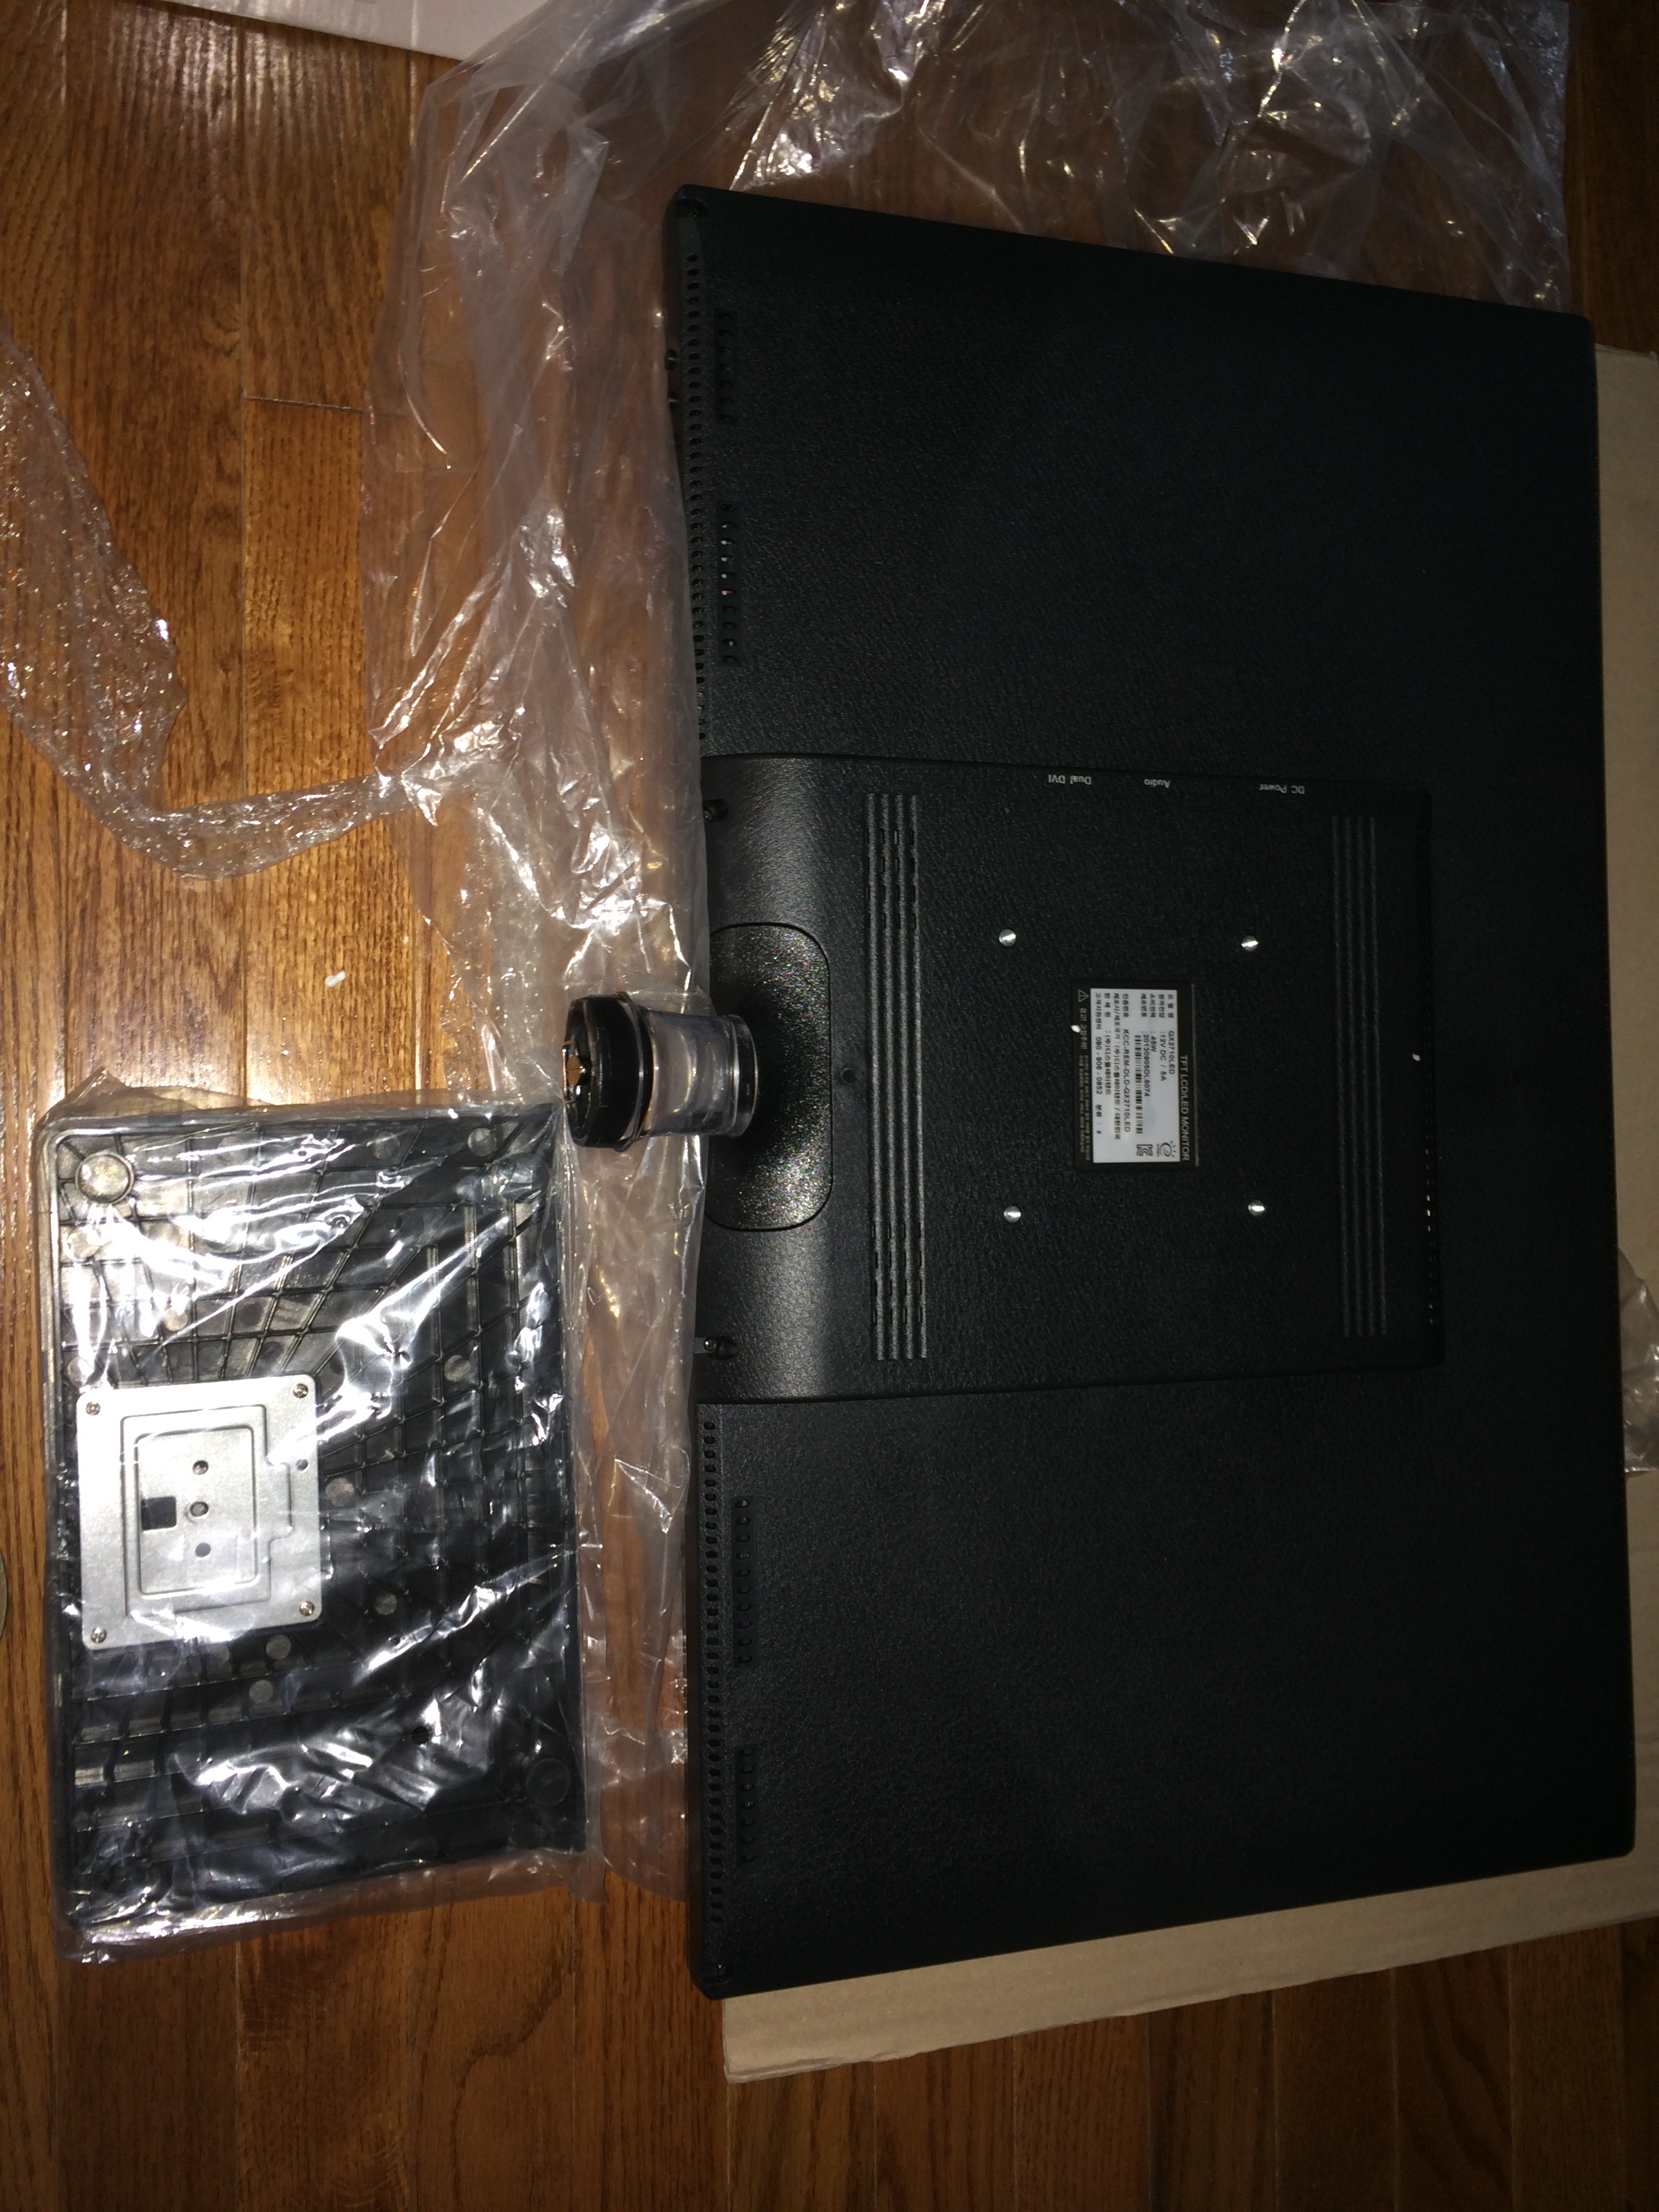
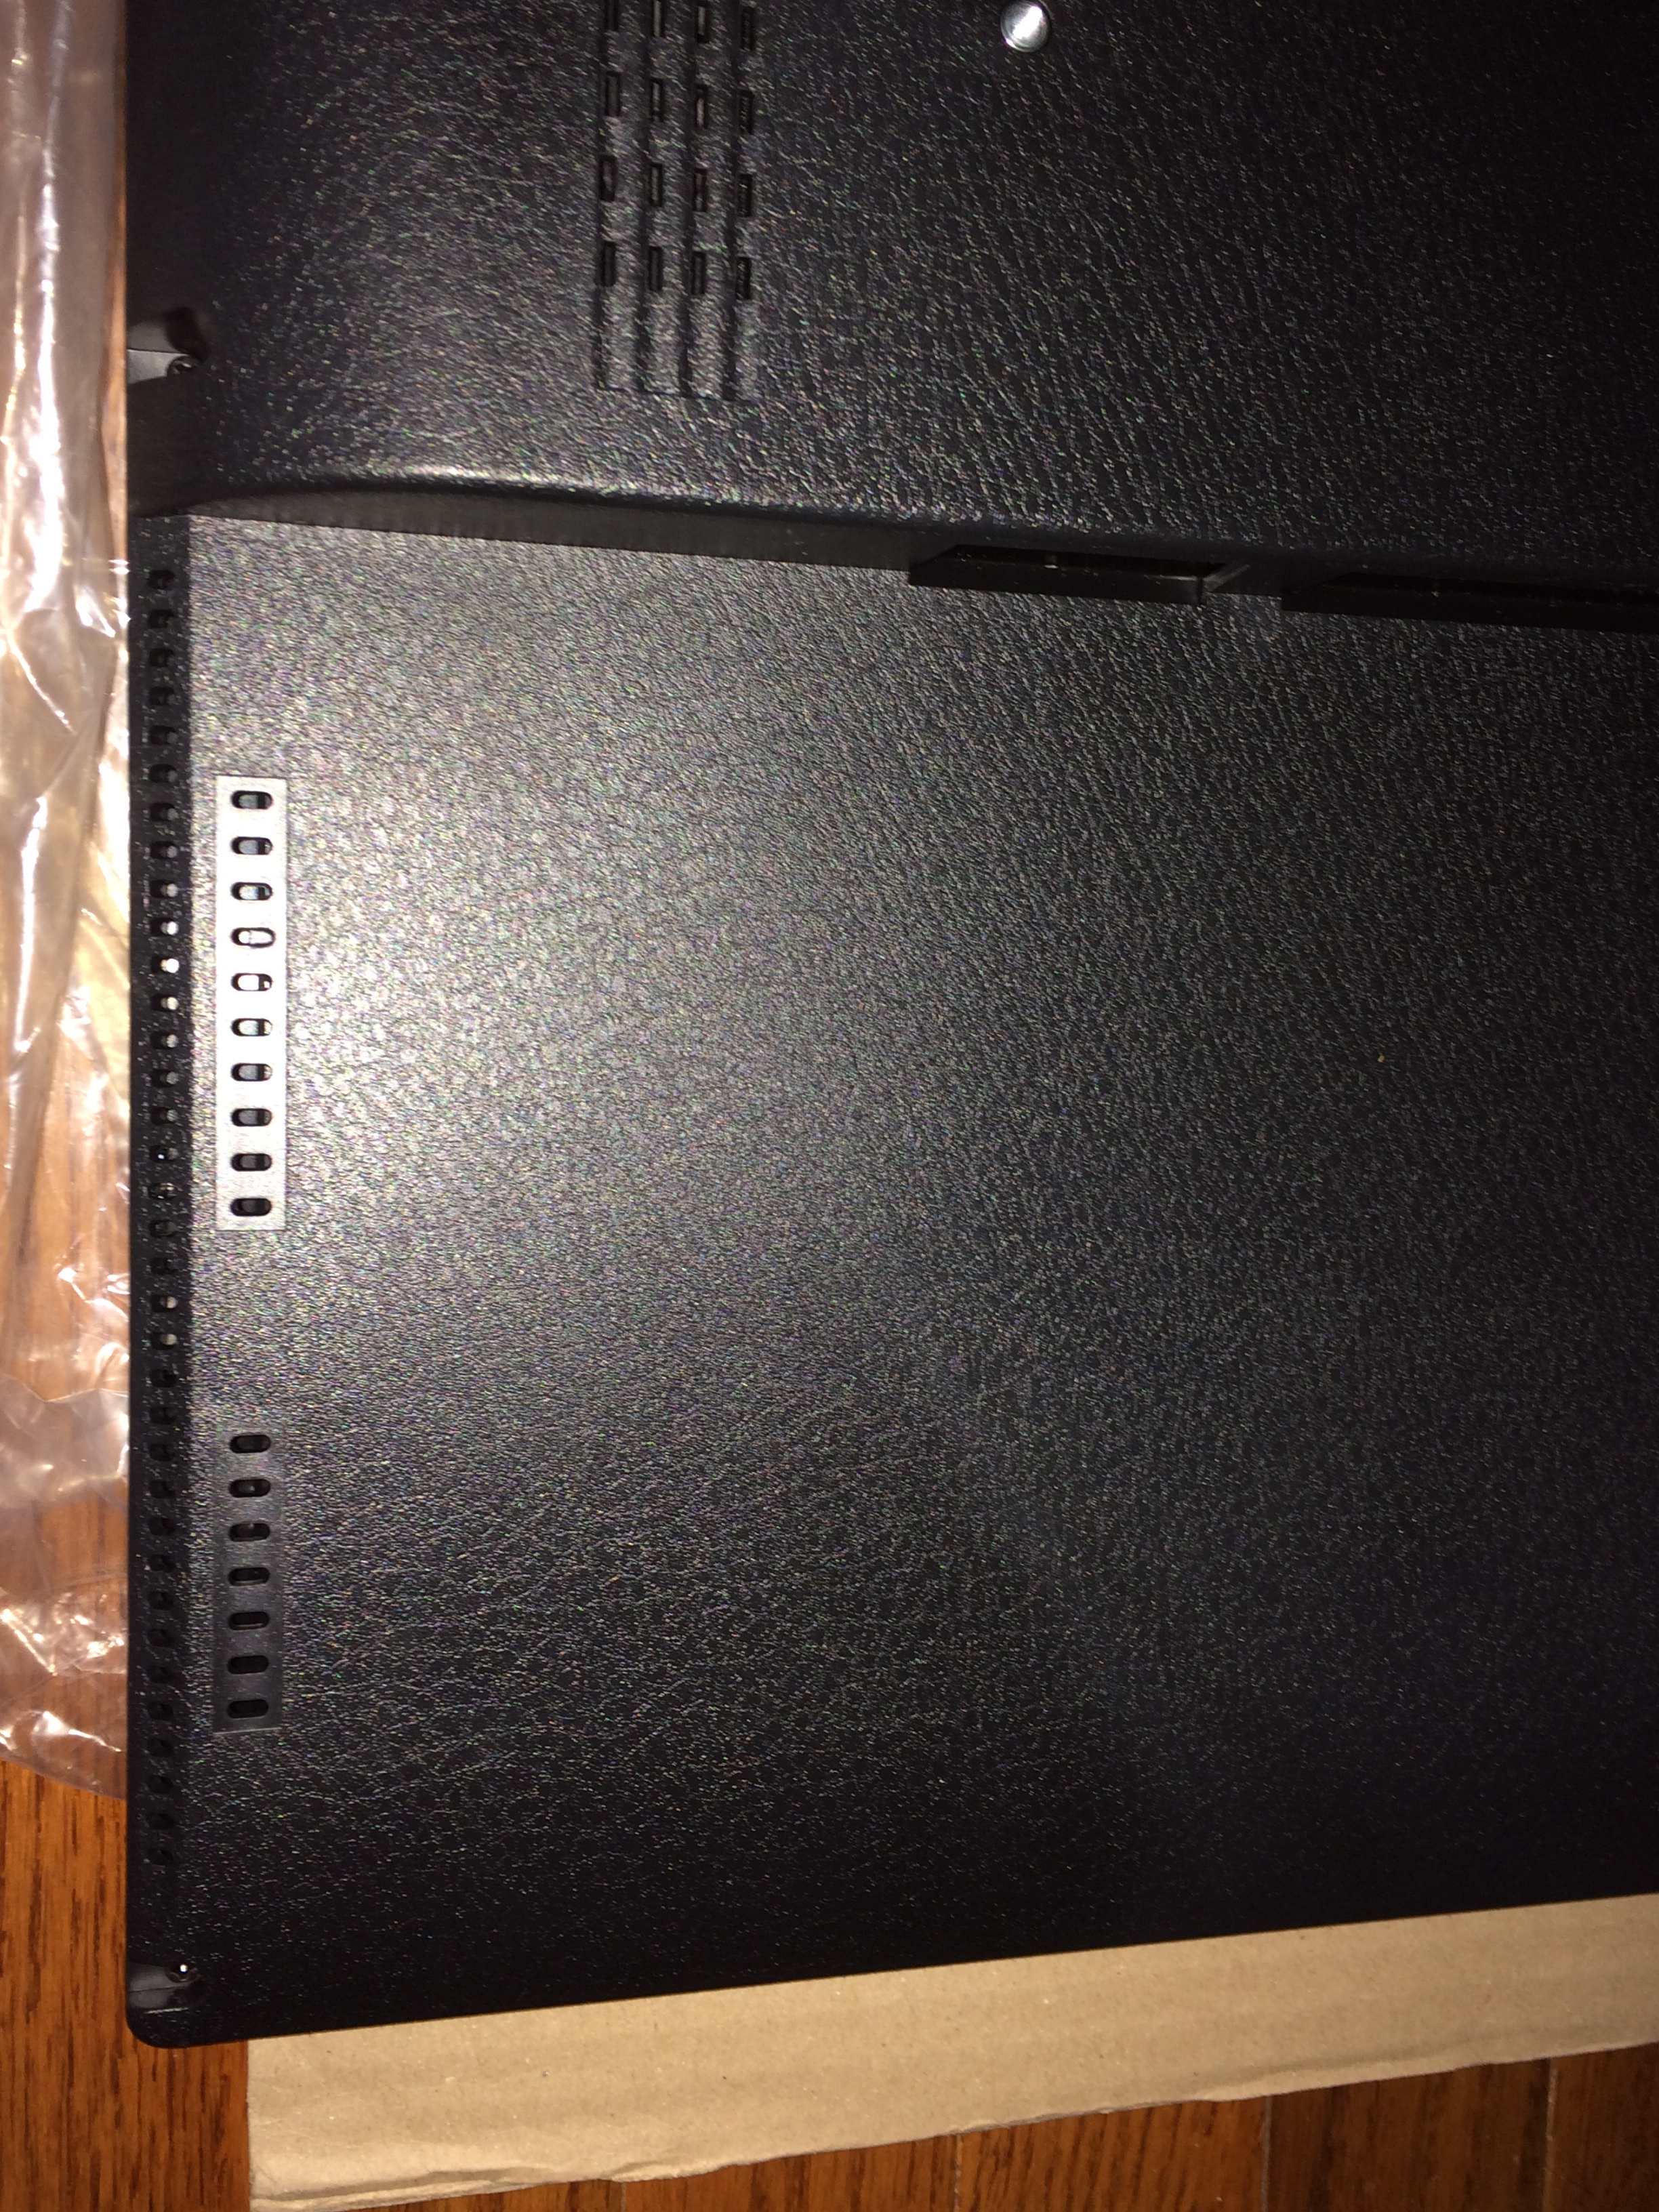
Ah! There they are… The infamous crappy stand which never stays fully stable, and the even more infamous hard attached stand mount which complicates your life even if you ditch the crappy stand and use a VESA mount. More on this in a bit, but first a few notes on quality. It’s definitely obvious where corners are cut. You may not be able to tell from the picture, but the plastic texturing is truly lousy on both the case and the bezel. Compared to any premium monitor it definitely looks low rent. That said, who cares. Gamers are definitely function over form, at least at the edge cases, and there aren’t exactly a lot of mainstream 27″ IPS monitors (read that as “none”) that even have a shot at running at 120hz with low pixel response and input lag times! OK so the case won’t win design awards, but what about that unsightly stem? As it turns out, it’s time for some surgery. The first step is to lay the panel flat, and take a look along the bottom edge. flanking the stem at each corner and towards the center are two screws left and right of it. Some close up pics follow:
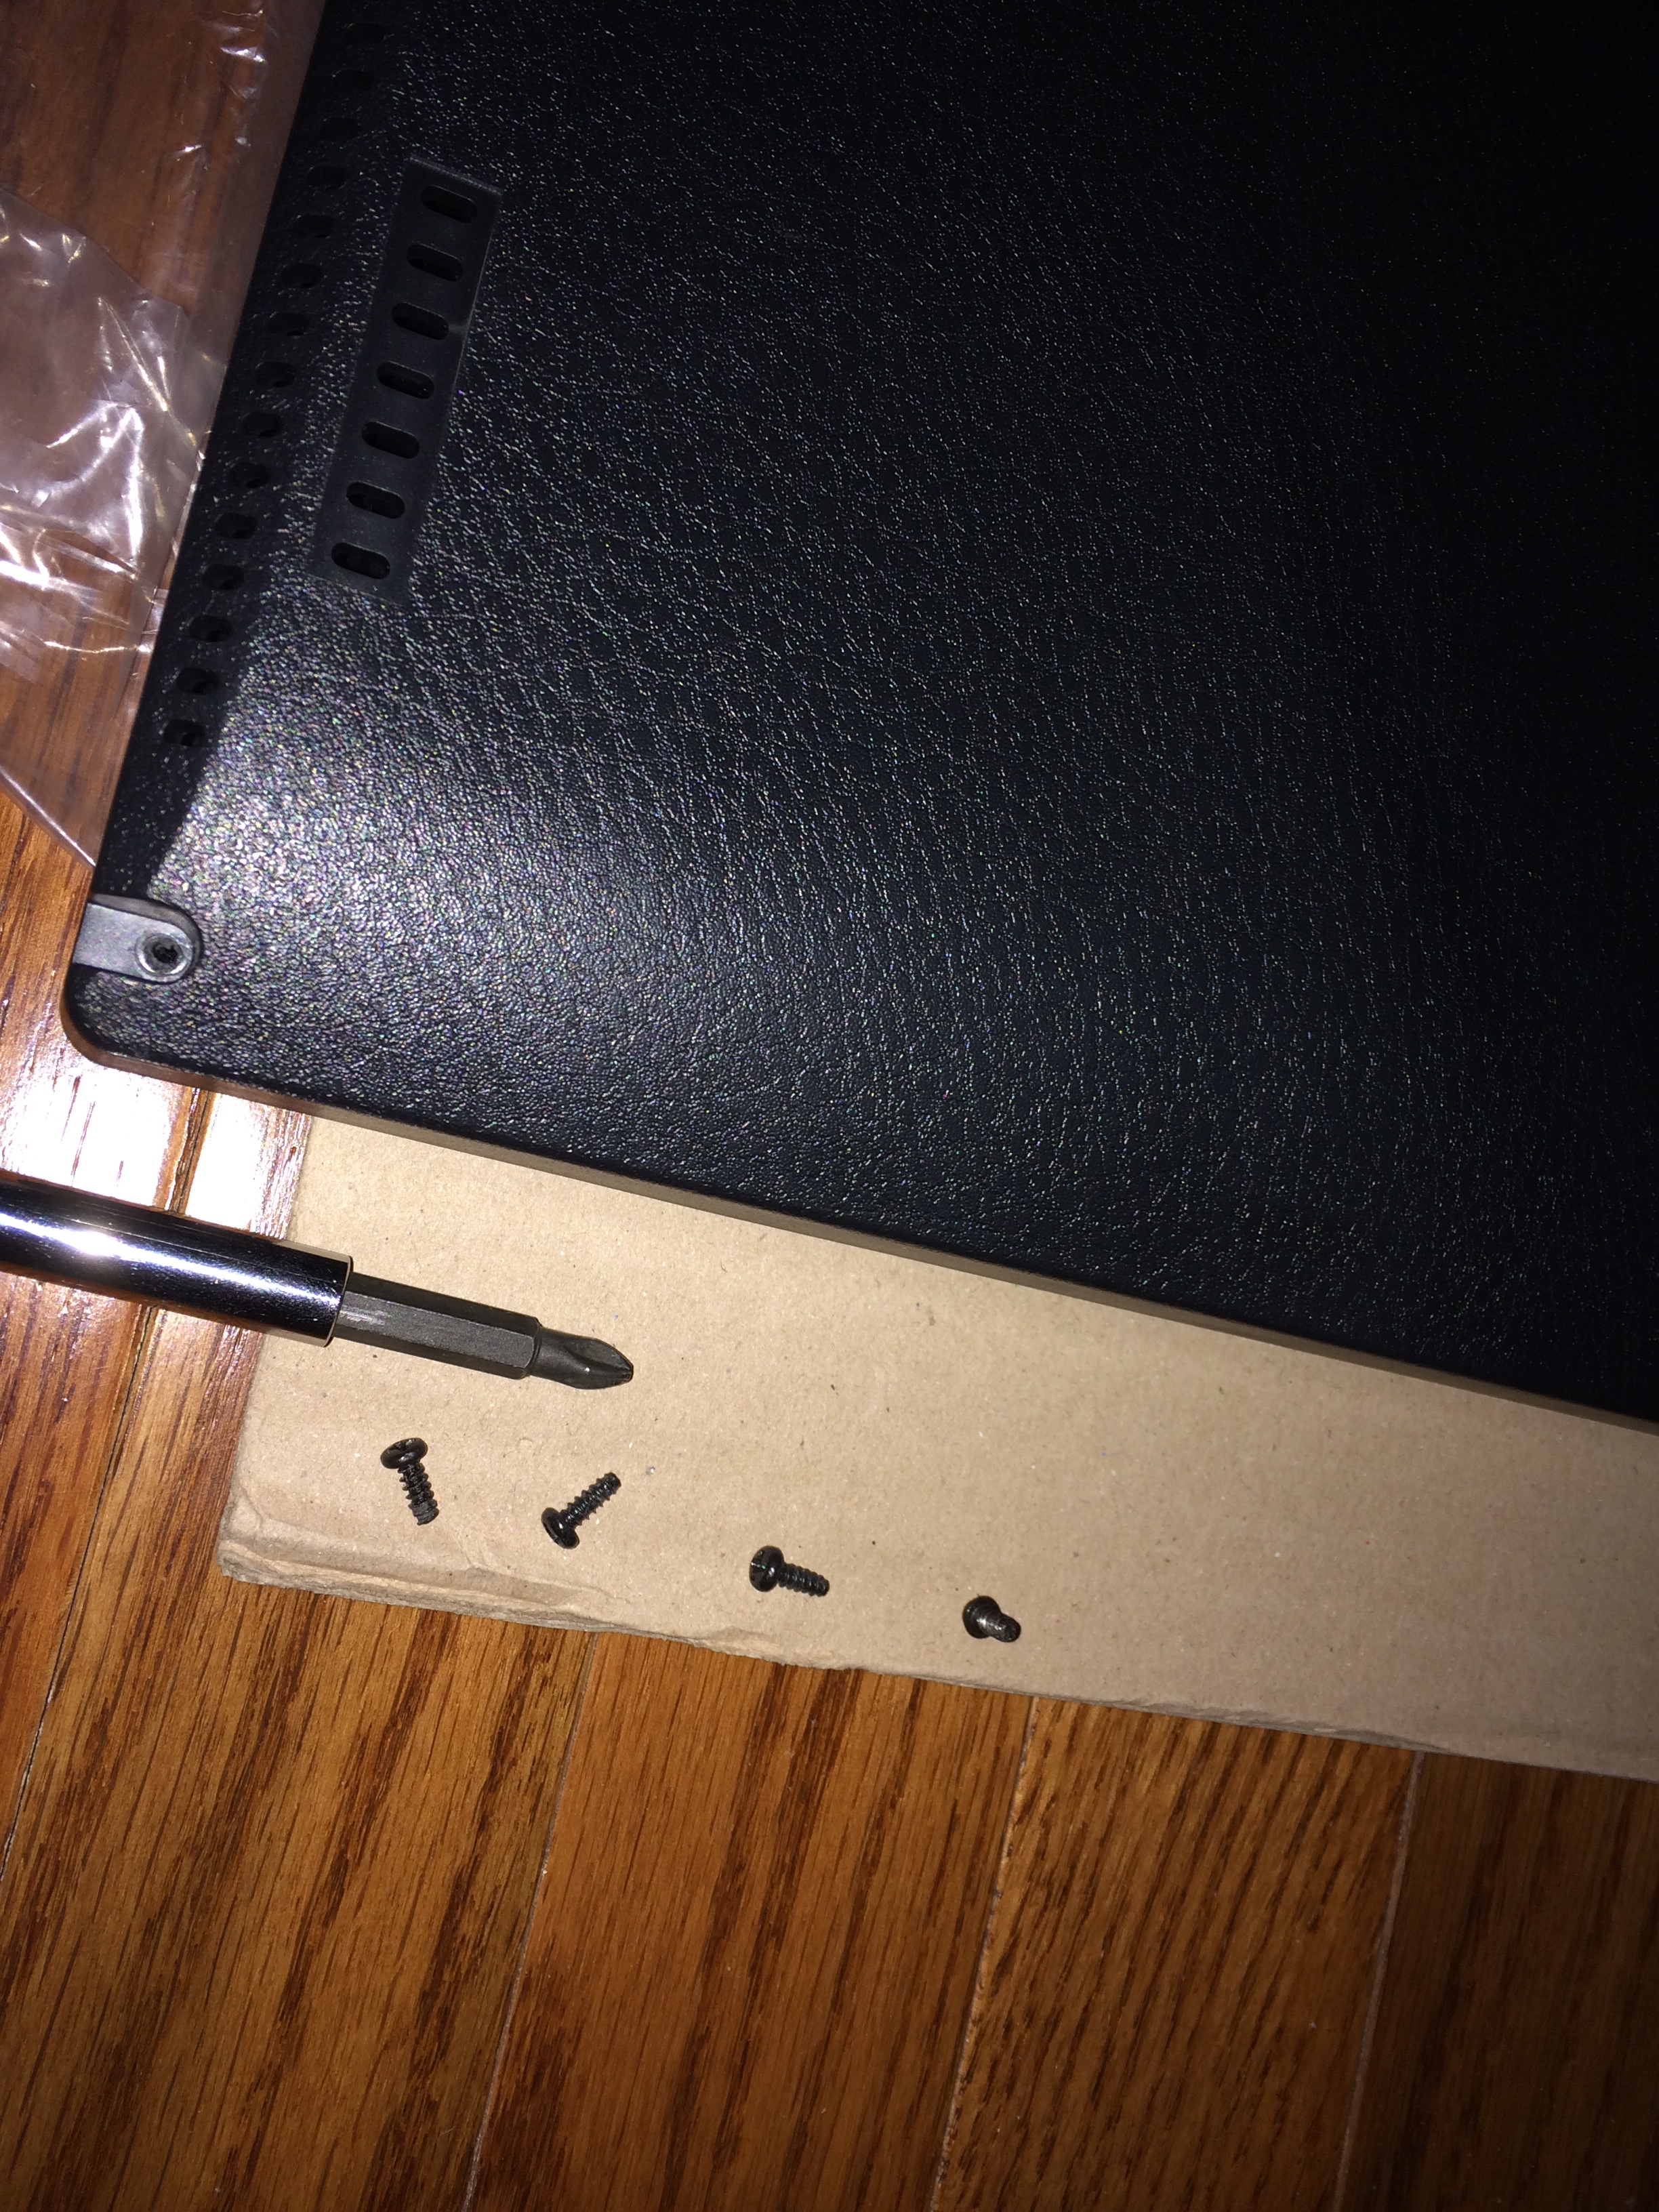
These are standard small philips screws and aren’t in very deep, so any philips head screw driver typically used for PC work is fine. With those removed, and tucked away for safe keeping, it’s time for the (not so) fun part! Shot of screw driver and screws below:
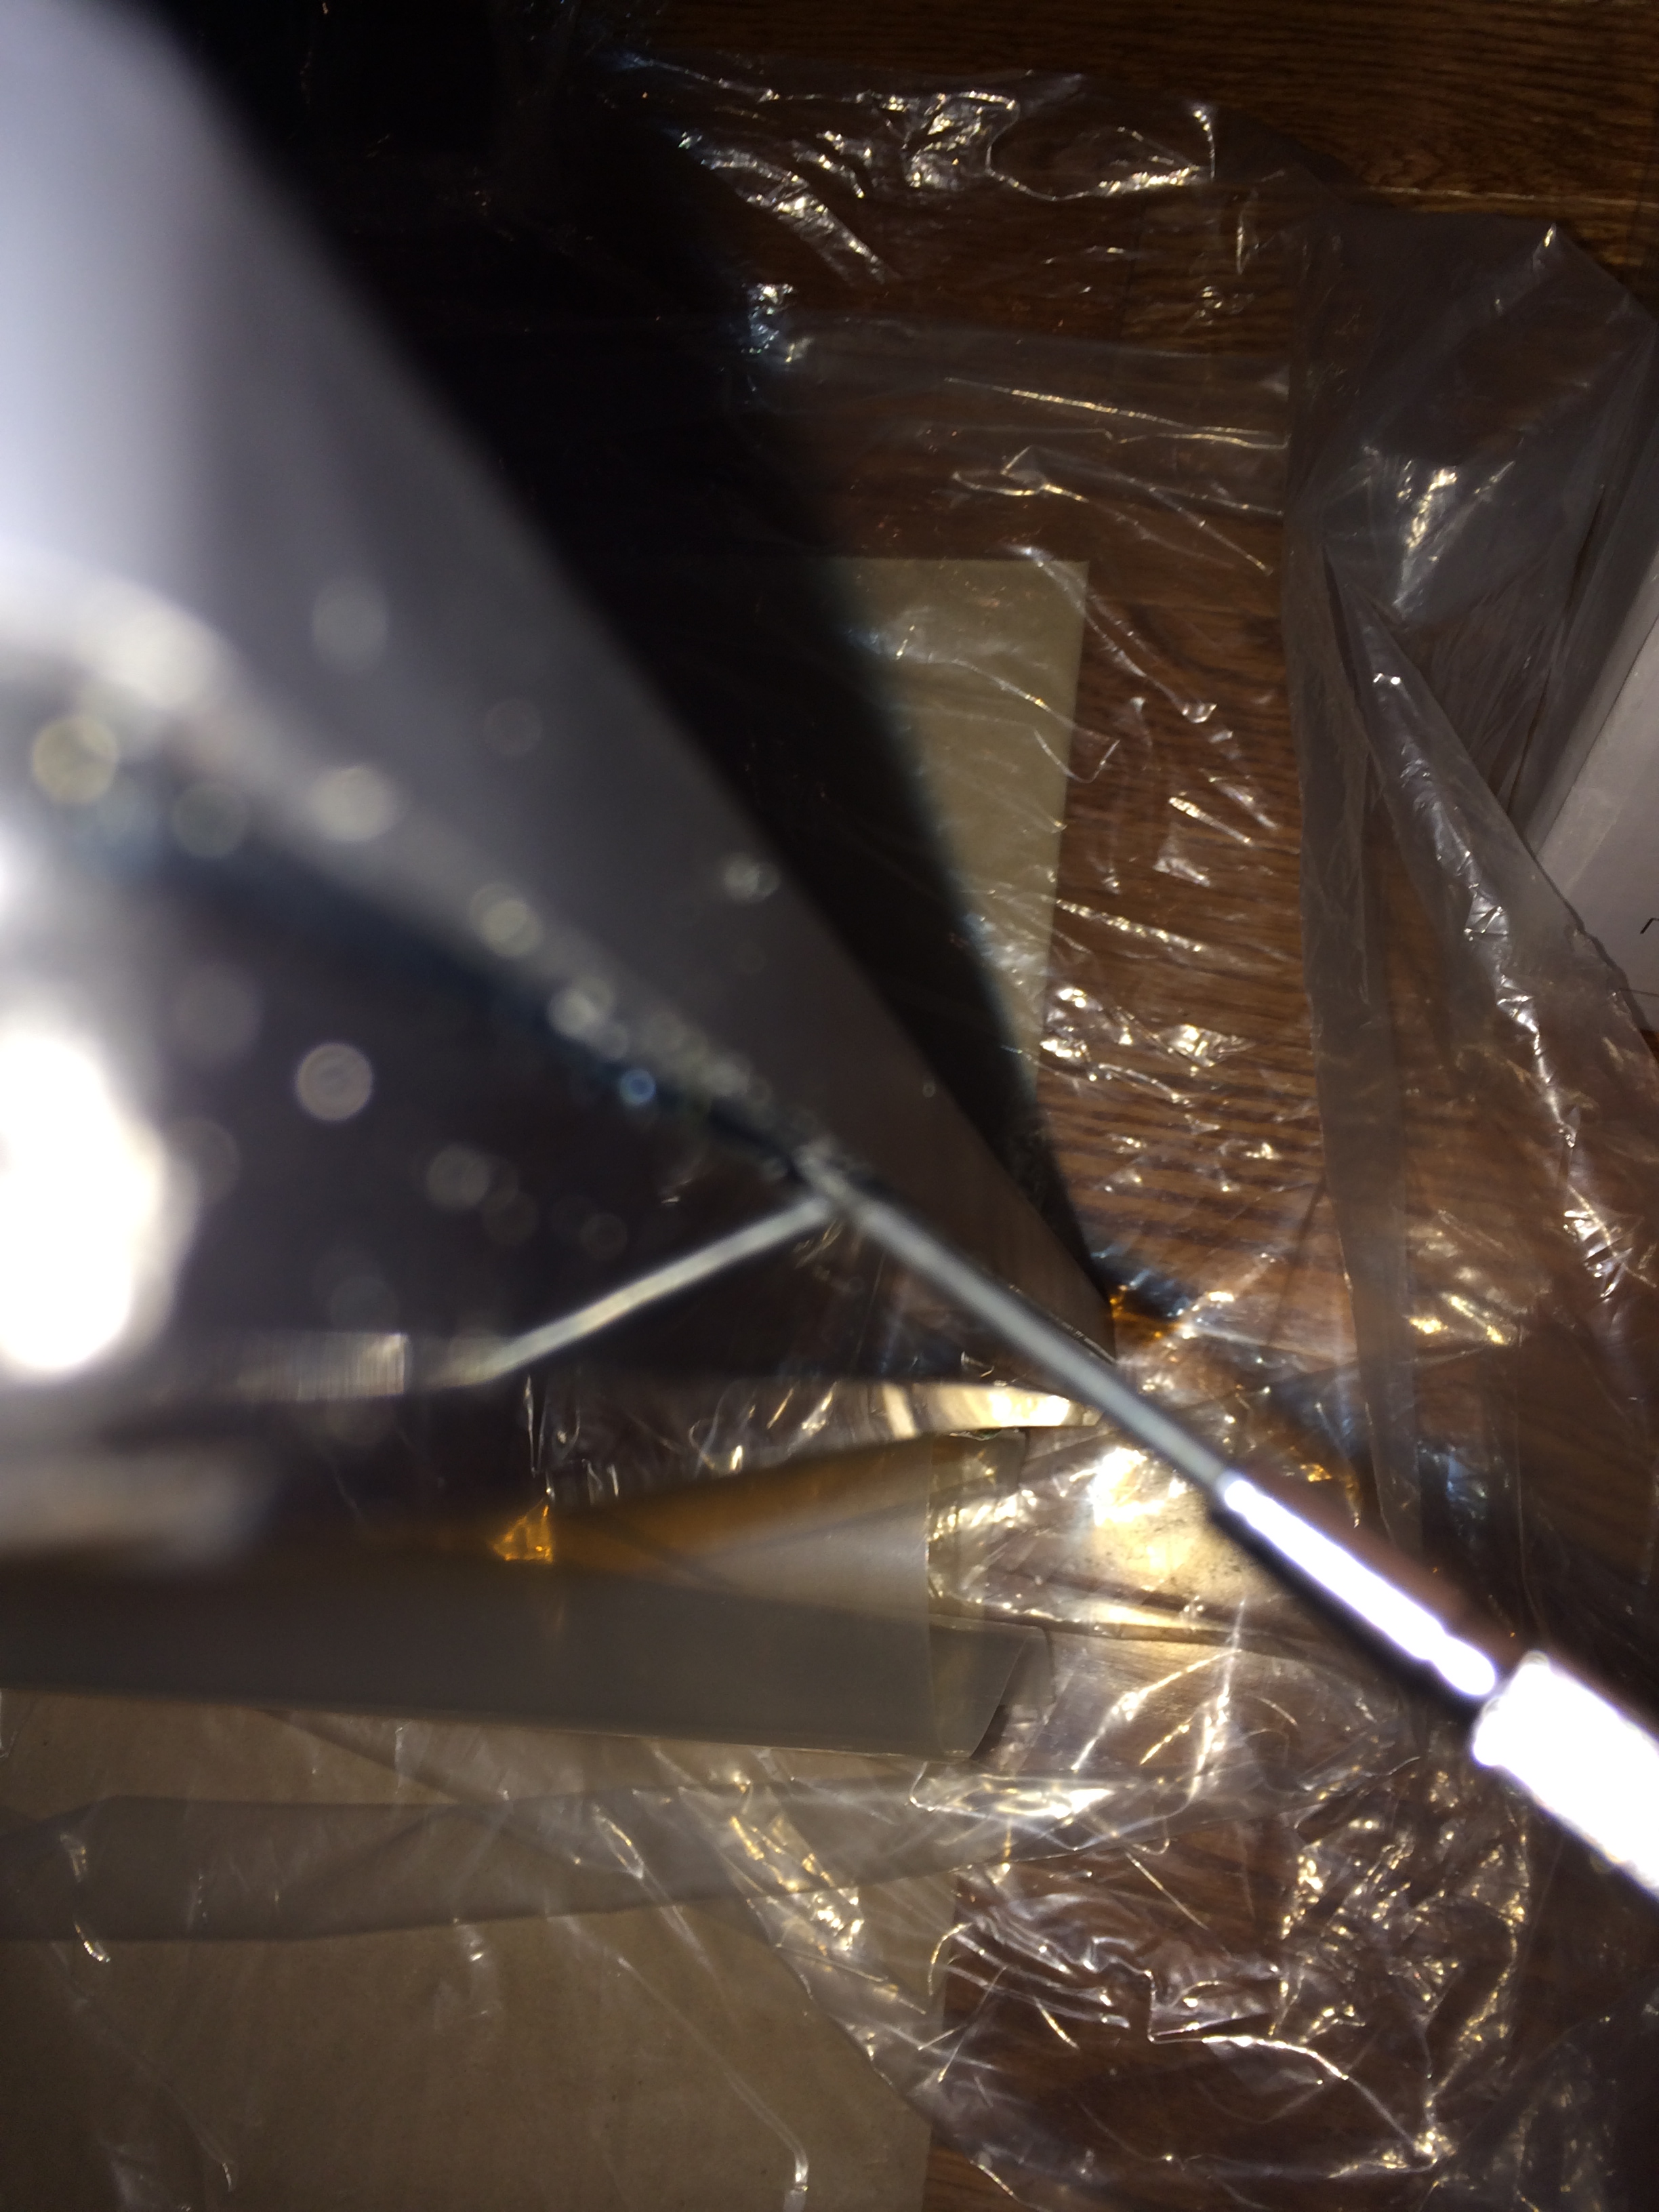
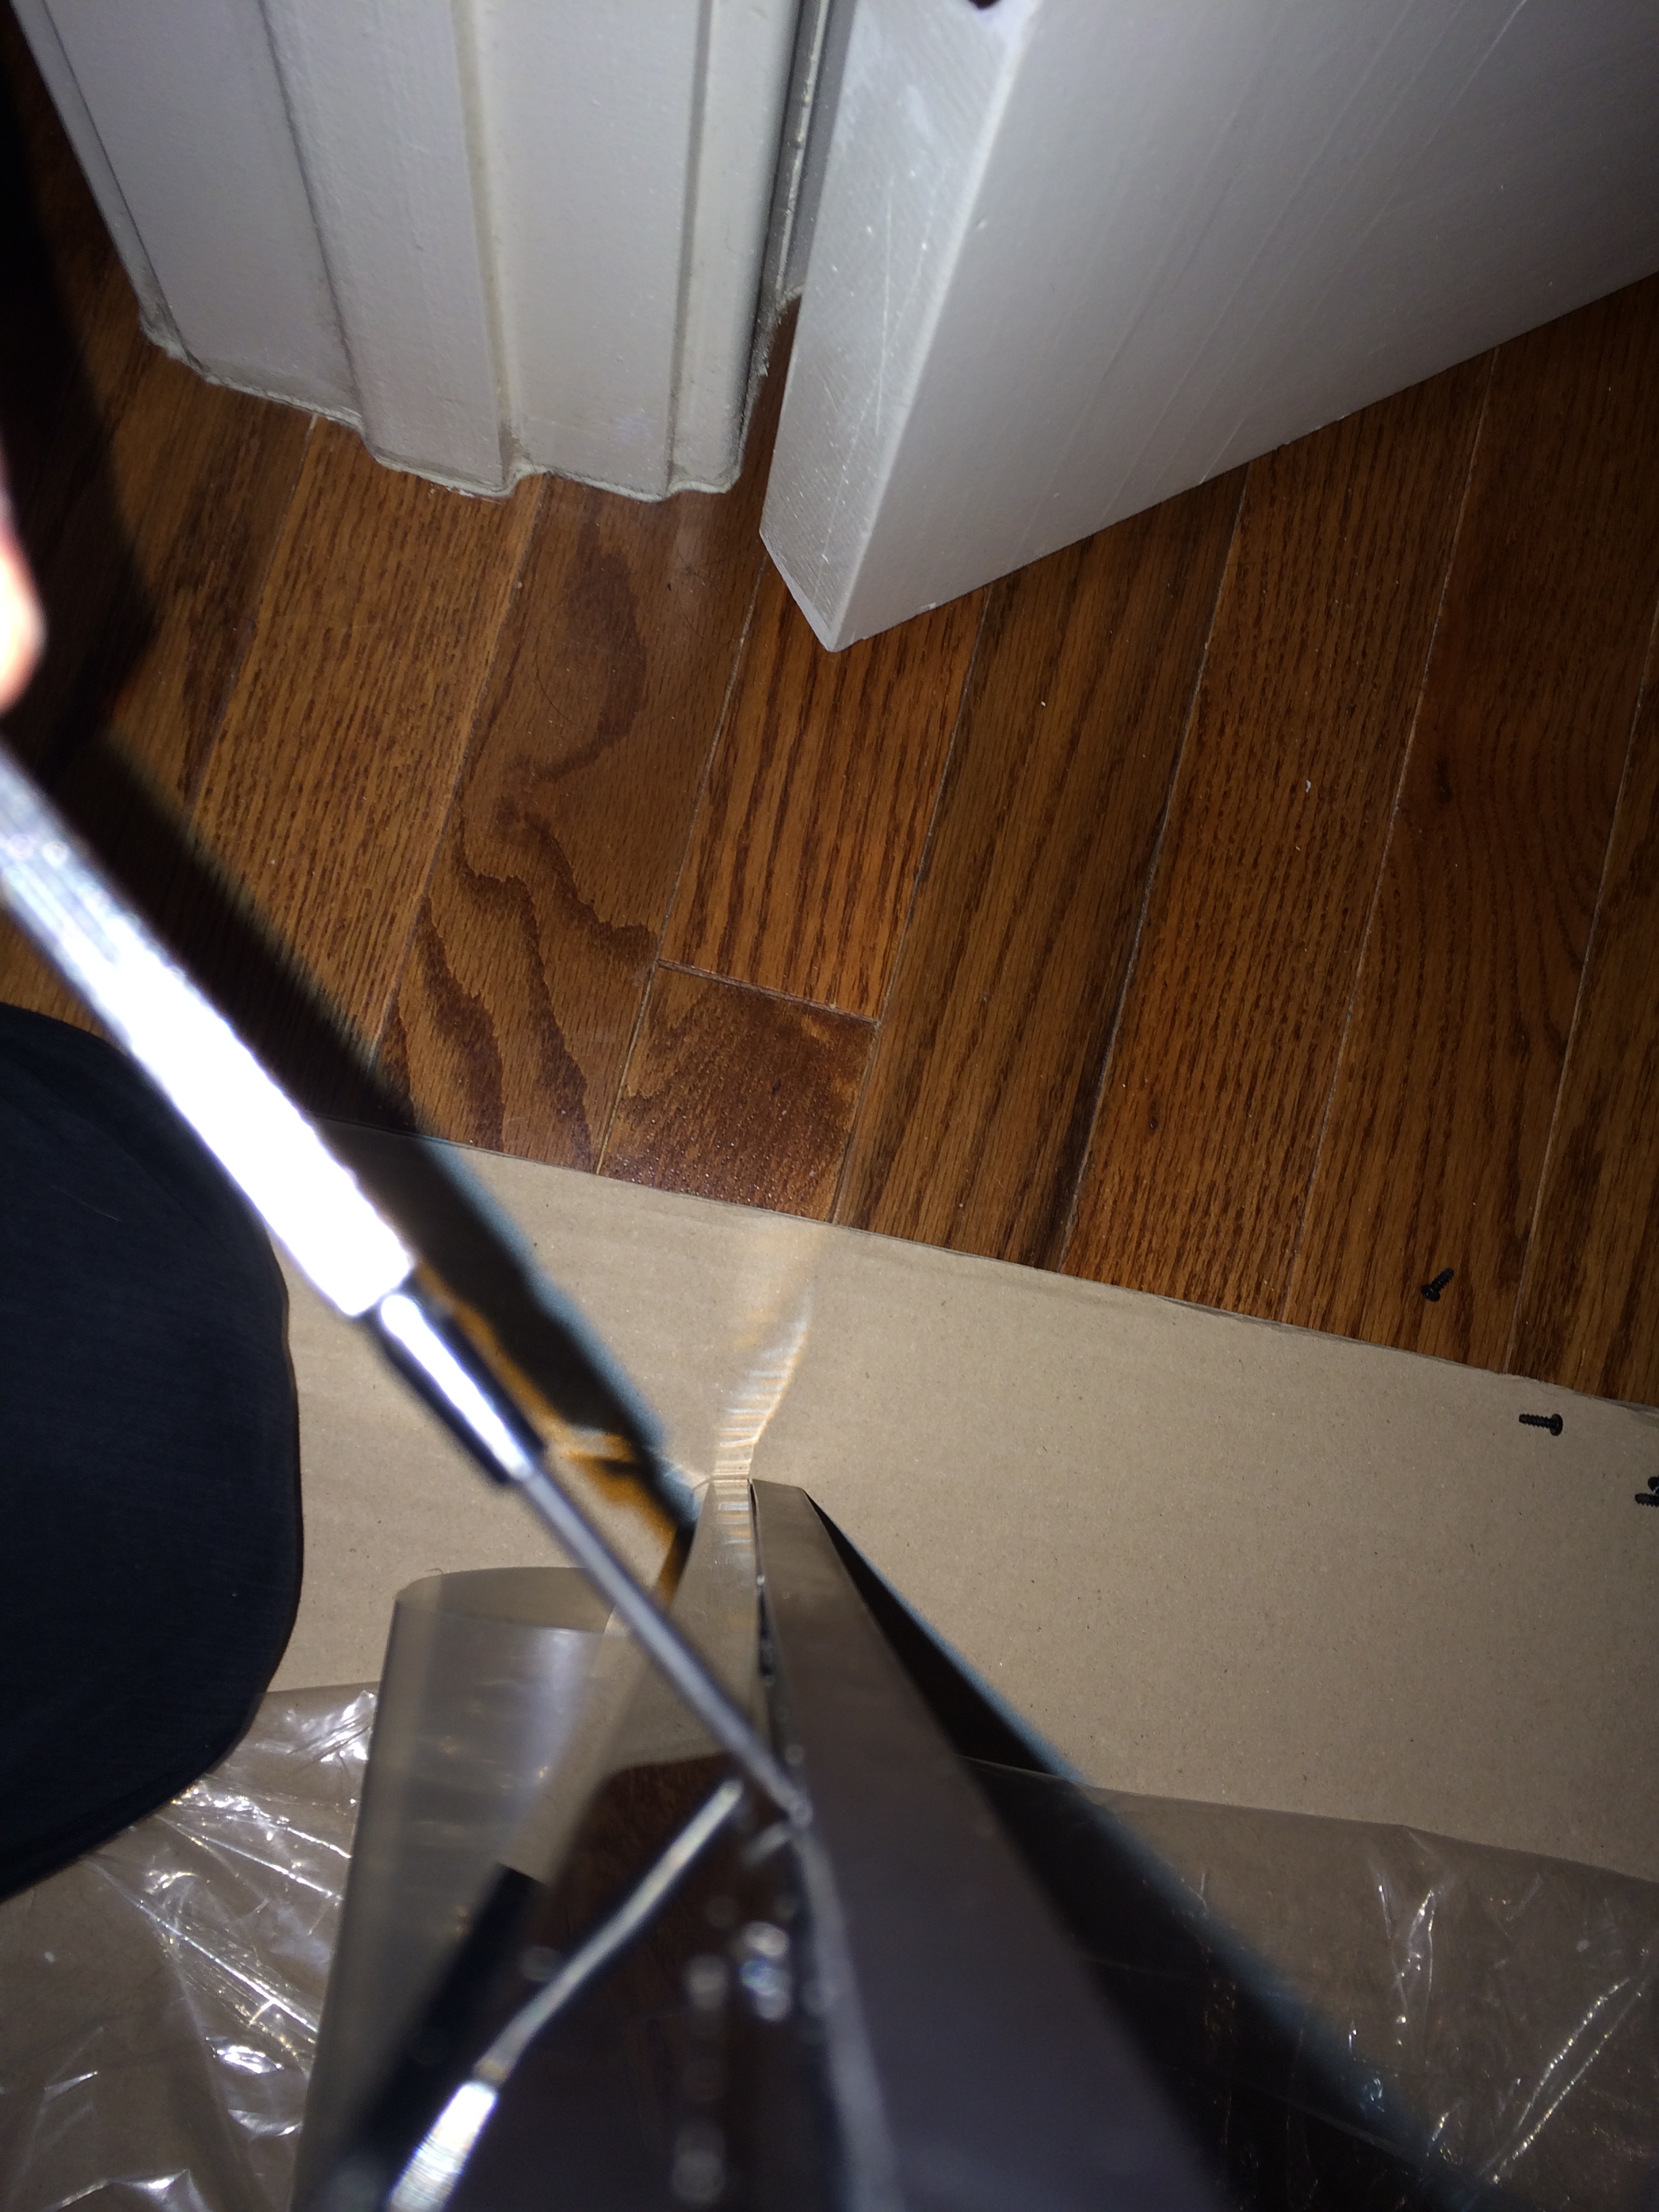
One thing I hate about working on monitors or laptops (or tablets for that matter) is that screws are never enough. That’s right, I’m talking about the dreaded “plastic clips”! These are always the bane of my existence. Combined with glue, they become my kryptonite. Luckily, there is no glue here, but there are plastic clips all around so in order to fully open the panel, which is required to remove the stand, some prying is going to be required. I am almost guaranteed to fuck this up at some point by the way (minor spoiler!). I’ve tried to take some shots of some good screw driver insertion points for prying. A very thin flat head screw driver and a lot of patience (and a gentle touch) is required:
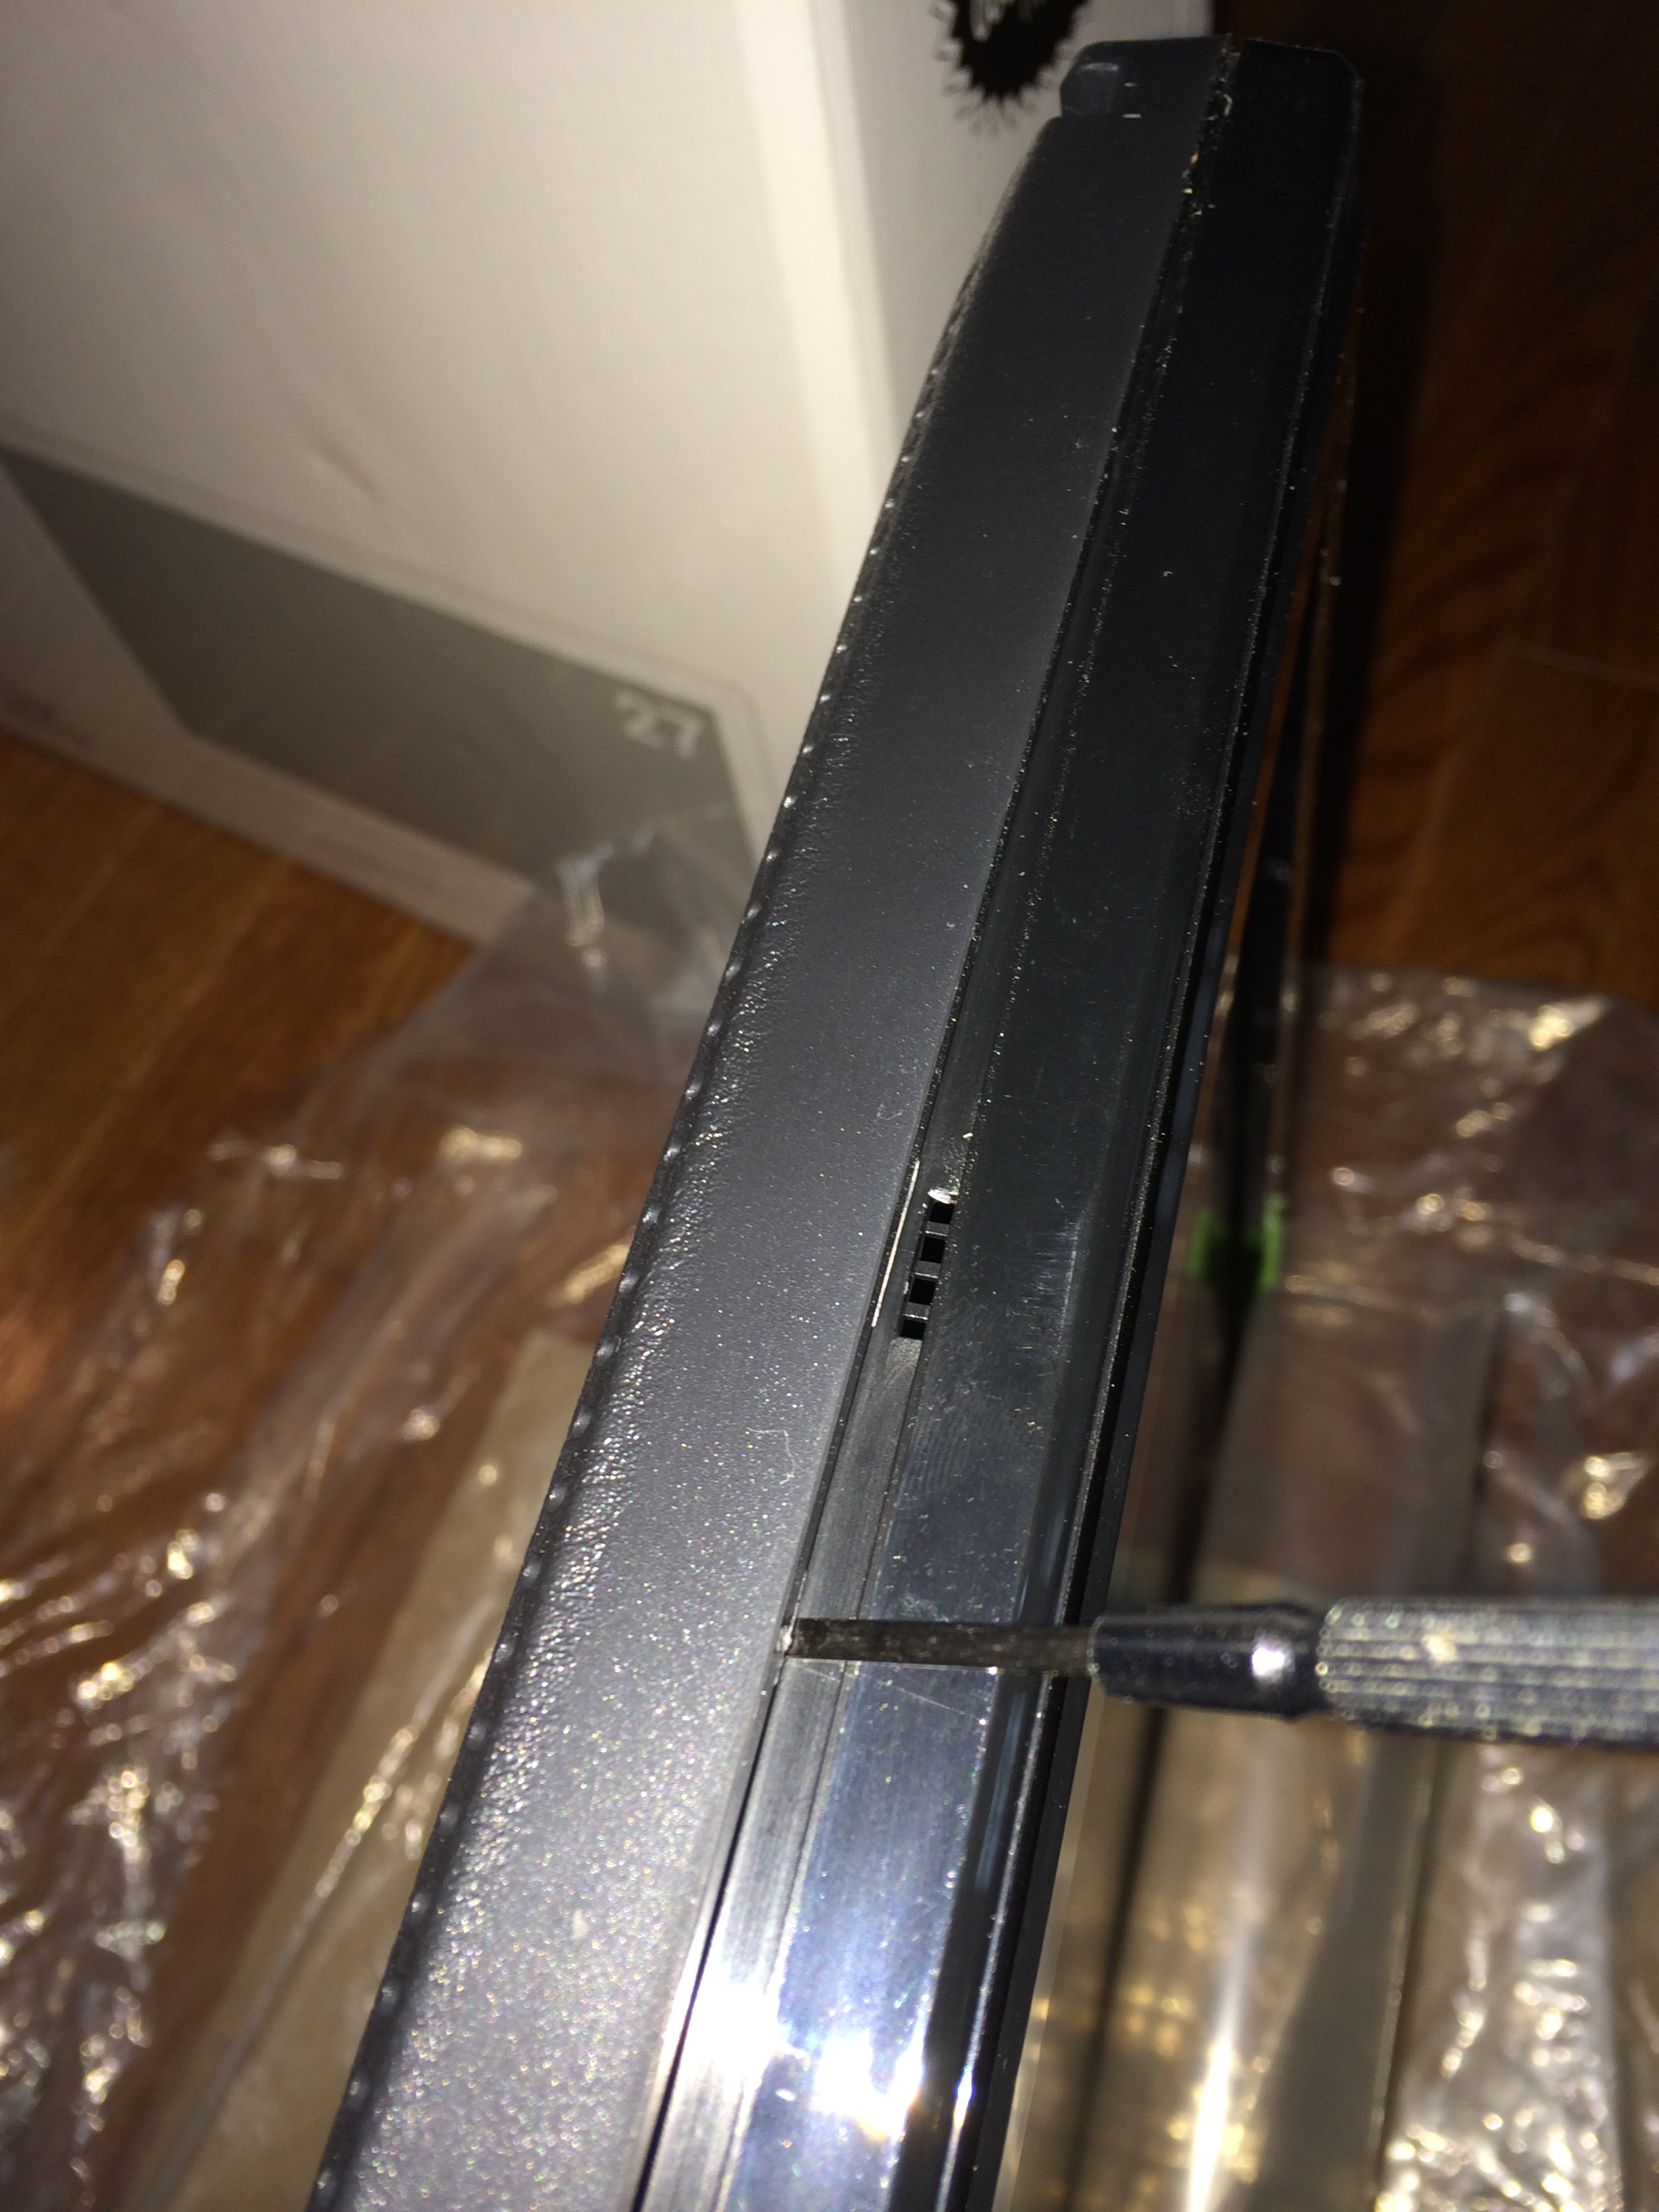
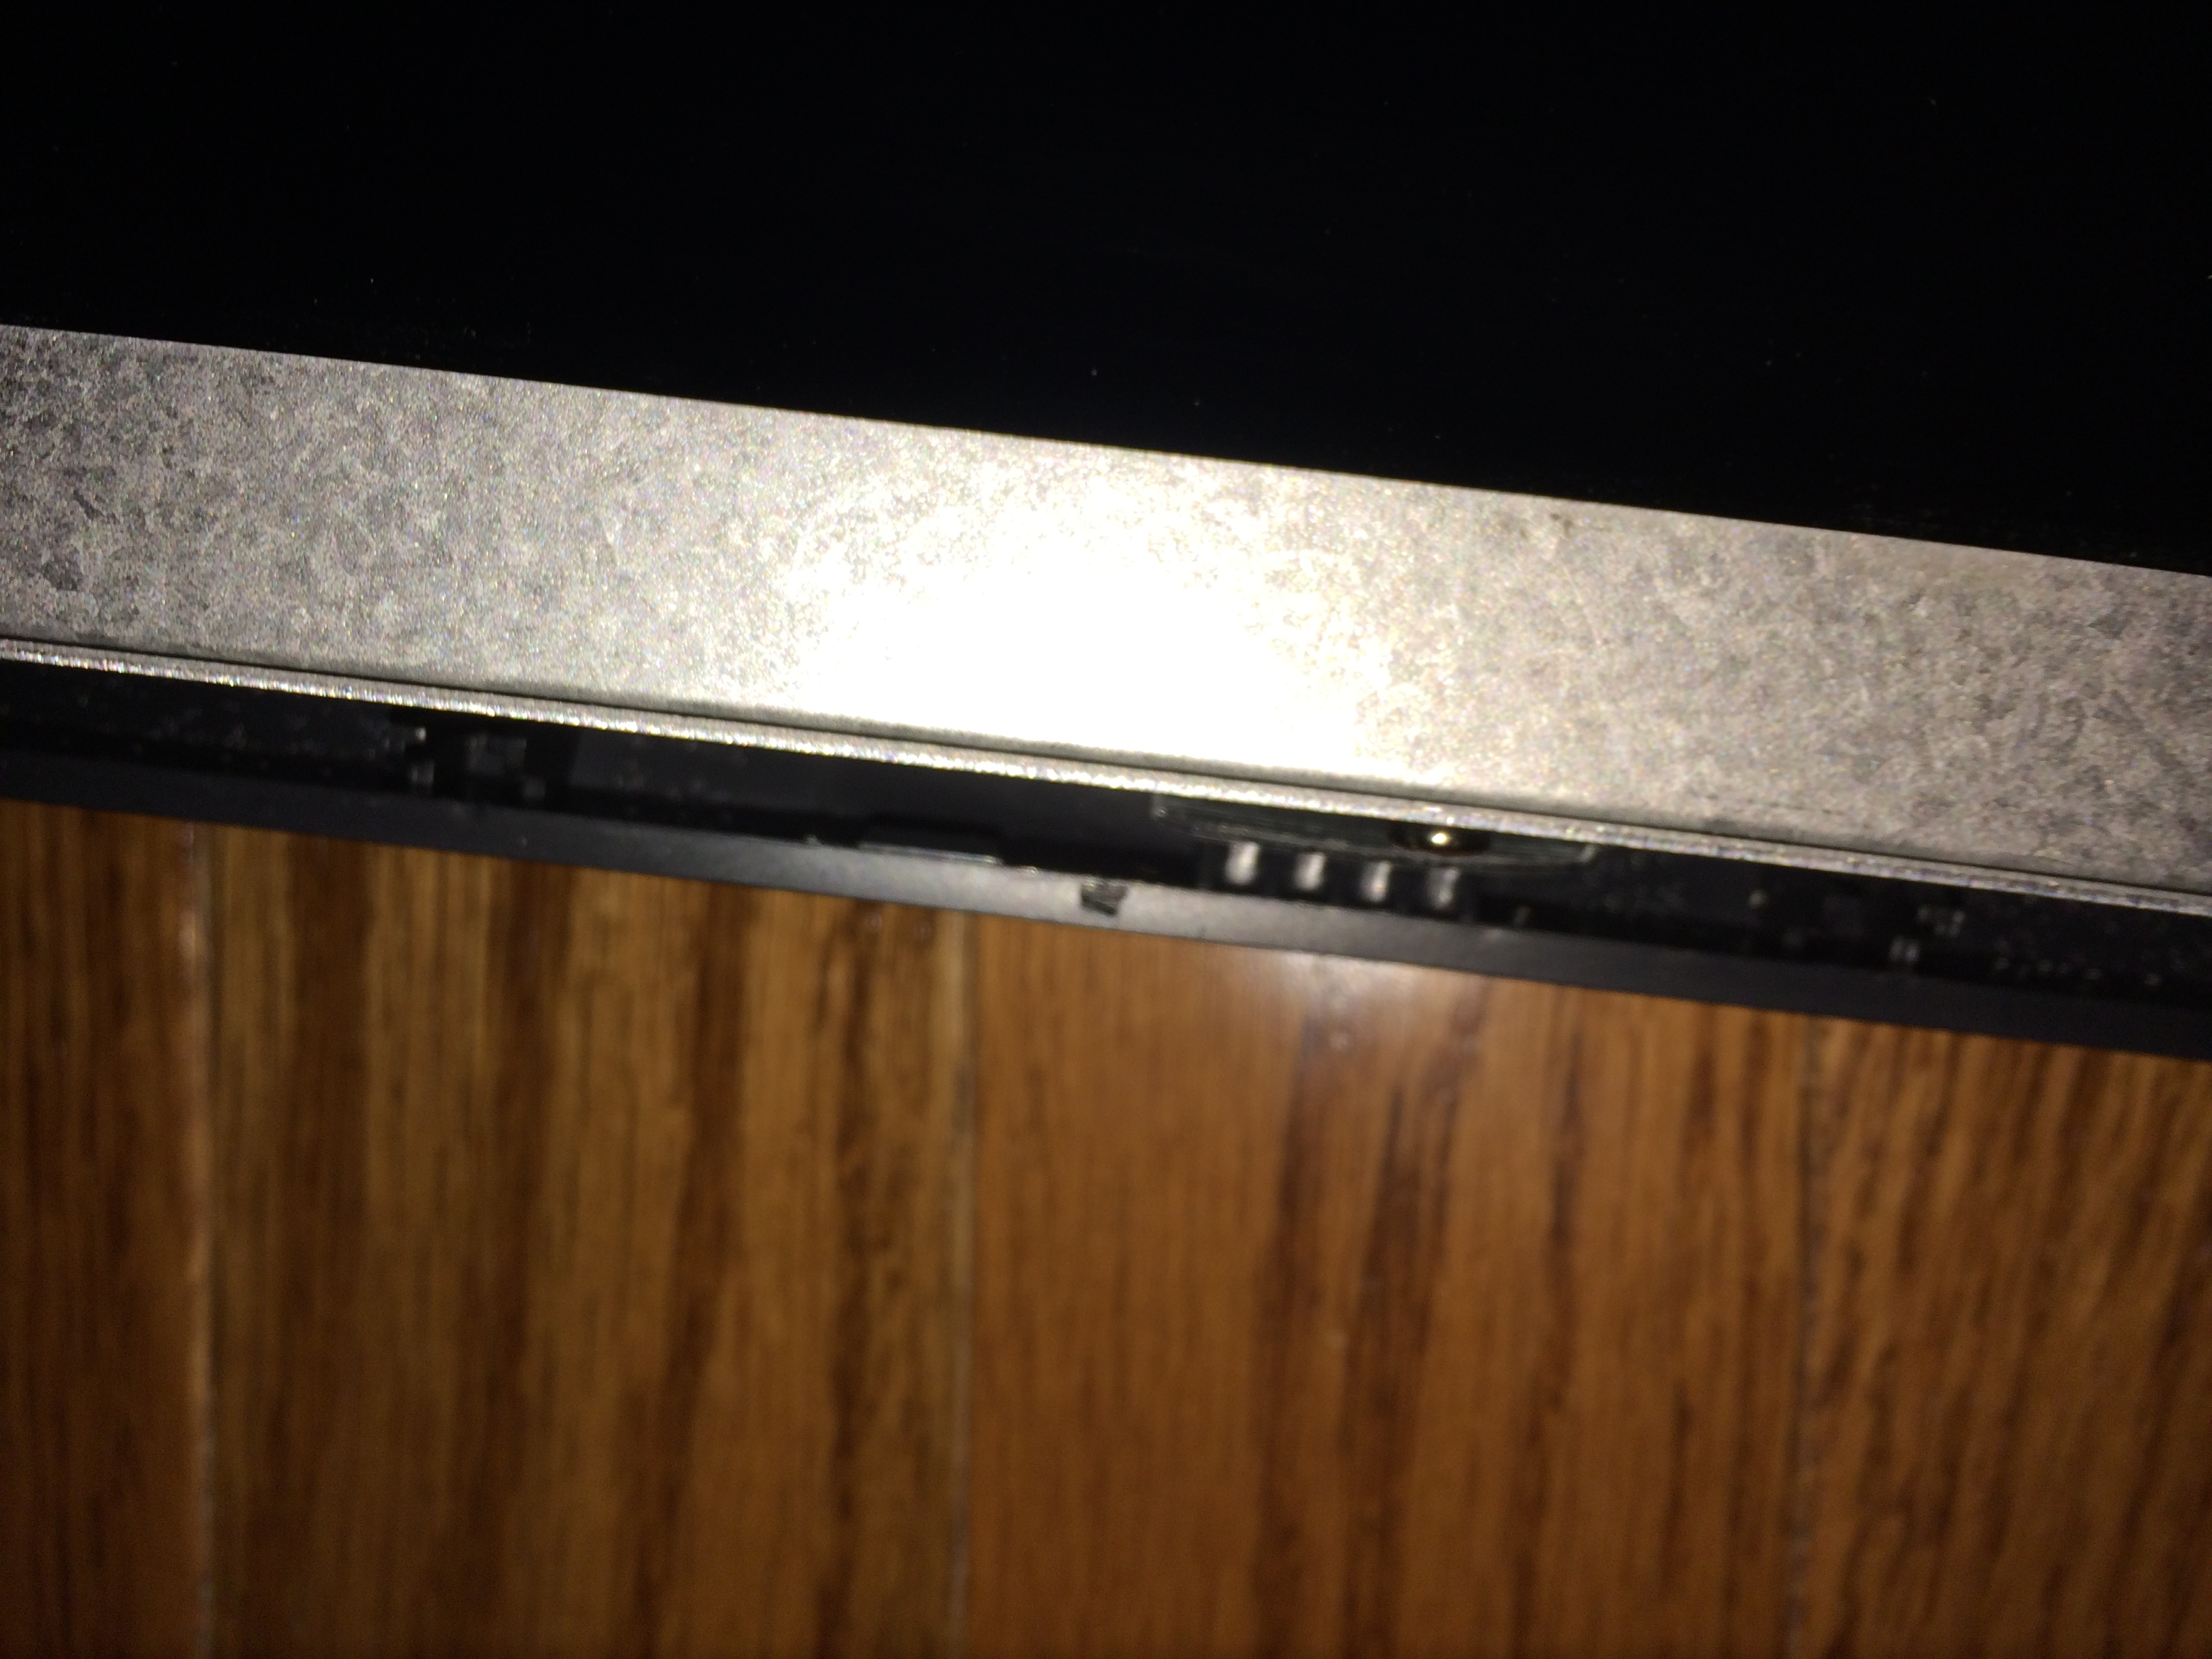
And with the steady hands of a microsurgeon, I applied my carbide tool and masterfully pried off the bezel as easily as a New Orleans fish bar guy shucks oysters! What? You don’t believe that? Well you get the prize! Of course along the top edge of the monitor, which get’s nice and tight once the bottom and sides have been popped, I fucked up. Behold the battle damage!
Hopefully the pixel is at least “adequate pixel” because I’m stuck with it now! What’s that you say? I should have tested the panel before putting it under the knife? Bah! Fortune favors the bold! Let’s press on:
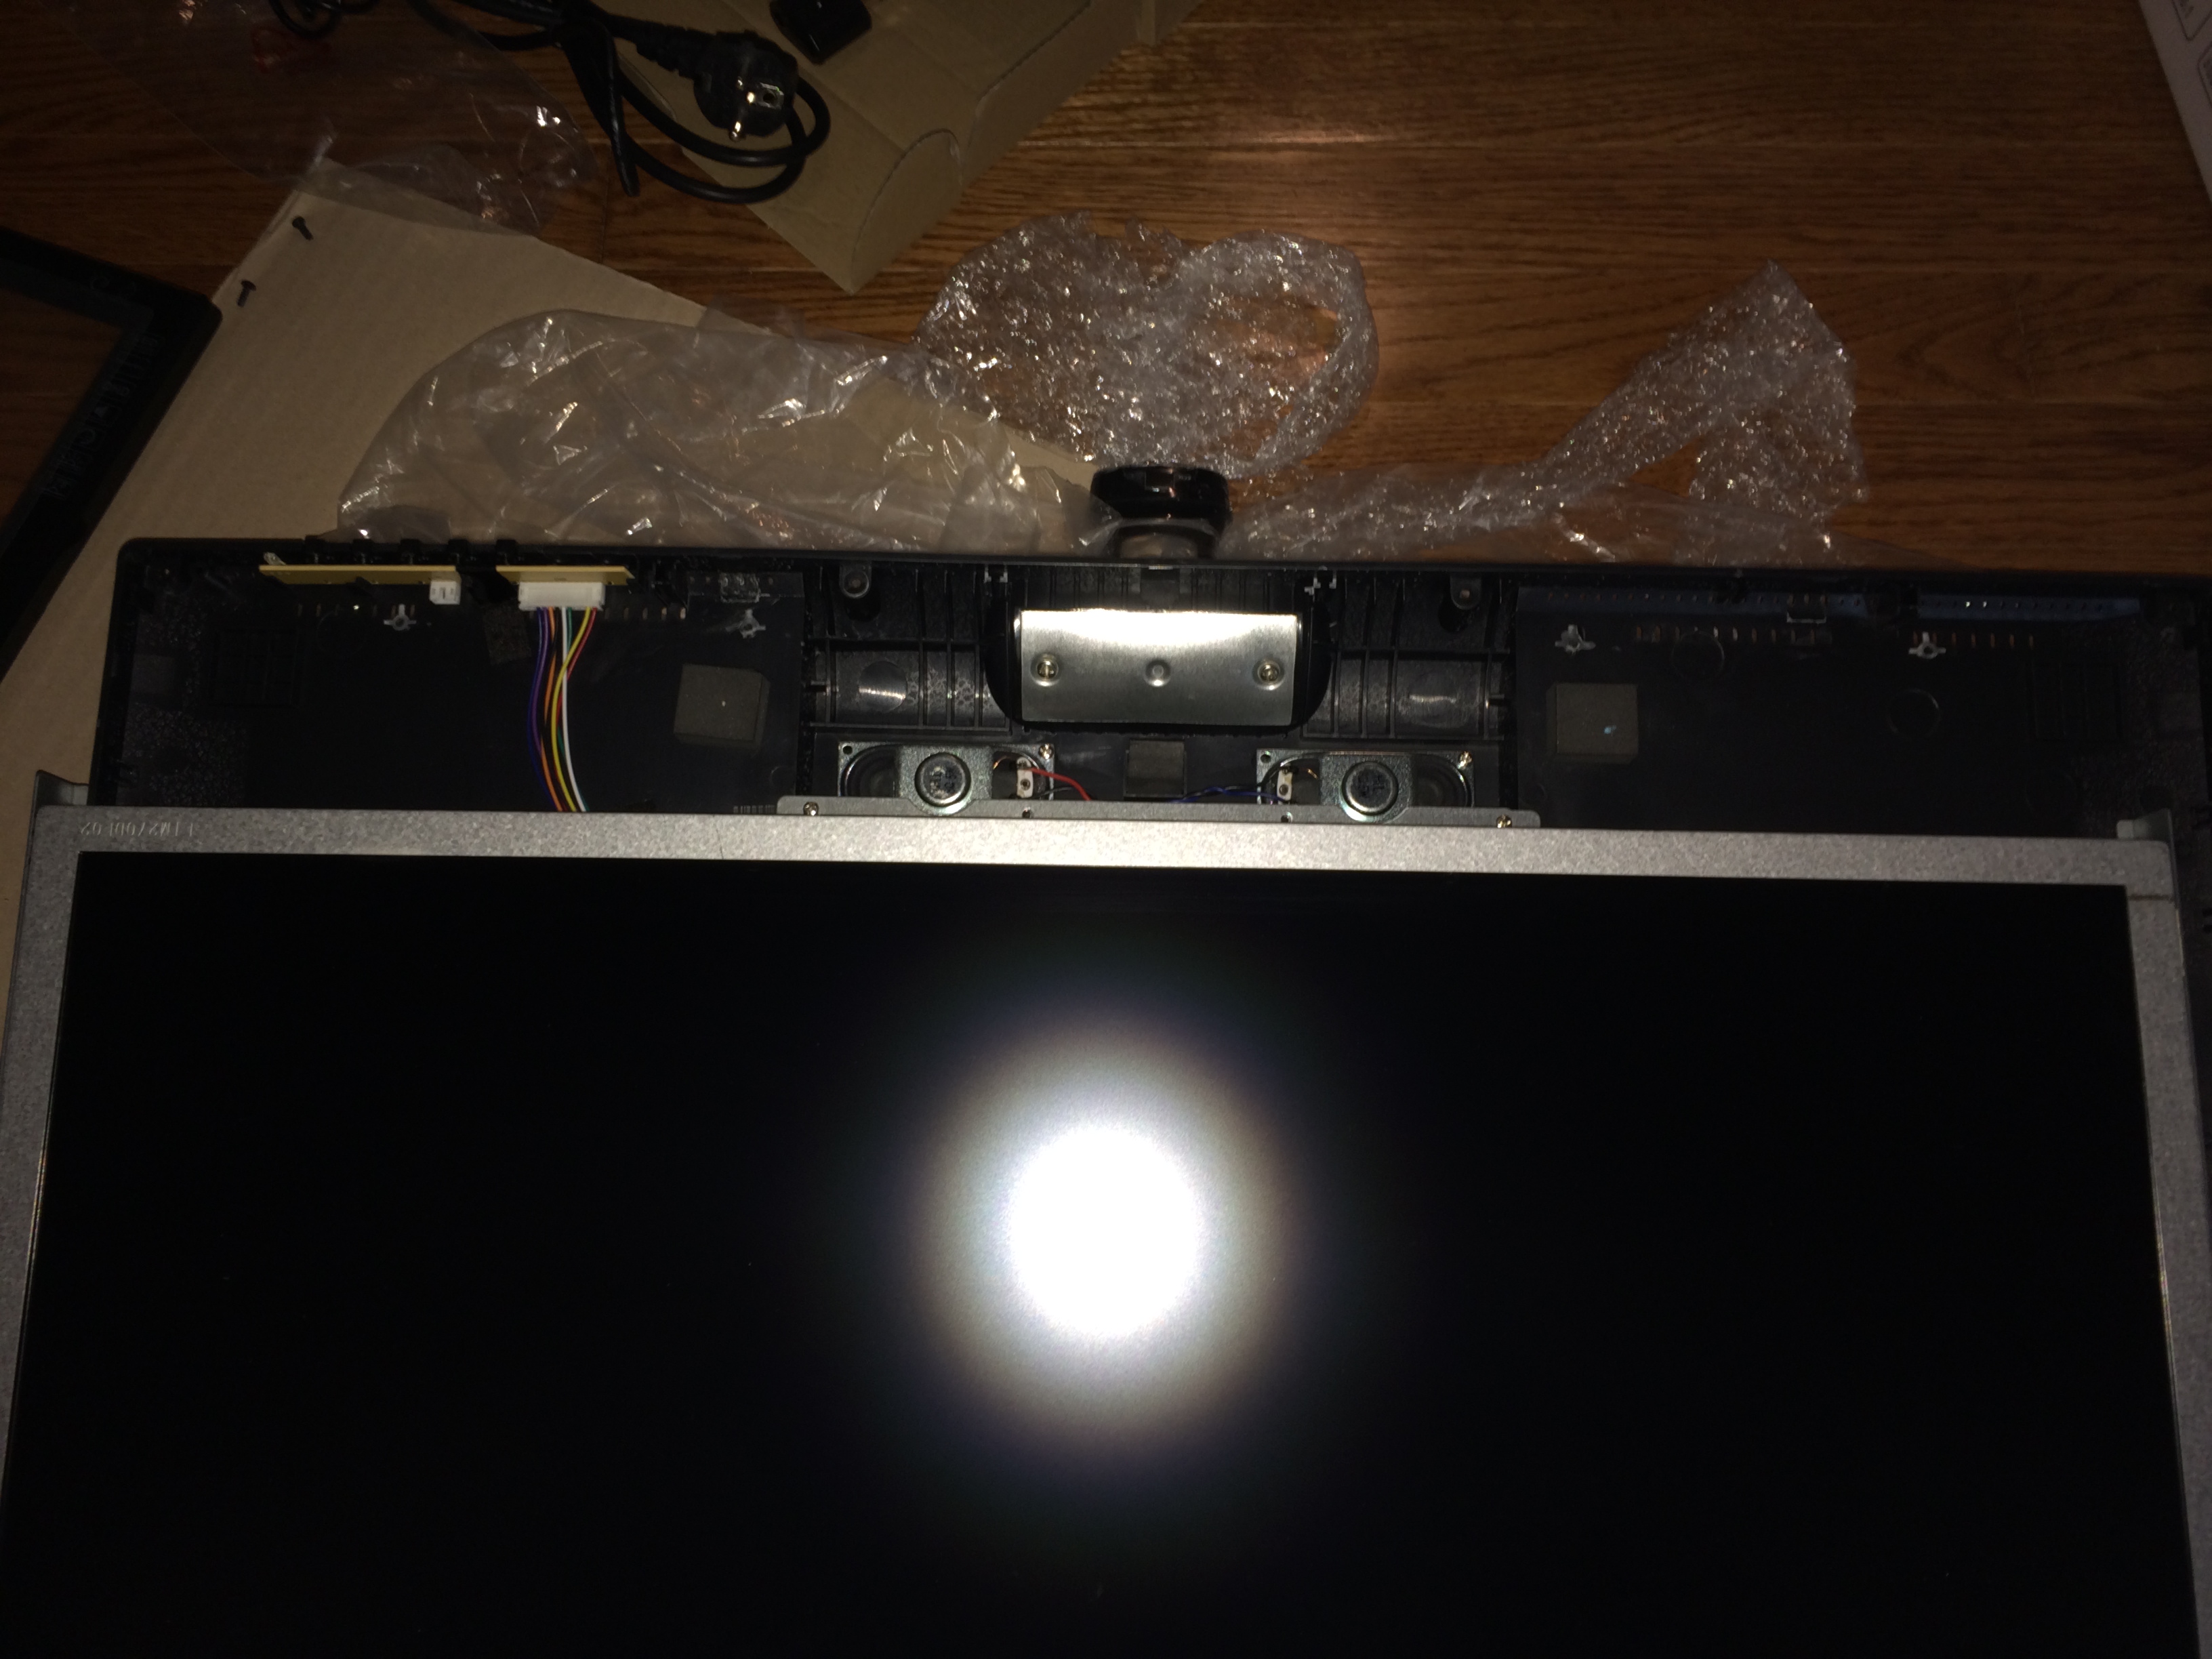
With the bezel fully popped you can set it aside and bask in the glory of naked panel. Our work is not yet done though. To get to that idiotic stand, the panel has to come all the way out. That means four more pesky clips stand between us and glory!

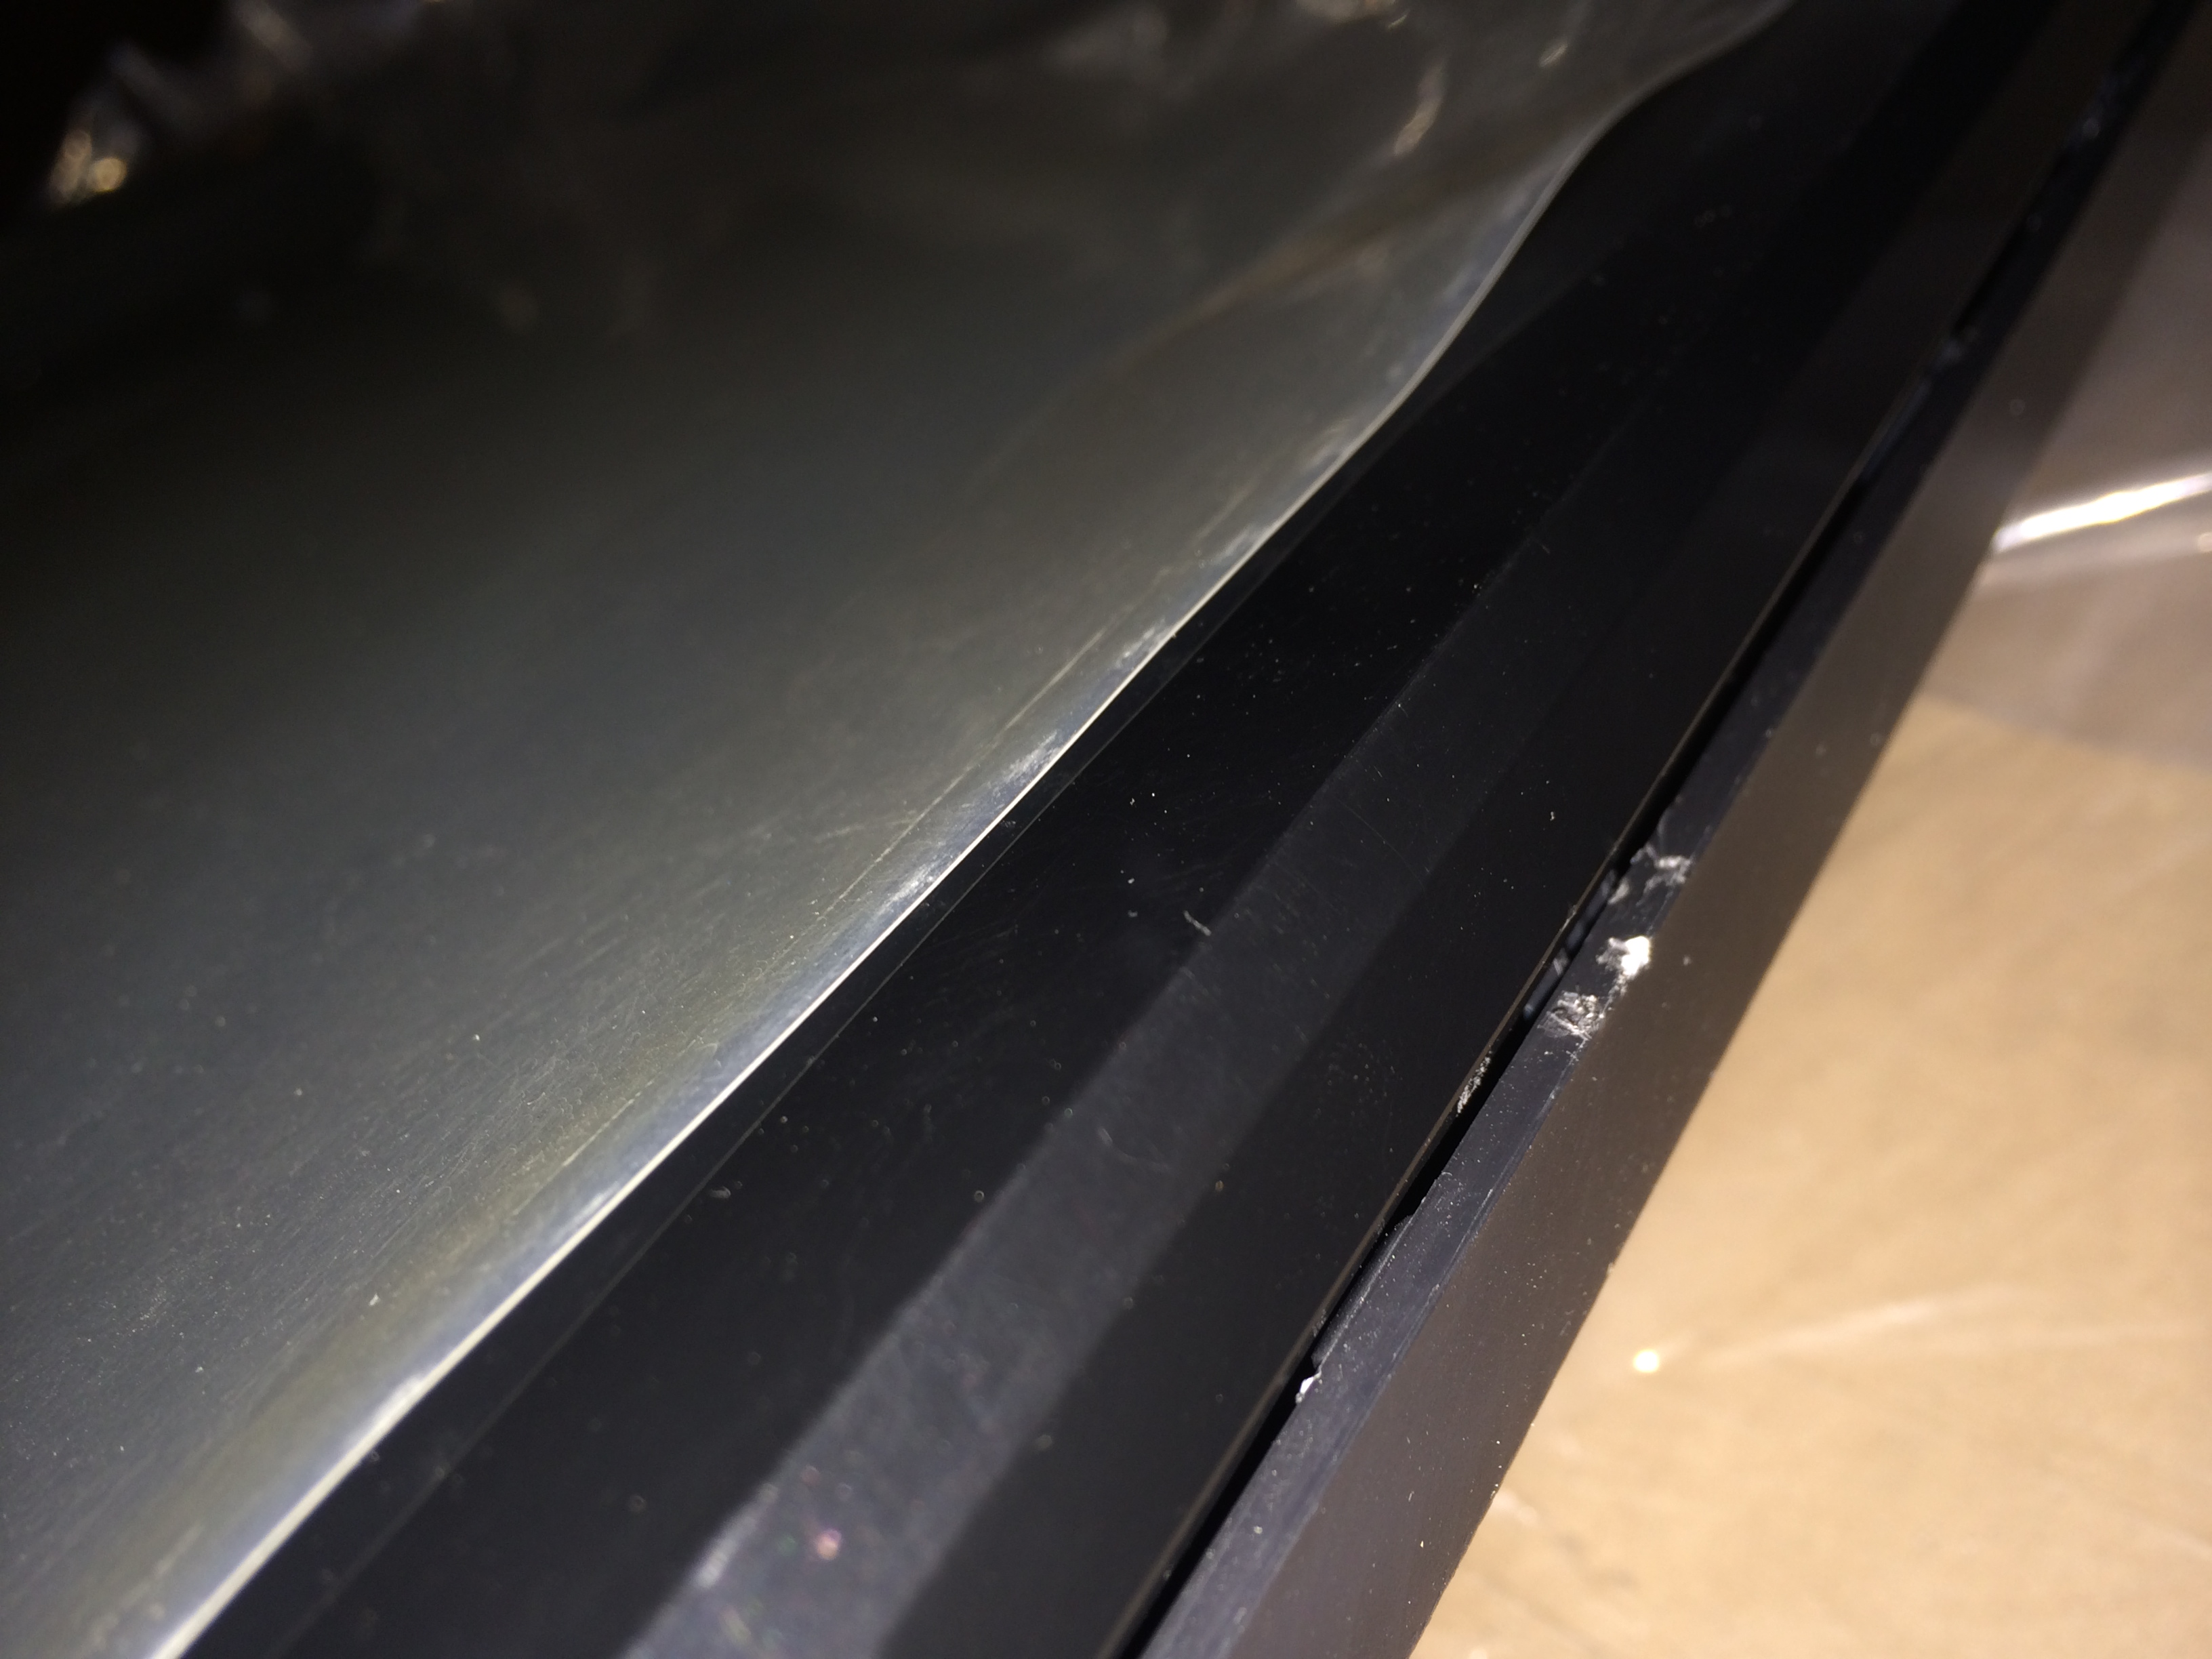
This is a very close up shot of the clips. Two on the left side, two on the right. Basically you just have to use some finesse and flex the plastic out enough to pop the clips. Once one side is done, then there is plenty of play to easily do the other side. Here is how they look popped:
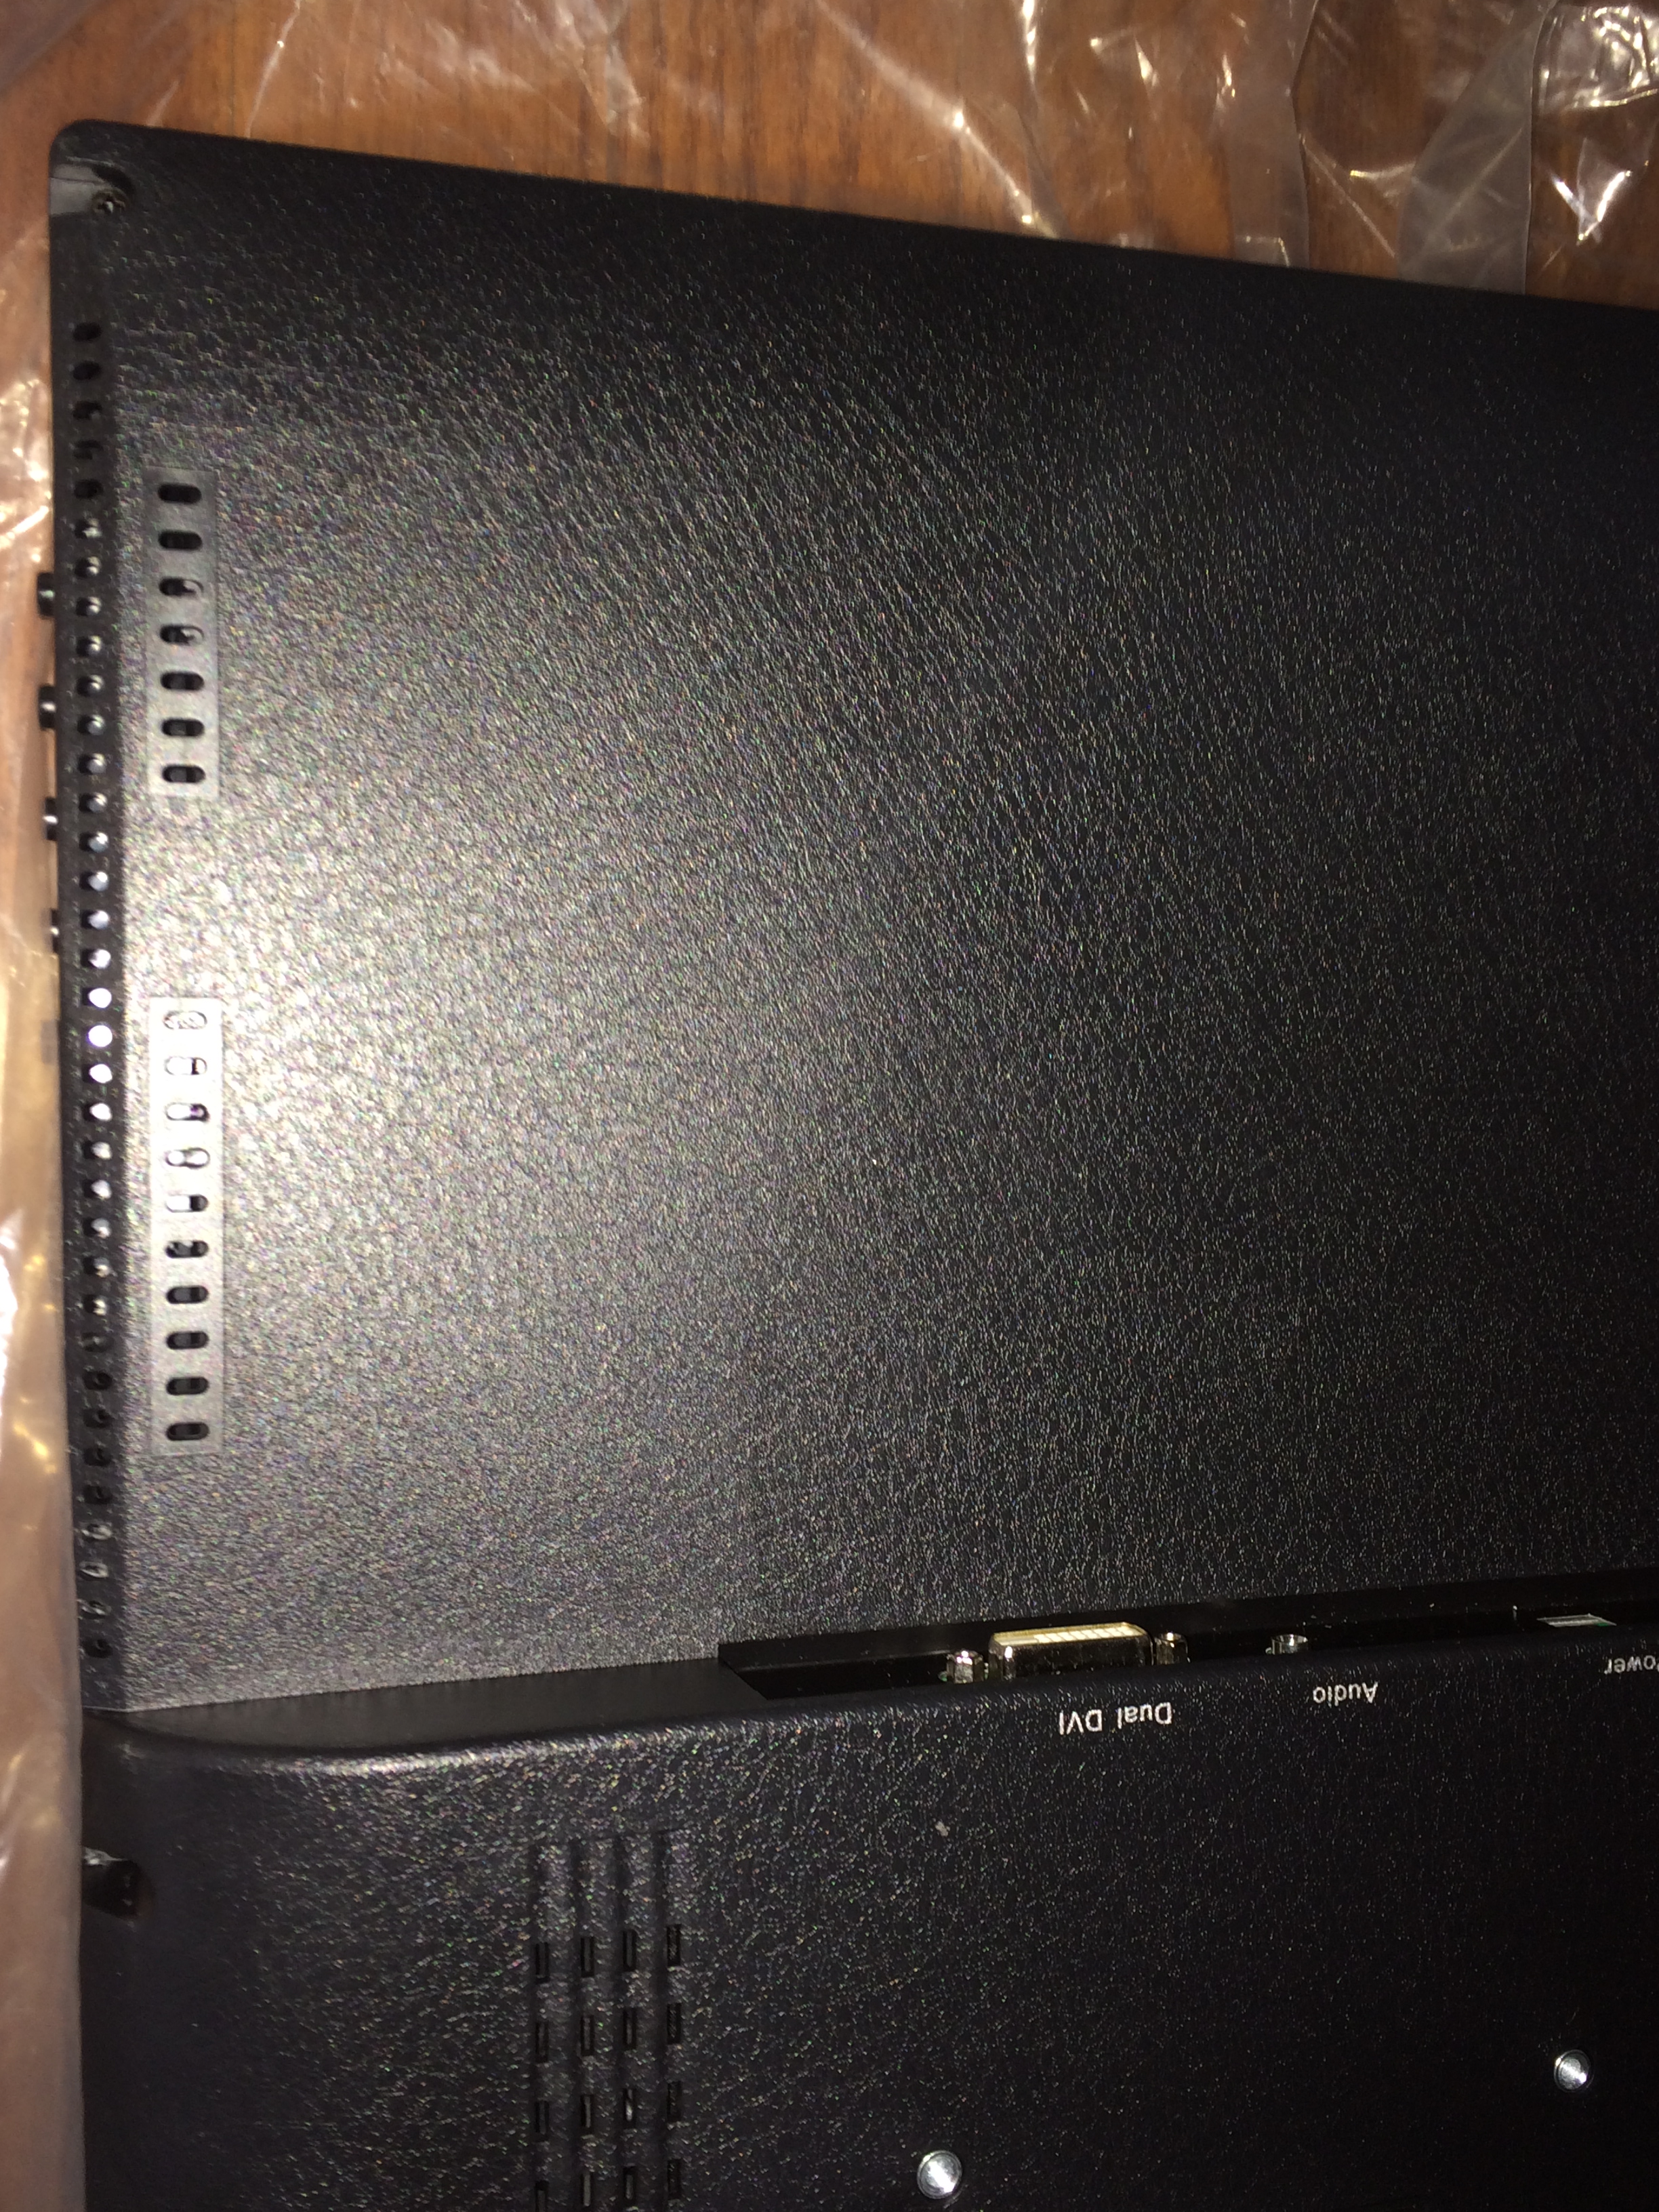
We can now carefully lift out the panel, keeping in mind that there are a myriad of cables on the backside that we do not want to detach, and just shift it down the inch or so we need to get at the stands mount point. If you do it correctly it should look like this:
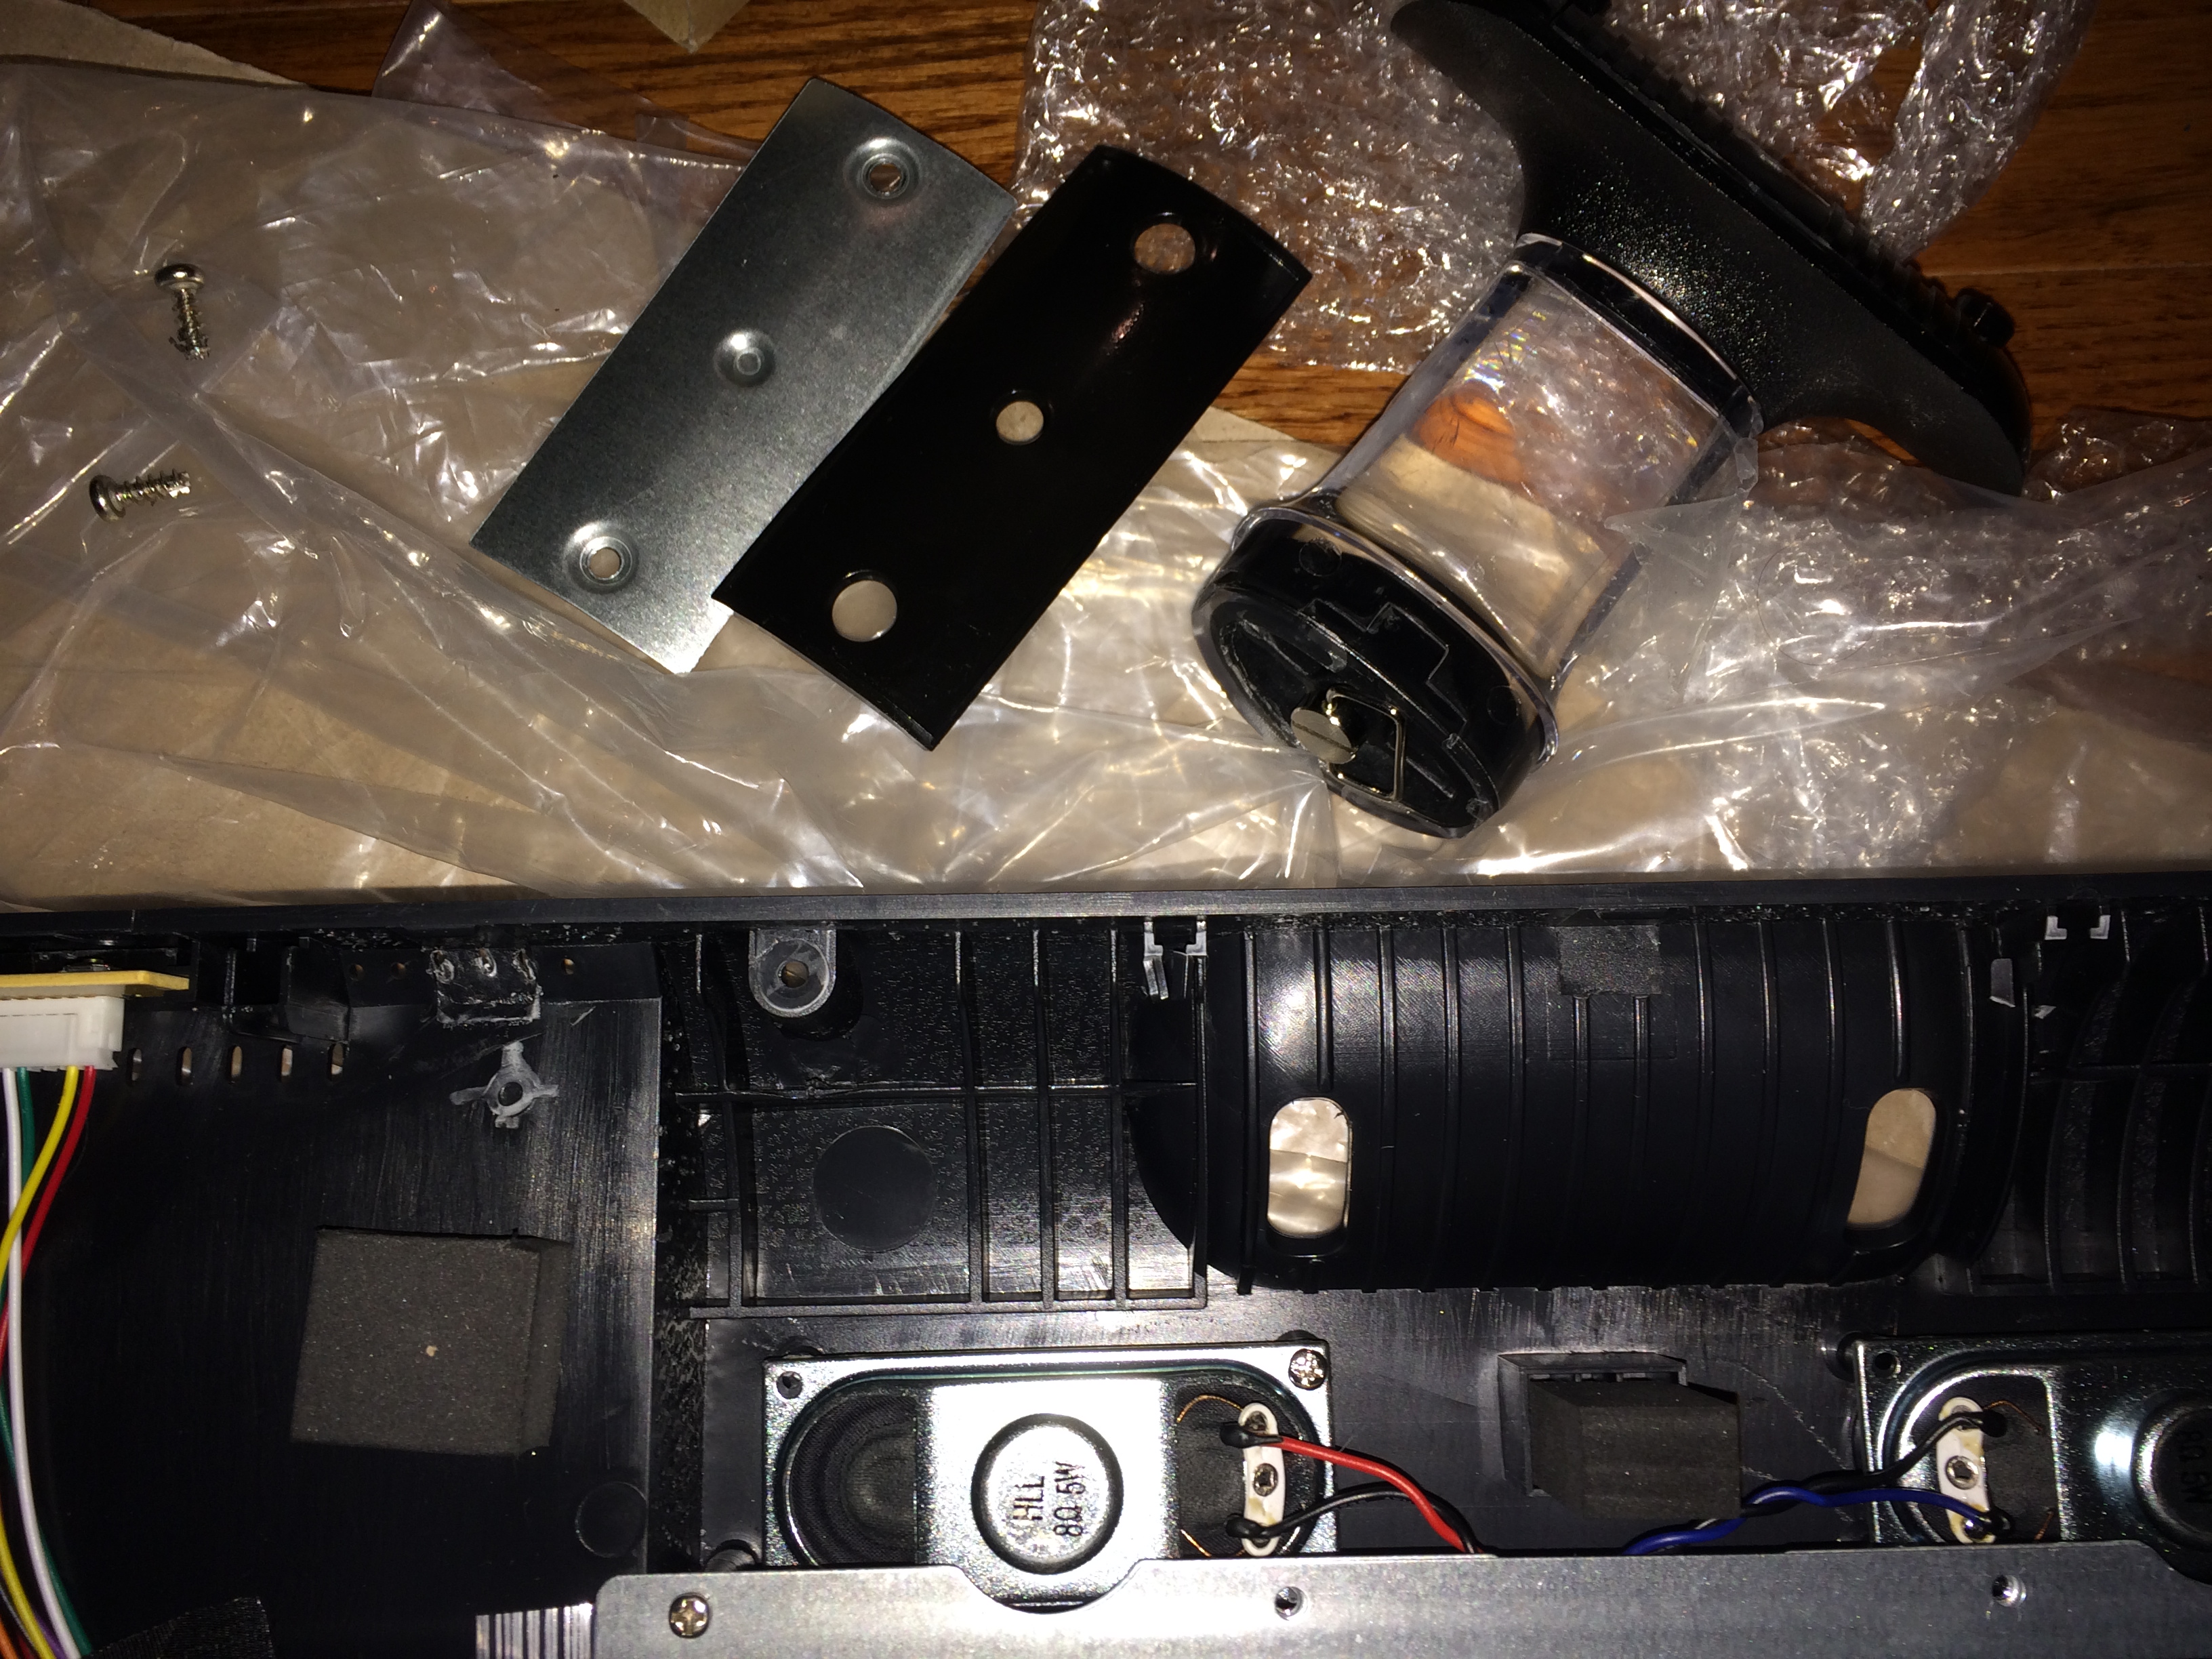
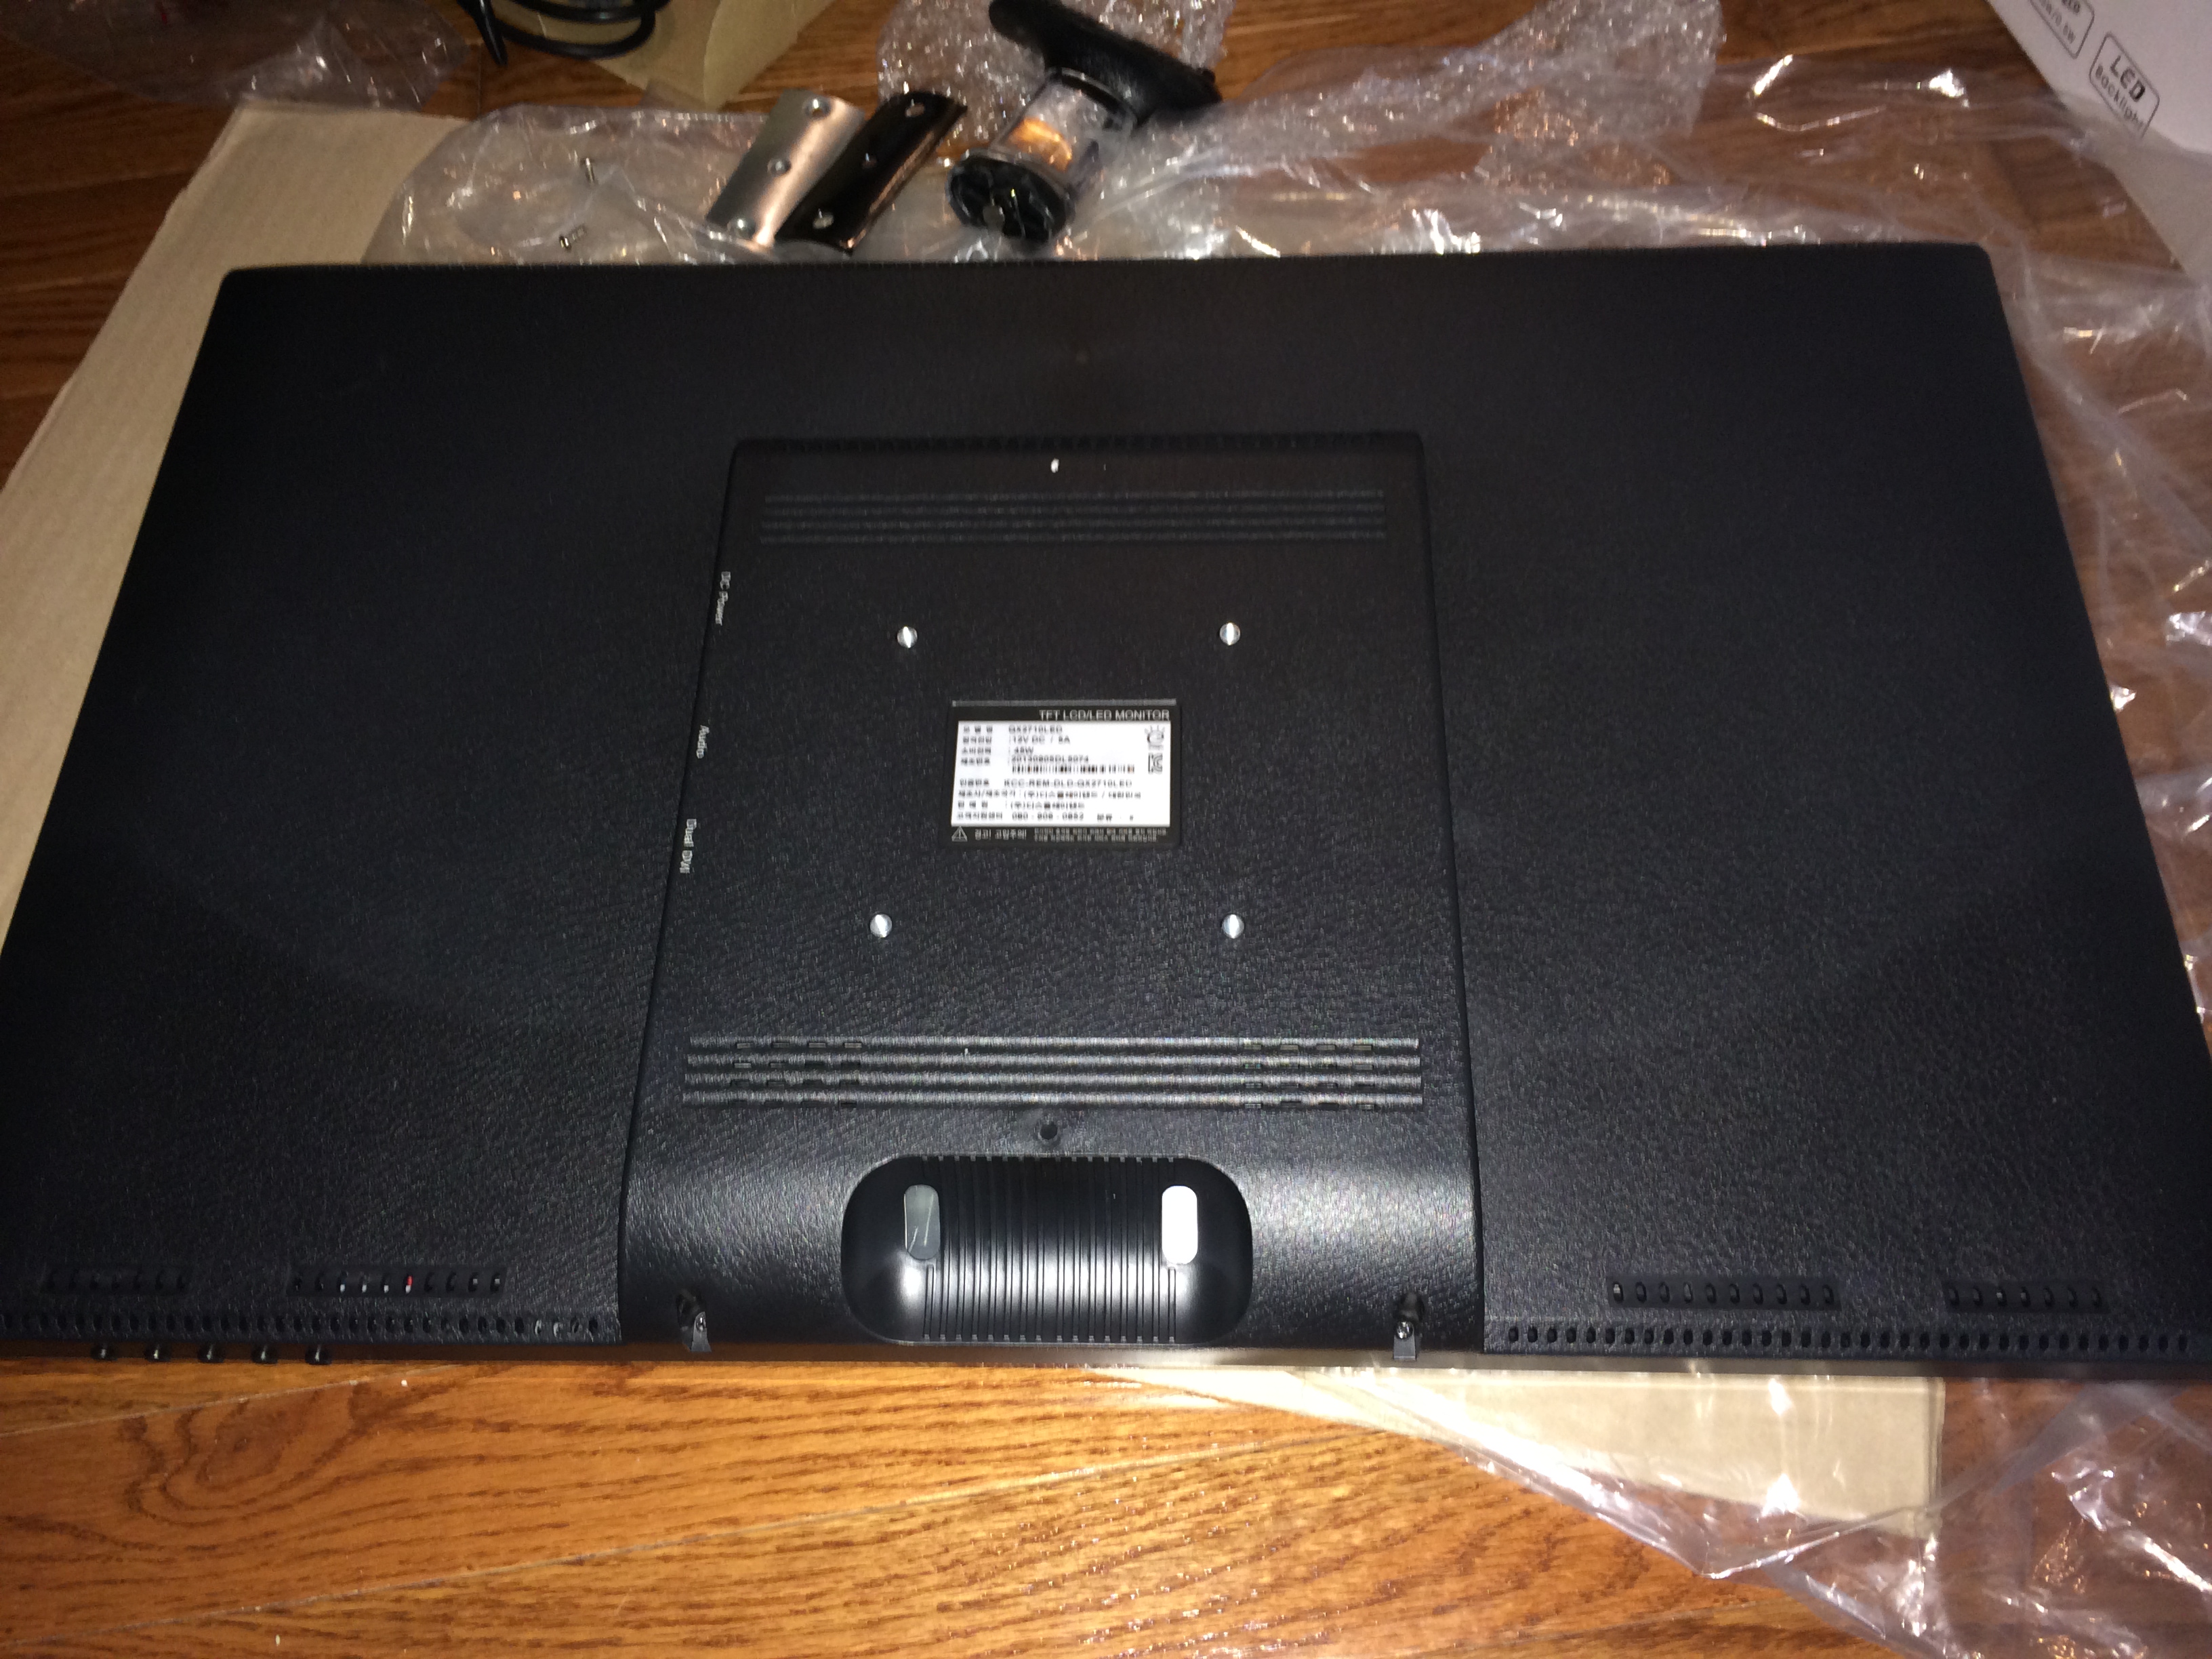
Next we can de-screwify (that’s a word, honest!) the stem. Two sturdy philips heads hold the metal mount plate in place. They remove easily and the stem just pops right out. It’s then just a matter of carefully sliding the monitor panel back into place, reattaching the left and right clips, popping the bezel back on, and then sealing it all back up with the original four screws. Two shots follow, one of the stand removed and the hardware that comes out with it, and one with the panel reassembled:
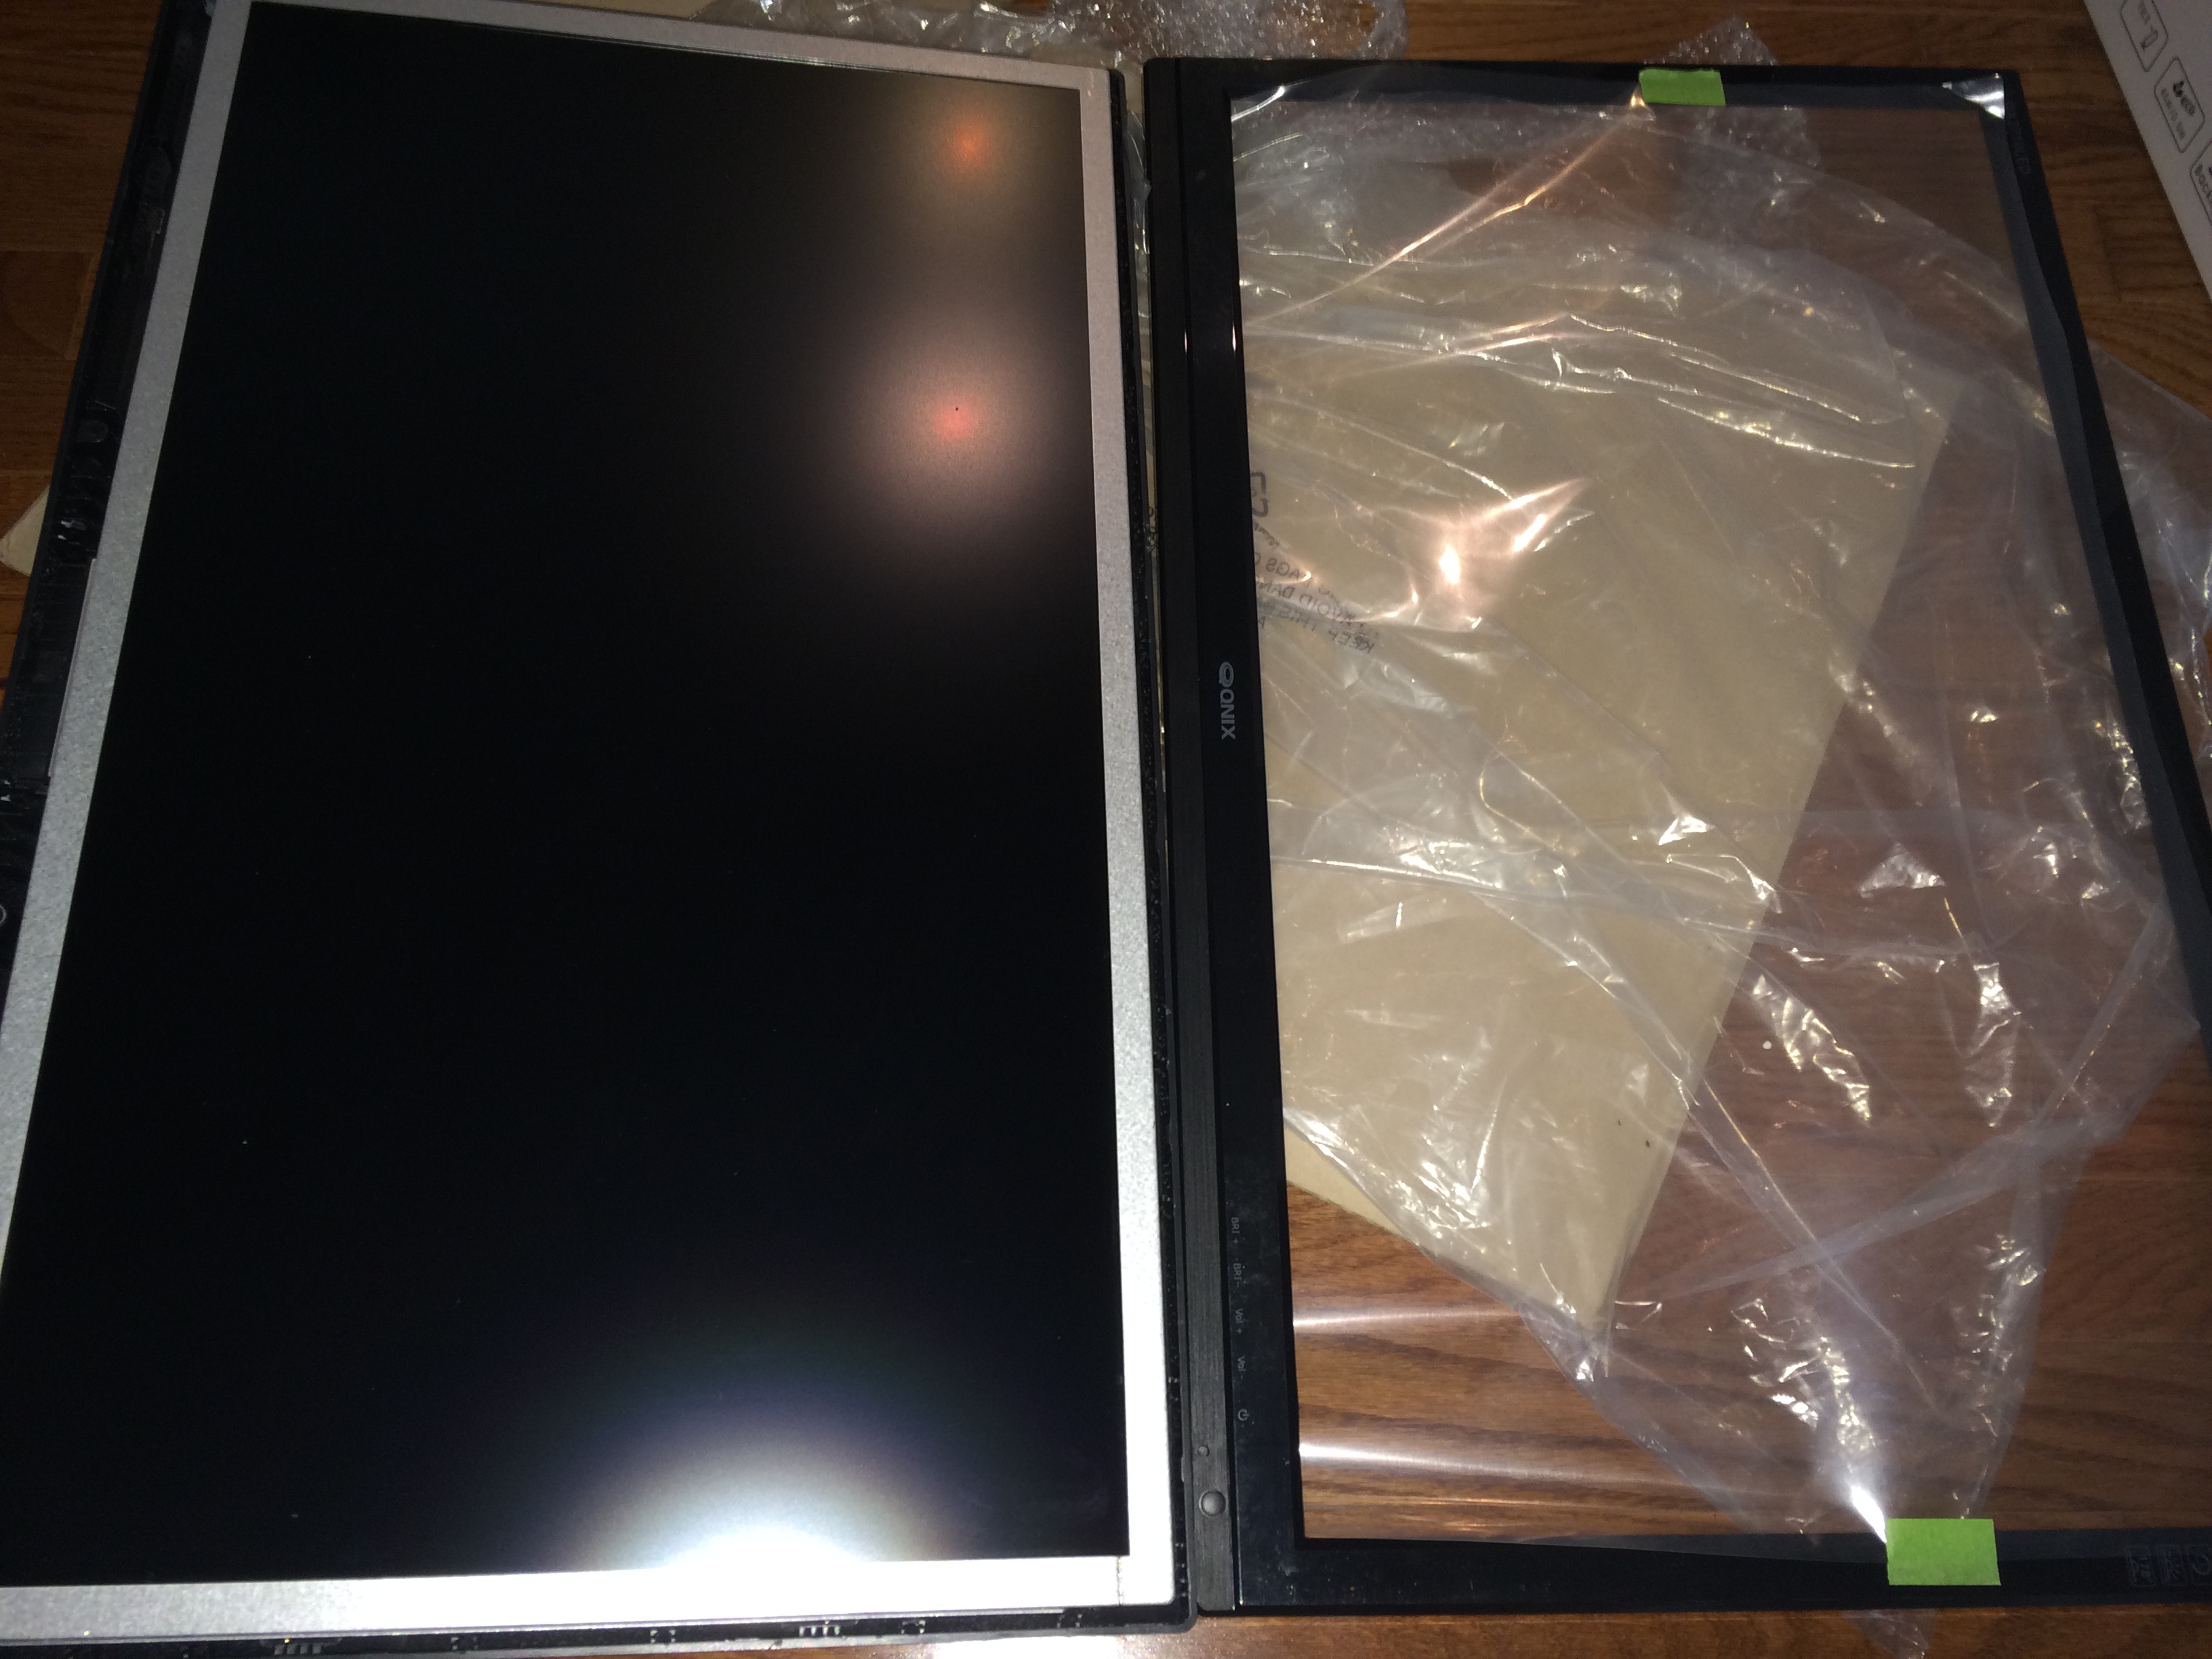
Now of course the only real reasons to do this are if you want to debezel, somehow improve the included stand, or do a VESA mount. For me, it’s that last one. My goal is to simply drop it right in place where the Viewsonics currently sit, even reusing the cables. For reference, here is the right panel:
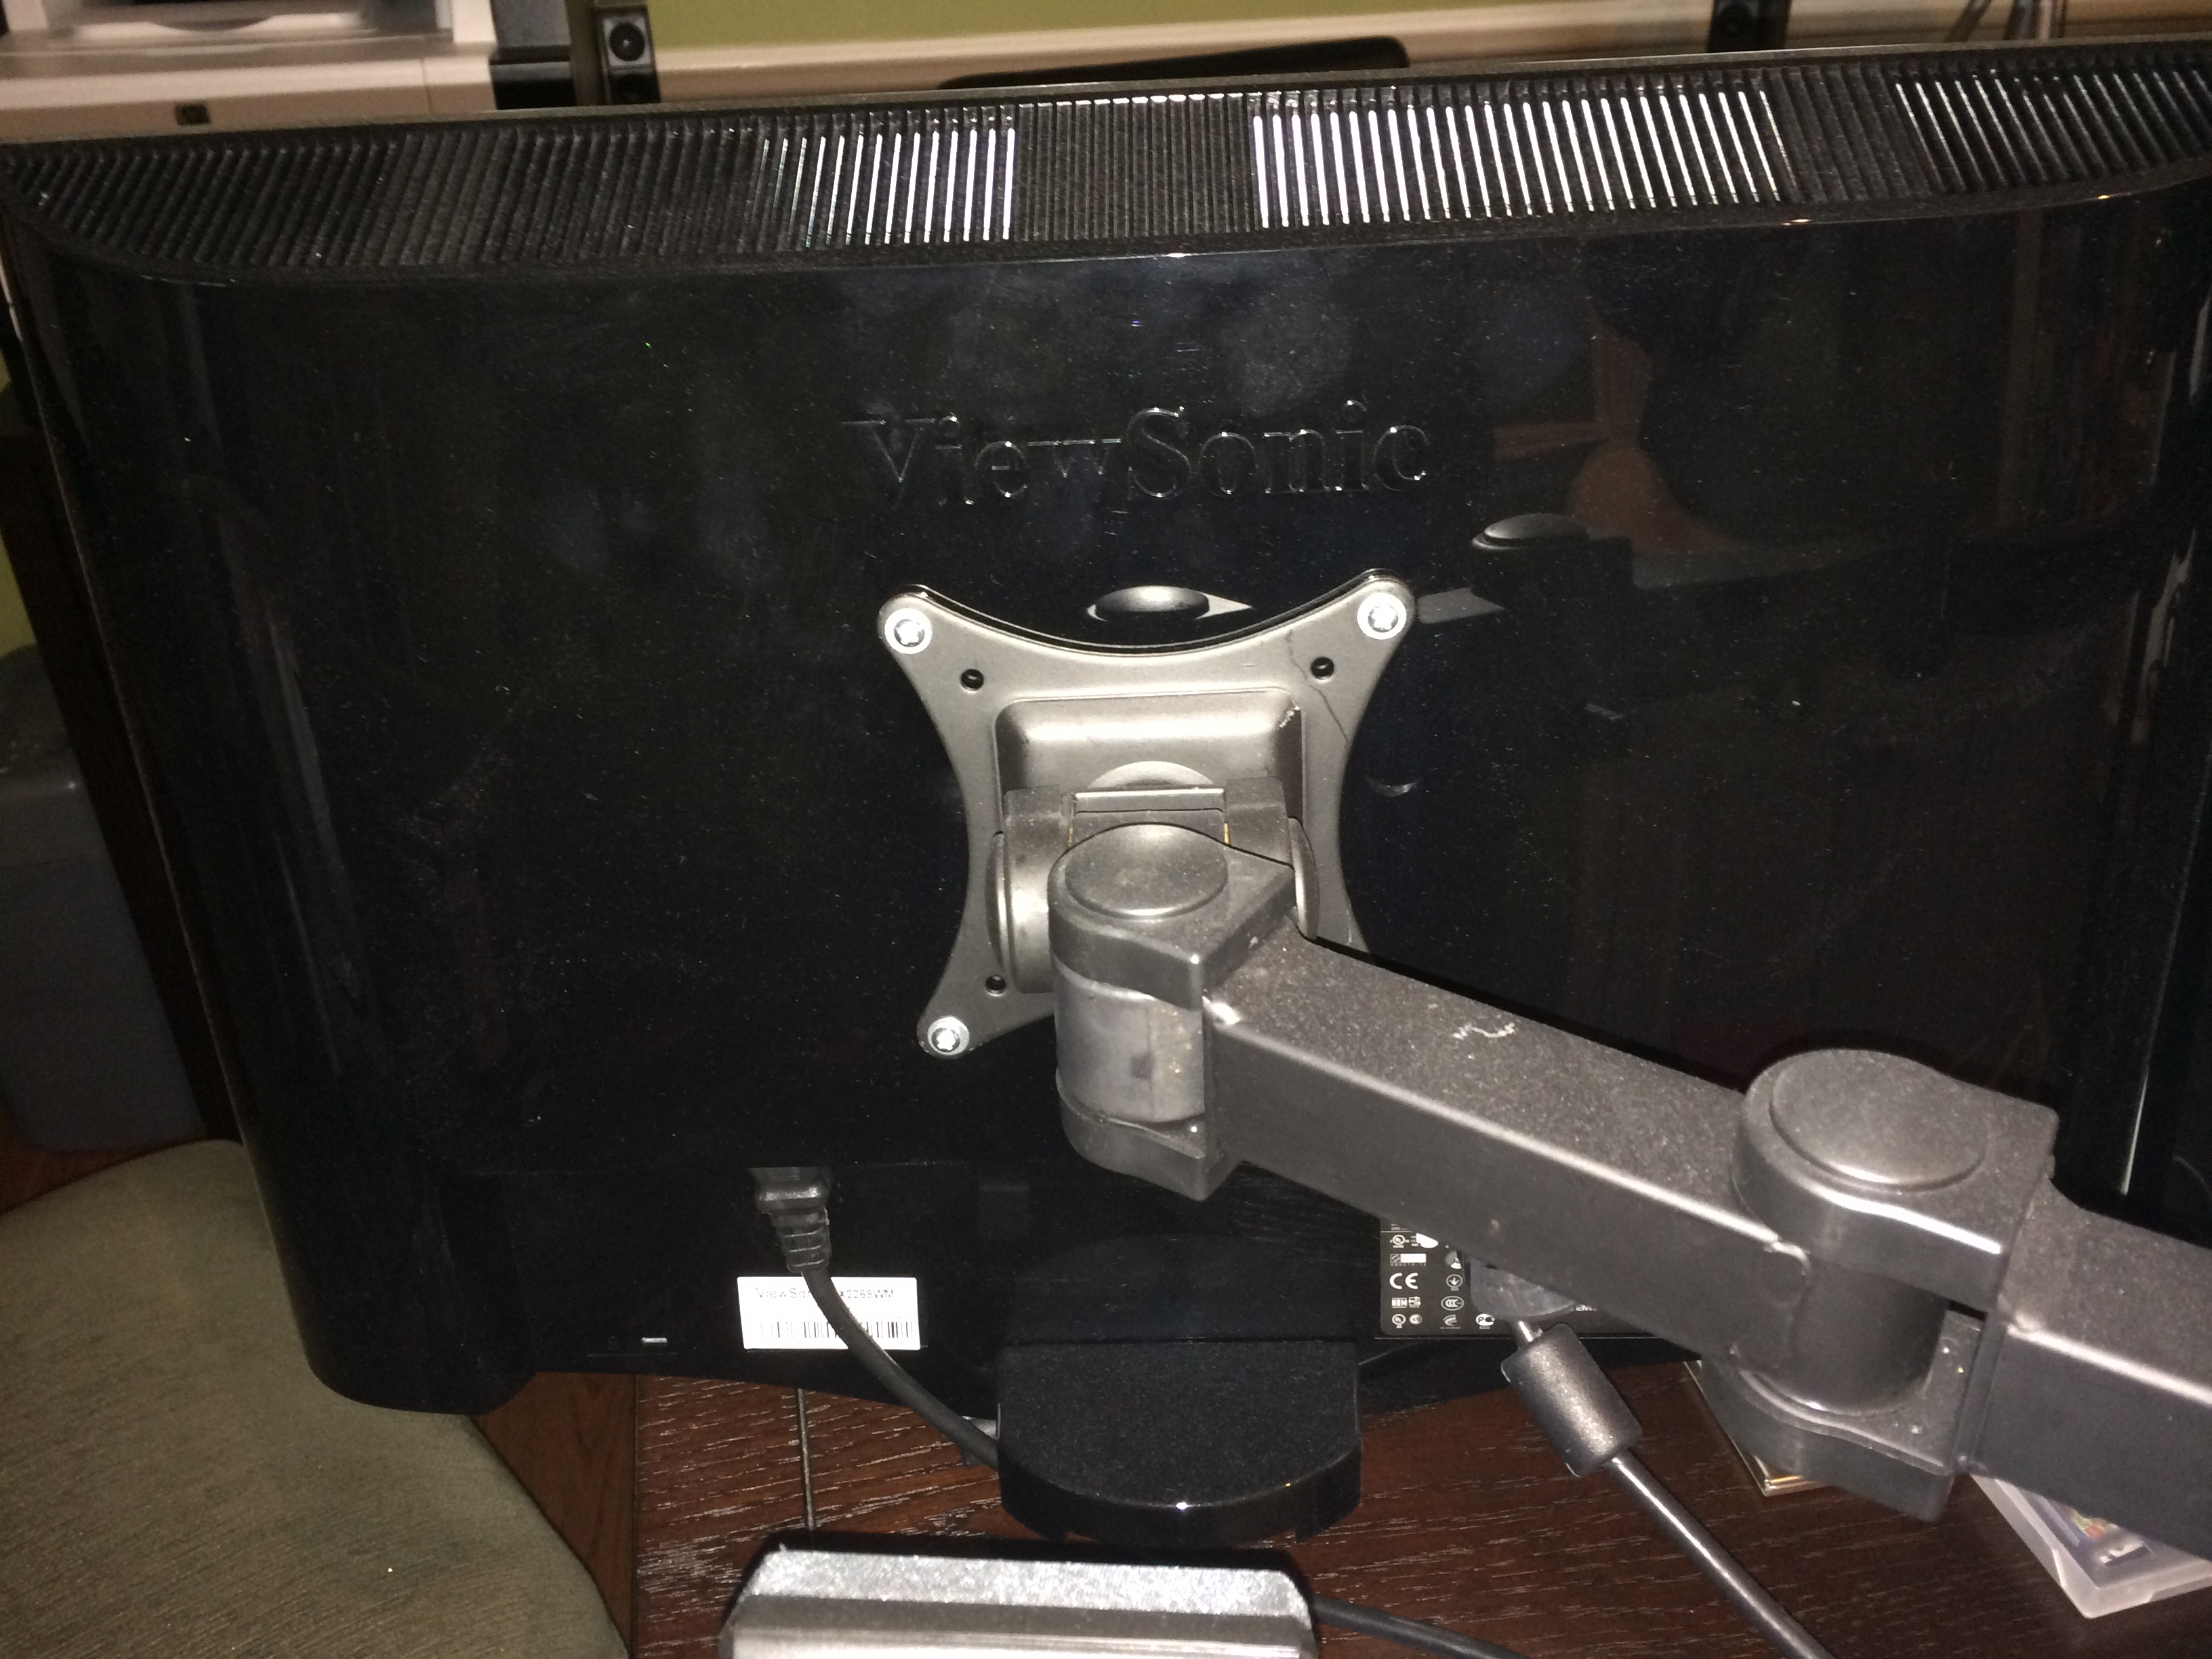
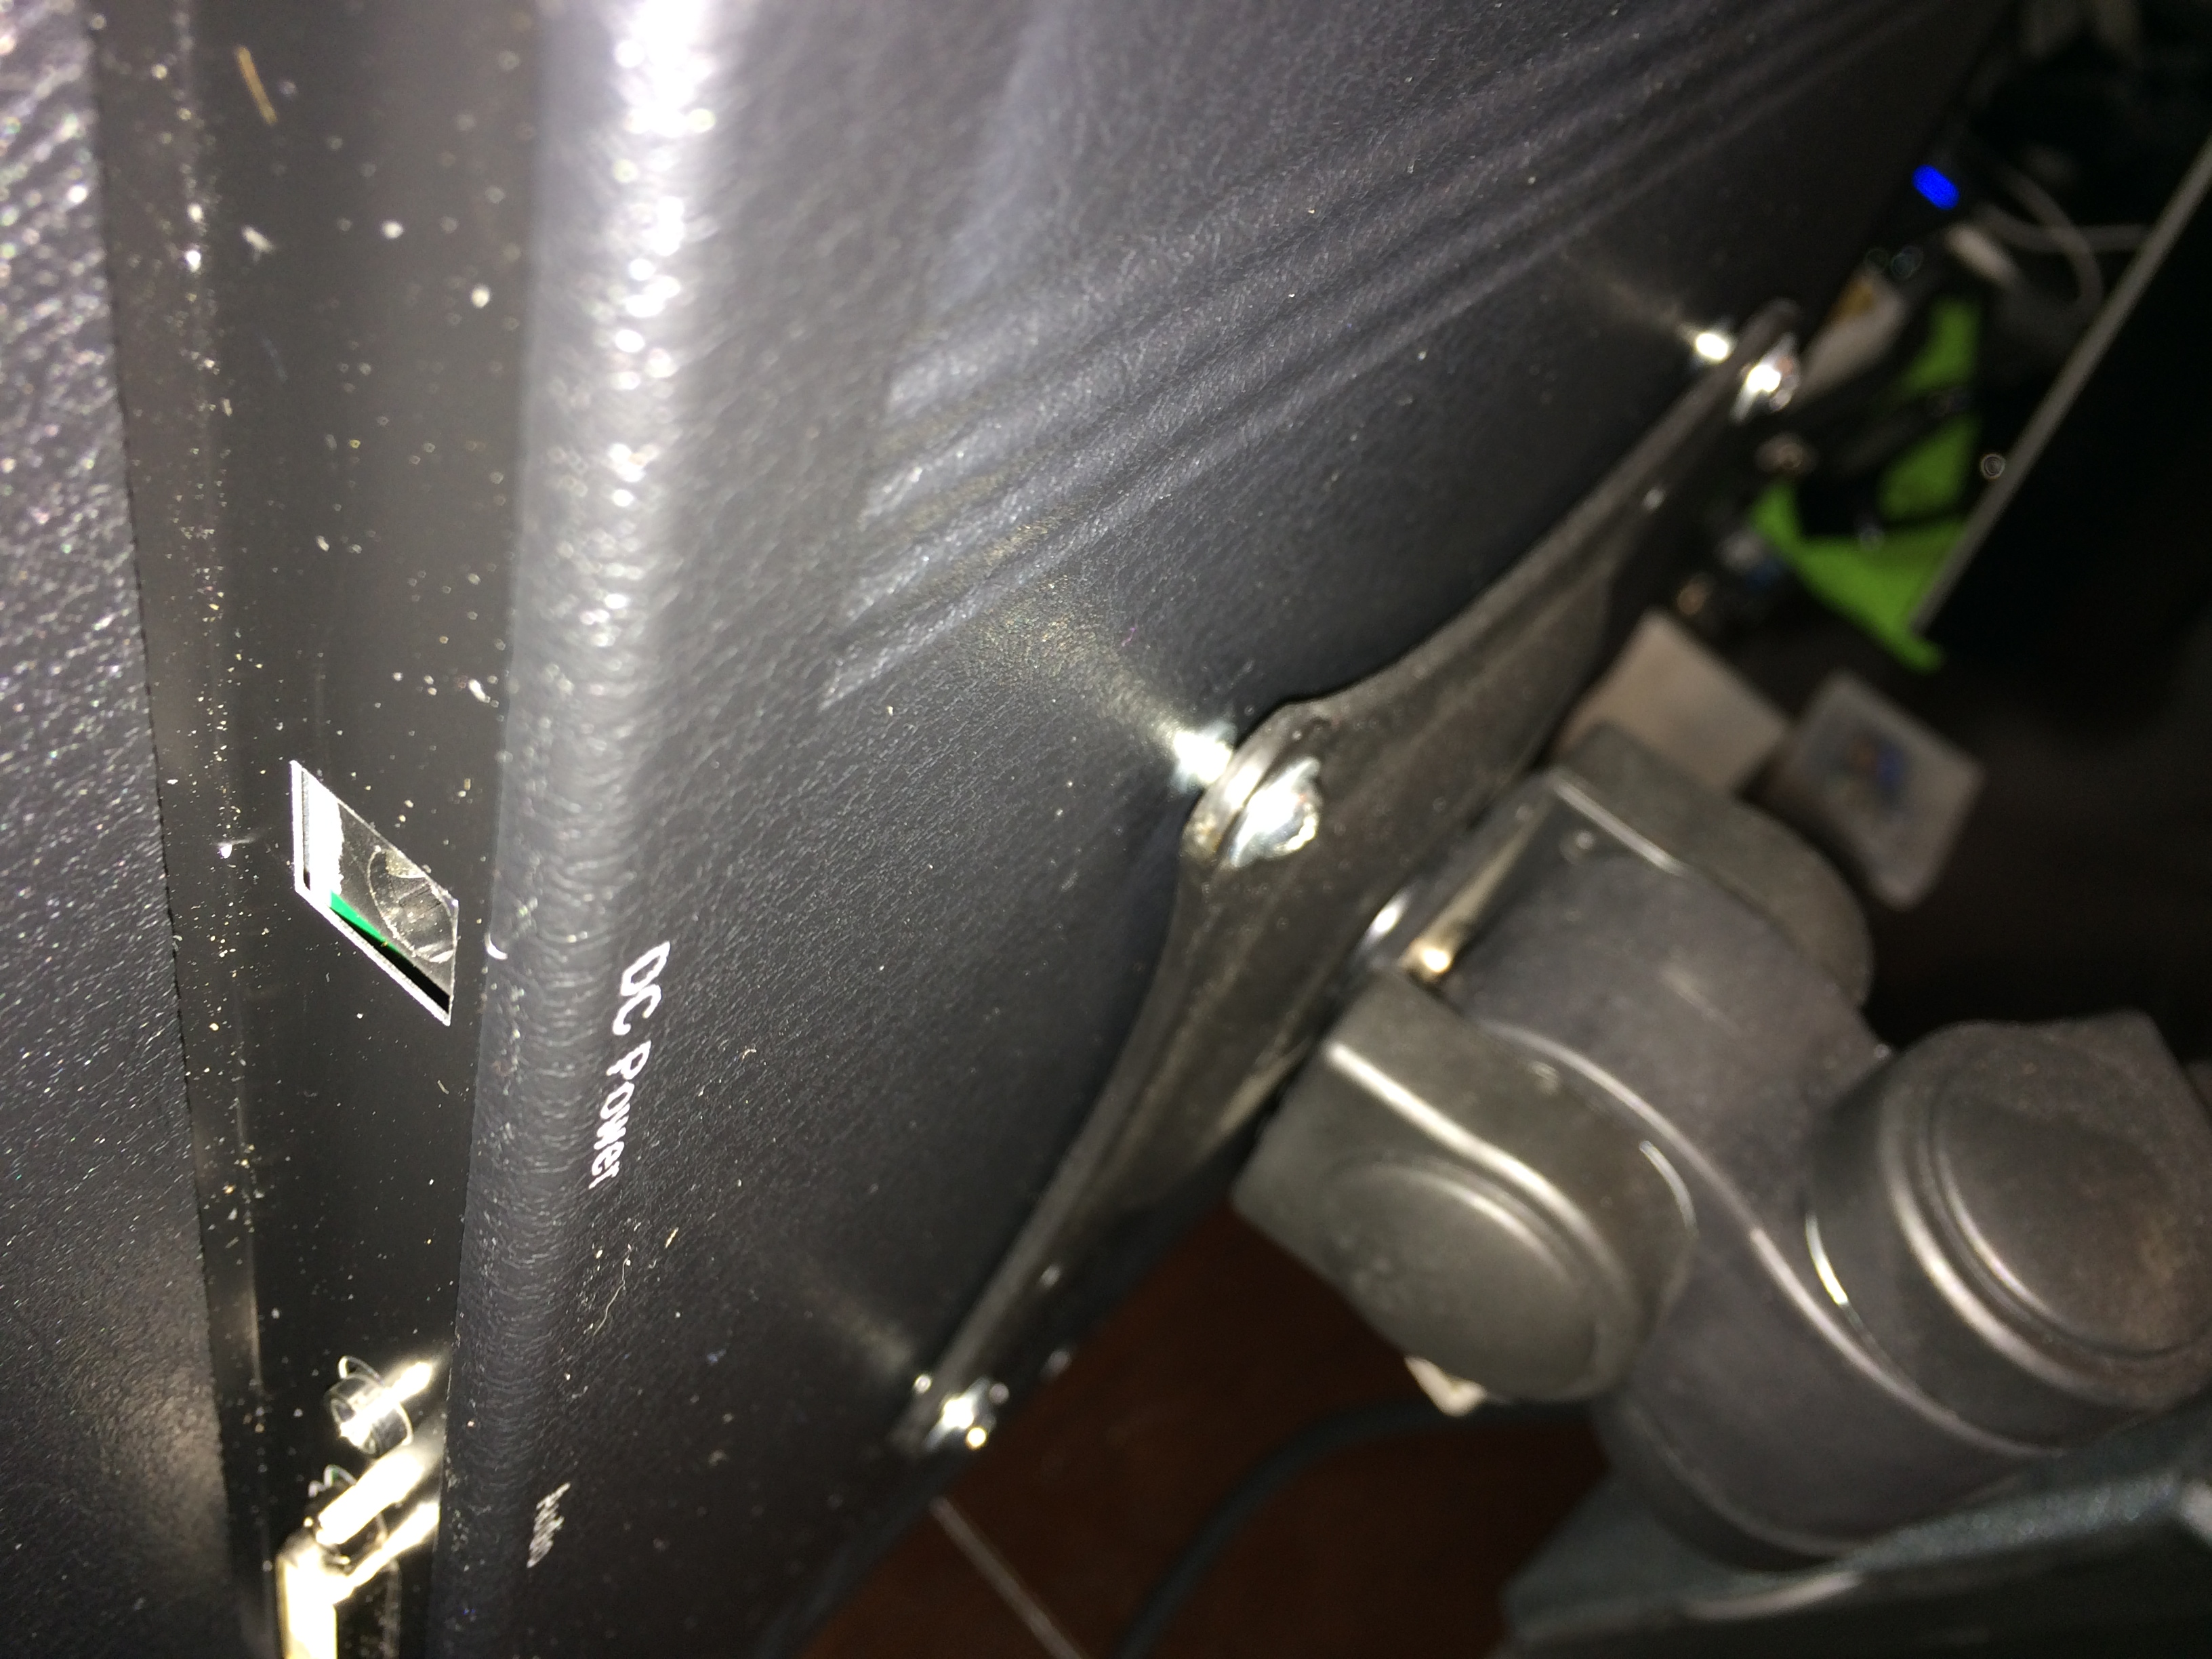
This should be an effortless swap! DVI-D to DVI-D, power cable into power brick, VESA screws into VESA mounts. The fact that the monitor is a no frills Korean job and is huge with it’s DVI connector on the far left won’t matter at all! Right? What Mr Murphy? Oh right… Of course it will. Stretching the DVI cable to make it the strange side mounted connector wasn’t too bad. Just a matter of reorganizing some cable management and not really worth documenting. The power cord worked like a charm! (LOL) So how did the VESA attach go?
Um… yeeeeah. OK then. So apparently in Korea VESA holes don’t get drilled as deeply. Although I’m pretty sure a Samsung would have mounted fine. Well in any event a quest for shorter screws, or bigger washers, or whatever, isn’t exactly interesting, and the thing is mounted, so let’s see if it actually even works!

Perfect Pixel ENGAGE! At least it seems pretty close to perfect to me, and I don’t plan to check to closely. I fired up the beast and NVIDIA drivers did a good job of automatically adapting to their new scenario and the monitor was at native res right away:
And that’s it! We’re all done. Time to just repeat two more times and start benching! Until next entry… What? Overclocking? Ohhhh. Right! Literally no one outside of a back alley in Seoul would even consider these things if it weren’t for the overclockability right? Or at least no one who could manage to find the extra whopping $200 or so to buy a premium part with a full warranty and no risk. So let’s see what the fuss is about then?
First step is to create some custom resolutions:
- Launch NVIDIA control panel
- If you are running multi-monitor, shut them all off except the one we’re configuring
- Click on “Change Resolution”
- Click on “Customize”
- Click on “Create Custom Resolution”
- Change the refresh rate to 120Hz (go bold!)
- Click on “Test”
- If the dialogue says “want to apply?” Then scream “YEEE HAW!!!!” like we do in ‘Murica because you are HOME FREE!
Let’s see how that worked out this time:
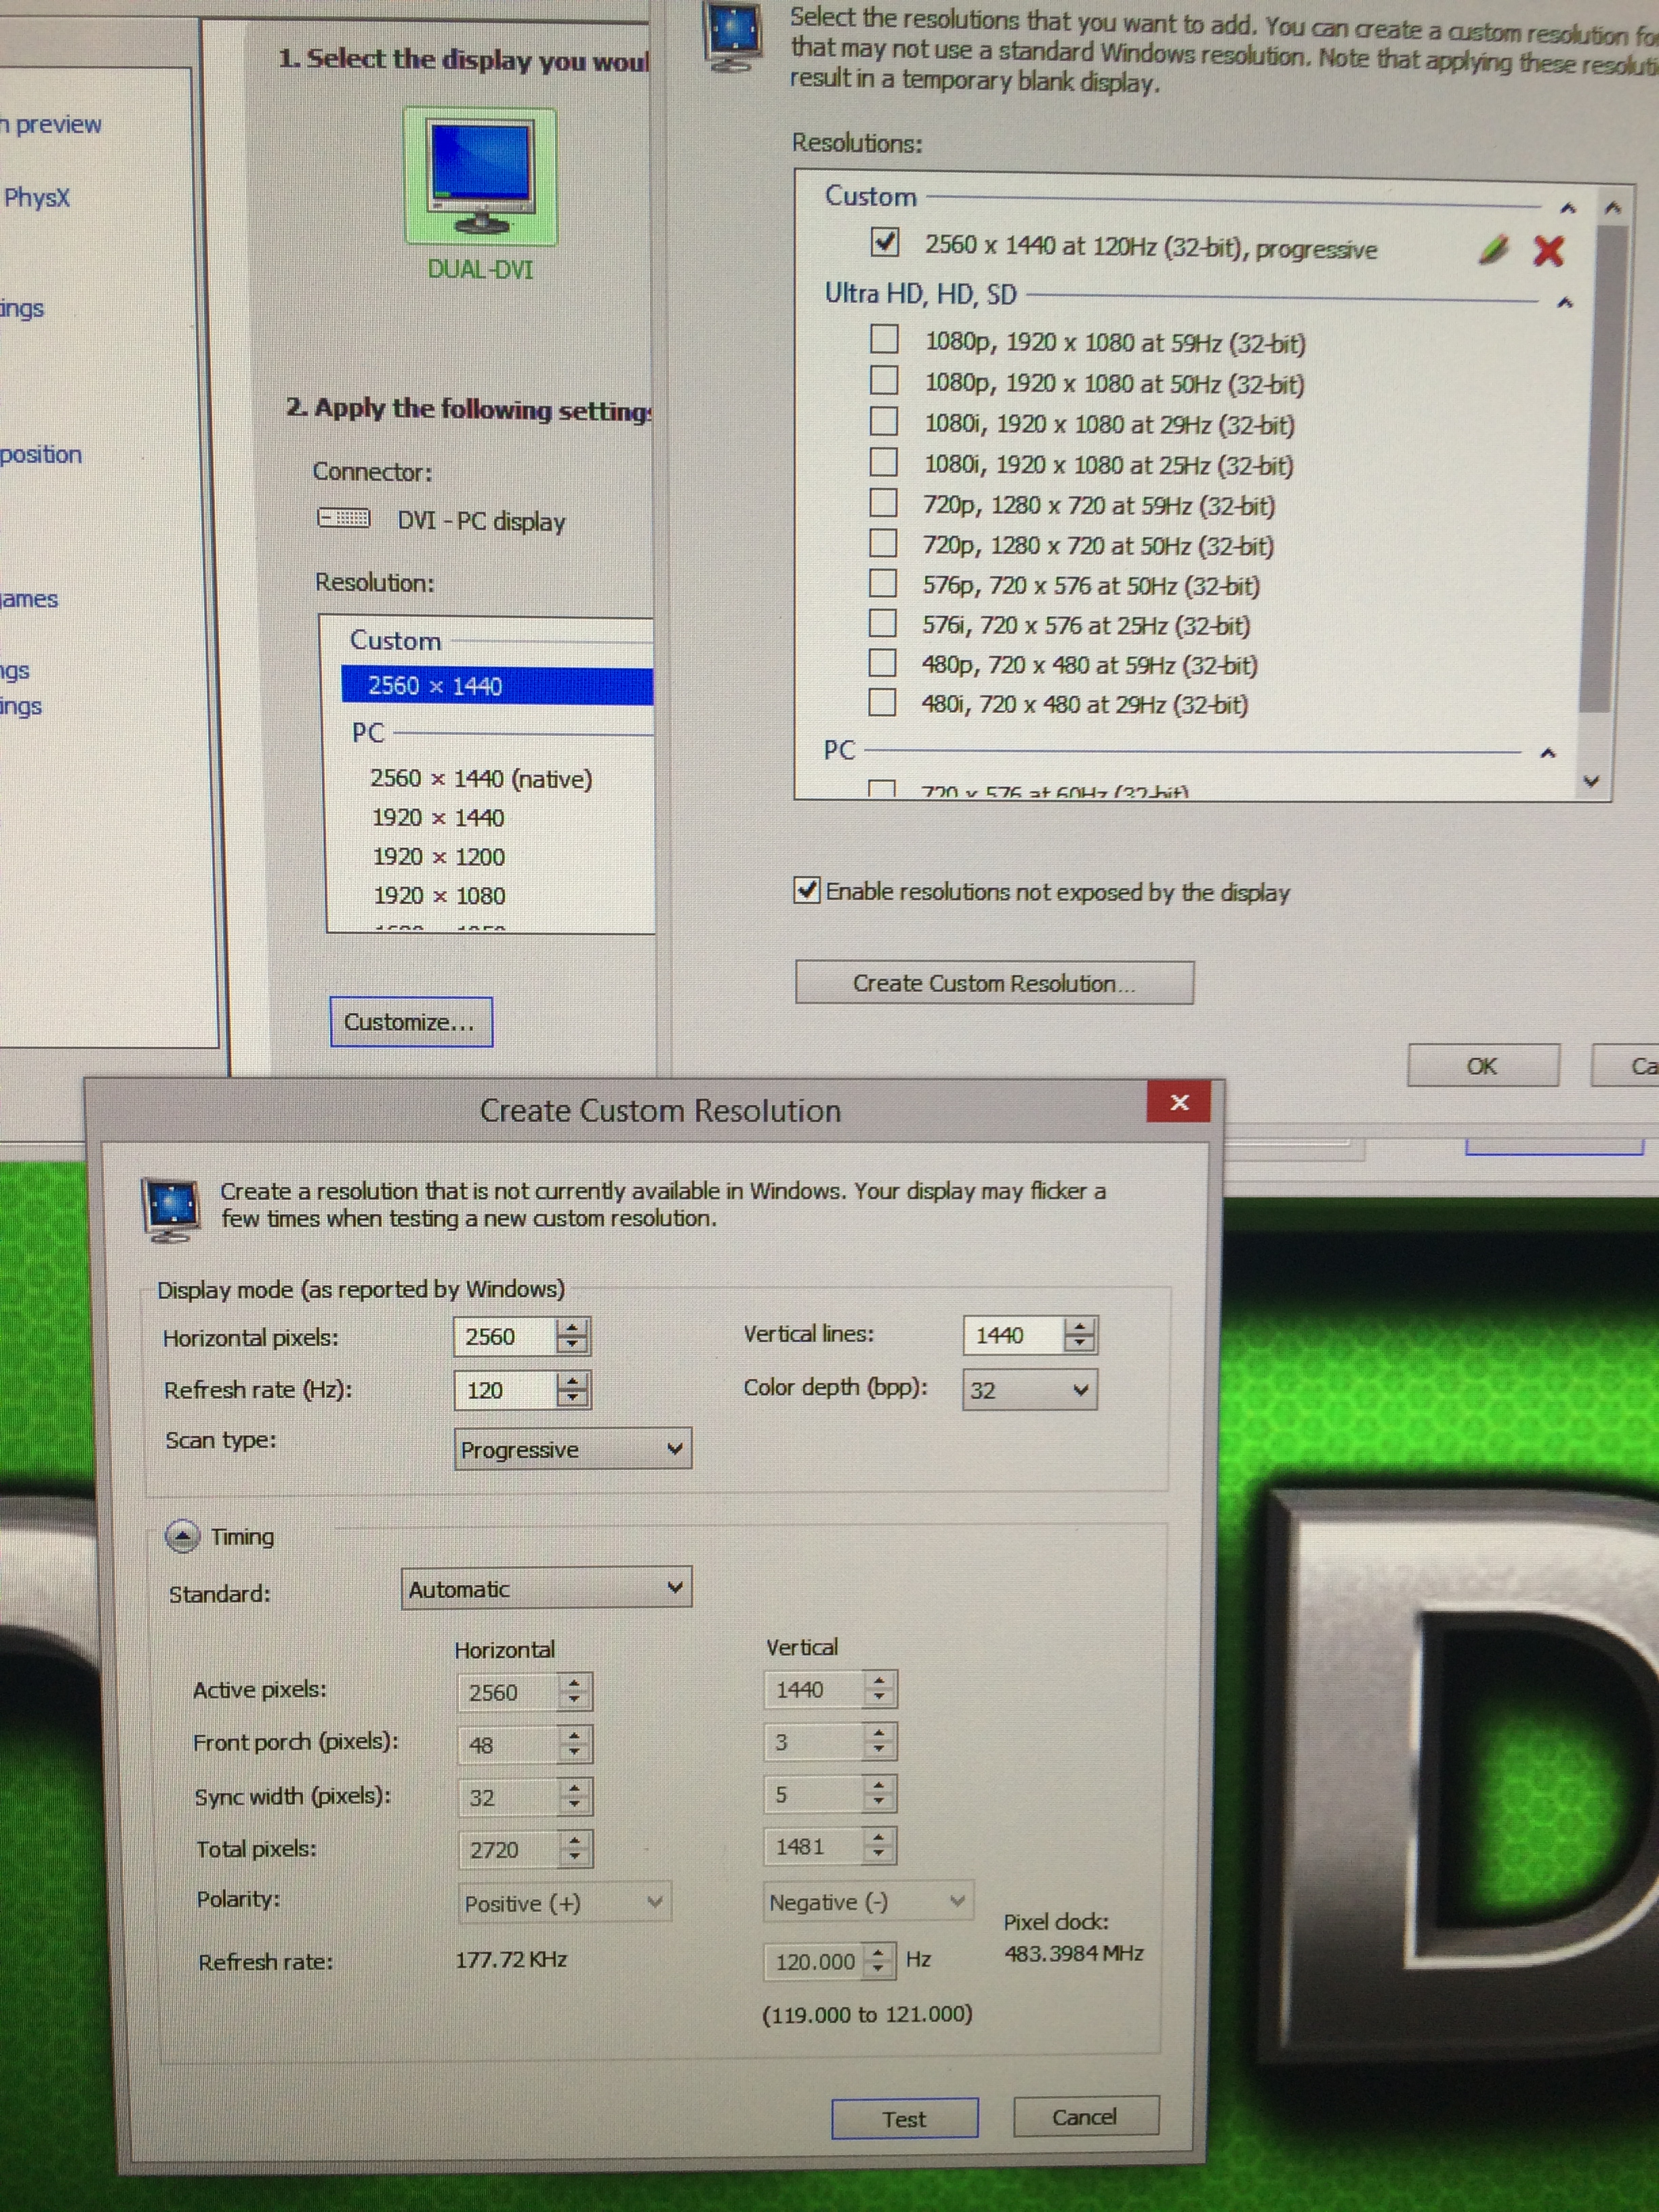
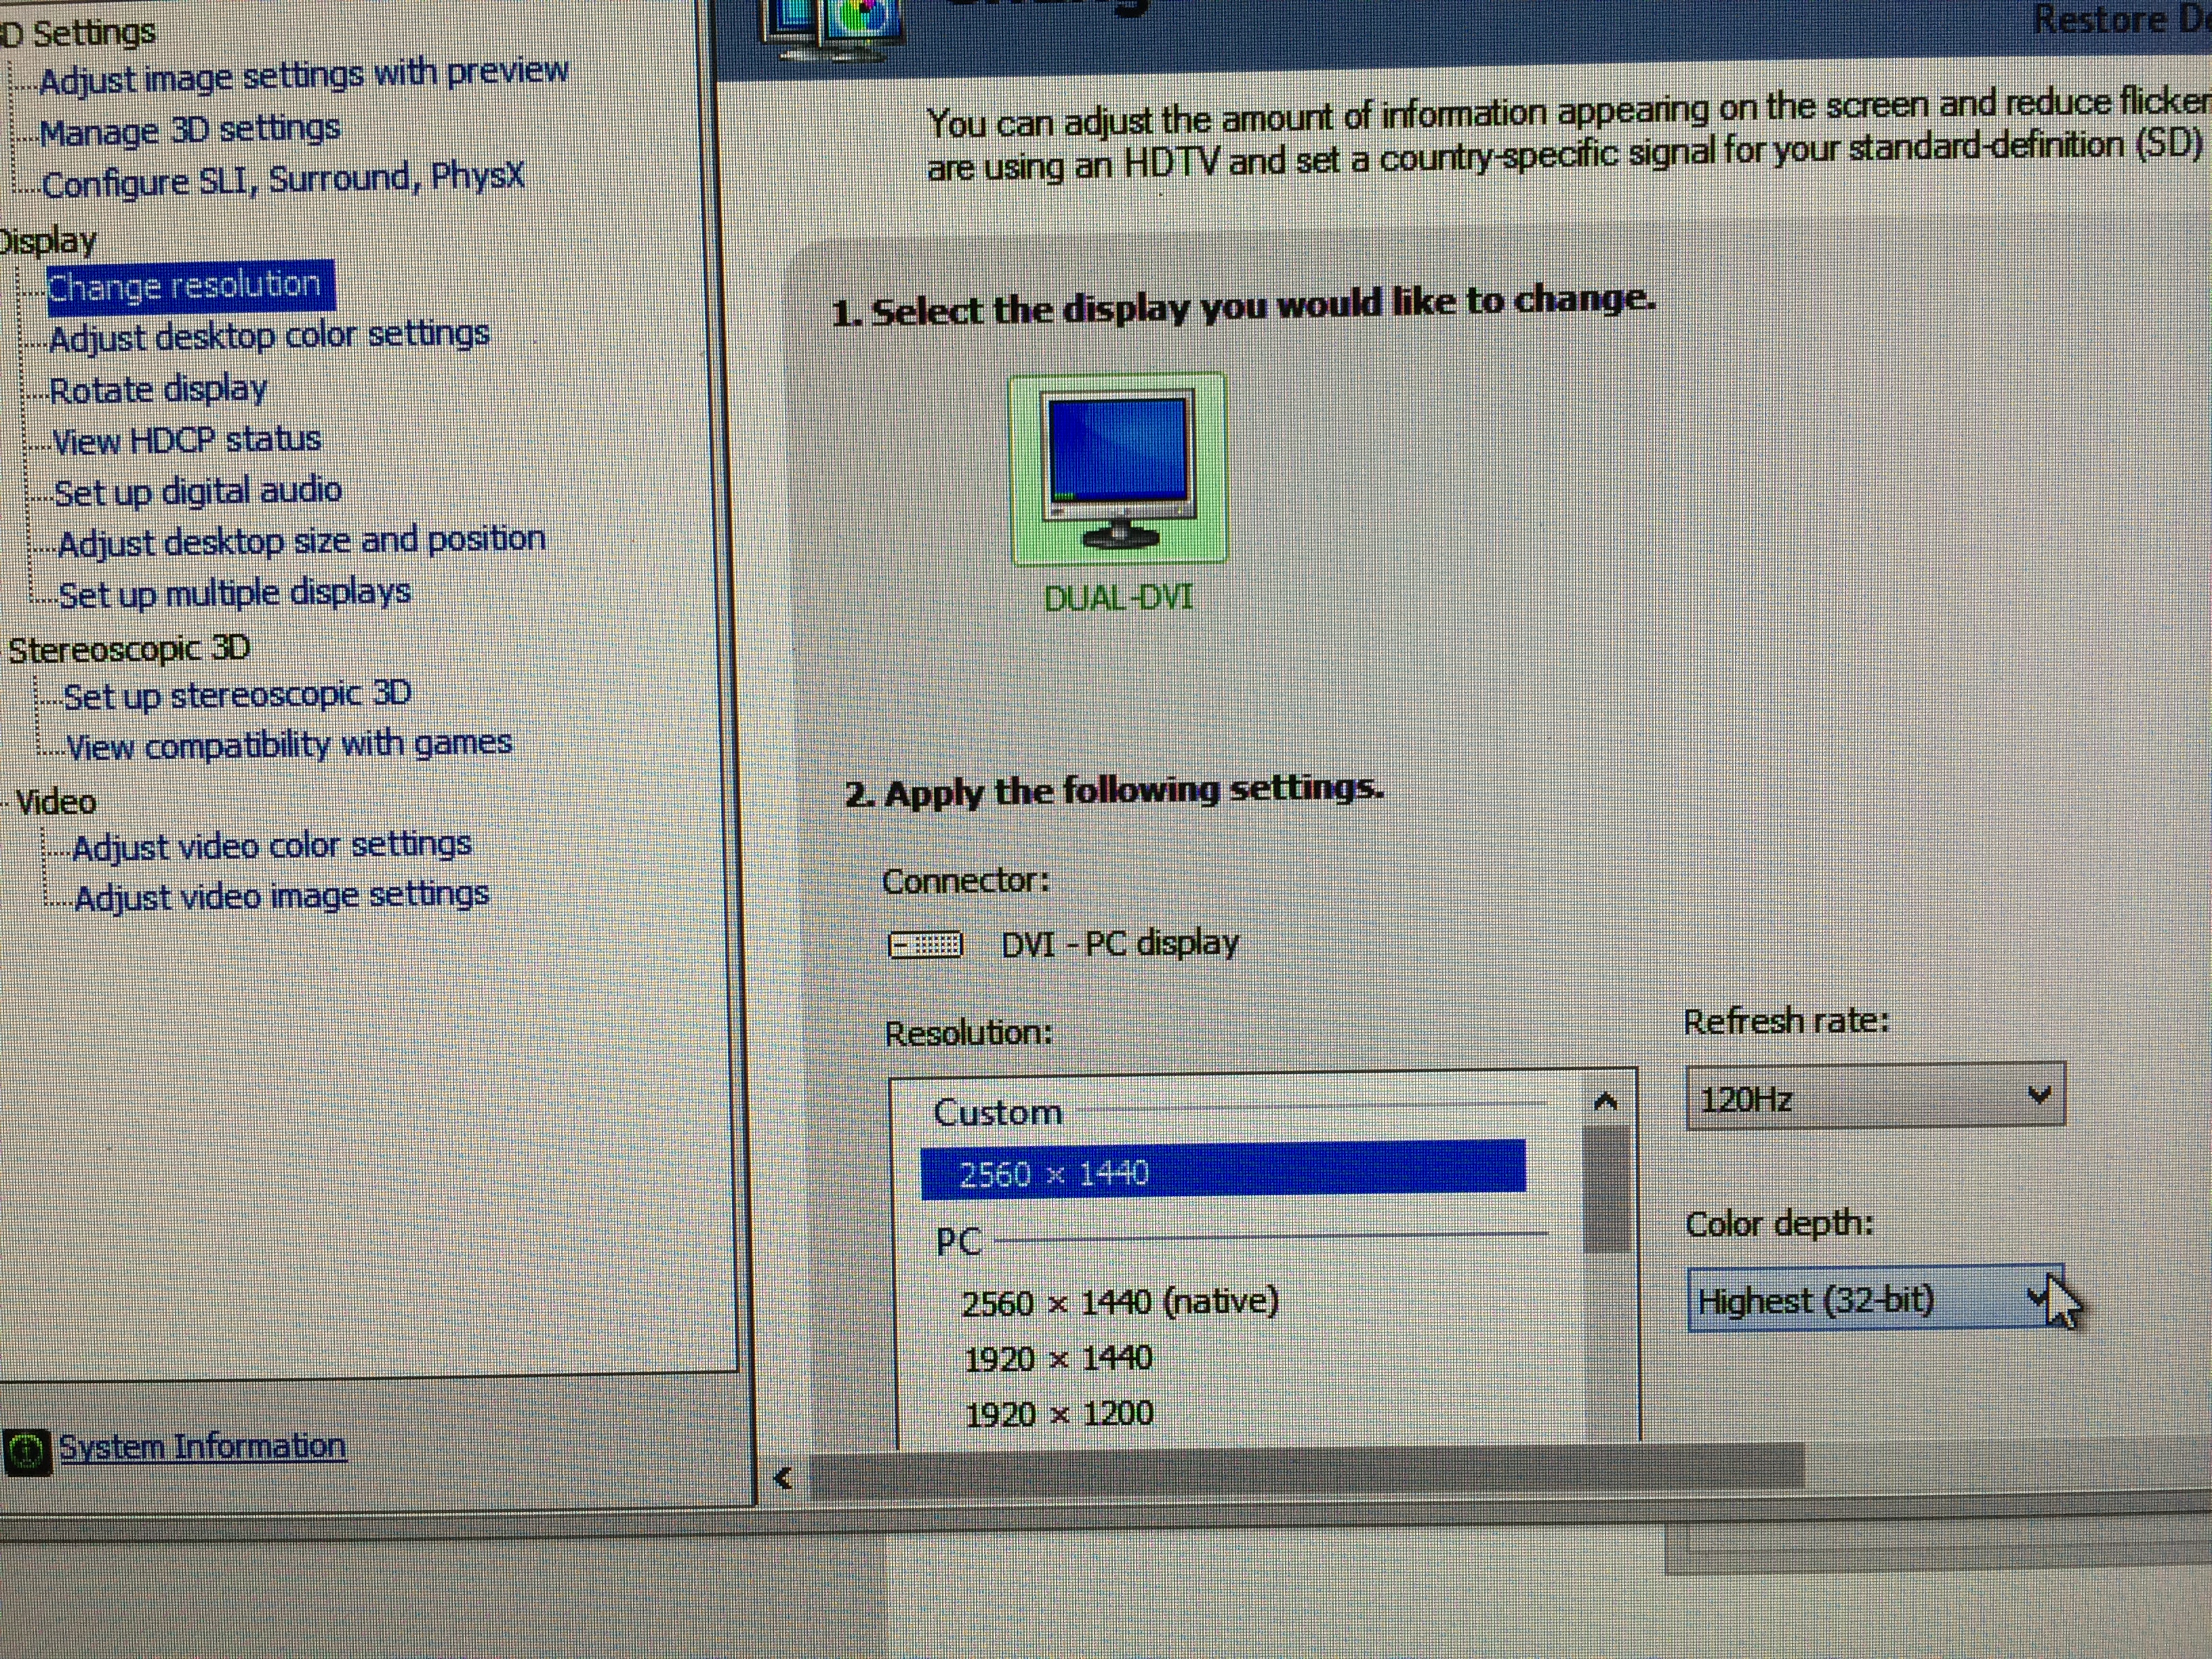
YEEEE HAW!!!!! KOREA!!!!! It looks like we have a successful overclock all the way to 120Hz. Now in my book, that is impressive! And I should also note that the picture quality on this panel is subjectively fantastic. I really like what I see of PLS so far. The colors are well saturated, the brightness is even (you can see in the first pic that there really isn’t too much backlight bleed – EDIT here… as I’ve used them a bit, there actually is a good bit of BLB. Absolutely enough to really annoy those who are picky about it. Not enough for me personally to attempt to fix though), and the contrast ratio is good. The contrast ratio does drop noticeably a bit when you go to 120Hz, but that’s par for the course with high refresh monitors. The tradeoff is worth it if your mission is gaming, possibly not if it isn’t. I’m not going to take objective measurements as I don’t have the tools and with displays I care more about my overall perception, but I’d be surprised if the QNIX didn’t at least come out as “decent+” objectively.
Well that’s it for now! I have two more of these to do, then need to sort that VESA mount. After that I will be back with some Tri-SLI Titan 7680×1440 11Mpixel benchmarking! I may even decide to run these bad boys in portrait, so stay tuned!
UPDATE: Is there really such a thing as too much display? Well it’s debatable… But if there is, this has got to be getting close! 3 x 120Hz 1440P PLS is a success! Once again…. KOREA!!!! And a huge thumbs up for QNIX for both making good on “perfect pixel” (I can’t spy one dead or stuck or even slow pixel across 11Mpixels of surface) and 120Hz for 3 panels! Next up, benchmarking… How will 3 Titans handle 1440P surround? I’m going to guess pretty well, but stay tuned!