
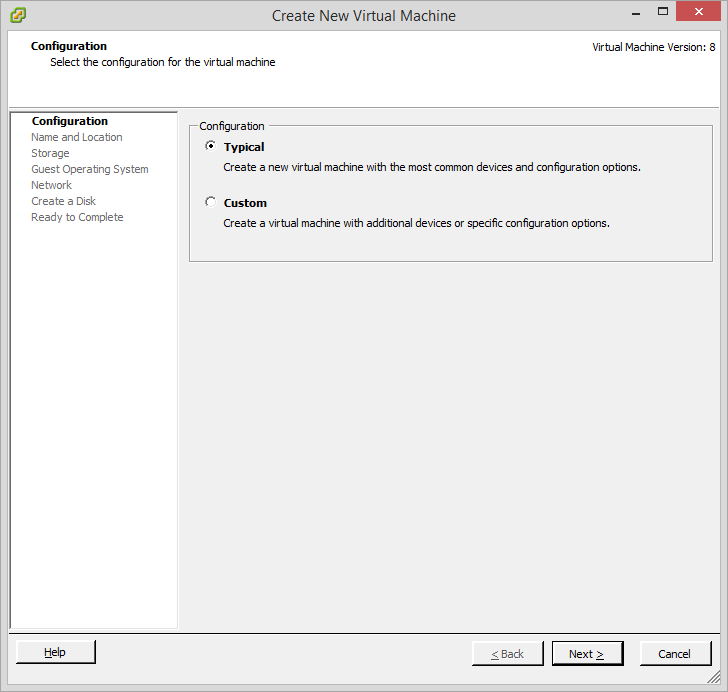
This is another topic that is done thousands of times (and has actually been done in these pages as well!), but I thought with new waves of both vCenter and Windows it might be worth documenting one more time. So with that in mind I give you a visual walk through of Windows 2k12, W2k12 AD, W2k8 and vCenter 5.5 setup! First let’s create a new virtual machine for AD. I am creating AD and vCenter on the physical ESX host. These are likely to be some of the only services I will run outside of the nested ESX hosts. As per usual, from the vSphere client (web or legacy) we select Create a New Virtual Machine from the host focus and, in this case, we can stick with “Typical”:
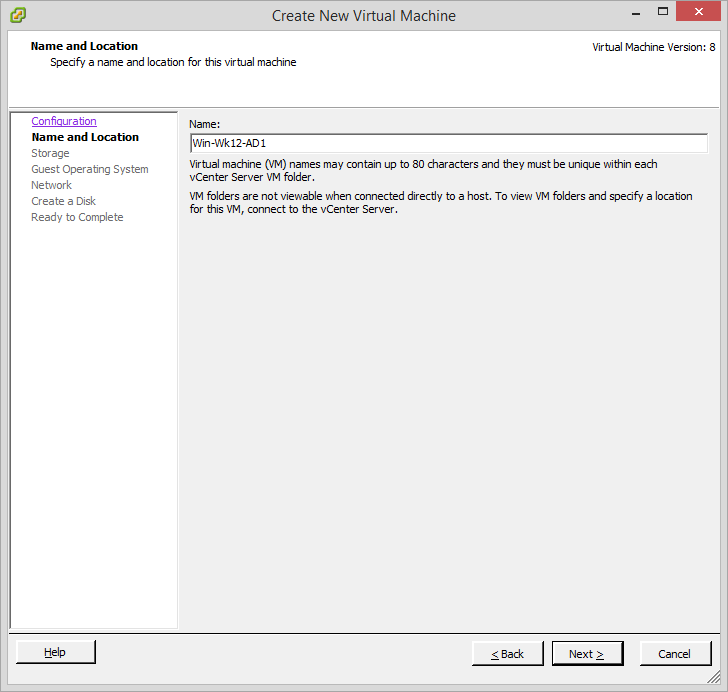
Give our new VM a name:
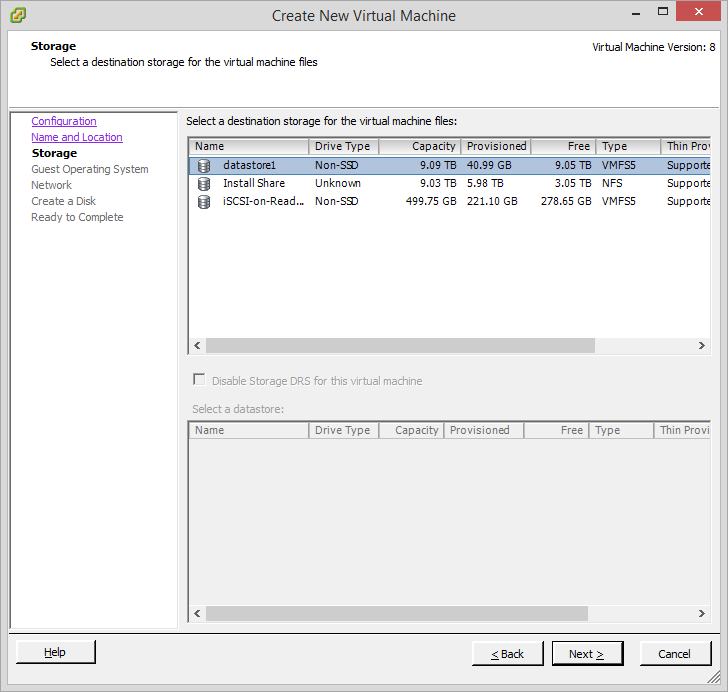
Select a datastore:
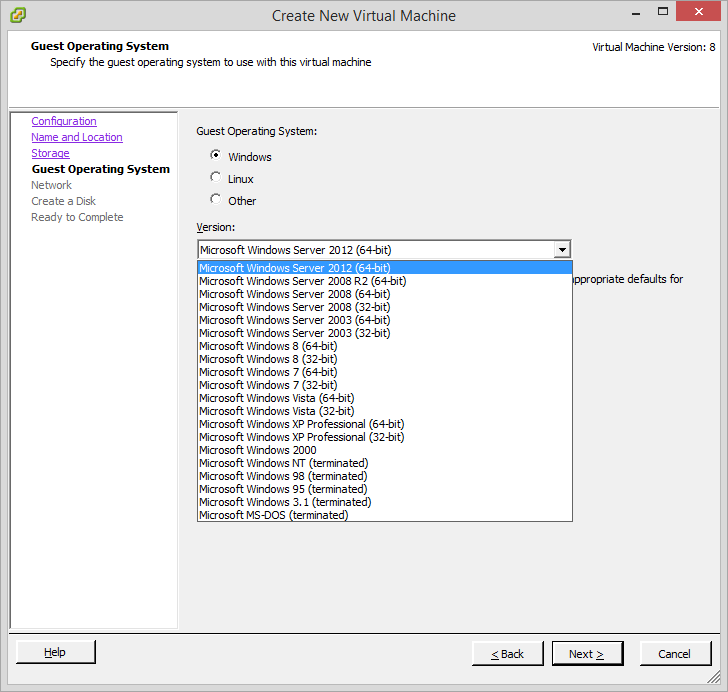
Choose the OS (latest version of vSphere provides 2k12 64bit as an option):
Assign the vNIC to a VSS port group:

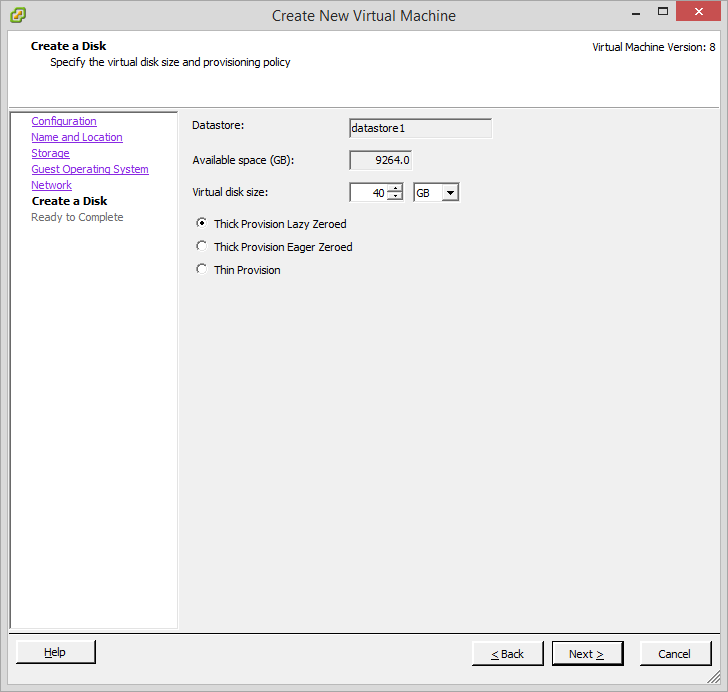
Provide a virtual disk (40GB is fine):
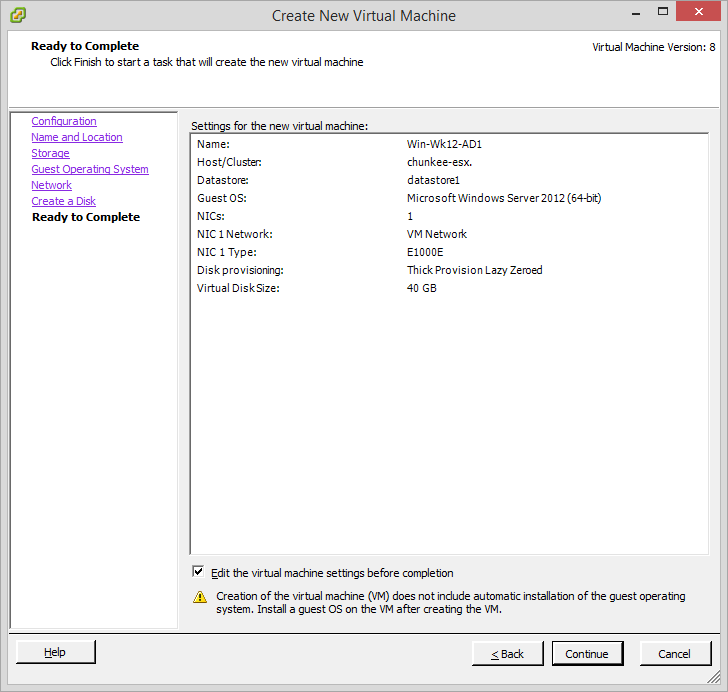
Go ahead and Finish, but check “edit Settings” so we can attach a virtual CD/DVD for first boot:
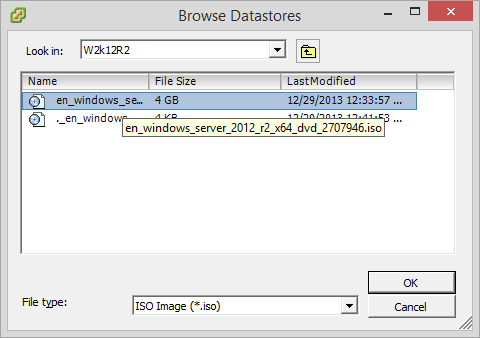
Browse to an ISO on a datastore (in this case my NFS install share):

Select the Windows 2012 ISO:
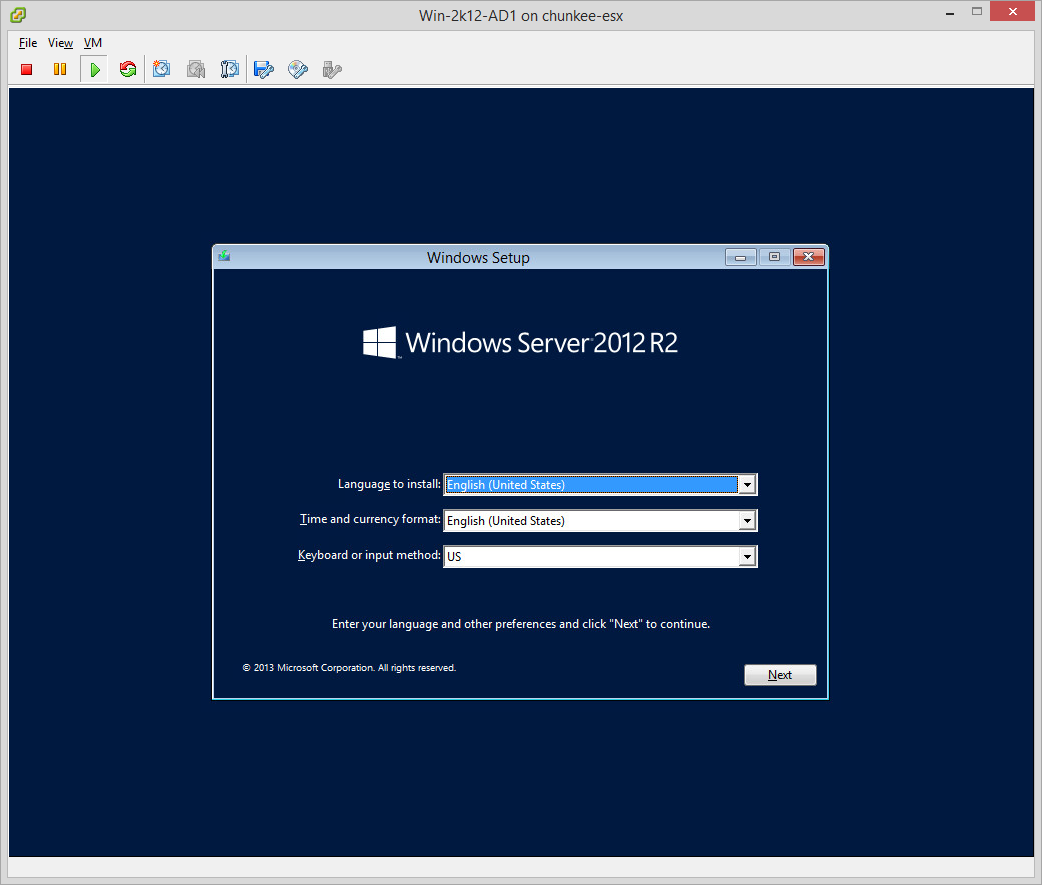
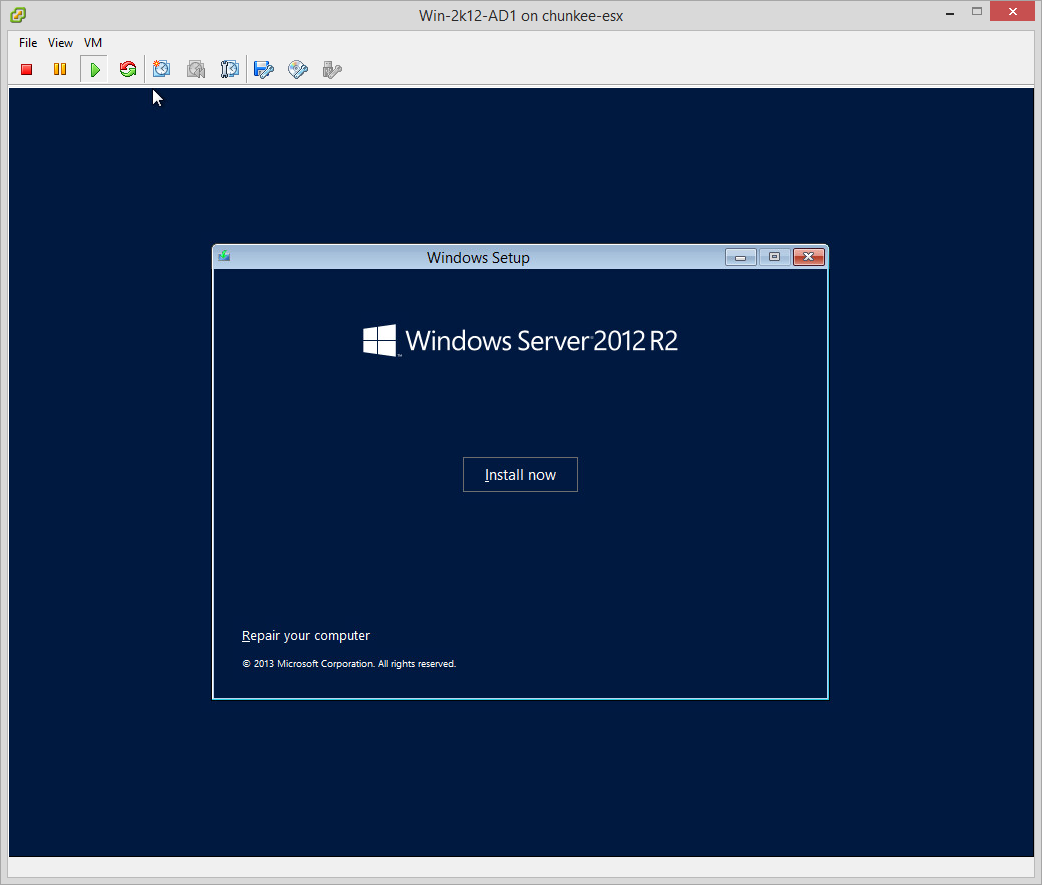
We can now power on the VM and launch the VM remote console. The Windows installation boot should start:
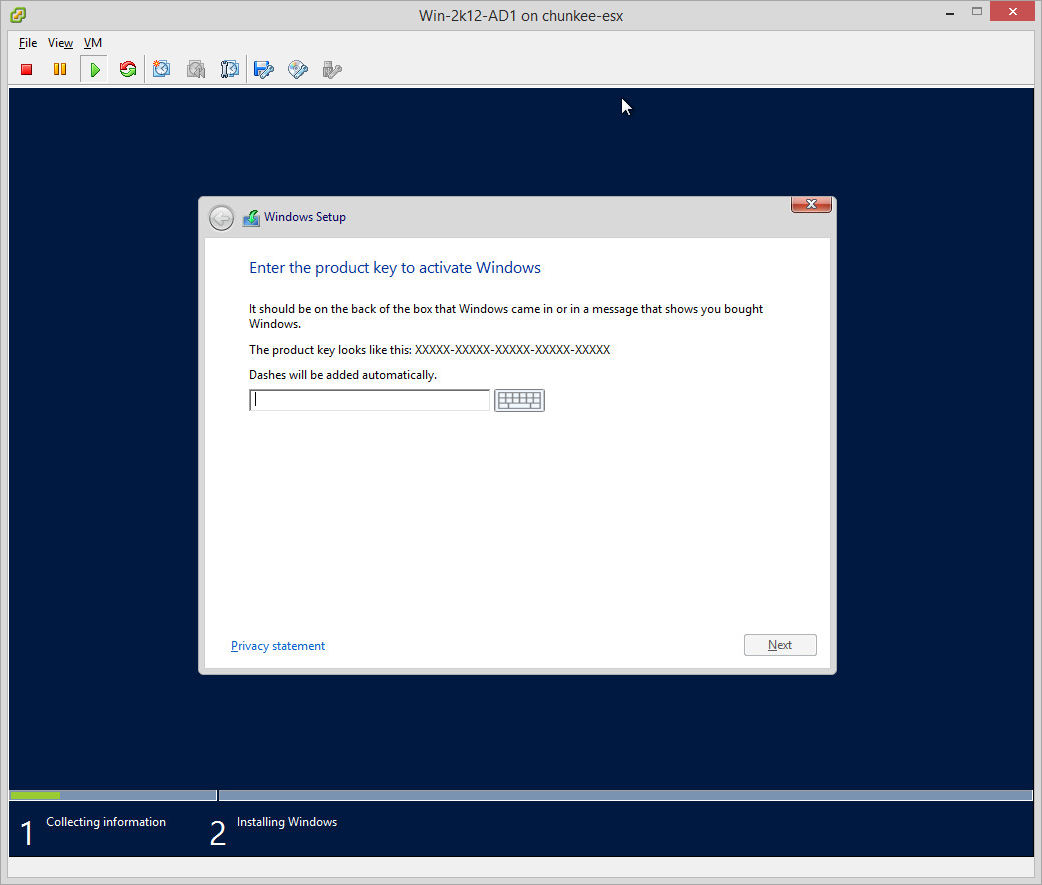
Enter the old product key if you have it:
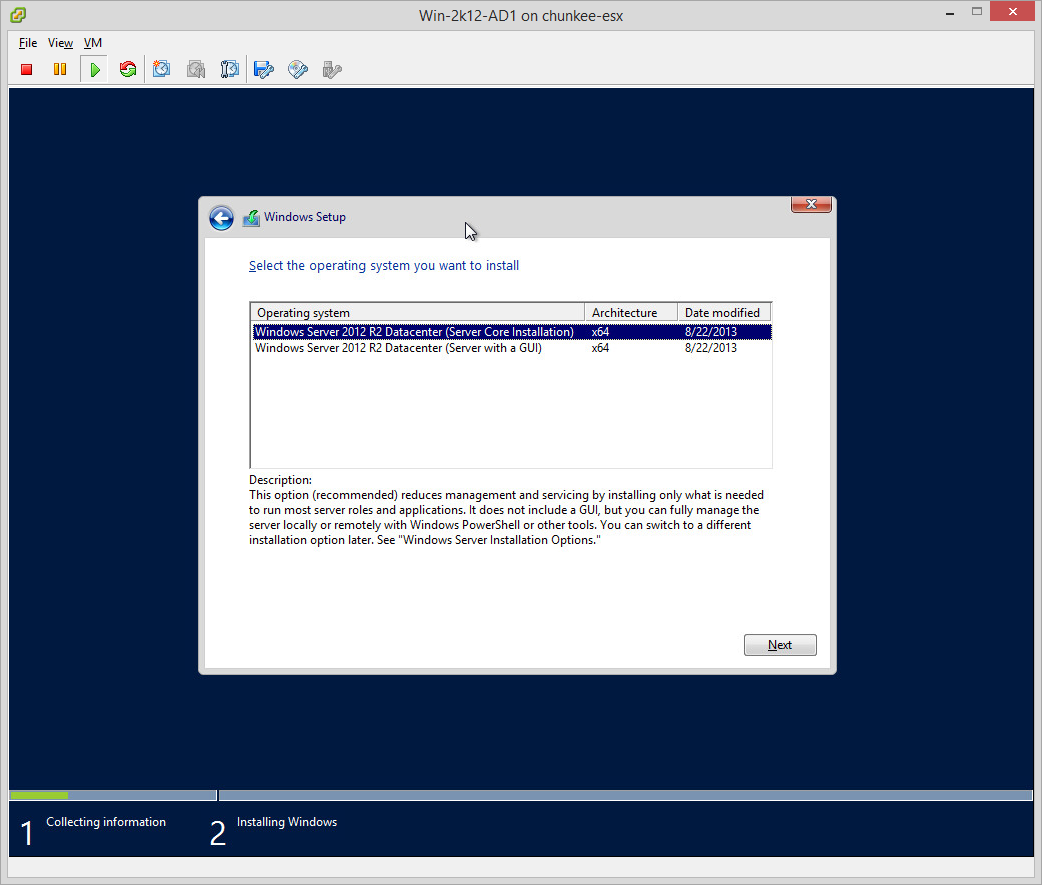
Pick an OS (I went with datacenter to entitle the entire host to unlimited guests):
Agree to stuff no one reads and hopefully will never be called accountable on:

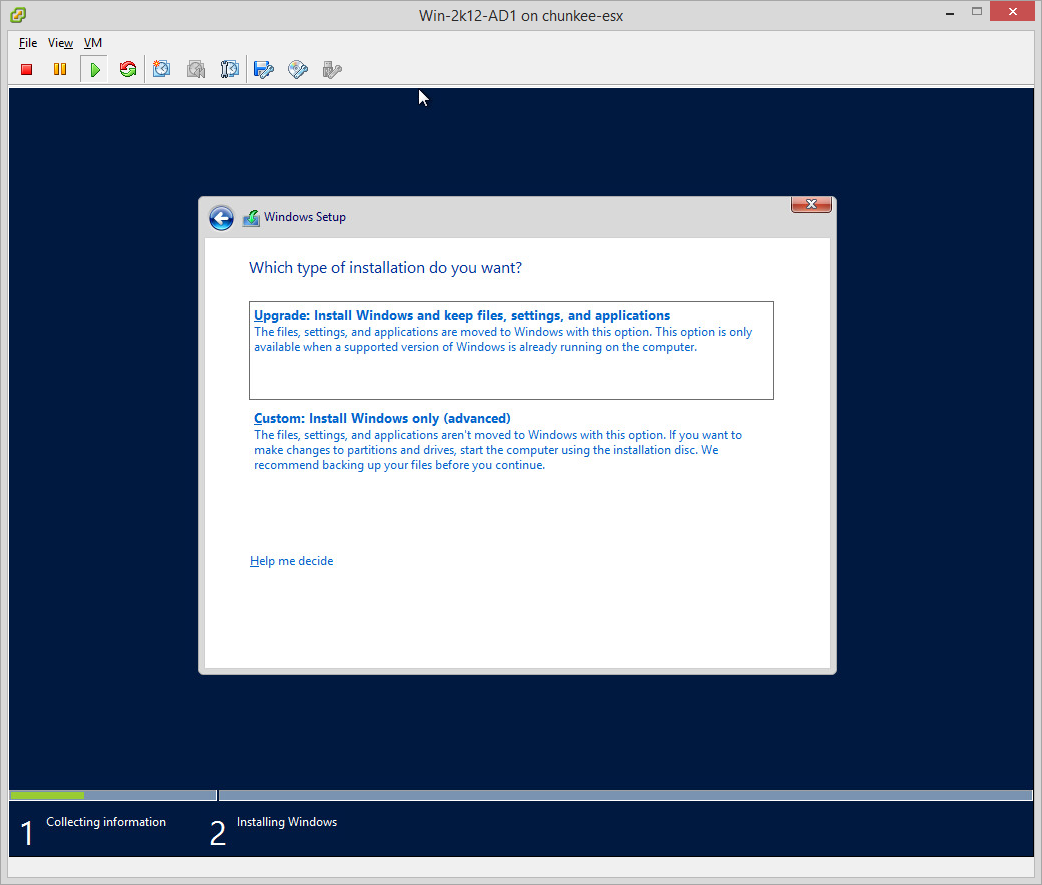
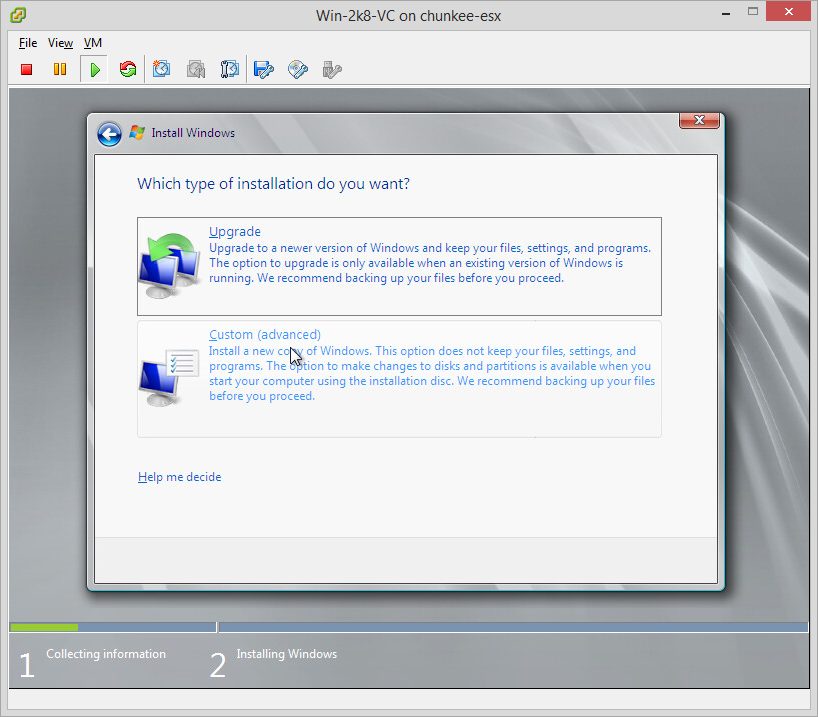
Go for “Custom Install” since this is a new build (I feel “Custom Install”, complete with an ominous “advanced” warning is misleading here, but in any event…):
Select a destination volume:

And go ahead and Install Now:

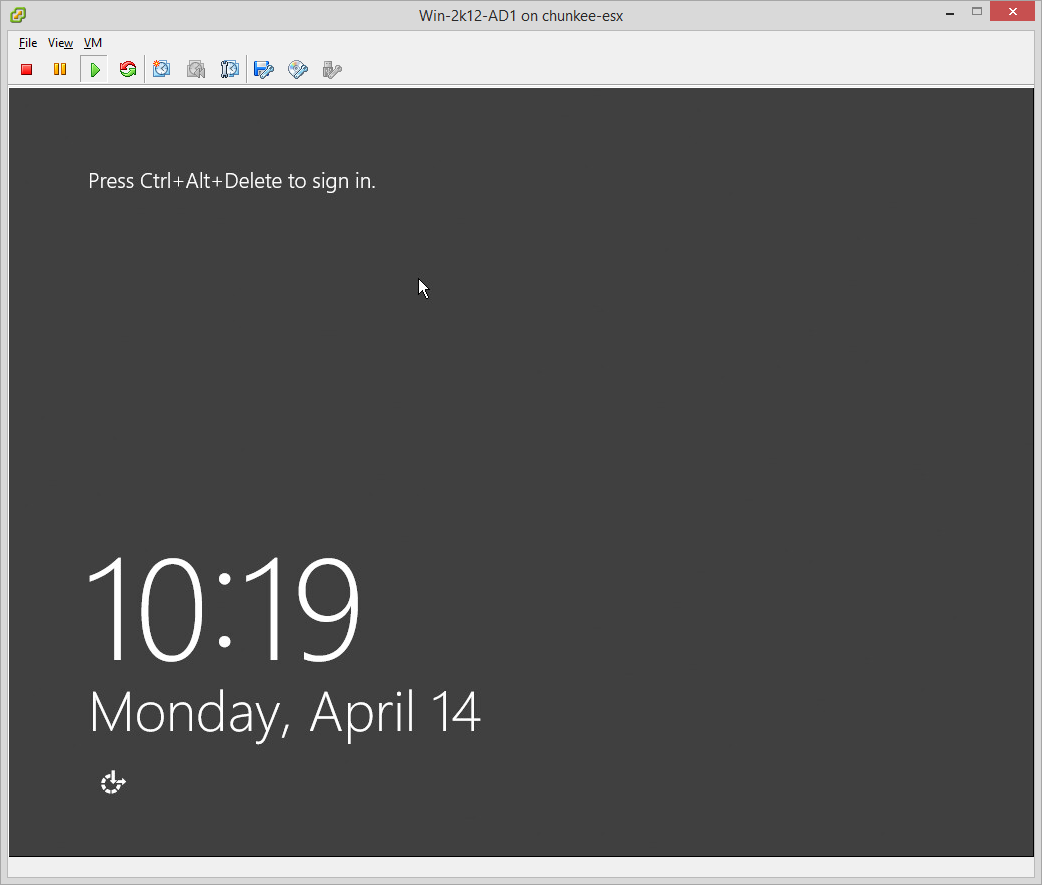
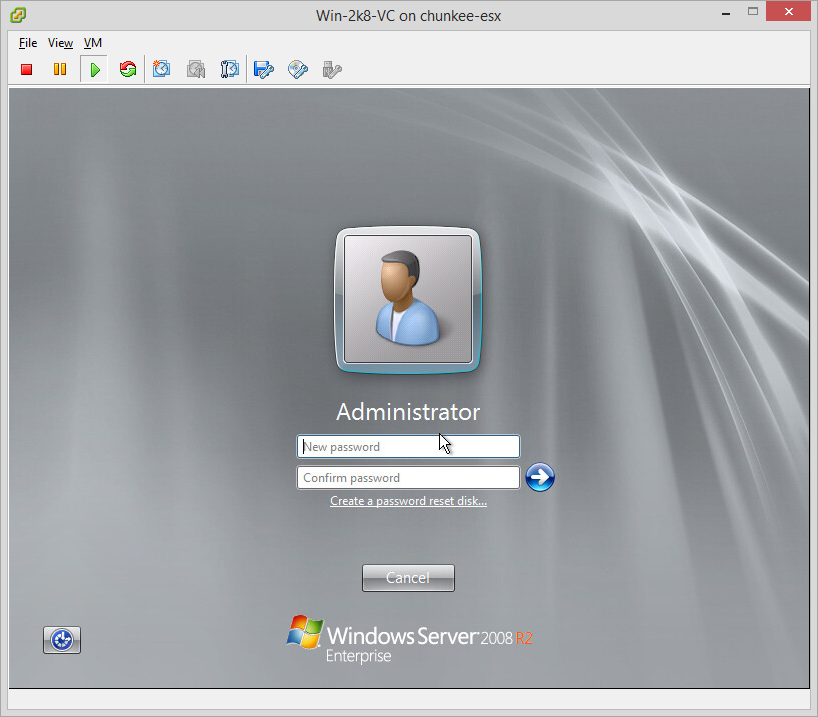
And when complete, and after a reboot, we will be greeted by the “weird to see on a server and not in a good way” MetroUI login:
First up let’s install the old VMware tools:
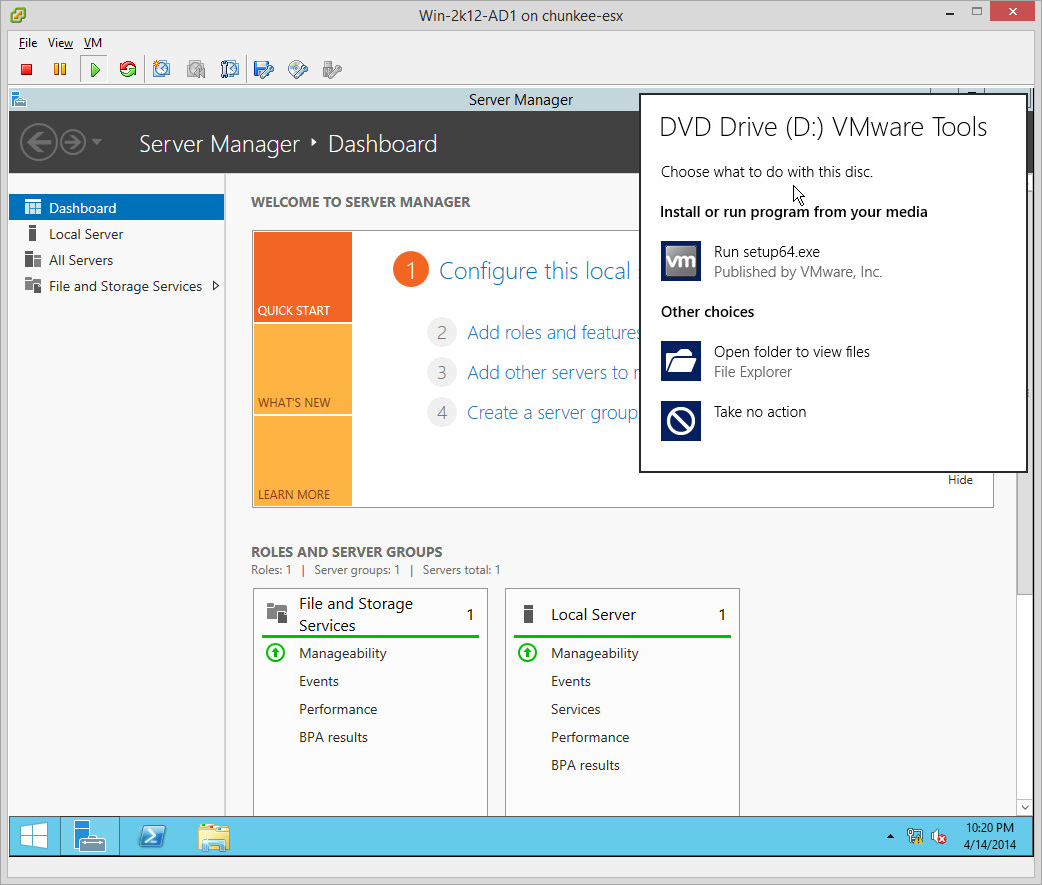
Yes yes, very scary:

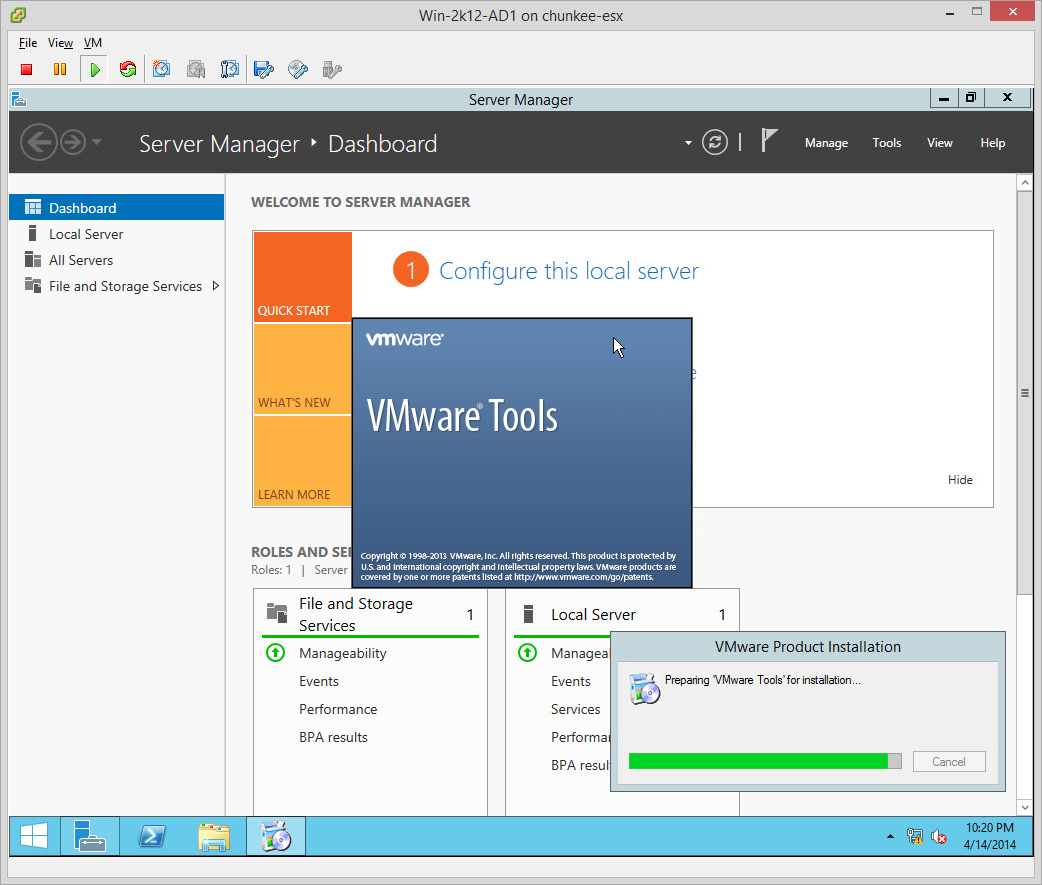
Install prep starts:
Acknowledge:
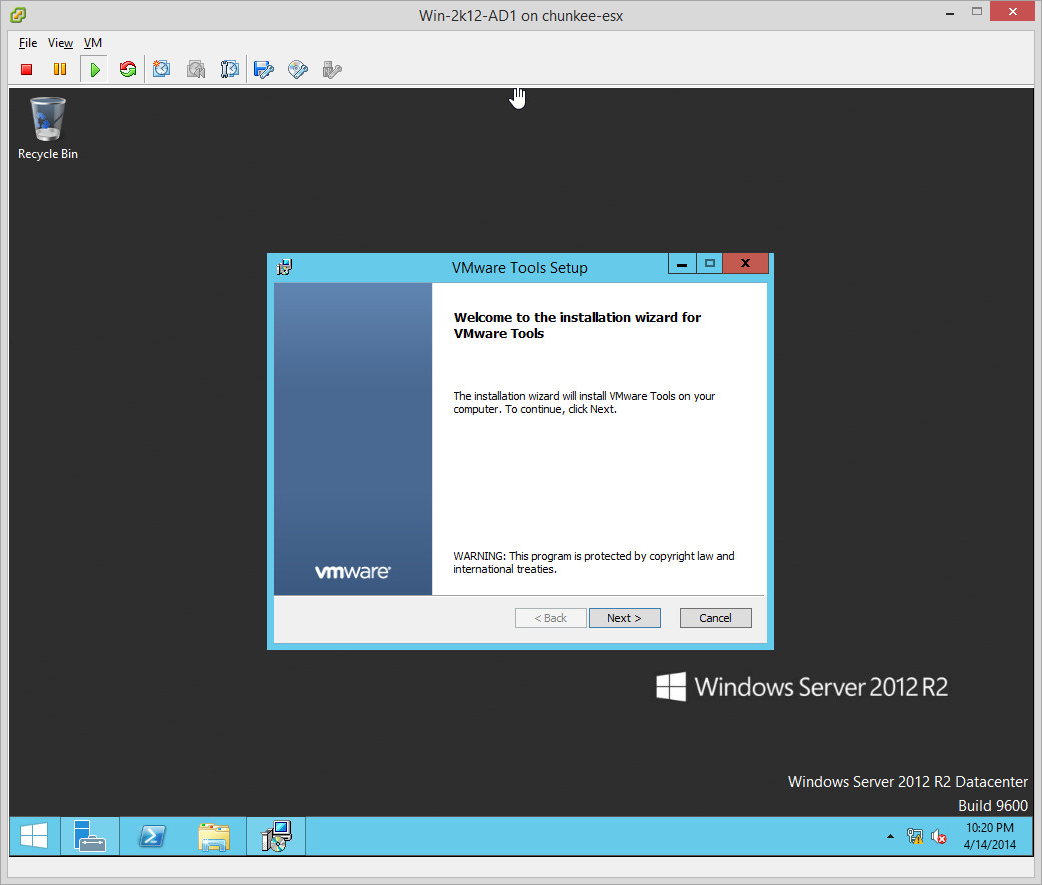
I always go with “Complete” here since it can’t hurt:

Fire off the Install:

Files will copy:
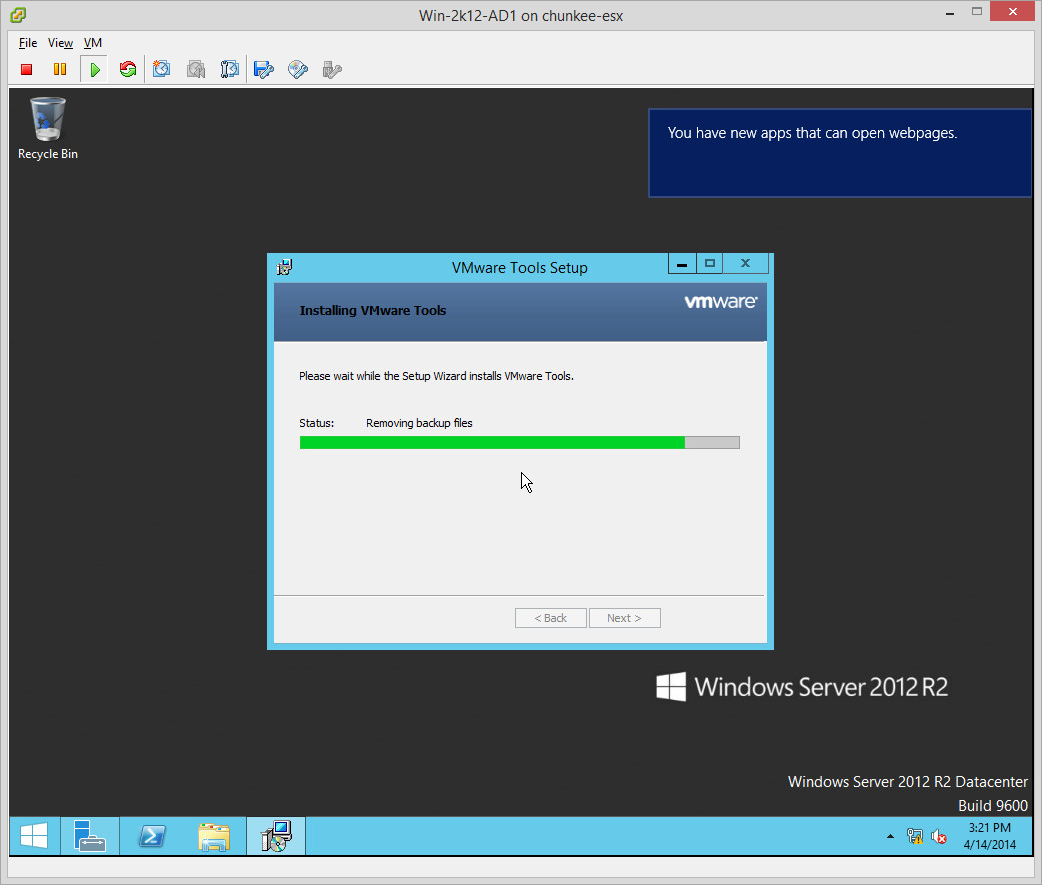
And we’re done:
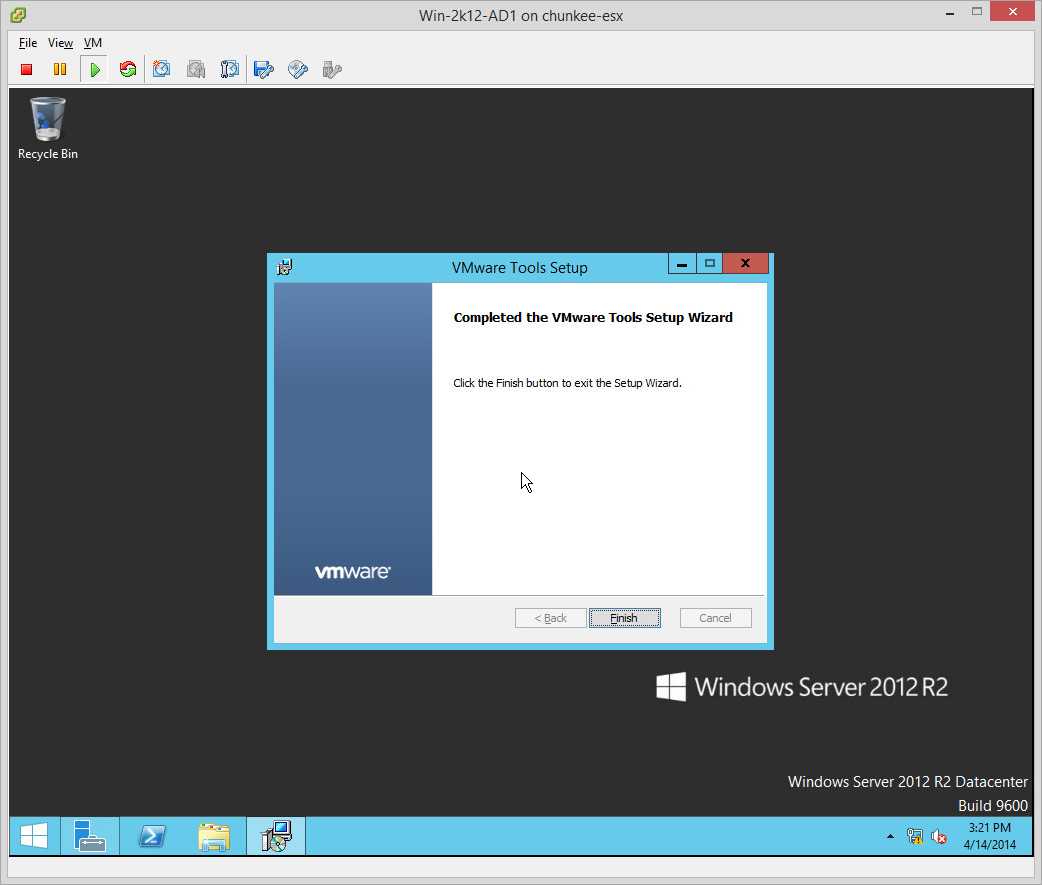
We now need to restart which sucks (although it doesn’t suck as much as actually trying to find how to shutdown in the MetroUI!):
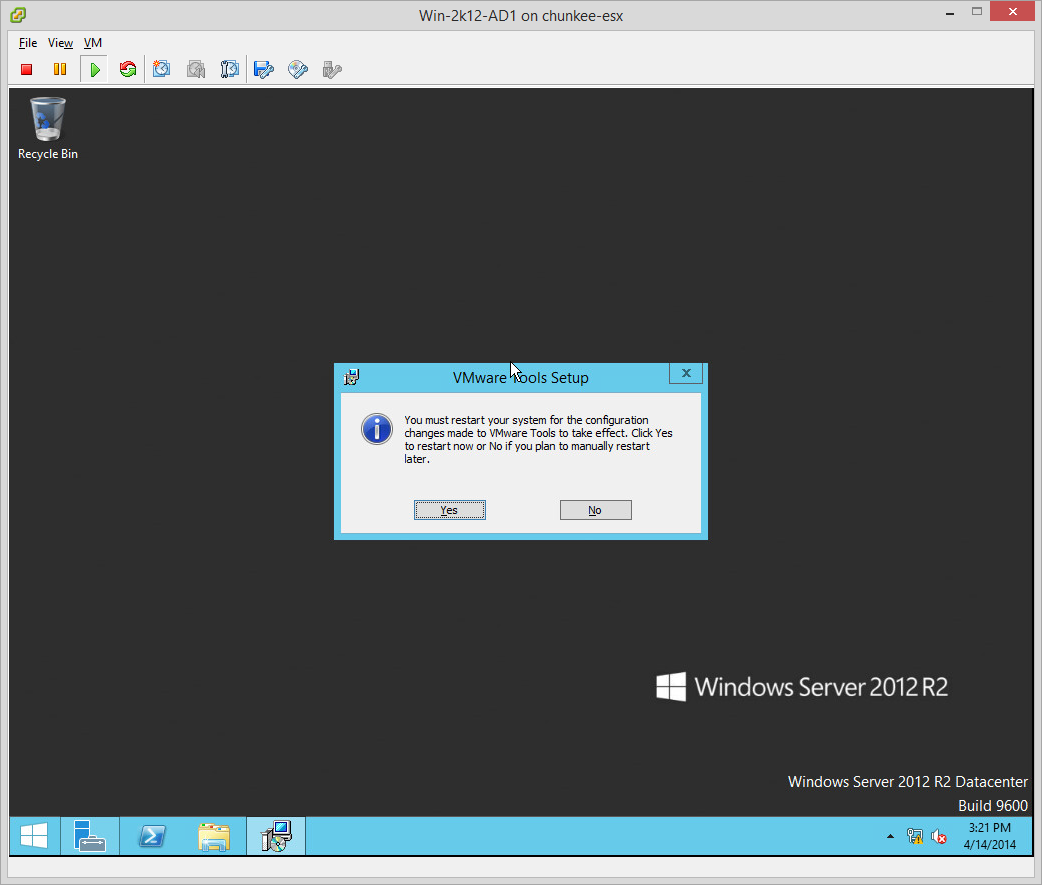
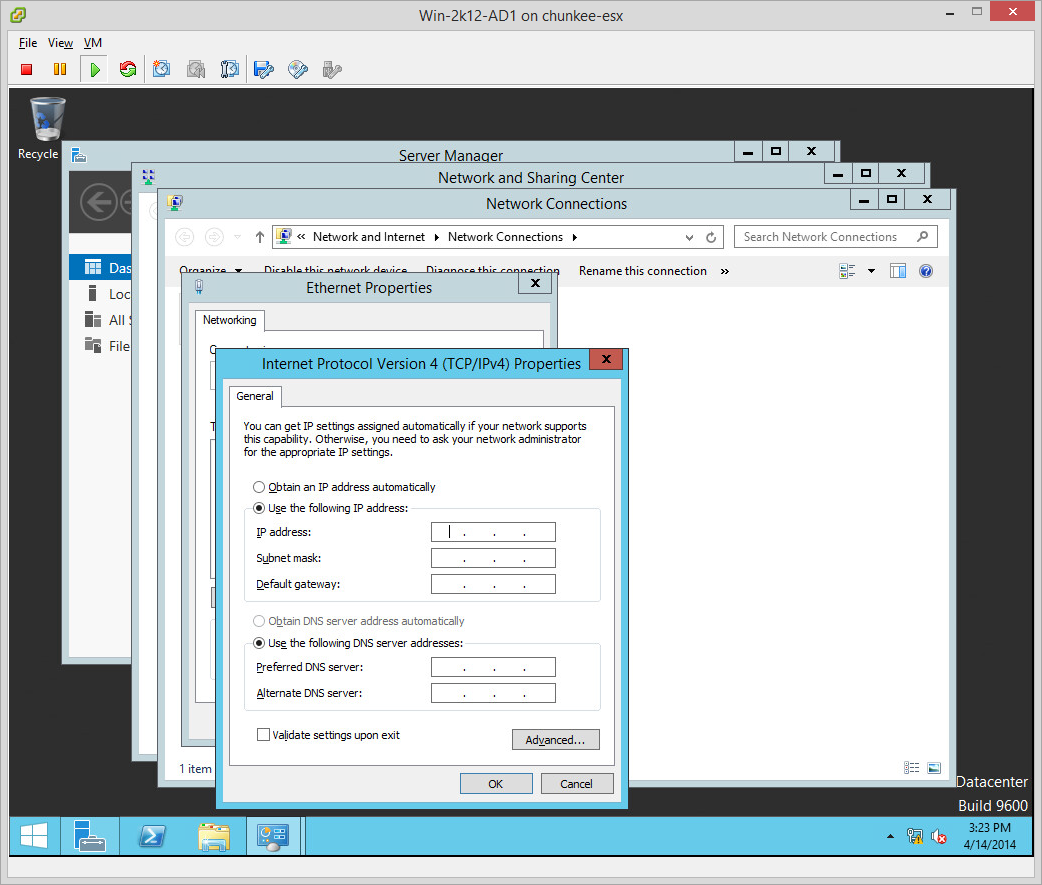
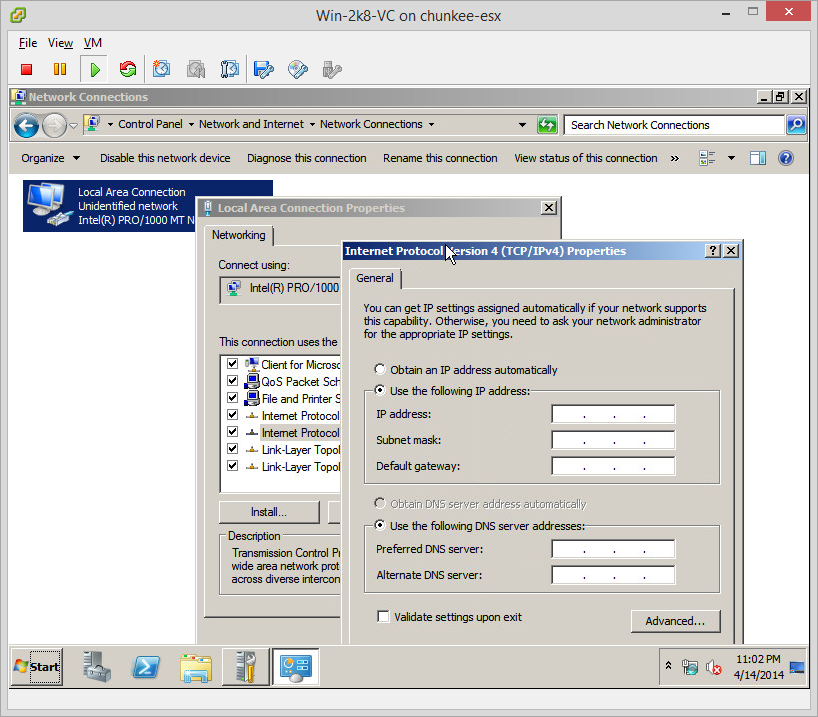
Once we’re back it’s time to setup the network:
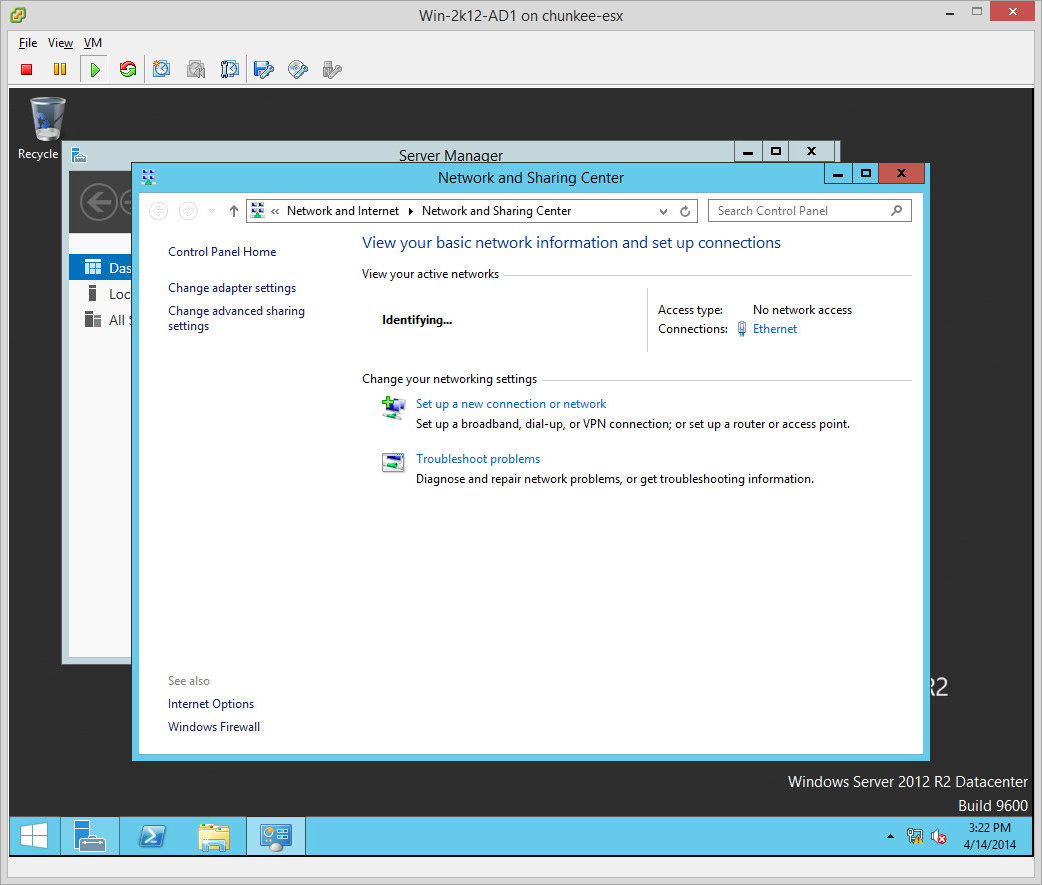
UI elements here pretty much unchanged since 2k8:
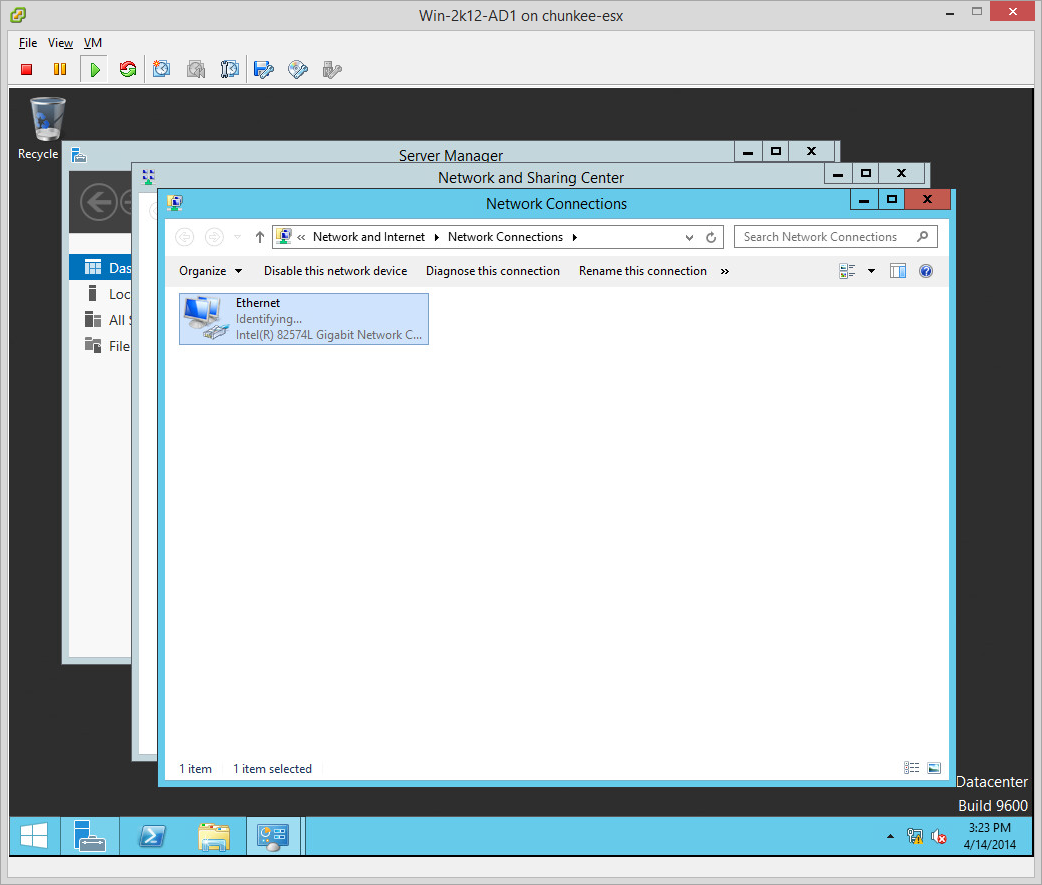
UI elements here pretty much unchanged since Windows NT 4!:
Next we give this beast a name:

After a reboot to make the name stick we head right into Server Manager (this is very new compared to 2k8) in order to manage our roles:

Acknowledge that, yes, this is all very amazing:

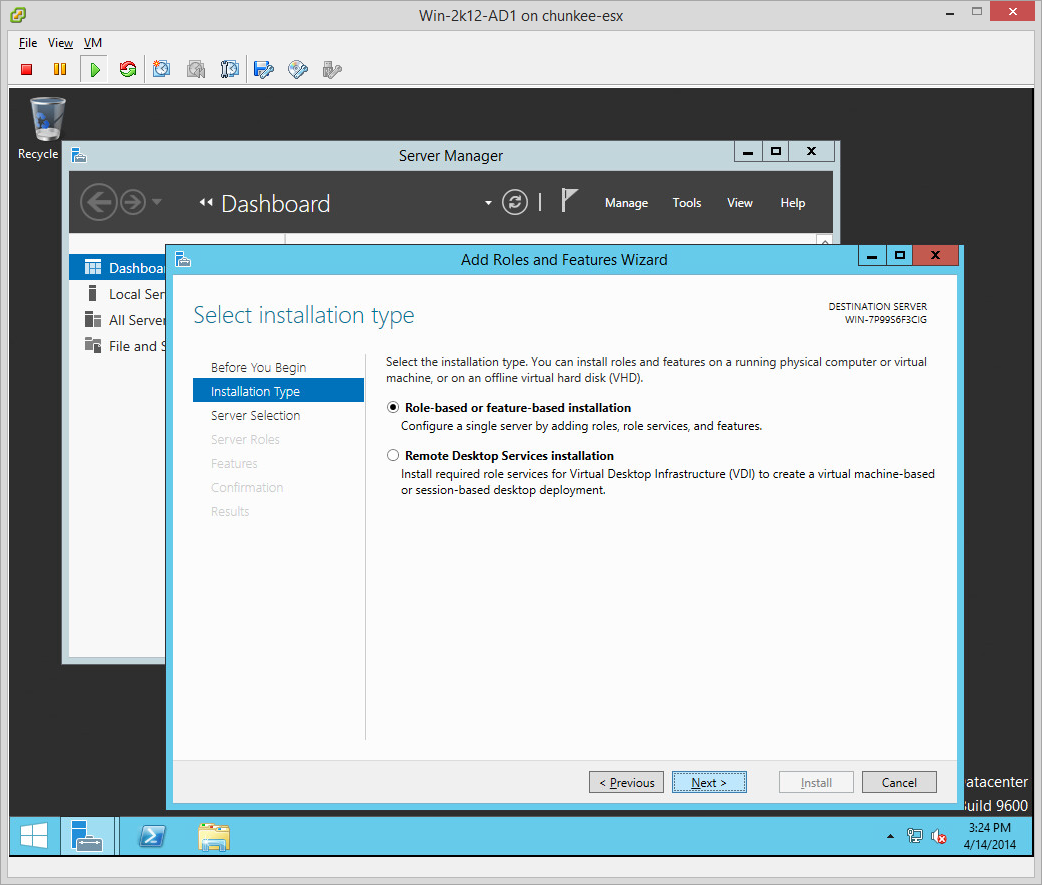
We are planning to do a role based install:
Select our server:

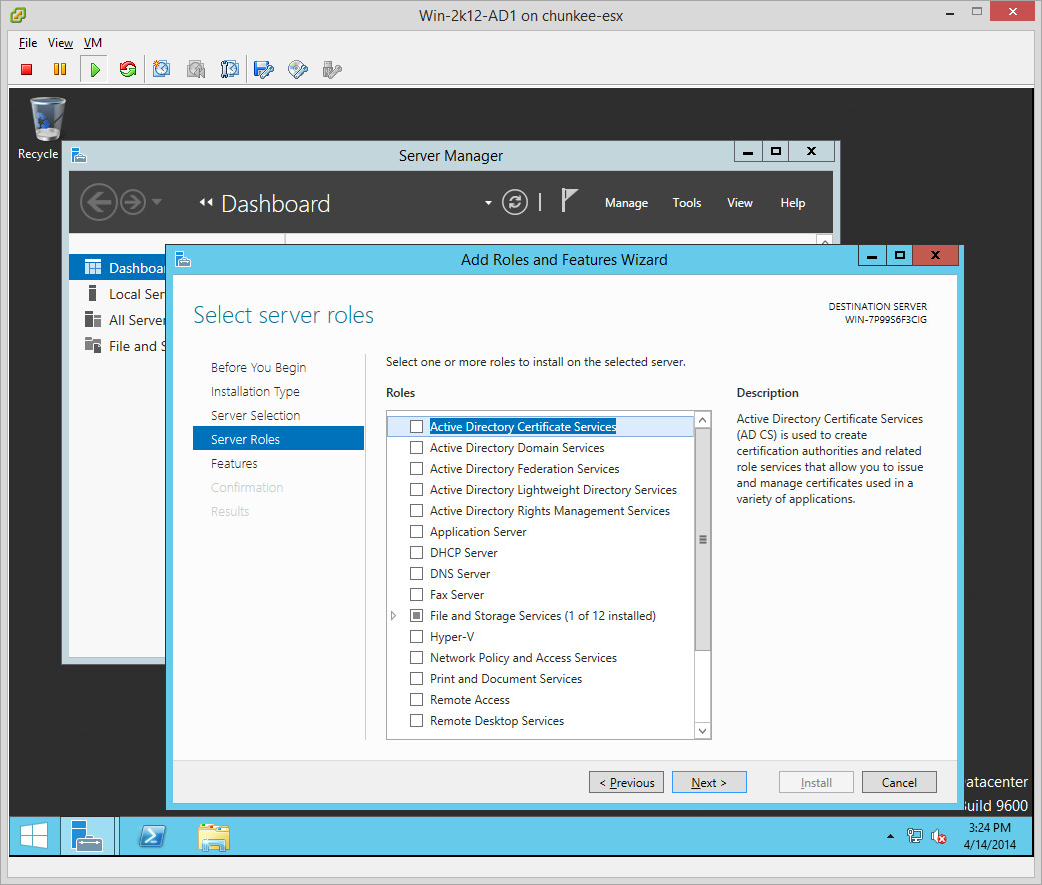
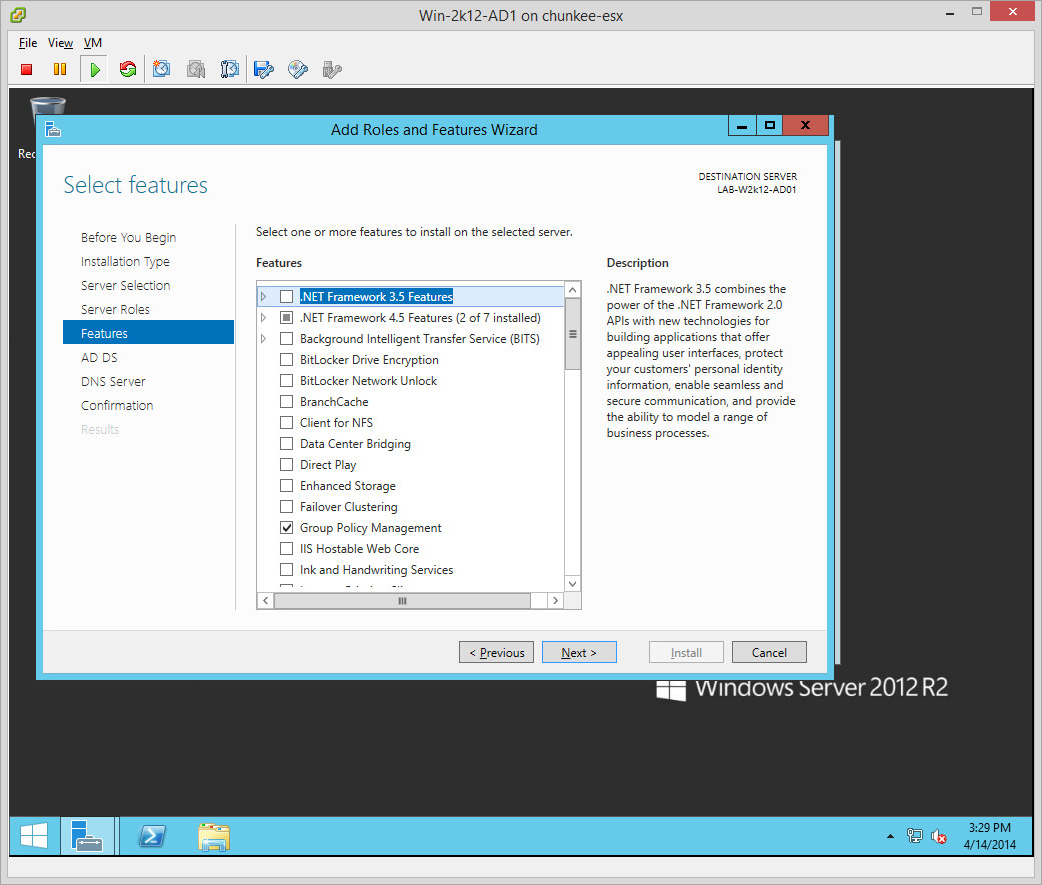
Choose our roles. In my case I am doing AD so I select Active Directory Domain Services and DNS. I leave File Services checked since that can be useful as well:
Accept the pre-determined minimum required feature set (I don’t add any additional):
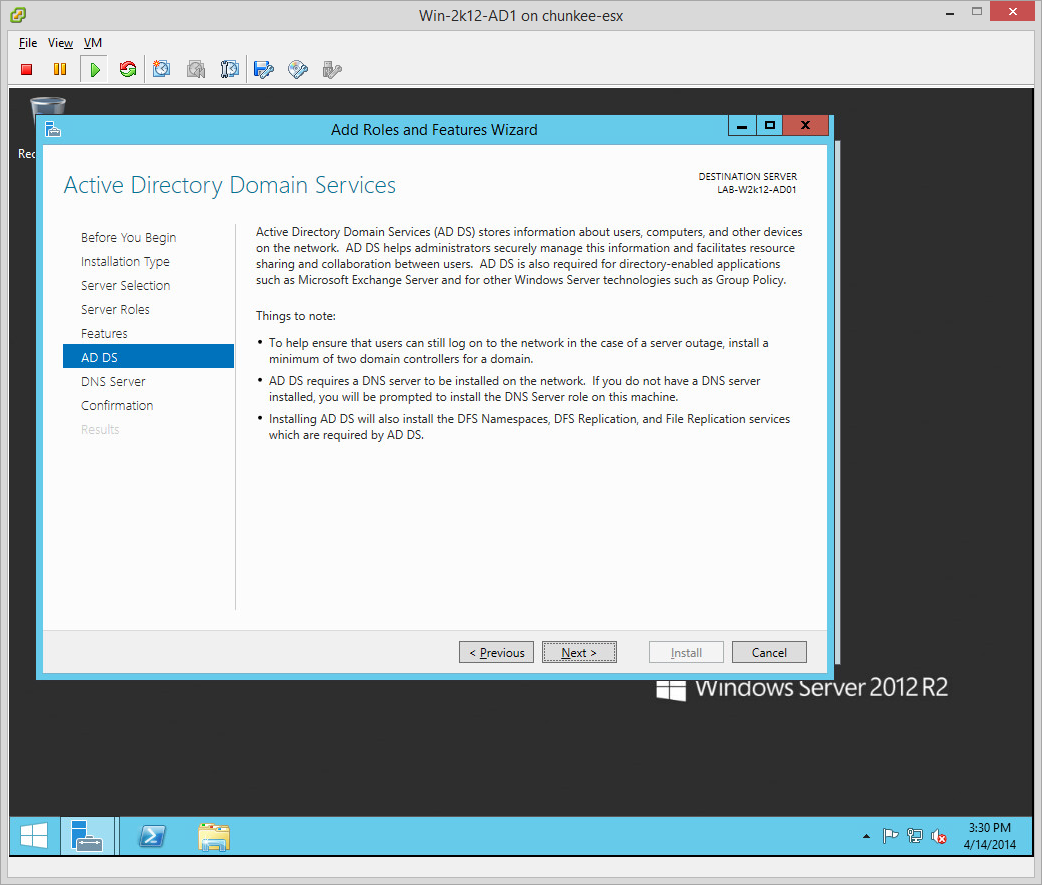
Read some interesting fun facts about AD:
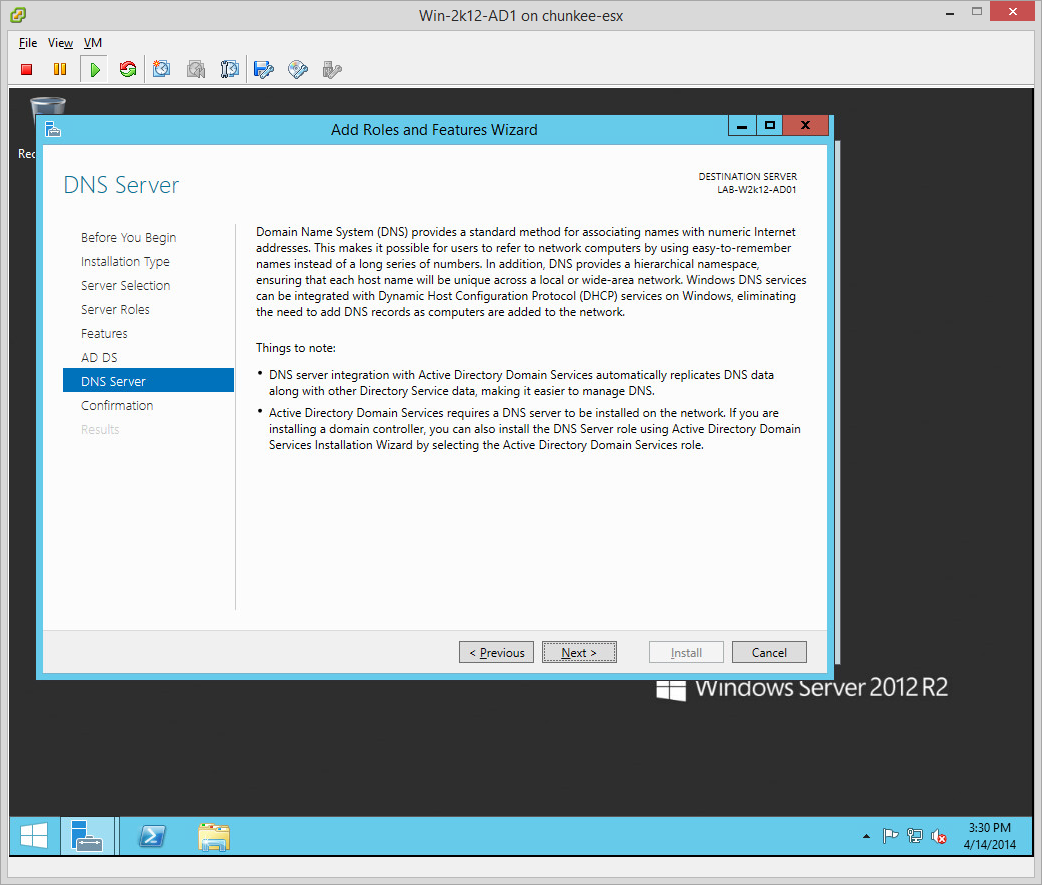
And DNS…
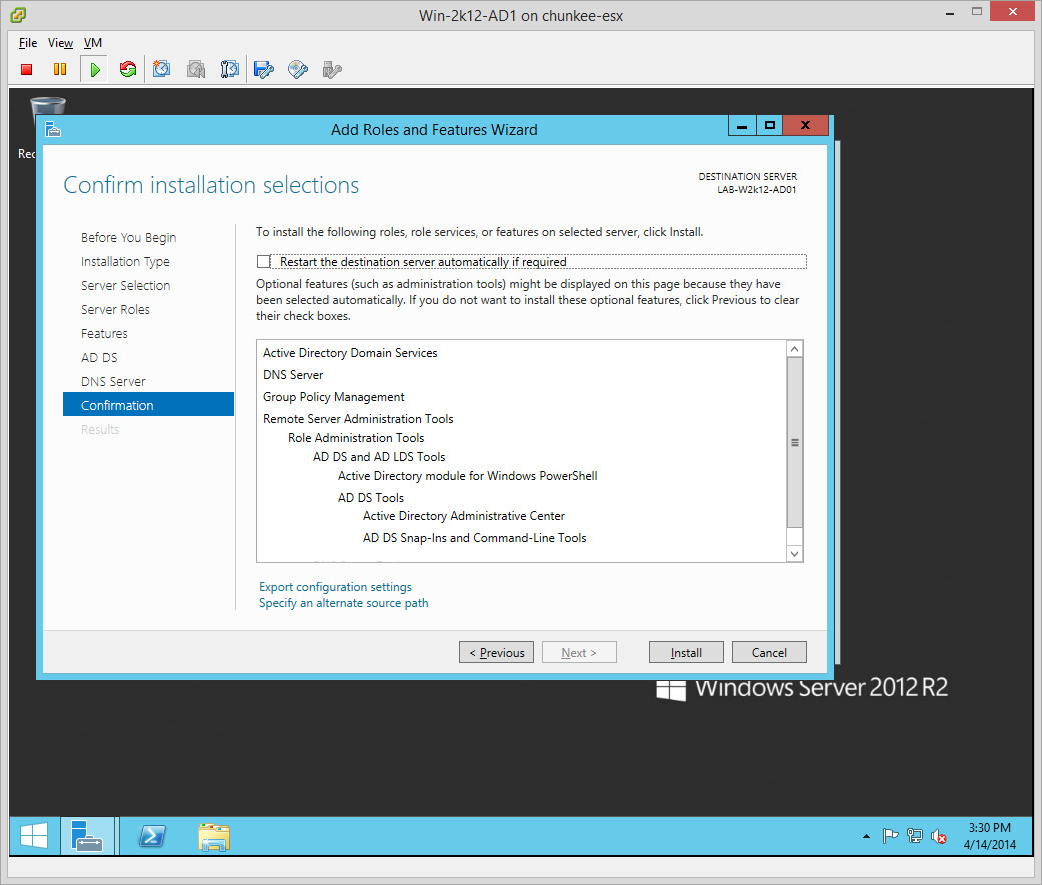
Confirm our task list:
Install begins:
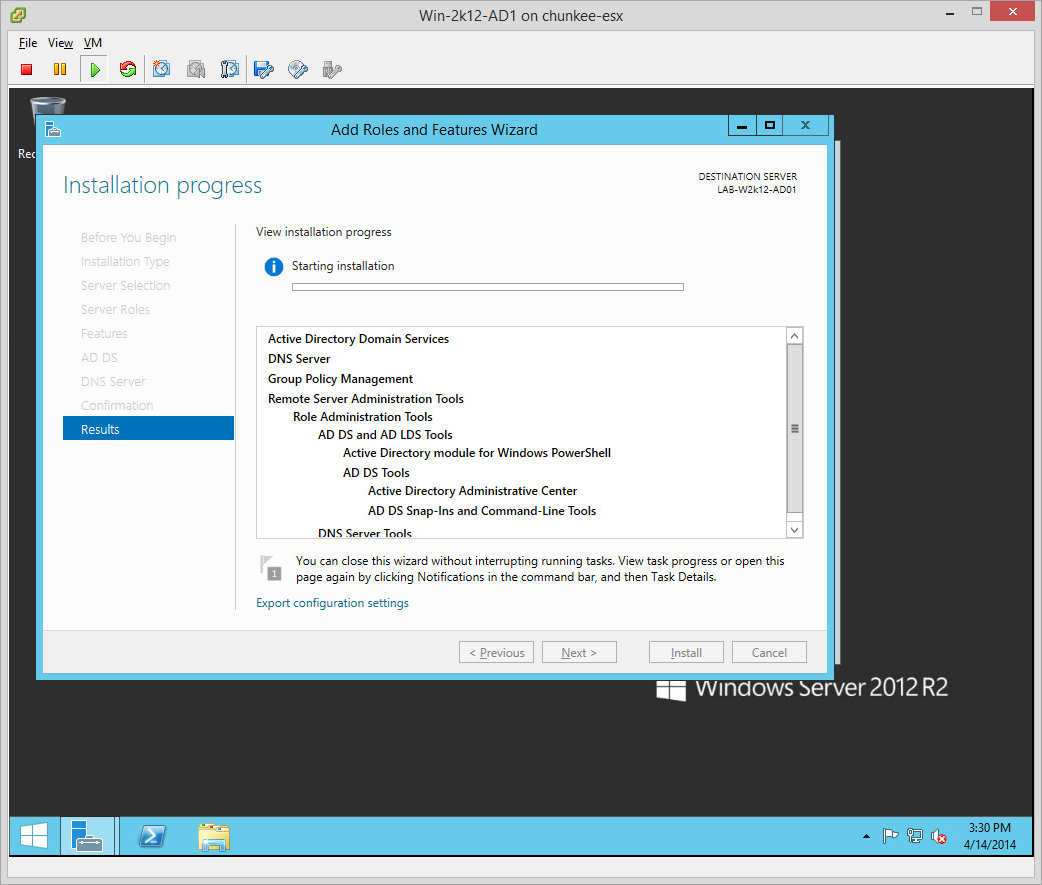
Pretty good verbosity on progress updates in the new server manager:

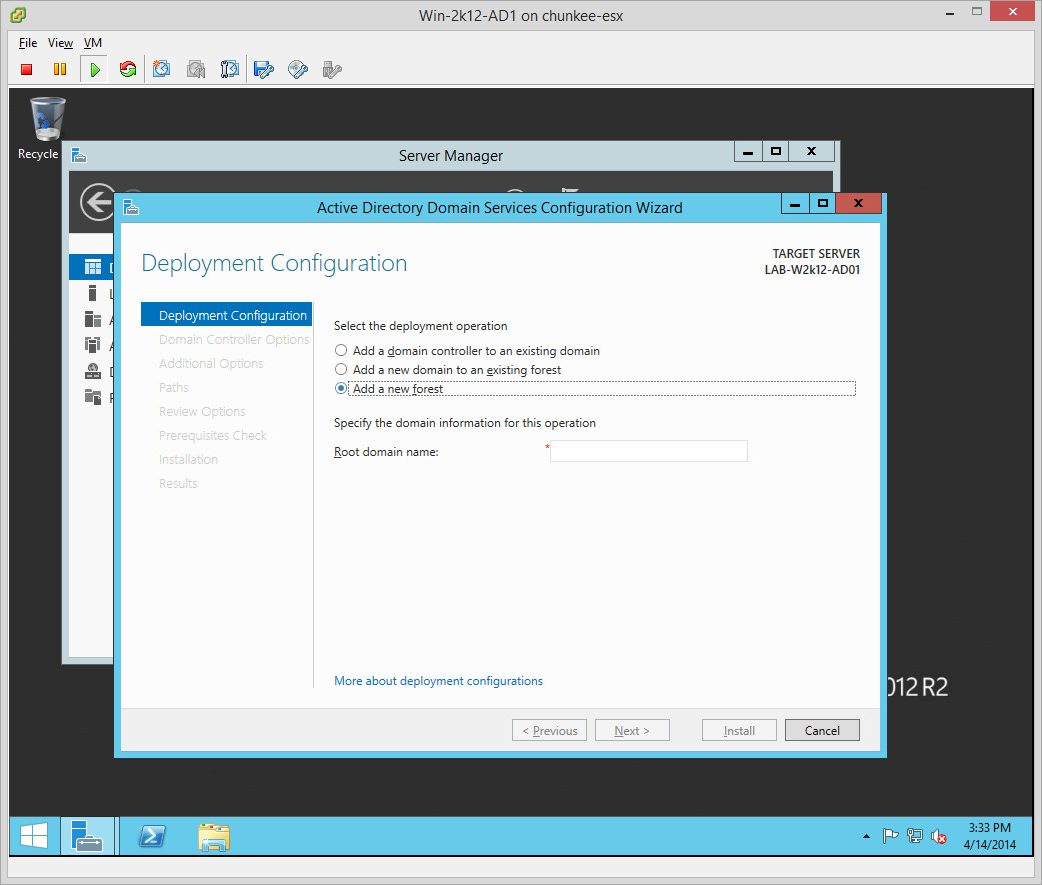
Configure AD. I am creating a new forest so select “Add a new forest”:
And give it a name:

Provide functional level for the forest and domain. This is a net new install and I don’t plan on introducing any legacy domain controllers, so 2k12R2 native is fine (although it is interesting that R2 is called out as a functional level). I make every AD DC a DNS server and a GC also so these are checked. Last step is to provide a DS recovery password:

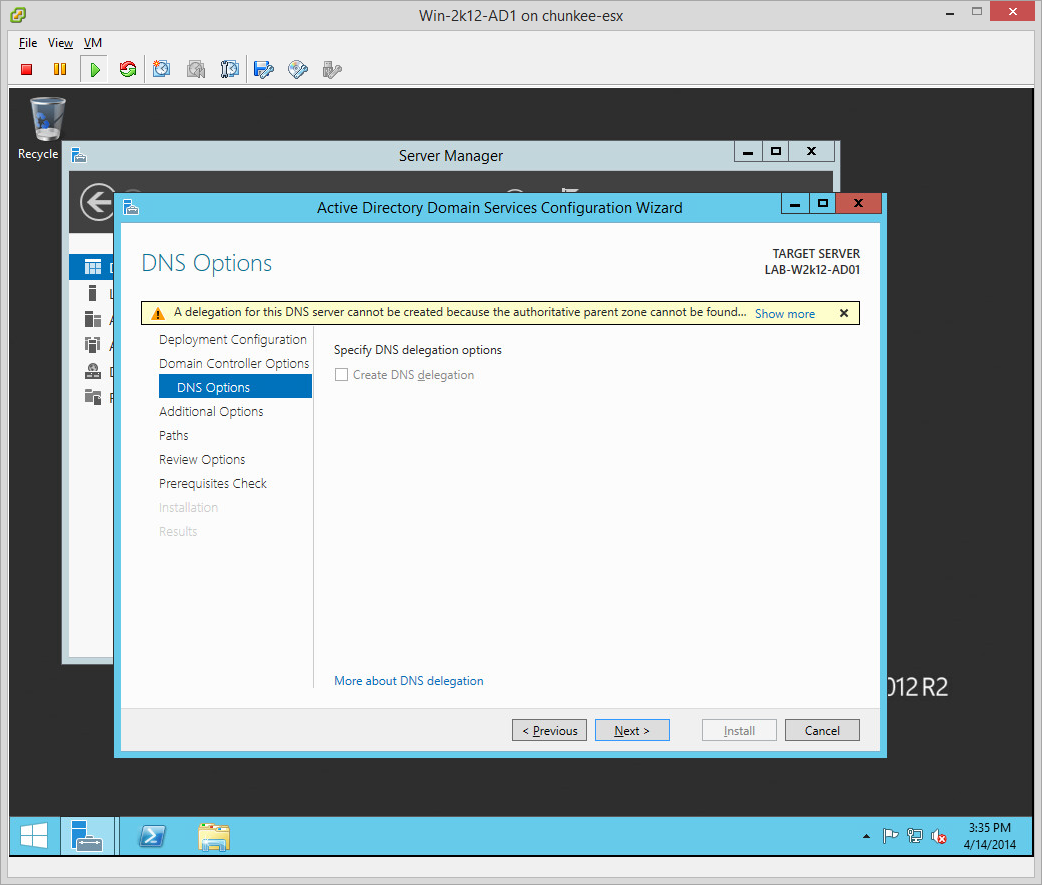
Next we set DNS options (of which there are none):
Provide the NetBIOS name (amazing… NetBIOS may never fully die. Viva la NetBIOS!):

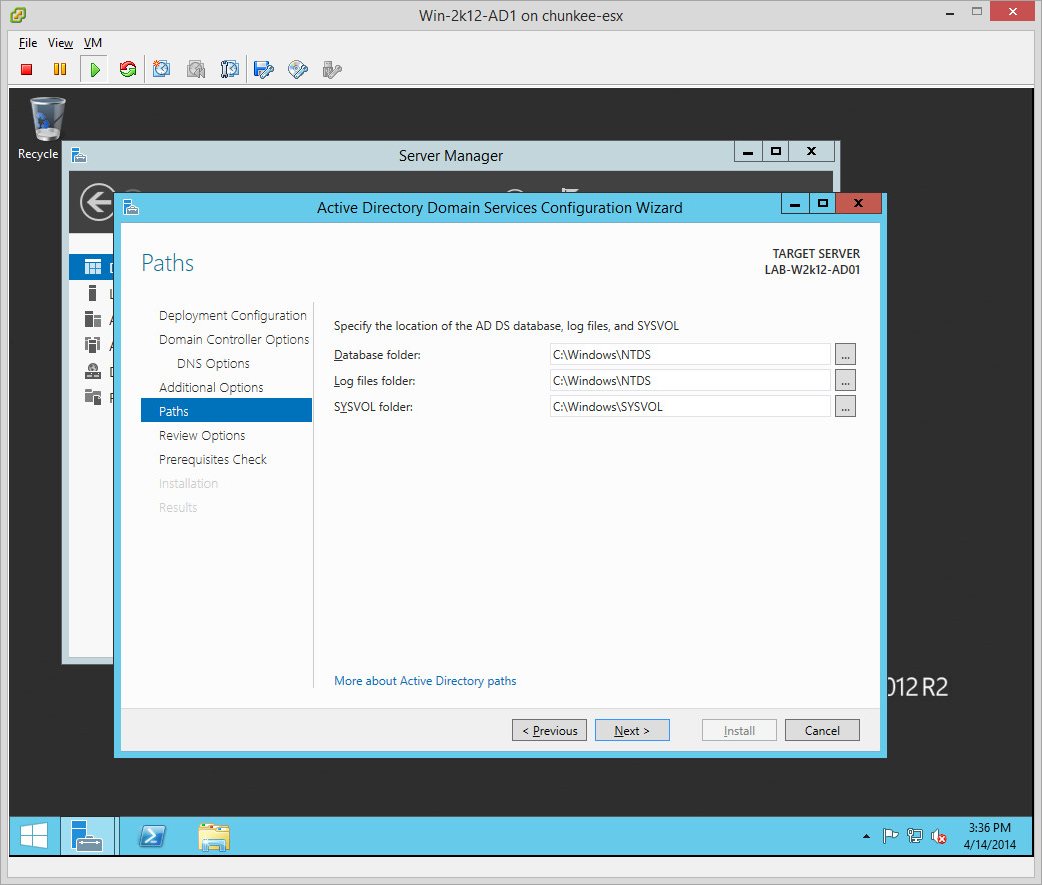
Accept the default paths (or don’t, your choice):
Sign off on the actions to be performed:
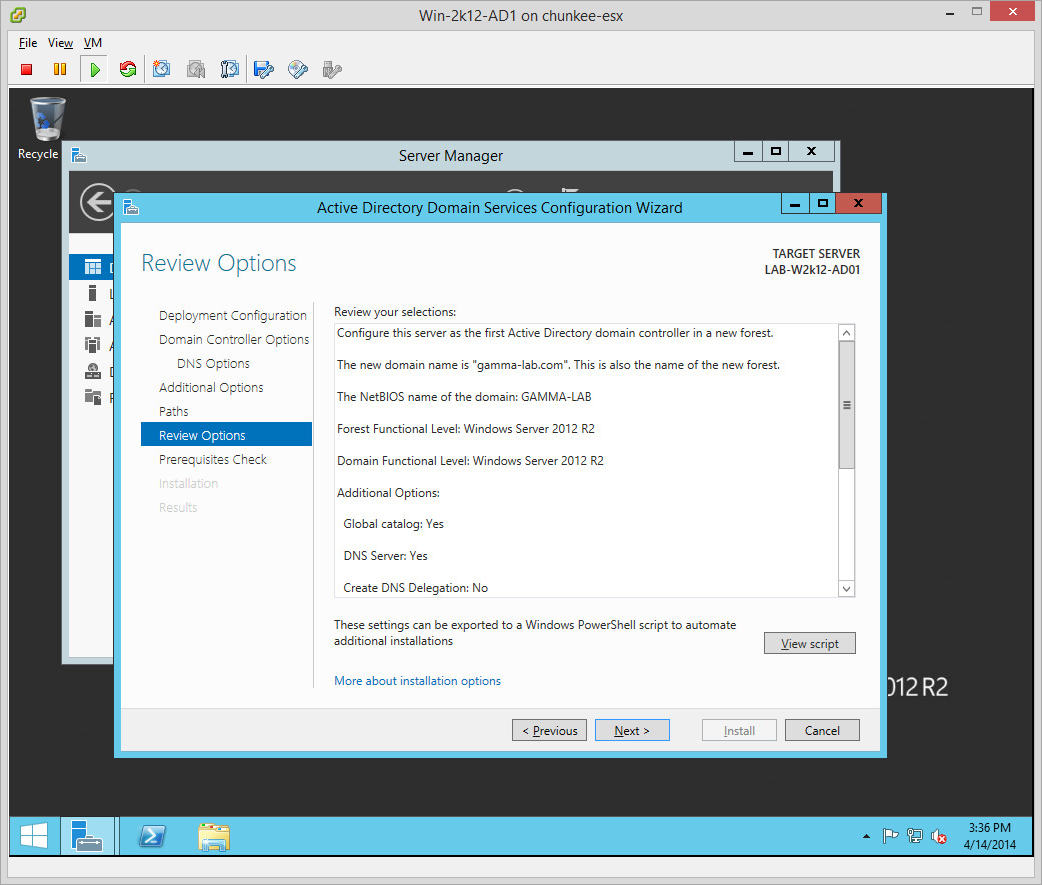
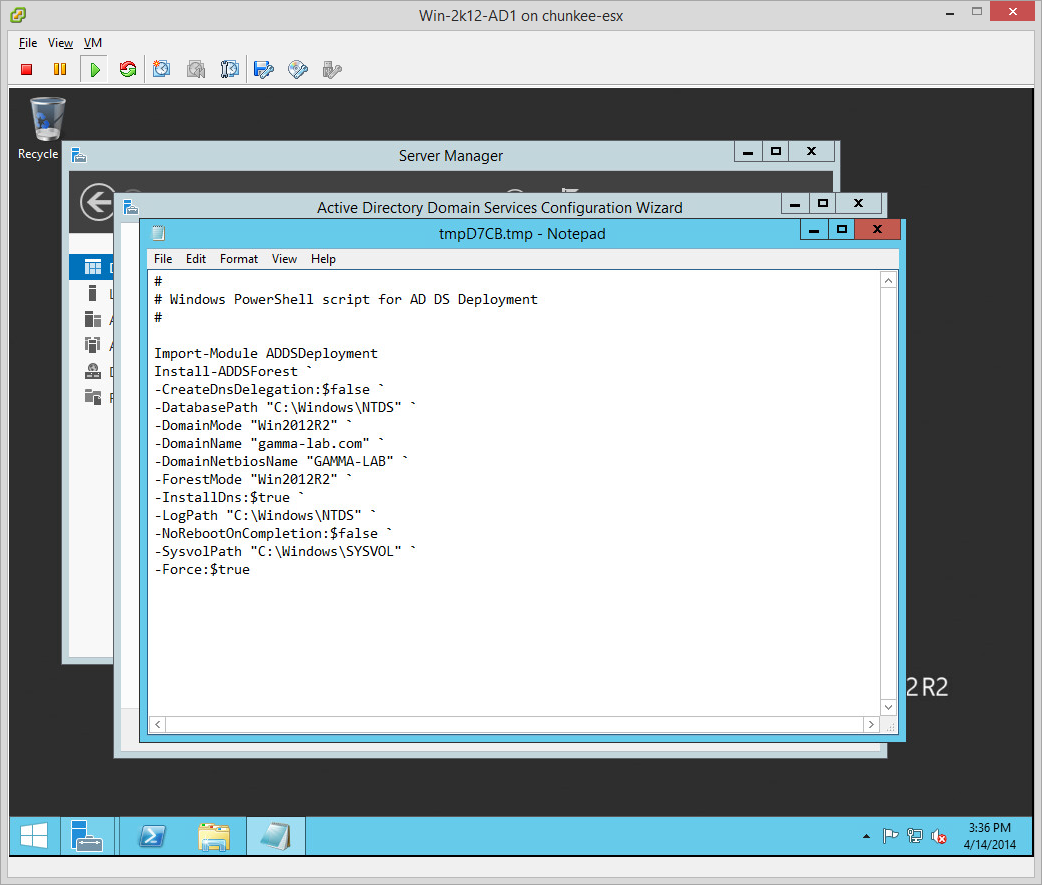
Notice that “View Script” button? Now this is absolutely awesome if you ask me. Like it or not, “operations” is evolving into “devops”. This “push button get script” option here is gold for any traditional infrastructure administrator interested in self preservation. It provides an opportunity to see what everything that is about to happen would look like if we were to be doing it programmatically in PowerShell. I cannot say enough how much I love this feature. And look how simple this script is! It might actually be easier to write that script than to click through the GUI:
With all of the pre-work done we can go ahead and fire off the Install:

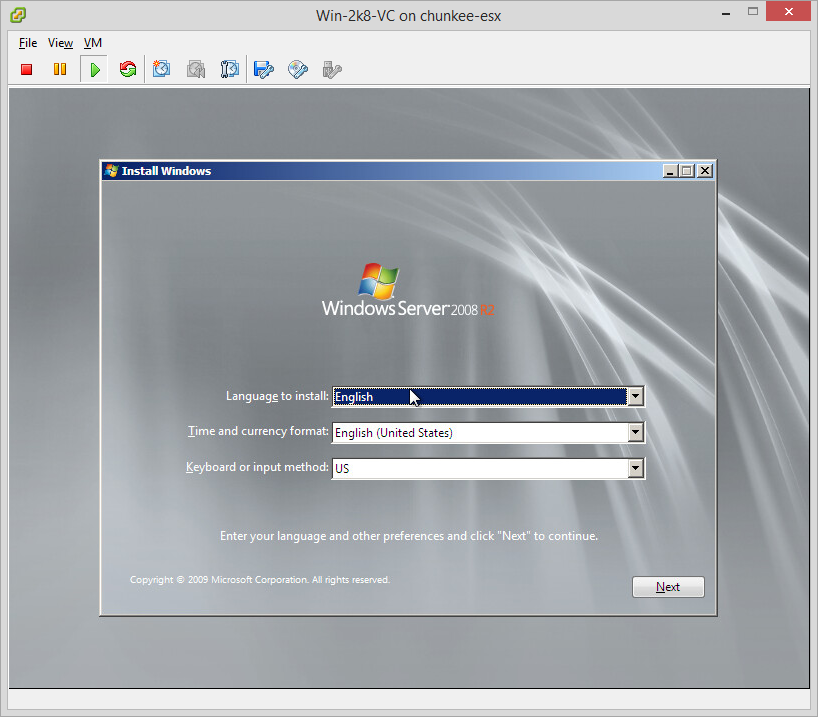
With that our AD domain is finished an online! Of course we don’t really need it thanks to vCenter SSO, but it certainly can’t hurt! Next up let’s install the actual vCenter. Now as far as I know, there are some compatibility issues with vCenter 5.5 and Windows Server 2012R2. I’d rather not take any risks, or run into any weirdness. I’d also prefer to not fragment my Windows 2012 footprint, so instead of doing R1 I go ahead and just deploy what I am sure works – Windows Server 2008 R2. This is a good example of what enterprises deal with as I am now, even in my small home lab, dealing with 3 discrete Windows images (including my Windows 8 Pro admin console). First thing is to create another VM, just as per the instructions above, but in this case setting the guest OS to Windows Server 2008R2 64bit and pointing the virtual CD/DVD at the W2k8 ISO. On first power up, Windows 2008 installation should boot:
Setup starts… Nothing new here:
More license terms:

Once again, as with 2k12, the Custom (advanced) option is for new installs:
After the files copy Windows will do final configuration:

And we’re done:
The decidedly less slick but nearly equally function 2k8 Server Manager greets us:

First step is to setup our network:
And give her a name:\ 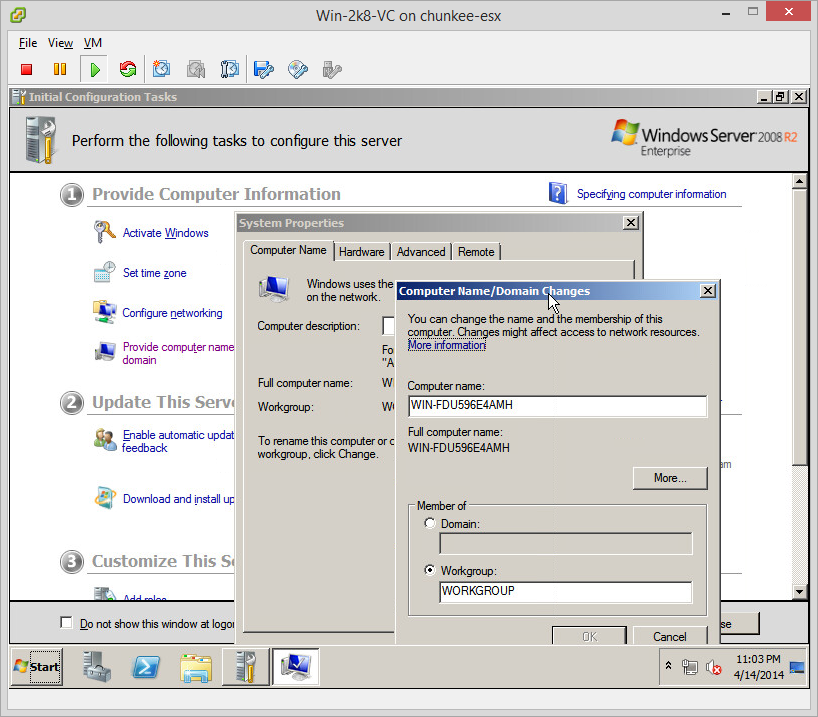
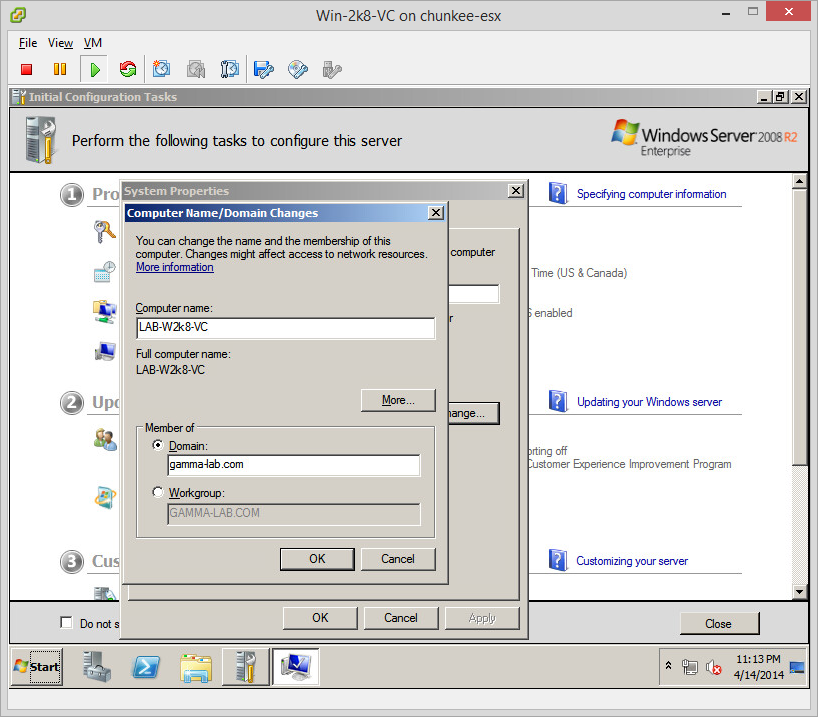
Next we join our shiny new Windows AD domain:
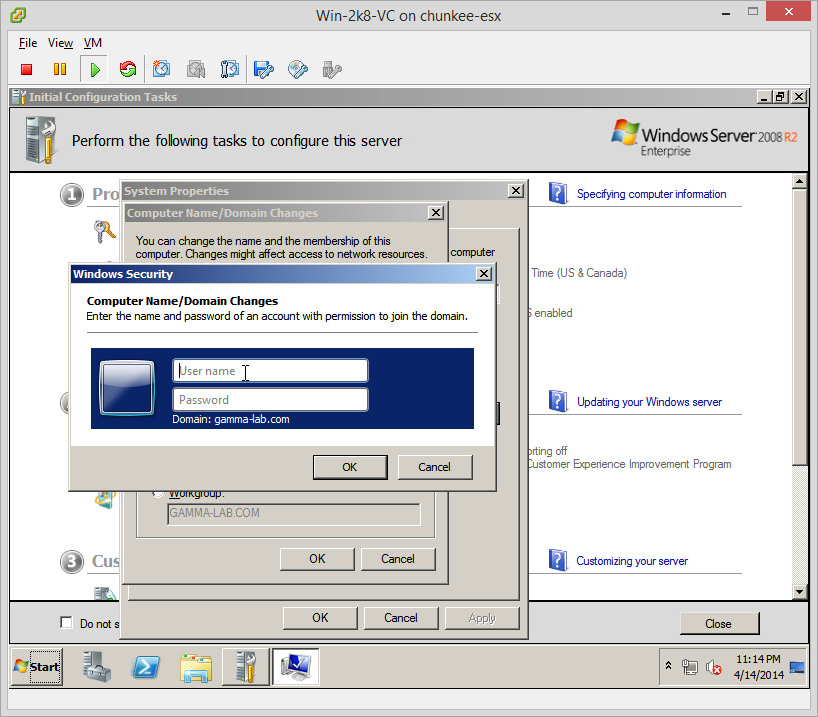
Provide the creds with sufficient privilege to join a PC:
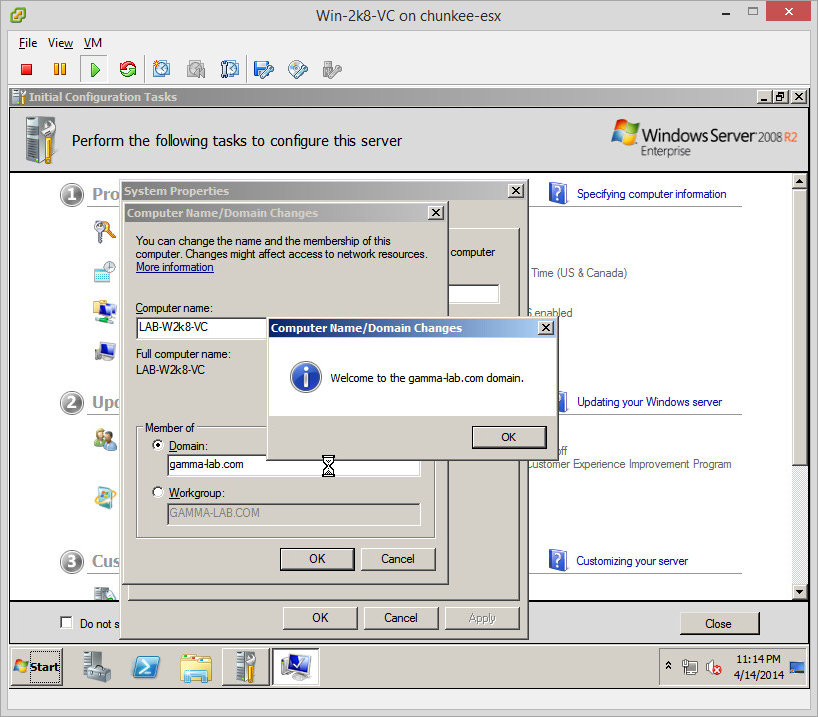
And we’re in!
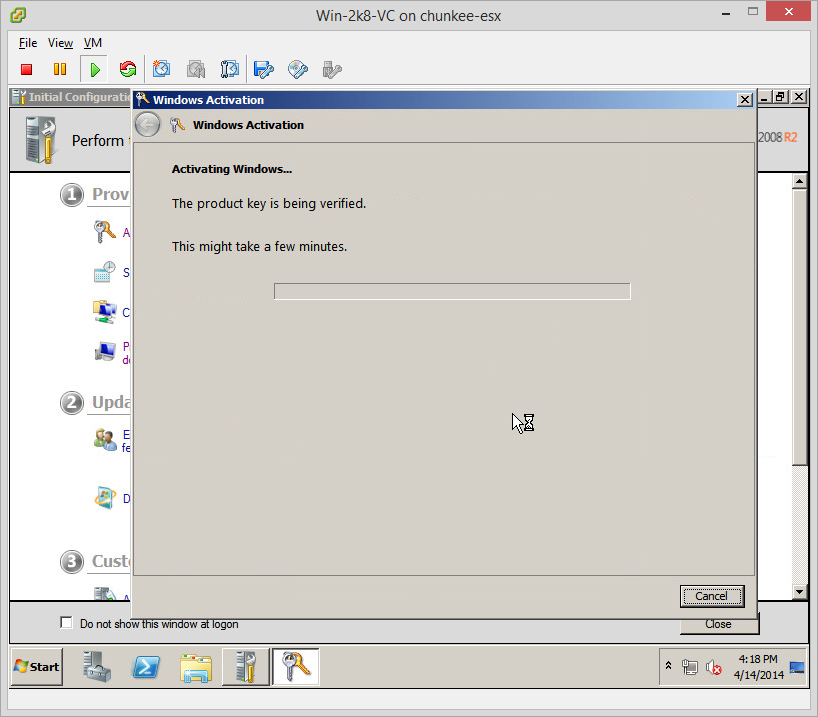
After returning from the reboot it’s time to activate:
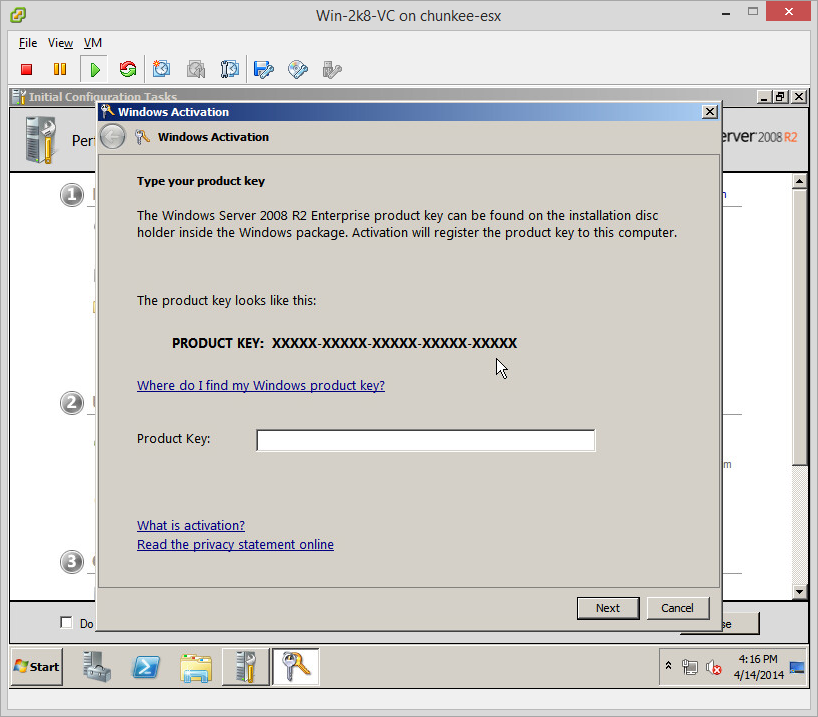
This should work with no issues, but if the key was used previously activation is just a (fully automated) phone call away:
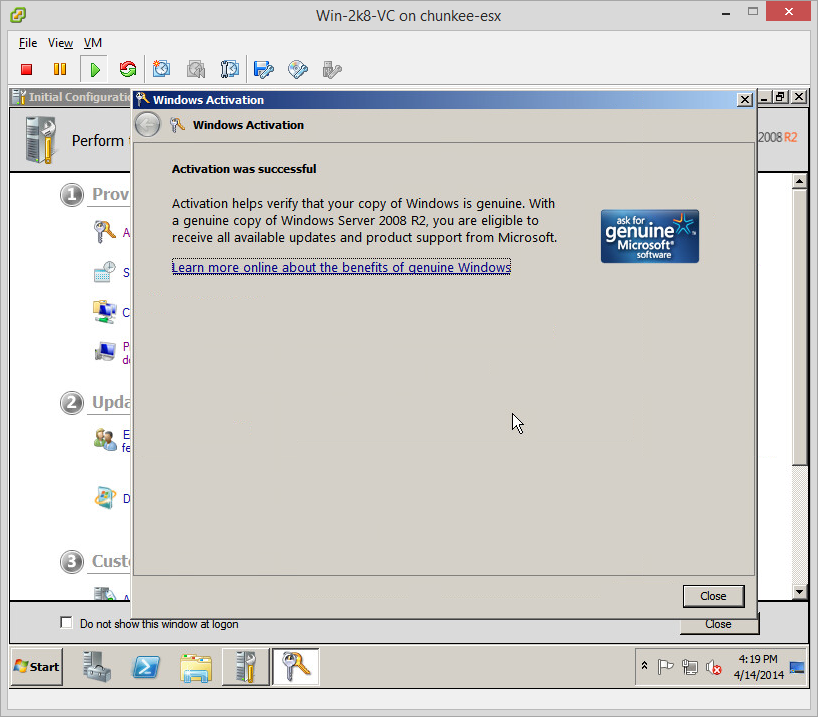
Hurray we’re genuine!
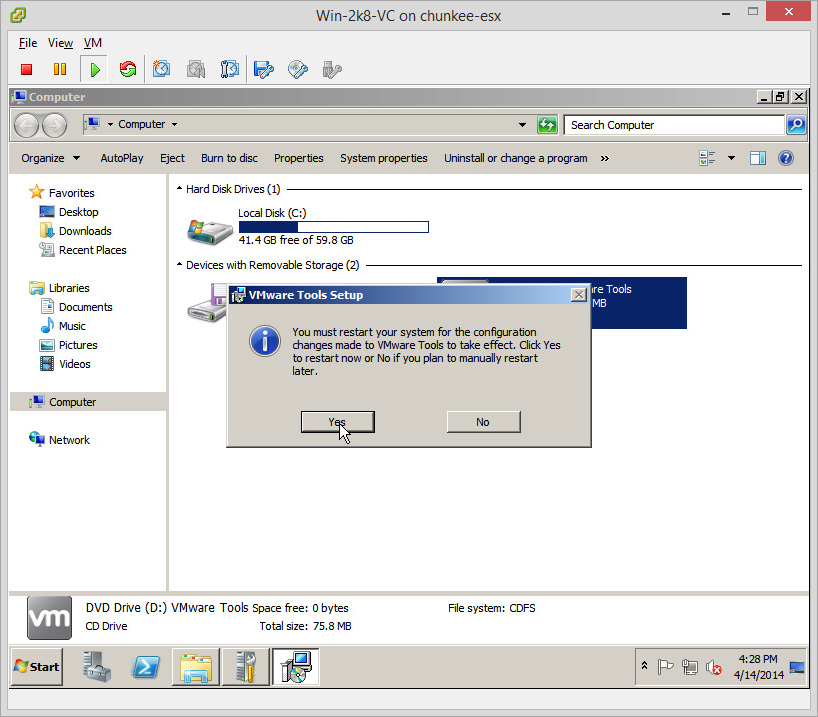
Next up is the tools install once again:

Restart to complete:
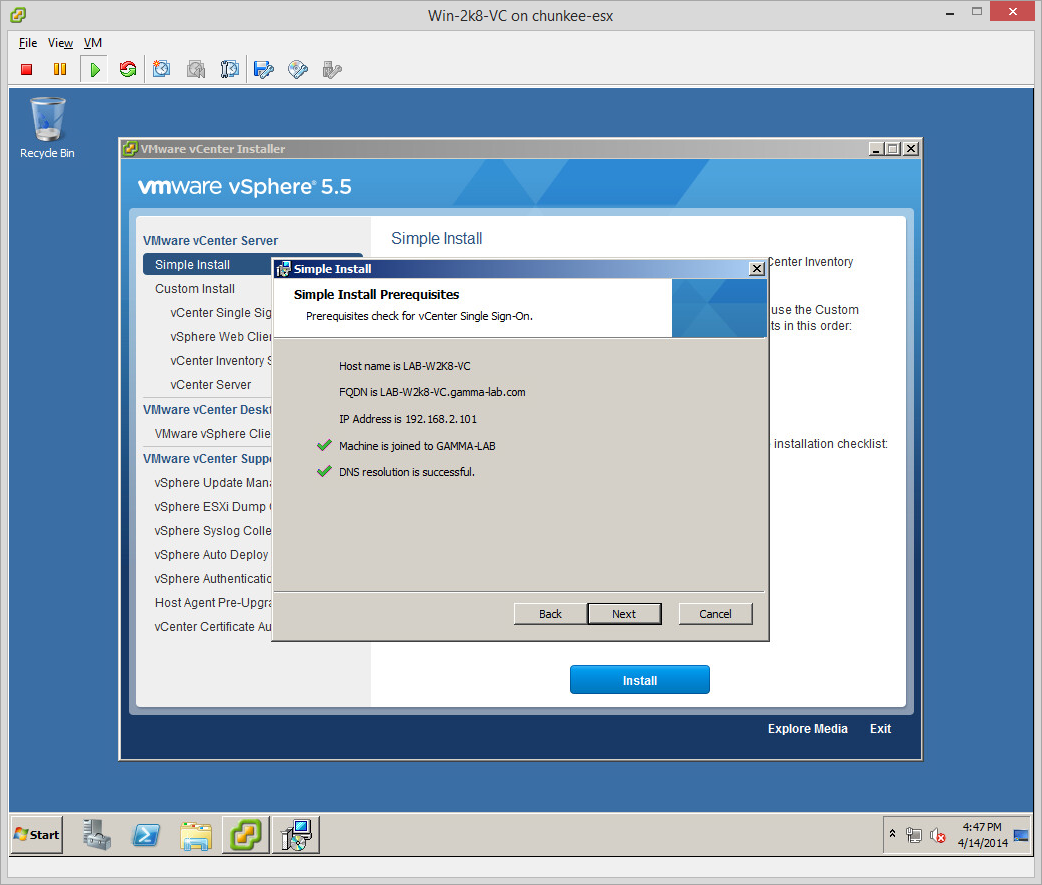
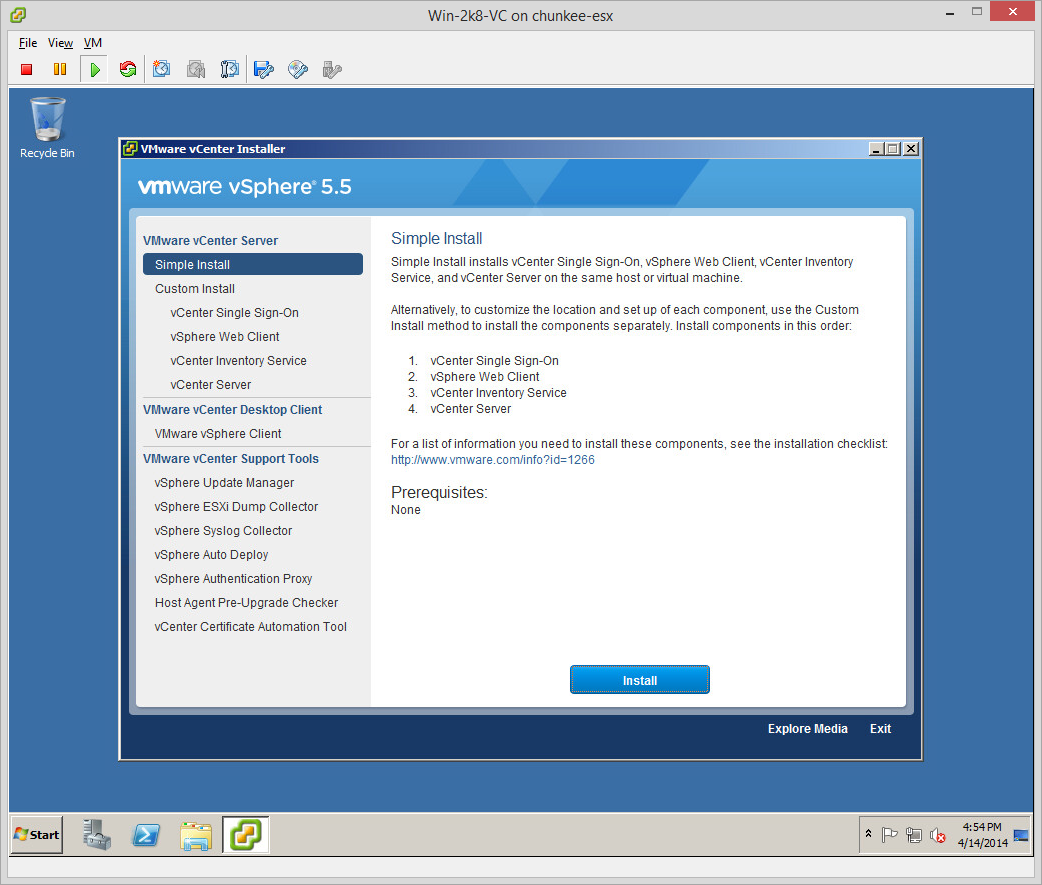
When we return it is time to setup vSphere 5.5. Pop in the VIMSetup-ALL volume and the Autorun will bring up the main setup:

Pre-reqs check is very easy and should pass with no issues if DNS has been correctly configured and the PC can resolve its own name:
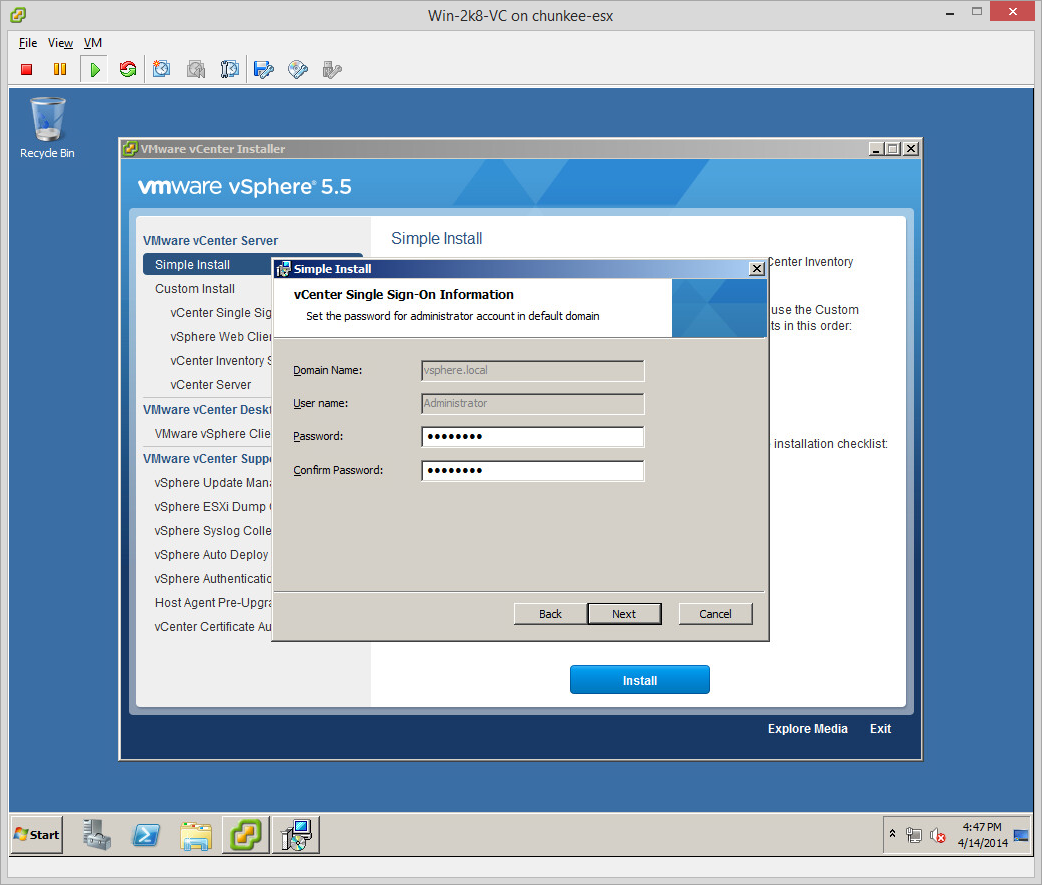
Next we provide a password for the vCenter Single Sign On facility administrator account. This is super important as it will be the account you have to use for initial logon to the vCenter:
Here we can provide a site name. I just stick with “default-first-site” in the lab, but in a real scenario a properly descriptive site name should be used and follow some reasonable naming convention:

Here we set the TCP port for the SSO service (I leave the default):

You can change the destination folder for vCenter if you want or need to:

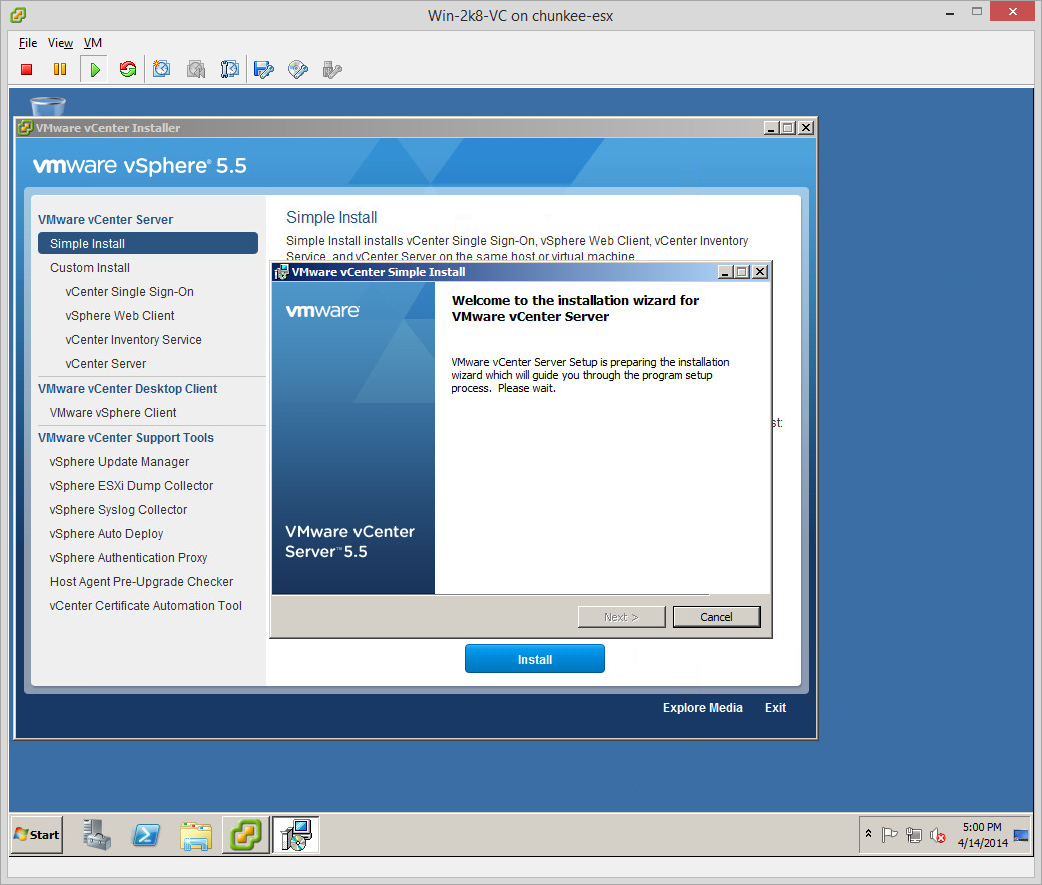
With all of the upfront work done we can go ahead and Install:

Files will copy…

The installation process is scripted. At points it will appear to stop and return to the main Install screen. It is not in fact stopping, but rather the script is still working in the background and launching the next component install. Be patient until the final notification that all setup is completed:
Here we can see the next module install (in this case vSphere Web Client) has triggered:

Now the Inventory Service:

And the main server itself:
At this stage we are prompted for our license key:

And now we must select our vCenter database. There are two options here. We can either utilize the included SQL 2008 Express package, which is theoretically limited to 5 hosts and 50 VMs, or we can configure an external data source (meaning a SQL server that we have already installed and have online). If you take the latter approach, just be sure that you have your SQL authentication setup properly configured (either Windows or SQL auth) and you know which user you will provide vCenter in order to login (should be able to create and own a database). In my case I opt for SQL Express:

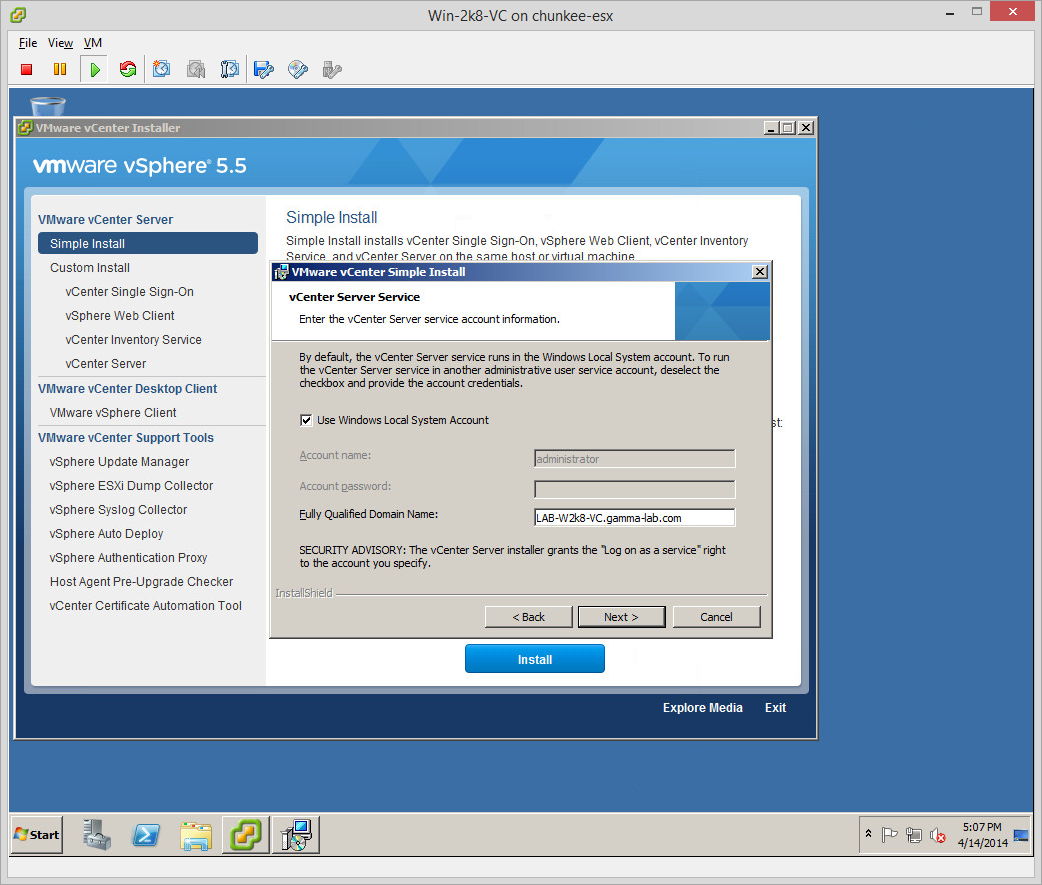
We can now choose to have the SSO Service sign-on as a service account rather than Local System if we want or need to:
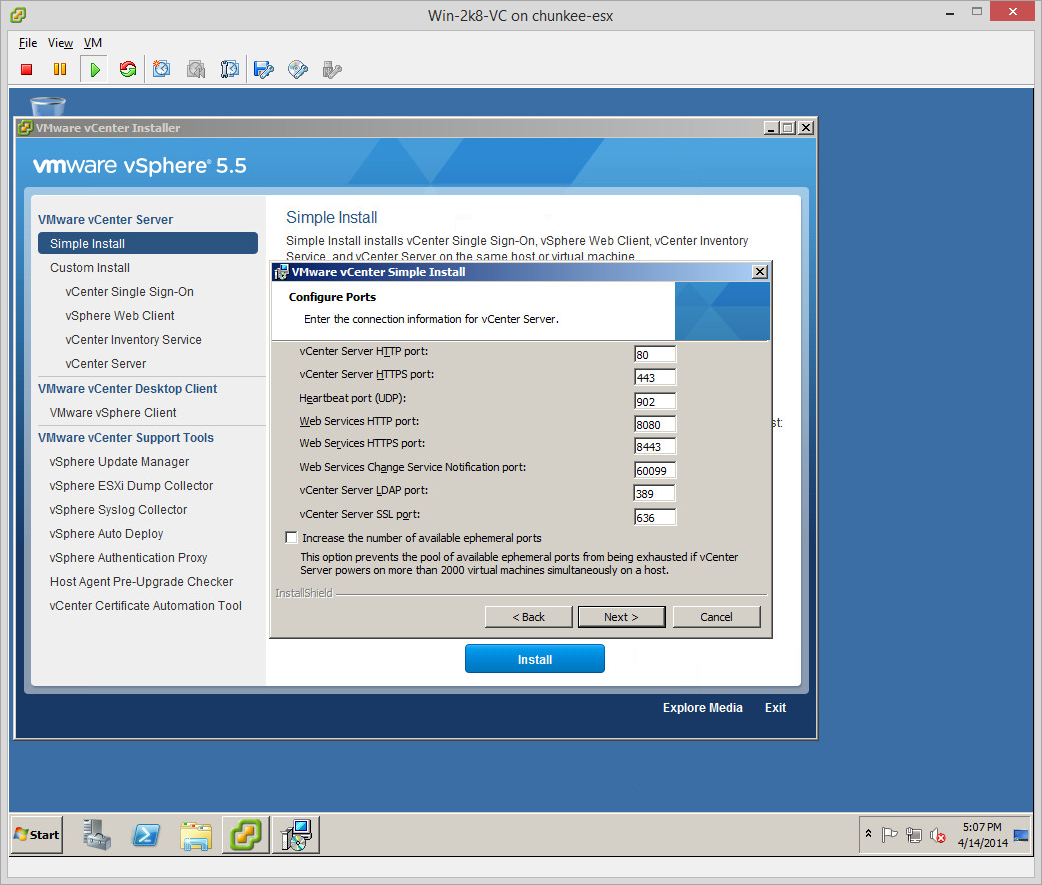
Great dialogue box here giving us full control 0ver TCP port assignment for the various vCenter network services. I stick with defaults, your mileage will almost certainly vary:
Next we size the inventory according to our projected deployment scale. Small is the right match for almost any lab:

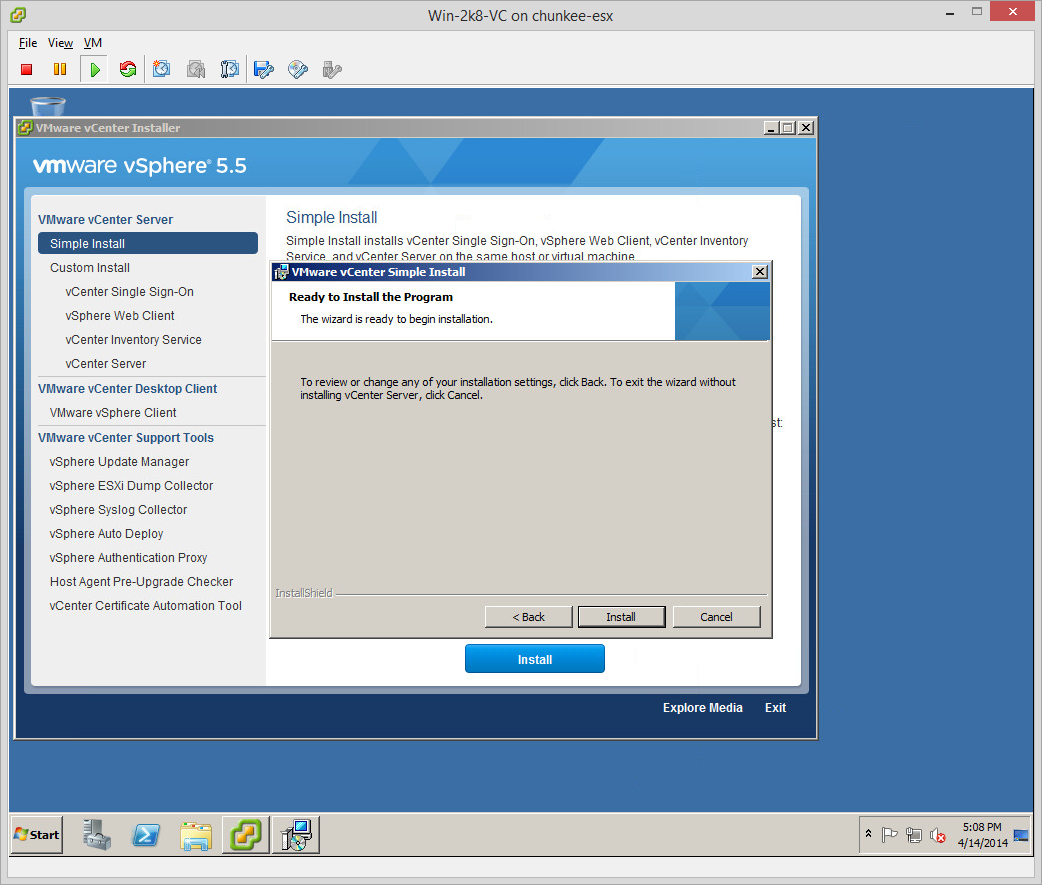
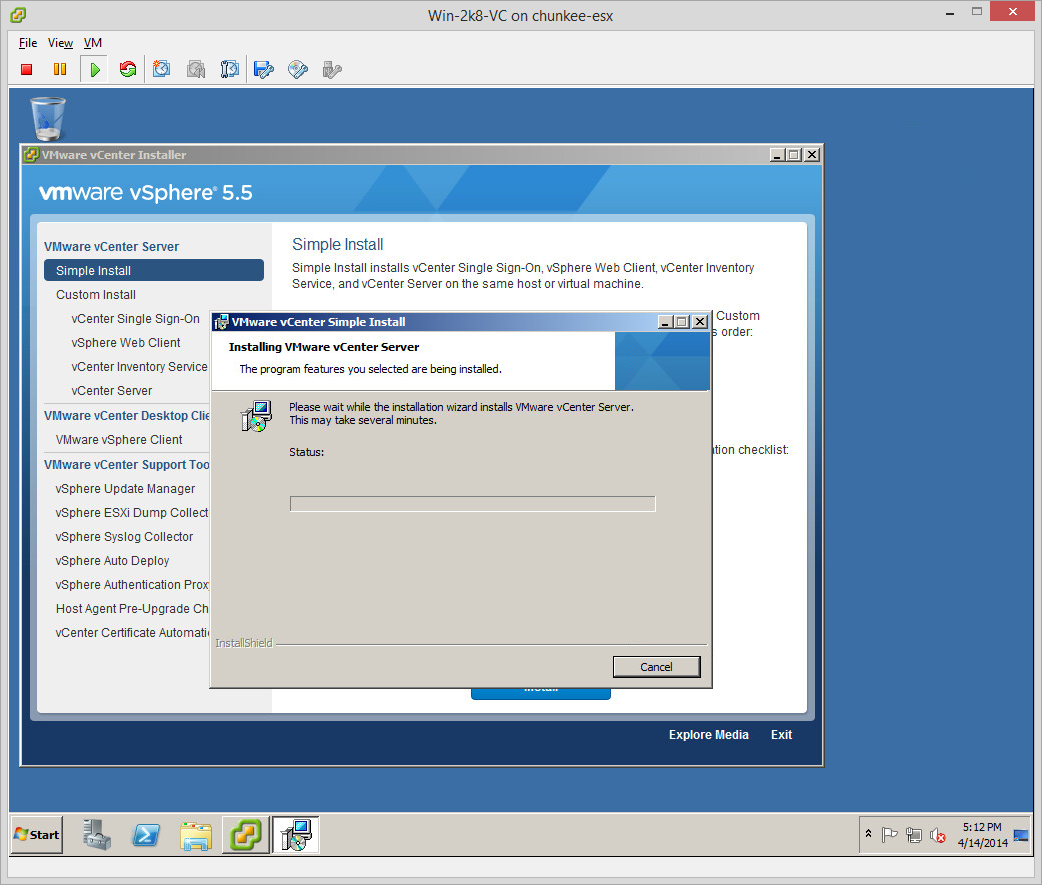
With the options all set we can go ahead and Install:
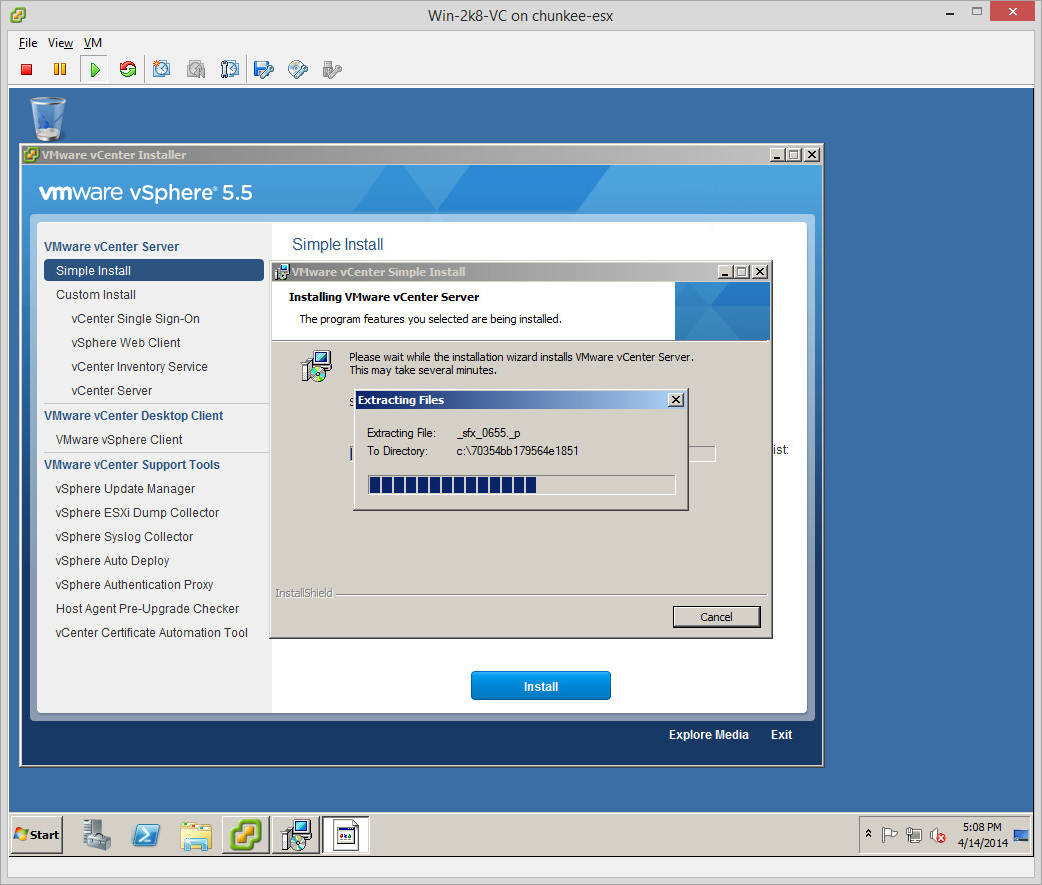
Files will be copied…
SQL will be installed and configured via unattended script:
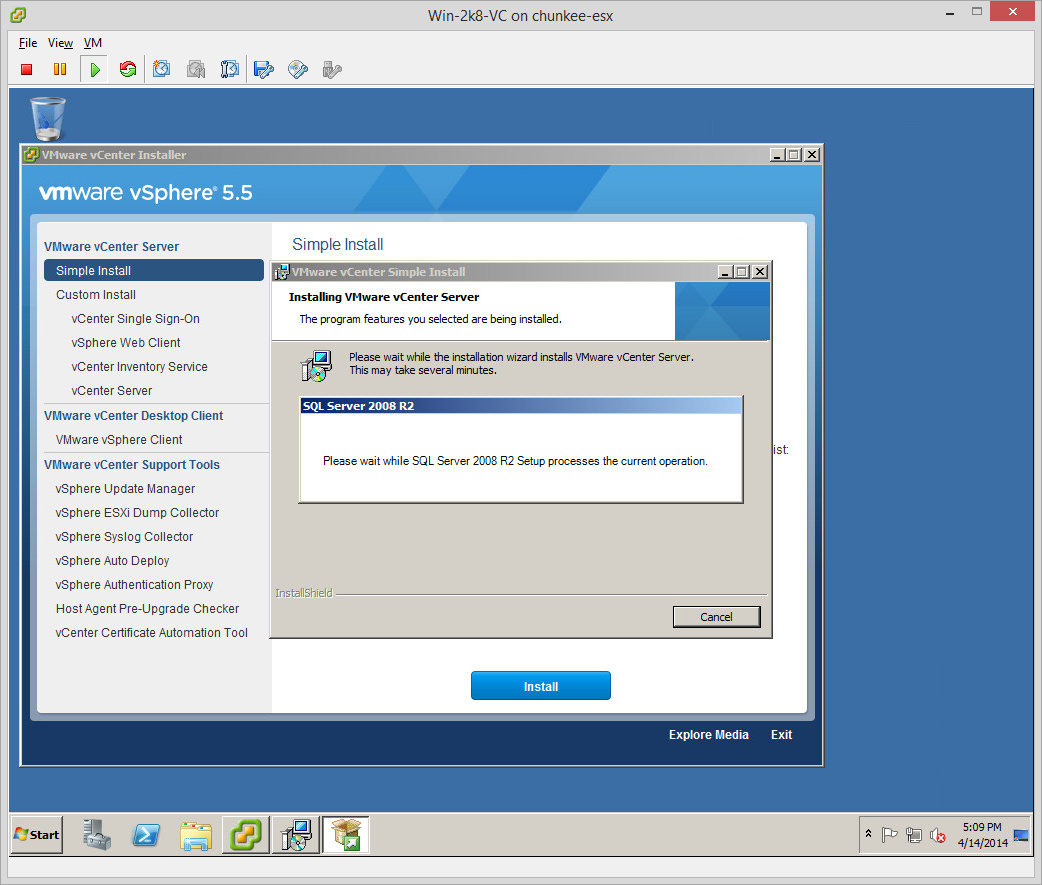
Have patience while it runs…
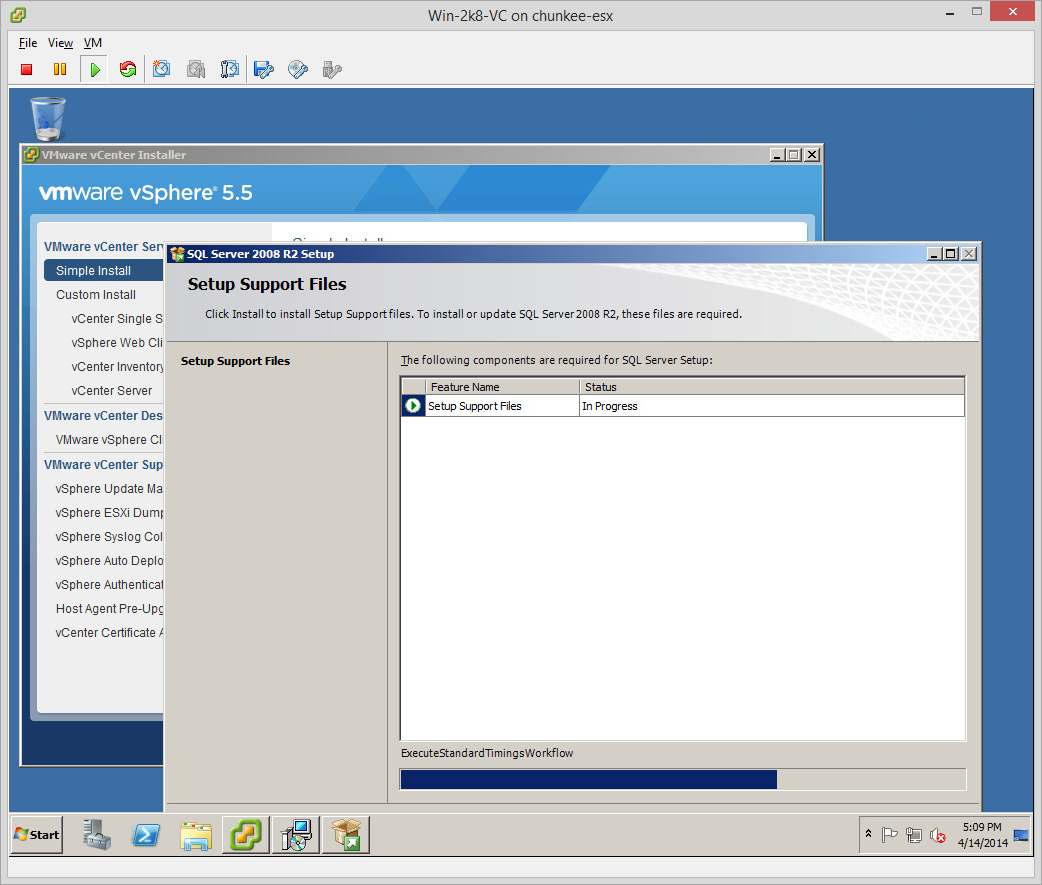
You will watch the entire SQL Express install process run lights out:

When it is complete, vCenter install will continue:
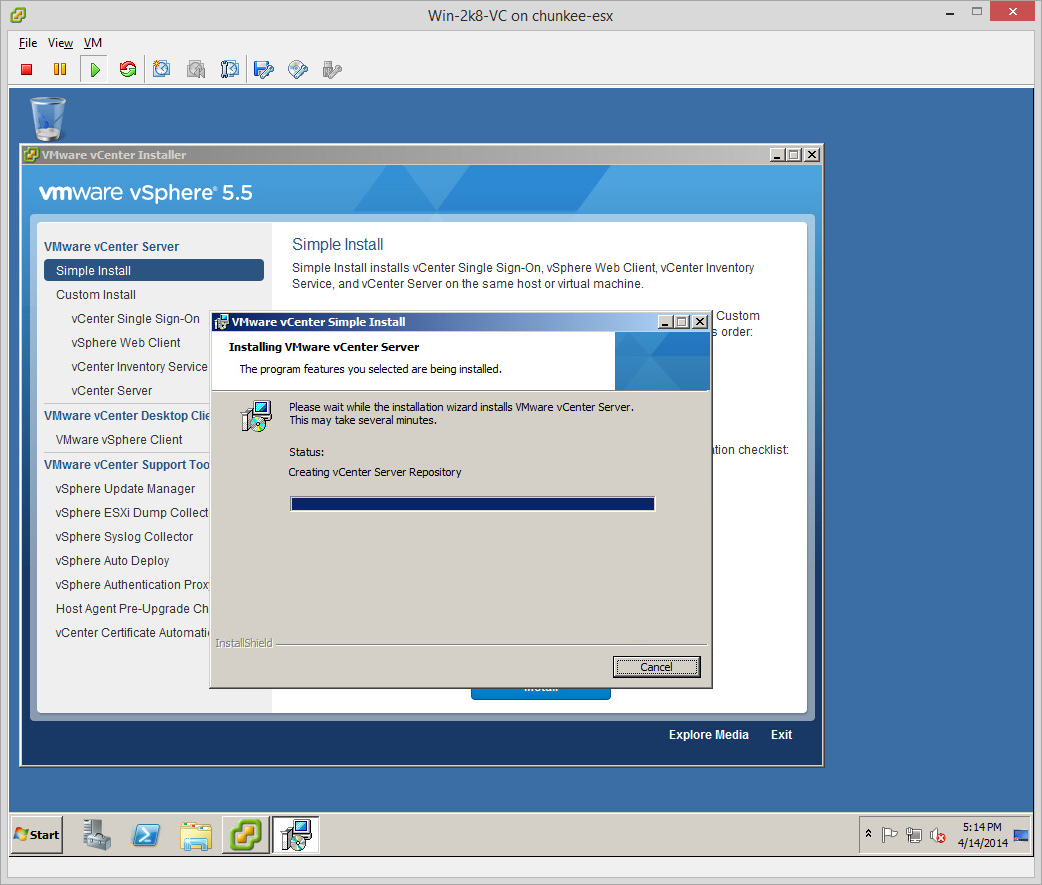
Still more files will be copied…

Various configuration tasks will be run:
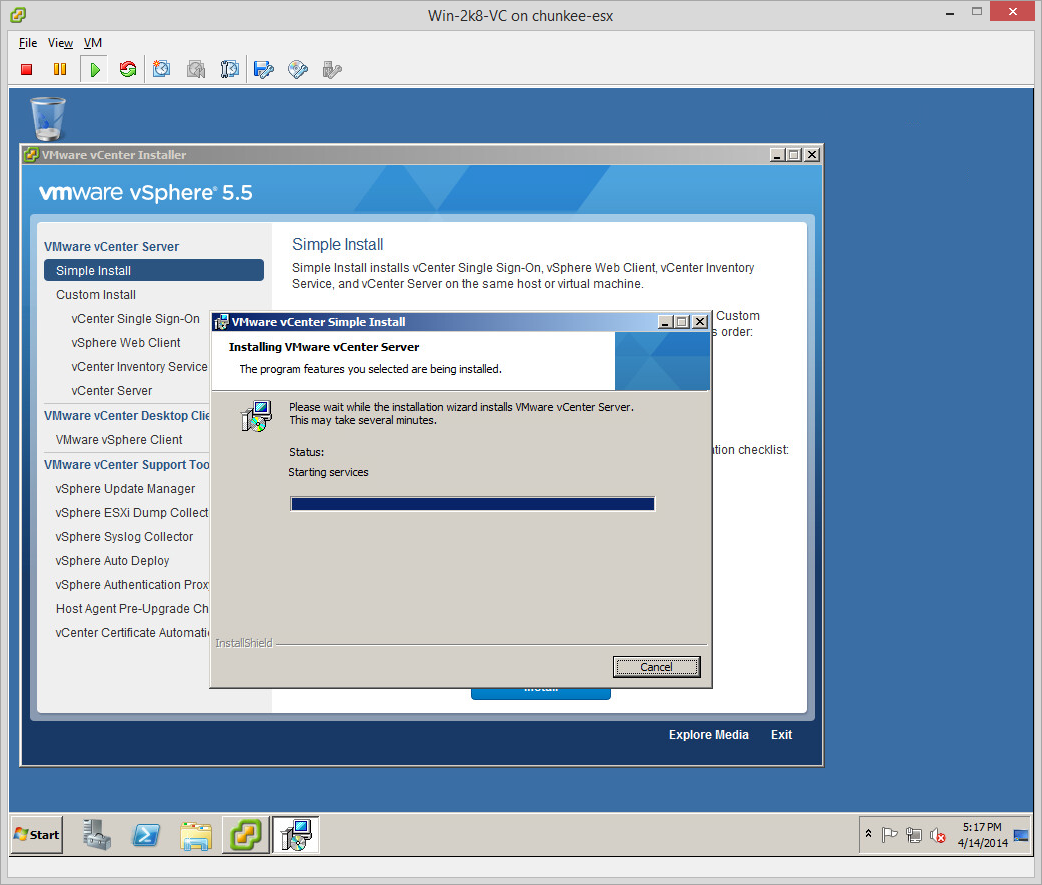
Once completed, the services will start:
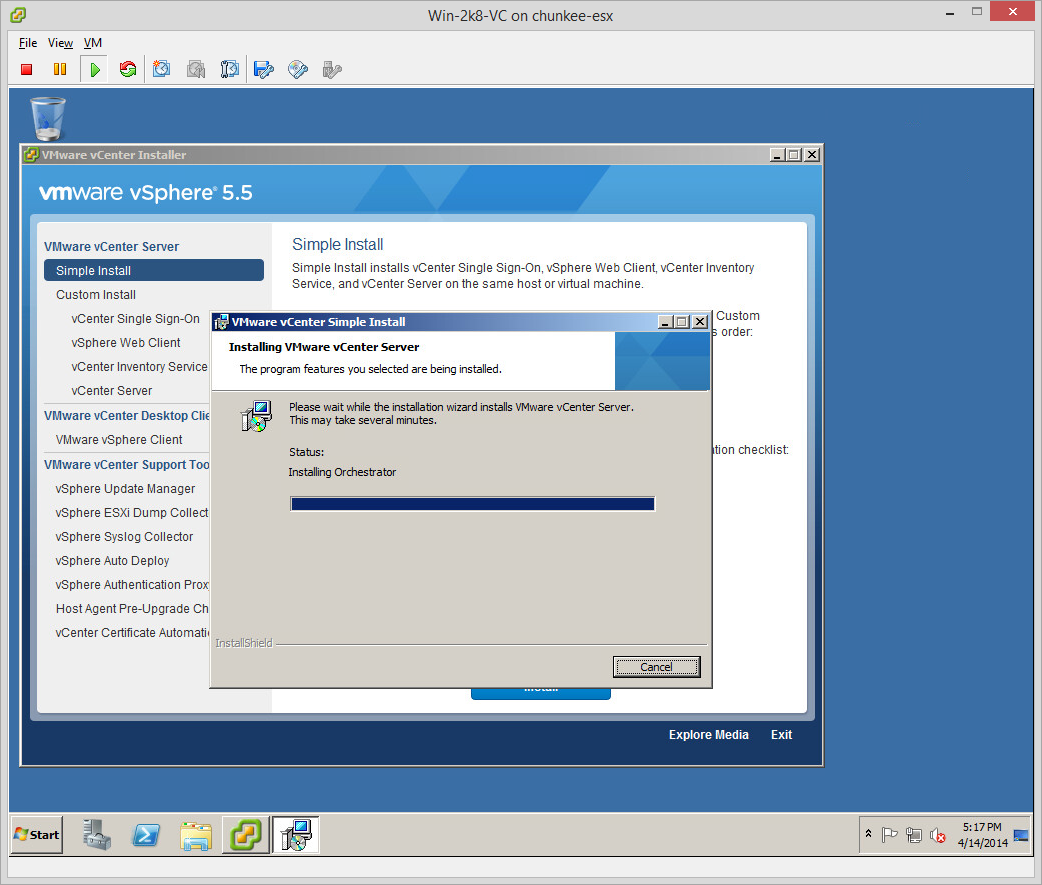
Additional components will be installed (in this case Orchestrator):
Profile driven storage…

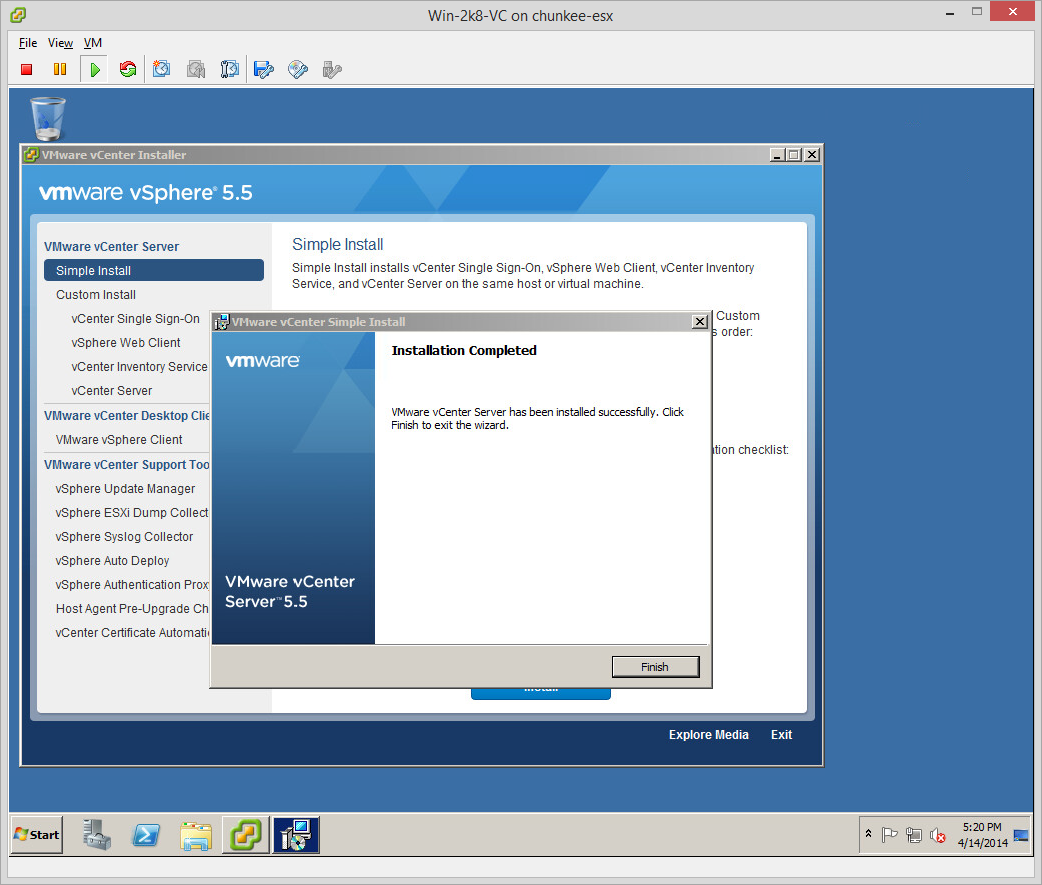
And we’re done!
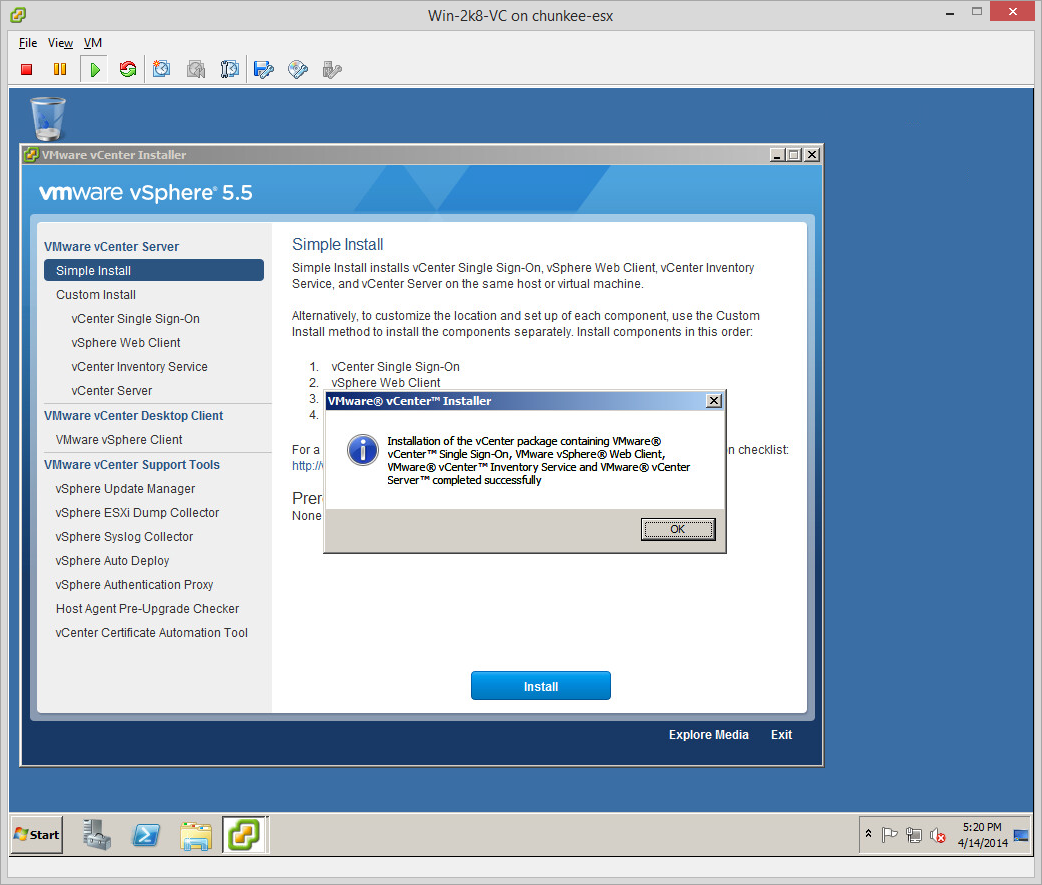
At this stage the main Installer finally gives us the “all clear”:
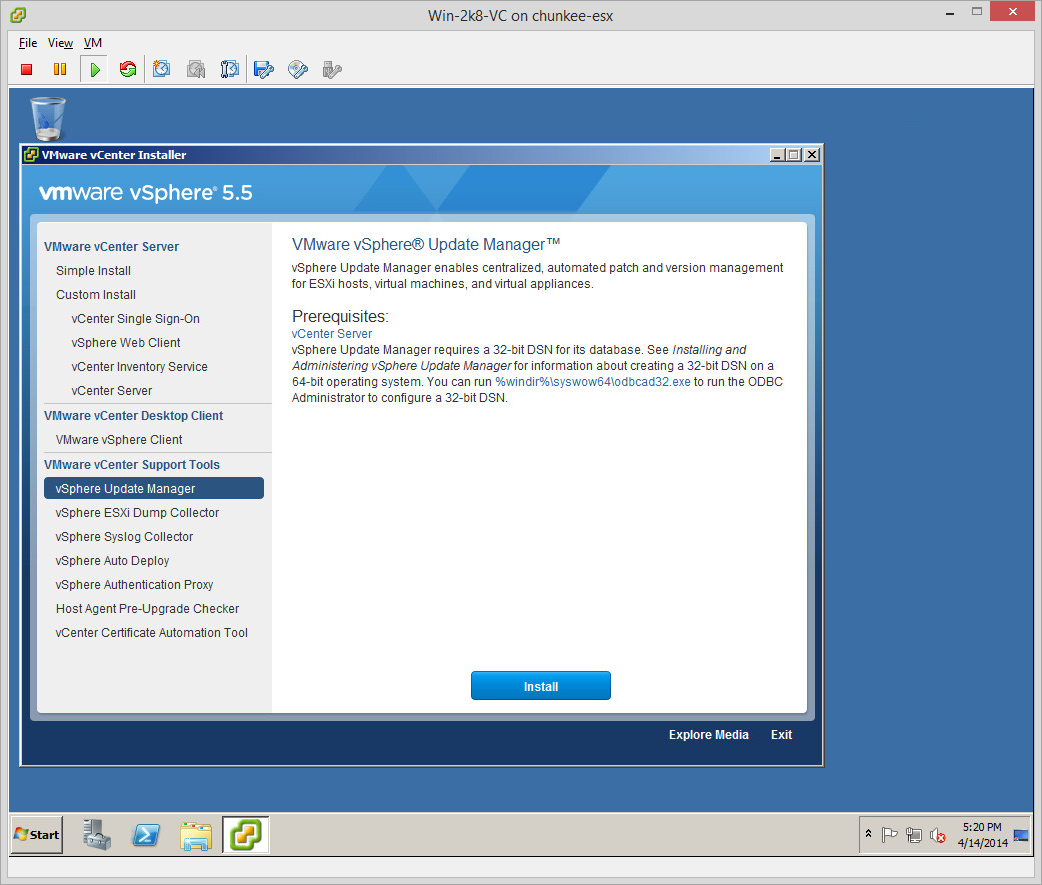
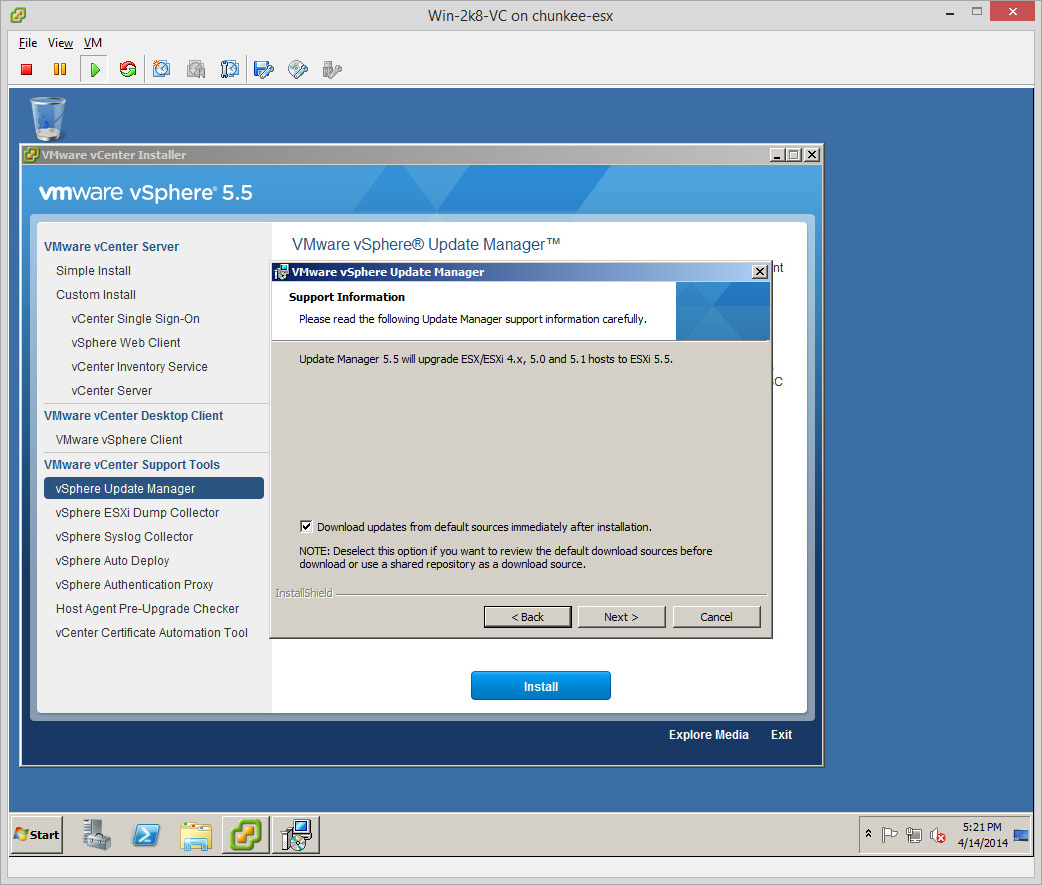
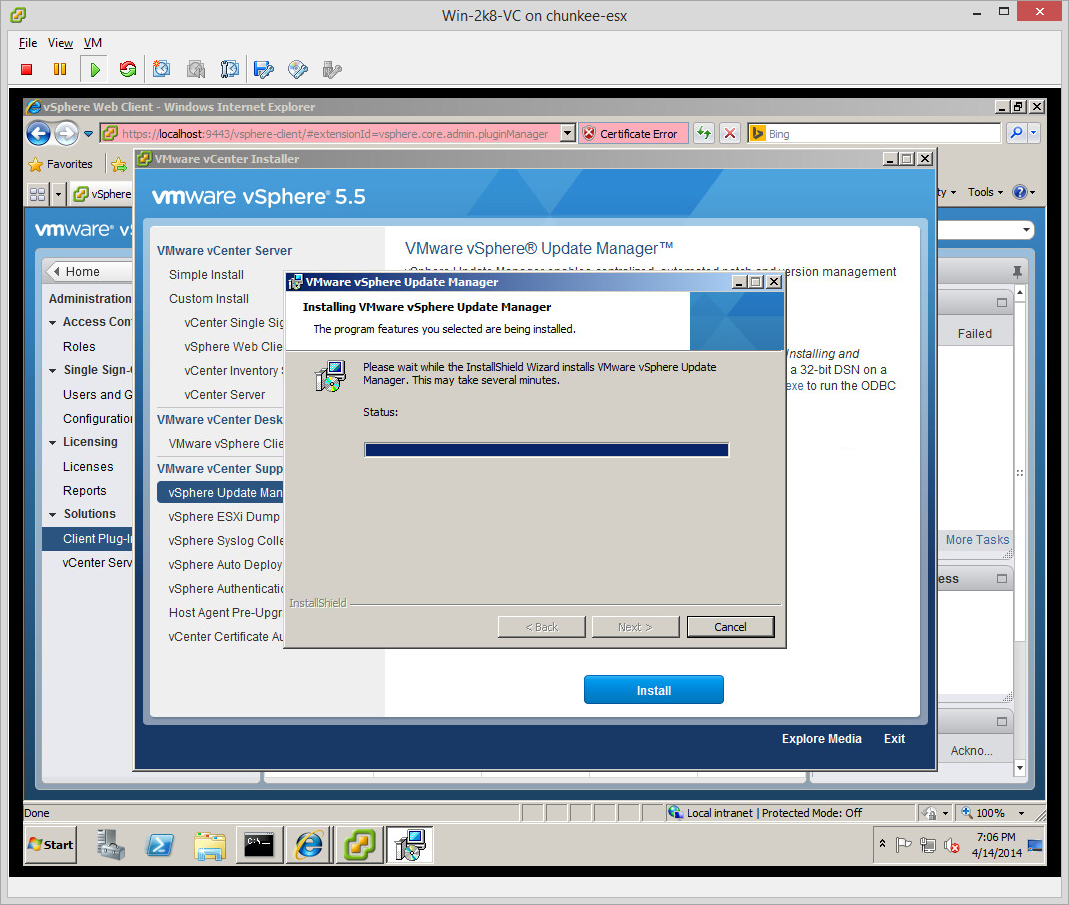
Next I choose to install the optional Update Manager. Update Manager should be installed on the administrative console that will be used for managing the server farm via GUI. In my case I tend to run the GUI right off of the vCenter server quite often, so I install here:
Install starts:

Warning that Update Manager will upgrade hosts and also a chance to setup the first download immediately following install:
Provide the vCenter creds for Update Manger (note: the SSO Admin creds, or another admin user if you have created an additional one are wanted here):

Once again we select a data store:

And once again an opportunity to specify network port and address assignments, this time for Update Manager:

A change to change the path:

A warning about disk space if the installation volume is south of 120GB. I disregard as you can always grow this volume if you need to and my lab won’t exceed 40GB anyhow:

Files copying, a recurring theme!

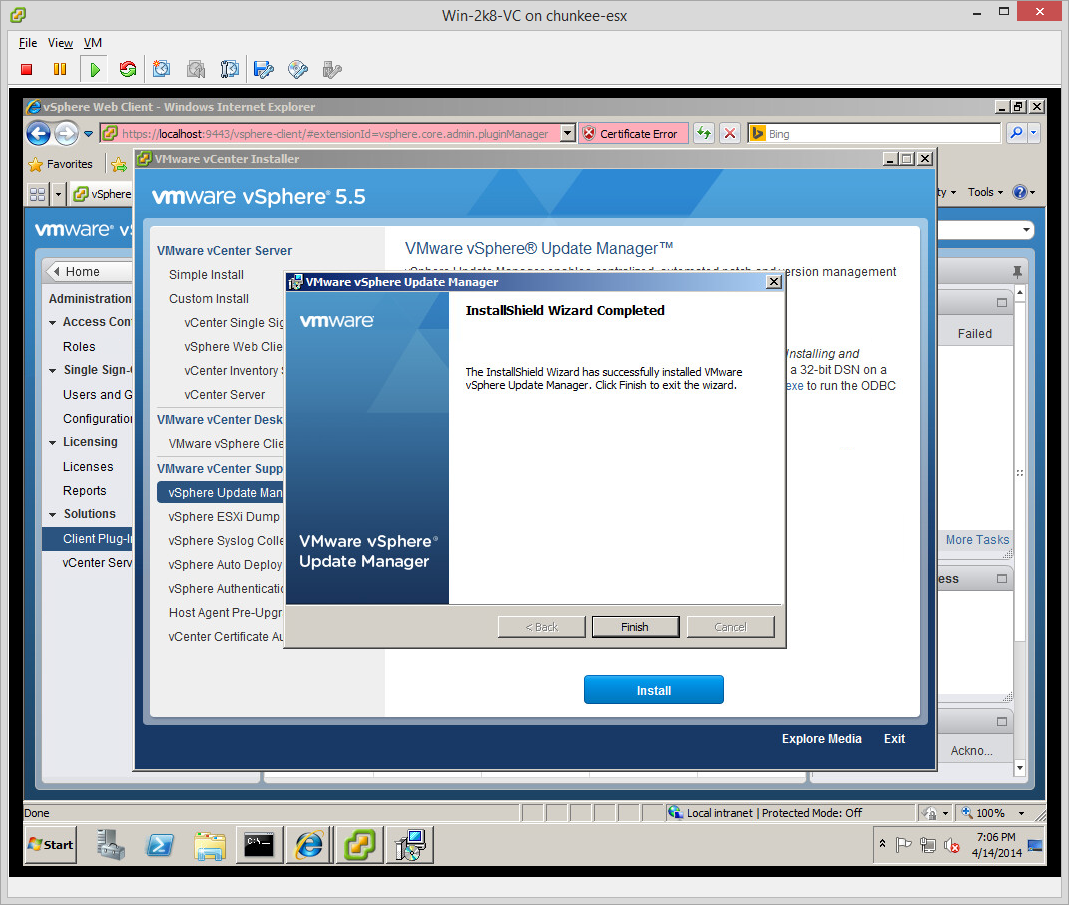
And we are done with Update Manager:

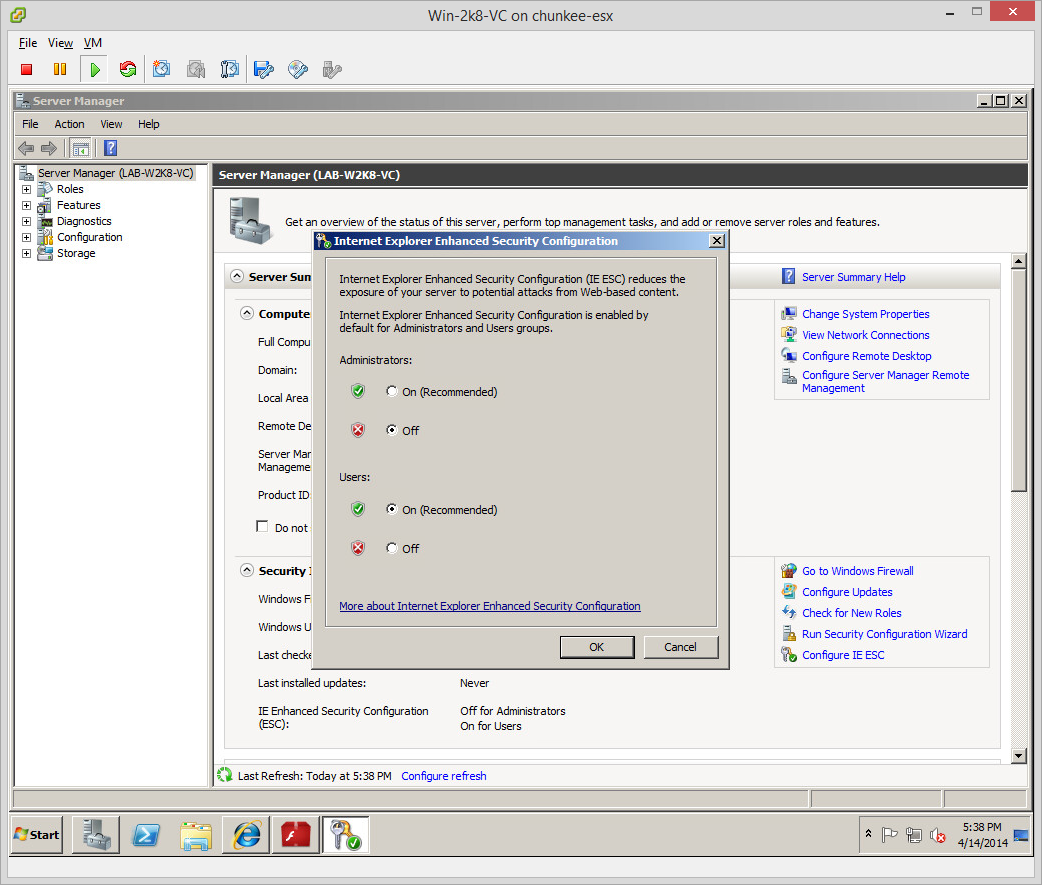
Next I decide to check out the vSphere Web Client since this has become the official client (the legacy client is being deprecated). Of course Microsoft chose to annoy admins the world over nearly a decade ago and lock down Internet Explorer to a ridiculous degree by default. As a result surfing anywhere is a nightmare initially. First step (for me) is to kill IE Enhanced Security Configuration which is done through Server Manager:
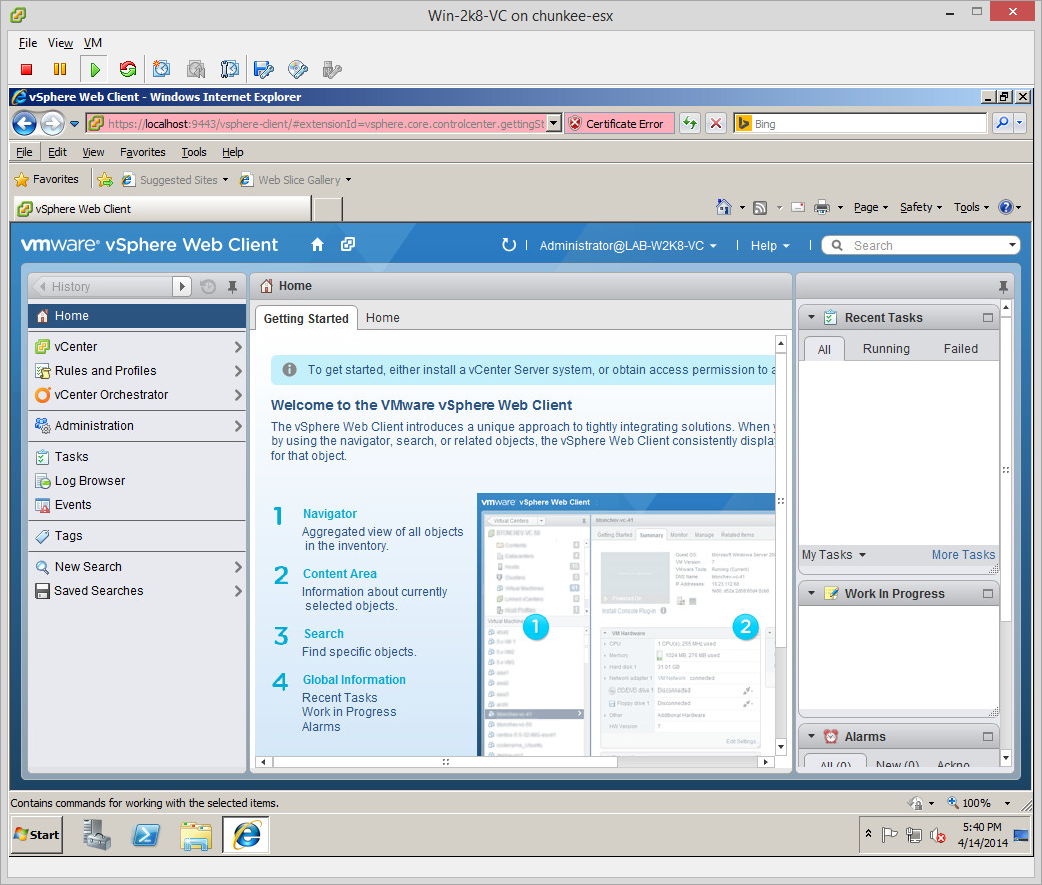
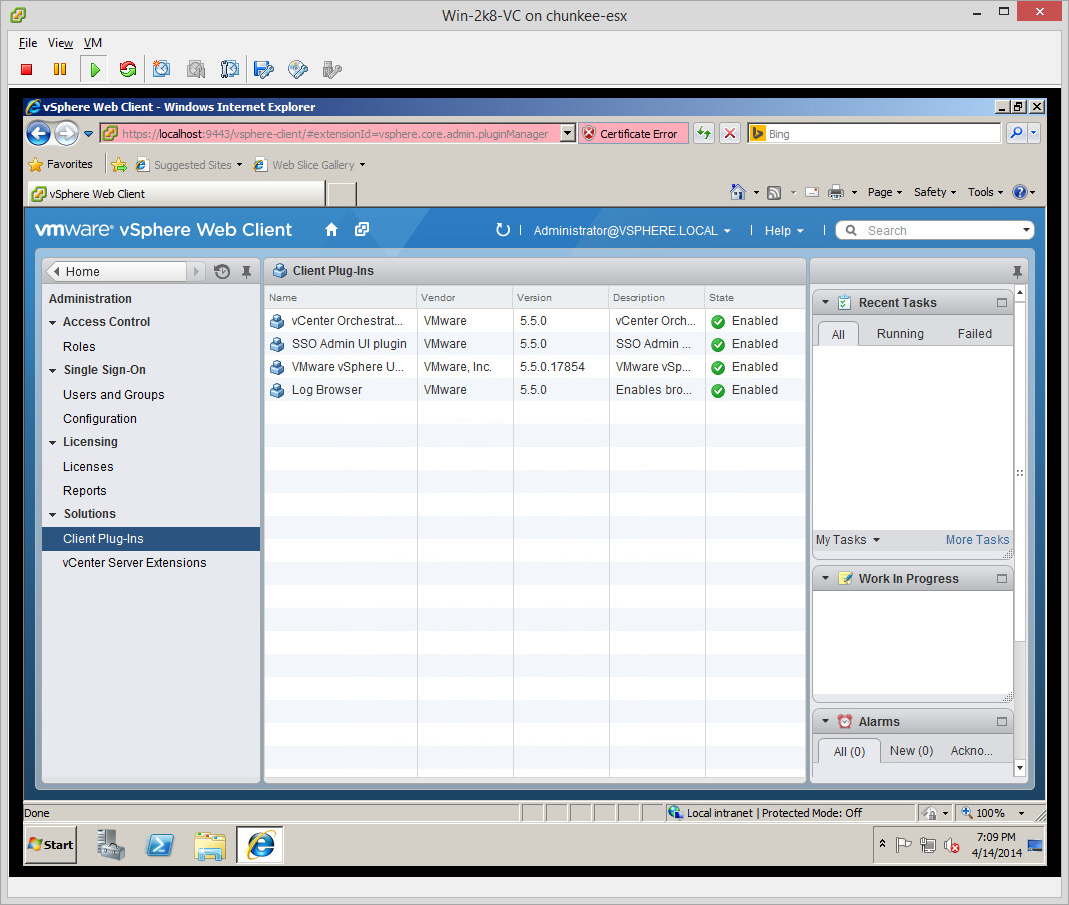
With that done we can check out the web client. Note that it is on port 9443 (as per our install configuration) and you will need Flash (boo! hiss! seriously though, this requirement needs to go). To login you will again need the SSO admin credentials if and until an alternate user is created. The web client looks really sharp:
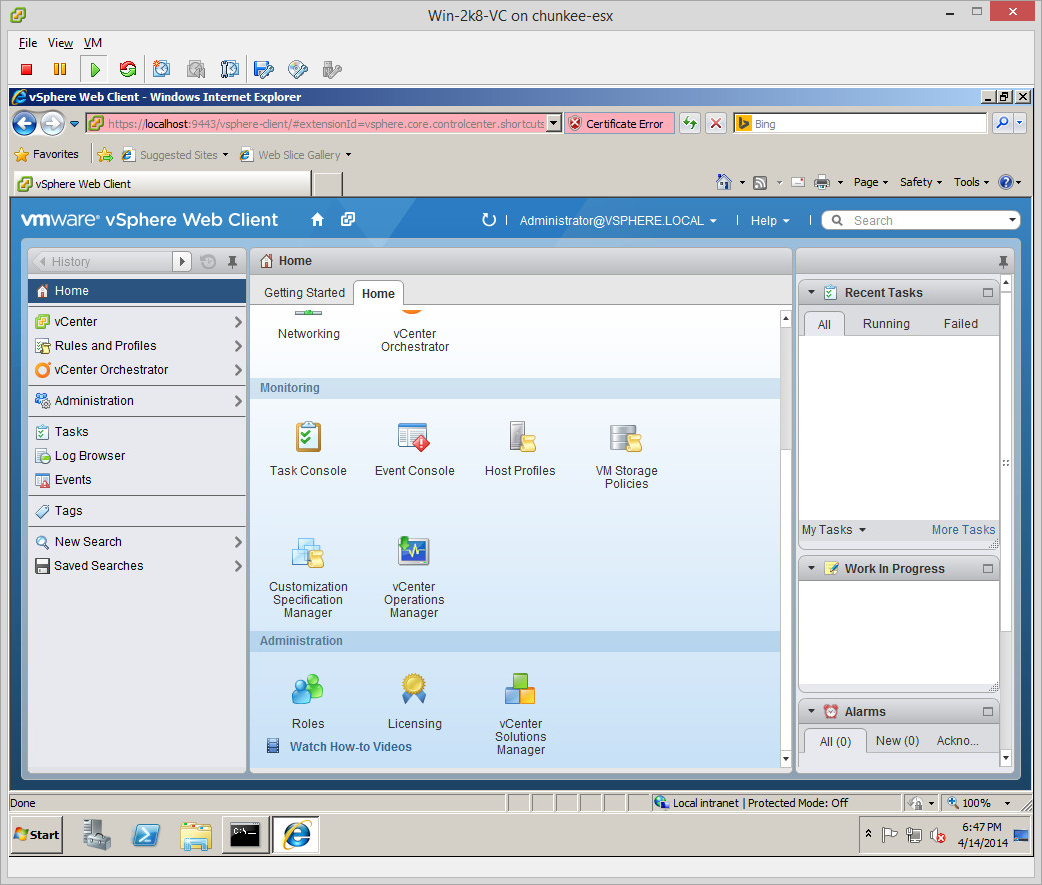
First stop I decide to explore the SSO config and add Active Directory as an authentication provider. Head over to Roles:
We can “Add an Identity Source”. I choose AD as an LDAP server. You will need to provide domain, DN and context info and syntax is super important. You can refer to the screenshot to see the syntax requirements and substitute your own domain info for mine when configuring your own lab. For the login I created a service account, but any domain account that can do a lookup against the global catalog (basically any account) should work:
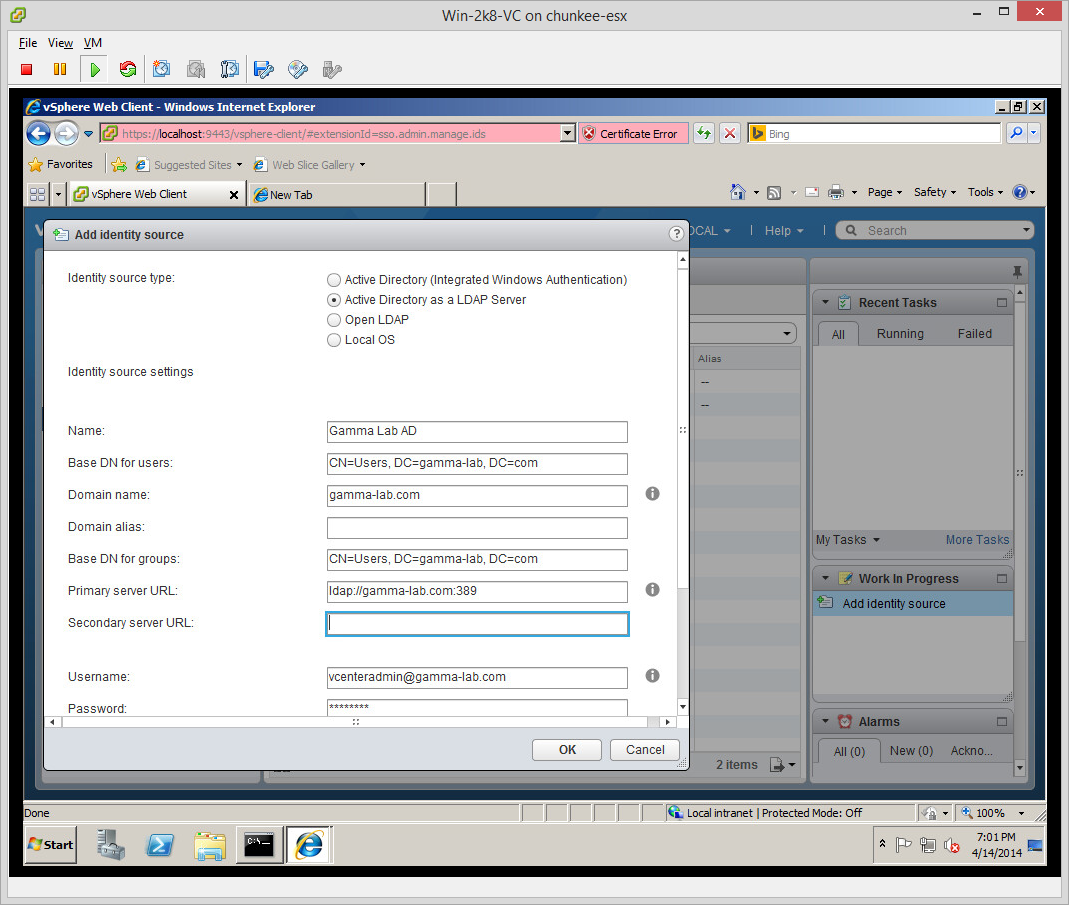
And our AD has been configured as an identity source!
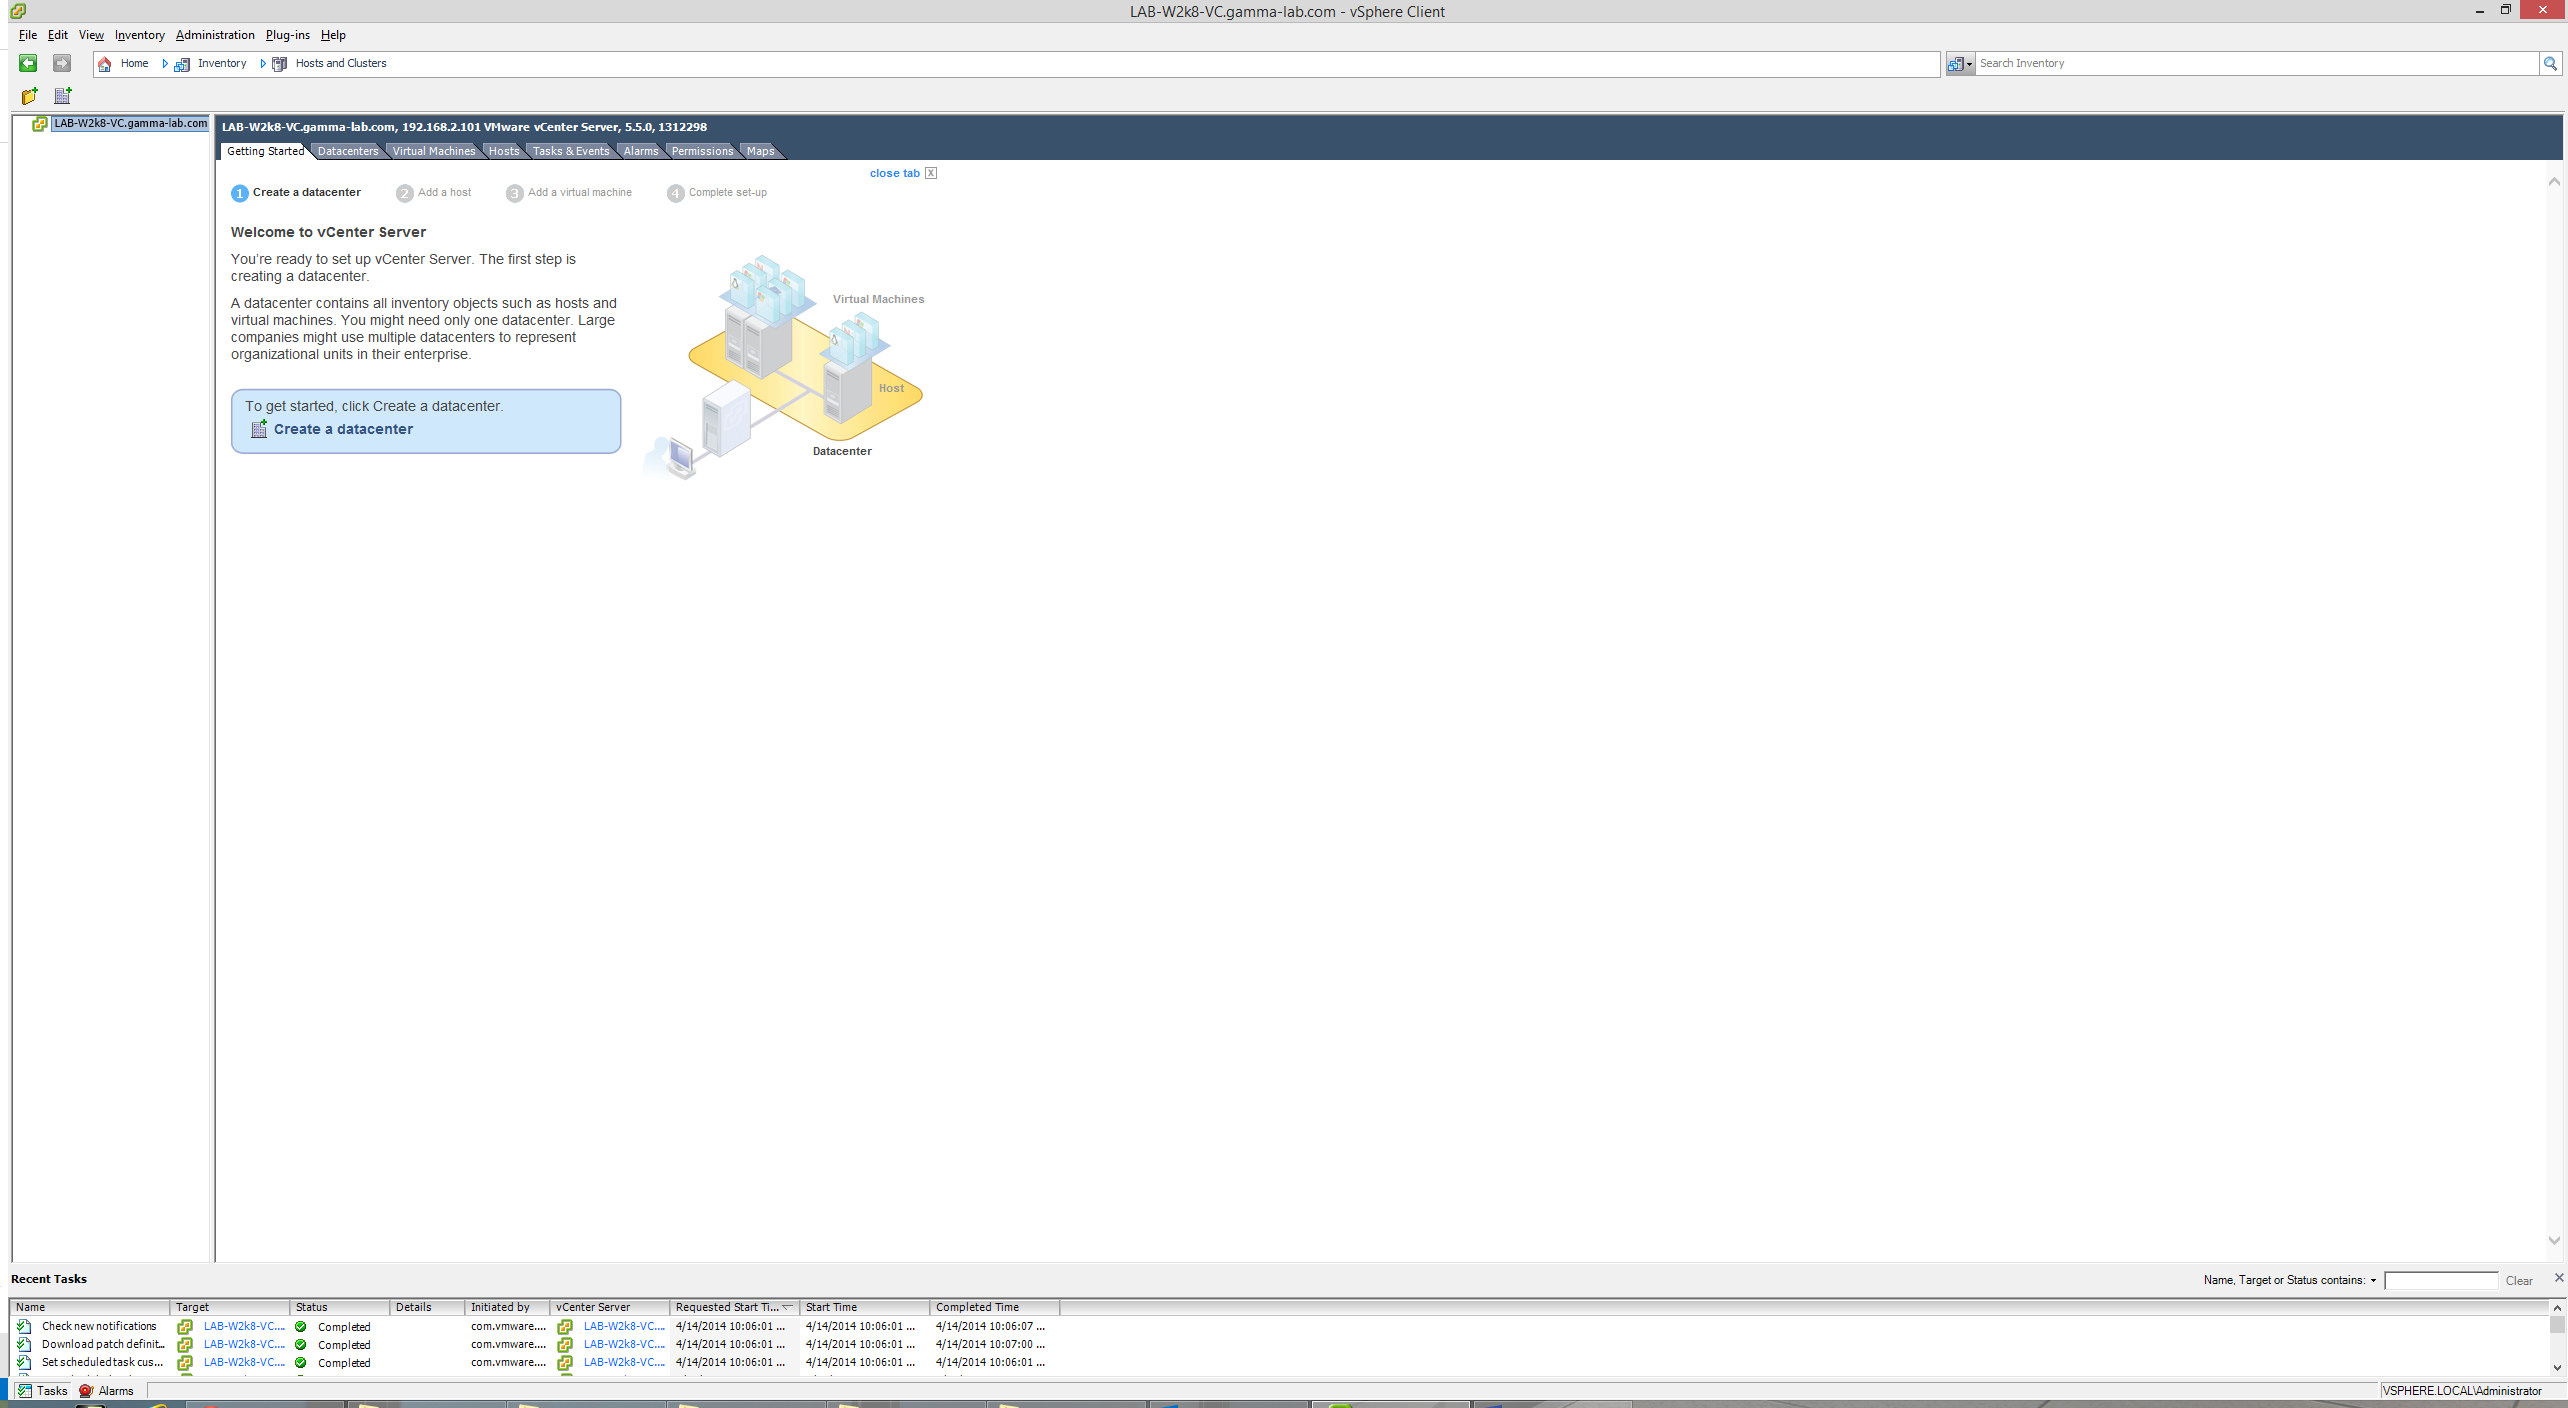
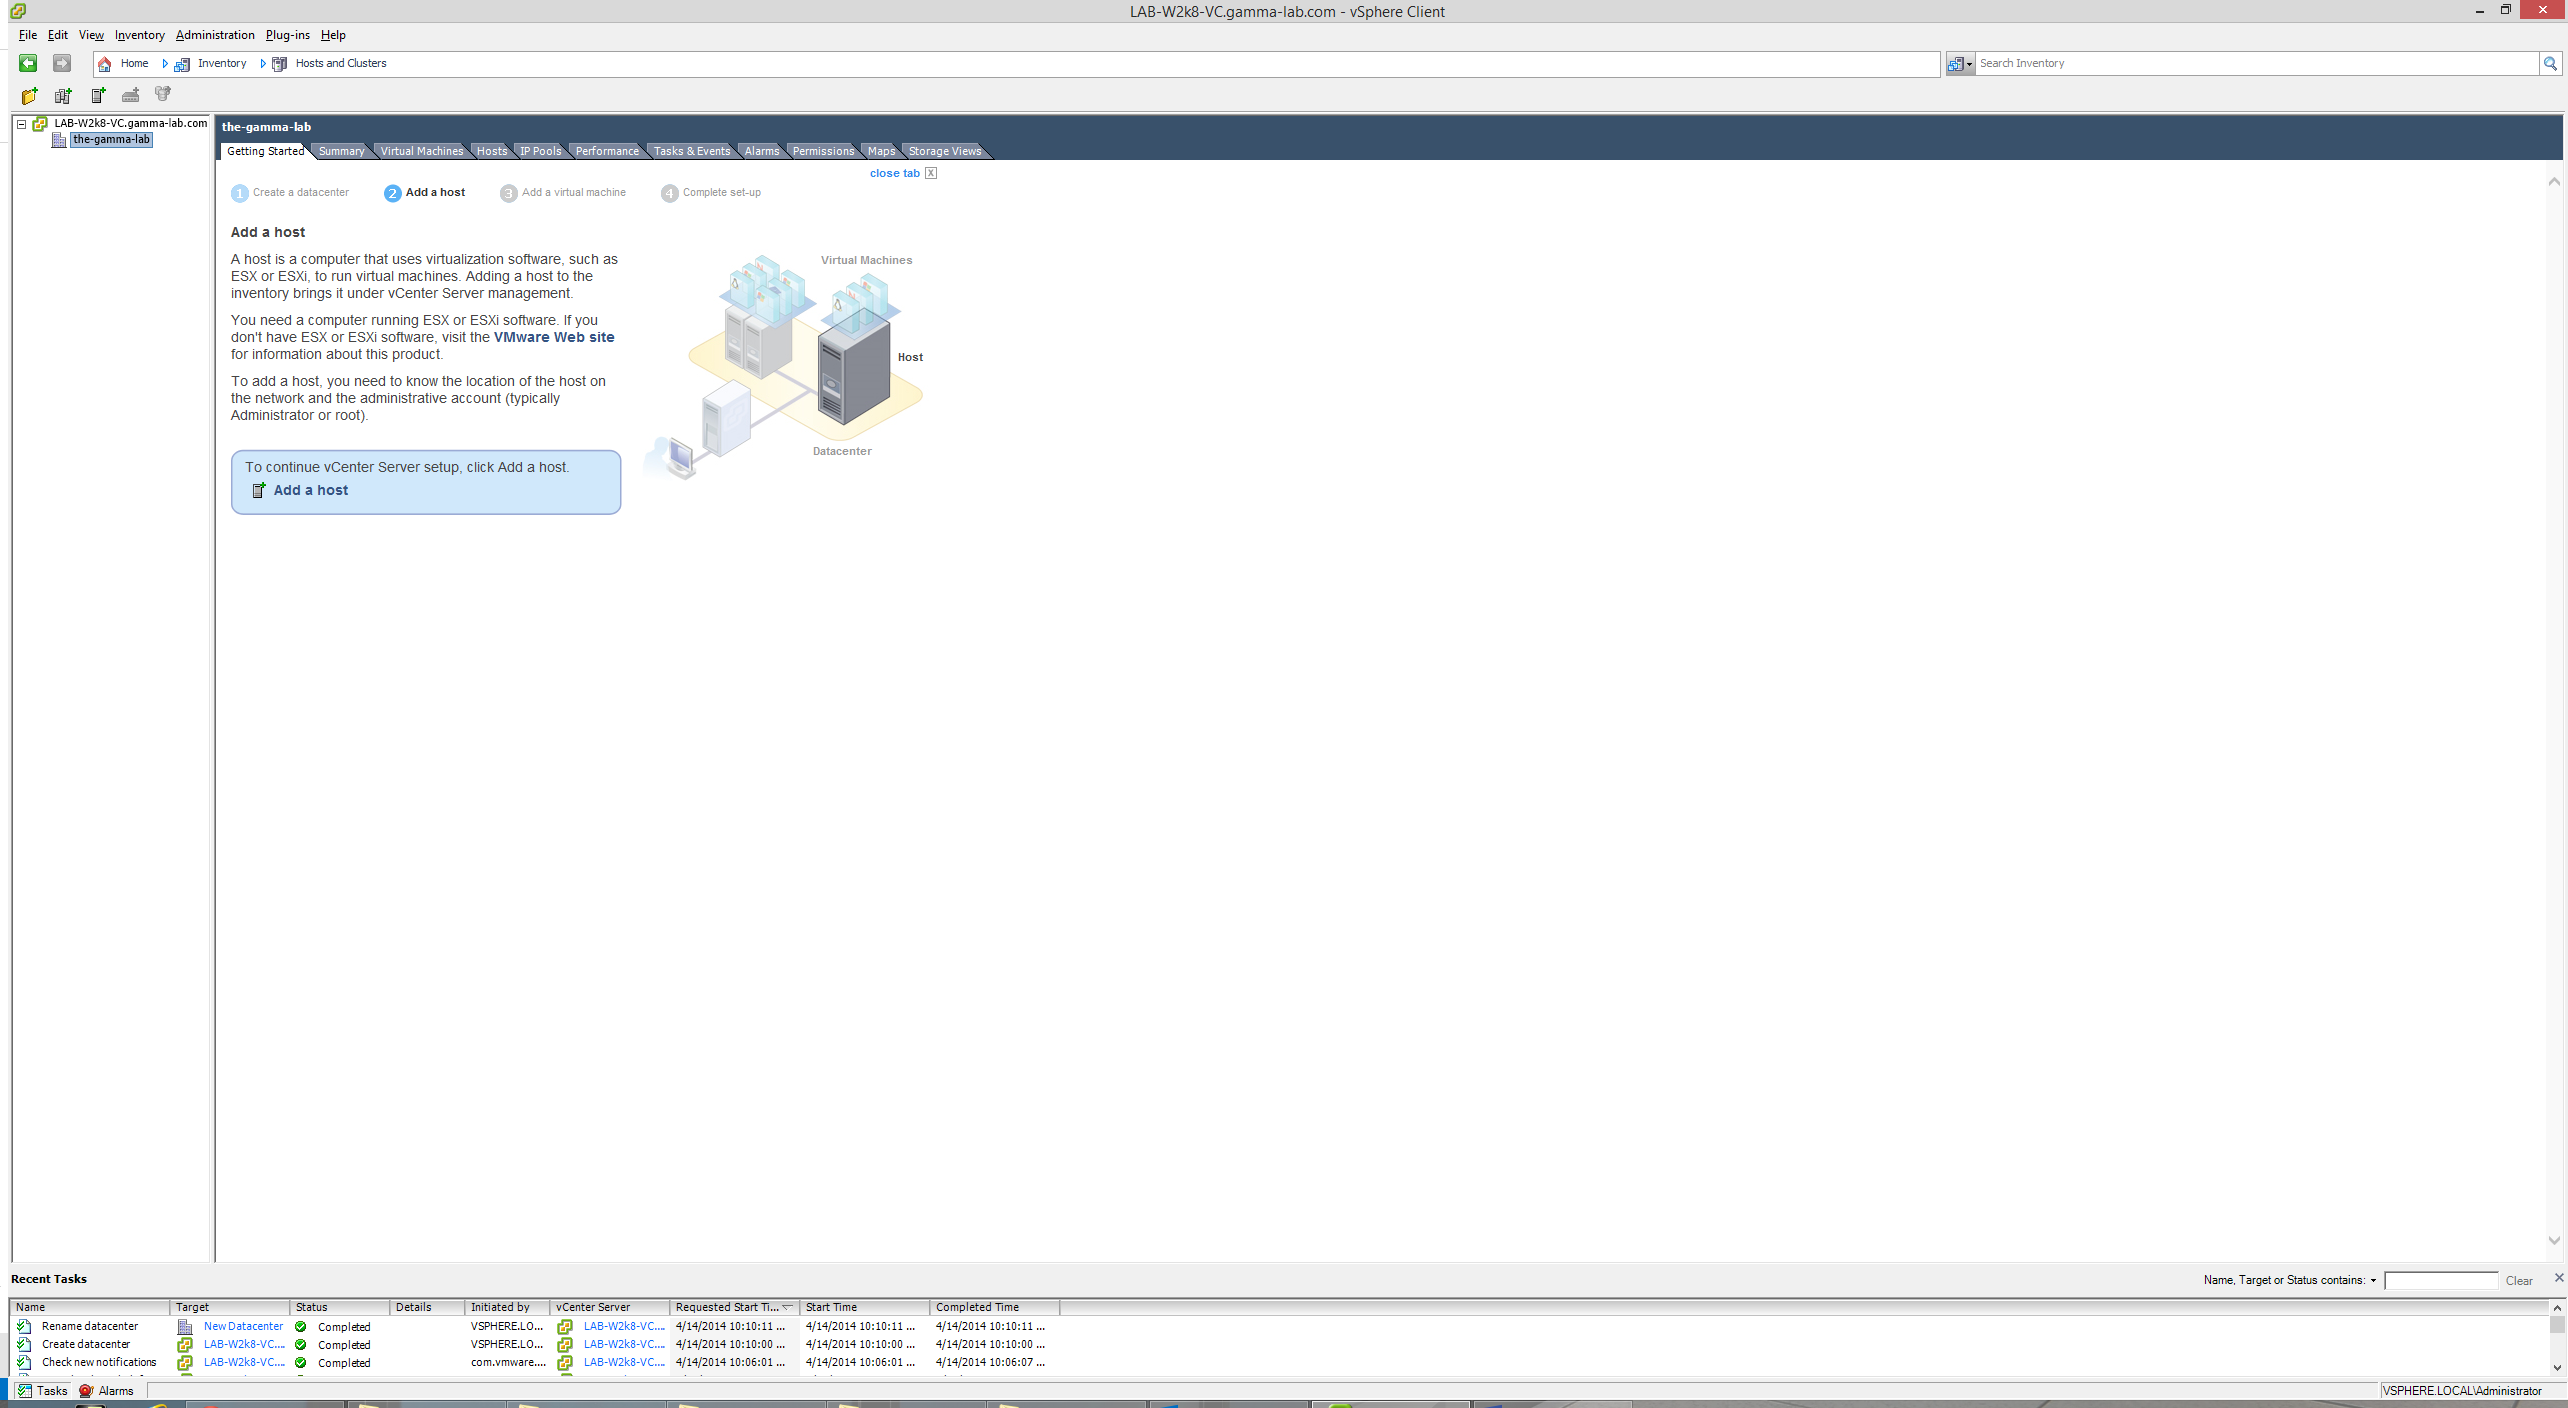
The only thing left to do is configure our base vCenter objects and add our main host to the new vCenter. Let’s go ahead and walk through this quick and painless process. For this I revert to the legacy client just because I’m finding it hard to cut that cord and I am less efficient in the new client. It’s probably good that VMware is taking away the crutch though or I’d likely never learn my way around the new one! For now we’ll stick with legacy though. After connecting, we see a pretty blank slate. The first step is to go ahead and “Create a Datacenter”. This pretty much just requires choosing a name at this stage:
With our new datacenter object in place, we can go ahead and “Add a Host”:
We need our host IP and root login credentials to get started:

Acknowledge the certificate alert (incidentally running an enterprise PKI and configuring all of the elements to use it and reference an enterprise root would remediate the endless alerts):

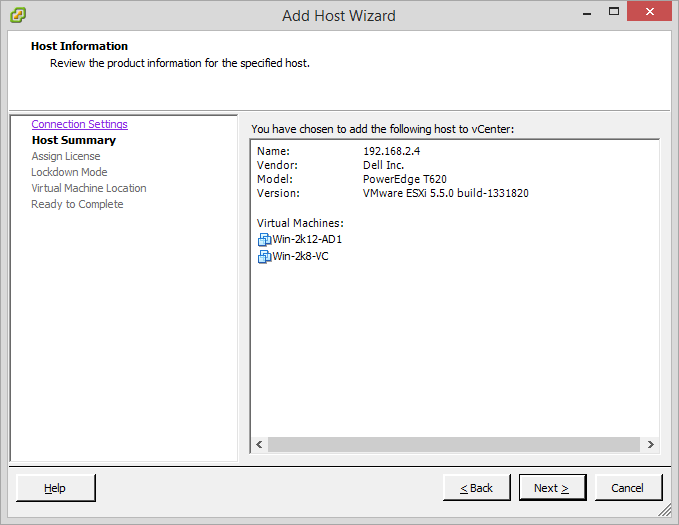
Confirmation that the host was discovered and a chance to verify before continuing:
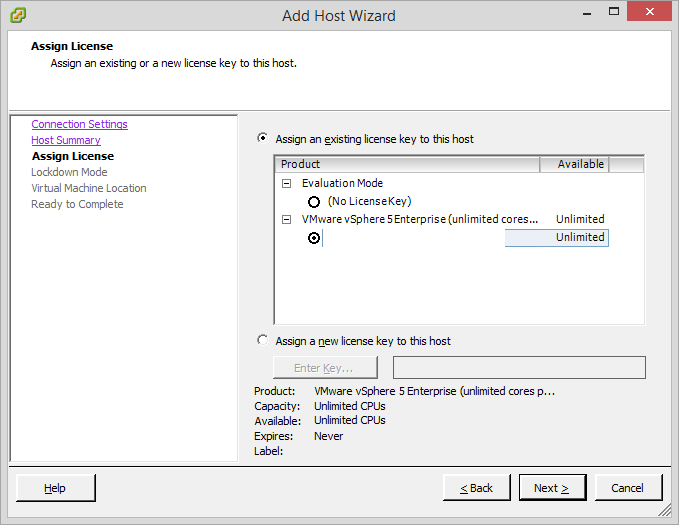
Enter a license key (redacted to protect the innocent!):
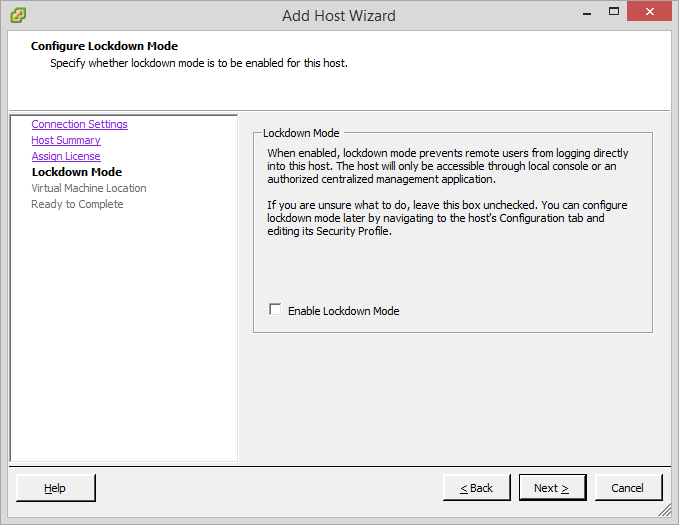
Configure lockdown mode if that’s your thing. I endlessly SSH into hosts so this definitely stays off for me:
Choose a datacenter to add the host to (we only have one):

Review all of the info provided so far and finish:
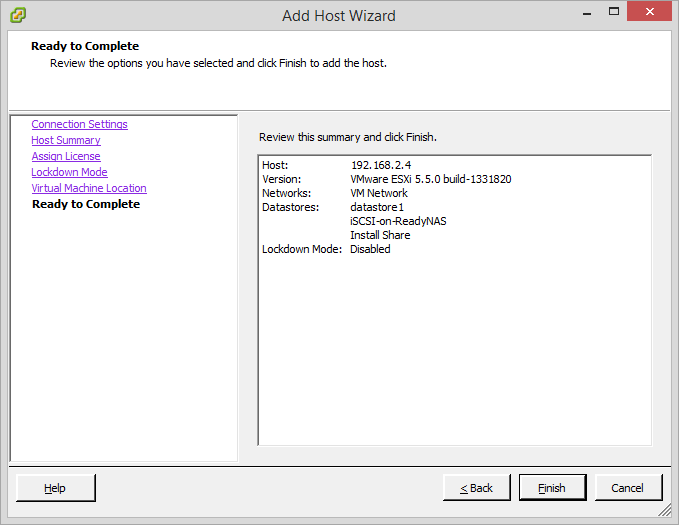
And that’s it! Our host and it’s associated resources and VMs have been added to the vCenter and should now be managed through the vCenter interface:
OK, that’s it for the sidebar. You’ve seen how vCenter was setup and configured in between the first host installation and the nested ESX configuration where we left off. Back to the main action!
