Sometimes it’s the little things that really make a big difference. VMware recently released a little bit of code that provides a quantum leap in the vCloud Hybrid Service user experience. As most VMware pros are aware, the web client is now the client for VMware administration. Increasingly, tasks can only be performed in the web client. While I definitely feel nostalgia for the legacy desktop client, time marches on and so it’s no surprise that the updated vCHS support was integrated into the next generation client only. With extremely cool bits like the vCHS plugin (spoiler alert!) and the vCOPs and vCIN plugins it won’t be long before the legacy client is just a fond memory!
Unfortunately the install process isn’t exactly intuitive, although the result is worth it, so I thought an entry might be useful. First thing to do is download the bits. They can be found here – note a My VMware login will be required for that download. There are two files to grab, one is the “Installer” (this is a stretch in terms!) and the other is the actual plugin itself. Grab them both and put them onto the vCenter Web Client server. Unarchive the installer into a temp directory, but keep the plug in itself ZIPed up. This walk through will focus on the Windows install, but it’s very nearly the same workflow for Linux.
There are a few pre-requisites before getting started. The first is to install Java and add the JRE binaries to your path doing an EXPORT in Linux or editing the Environment Variables from Advanced System Properties in Windows. The next pre-requisite is an odd one. We need to localize a copy of the vCHS SSL cert. The reason for this is that the cert needs to be imported into the web clients trusted certificate store. On Linux OpenSSL and some text processing can be used to do this quickly:
echo -n | openssl s_client -connect vchs.vmware.com:443 | sed -ne '/-BEGIN CERTIFICATE-/,/-END CERTIFICATE-/p' > vchs.crtIn Windows we can use the GUI. First up is to navigate to https://vchs.vmware.com in IE and install the cert. First, from the View menu select Security Report:

This will present a website identification dialogue box with the option to “View Certificates”:

From the certificate dialogue, the next step is to “Install Certificate”:

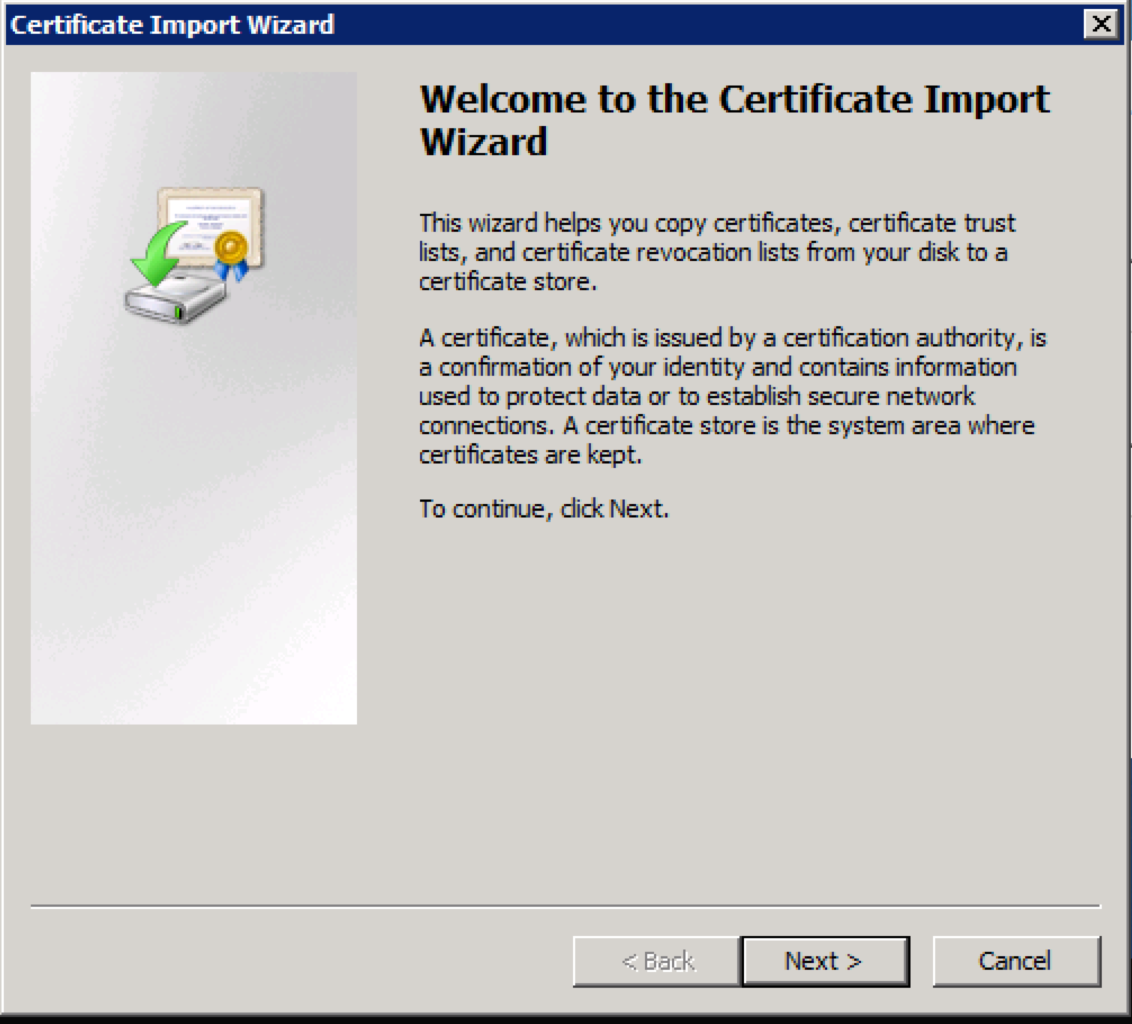
Click through the Certificate Import Wizard:
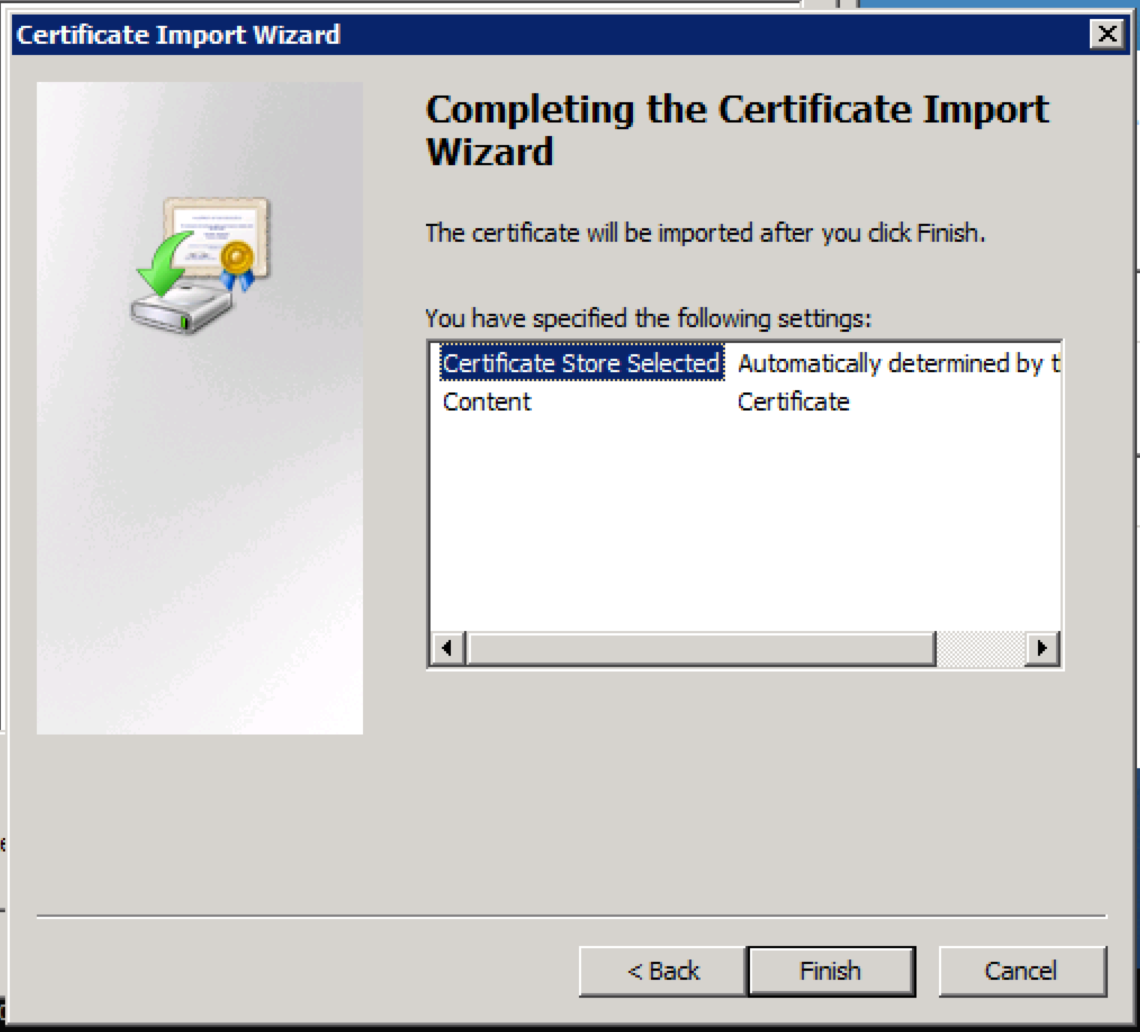
What this wizard is doing is importing the websites SSL cert into the local Windows OS certificate store as a trusted certificate. We can go with automatic placement as all of this is really just an interim step so we can do our export to a file:

Click Finish to complete the import process:
At this point, a copy of the certificate is saved in our local cert store. The next step is to export it to a file. To do this we want to launch the MMC (Start->Run->MMC on pre-Metro versions of Windows) and then, from the File menu, select “Add/Remove Plugins”, select “Certificates”, add it and click OK. This will present a management console configured to manage certs:

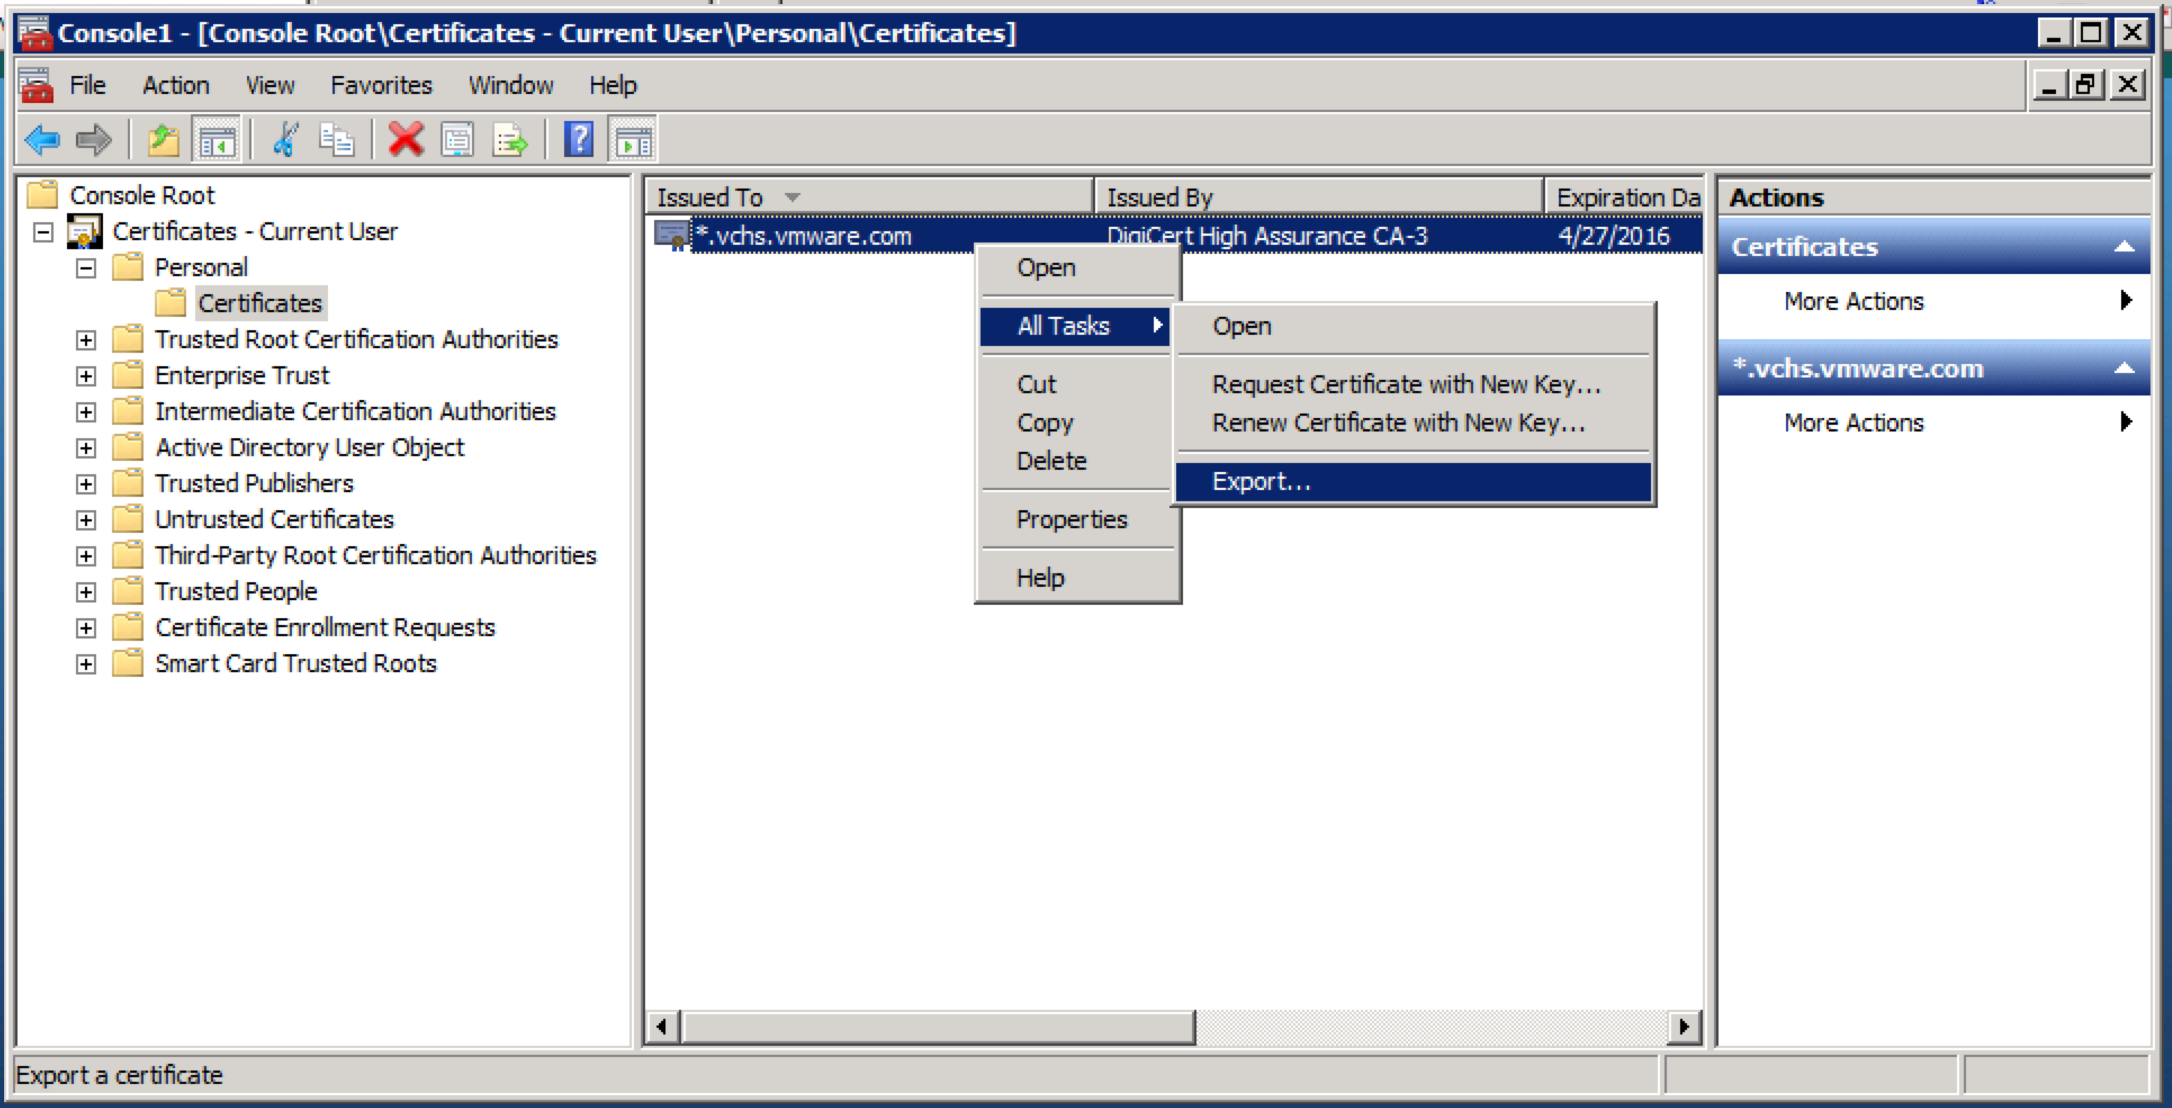
The certificate path we are looking for is Personal->Certificates. This is where the Internet Explorer Certificate Import Wizard saves the certs by default. Sure enough, we can see vchs.vmware.com waiting for us. Next up is to export this cert from the store to a file. Right click on it and select Export:
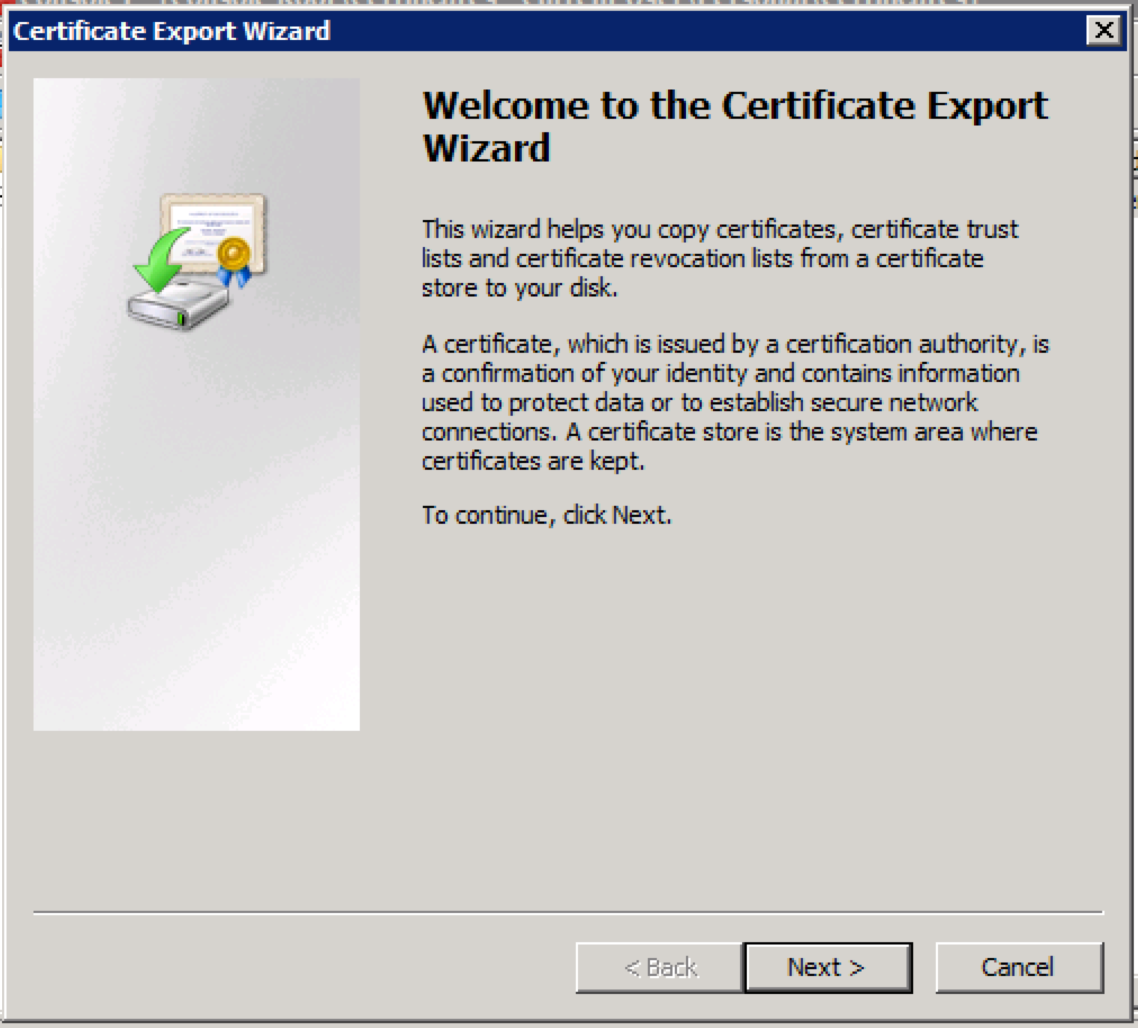
This will trigger the Certificate Export Wizard which is a very similar companion to the Import Wizard:
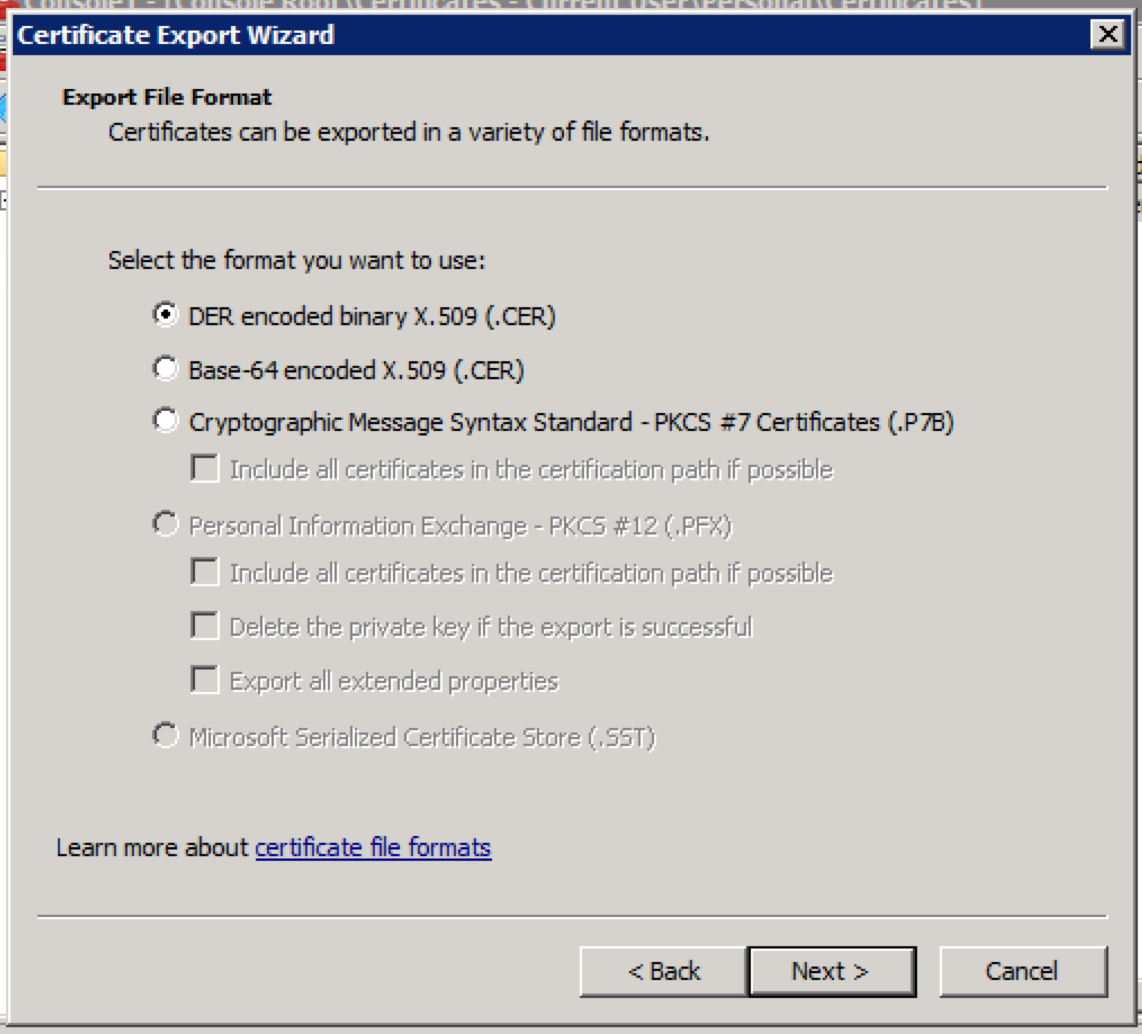
We can stick with the default – DER encoded binary X.509 format with the CER extension:
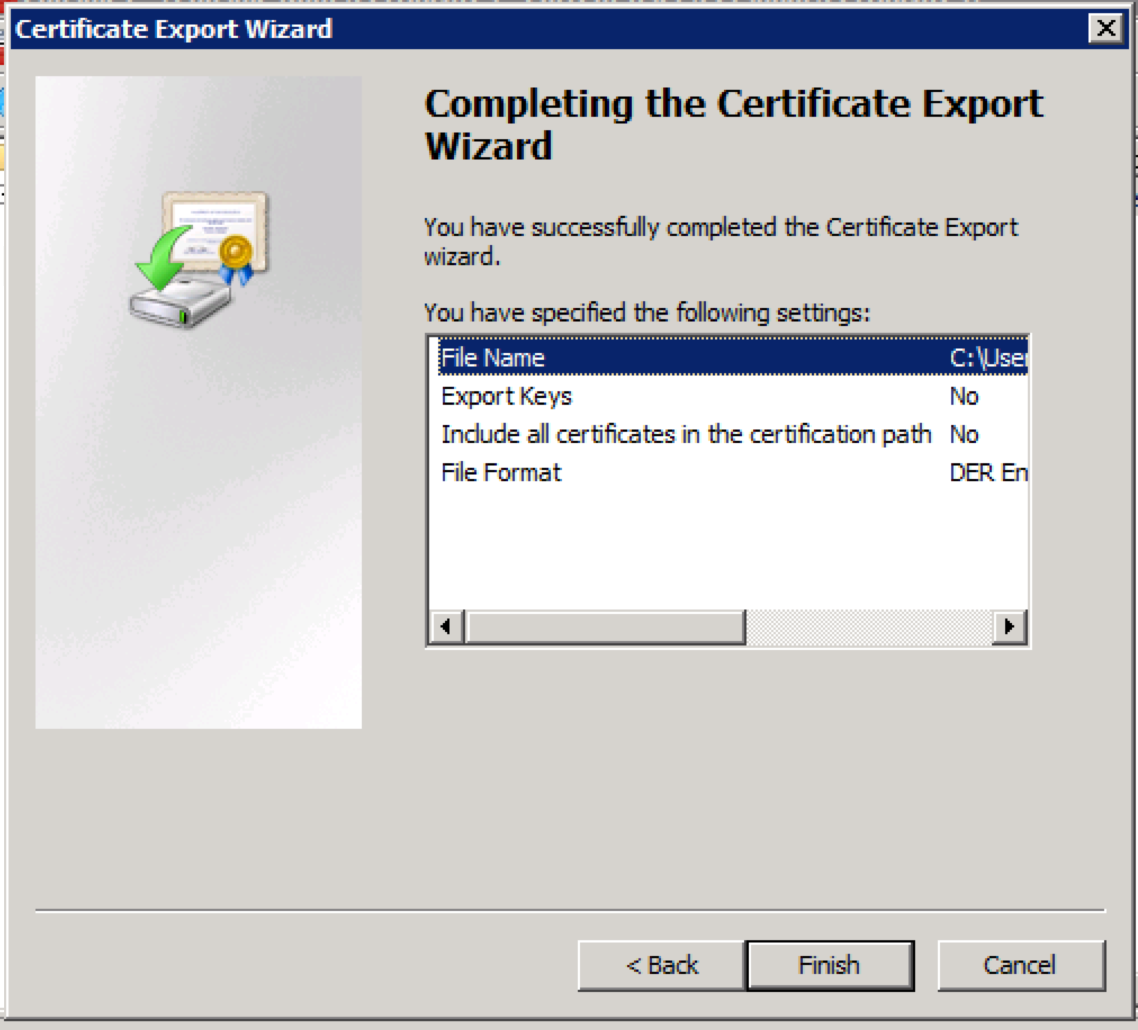
Give it any name, but preferably one short and easy like “vCHS”:

Click Finish to export the cert to a file:
OK! With the pre-requisites done we are ready to move forward with the actual plugin installation. On Linux this is triggered from the command line, or an SSH session. On Windows, launch a command shell and navigate to the Plugin\bin path from where you extracted the Plugin Install ZIP file. On Windows we are going to execute vchsPluginInstall.bat. On Linux we are looking for the .sh file, but of course will have to flag it executable first using chmod +X:

The installer script calls a Java app, so we need the JRE in our path. It will walk through a workflow and pause for input after selecting “1” for “Register plugin”. The following items are required:
- vCenter URL (including https:// )
- The install directory for the vSphere Web Client
- Path to plugin ZIP (including the filename)
- the name of the vchs.vmware.com cert export
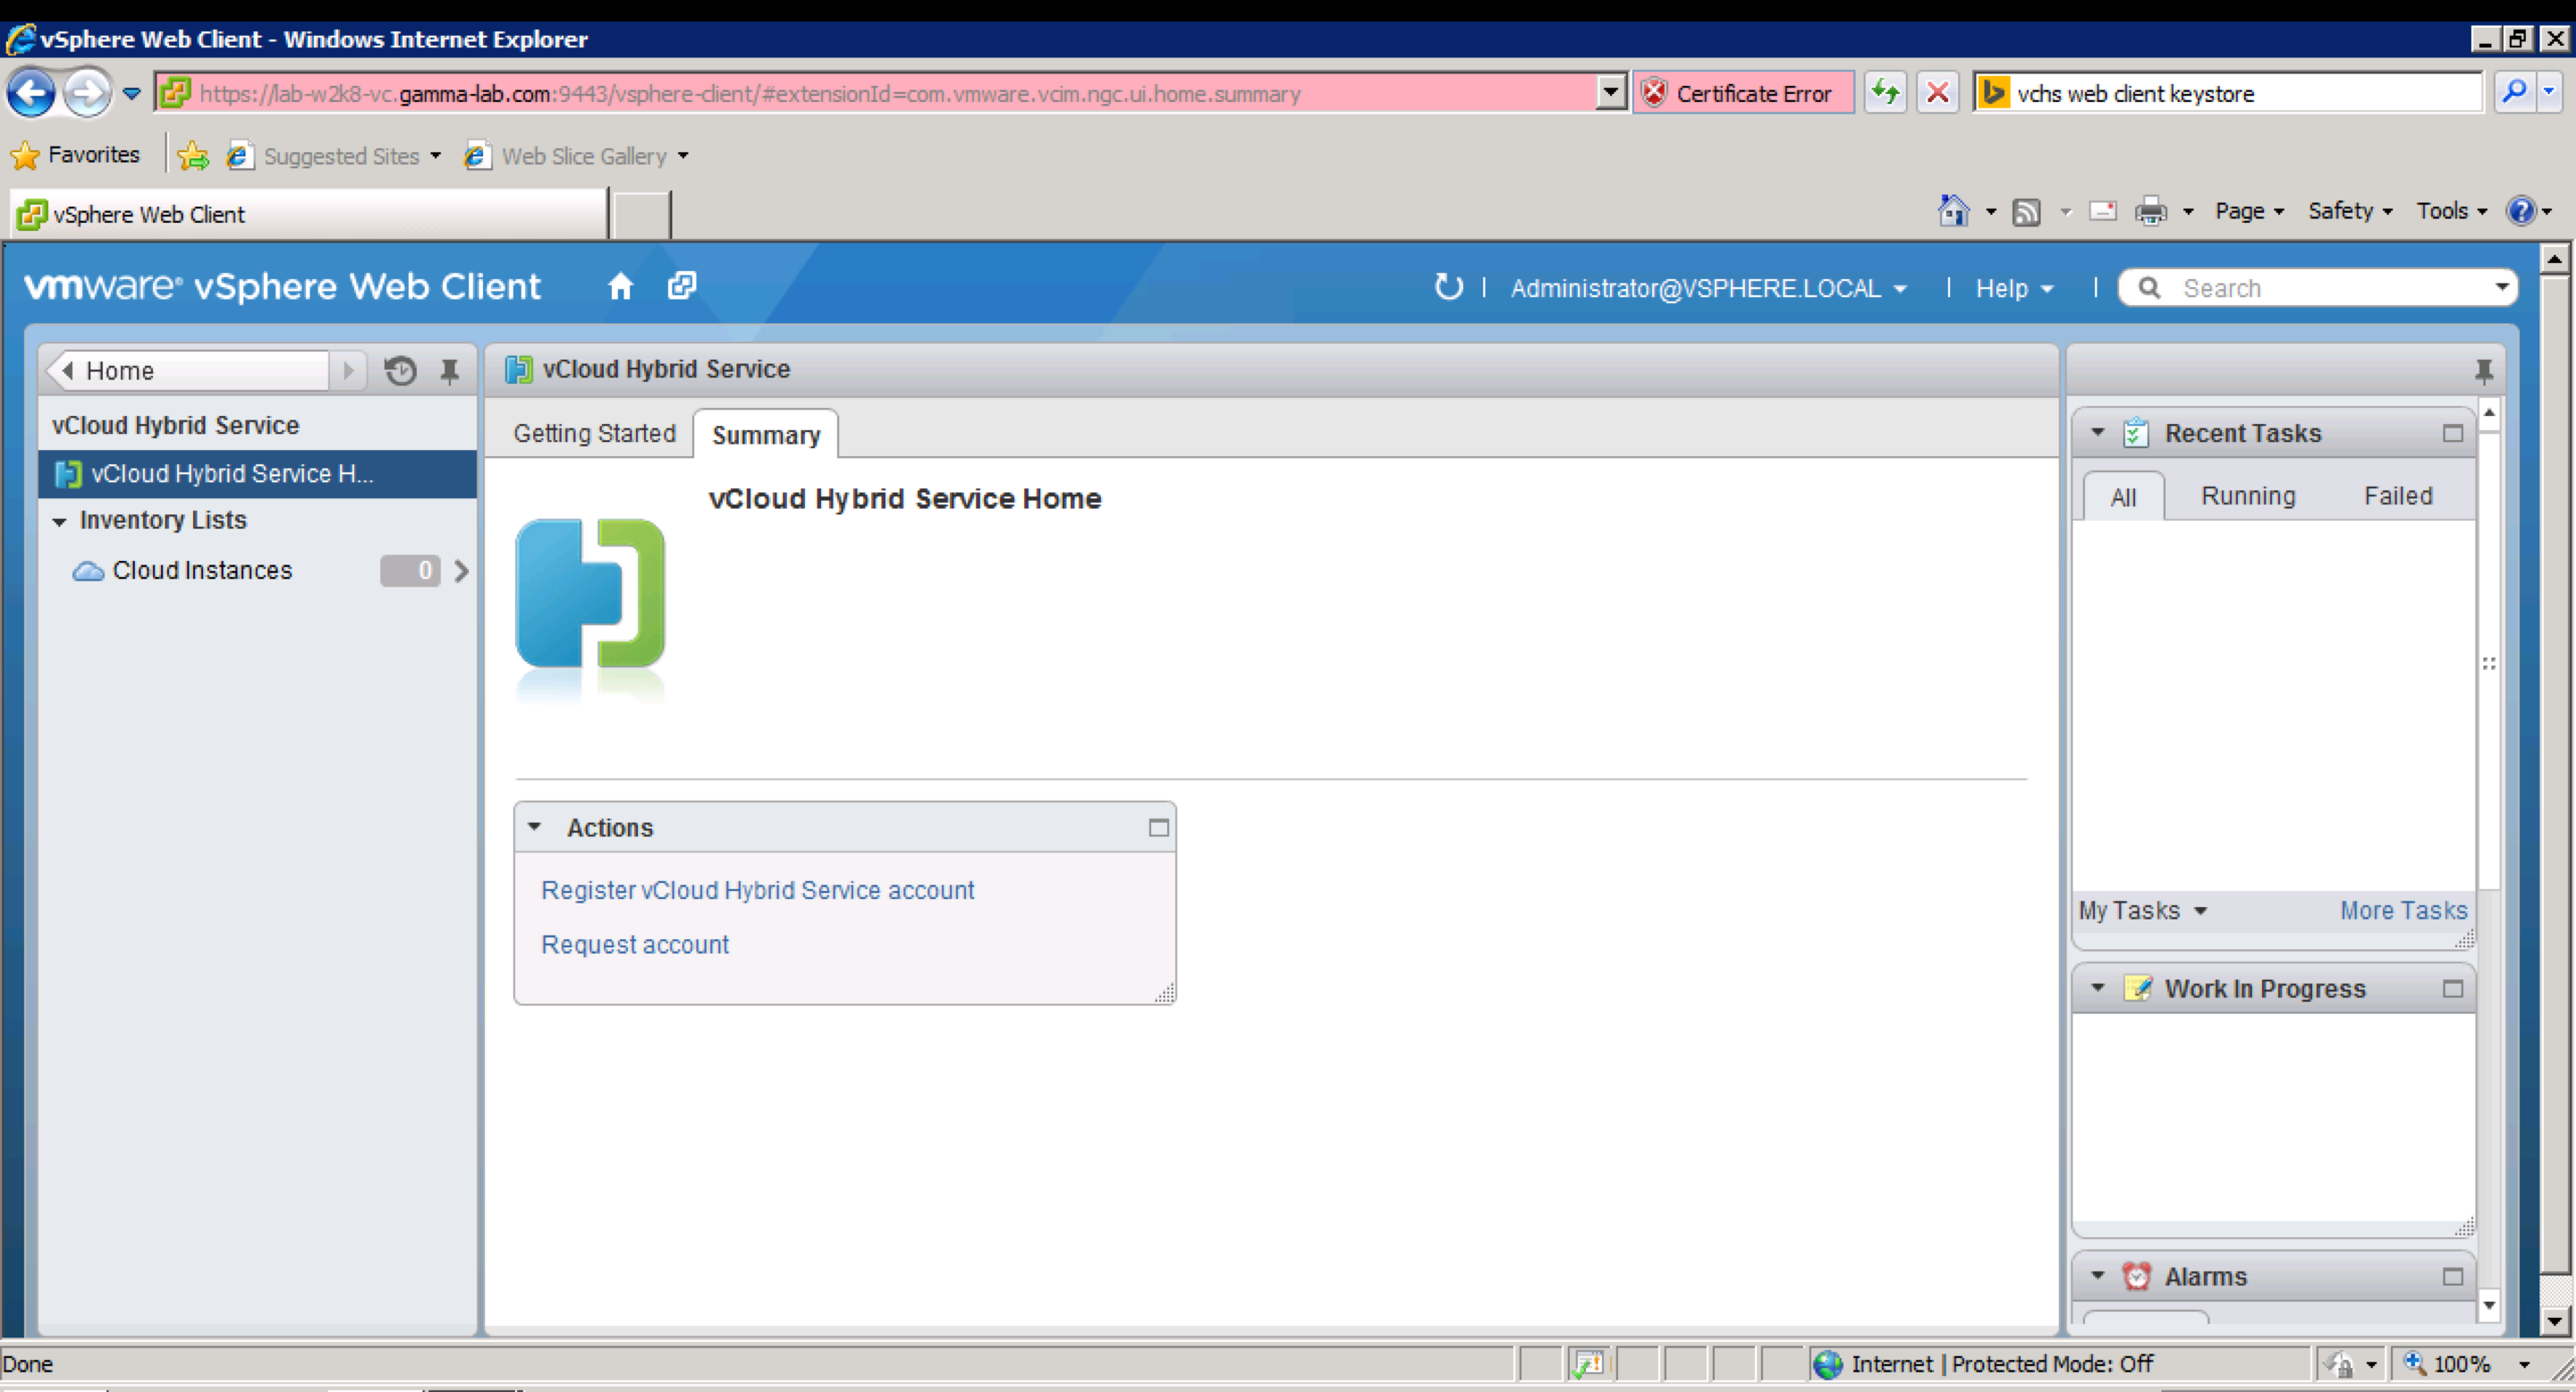
The rest of the queries are just confirmations. If everything is in order, the process will complete successfully. The longest part of the process is waiting for the service to stop and restart. With out plugin installed, and the vSphere Web Client service restarted, we can now configure the plugin. Login to the vSphere Web Client. From the Home screen we can now see a shiny new vCloud Hybrid Service icon!

Click the plugin to visit its homepage and perform the initial configuration. Click on the Summary tab to continue:

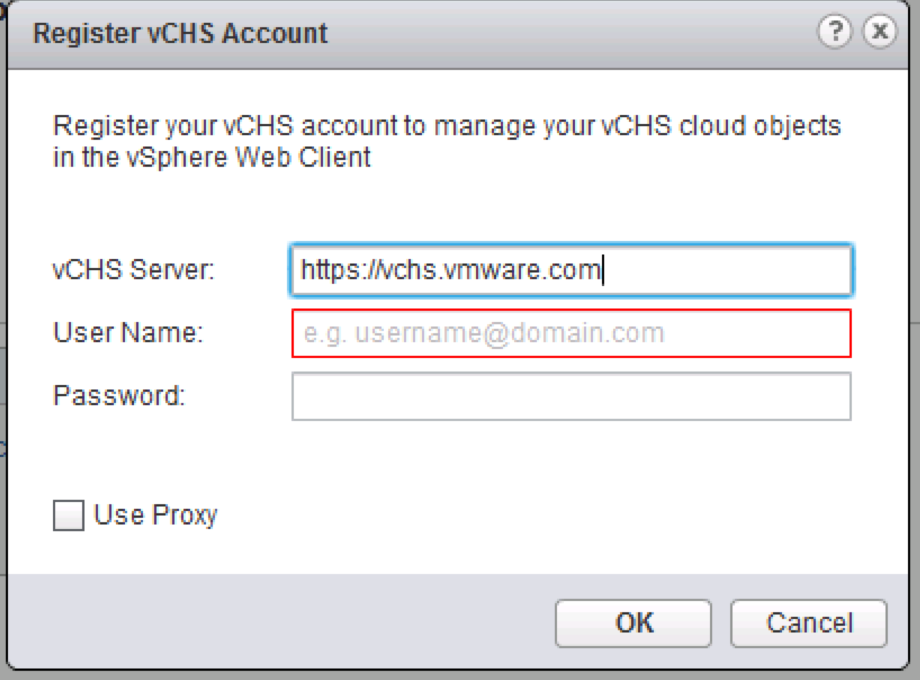
If you already have a vCHS account, the next step is to register it with the plugin. If you haven’t signed up yet, you can conveniently request access to the service from here as well:
Registration couldn’t be easier. All that’s required is a login name and password:
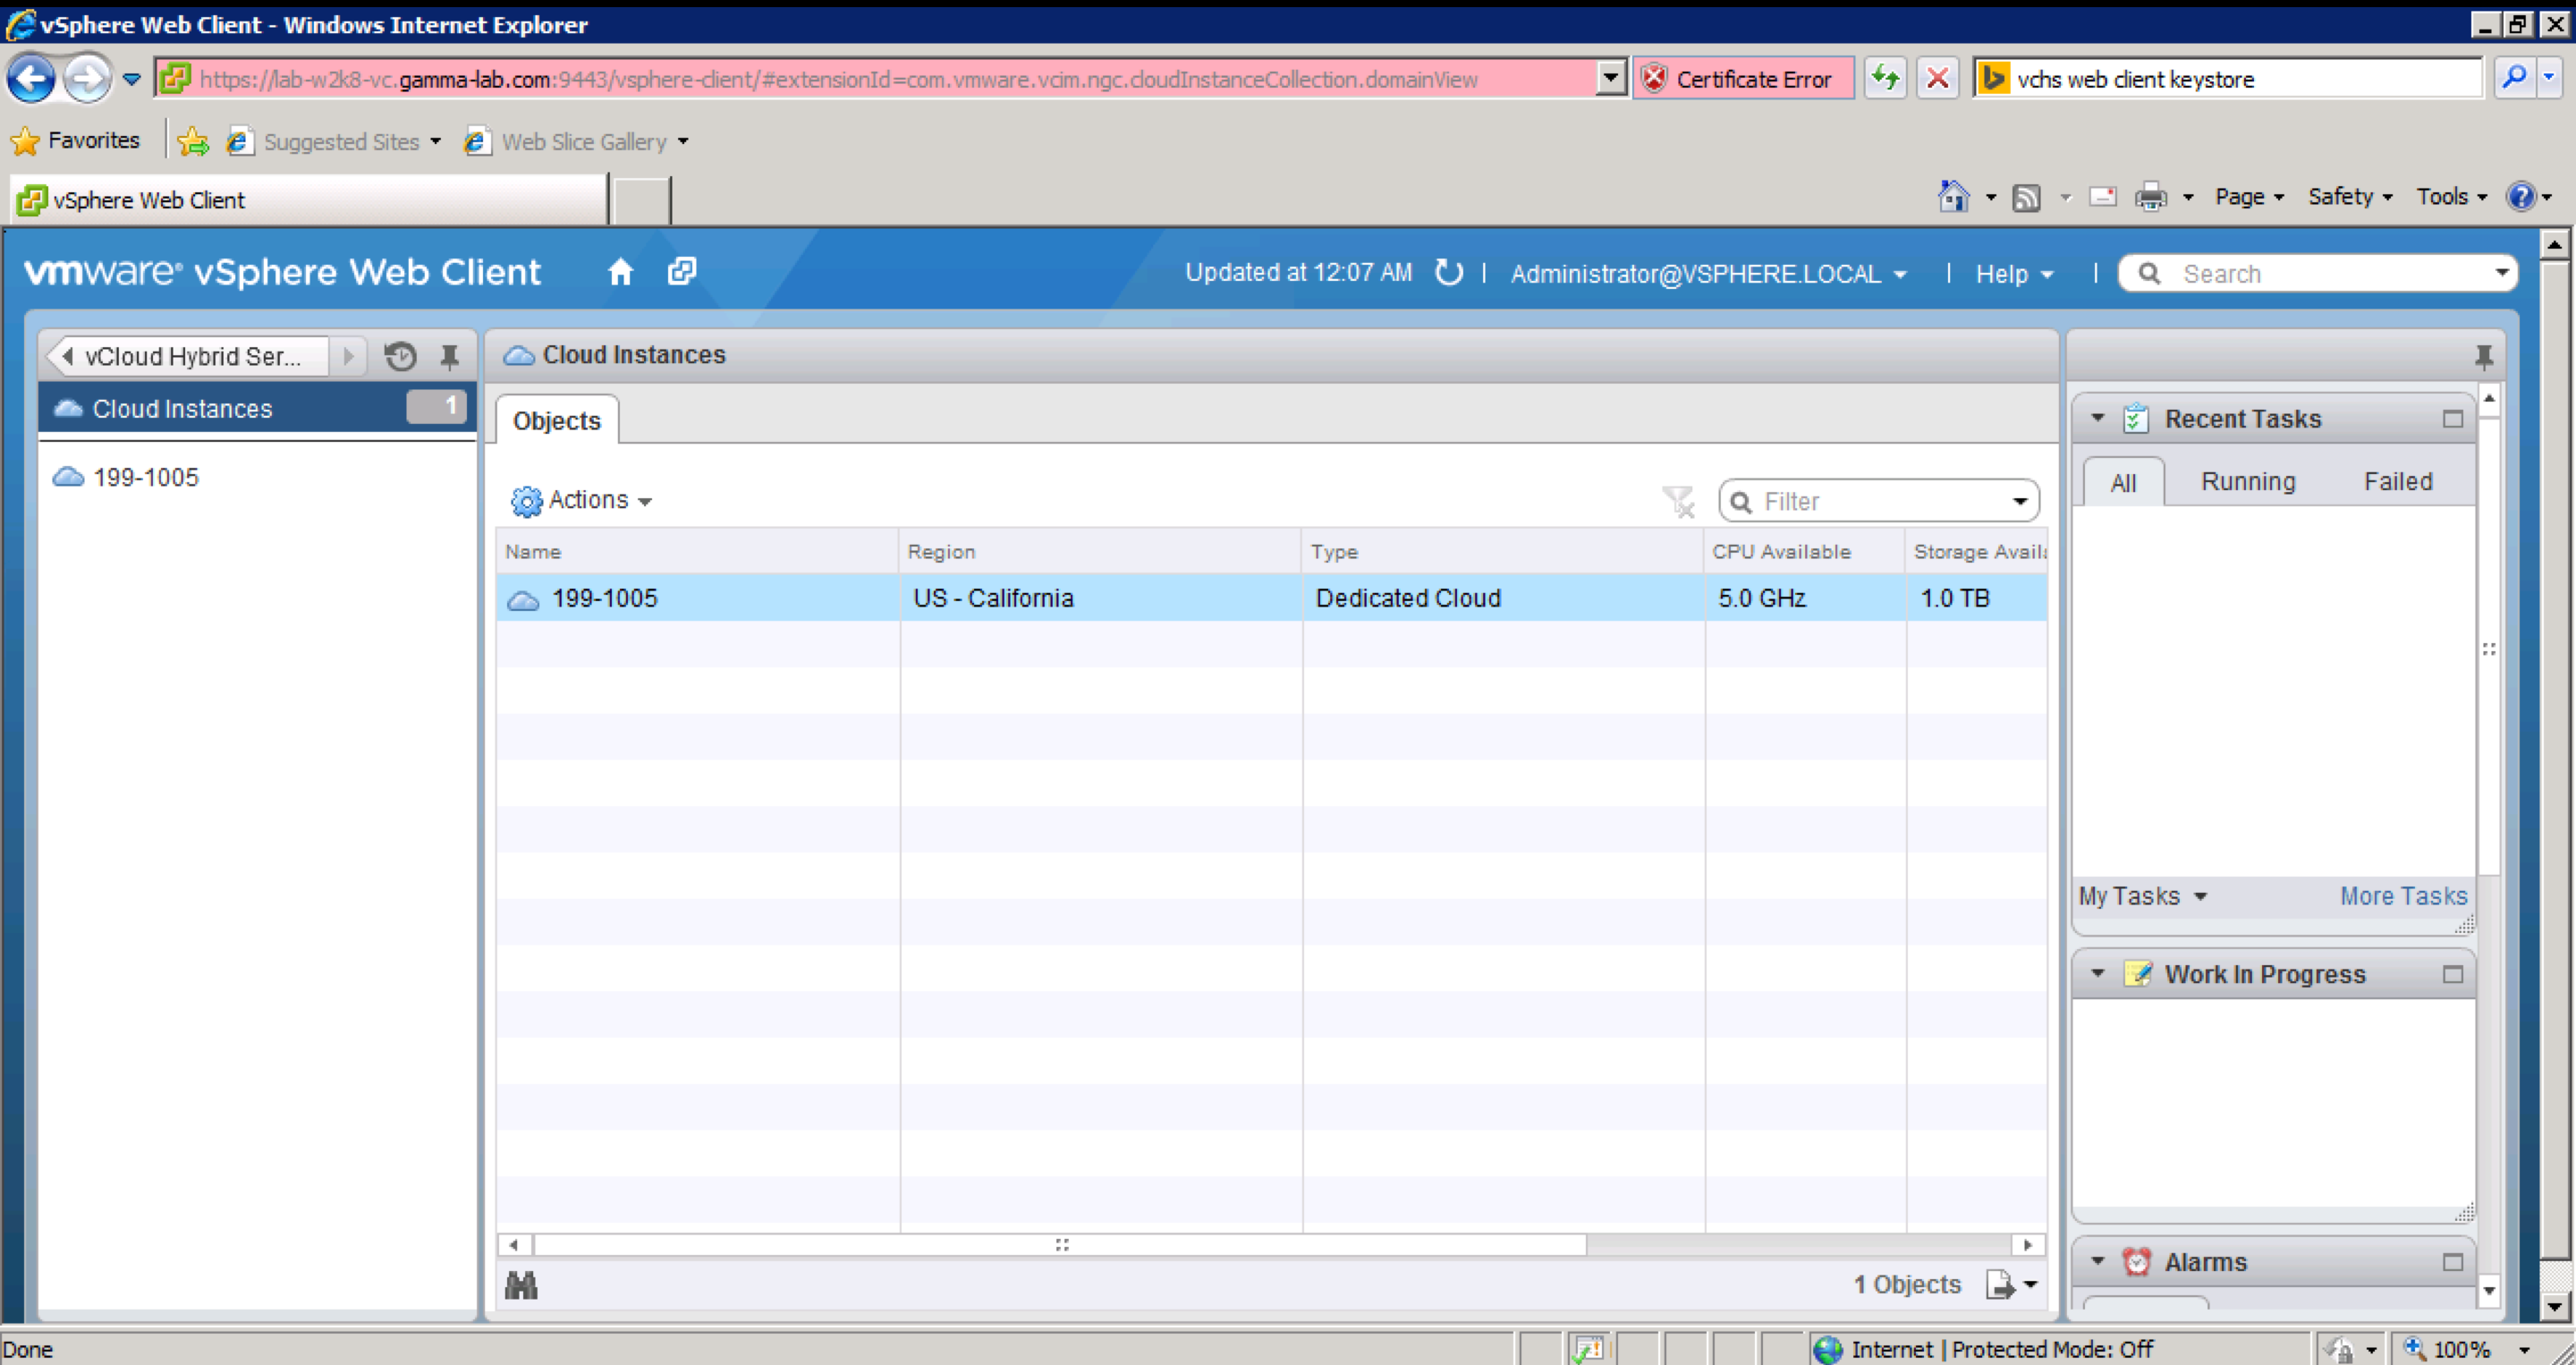
Once registered, if our credentials are working we will see any subscribed services displayed. Here we can see a dedicated cloud tenant I have access to. From here it’s just a matter of jumping in and using the service! My buddy Massimo did a great entry on actually using the client to perform some incredibly powerful cloud orchestration. This entry is an excellent next stop on the reading list!