
The Silverstone Grandia 09 is an interesting case. It’s popular enough that there is an active community on it, including install vids and entries like this, but it isn’t wildly popular. The smaller sample set leaves some gaps in the tribal knowledge. The TL:DR here is that there were quite a few interesting challenges, and resulting lessons learned, from that initial parts list. Hopefully this entry will answer some unanswered questions for anyone using this case as a build target in the future. I’ll go part by part. Keep in mind that in this build the drive cage is in place and fully populated with 2.5″ disks:
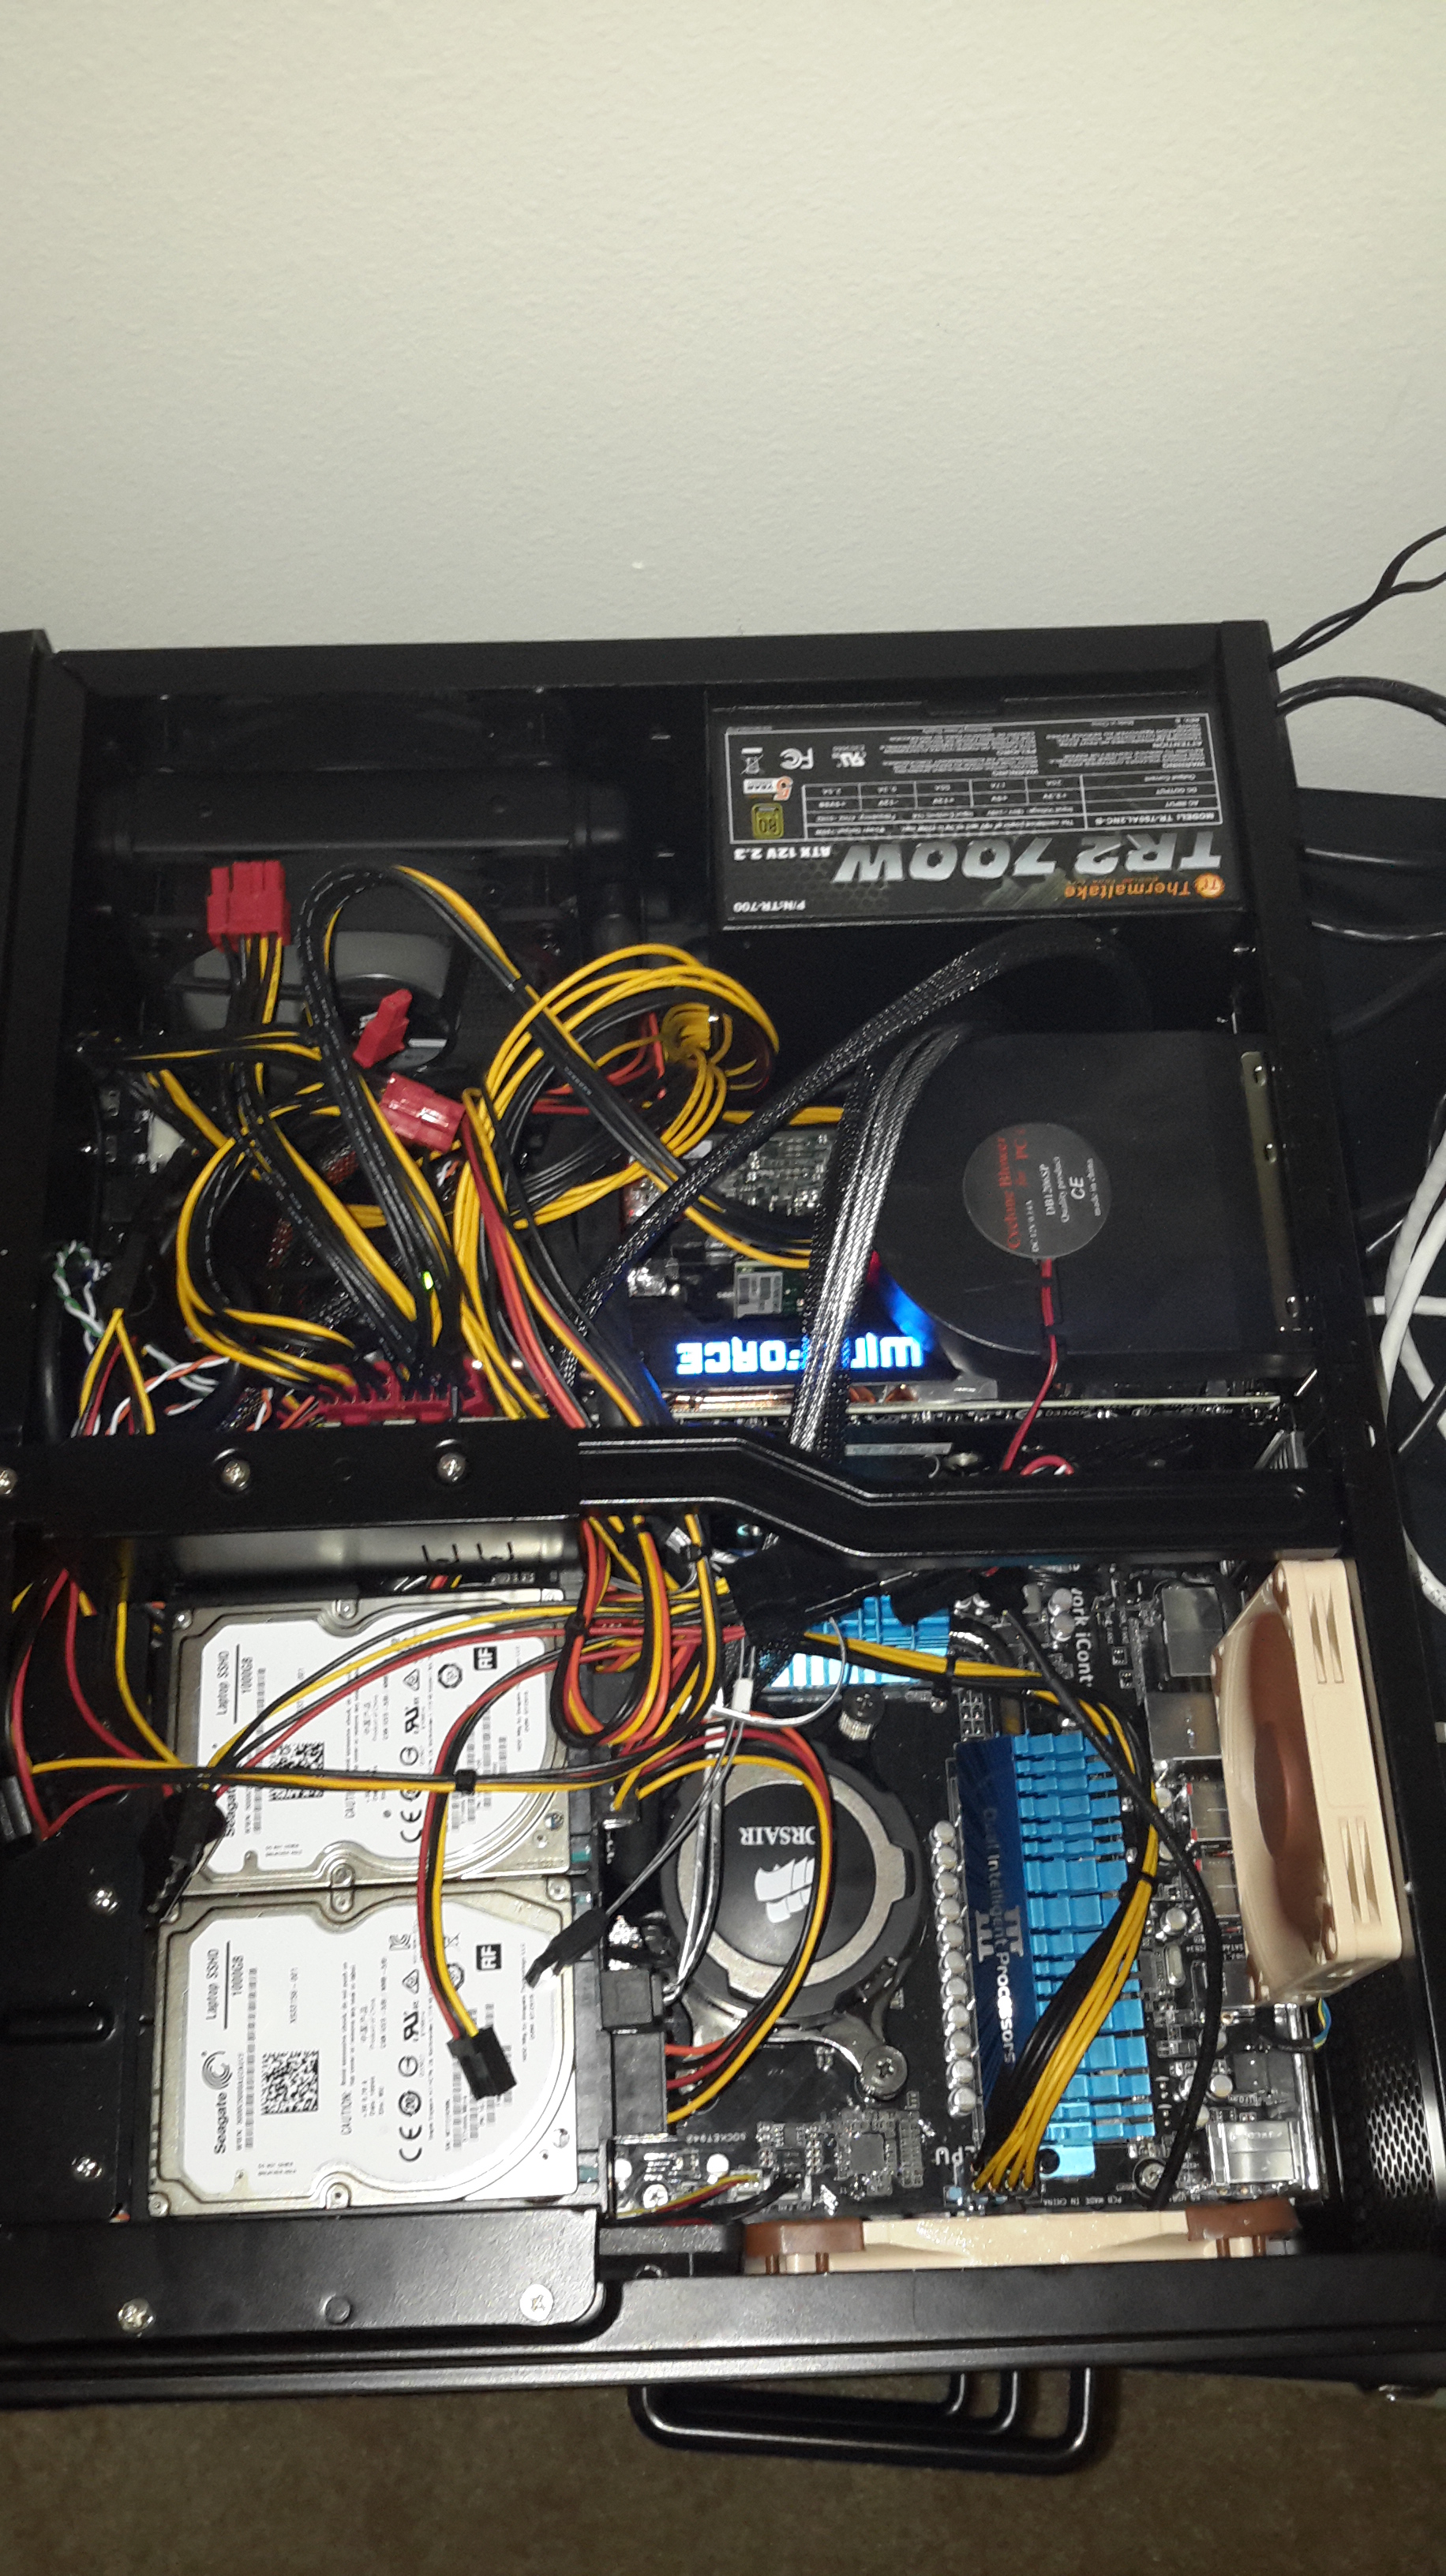
- CPU Cooler: Noctua NH-D9L – negative. I had heard anecdotally that closed loop water systems don’t fit in the Grandia 09 (spoiler alert – they do!) Contrary to current peanut gallery opinion, I’m a huge fan of closed loop waters. Air coolers only real advantage is that they’re cheap as dirt. Otherwise they’re enormous, loud, and at best only equal the performance of the average closed loop system. That said, the consensus seemed to be that closed loop won’t fit so I went air. The Hyper Evo 212 (they must have sold millions of these. The forums love them so much I think people buy two just to have one to oggle) is pretty much bigger than the case, so that one was a no go. The Noctua seemed like a reasonable choice at 110mm tall and 95mm square. Unfortunately it was not. With the drive cage in place, the Noctua was about 3mm too wide. If it were shorter it could have ridden under the cage, so I decided to give a try to the much shorter Noctua NH-L9a. The L9a was a great fit obviously, but it cannot cool the 125W AM3+ parts. This is a good lesson learned. Idle temps of 60C were observed with the FX-8370 at stock clocks and the Noctua. Admittedly the airflow in the Grandia isn’t great, but it is what it is and no combination of intake/exhaust fans and thermal paste reapplication could bring idle temps to an acceptable level. Basically Noctua isn’t kidding when they say the NH-L9 is only good up to 65W. Disheartened, I decided to just use the stock cooler. It’s actually not too bad of a unit, but idle temps were still at 50C. At this point I bit the bullet and pulled the trigger on an H75 betting that I could cram it in there. Well, it did indeed fit after routing the tubes above the GPU and idle temps came down to a reasonable 36C. The outer tube is definitely stretched a bit tighter than I’d like, but there is no crimping and the connectors aren’t stressed. Overall I’m satisfied with the install:
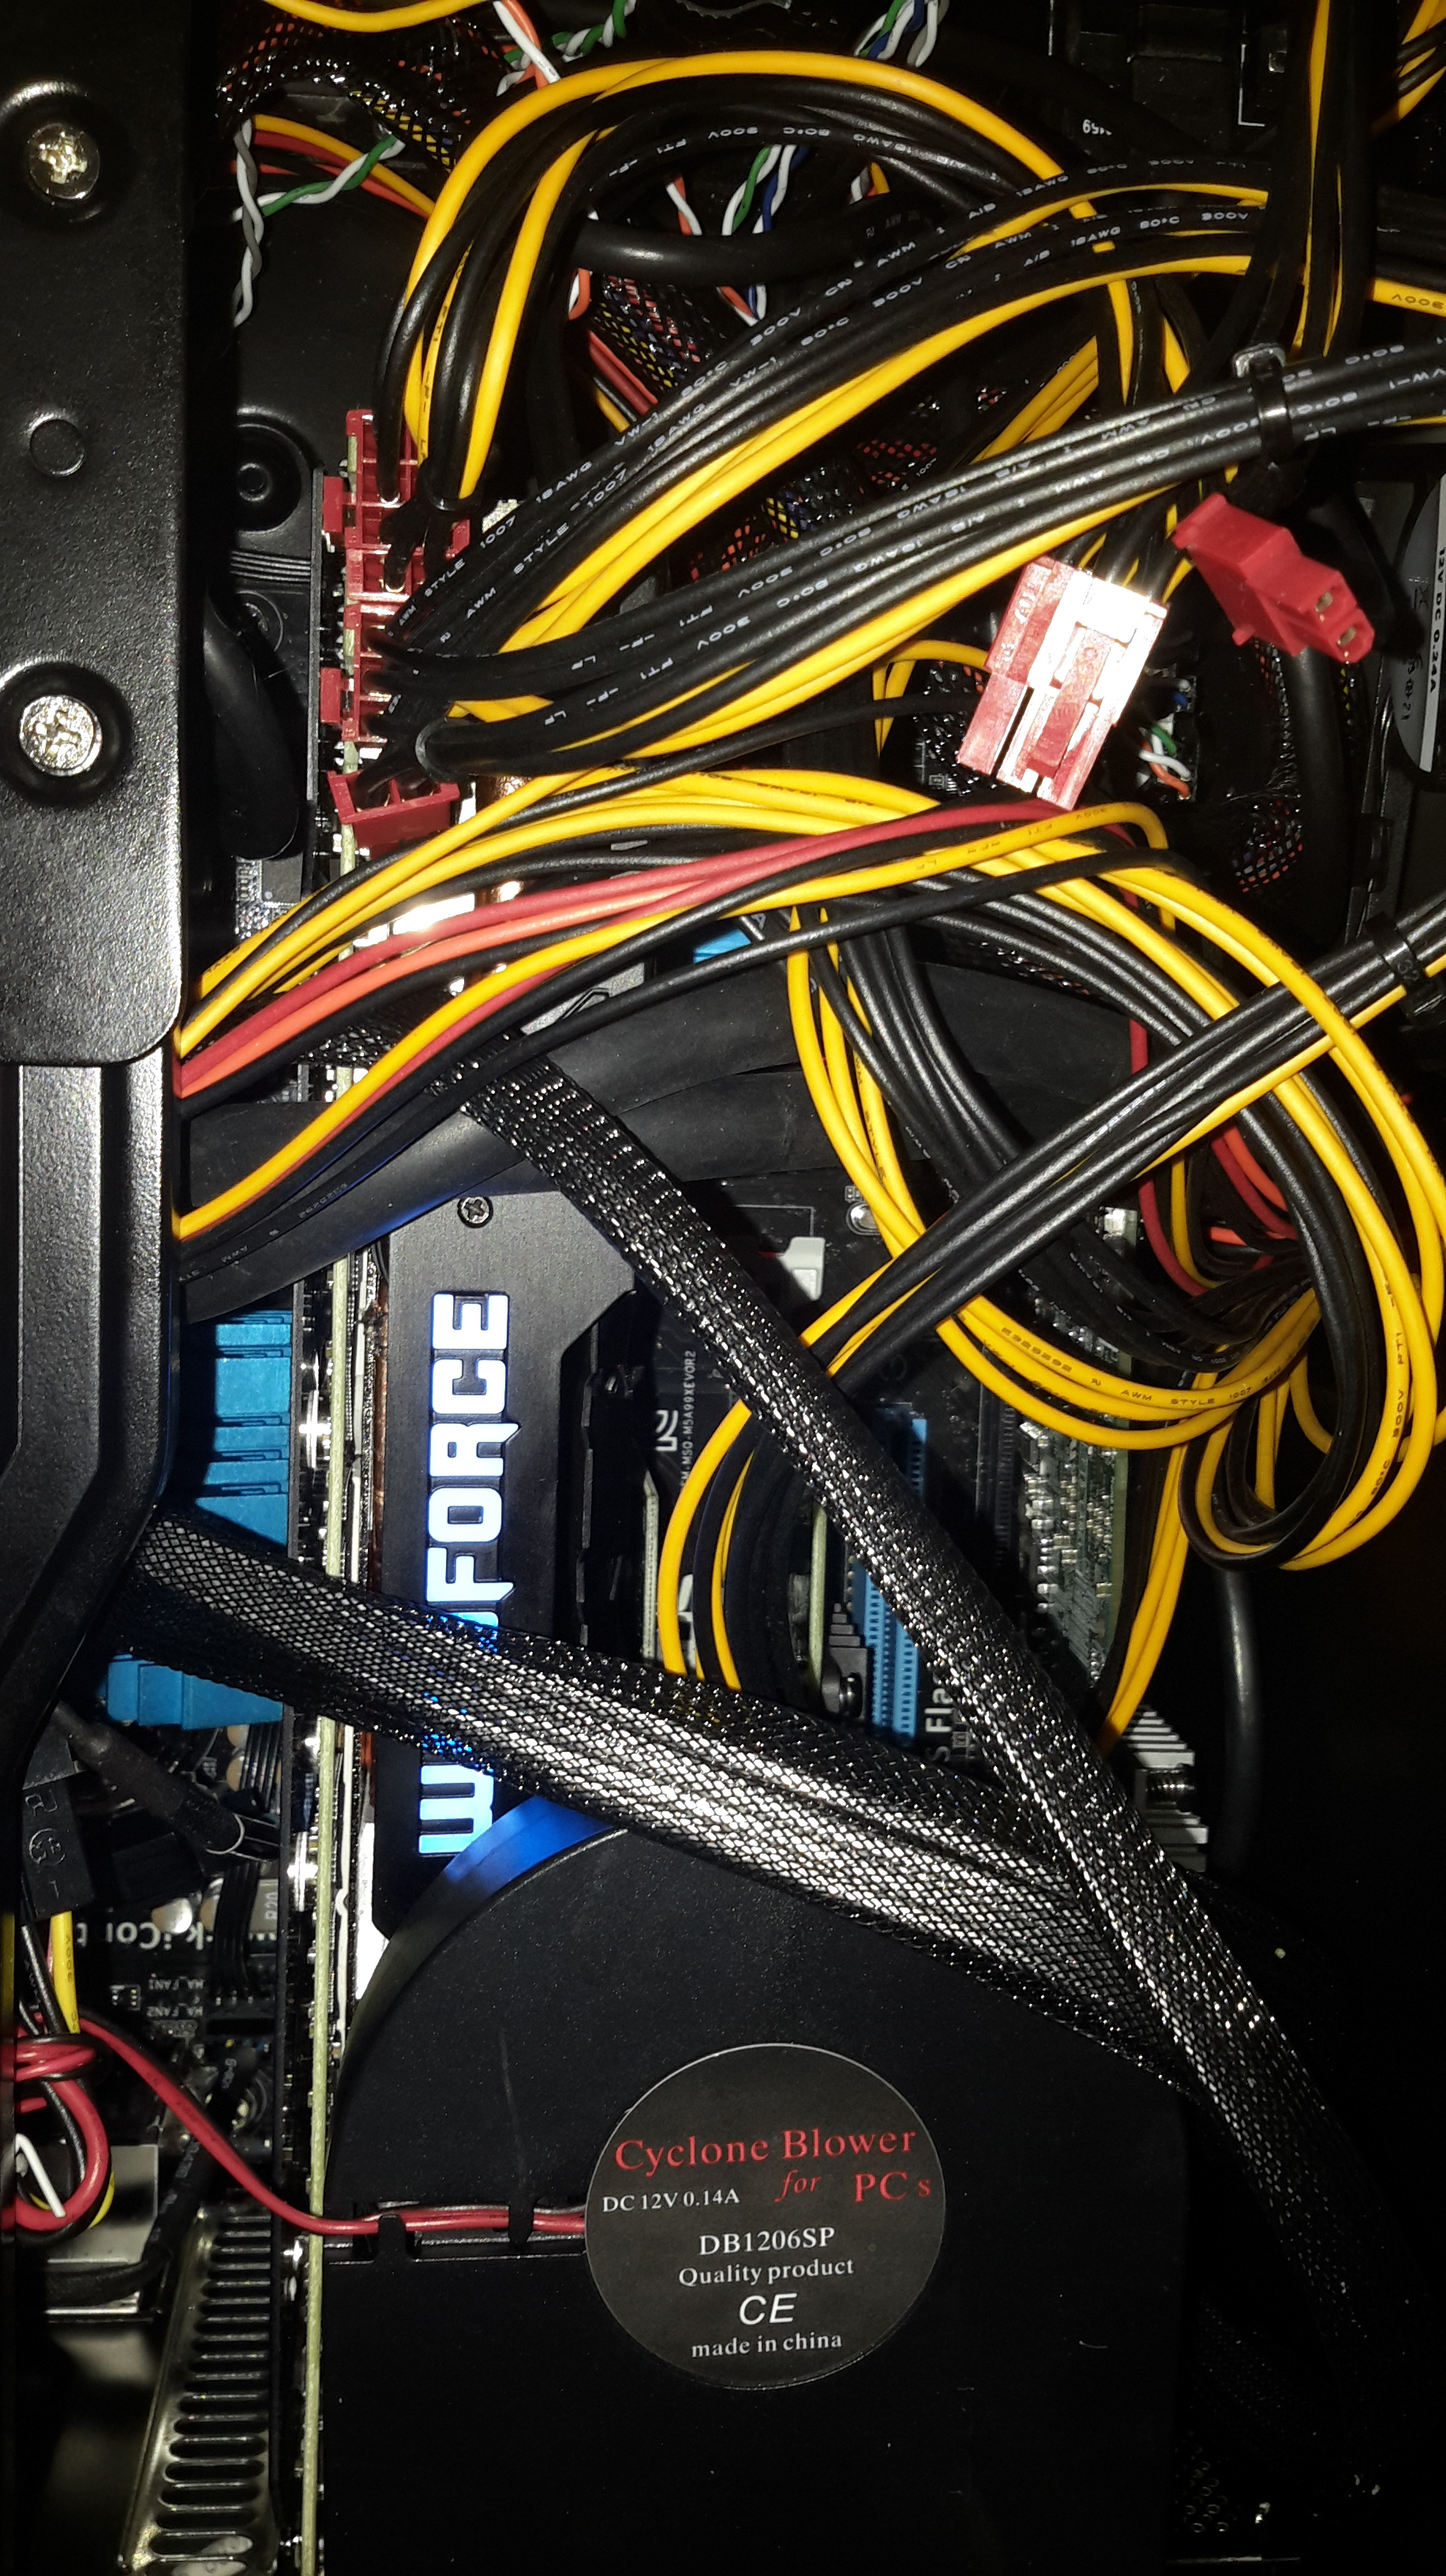
Full view of the H75 install:
And the temps:

So the cooler for the final build is the Corsair H75 rather than the Noctua. Price was about the same though ($75 vs $60) and the temps are now good. The system is also quieter, so it is well worth it +$15. Astute readers may have noticed that the GPU pictured above is not the Asus. Read on!
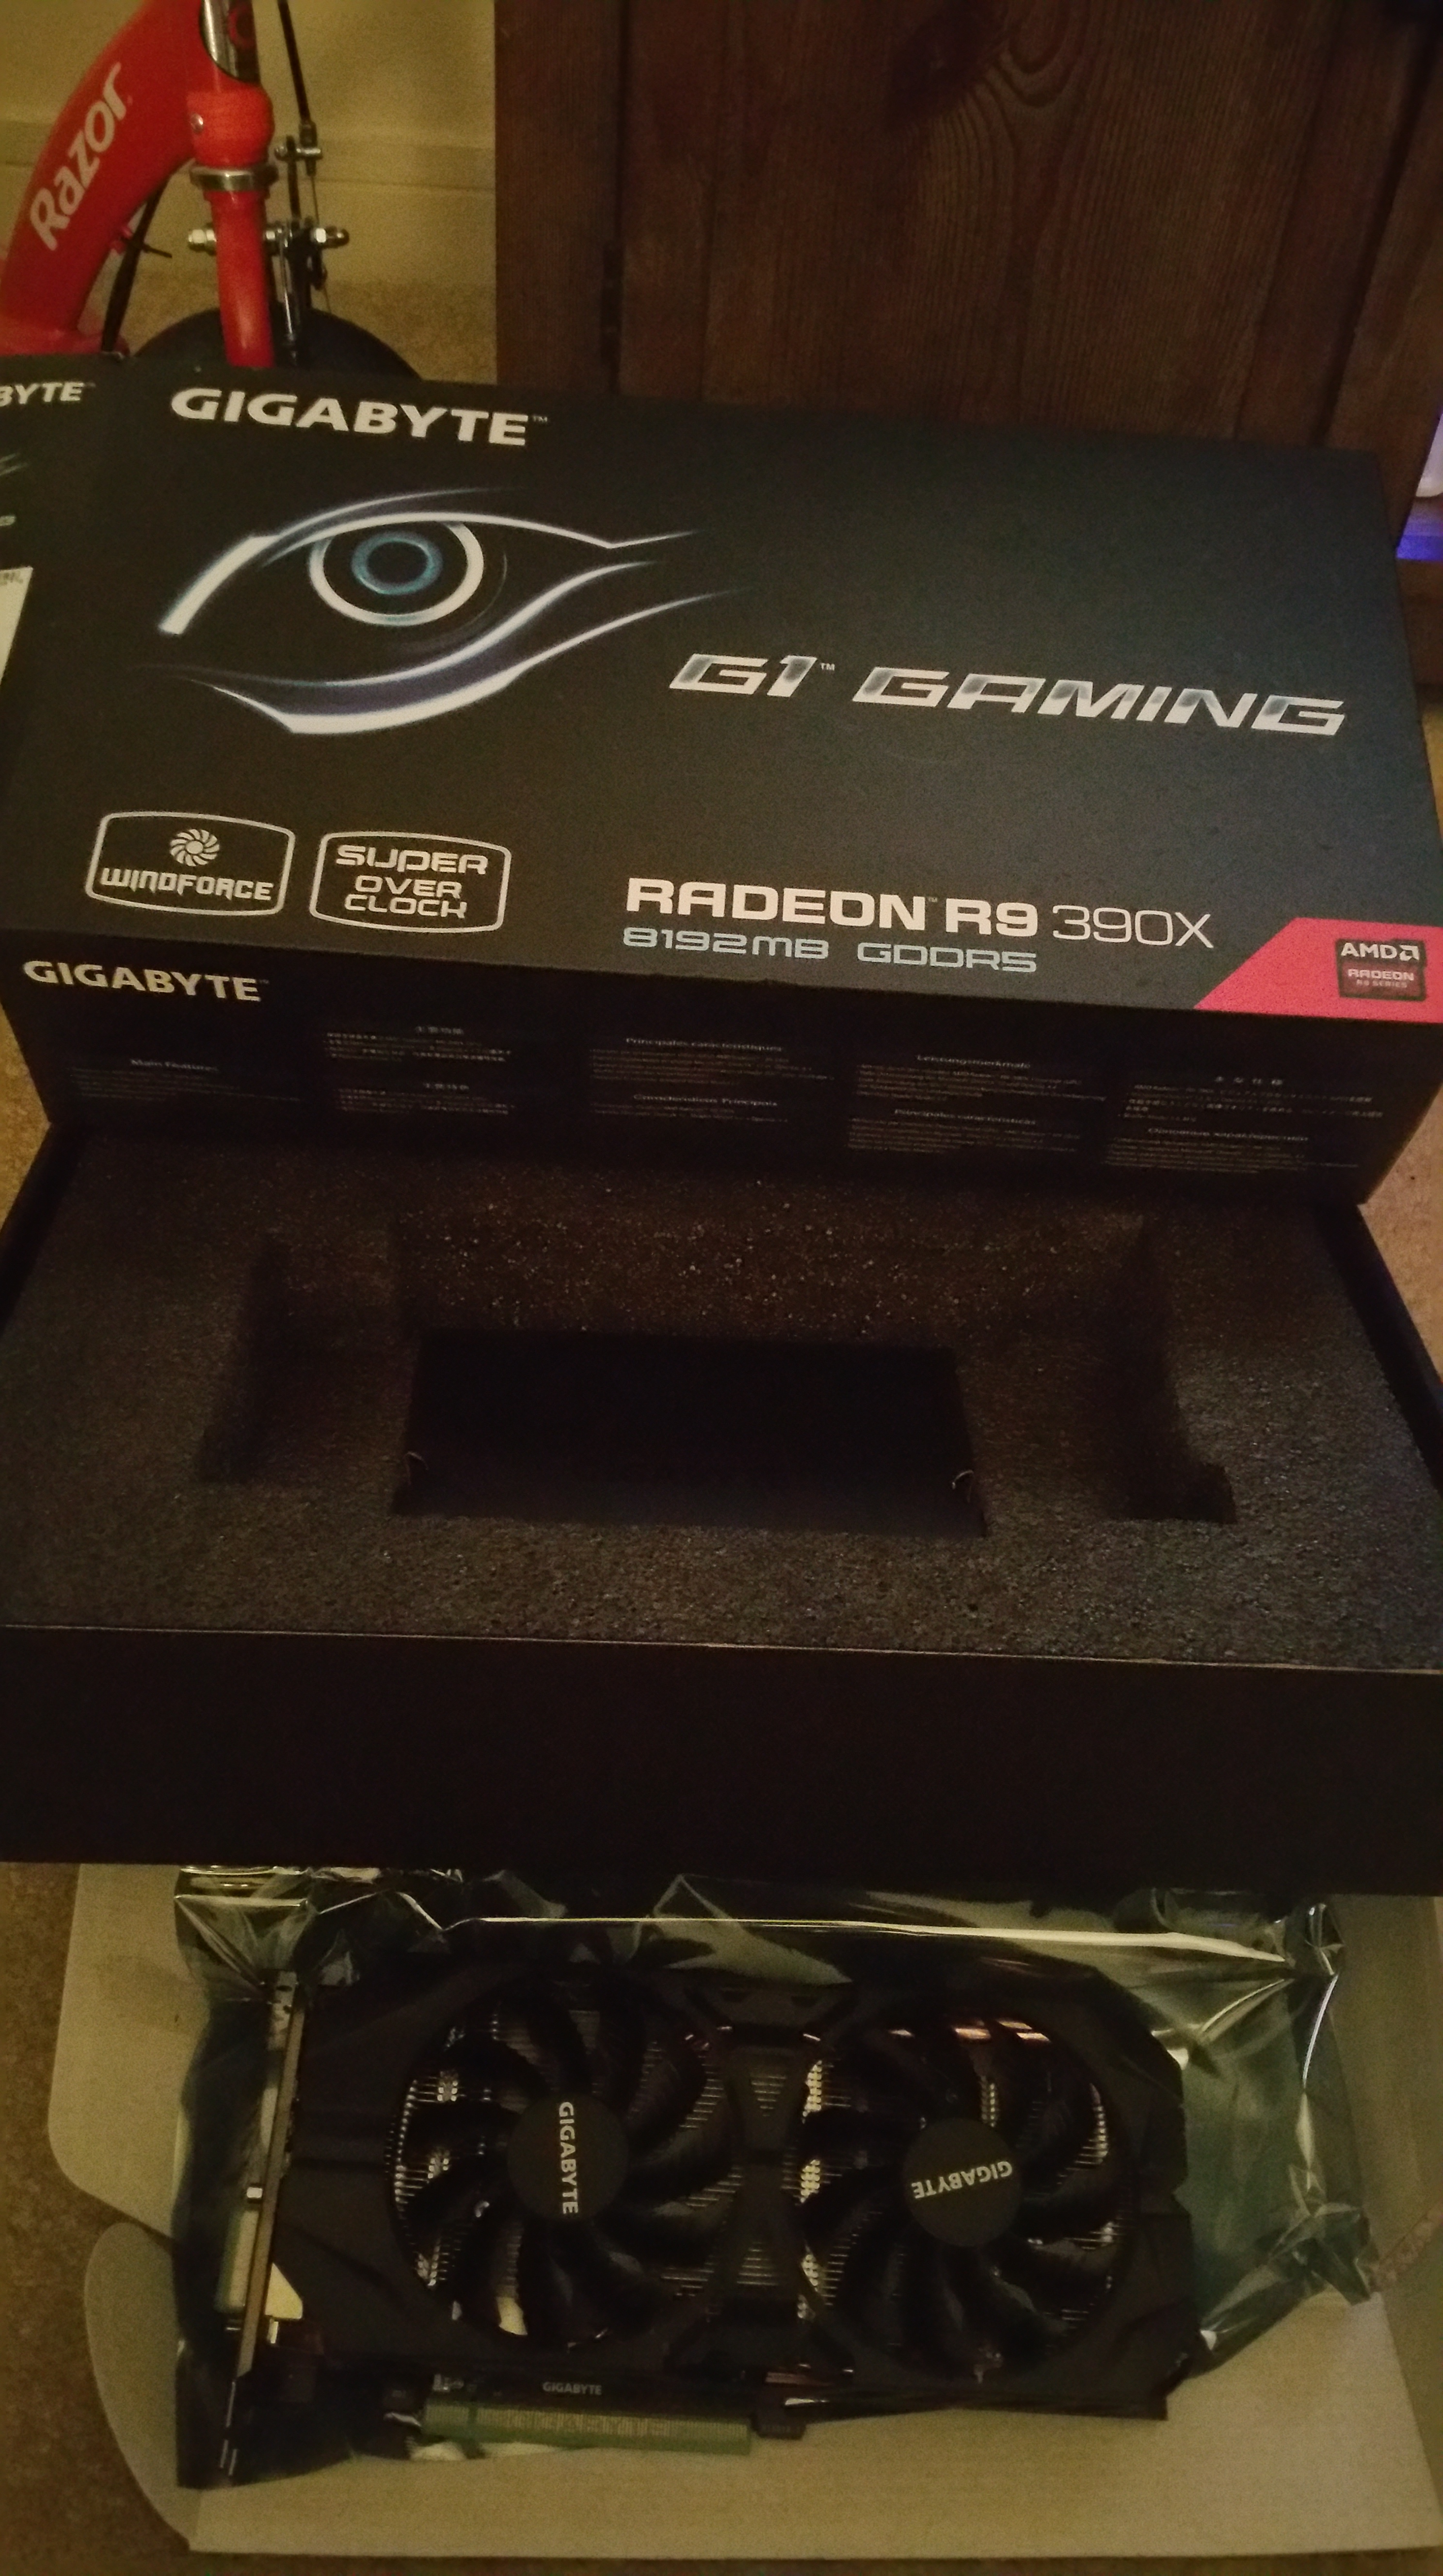
- GPU: Asus STRIX R9 390 8GB Direct CU III Cooling – Yep, it was too big. I had my doubts as soon as I took this beast out of the box, but as it turns out it is actually too tall for the Grandia GD09. The heat pipes do not clear the top of the case. I decided to replace the STRIX with the Gigabyte R9 390X GV‑R939XG1. This is a fantastic card and is very small as you can see in the pictures. Because I bumped up to the 390X (with power consumption, noise, and size being equal there’s really no reason not to!), so cost bumped up by a bit. +$100
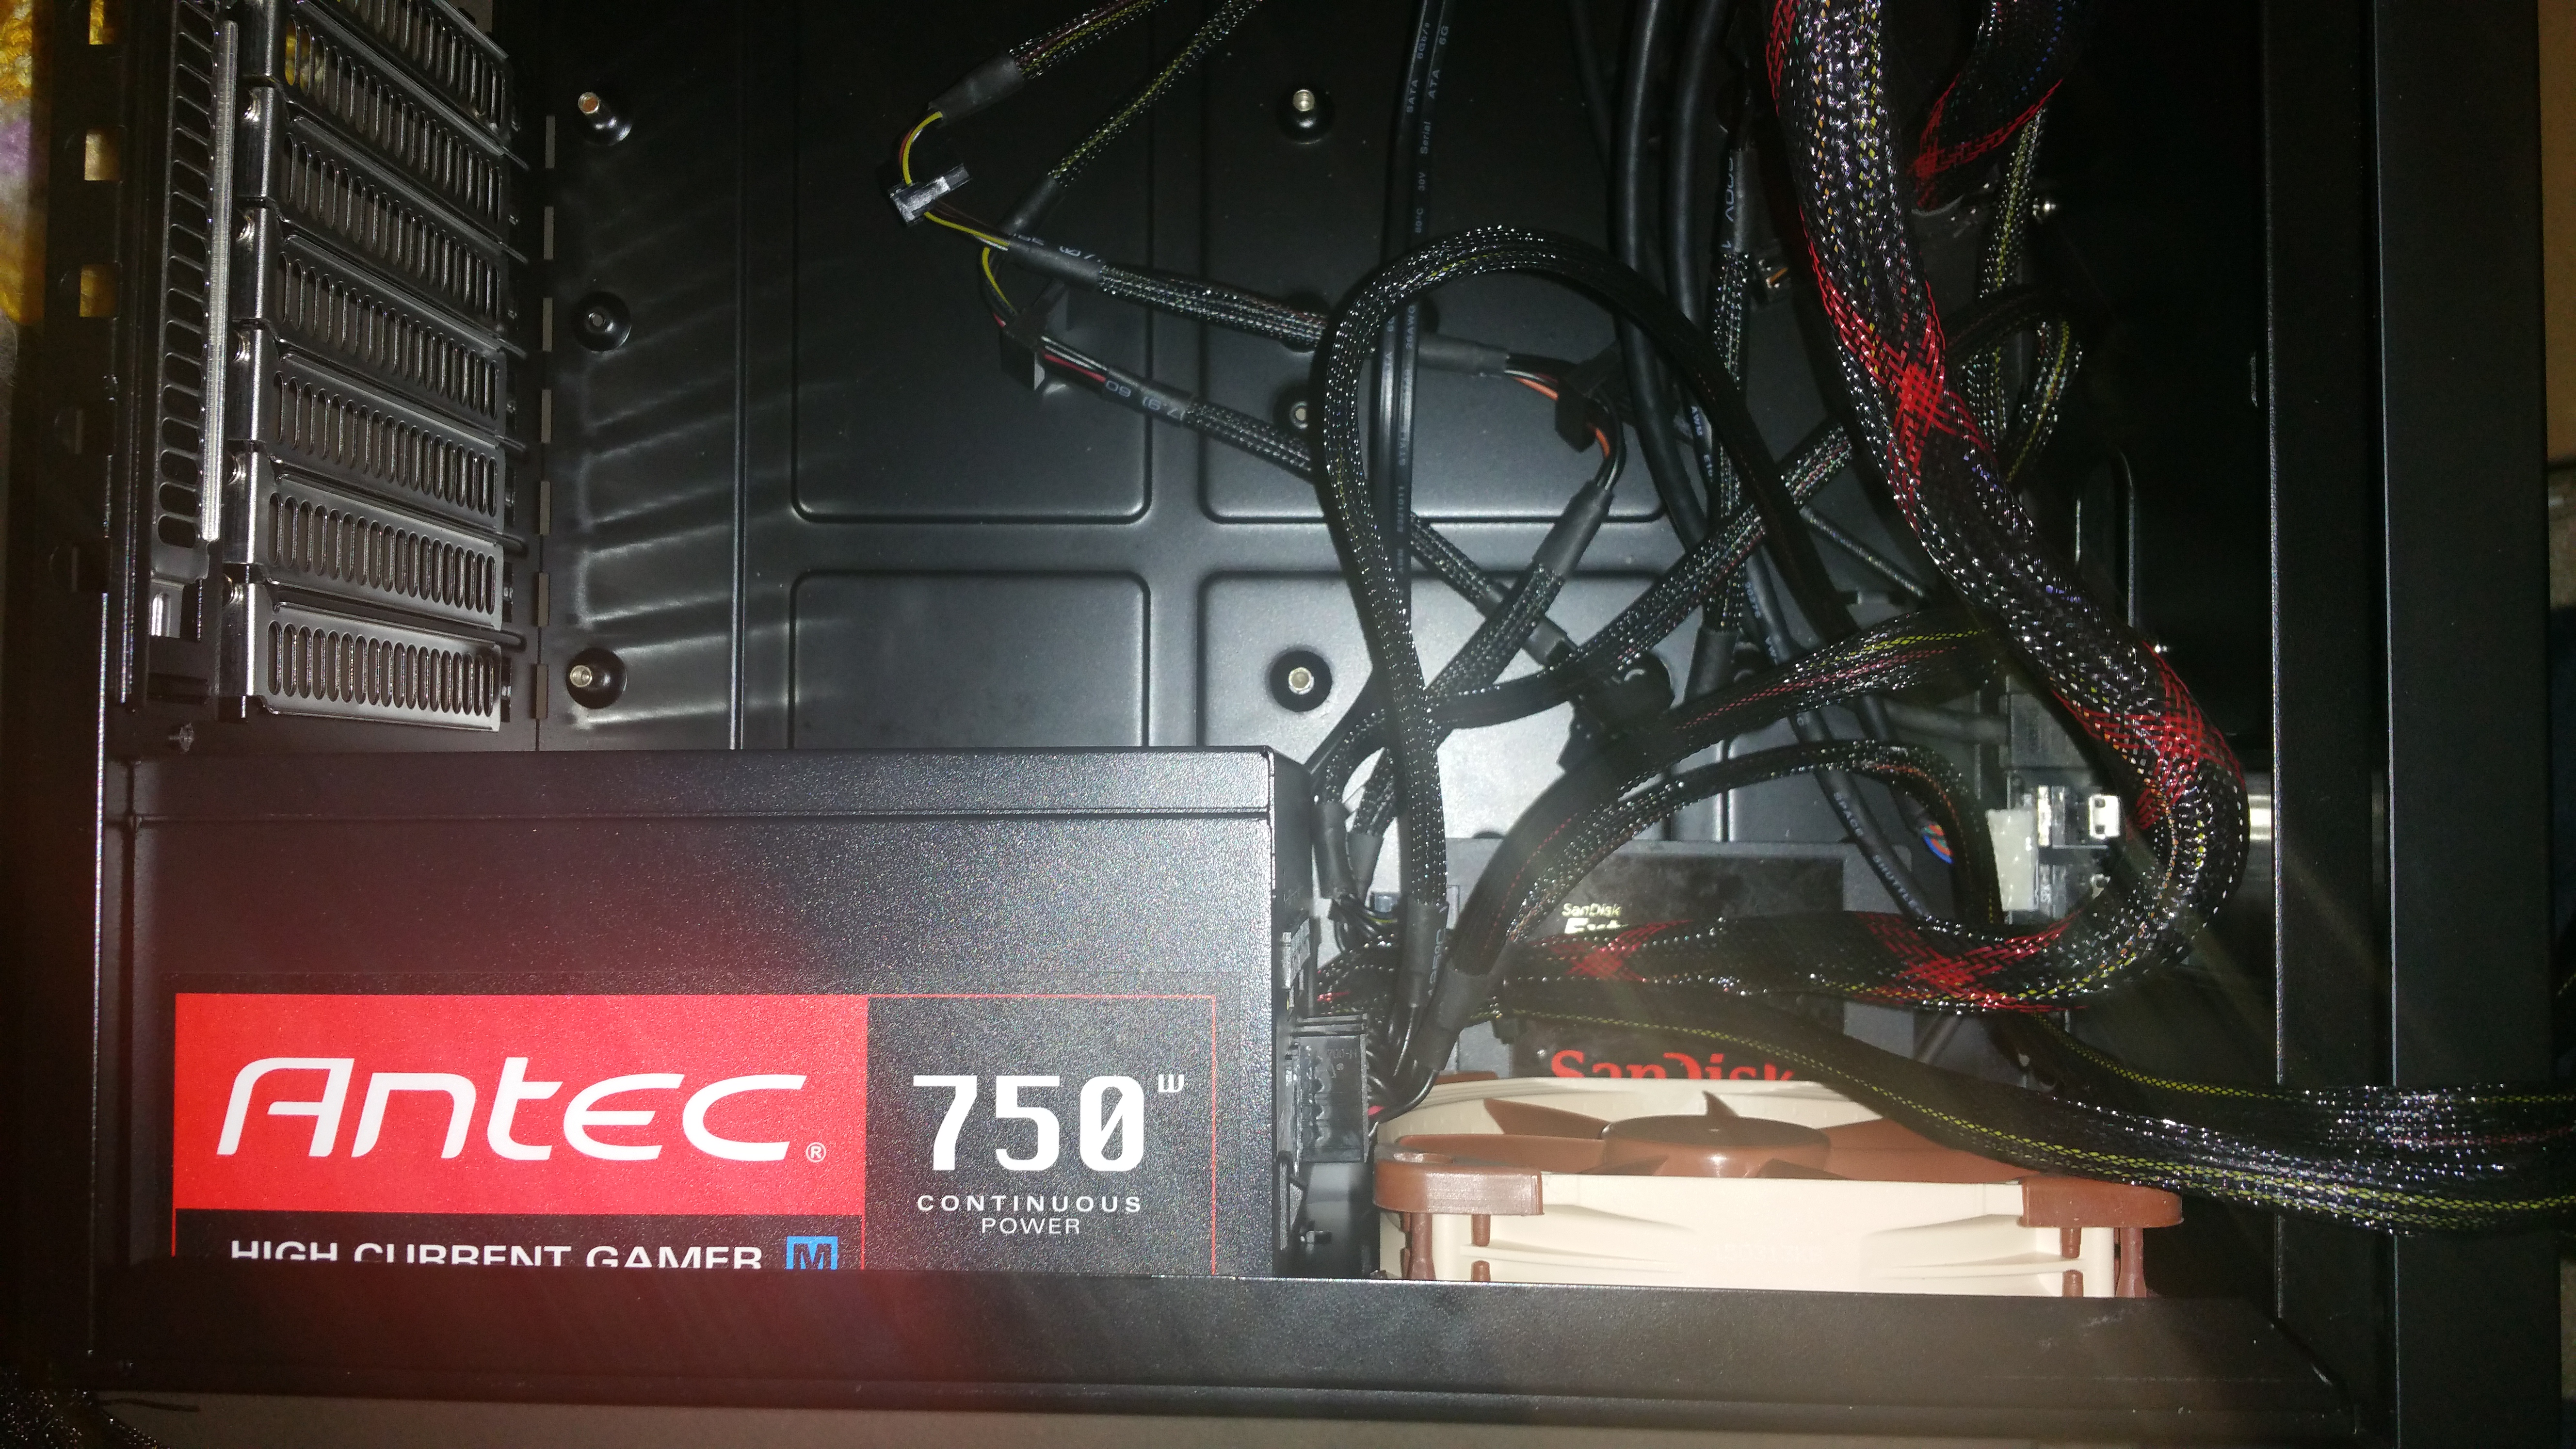
- PSU: Antec HCG-750W High Current Gamer – Once again, the shots above provide a clue. The 170mm Antec was still just too big given the modular connectors stick out a bit. With a 120mm fan in place it was doable because the fan edge and modular connector could press into each other (pictures of that below), but with the H75 rad in place it wouldn’t have even been close. I decided to go big, or in this case super small, and get a very compact supply. This limited the build to 700W, but even with an R9 390x and the FX-8370 this is ample given that we won’t be overclocking at all and the drive array is laptop drives. I’ve had great success in the past with Thermaltake and the 700W TR2 is a fantastic unit at a mere 140MM and 80+ silver rating. Needless to say, the pics show how this supply leaves room to spare for the radiator. Luckily at only $70 this one was a cost savings for a change. -$40.
- KB/Mouse: Sunday 2.4Ghz wireless mini KB/mouse combo – last but not least! I was really batting 1000 with this build. For some reason the Sunday doesn’t work pre-boot, but it does work as advertised with the PS4, so I repurposed it for that and utilized another HTPC unit that I had
Another interesting note about the Grandia is that it provides a horizontal slot space above the PCI-E slots. It also provides top ventilation in the case cover. As it turns out this setup is tailor made for an expansion slot exhaust fan above the GPU so for $10 I sprung for one (the “Cyclone Blower” visible in the pics above)
OK that’s it for this entry! The total change in cost is +$85, for a total of $2768, but at least it’s all working now! Next up, logical configuration so stay tuned!
