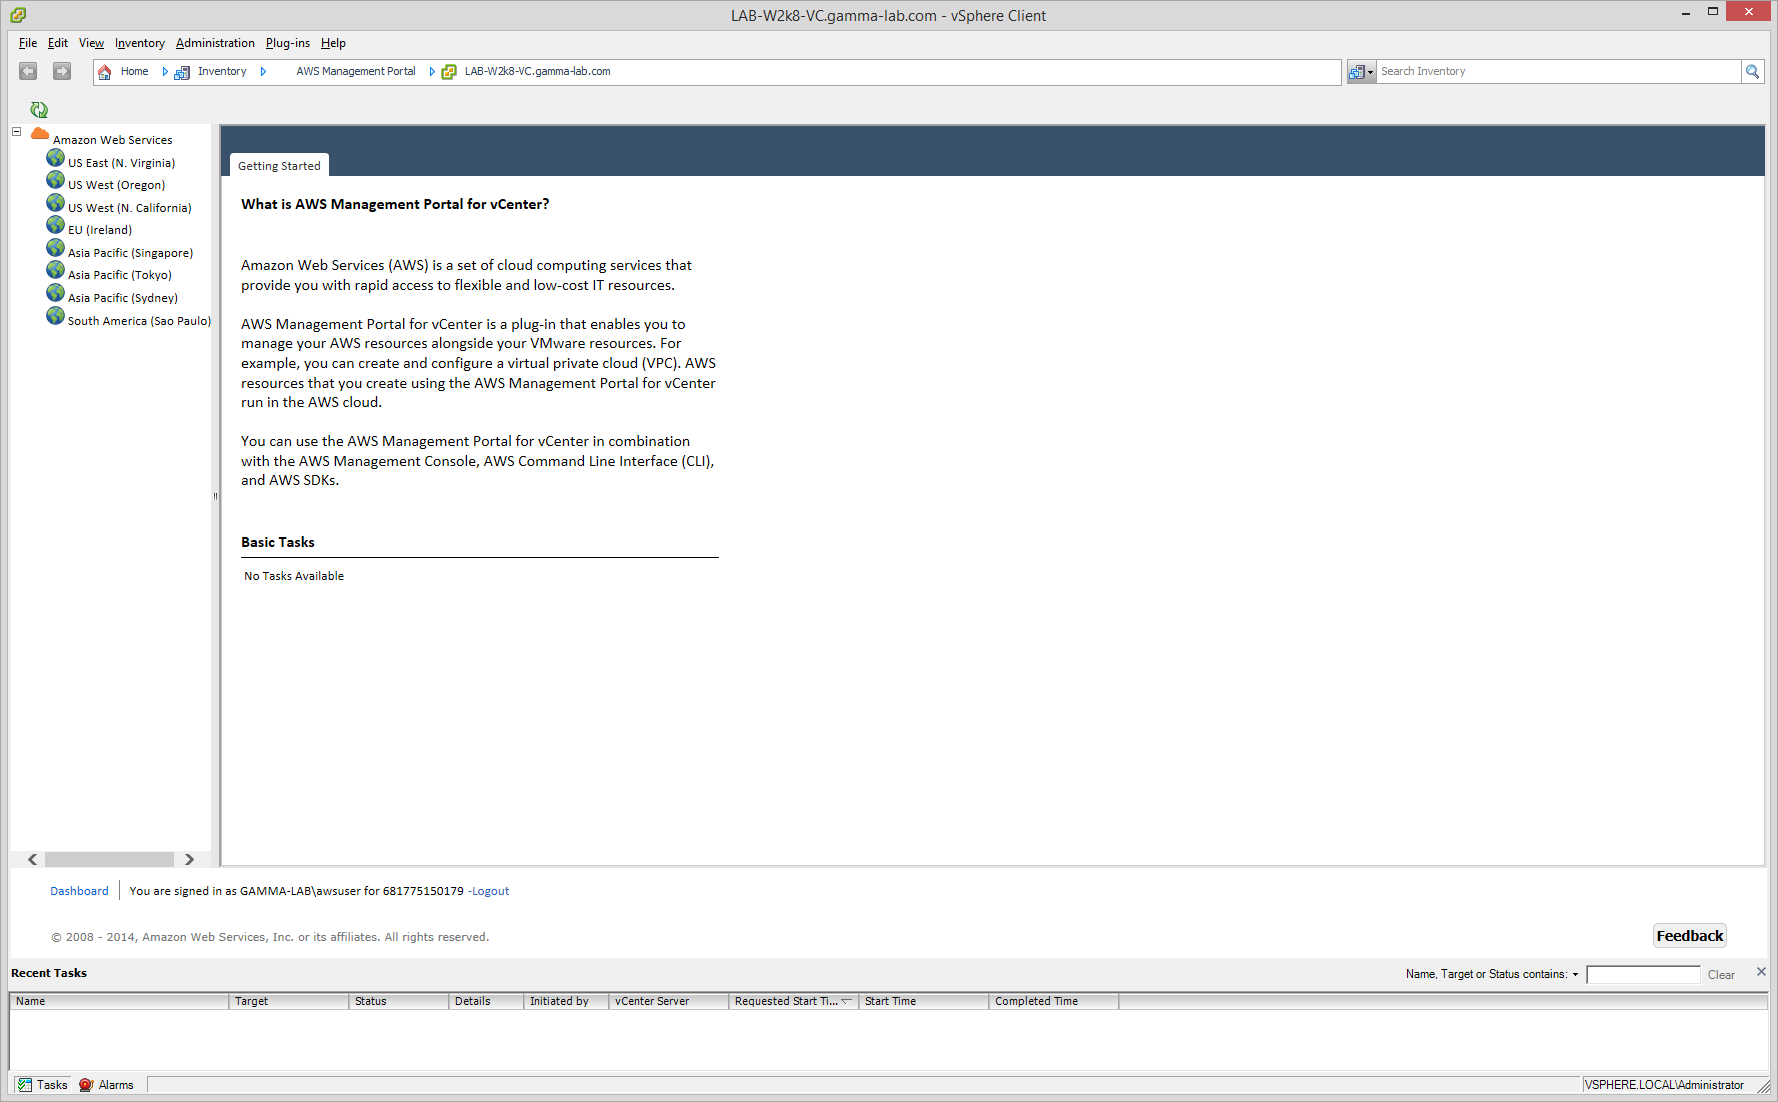
I got decent feedback on the “stuff to watch out for” entry on Azure IPSEC so I thought I’d do a similar article on the (much more complex) process of setting up the new AWS Management Portal for vCenter. For those who have been around awhile (2 years – a century in cloud time), you might remember the EC2 plugin for vCenter as a blessedly simple thing. You install an OVA, register a plug-in, give it AWS creds, and you’re pretty much off to the races. Well those days are over!
Amazon recently released the big 2.0 version of their vCenter plugin functionality to much fanfare. It’s definitely a nice upgrade in terms of capabilities, but it also brings with it an increase in setup complexity. Primarily because the plugin is now tightly coupled with the AWS IAM (identity and access management) SAML federation support. SAML federation is fantastic as a feature and something every provider needs to have. That said, when you don’t really need or want SAML, it feels like a lot of unneeded complexity. First let’s talk through some basics of SAML.

Pretty simple right? Security Assertion Markup Language. Claims based authentication. What does that mean? SAML provides a way to federate identities. Anyone who has dealt with authenticated application integration knows that managing identities is your toughest challenge traditionally. Even within the four walls of an organization, users will often have many identities. Single Sign-On (SSO) has been a dream that IT has labored towards for ages with varying degrees of success. Now imagine if you need to let outsiders in! Do you create user accounts for non-employees and then open access and authentication to them creating a big security risk? Do you partition off an external replica of the application and then deal with data synchronization complexity and a data integrity risk? SAML is a scheme which attempts to solve the access problem without compromising either security or data integrity. Under SAML, your organizations identity and authentication service is extended with the ability to speak the SAML language and issue what is called a “claim” (in the diagram above this is the Identity Provider). A claim basically says “yes, I certify that user XYZ legitimately logged in and is who they say they are and should have access to your application”. On the other side, the application receives this claim and, assuming it has a trust with the issuing identity provider it grants the user access. Of course there can also be lots of conditional processing applied. This side of the equation is the Service Provider side in the diagram above. This is a web technology so generally we are talking about access via a browser or code which speaks via HTTP (REST API calls, etc).
So what the heck does this have to do with extending vCenter to talk to EC2? Well unfortunately a lot really. Amazon has seen fit to do a “force forward” and get customers thinking in terms of federation and SAML. It’s bitter medicine, but it’s ultimately a good thing. Identity management is definitely one of the biggest roadblocks in a cloud implementation so, while it’s no doubt a pain in a simple lab setup, it is definitely a good discipline to get used to managing a proper cloud identity store (IAM) and integrating via SAML with a proper on-prem identity store (AD, LDAP, etc).
With all of this in mind, here are the first caveats:
- Even for a simple home lab setup, you will need to setup SAML in order to use the new AWS Management Portal for vCenter (referred to as “AMP” from now on)
- vCenter SSO is not a SAML endpoint, it is an identity store that can integrate other identity sources. You cannot use vCenter SSO to generate or process SAML claims and plugin to a SAML infrastructure. VMware does provide a SAML service as part of Horizon, but any SAML will do
- Amazon has lots of documentation that provides specific examples for ADFS. In my opinion if you are using Active Directory, and are running a Windows 2008 or newer server, there is really no reason not to use ADFS. So consider AMP as requiring ADFS.
So let’s say you go the ADFS route. A few gotchas to cover here:
- If you are running Windows Server 2008 ADFS 2.0, you need Update 2 or Update 3 for ADFS in order to get support for SAML RelayState
- If you have a fully updated ADFS 2.0, or are running ADFS 3.0 in Windows Server 2012+, you still need to enable RelayState. This point is critical and I did not notice it covered in any of the documentation from AWS, You can do the entire setup right, but if RelayState in ADFS is not enabled what you will see is the standard AWS Management Console surfaced into the VIM Client when you launch the plugin. Behold the face of evil!
So how do we avoid this unfortunate outcome? It turned out the fix was very easy but took me a day to discover since I am new to SAML. Before doing anything else, find the following resource file:
Microsoft.IdentityServer.Servicehost.exe.config
In Windows 2012 this file will be under: %systemroot%\ADFS.
Edit the file and look for the section:
Microsoft.IdentityServer.Servicehost.exe.config
Add the following line:
<useRelayStateForIdpInitiatedSignOn enabled="true" />
With this pre-requisite step complete, it is time to head over to the setup instructions which can be found at the following URL:
http://docs.aws.amazon.com/amp/latest/userguide/setting-up.html
Some quick notes here… This dock is generally excellent and quite thorough, but there are a few pain points. First, to quickly get your ADFS metadata, simply point a browser at this URL from your internal network:
https://your_adfs.your-domain.com/FederationMetadata/2007-06/FederationMetadata.xml
You can then save this file as FederationMetadata.xml for use during Step 2 of the AWS setup process.
The setup doc also requires that a number of base objects be created as pre-requisites. Quick summary and some context for those:
- An IAM account that will be needed when registering the plugin with vCenter (final setup phase). This service account will be used to create resources in EC2. Yes it’s odd that we’re going through all of this SAML business if we’re ultimately just using a service account to do the heavy lifting. Amazon has a recommended policy, but of course YMMV so set permissions per your scenario. Keep the access key/secret key pair handy for this account since you’ll need them during that registration process as mentioned.
- A vCenter account that will be assigned permissions by the setup process also during registration. This is a basic service account and can be created anywhere that your vCenter can recognize. When you register the plugin you will need both your admin credentials (to register it) and the credentials for this service account (which the plugin will use operationally)
- To summarize the above, the AMP uses service accounts on both sides to do its work
- In addition to the above, the AMP will require an IAM role that is assumed during federation by the user who logs into the plugin through the VIM client. This role is created during the initial setup process which is launched from Step 1 in the setup document.
When you reach Step 3, be mindful of some confusion. The setup doc suggests that, for a brand new installation of ADFS, you first head over to here:
And then once finished, return and continue with Step 3b. In my opinion, this is not really correct. My advice would be to head over to the AWS guidance for ADFS, but with some cautions in mind:
- don’t bother creating the suggested users and groups. The users required specifically for this use case were covered above.
- if you’ve already installed ADFS, skip all the way to “Configuring AWS as a Trusted Relying Party”
- Follow the doc, but stop when you reach “Configuring Claim Rules for the AWS Relying Party” and return to the “Setting up AWS Management Portal for vCenter” chapter of the User Guide.
- Once back a the setup guide, continue as suggested with Step 3b
The last speedbump I ran into was a strange one. I found that in the automatically created IAM role, I had to delete a condition in order to get the SAML claim to process. For some reason the SAML:iss check was not processing correctly. This condition validates the originator of the SAML claim and the correct value should be the FQDN of the ADFS server. It didn’t work for me, though, and resulted in a generic error indicating that the user did not have permission to assume role via STS (of course this is because the condition check failed). I would suggest leaving the condition in, but if access fails, remove it.
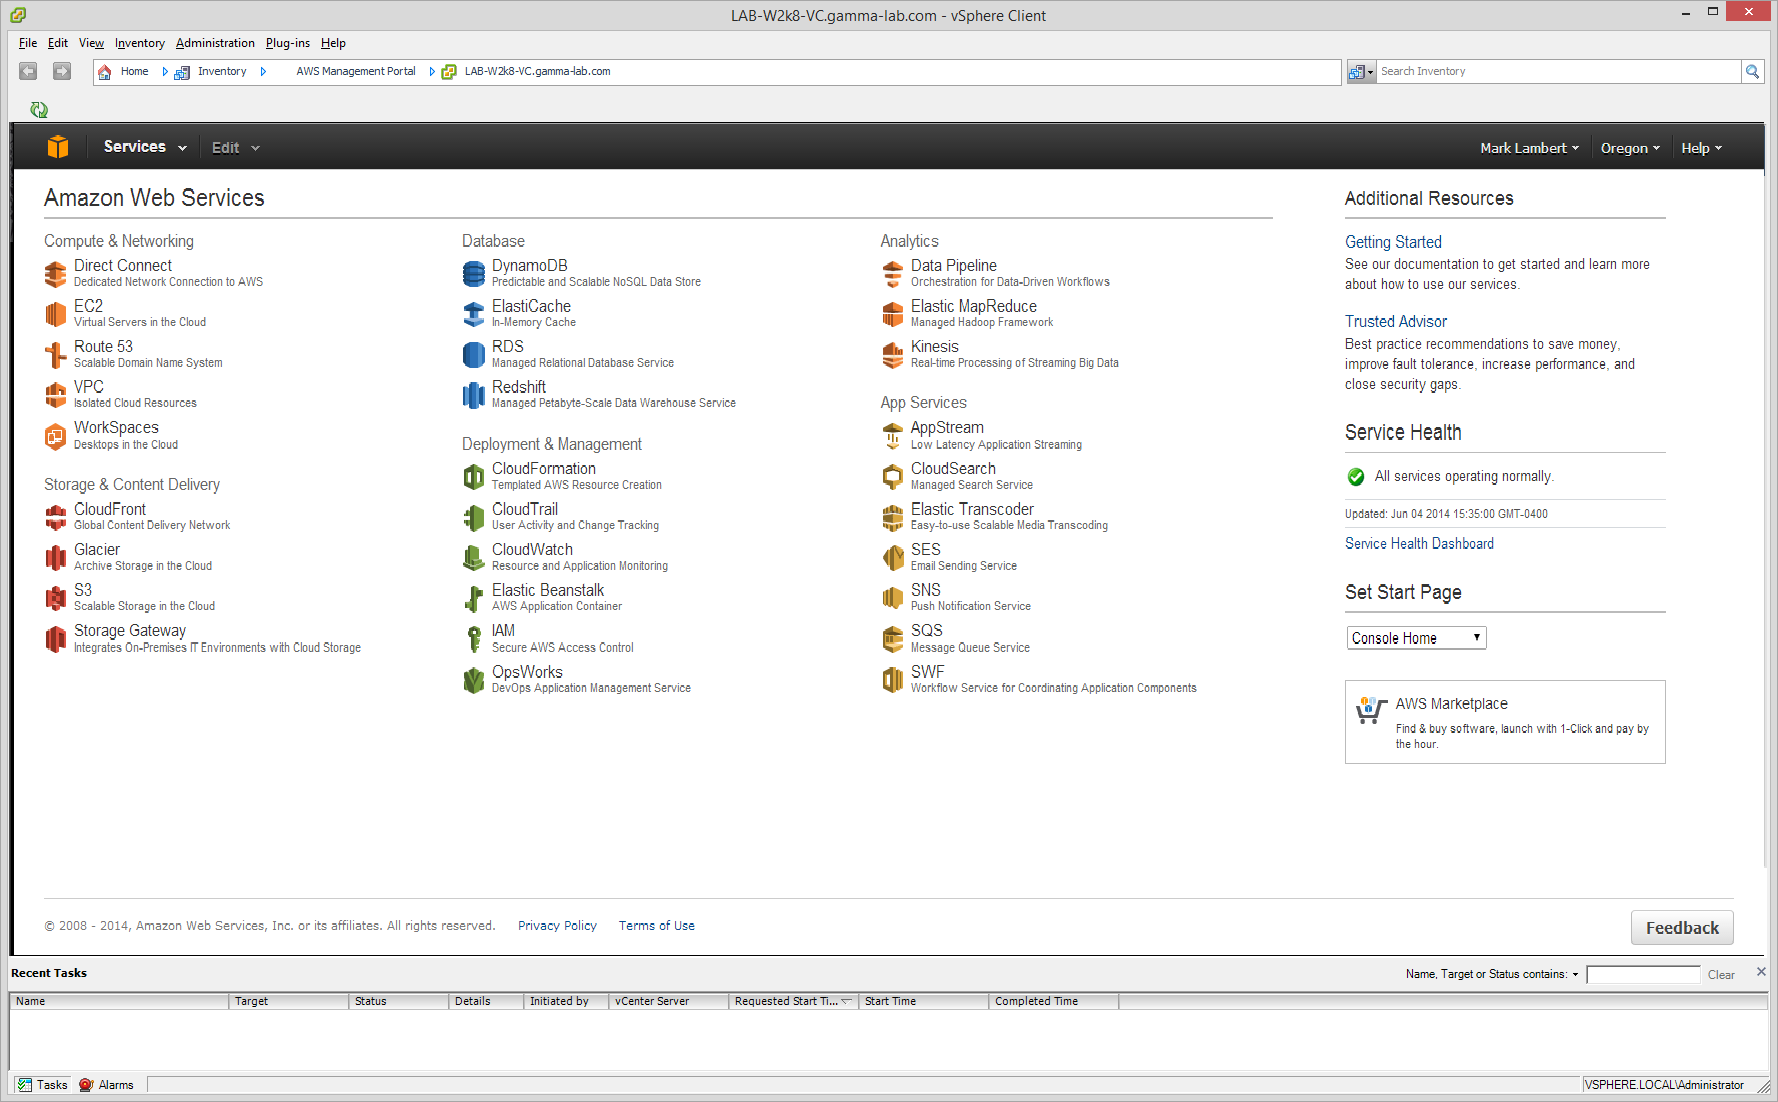
If all goes well, this is what the final product should look like (note – VIM client only, no NGC web client support… Booo, hisss! Or maybe not?):