
This hasn’t been a fantastic week for electronics at Complaints HQ. First the venerable Xbox 360 Elite decided to give up the ghost after 6 years of service and flash it’s “Red Rings of Defeat” and now, the TiVo decided to join it. Wait, you might be thinking, the “giver of life” and “keeper of all knowledge” TiVo? That TiVo? I’m saddened to say that, yes, that very same one. Needless to say when TV (and especially recorded TV) stops functioning the better half notices. And when the better half is unhappy… Well you know how that goes! So exactly how did this sacred piece of equipment finally go down and what were the symptoms? Let’s take a look:
- First off, this is a Series 3 HD unit with two cable cards and an upgraded 1TB Seagate Barracude drive (which I had forgotten I had even done, but that’s another story). It has been solidly function since day 1 of the Series 3 release. Following a recent power event, the first sign that something was off was a continual reboot cycle where the TiVo would stay in “Welcome, Powering Up” mode forever

- After a bit of experimentation I discovered that removing the cable cards allowed it to boot
- Booting without cable cards brings you to a “Cable Cards Not Inserted” screen
- At this point, inserting one of the cards causes an instant reboot back to the boot loop
- The move from here is to “Press Select to go Back” which brings you into an already running Guided Setup
- The Guided Setup for TiVo is long and painful. Really. It takes ages and it feels as if the TiVo is solving world hunger. Walking through it, the key is to select “cable only” and select “I will get Cable Cards later” when it asks about them
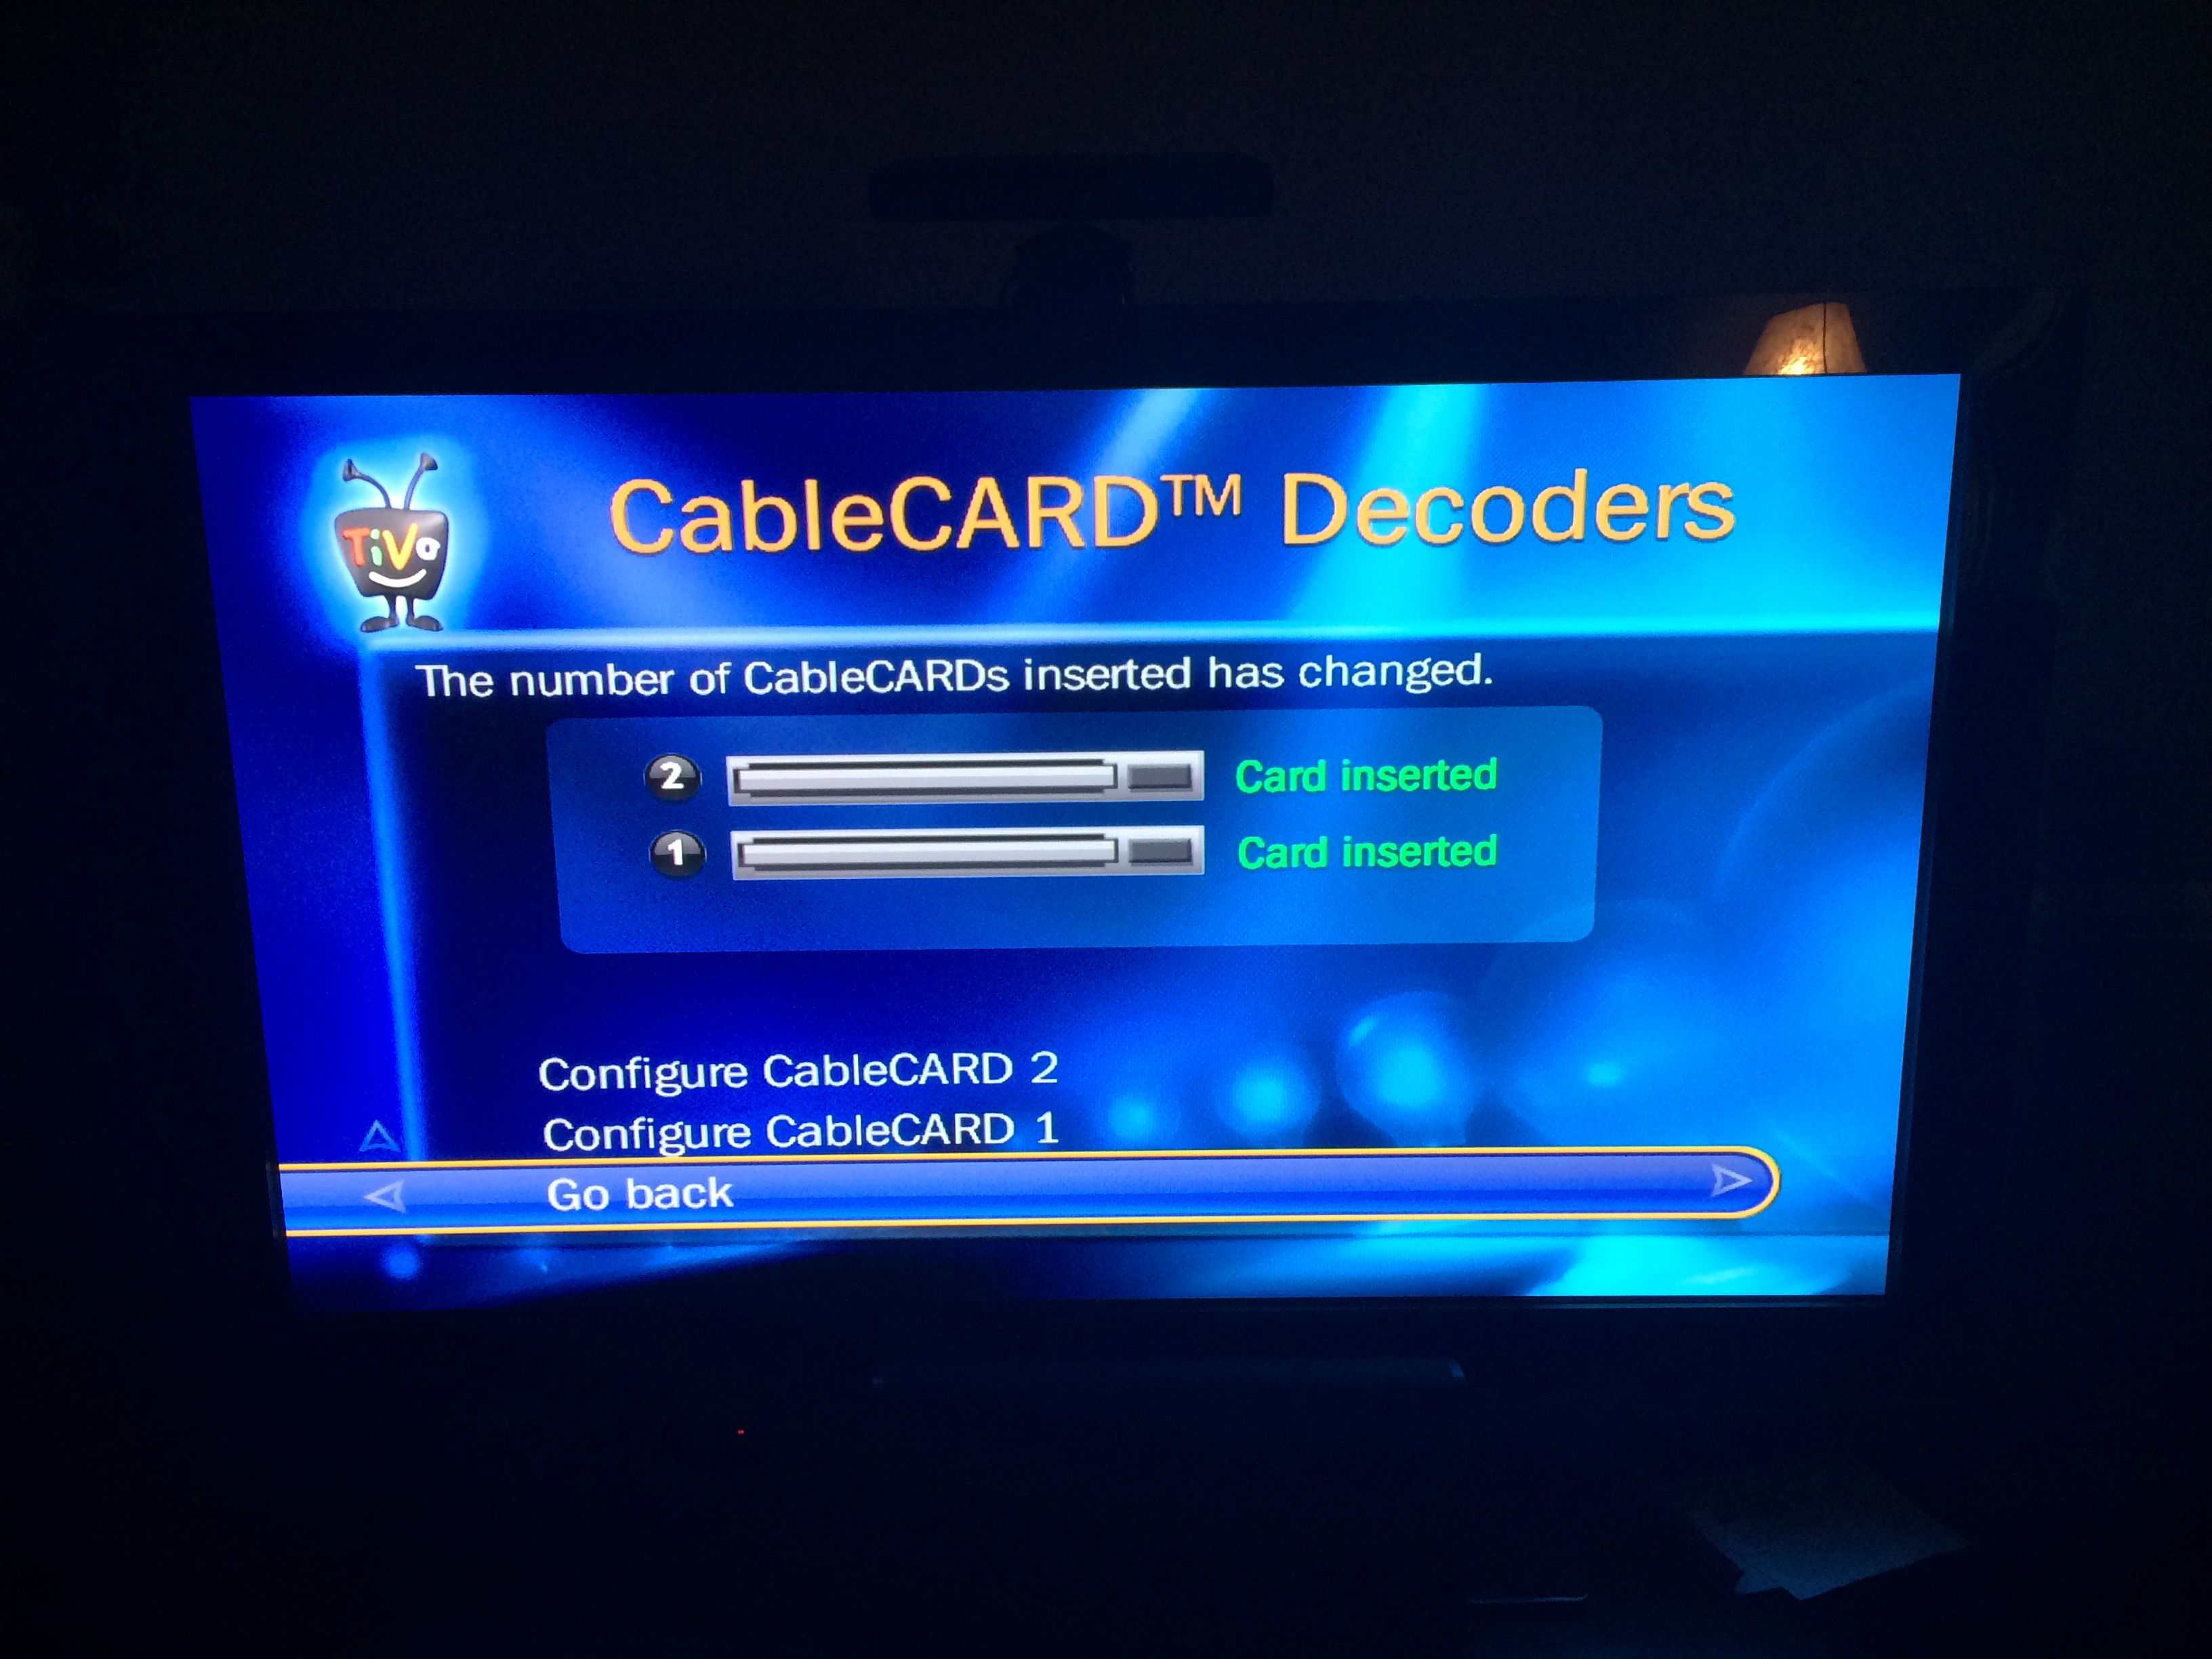
- Once Guided Setup was complete, I was able to reinsert and reconfigure each card
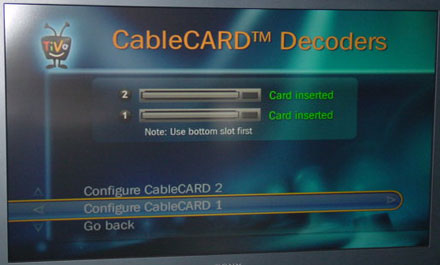
- Configuring them, in this case, basically means going into the CableCARD menu, verifying Network Setup, CableCARD(tm) Pairing, and CableCARD(tm) Status. It also means waiting a bit for the cards to initialize
- The cards came back online and TV was one again working Hallelujah! Thanks for reading! Kidding! Of course it wasn’t that easy. If it was, why bother with an entry right? No, what happened was that LiveTV started pausing and skipping to the point it had become unwatchable. My mind began to shift back to what I originally thought might be the culprit… The hard drive
As it turns out, replacing a TiVo hard disk is pretty easy. I strongly recommend doing a drive transfer which means doing it when you suspect a drive may be failing rather than waiting for it to fully die. If it fully dies you can still resurrect the device by ordering either a prepped drive, or ordering an image of the TiVo OS and using a blank drive, but you’ll lose your recorded shows and settings. To get started on a TiVo disk revitalization project, here is what you need:
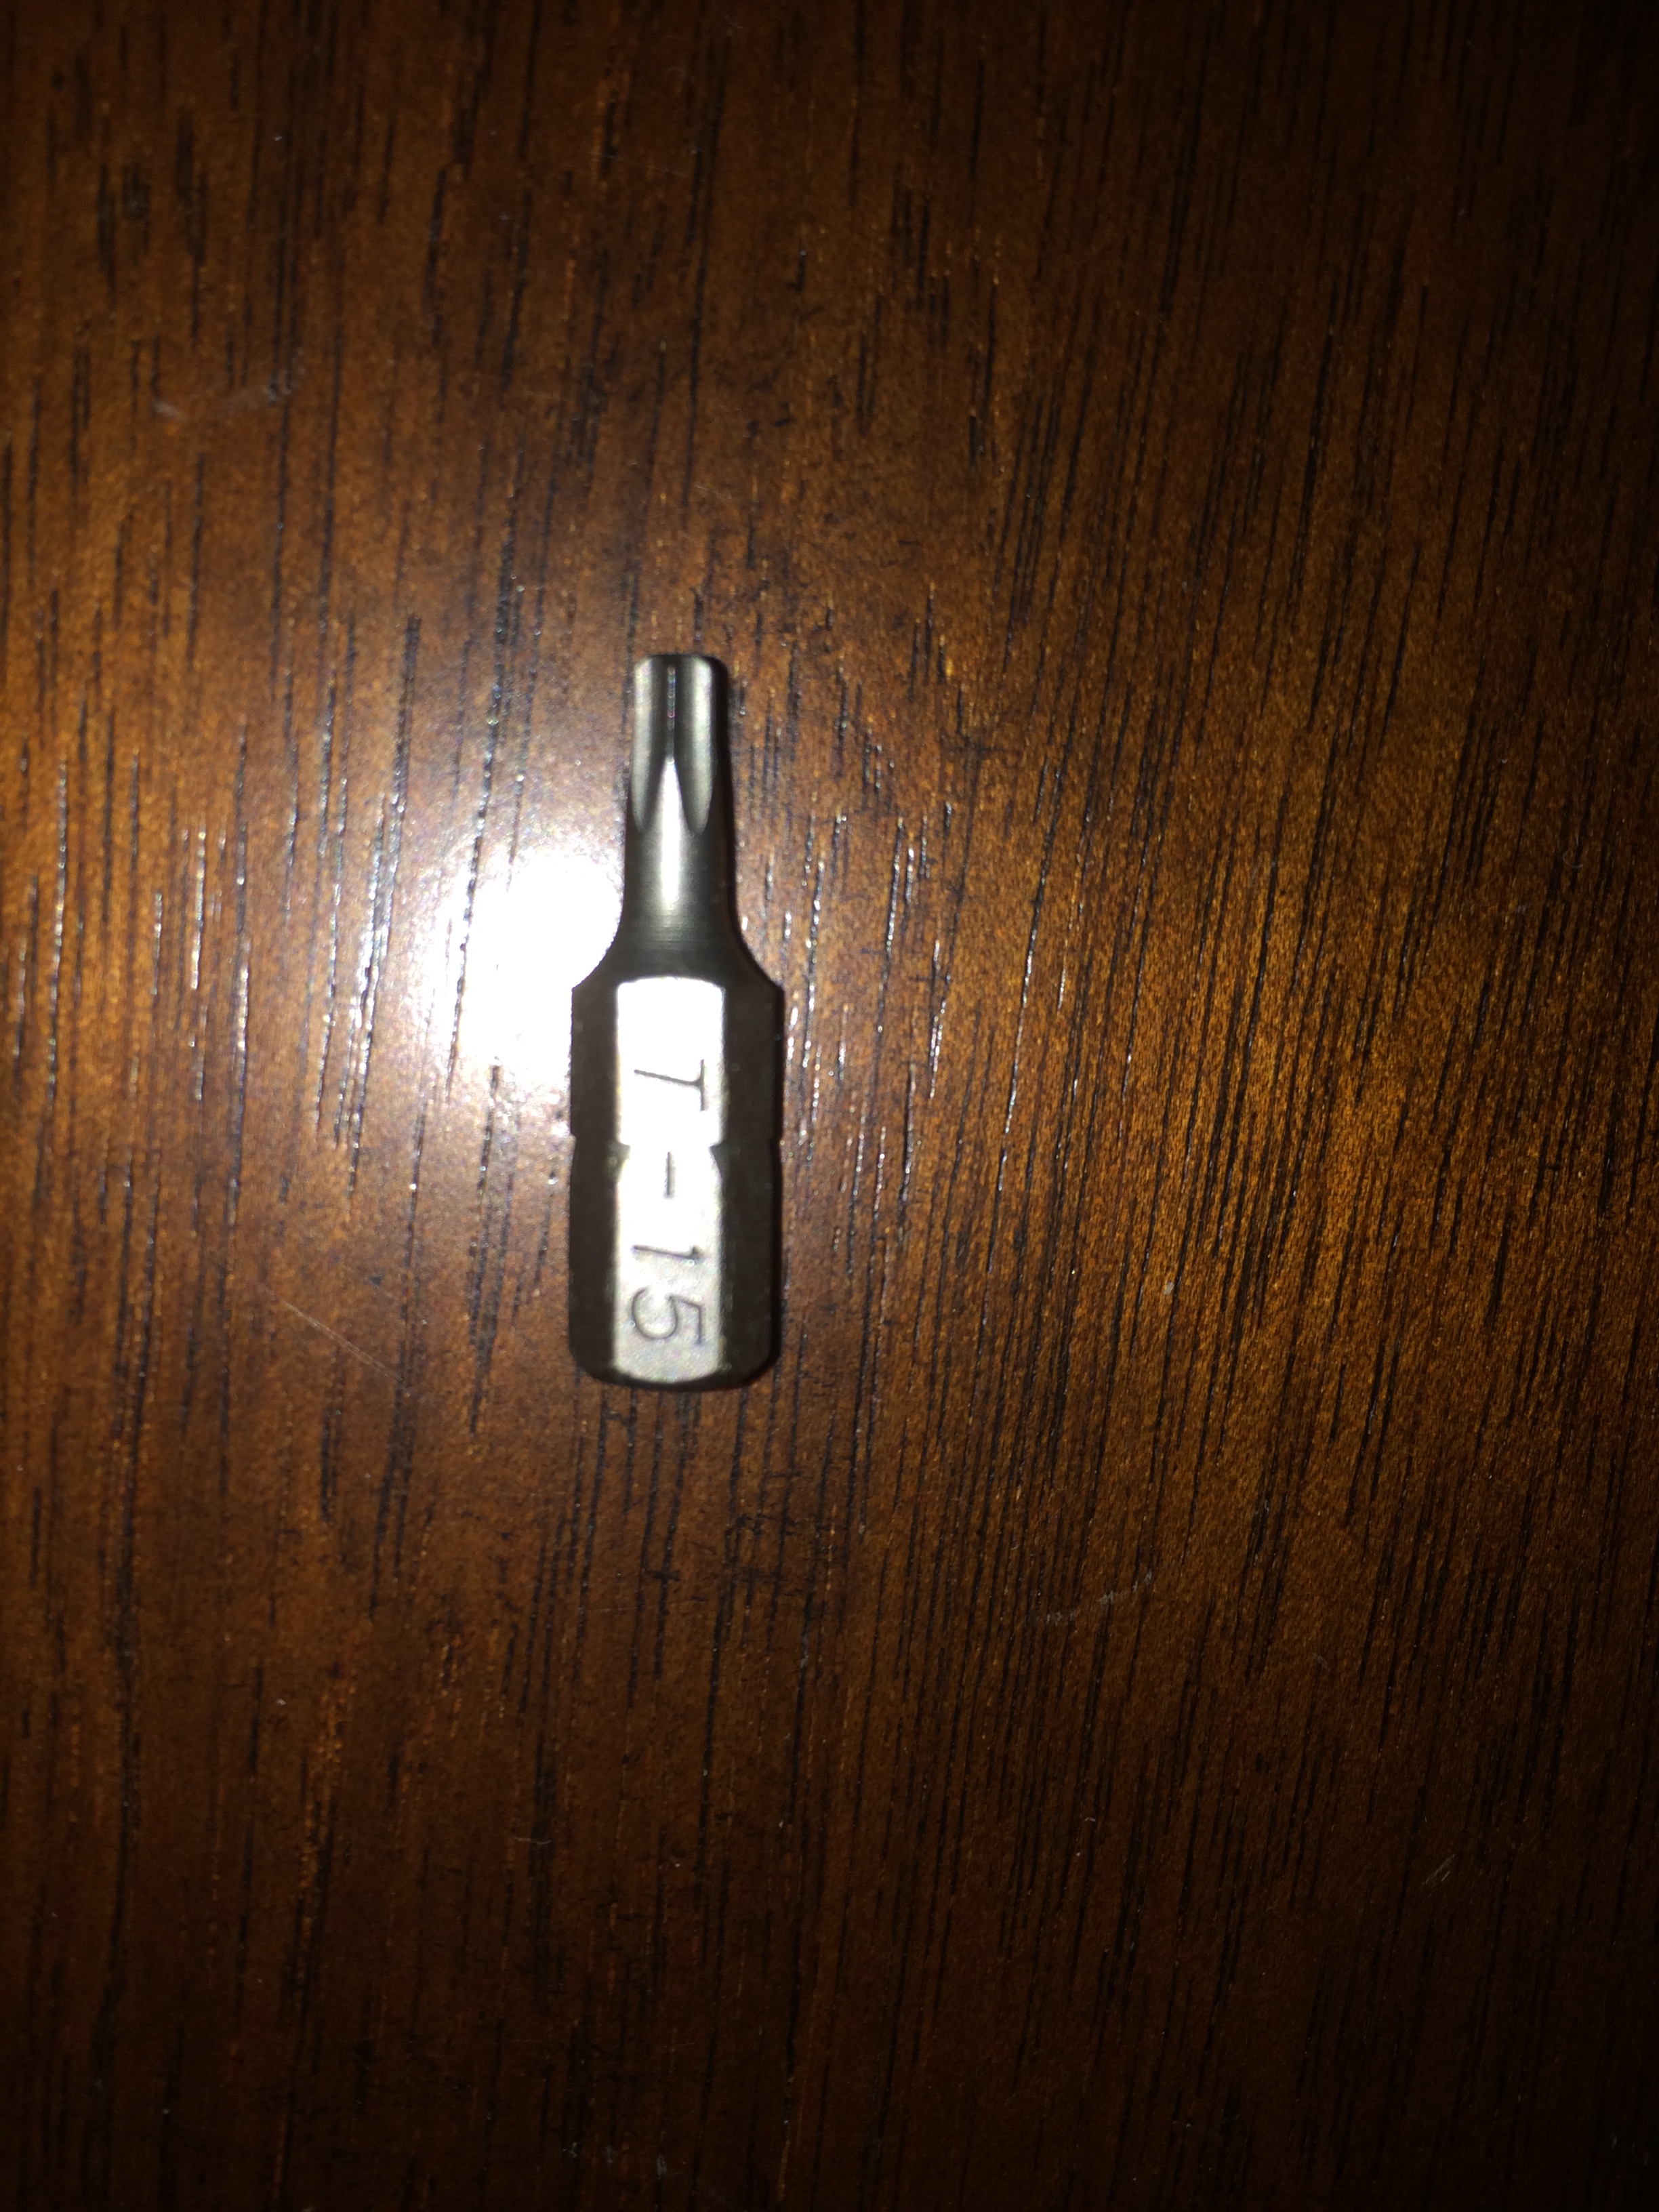
1) T10 and T15 torque driver bits

2) a new 1TB hard drive. The series 3 can successfully partition and address up to 1TB
3) WinMFS – this little gem of an open source project is the key to everything. The lightest of lightweight Windows utilities, WinMFS allows you to mount, and operate on, TiVo formatted drives in Windows. Alternatively, since the TiVo runs Linux, a TiVo drive can be mounted on a Linux system, but the format is proprietary so you’ll still need MFS tools to perform the operations required
4) A USB to SATA drive converter. Without this you have to mount the drives internally in a desktop PC which is a pain
5) a Windows (or Linux) computer
Here is a quick pic of everything you need in one place (sensible modern fruit bowl optional):

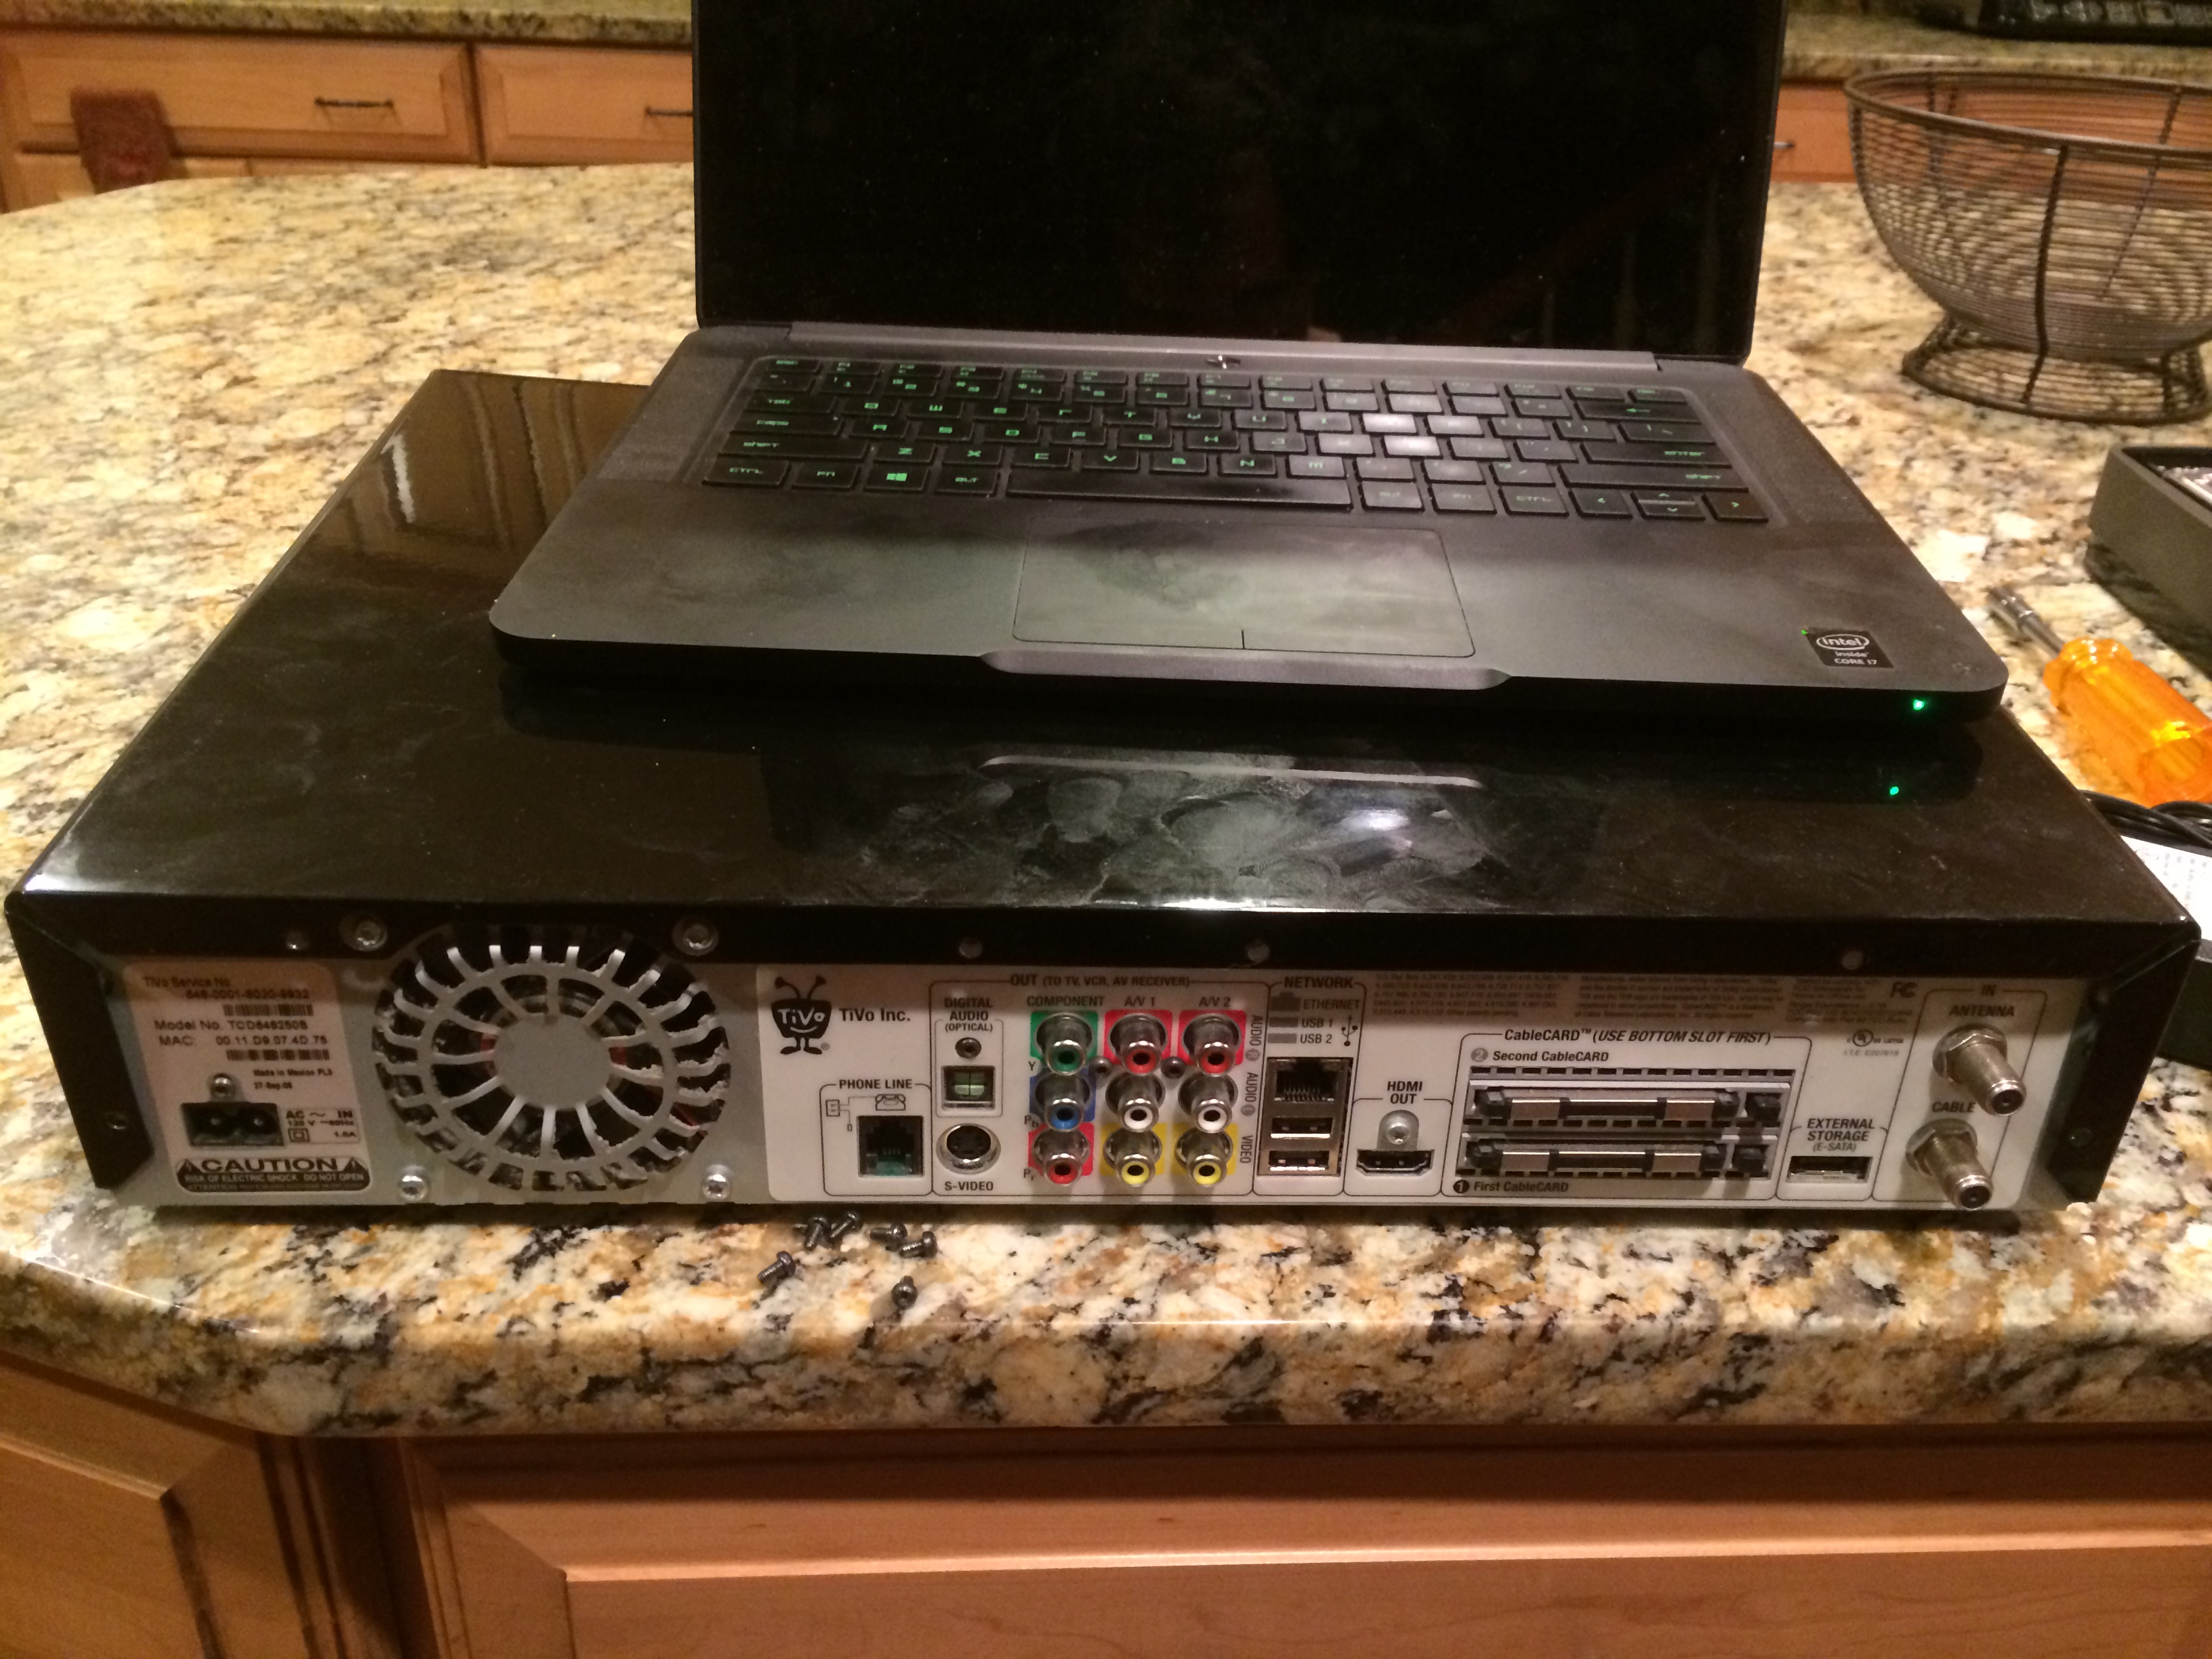
Thankfully, the physical aspect of this procedure is very easy (unlike an XB360 teardown which I also did this week, but that’s a different entry!). The TiVo is held together with just 6 T10 screws on the back:
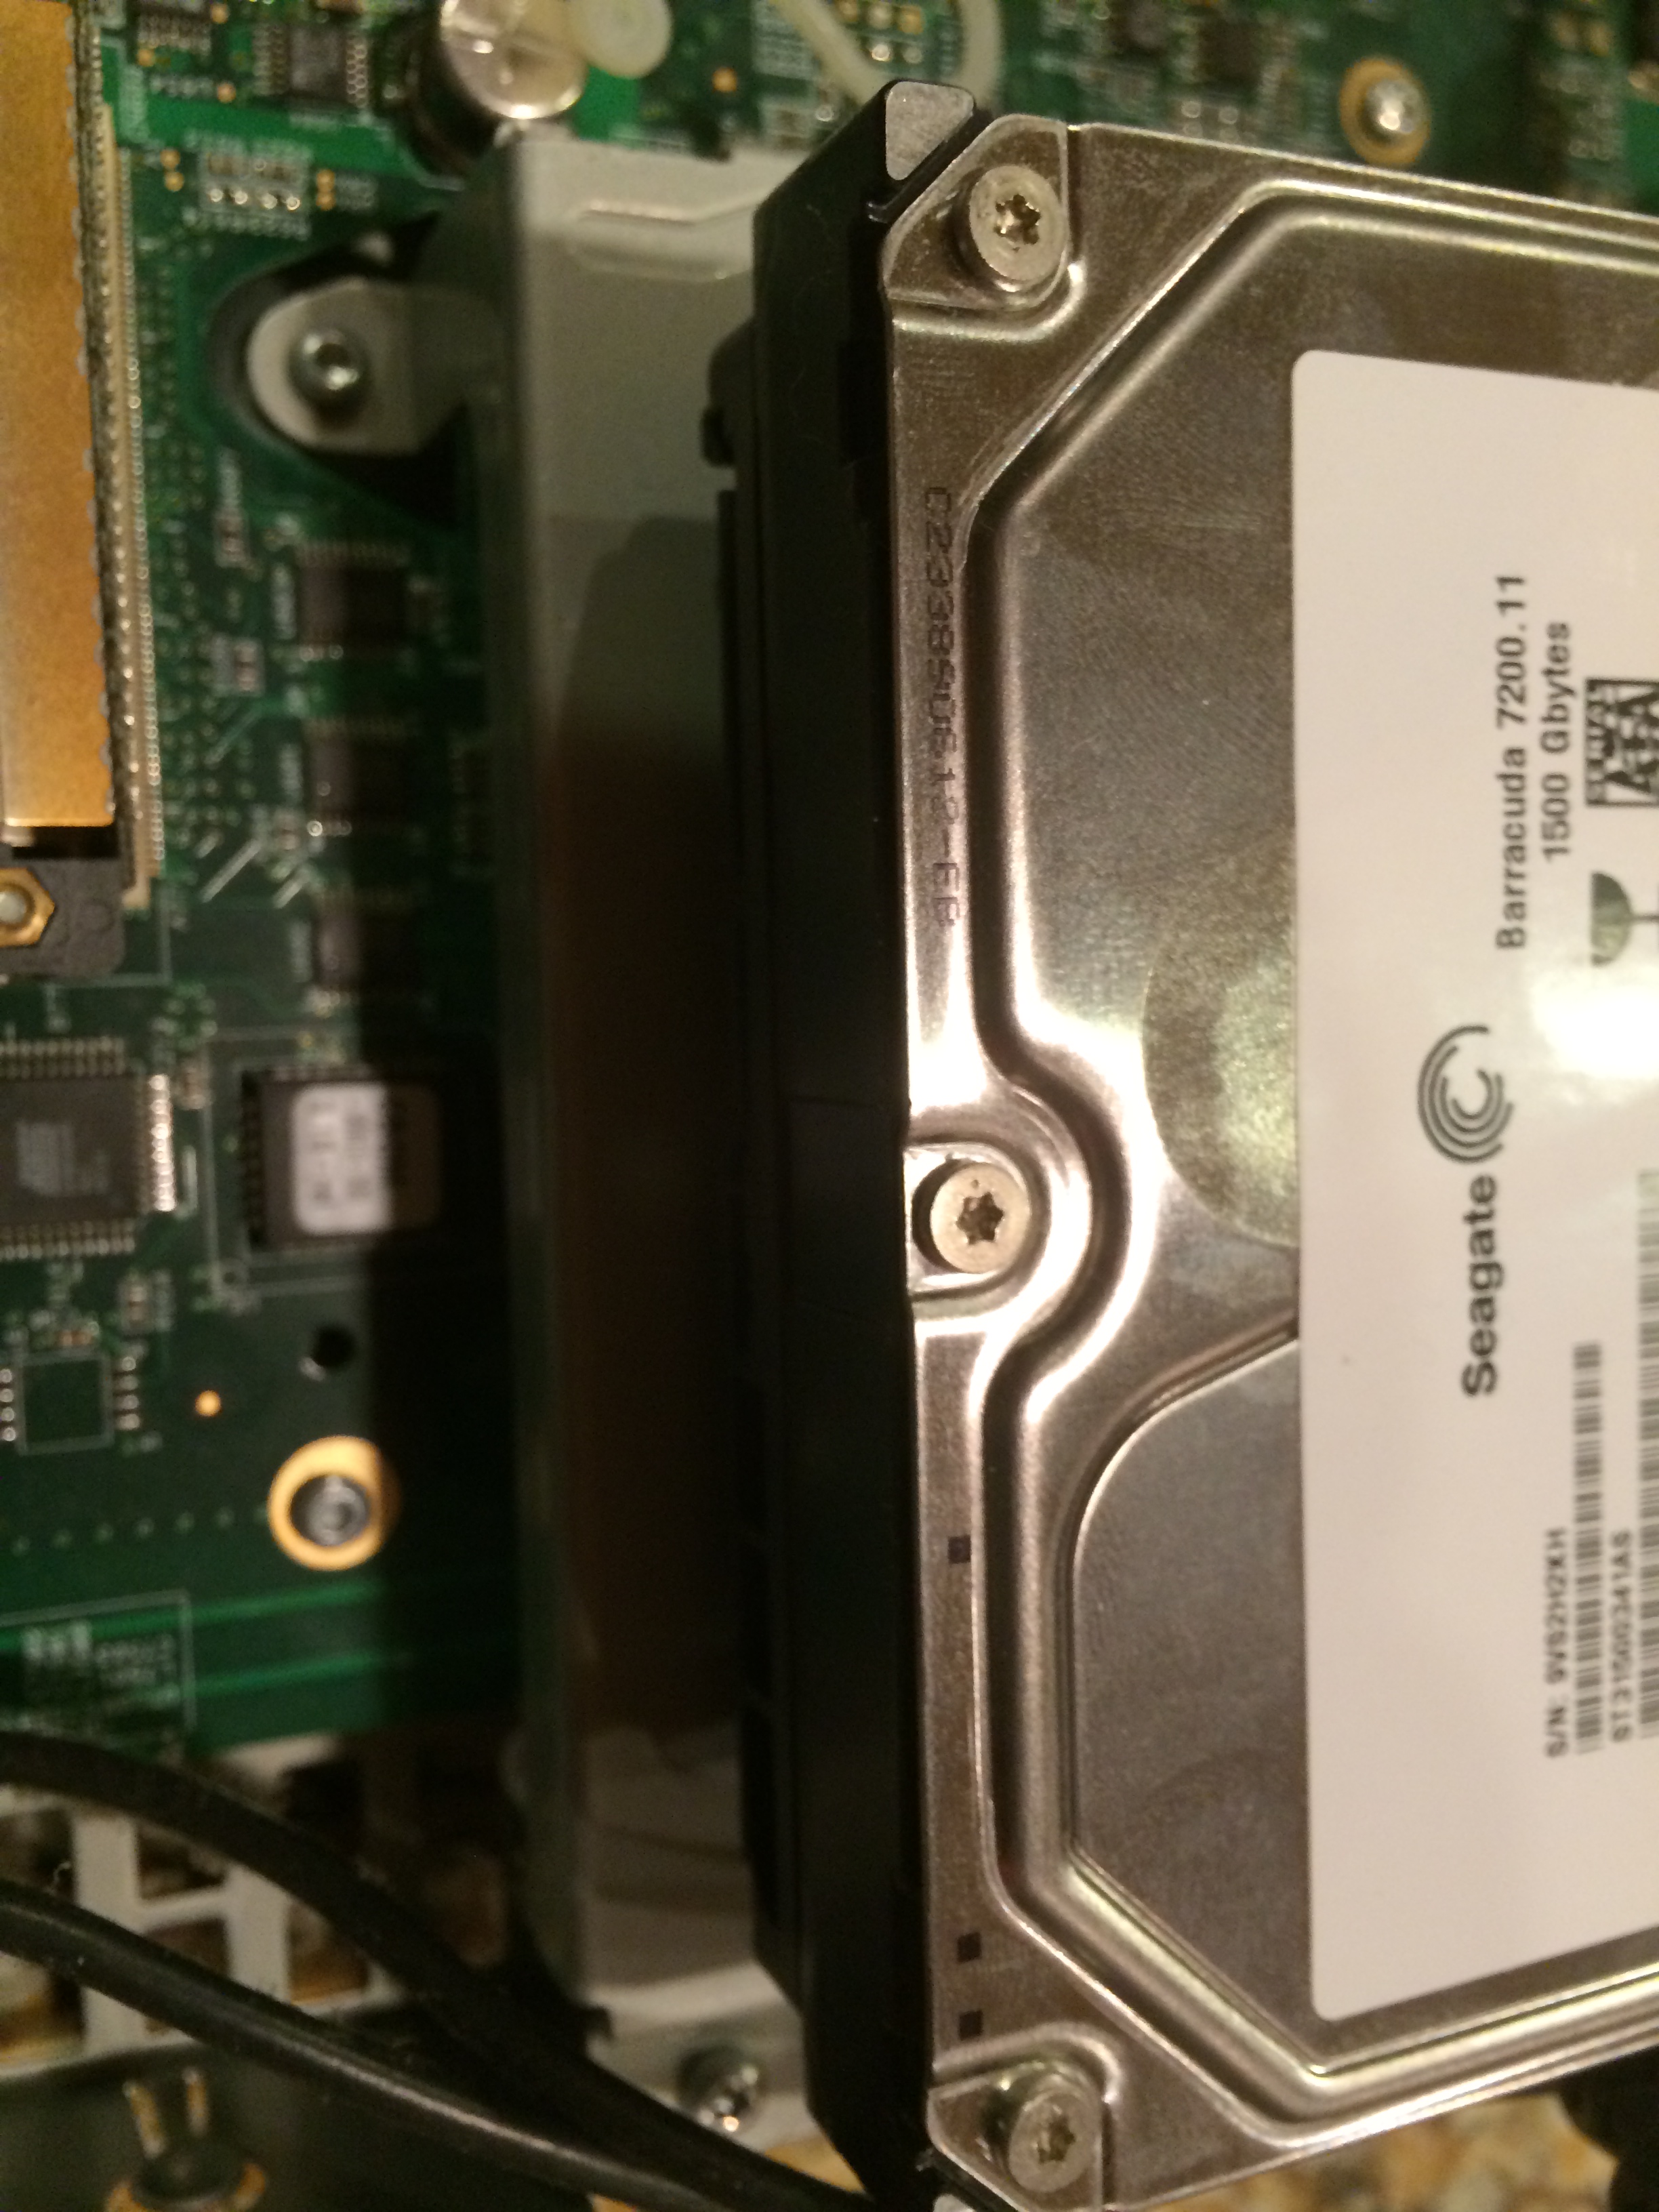
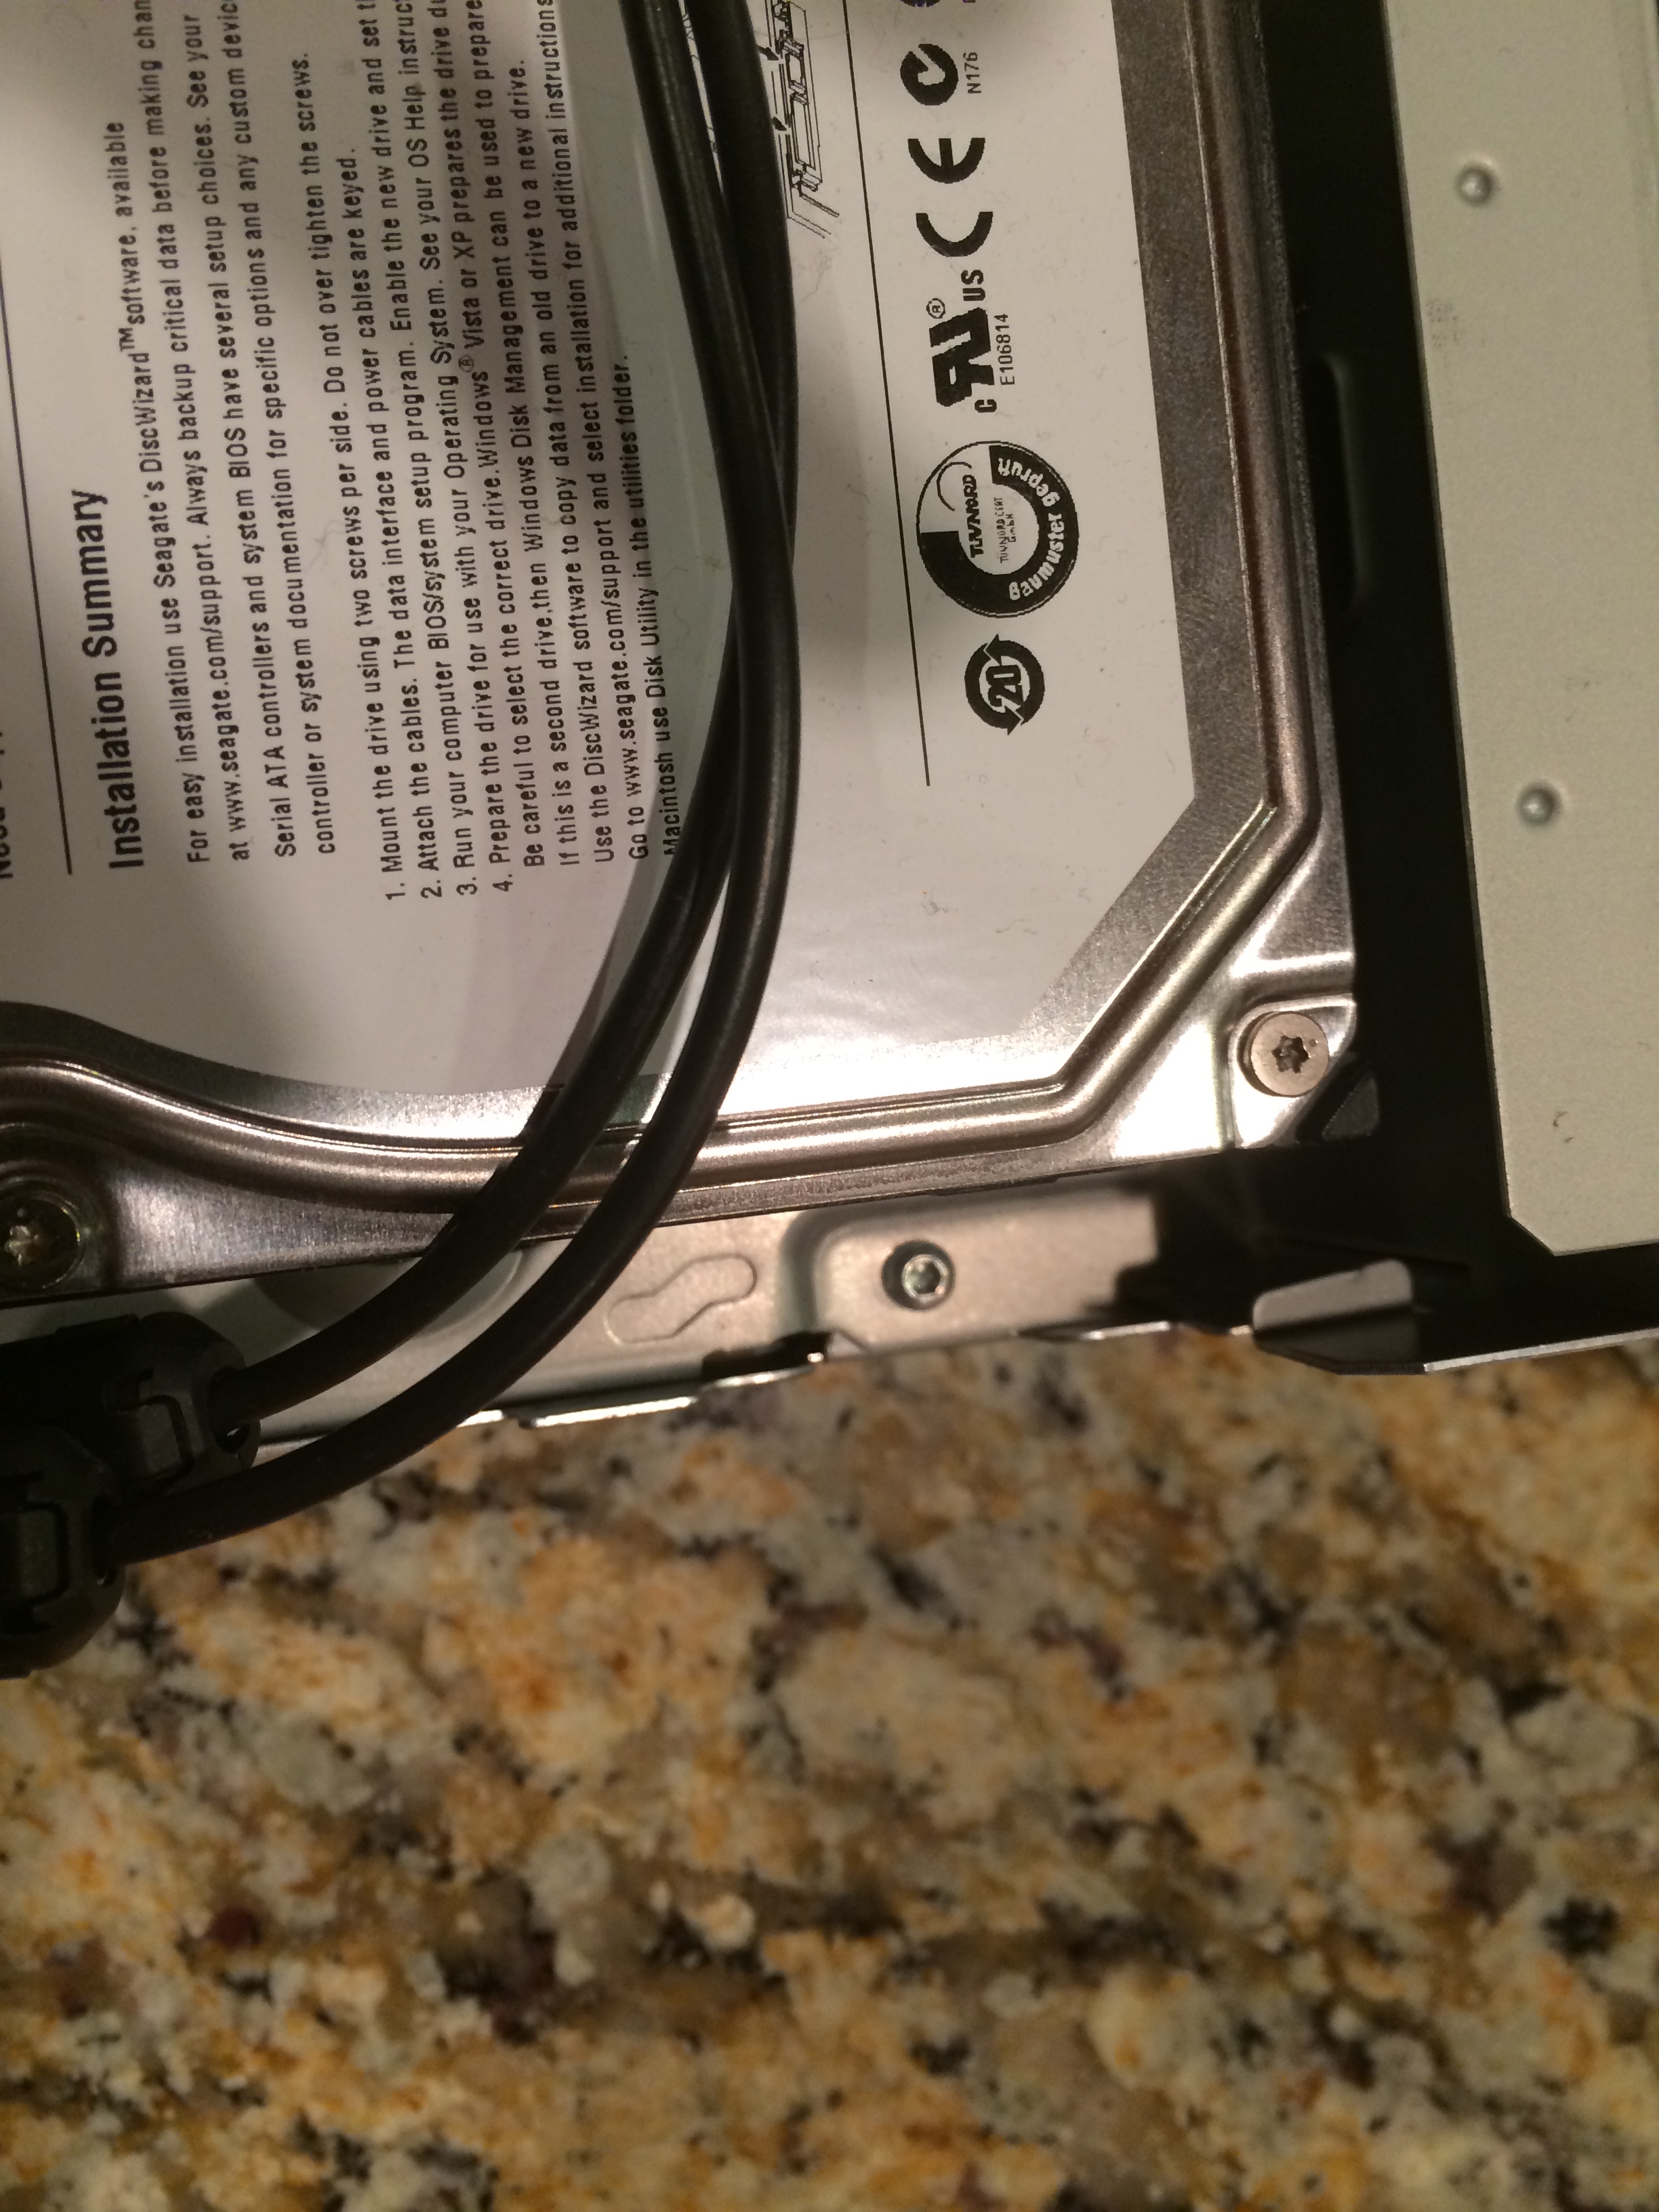
With the screws removed the cover pops right off and inside is what is essentially a cable tuner equipped low end PC:
 To get at the hard disk (clearly visible in the upper left), we first have to remove the combined SATA power/data cable. Next step is to remove the entire disk platform. It is held in place by 4 T10 screws:

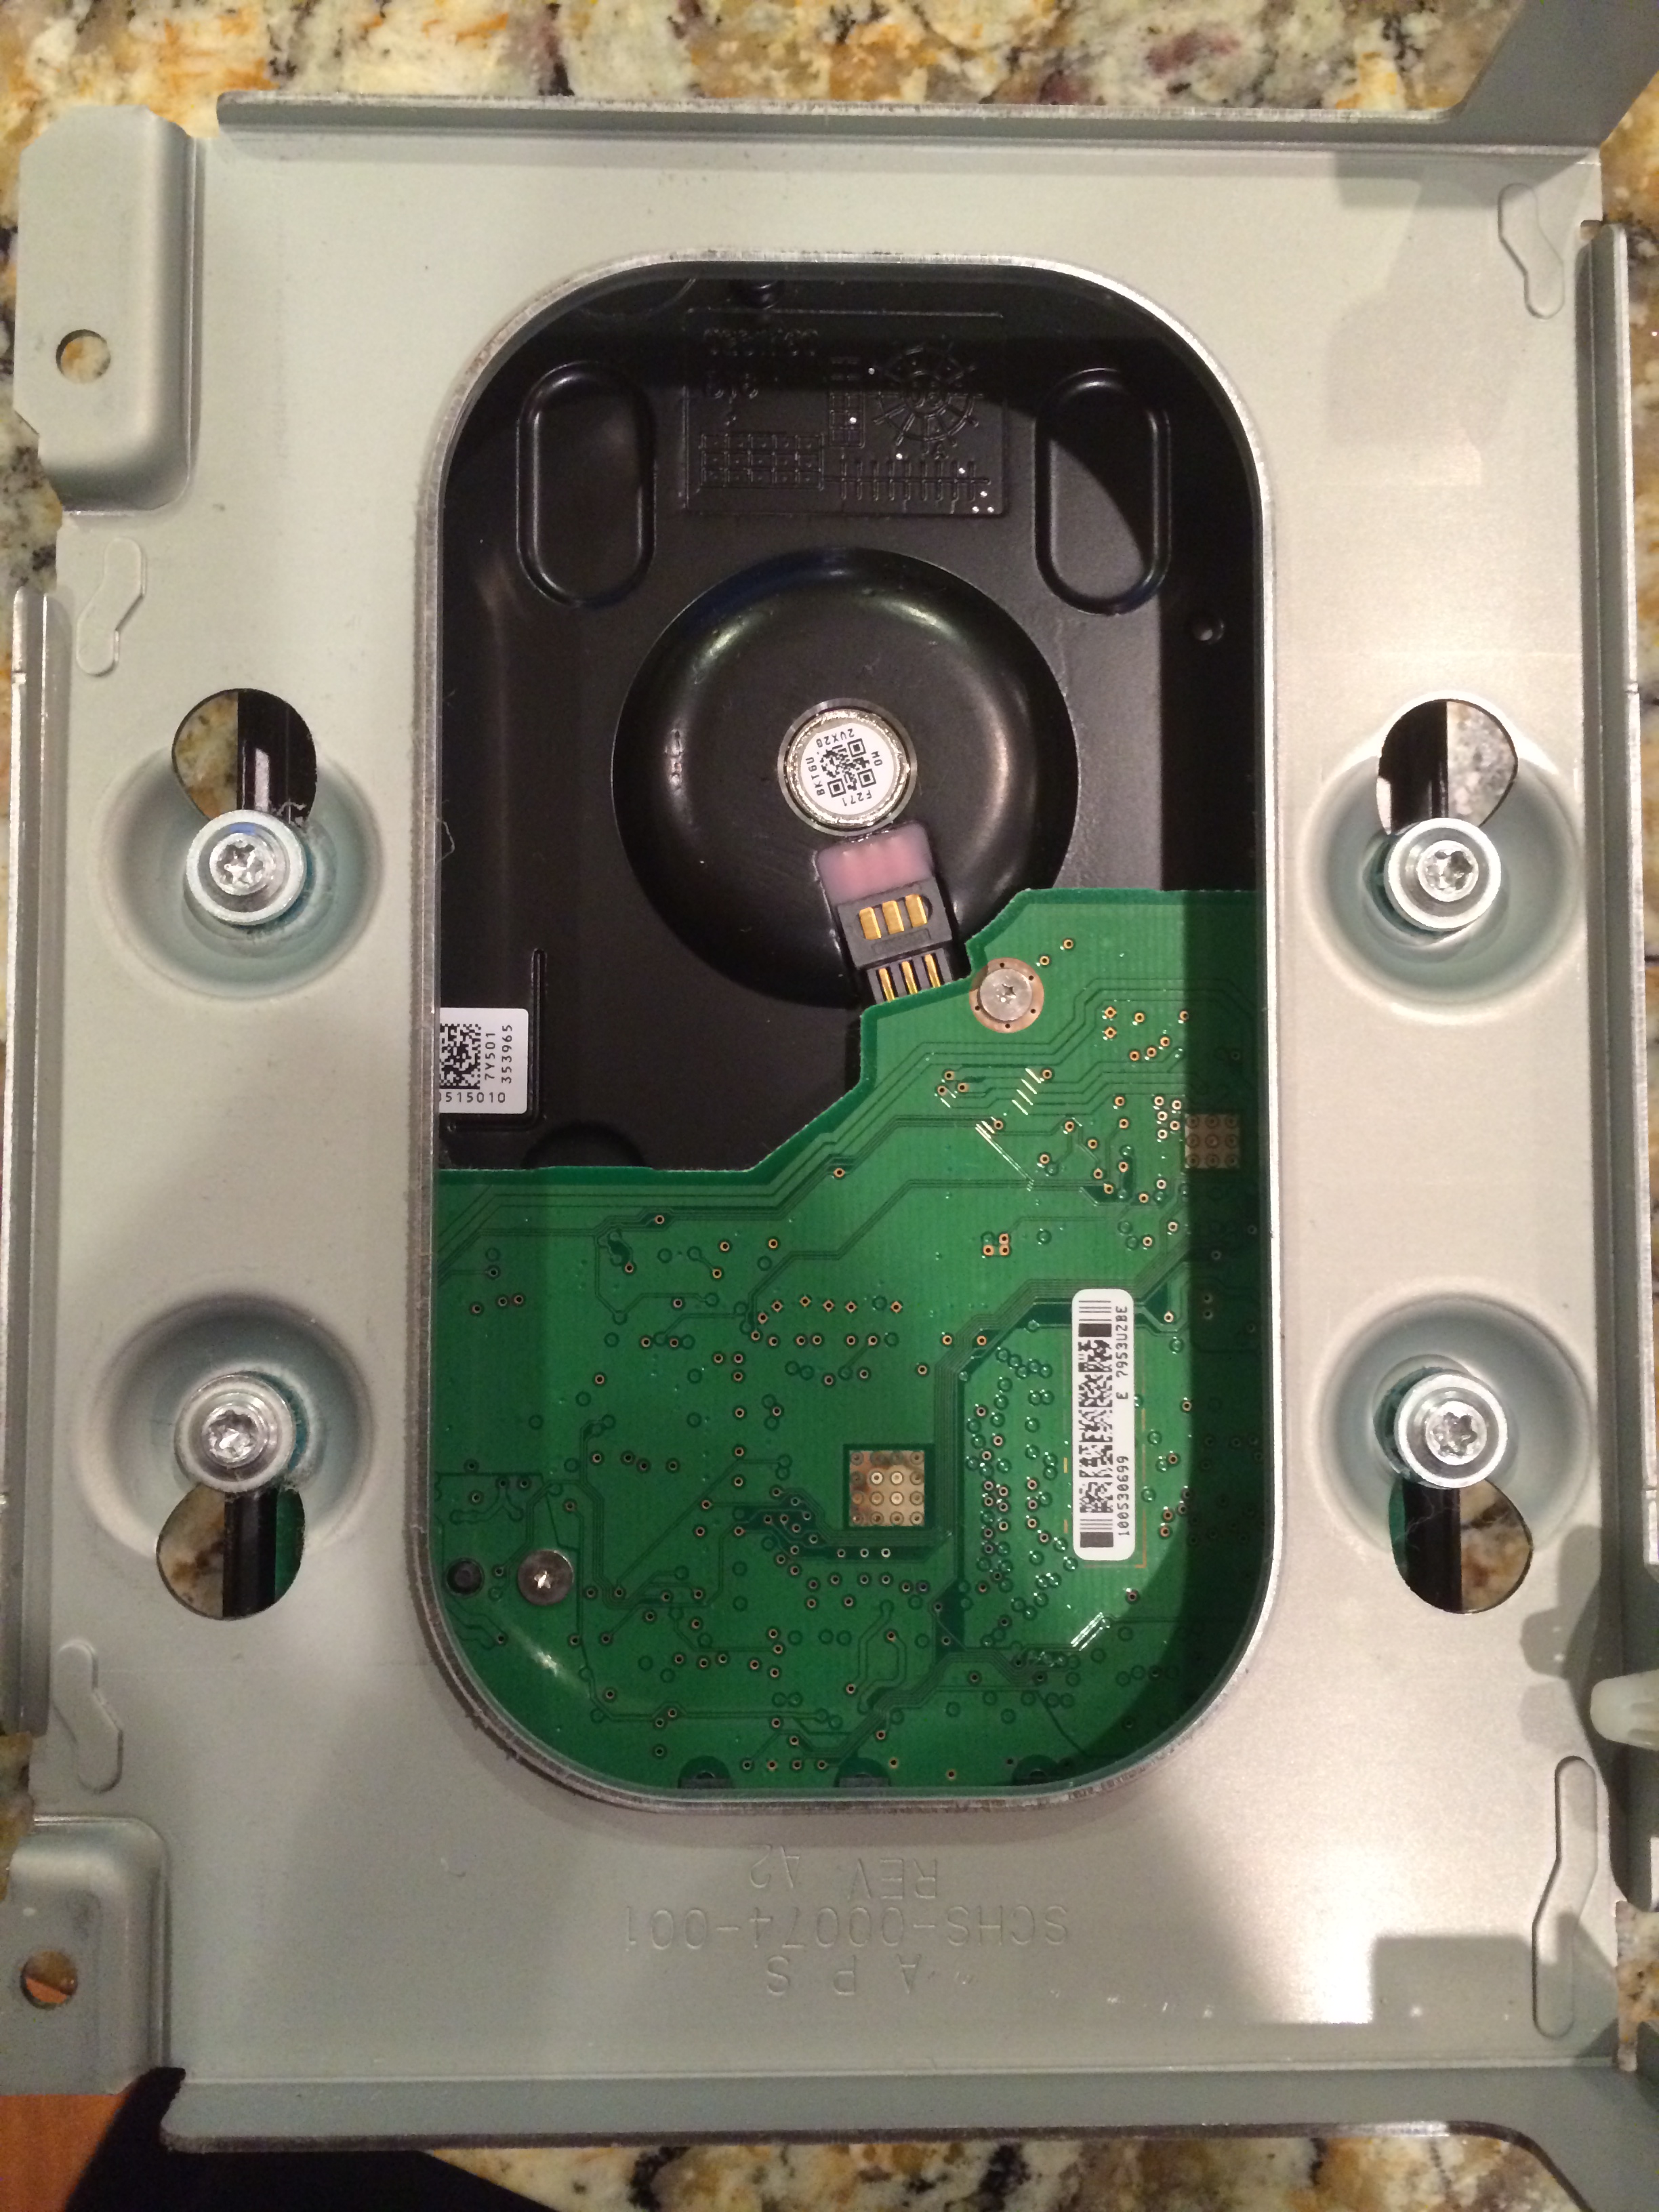
With the screws removed, the entire drive platform lifts out. The drive is mounted to the platform at the base with 4 T15 screws:
 Next step is to connect the hard disk to the USB to SATA converter and connect it to the PC:

To gain access to the drive in Windows (it won’t just mount) use WinMFS. The interface is bare bones, but it is incredibly powerful. Make sure to Run As Administrator:

Make sure the drive is connected and from the File menu, choose Select Drive. The dialogue box will appear pre-populated with any attached TiVo disk that WinMFS finds. Click Select:

With the TiVo drive selected, we can now go ahead and grab our precious TV Data. From the File menu, select Backup Tivo Drive. Give the backup a filename and location and click Start (note, the back files are very small):
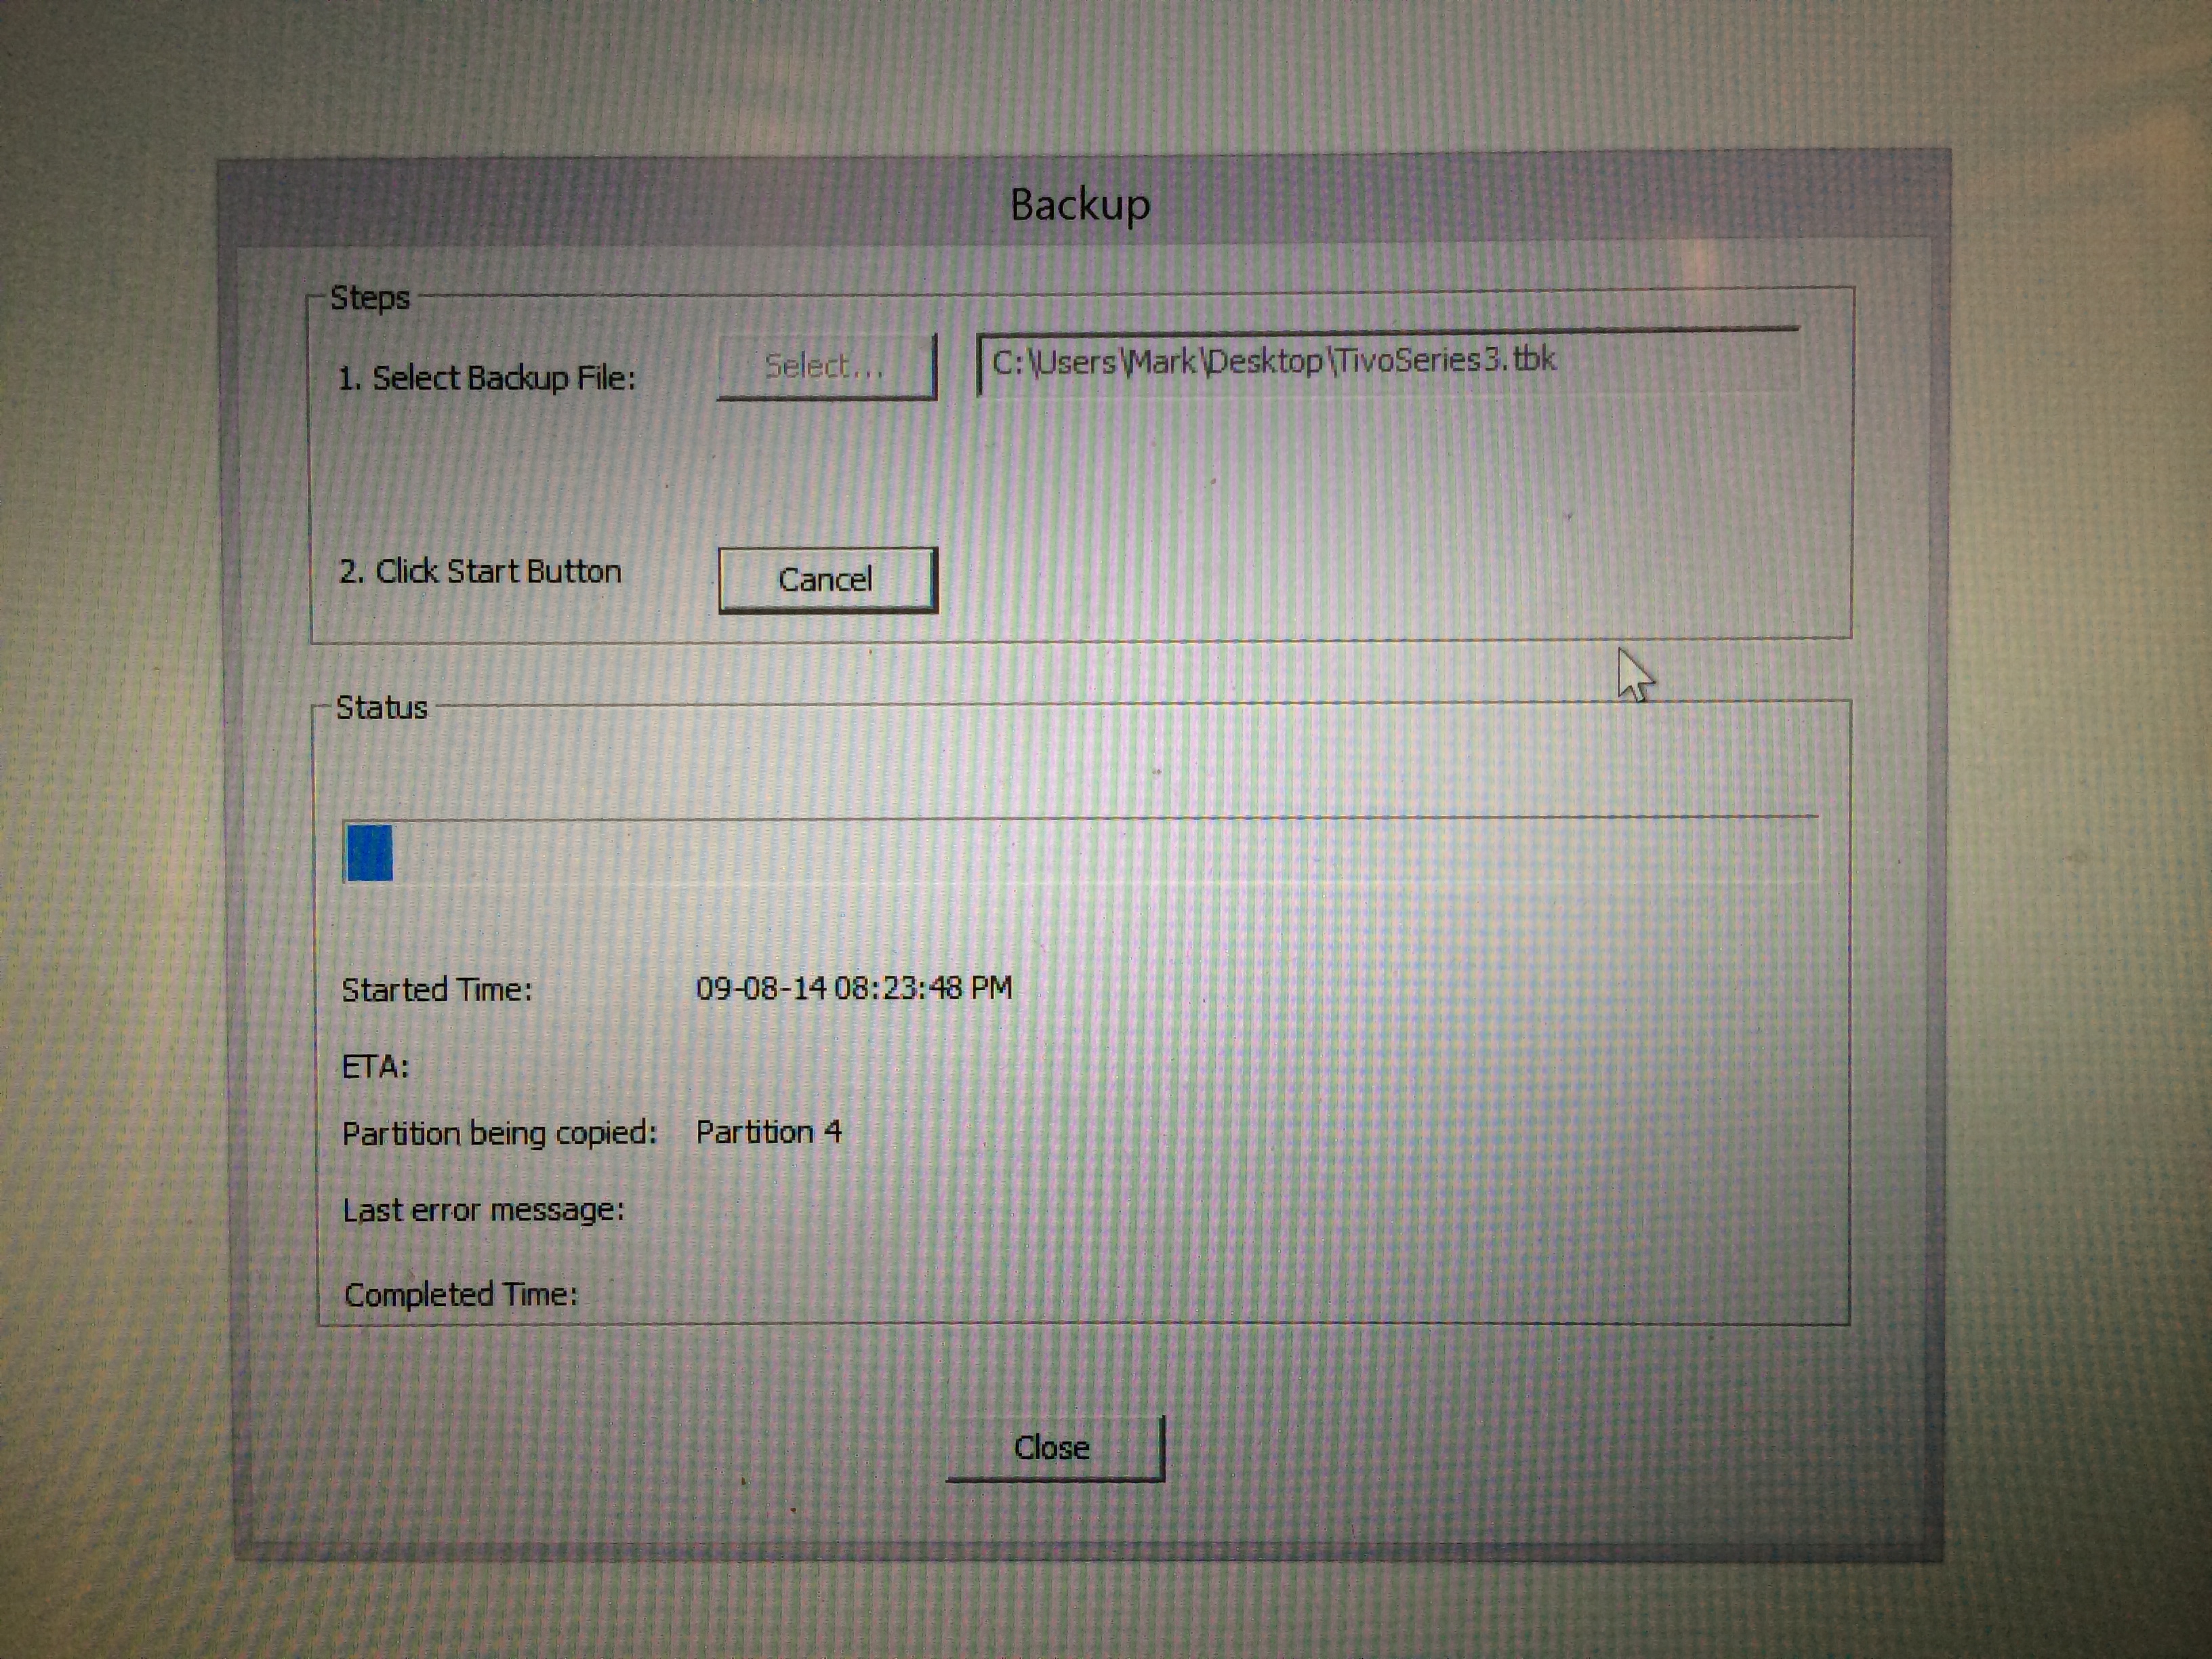
The backup process is surprisingly quick. Only 4 minutes for me, but this was with only about 15 hours of SD content on a 1.5TB drive:

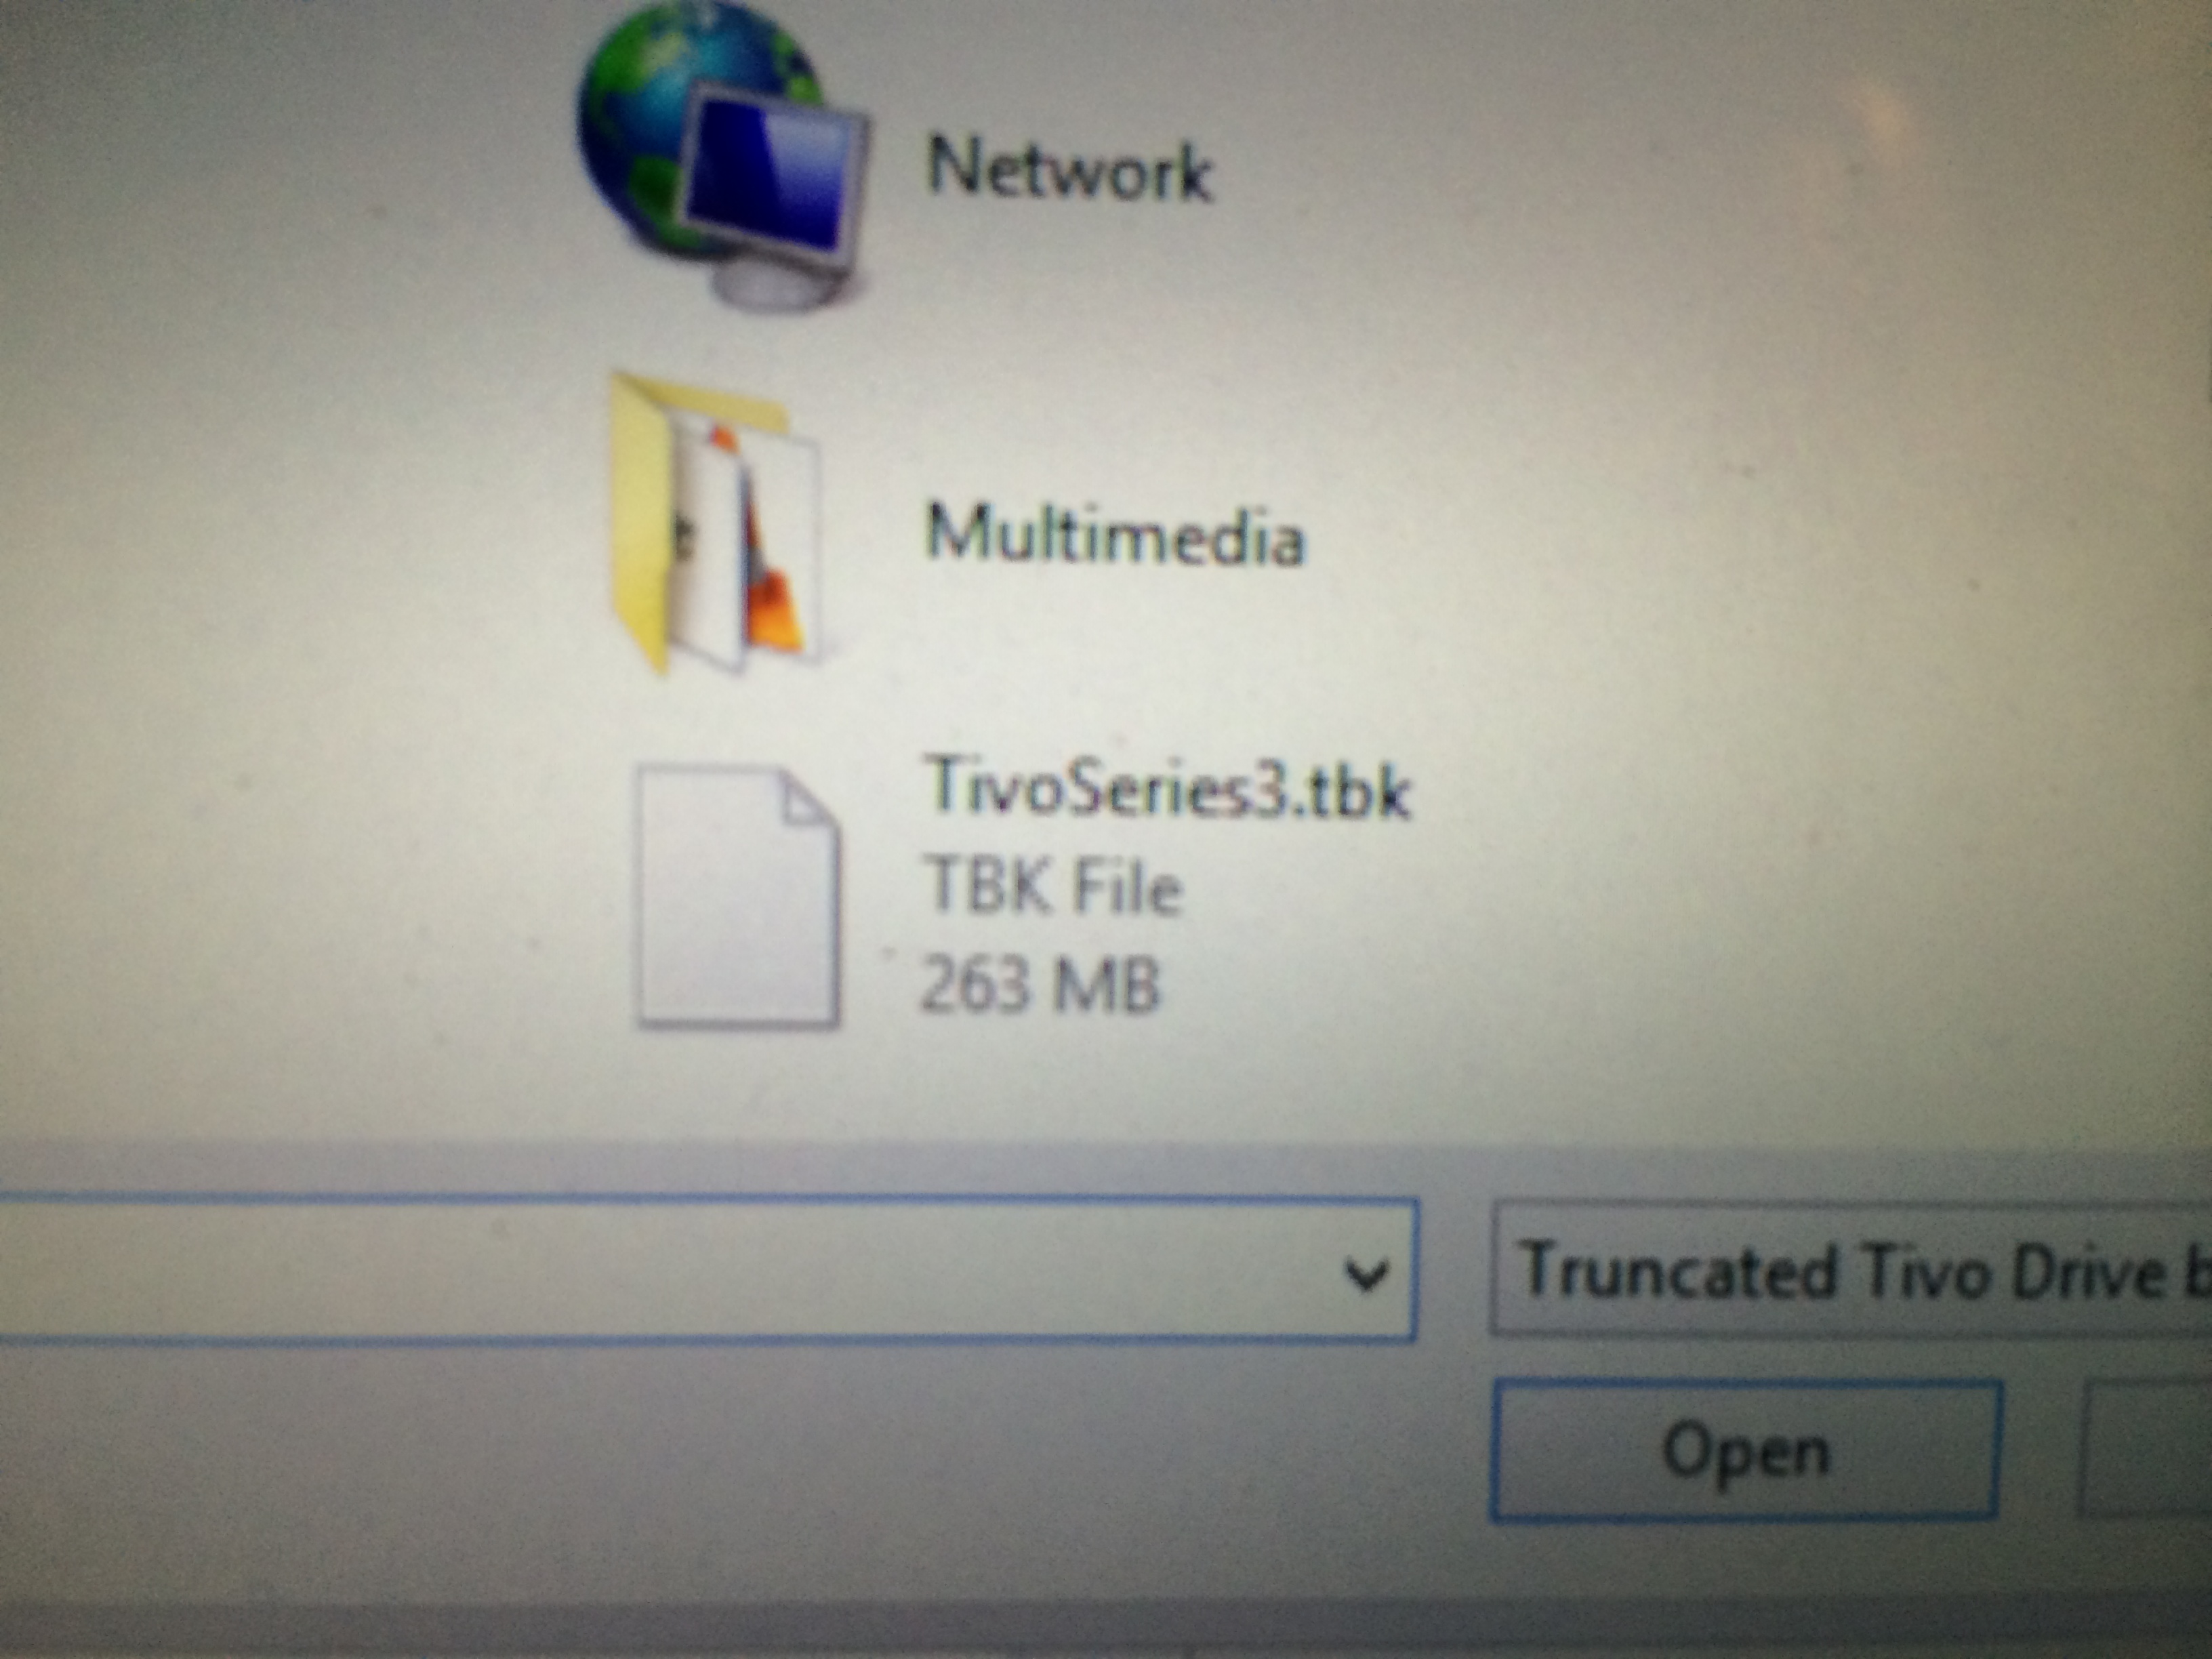
Here is a shot of the completed file. 260MB!

Once the program data has been backed up, it isn’t a bad idea to also backup the Kernel and the Boot Image (just in case):

These are instant backups. Immediately after selecting you will get the completed dialogues:


With the TiVo drive backed up, we can exit WinMFS, Safely Remove it, disconnect it, and connect up our new 1TB drive. Once again we go into WinMFS (do not do anything to the drive in Disk Administrator) and Select:

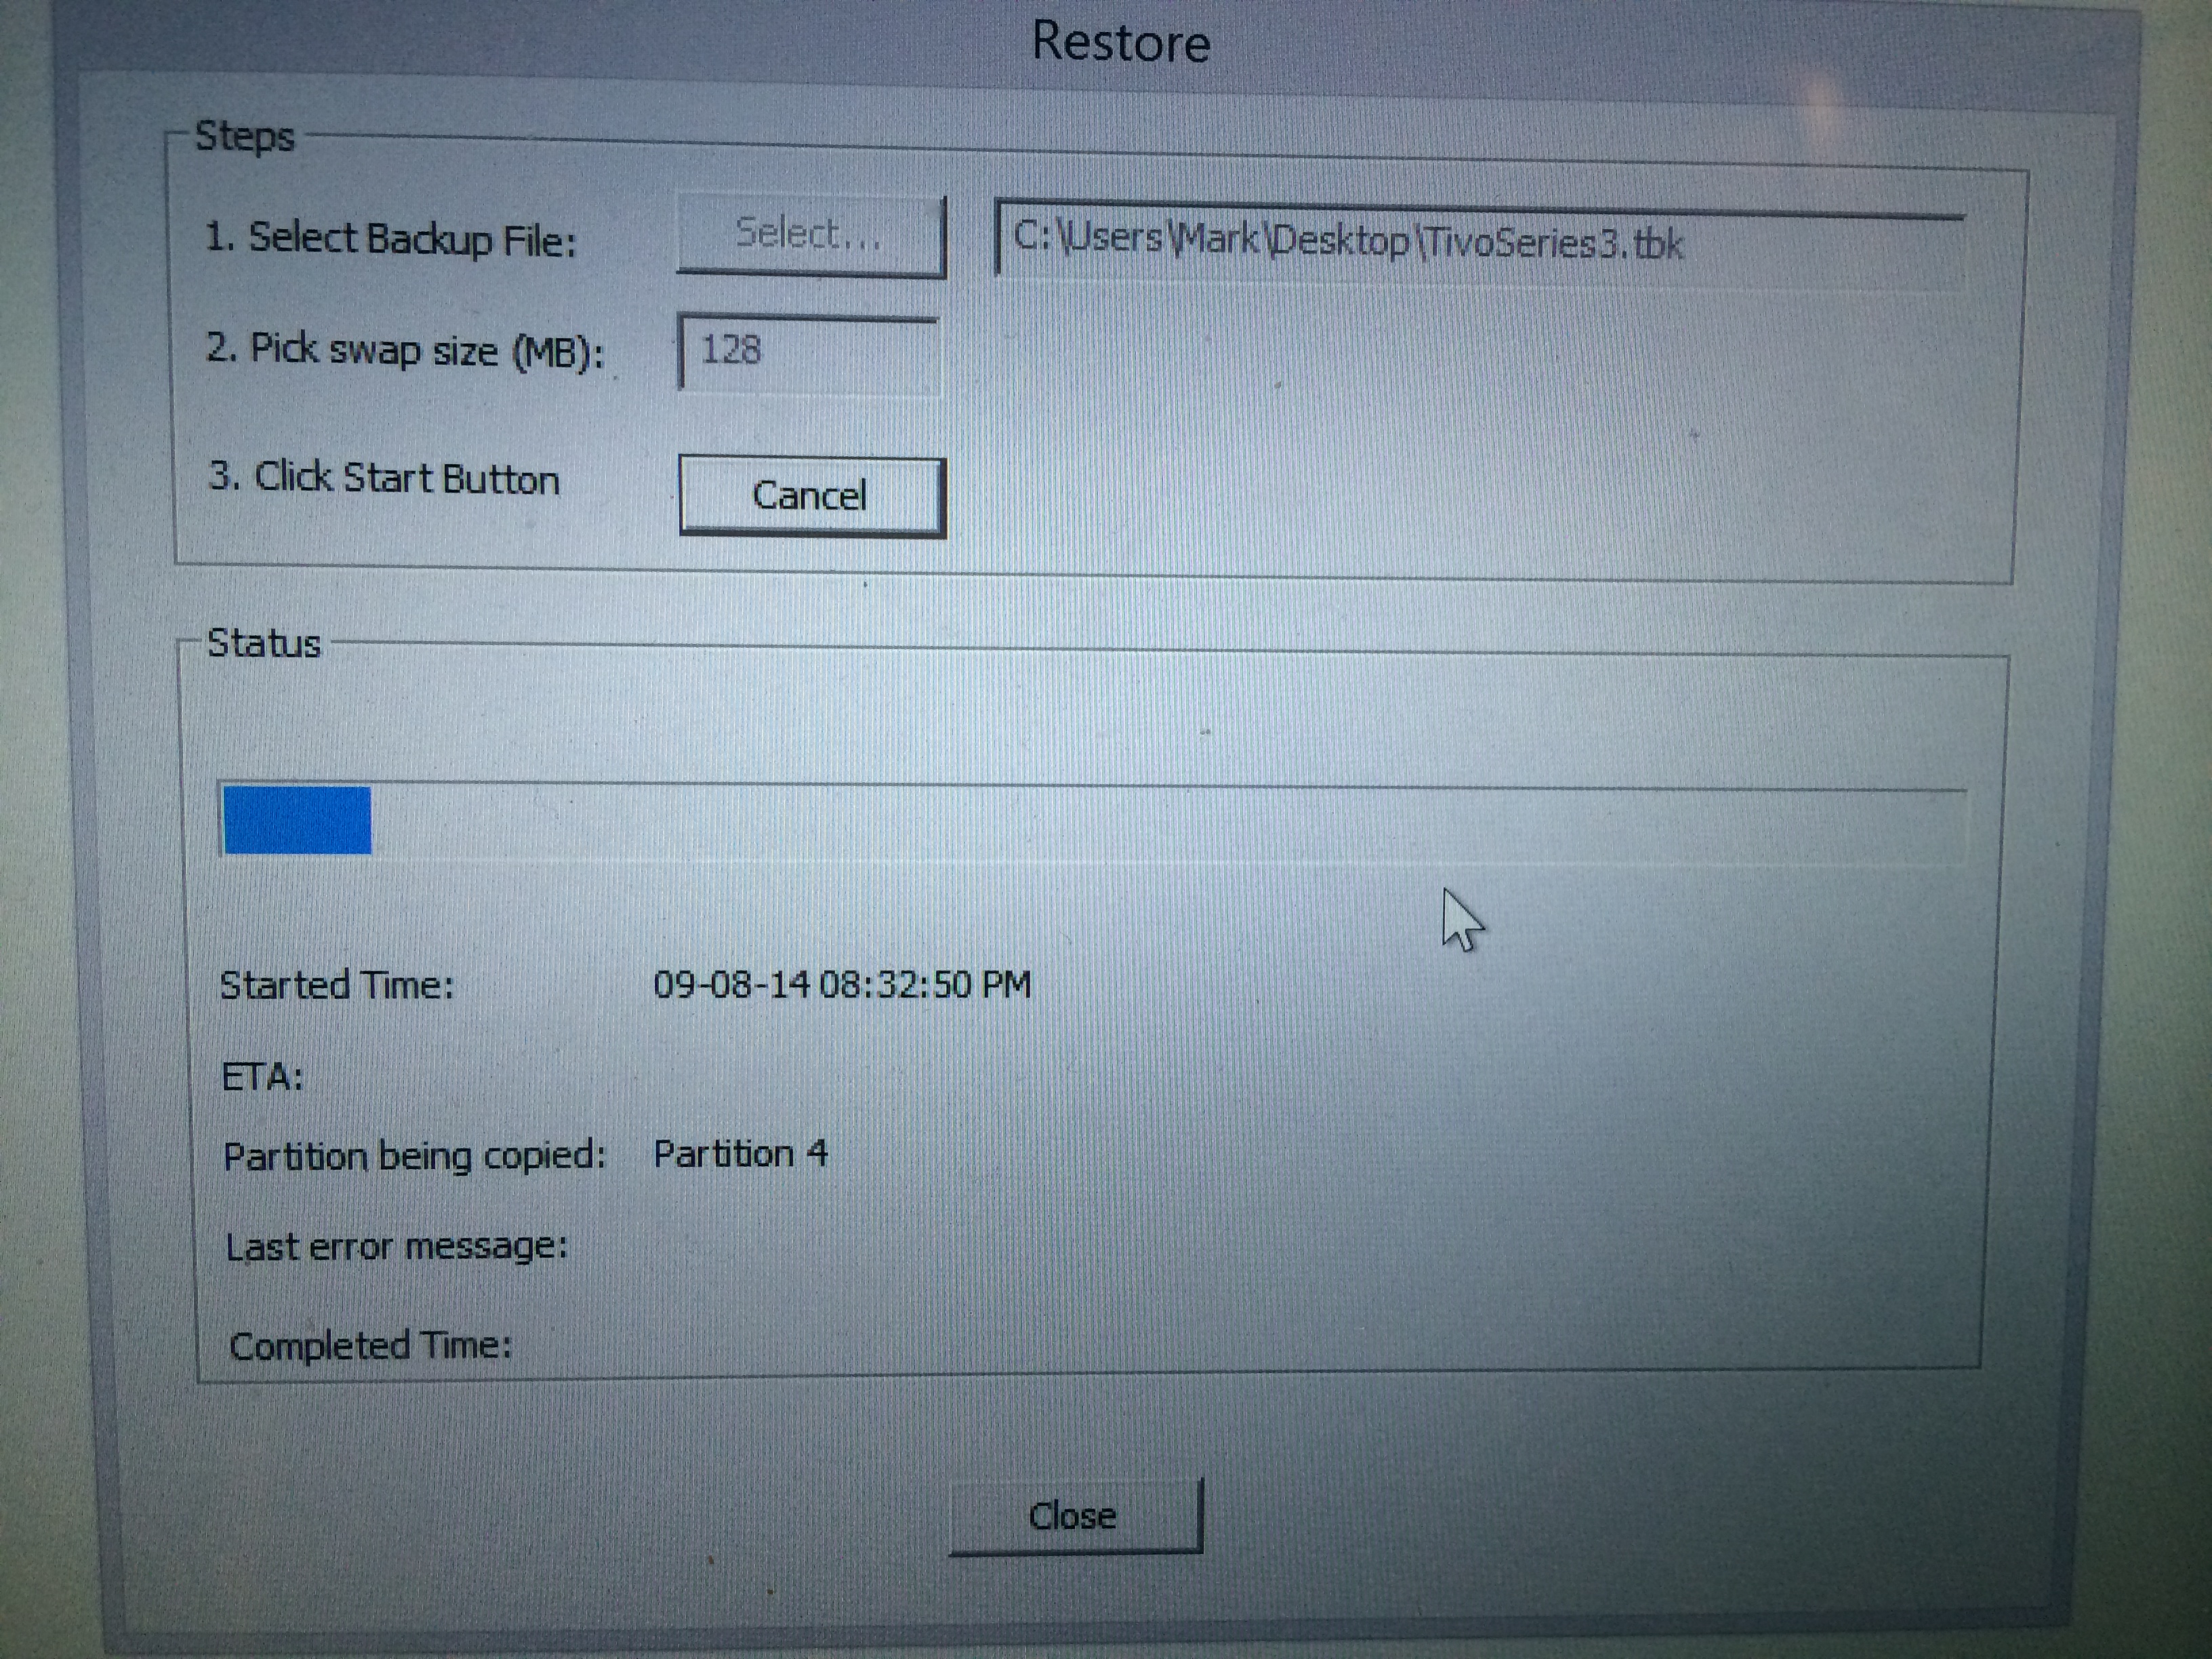
Back to the File menu, this time we choose Restore and Tivo Drive:
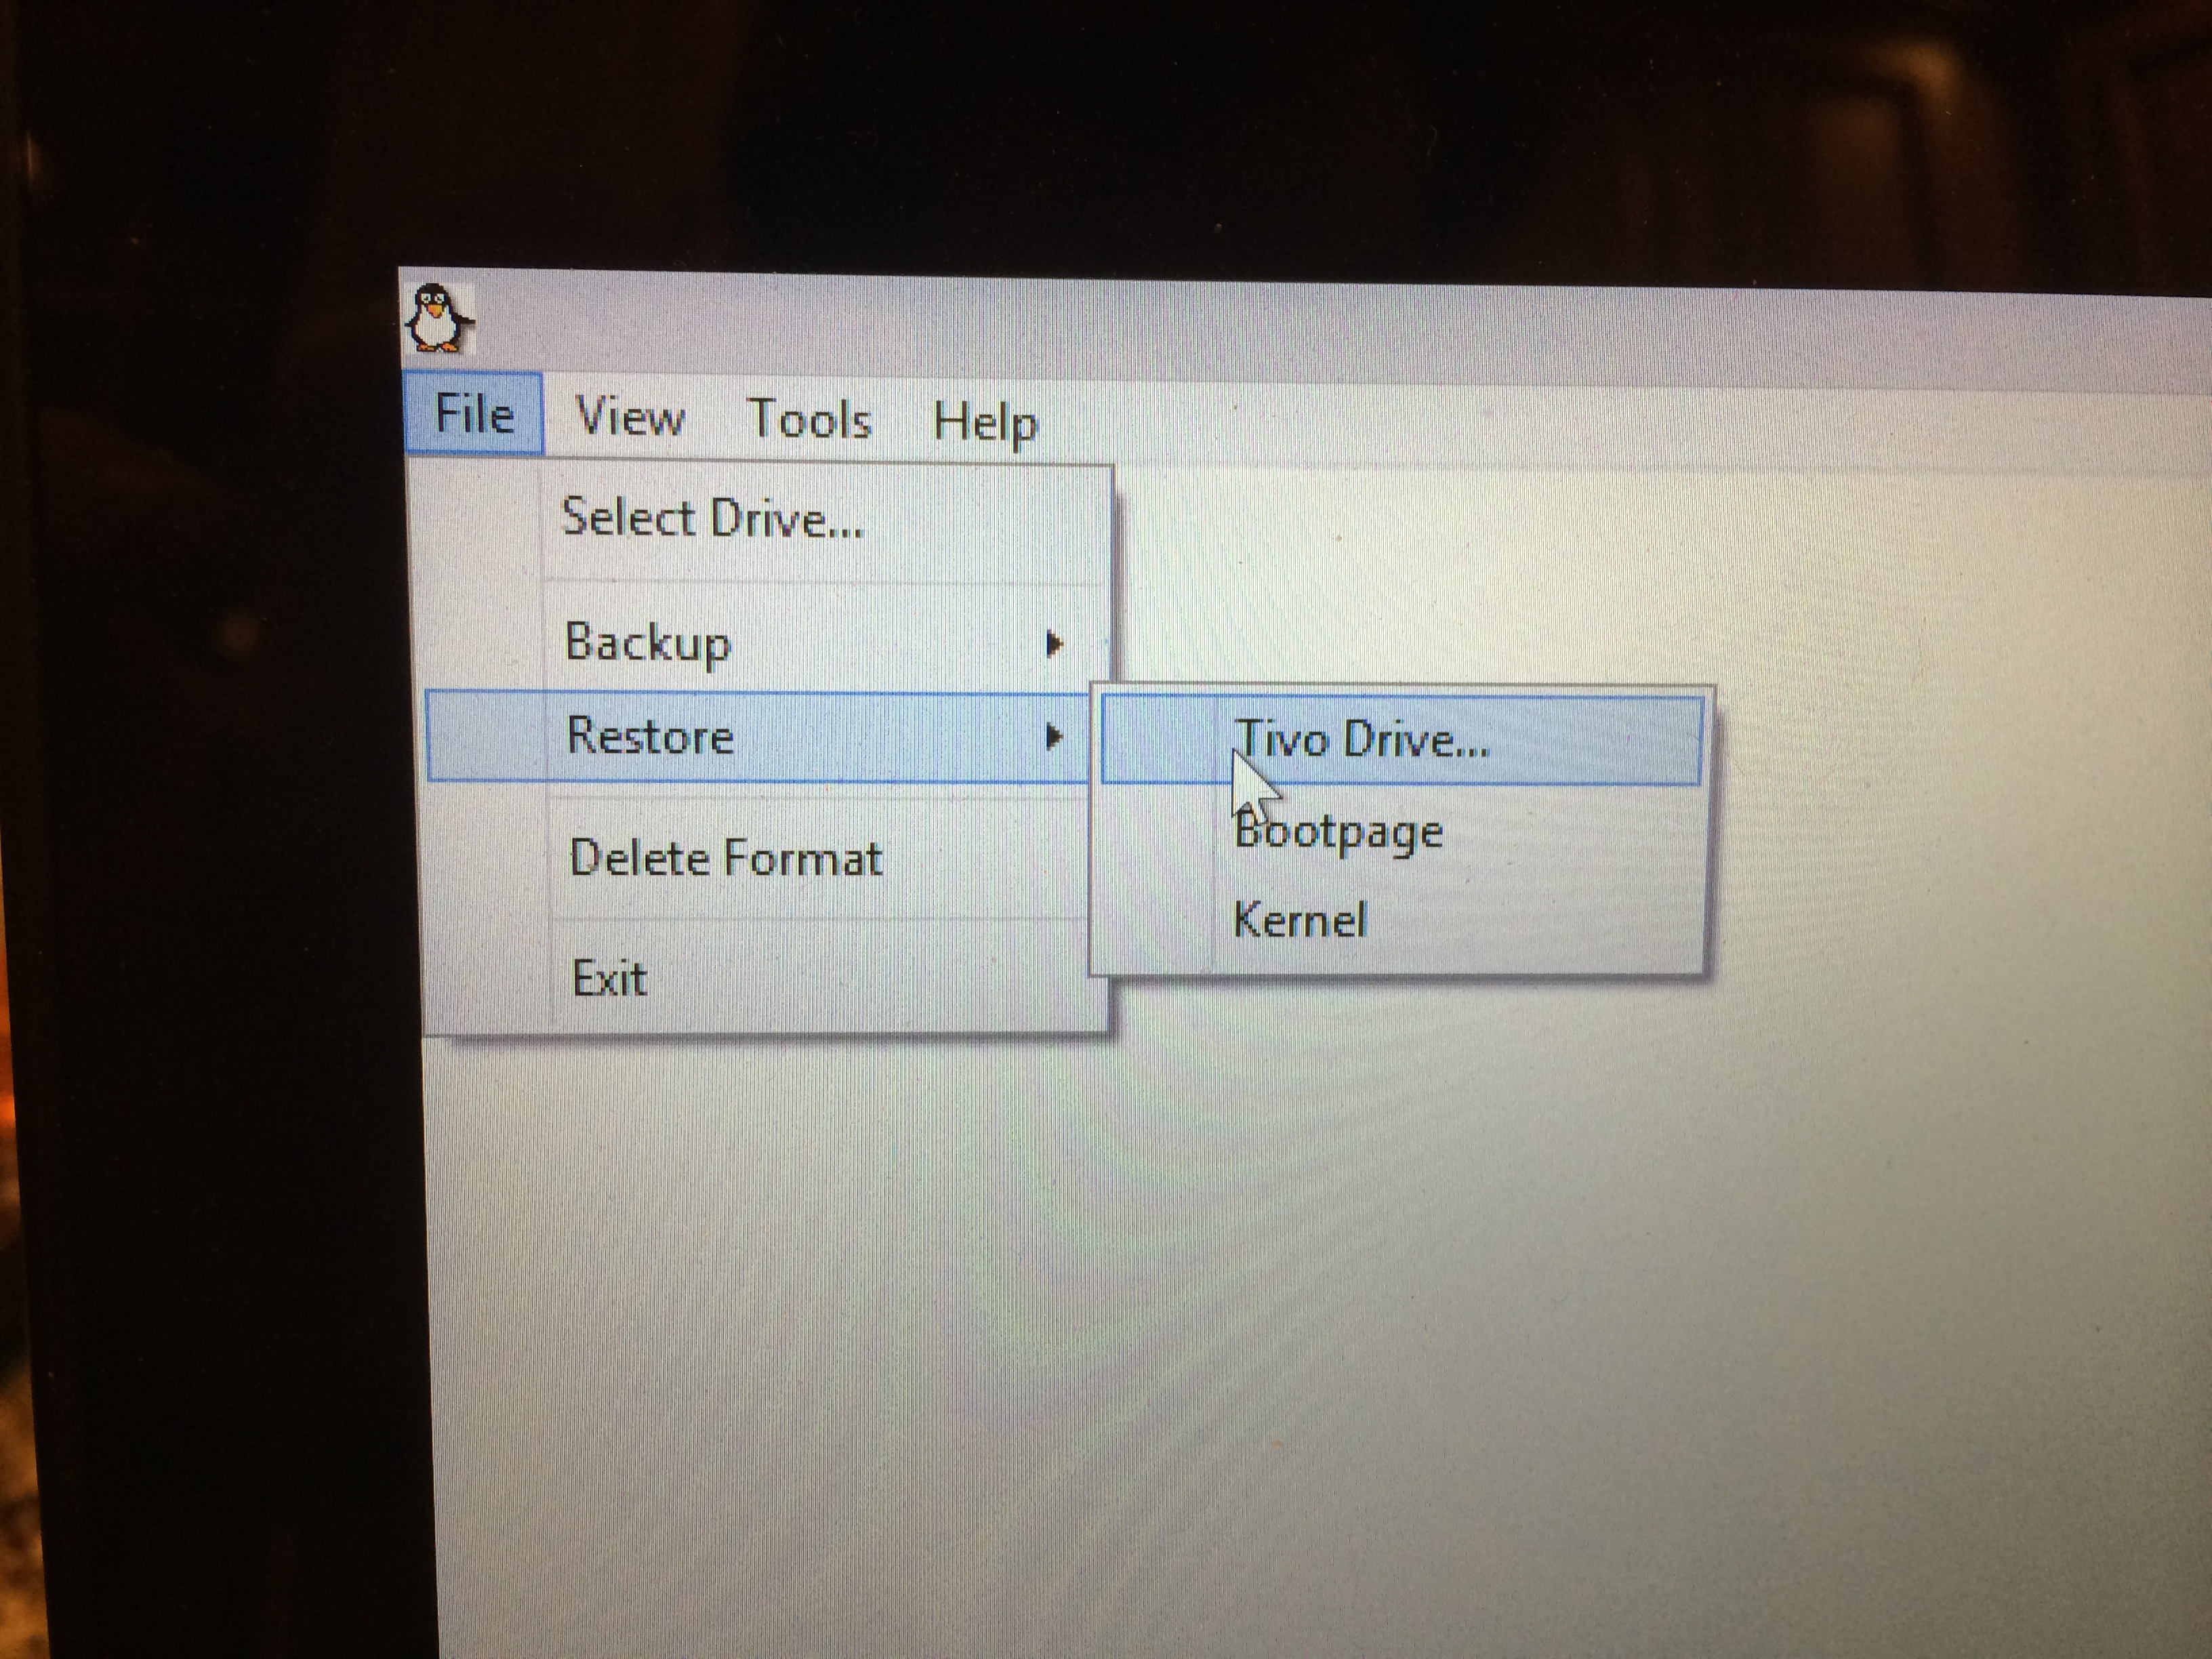
After selecting the previously created backup file, the process will now reverse with the image being dumped onto the new drive:

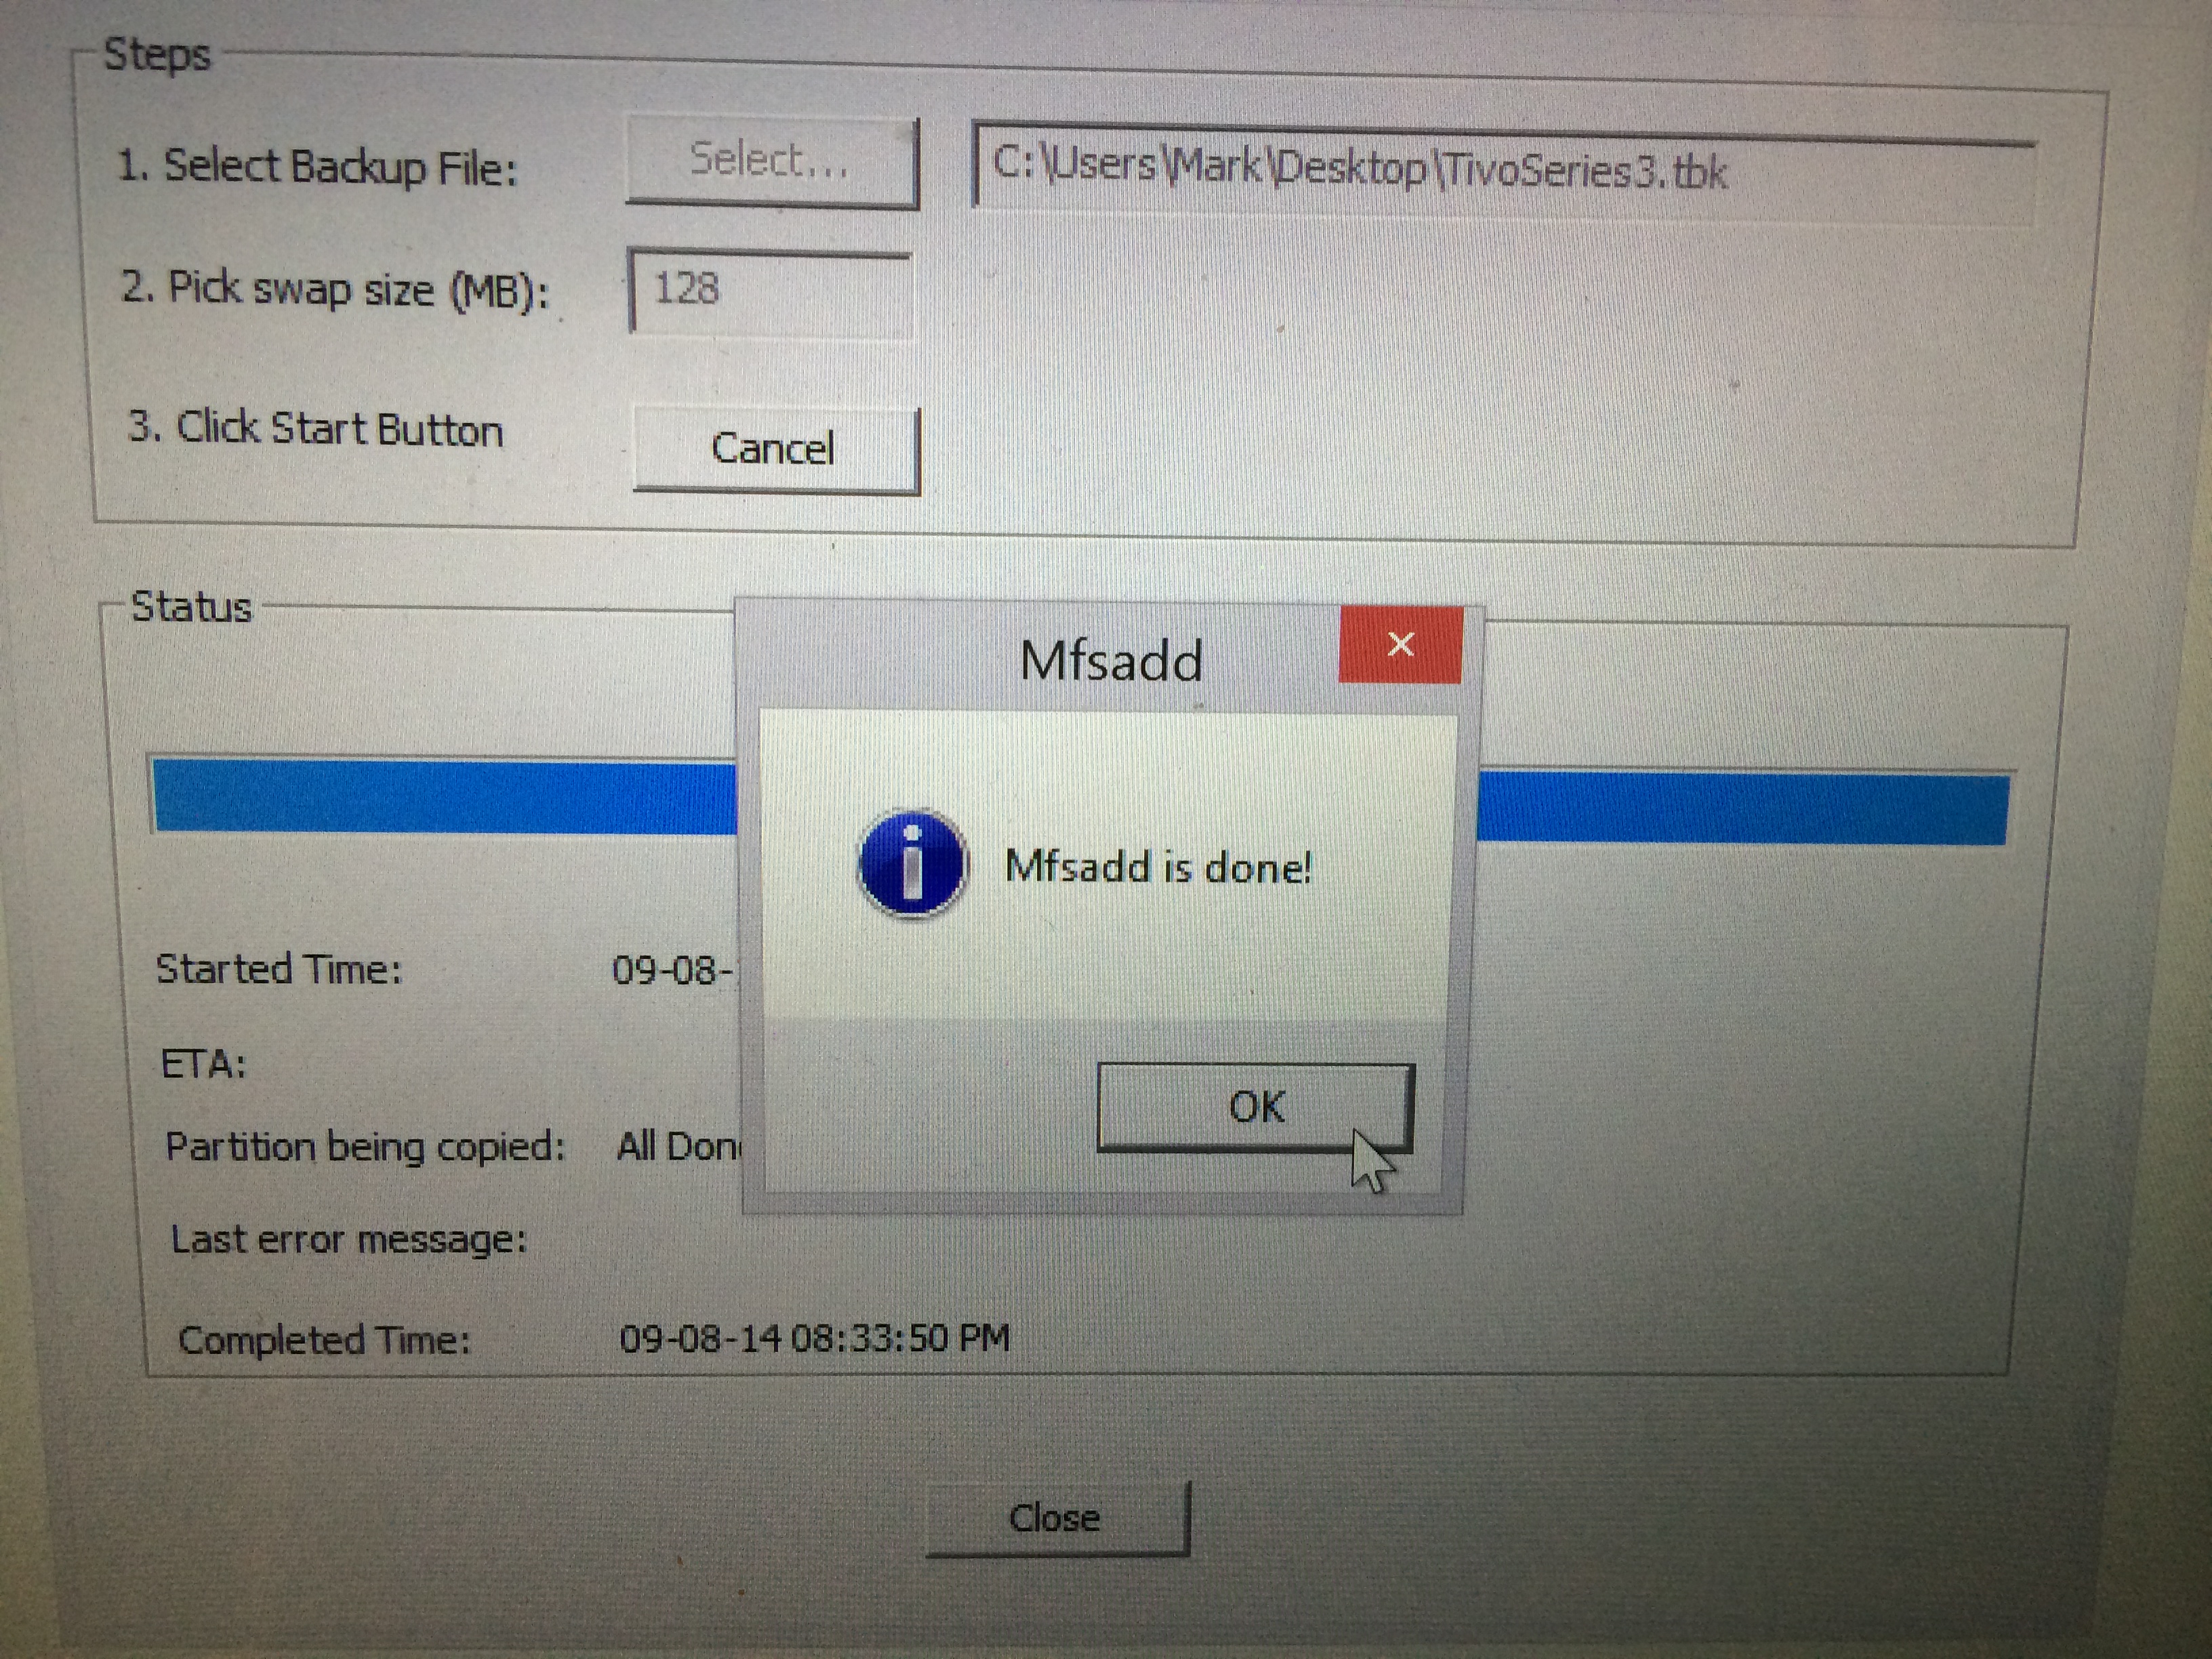
Once restored, WinMFS will let you know that the filesystem can be expanded to fill the drive. Do this:

Filesystem expansion is fast and completion is confirmed with the WinMFSAdd dialogue:
Exit WinMFS once again, Safely Remove the drive, disconnect it from the USB to SATA converter, and reinstall it in the TiVo. Close the TiVo up, hook it back up and see if it boots. In my case I started having the same strange Cable Card issue. Needless to say this was highly distressing. I went through the same procedure above, however, and got Card 1 working fine. Card 2 was much more problematic and, while I did actually get it working, may be flaky.
This is the error I received which has since seemingly cleared itself:
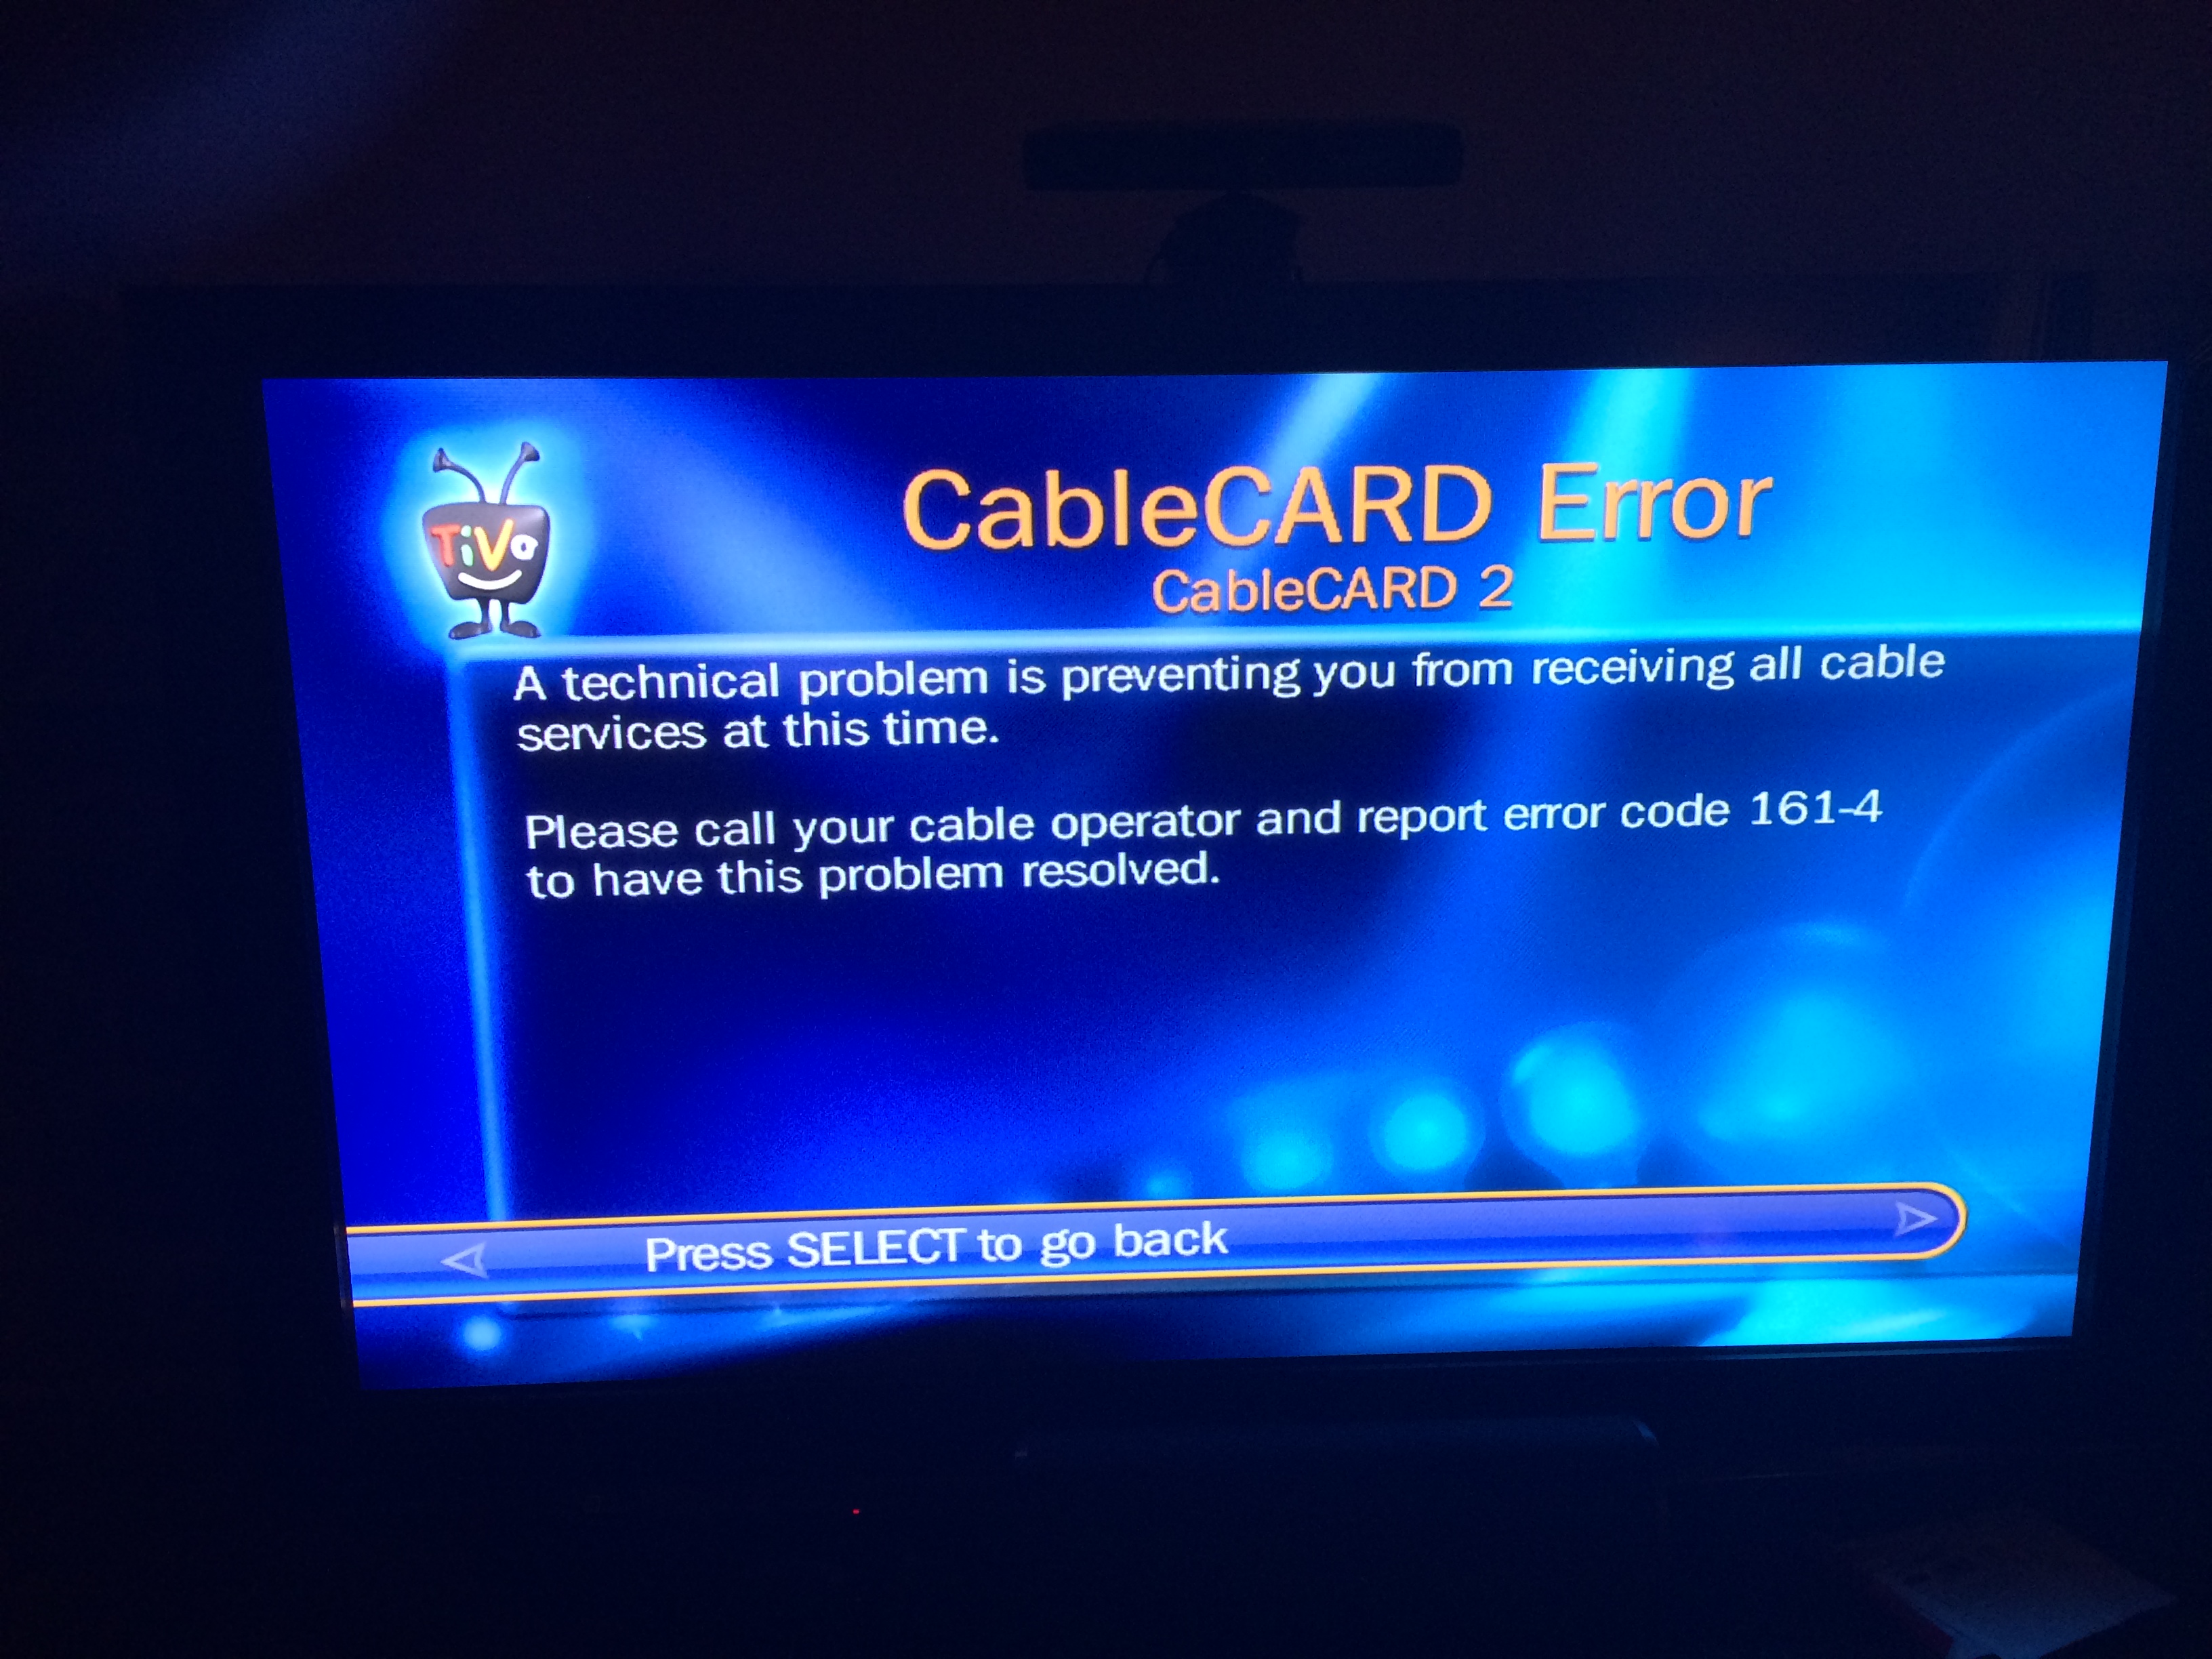
At this point the TiVo is running smoothly again with no pausing or stuttering on either tuner. It was a bit of a bumpy and mysterious road, though, and I can’t rule out that the drive was fine all along and it is actually Cable Card 2 that is flaking out. That said, it doesn’t hurt to go through this procedure just to stay crisp on TiVo operations and a refresh of a 4 year old drive that runs 24×7 in a hot cabinet certainly can’t hurt!

Pingback: XBox 360 Elite Teardown or Don’t Accept Red Rings Without a Fight! | Complaints Incorporated...
Pingback: Project Destiny: Upgrading the 20GB PlayStation 3 Phat HD | Complaints Incorporated...