
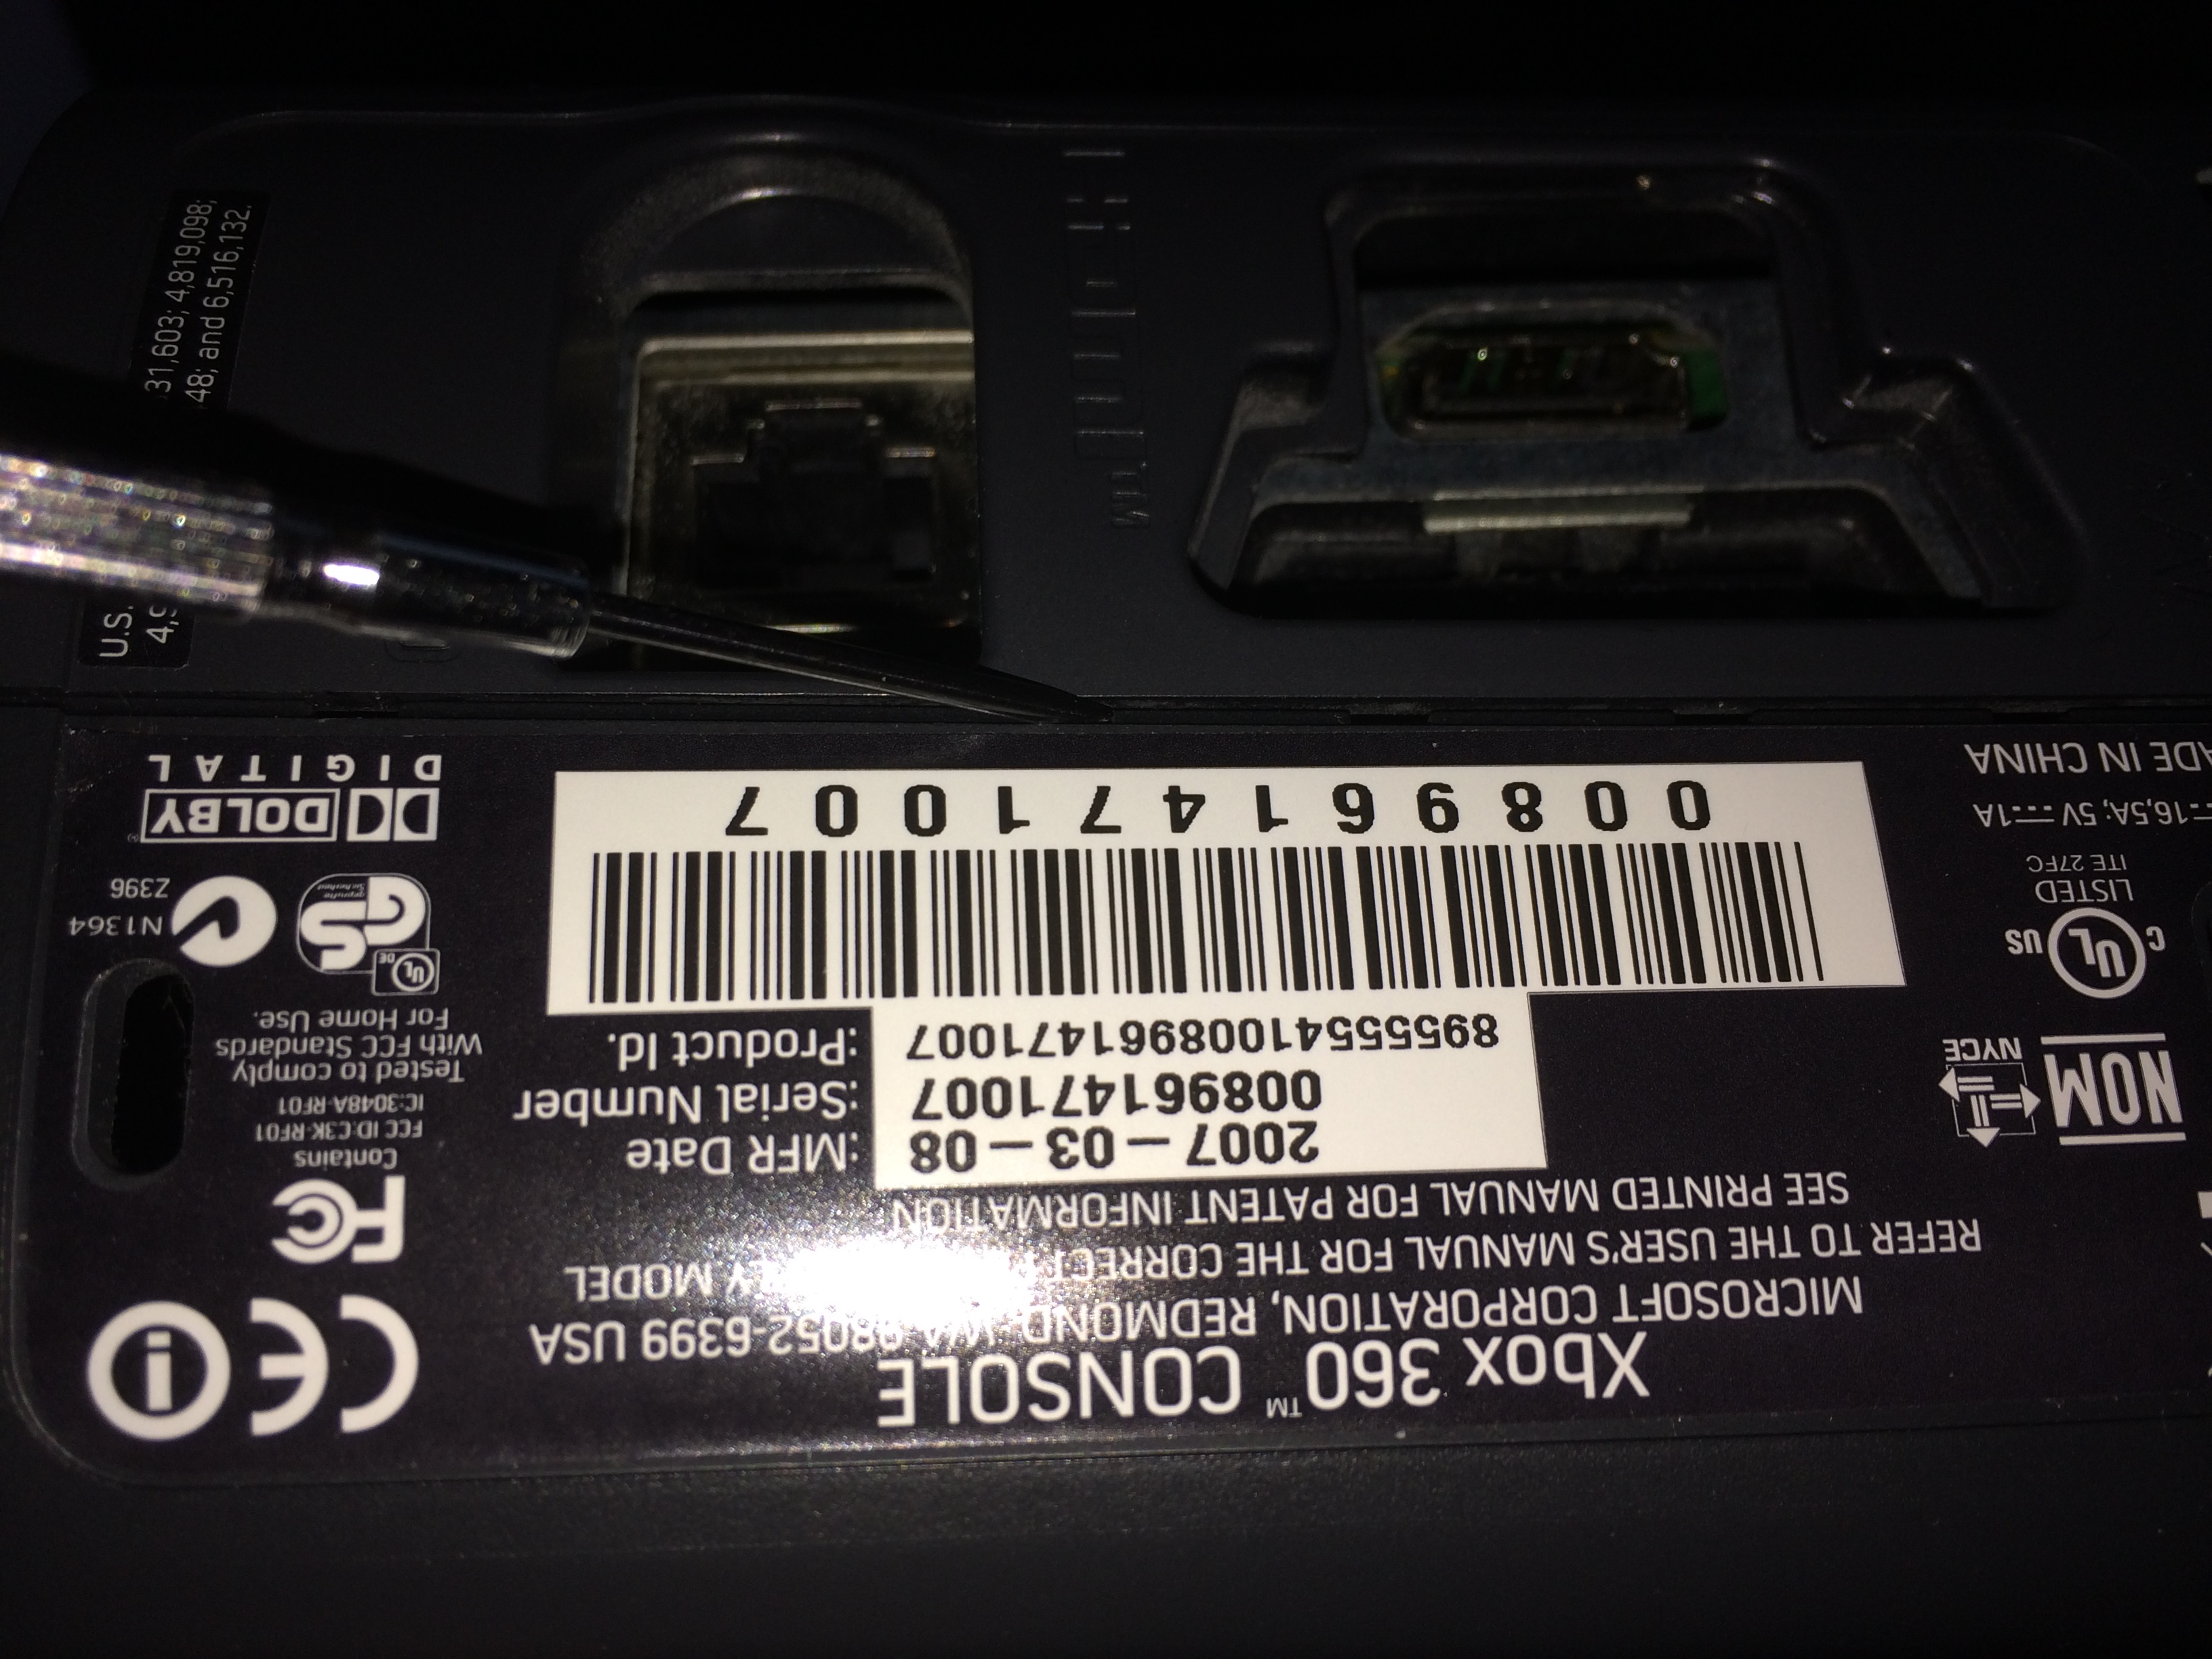
In the recent TiVo entry I mentioned that my venerable XB360 Elite (purchased day one) had finally given up its battle against the inevitable and flashed those terrible three Red Rings of Doom! Looking at those rings is like staring straight into the gates of hell! Well okay maybe not quite that bad, but it definitely ruins your evening when the plan was to watch a movie and play a game or two. I have to say that I do also have a PlayStation 3 (original launch edition 60GB fat – PS2 HW compat FTW yo!), so I actually did toy with the idea of just tossing the old 360. I have a pretty big investment in games and accessories though and, quite honestly, I love what Microsoft has been doing with the ecosystem. I run Smart Glass on my Win Phone device and Media Center on my laptop. I also run Game Center across those two and my gaming desktop as well. Little by little they’ve been bringing some decent improvements (some of which I touched on in the What Should Microsoft Do entry) When you think about it objectively, the XB360 and PS3 are both still quite great. 720P looks good in most living rooms and typically the games I find myself playing on these consoles don’t need the full high fidelity intensity of cutting edge PC titles. To me the value of a console is quick and brainless operation, fun party games for friends and family, kid games to entertain the rugrats, and great media features. Where am I going with this? Hmmm… Let’s see… “Good enough” visuals, big game catalog, great media features, appliance style operation. Yeah, the Xbox One was pretty much a complete non-starter. This was shocking to me as I have literally never replaced or repaired something that could reasonably be upgraded. In this case though, I can’t really view the Xbox One as an upgrade (particularly since I have a big desktop gaming / home office PC). This is definitely not good for Microsoft. To be fair I put the PS4 in the same category. Anyhow, these are how the way forward looked:
- Try a self repair of the 360
Pay $100 and send it away for 8 years so it could be replaced by a refurb of the same bad design or repaired- Buy the last (and best) of the 360s, the 360E, for $250 with a 250GB hard drive, Forza Horizon and Borderlands 2
Go Xbone despite the masive list of negatives
As you can see above, two choices fell right off the list. A $100 repair on a 6 year old device when a brand new one is $250 with a better design, double the disk capacity, less likelihood of failure, and two $50 games that I have interest in and don’t already own just made no sense. I decided that I would stick with the XB360 and pick up the last of the bundles. That said, I figured it couldn’t hurt to at least attempt a repair myself first. Plus it would make for a good entry!
So what was the plan? Well I figured that it couldn’t hurt to pull the heatsinks from the CPU and GPU, clean them, and then reapply with some high quality TIM. If nothing else it would be fun (in theory). So what does it take to break down a 360 when you don’t have the proprietary console tool? Spoiler alert! A lot of patience. Unlike the TiVo, with the 360 the physical aspect is a nightmare. Let’s get started!
It starts off fairly easy, lulling you into a false sense of confidence. Step 1 is to remove the hard disk from the top of the unit. There is a recessed button. Simply press and lift:


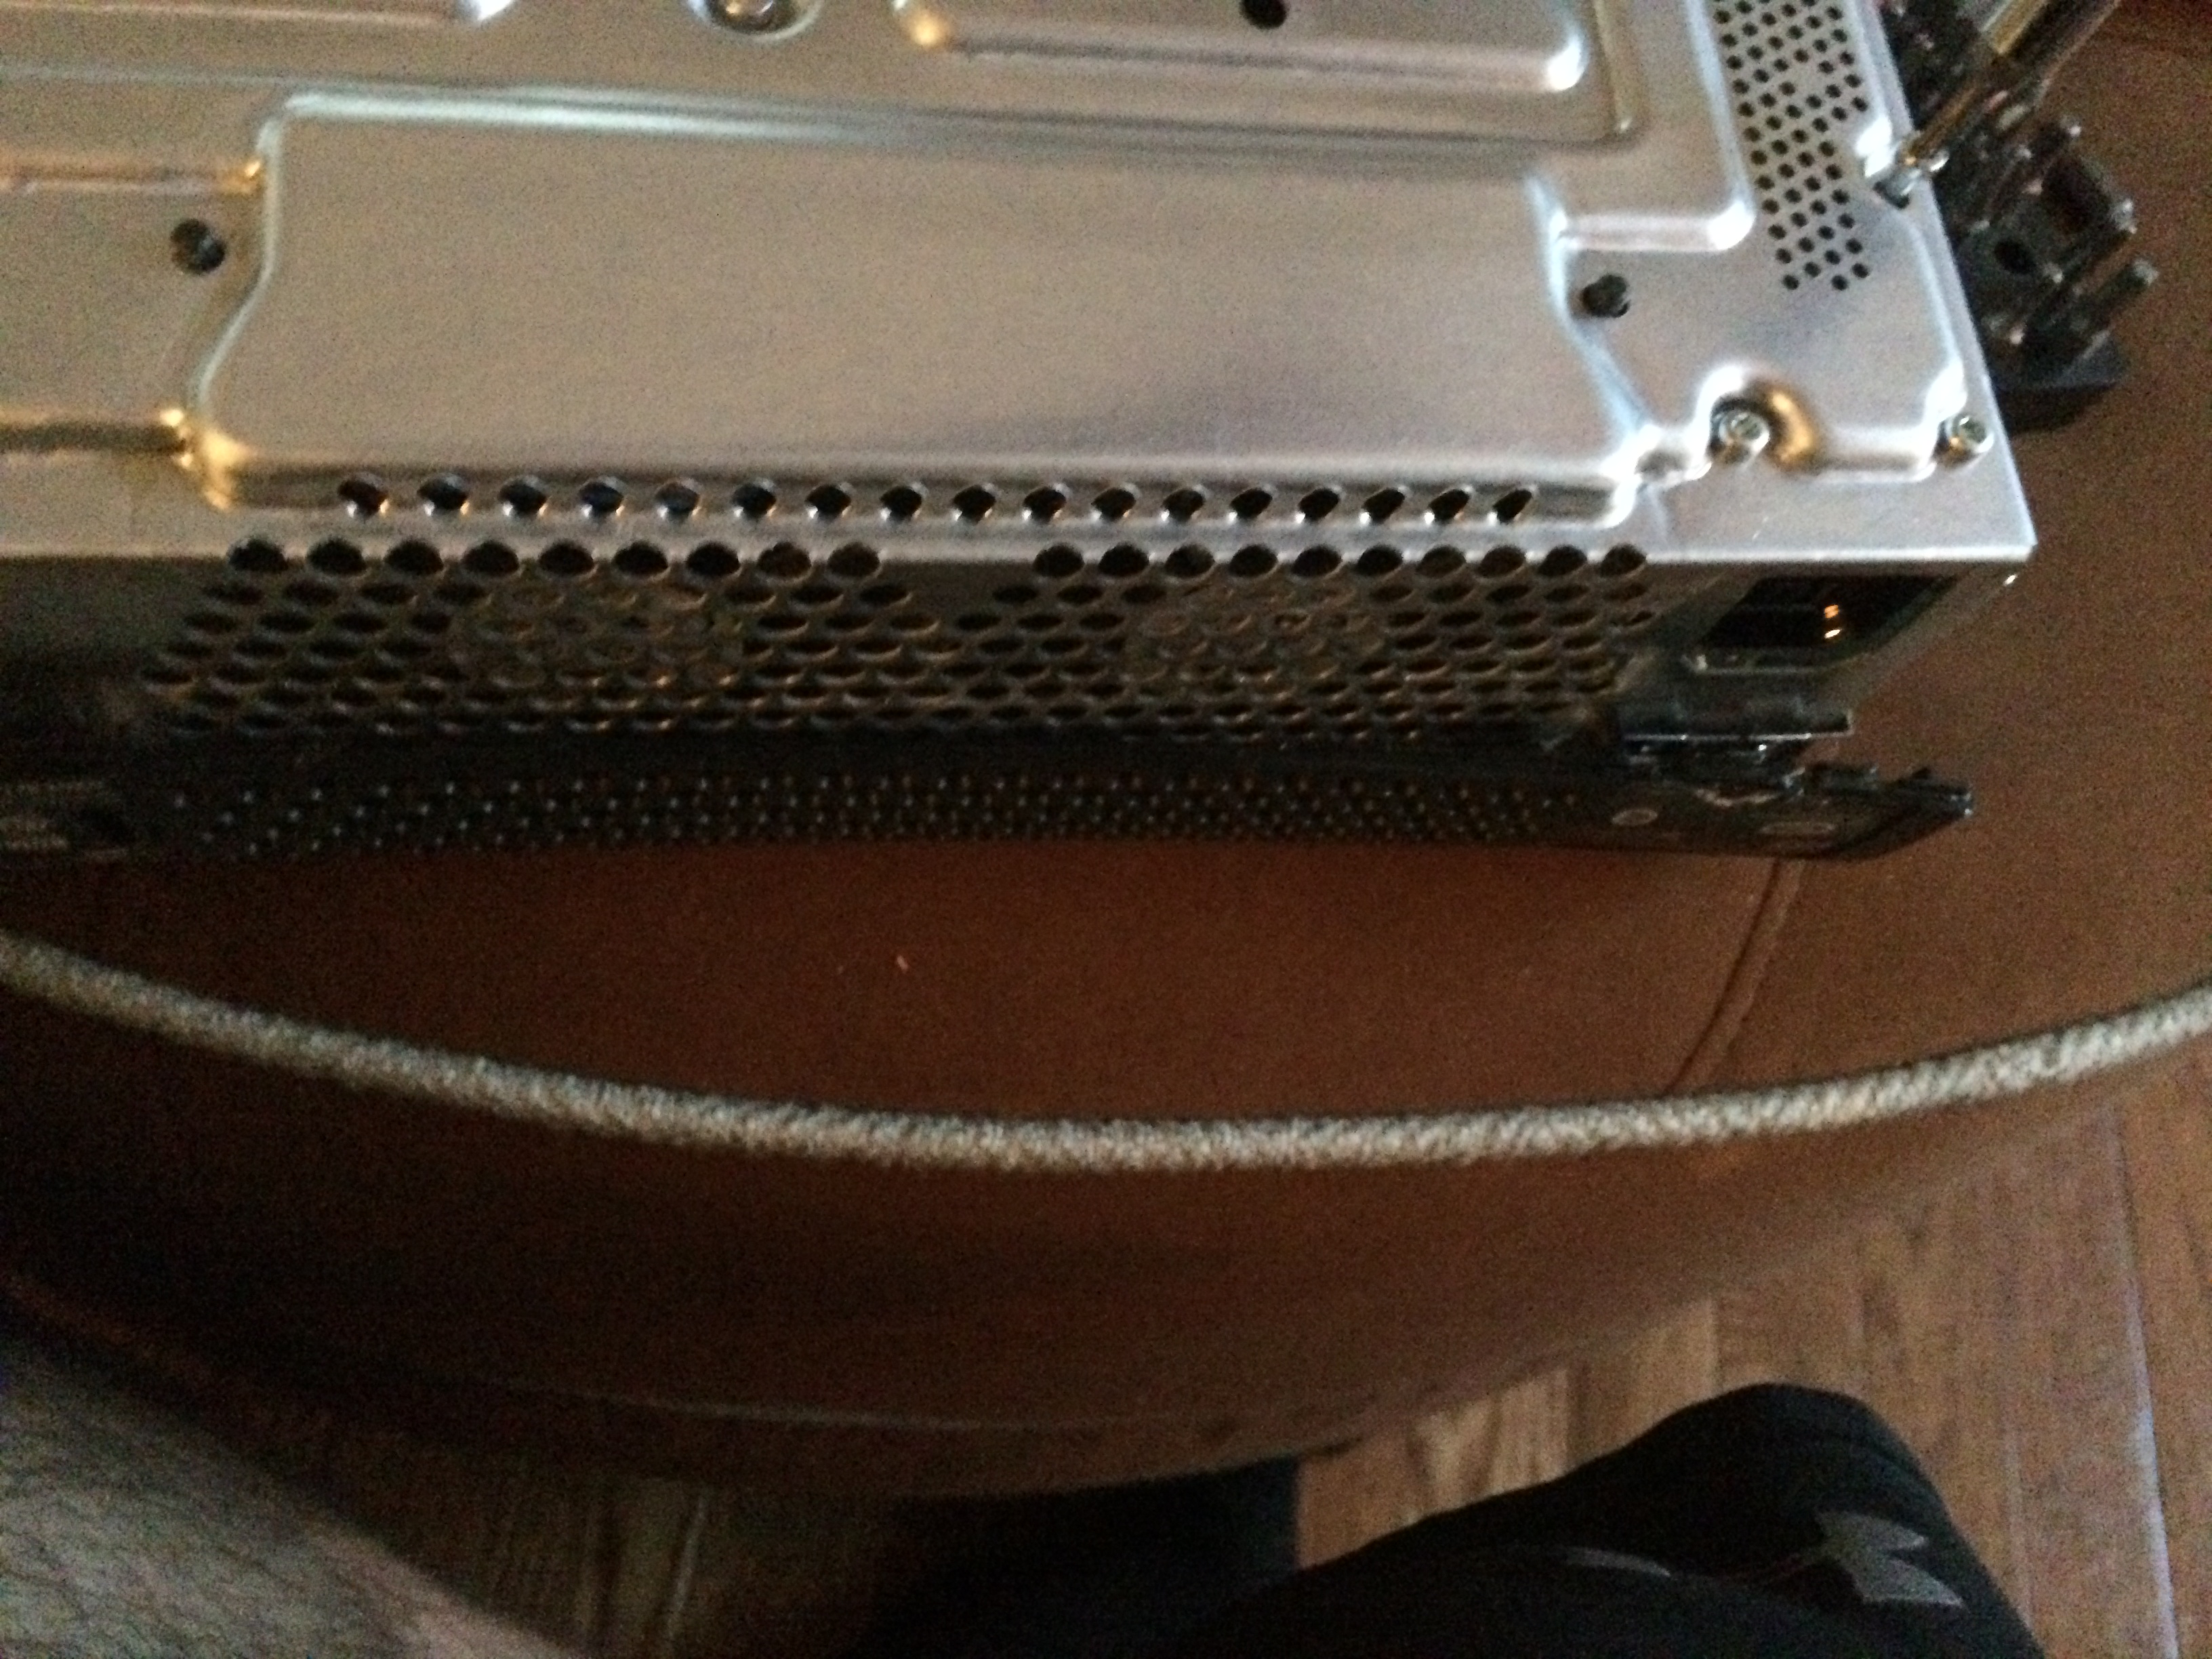
With the hard drive off, it’s time to get into some juicy stuff. Fair warning here… We won’t be hitting any screws until well into the project. The outer shell is all hidden tabs. The first one is also nice and easy. The bottom of the 360 has a ventilated cover with one notched end. That end alllows the faceplate to be popped off gently with a thumbnail. The faceplate can then be carefully pried off:


With the faceplate off, the top and bottom ventilated covers can be carefully pried off as well. Some pressure may be needed:
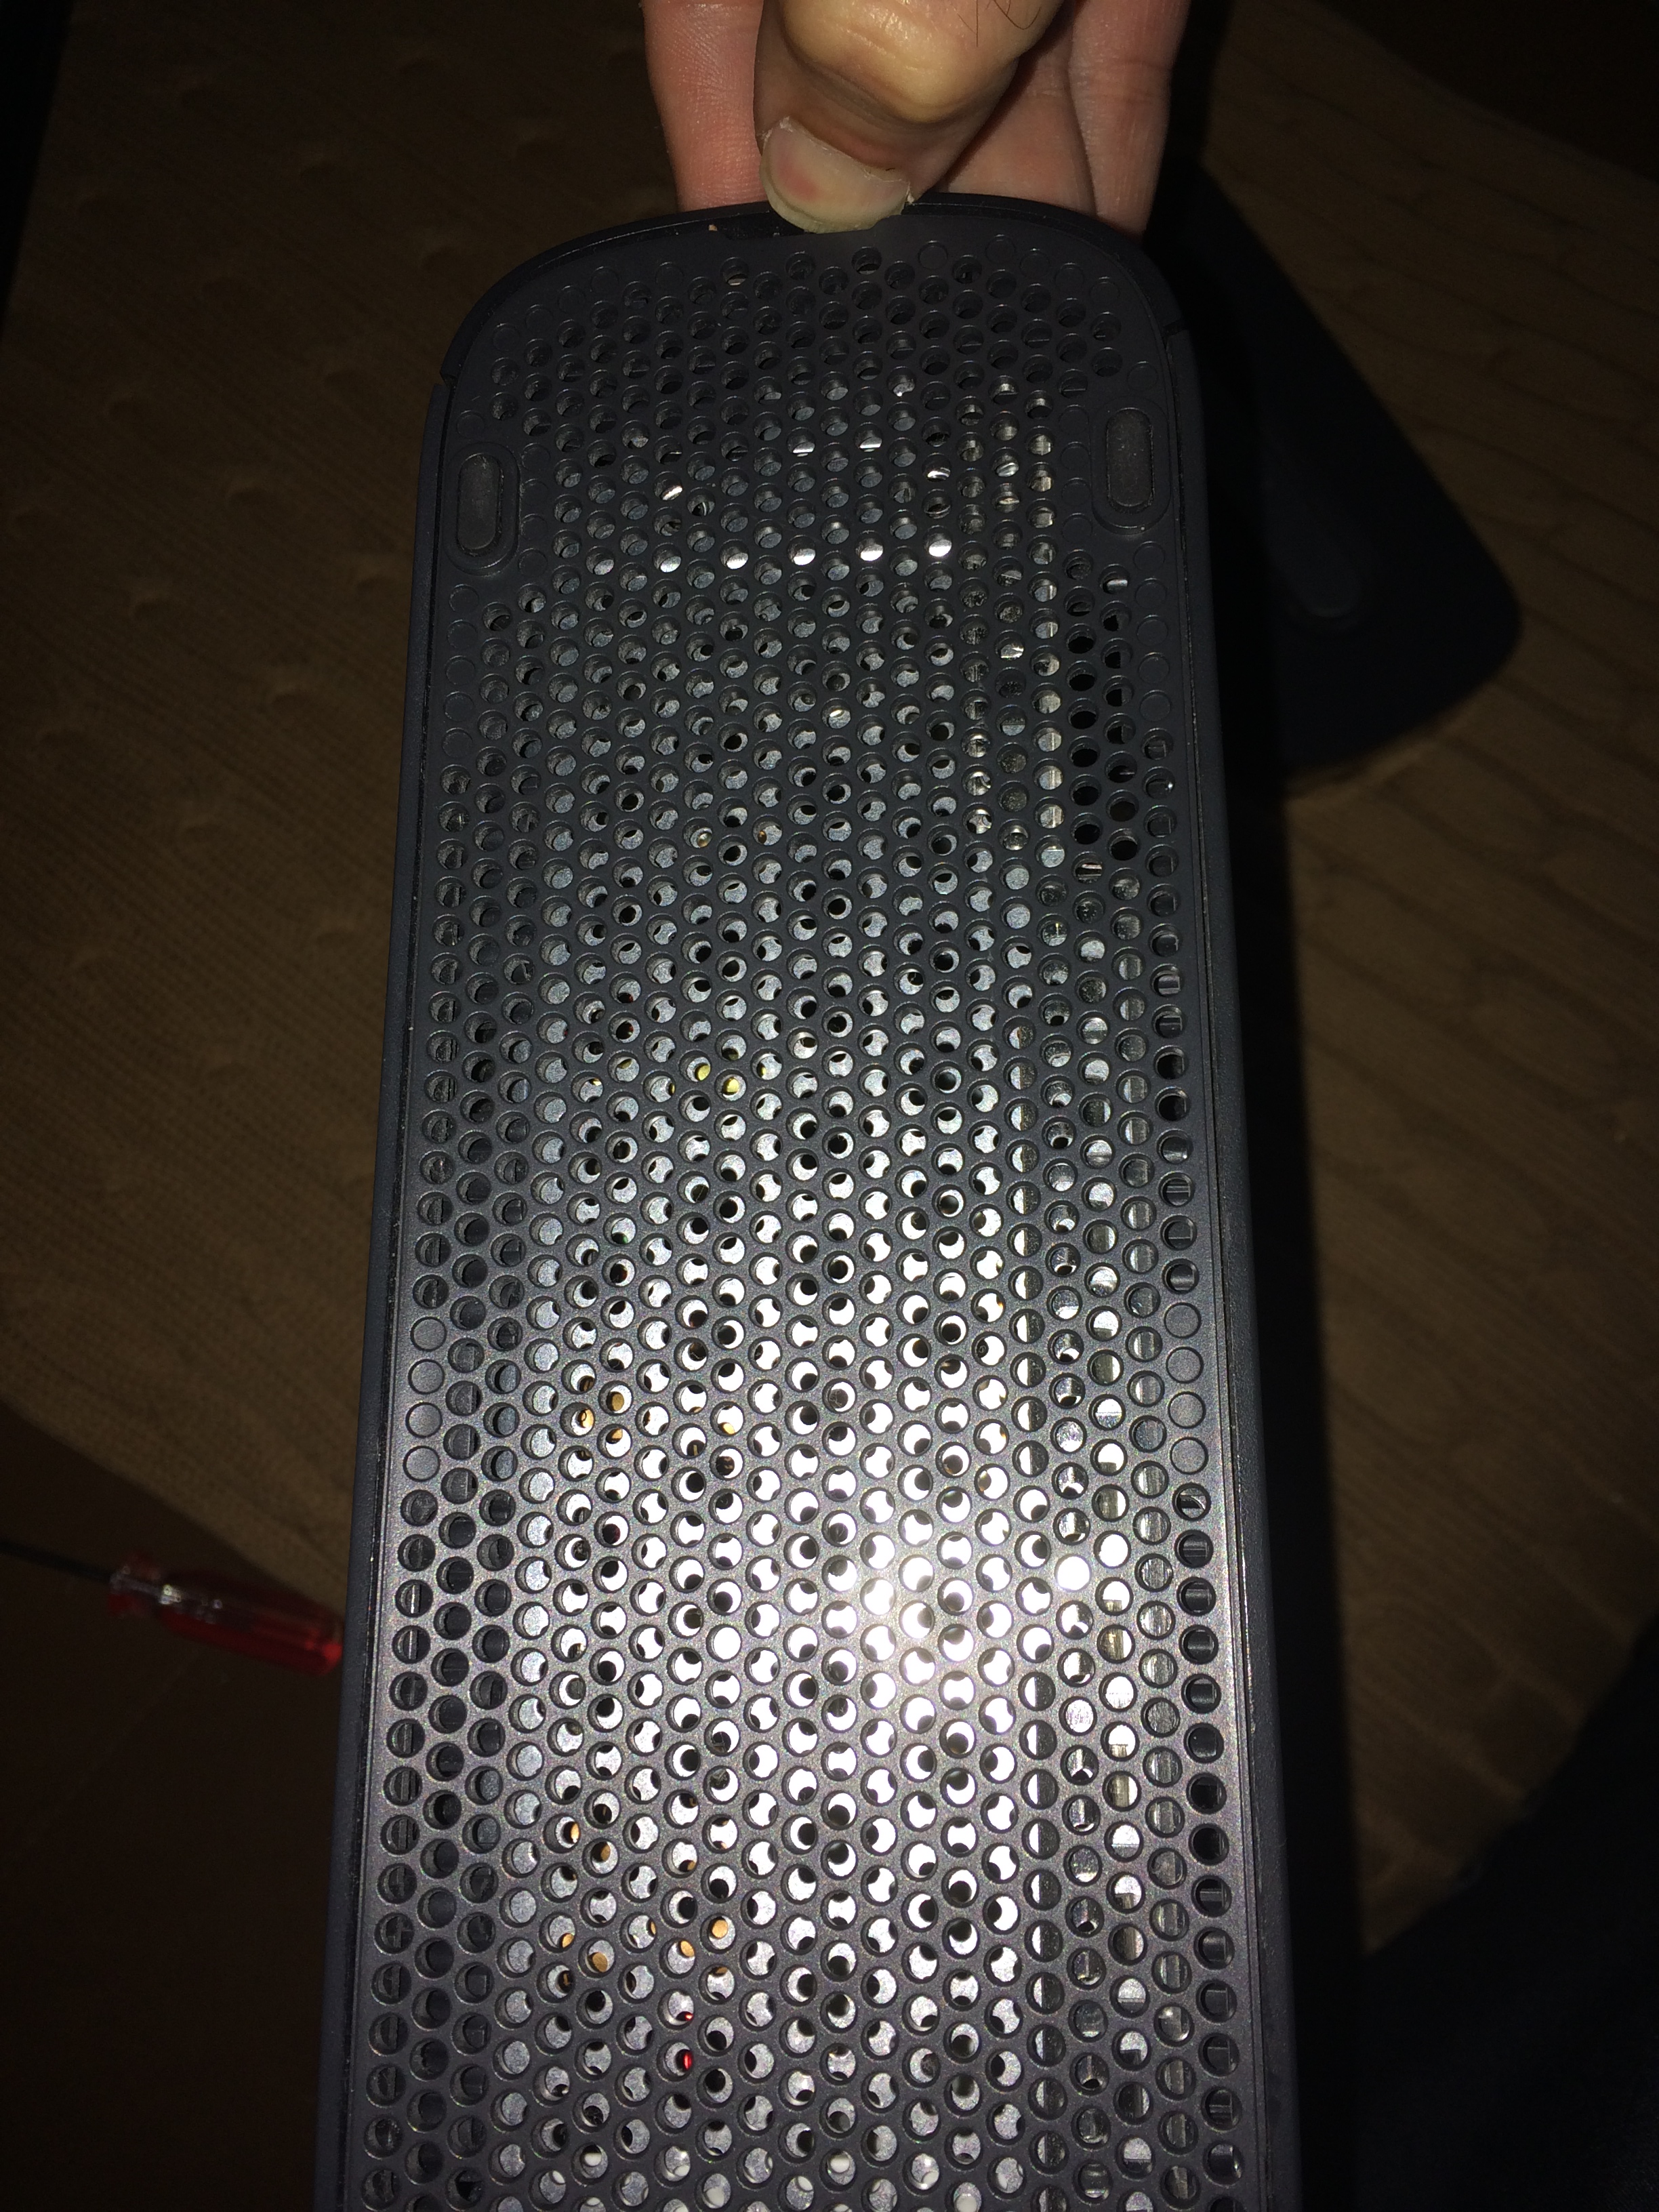
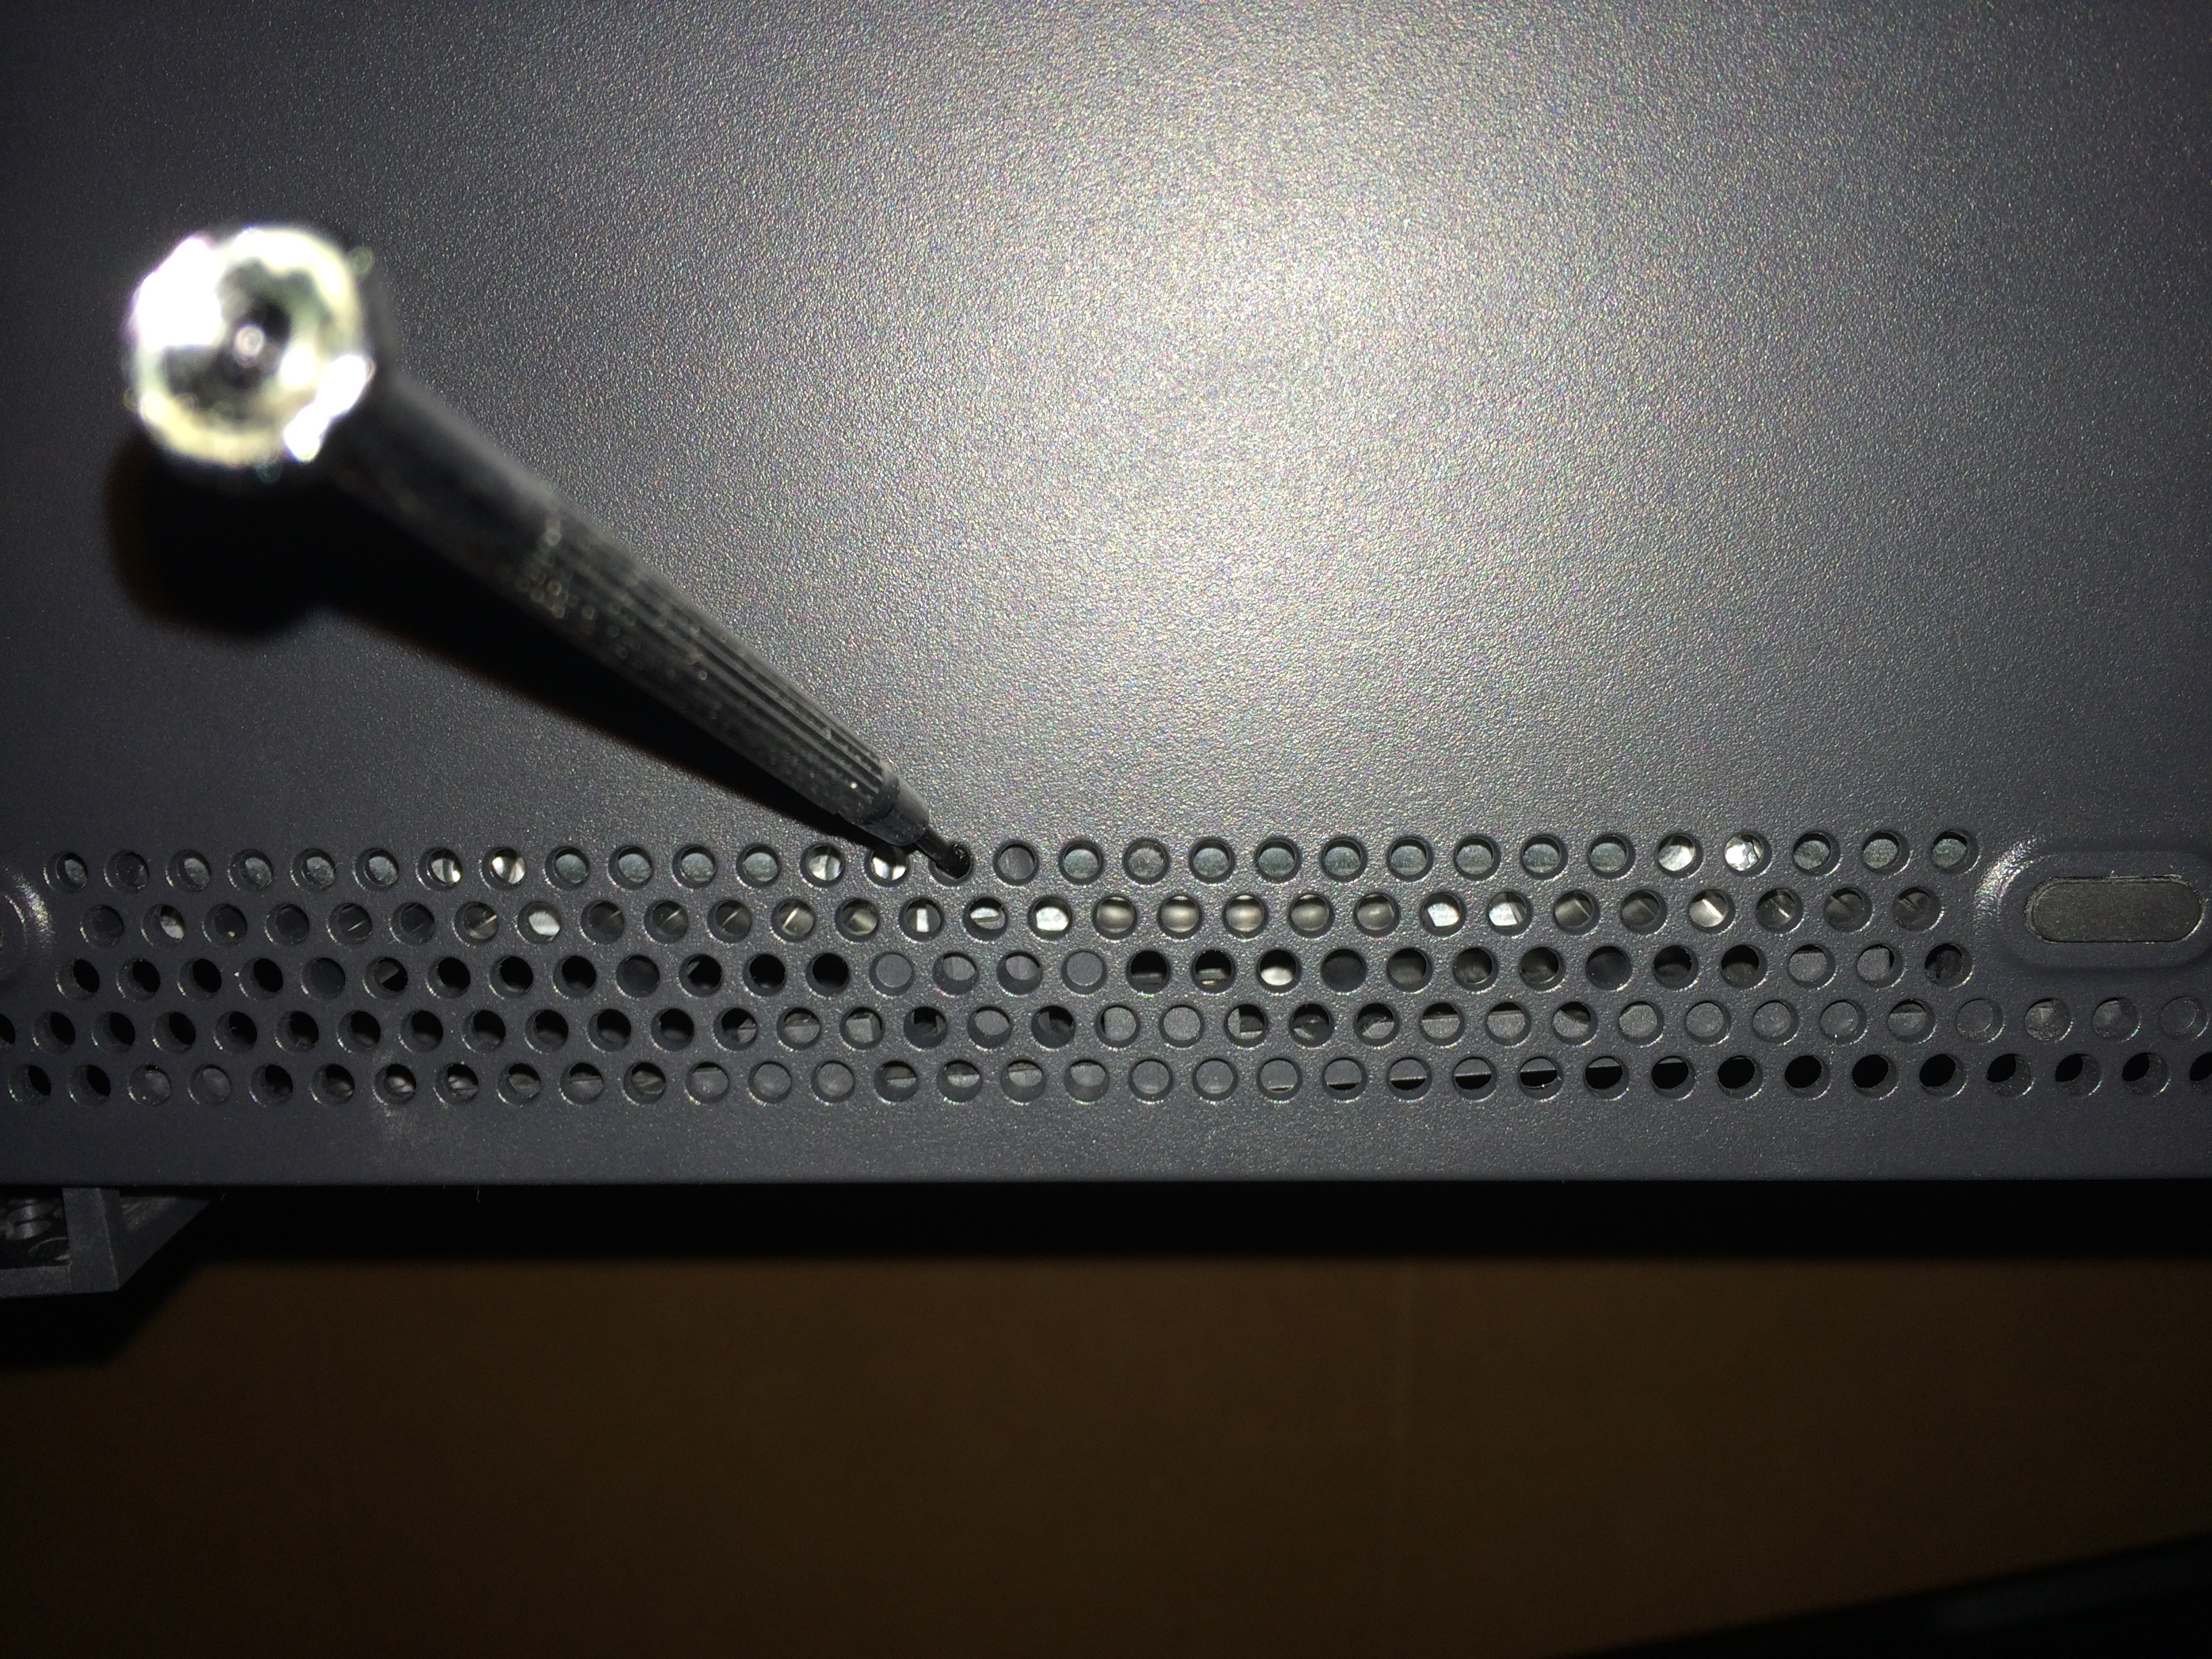
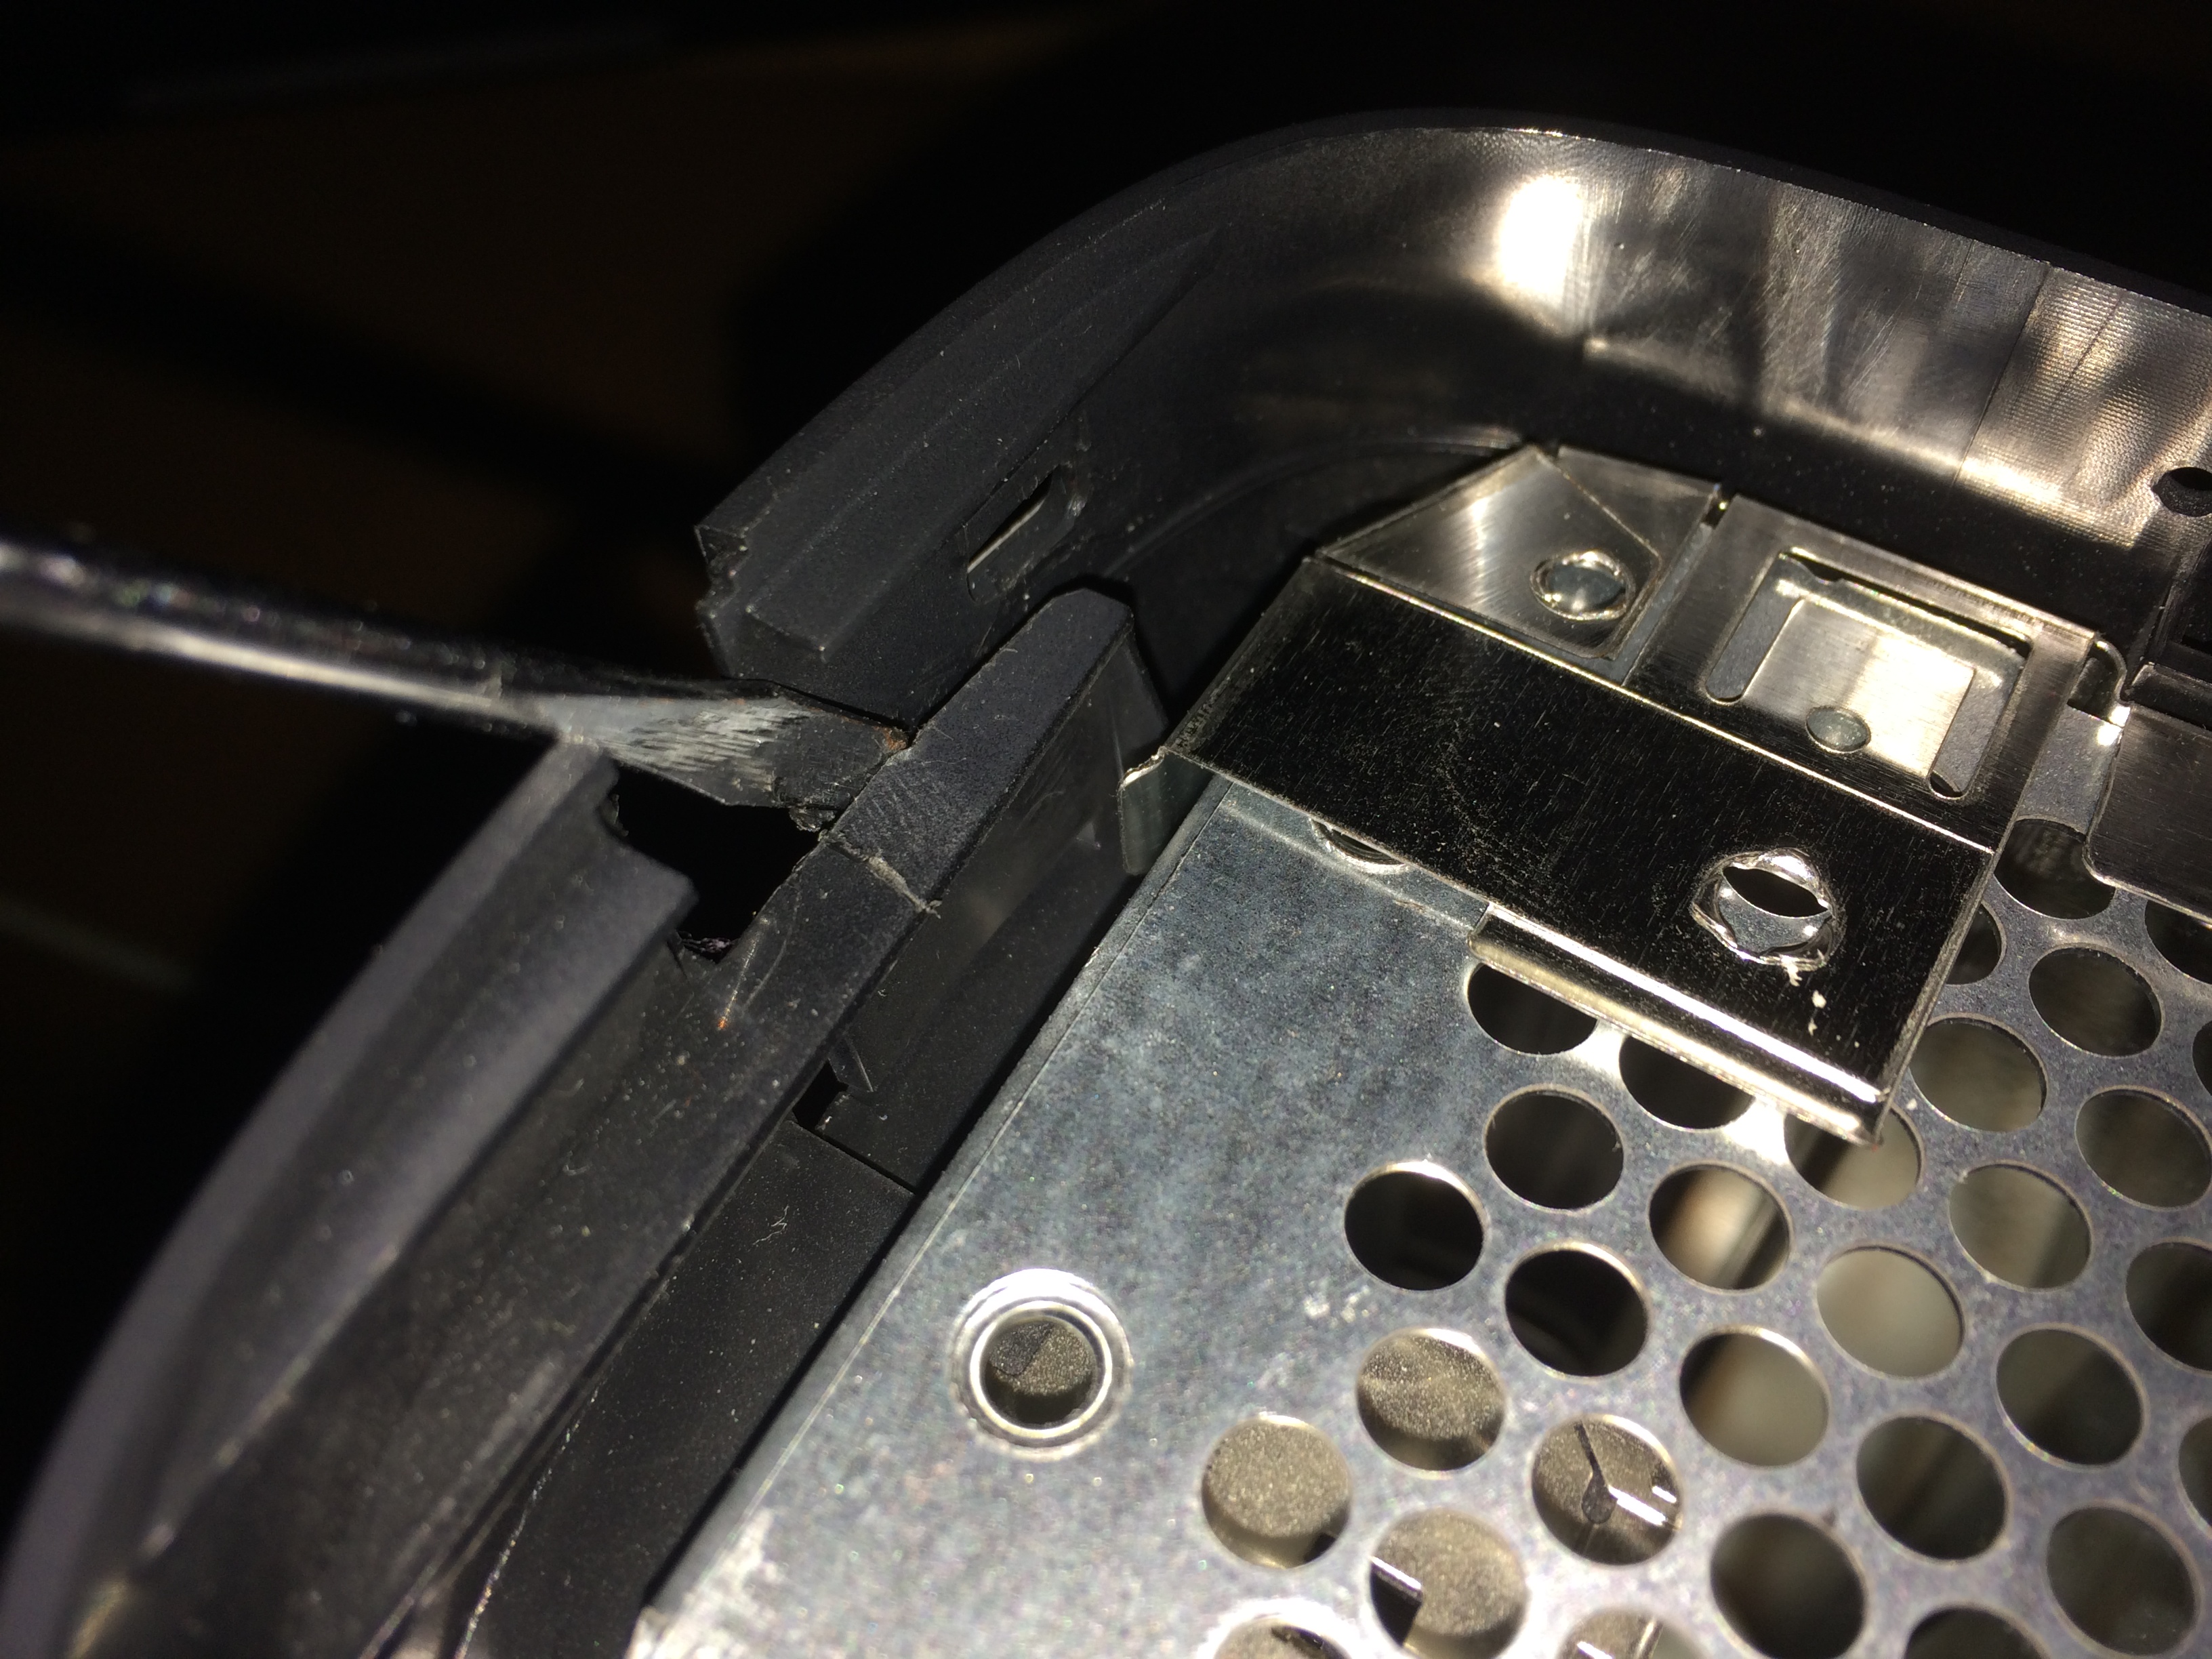
At this point the top and bottom of the 360 are naked, as is the face. It’s an odd site, but we’re just getting started! The easy parts are over and it just got real. The side panel is a real challenge. We start with the power cord side panel (the right side panel if you’re facing the rear and the Xbox is standing up, hard disk on top). We need to pop a number of hidden tabs in order to get this panel off. A very small screw driver will be needed in order to reach into the ventilation holes and pop them.

Use a firm but gentle hand so none of the plastic snaps, and use a flashlight if need be to help locate them. I’ve tried to document some landmarks as a guide – Top:

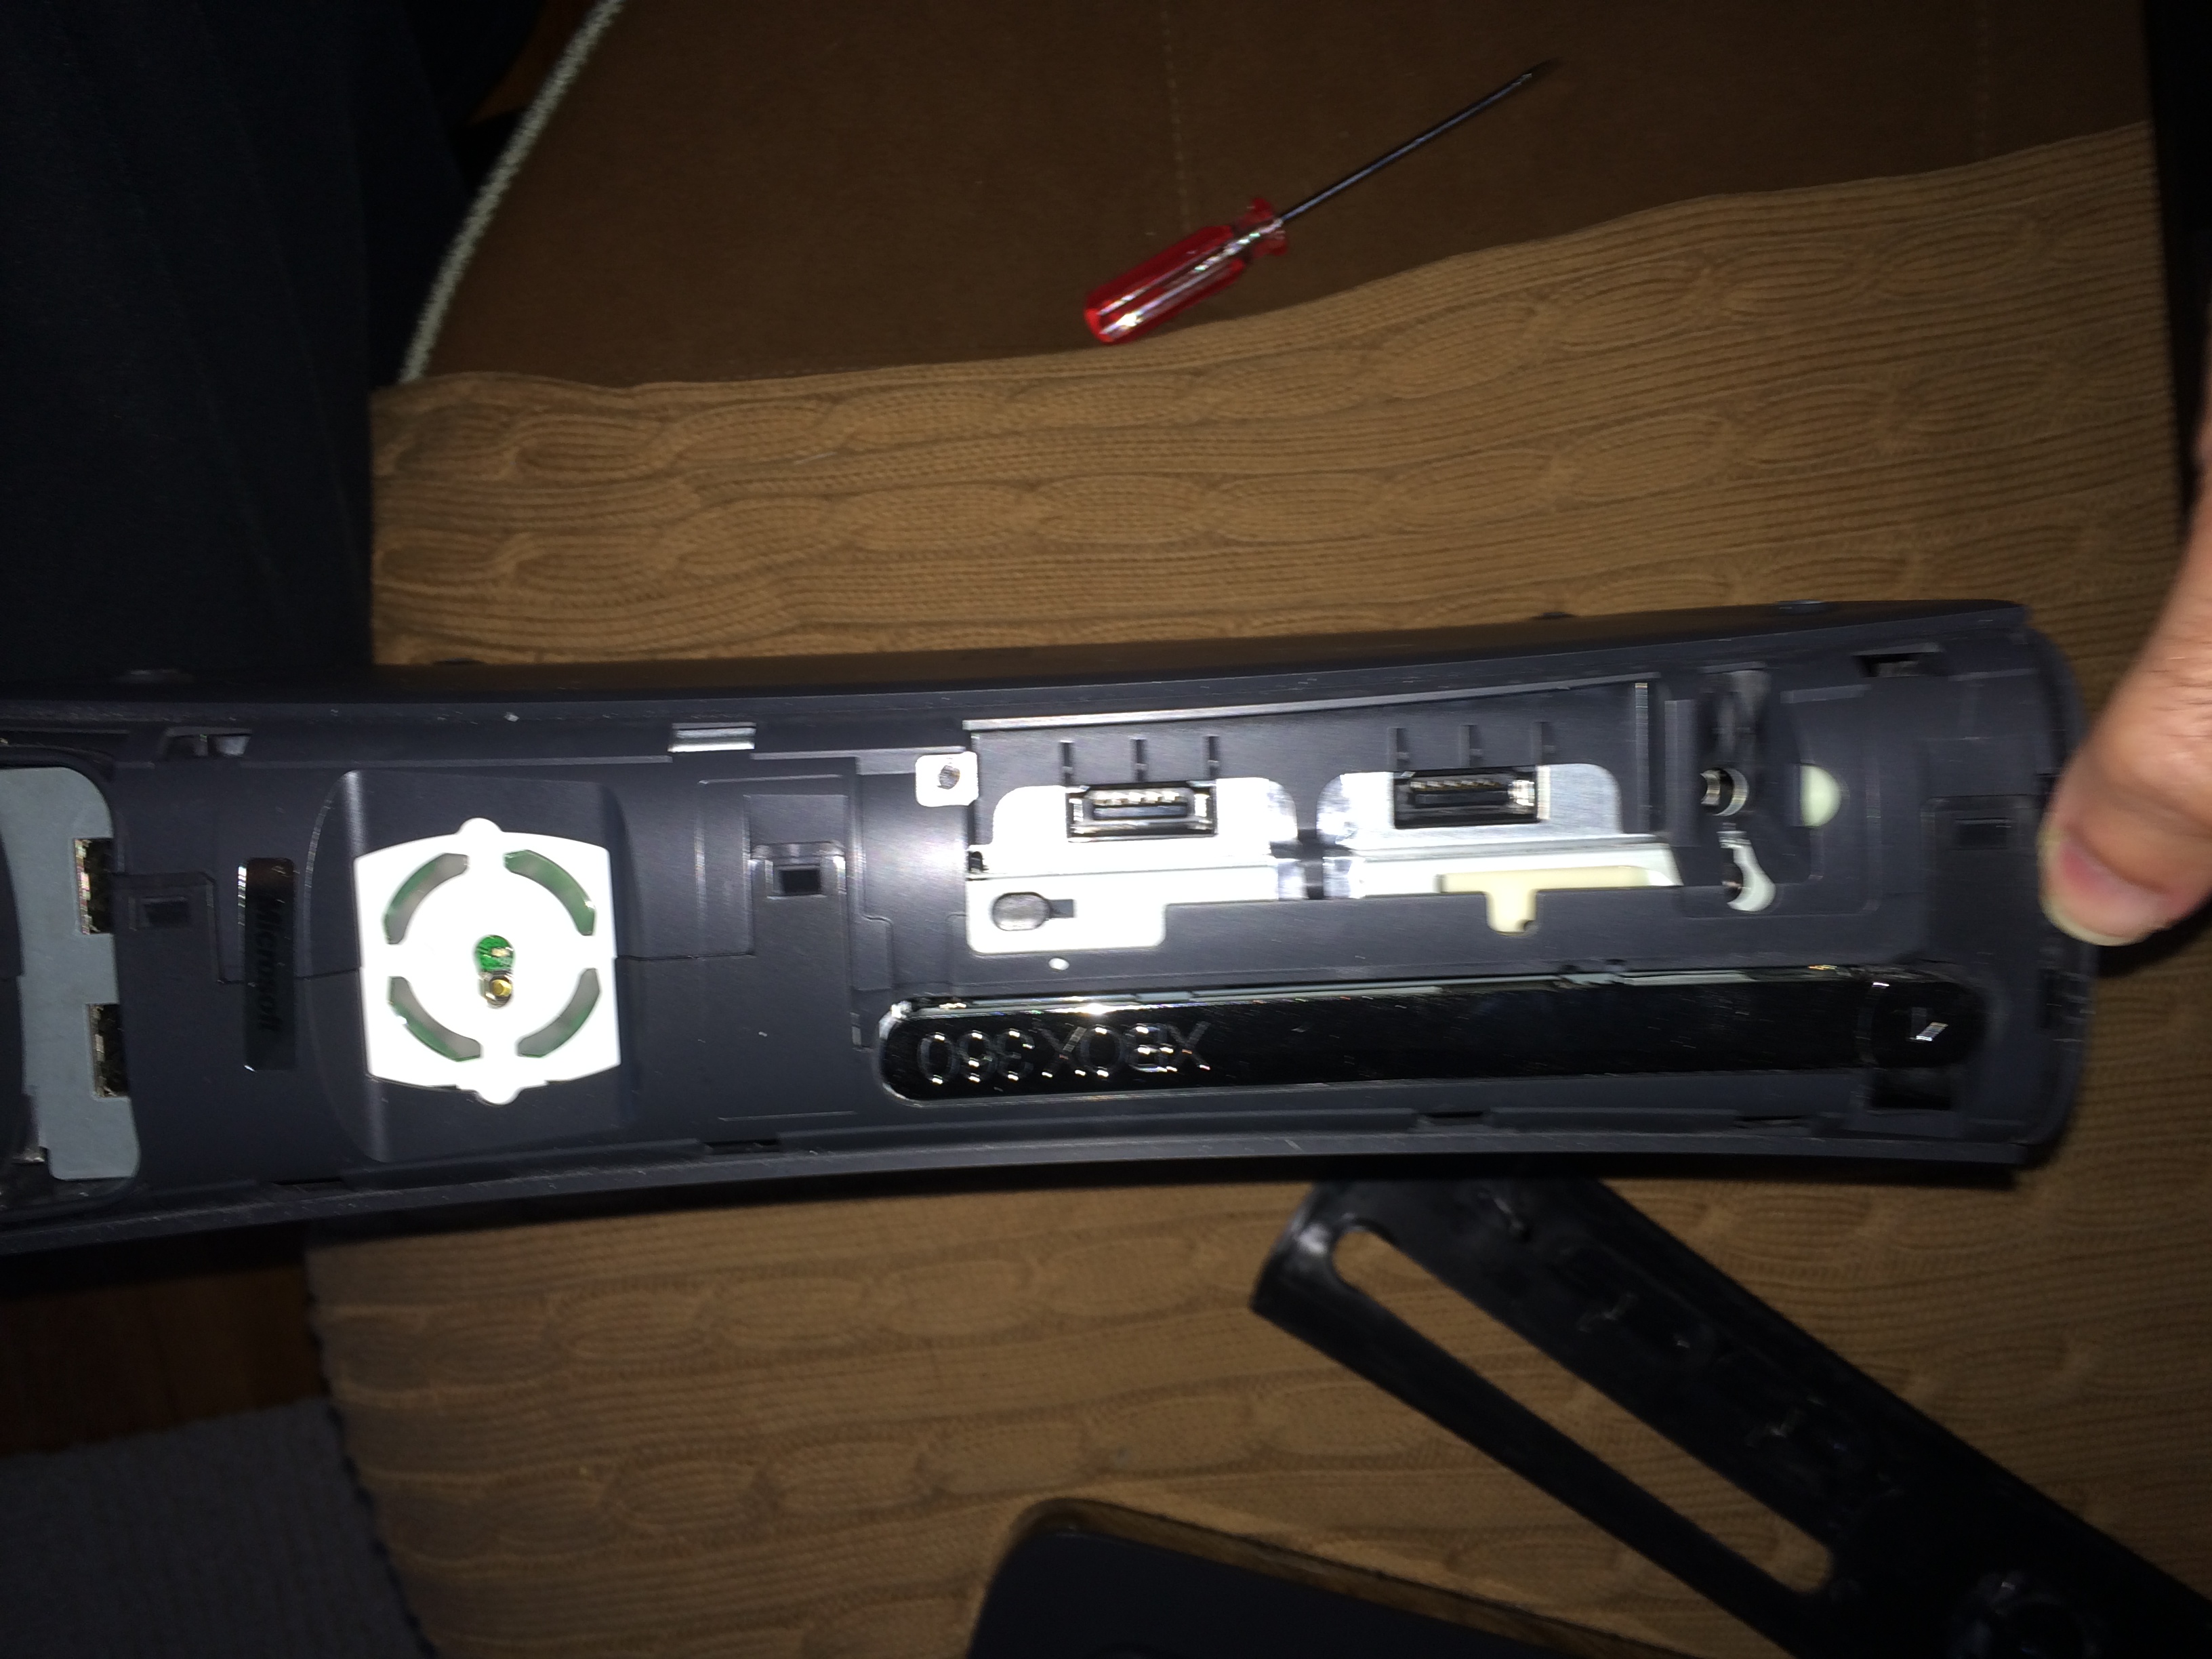
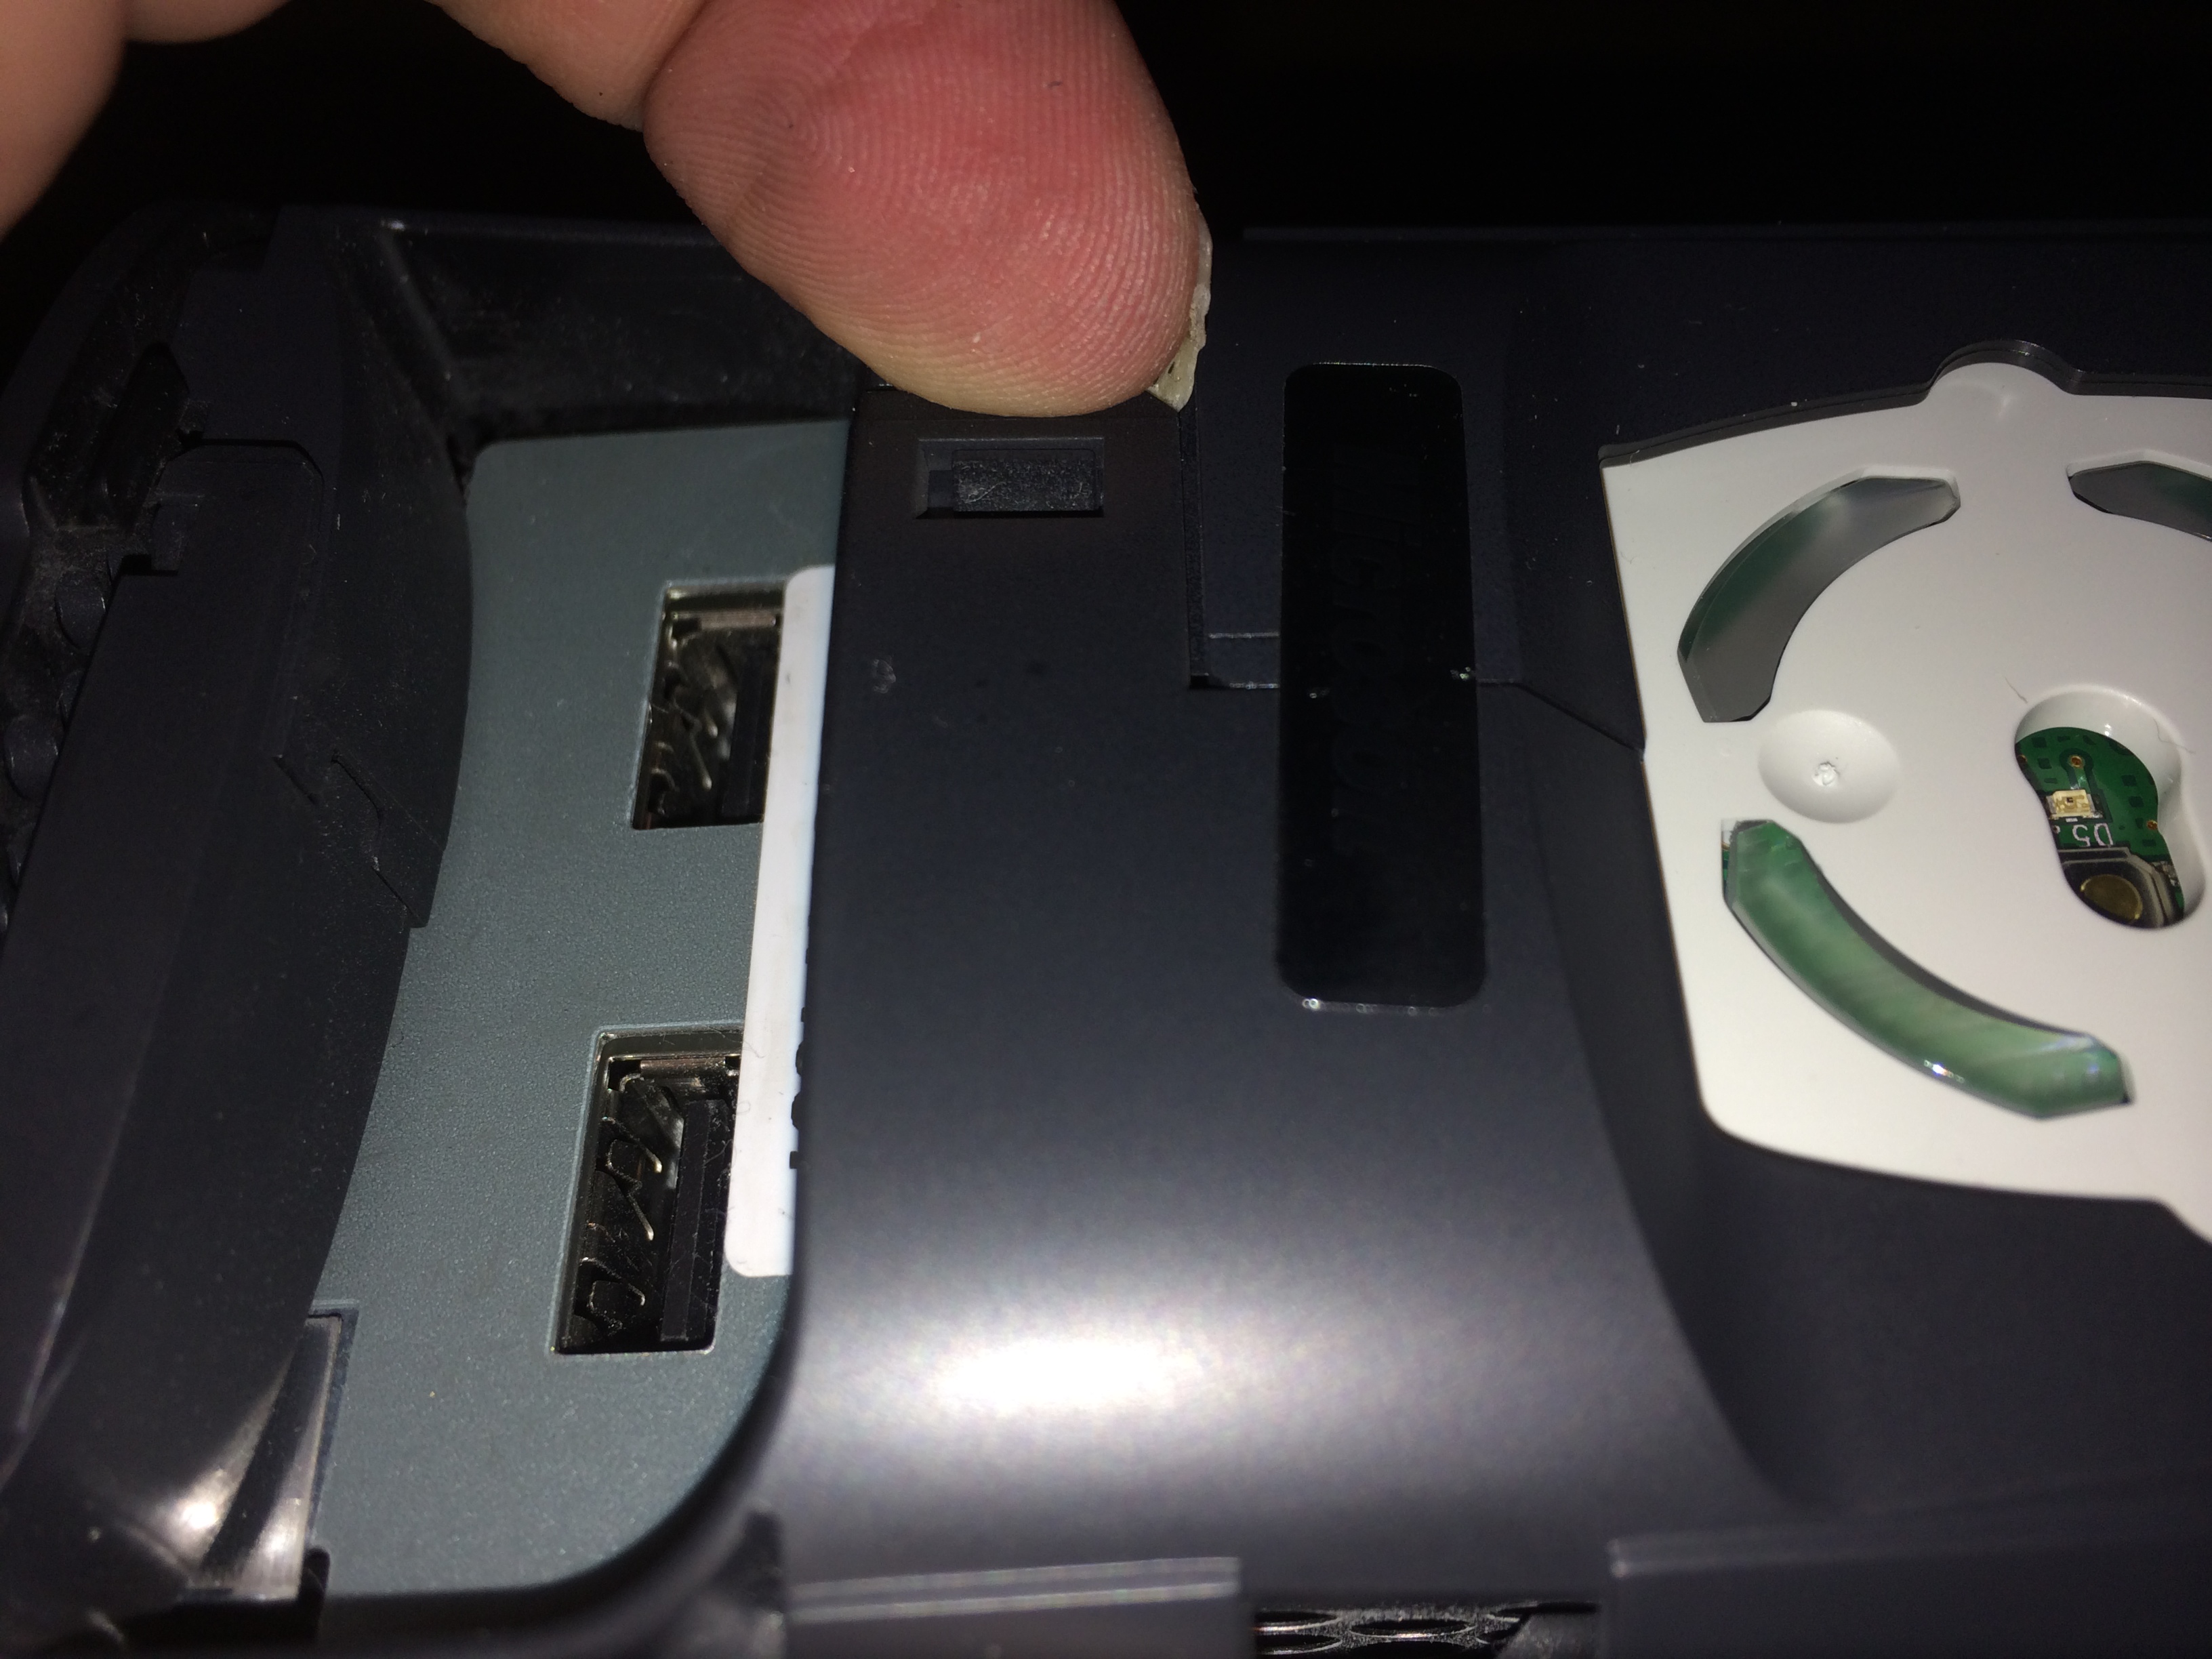
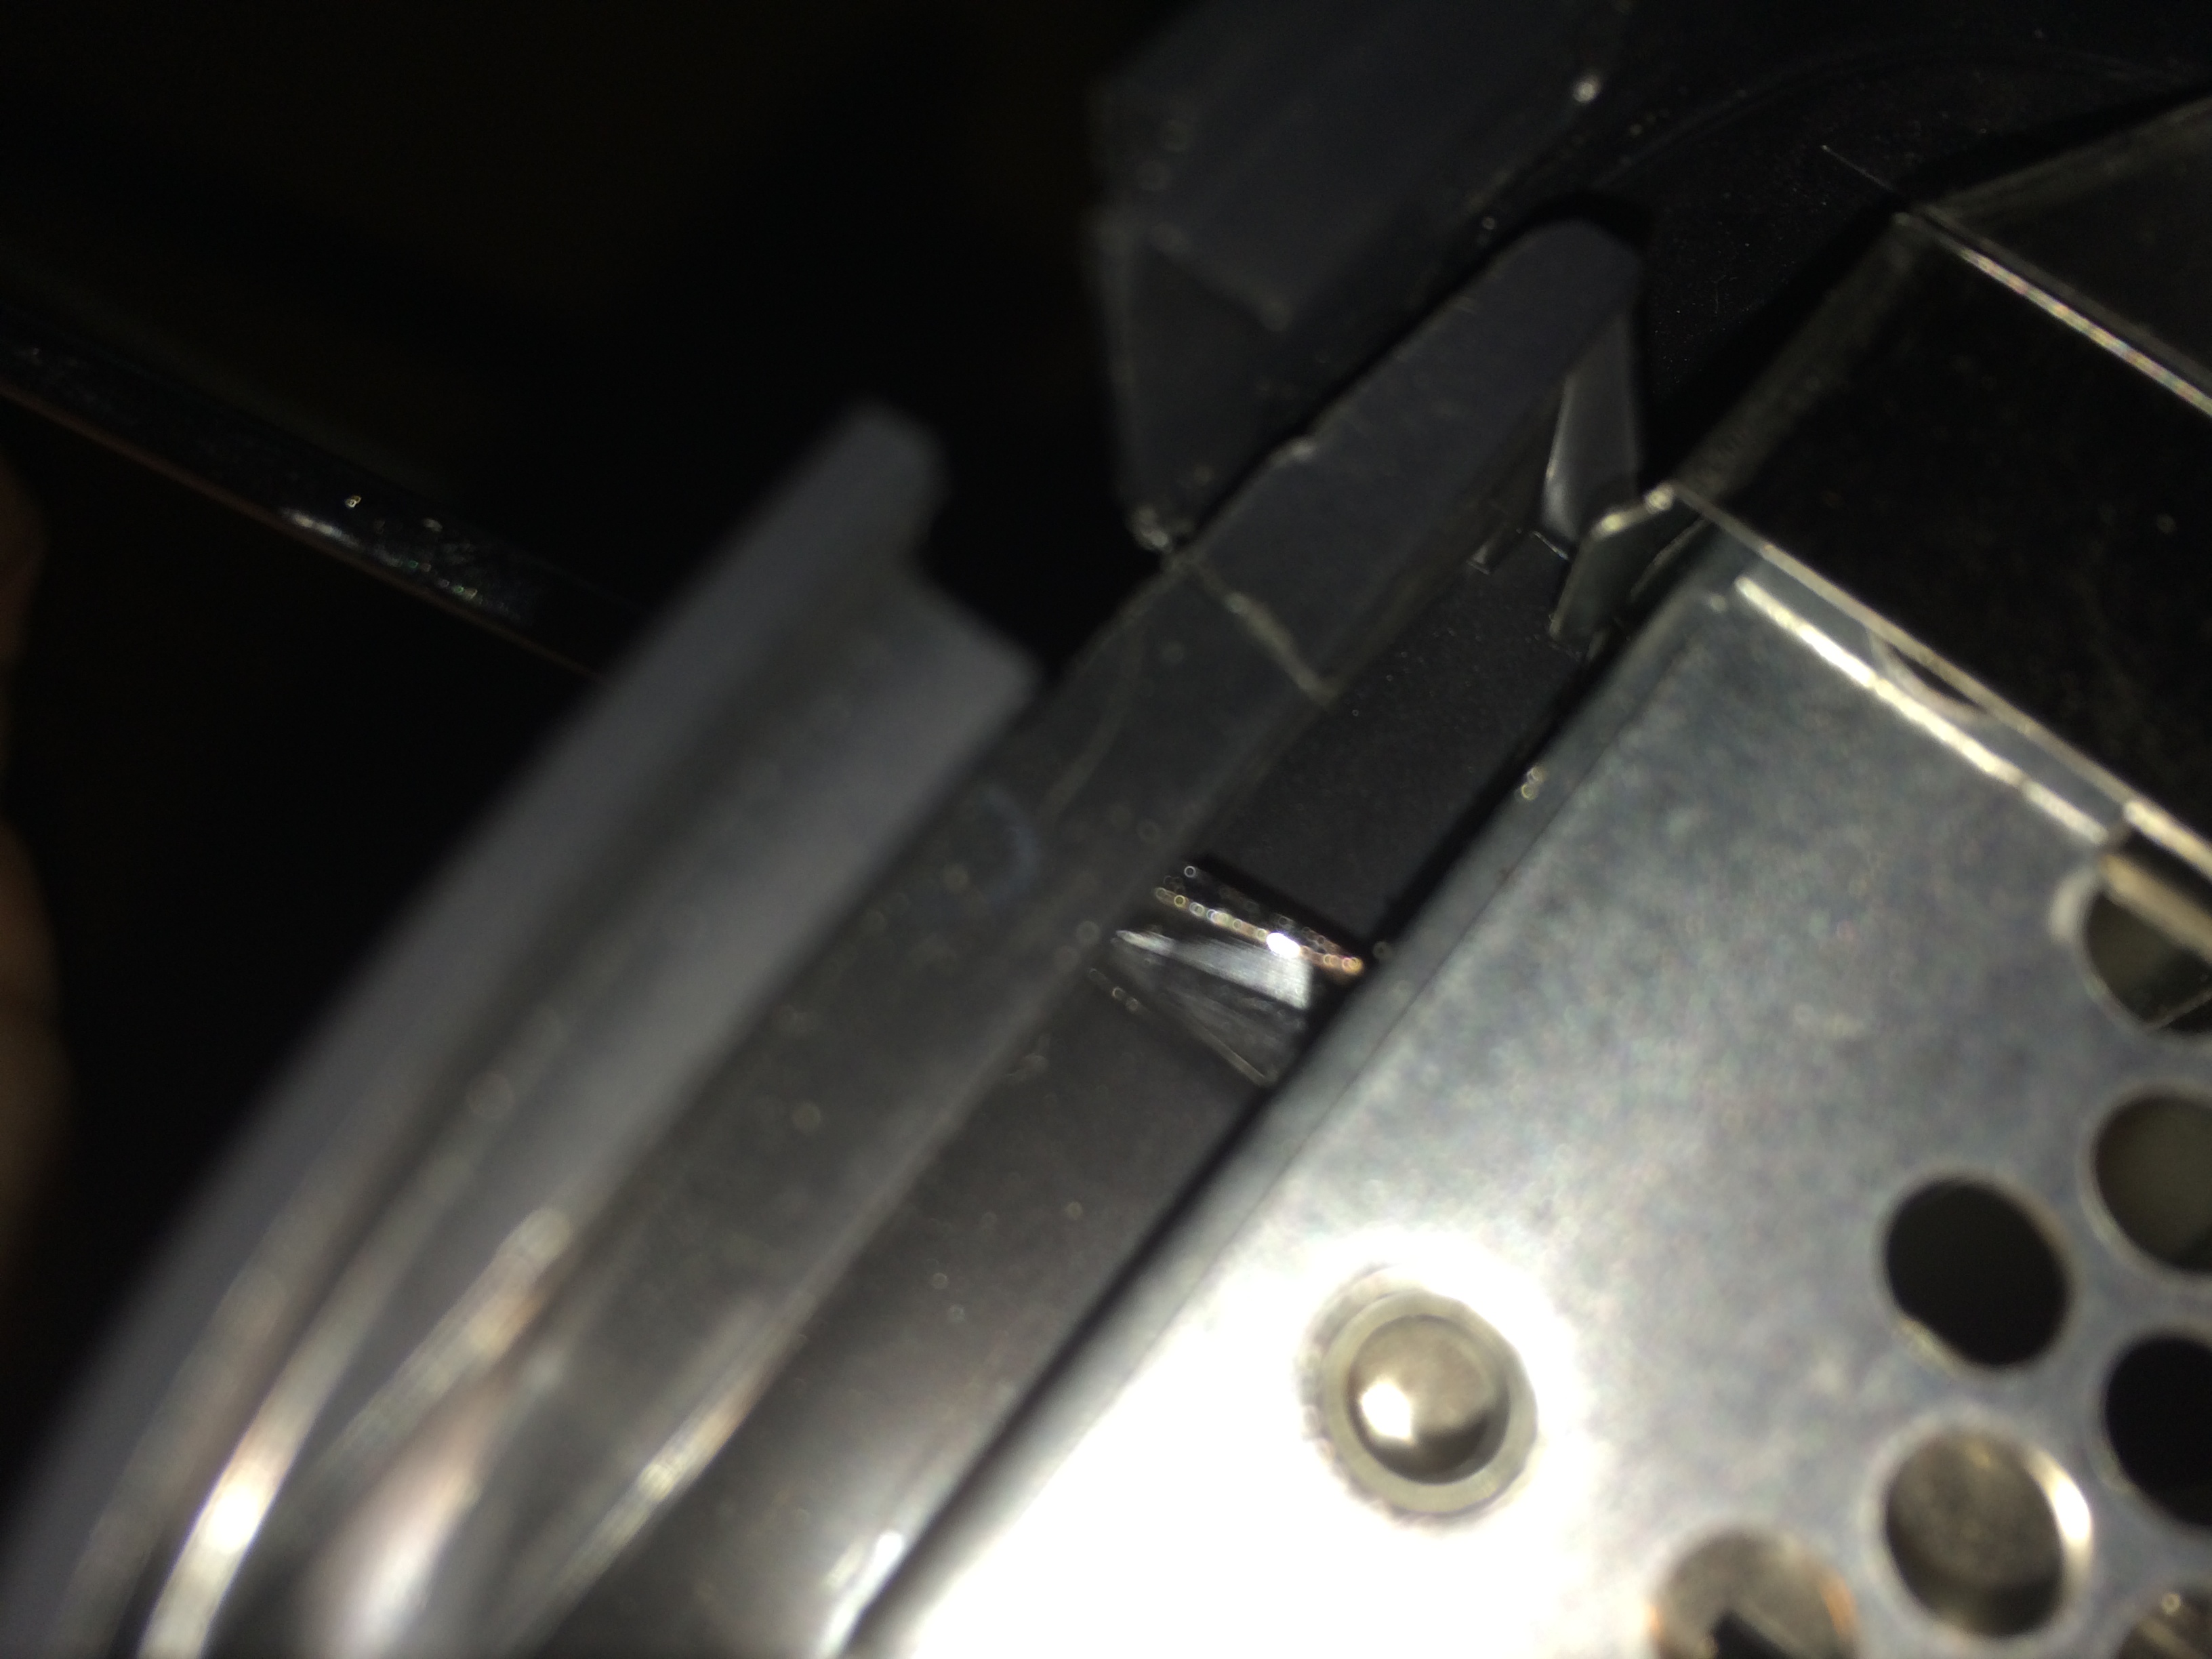
And bottom:

With the tabs popped, the side cover is loosened, but still can’t just be lifted off. The front is held to the back at the front of the Xbox by locking tabs that are well locked. Each one needs to be carefully unclipped. The last (the top clip) is the trickiest and while working it the bottom ones may reclip. Patience is needed.

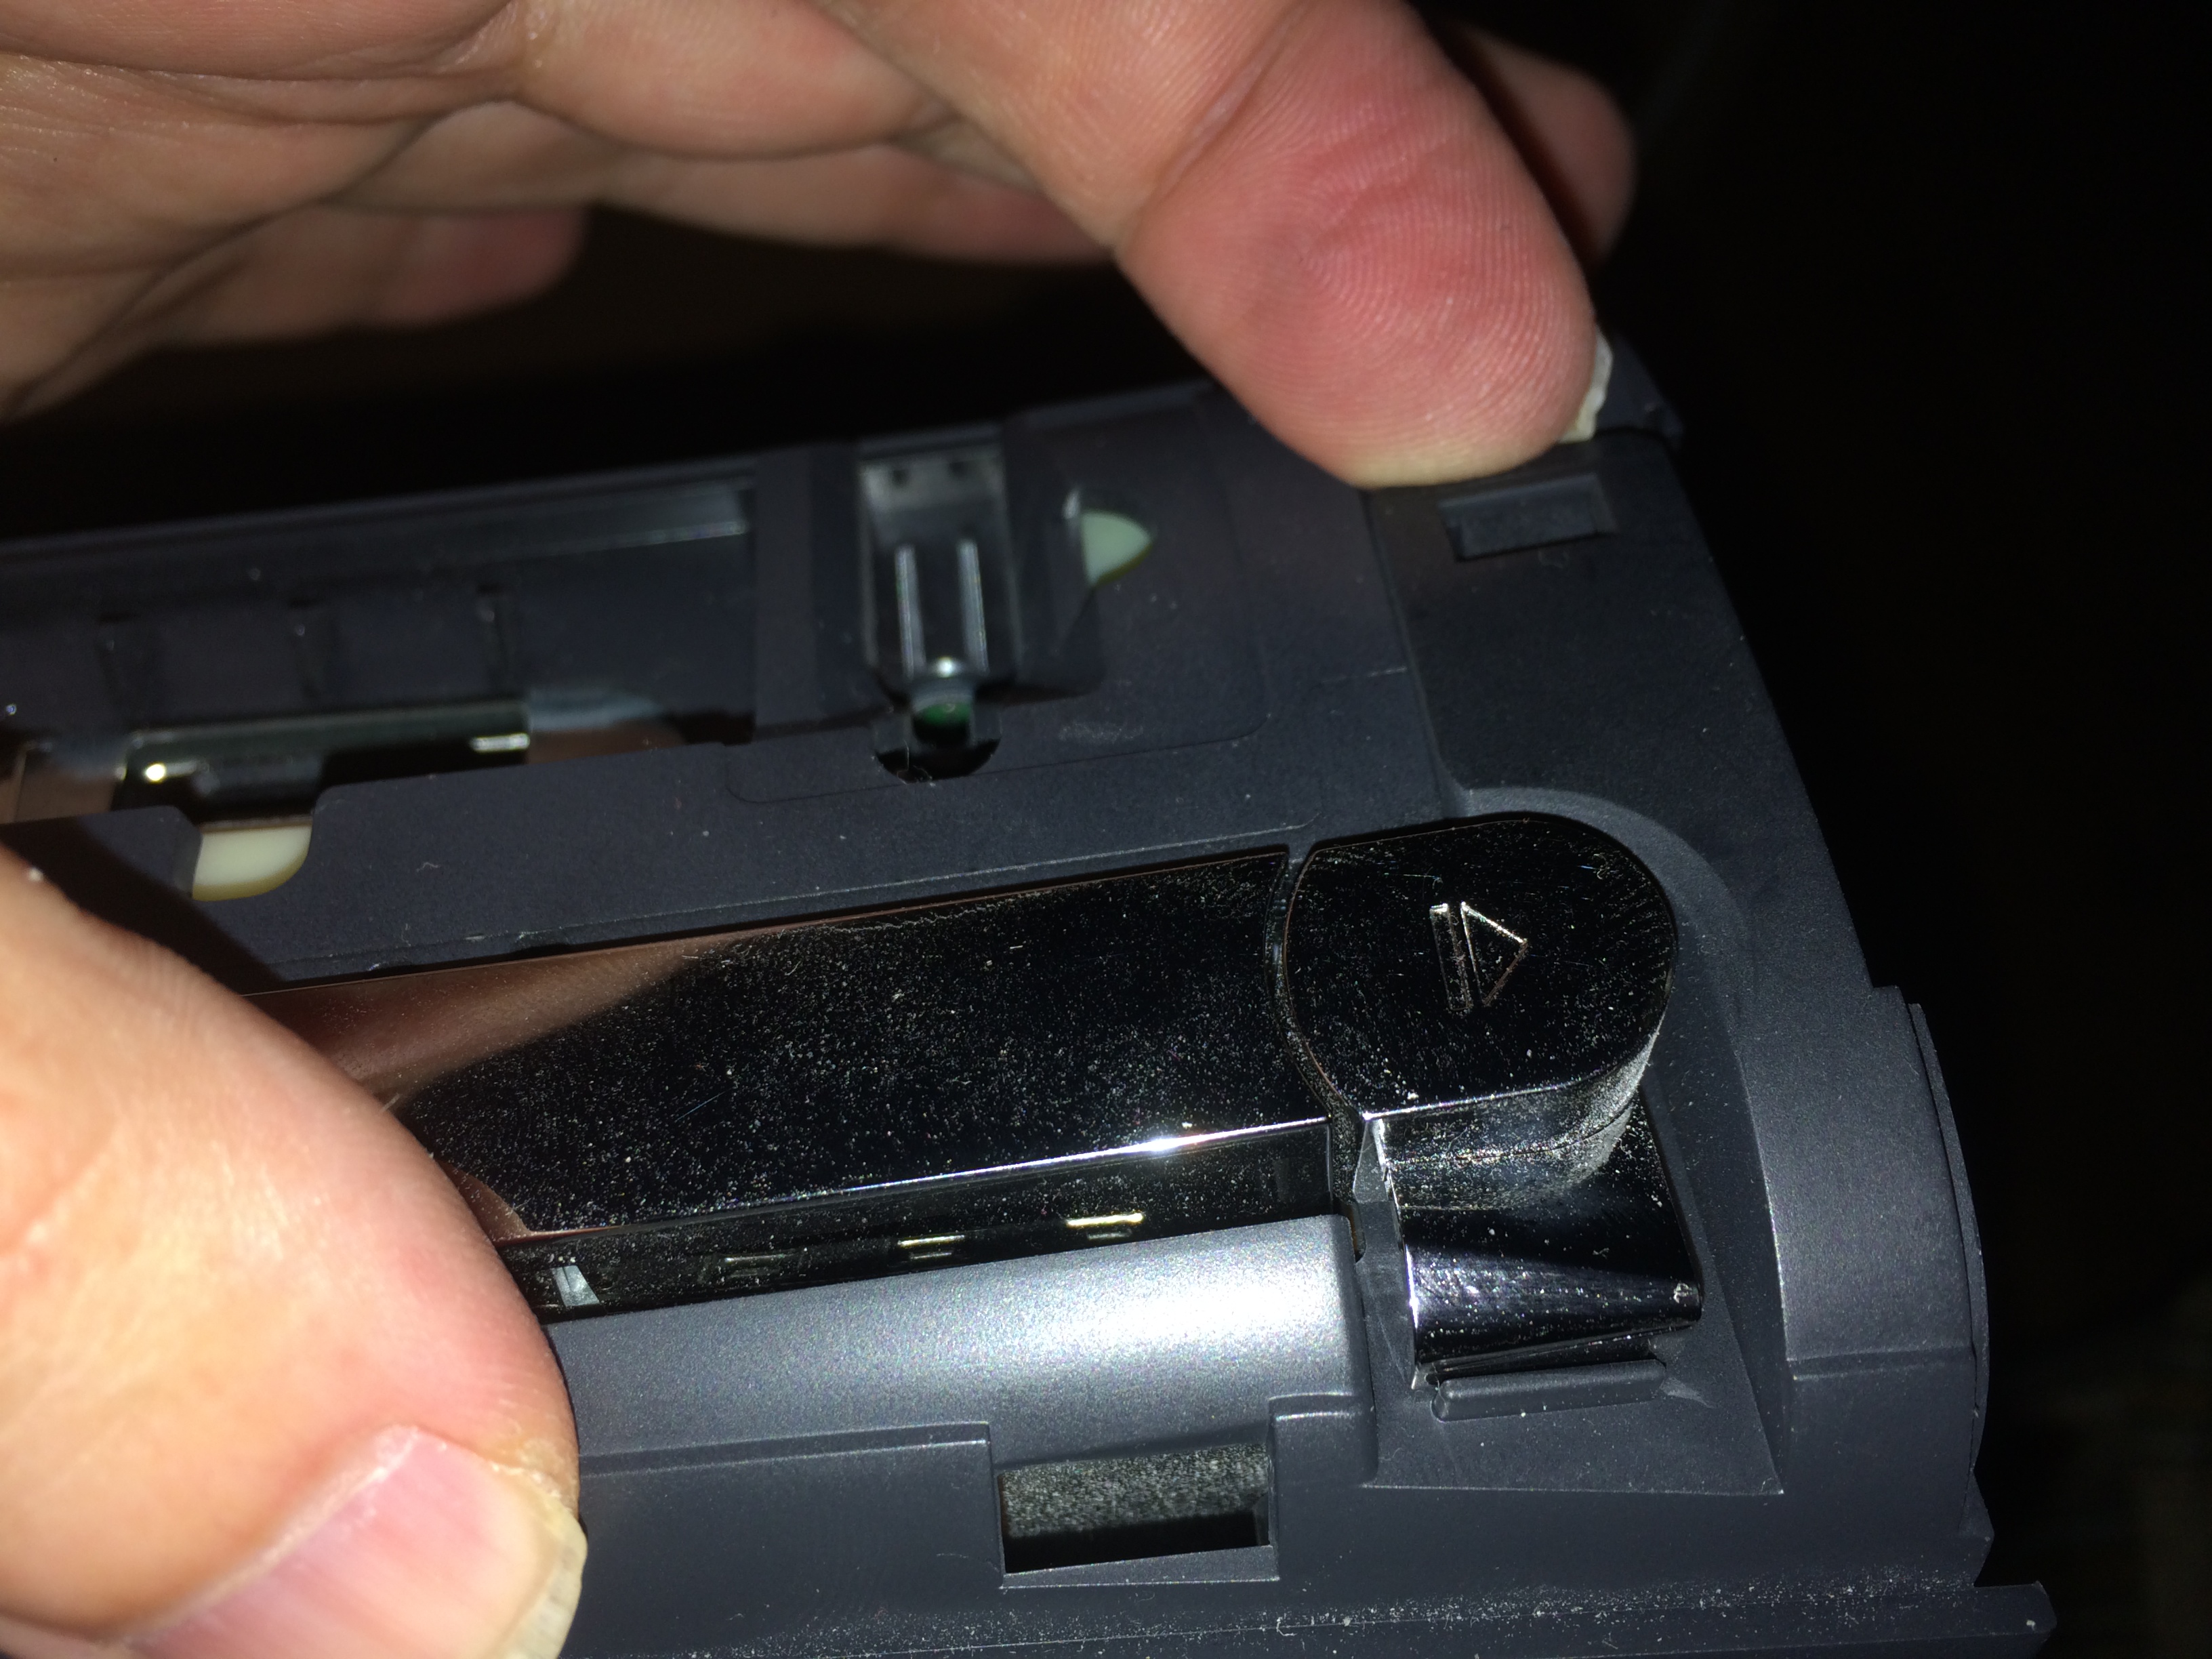
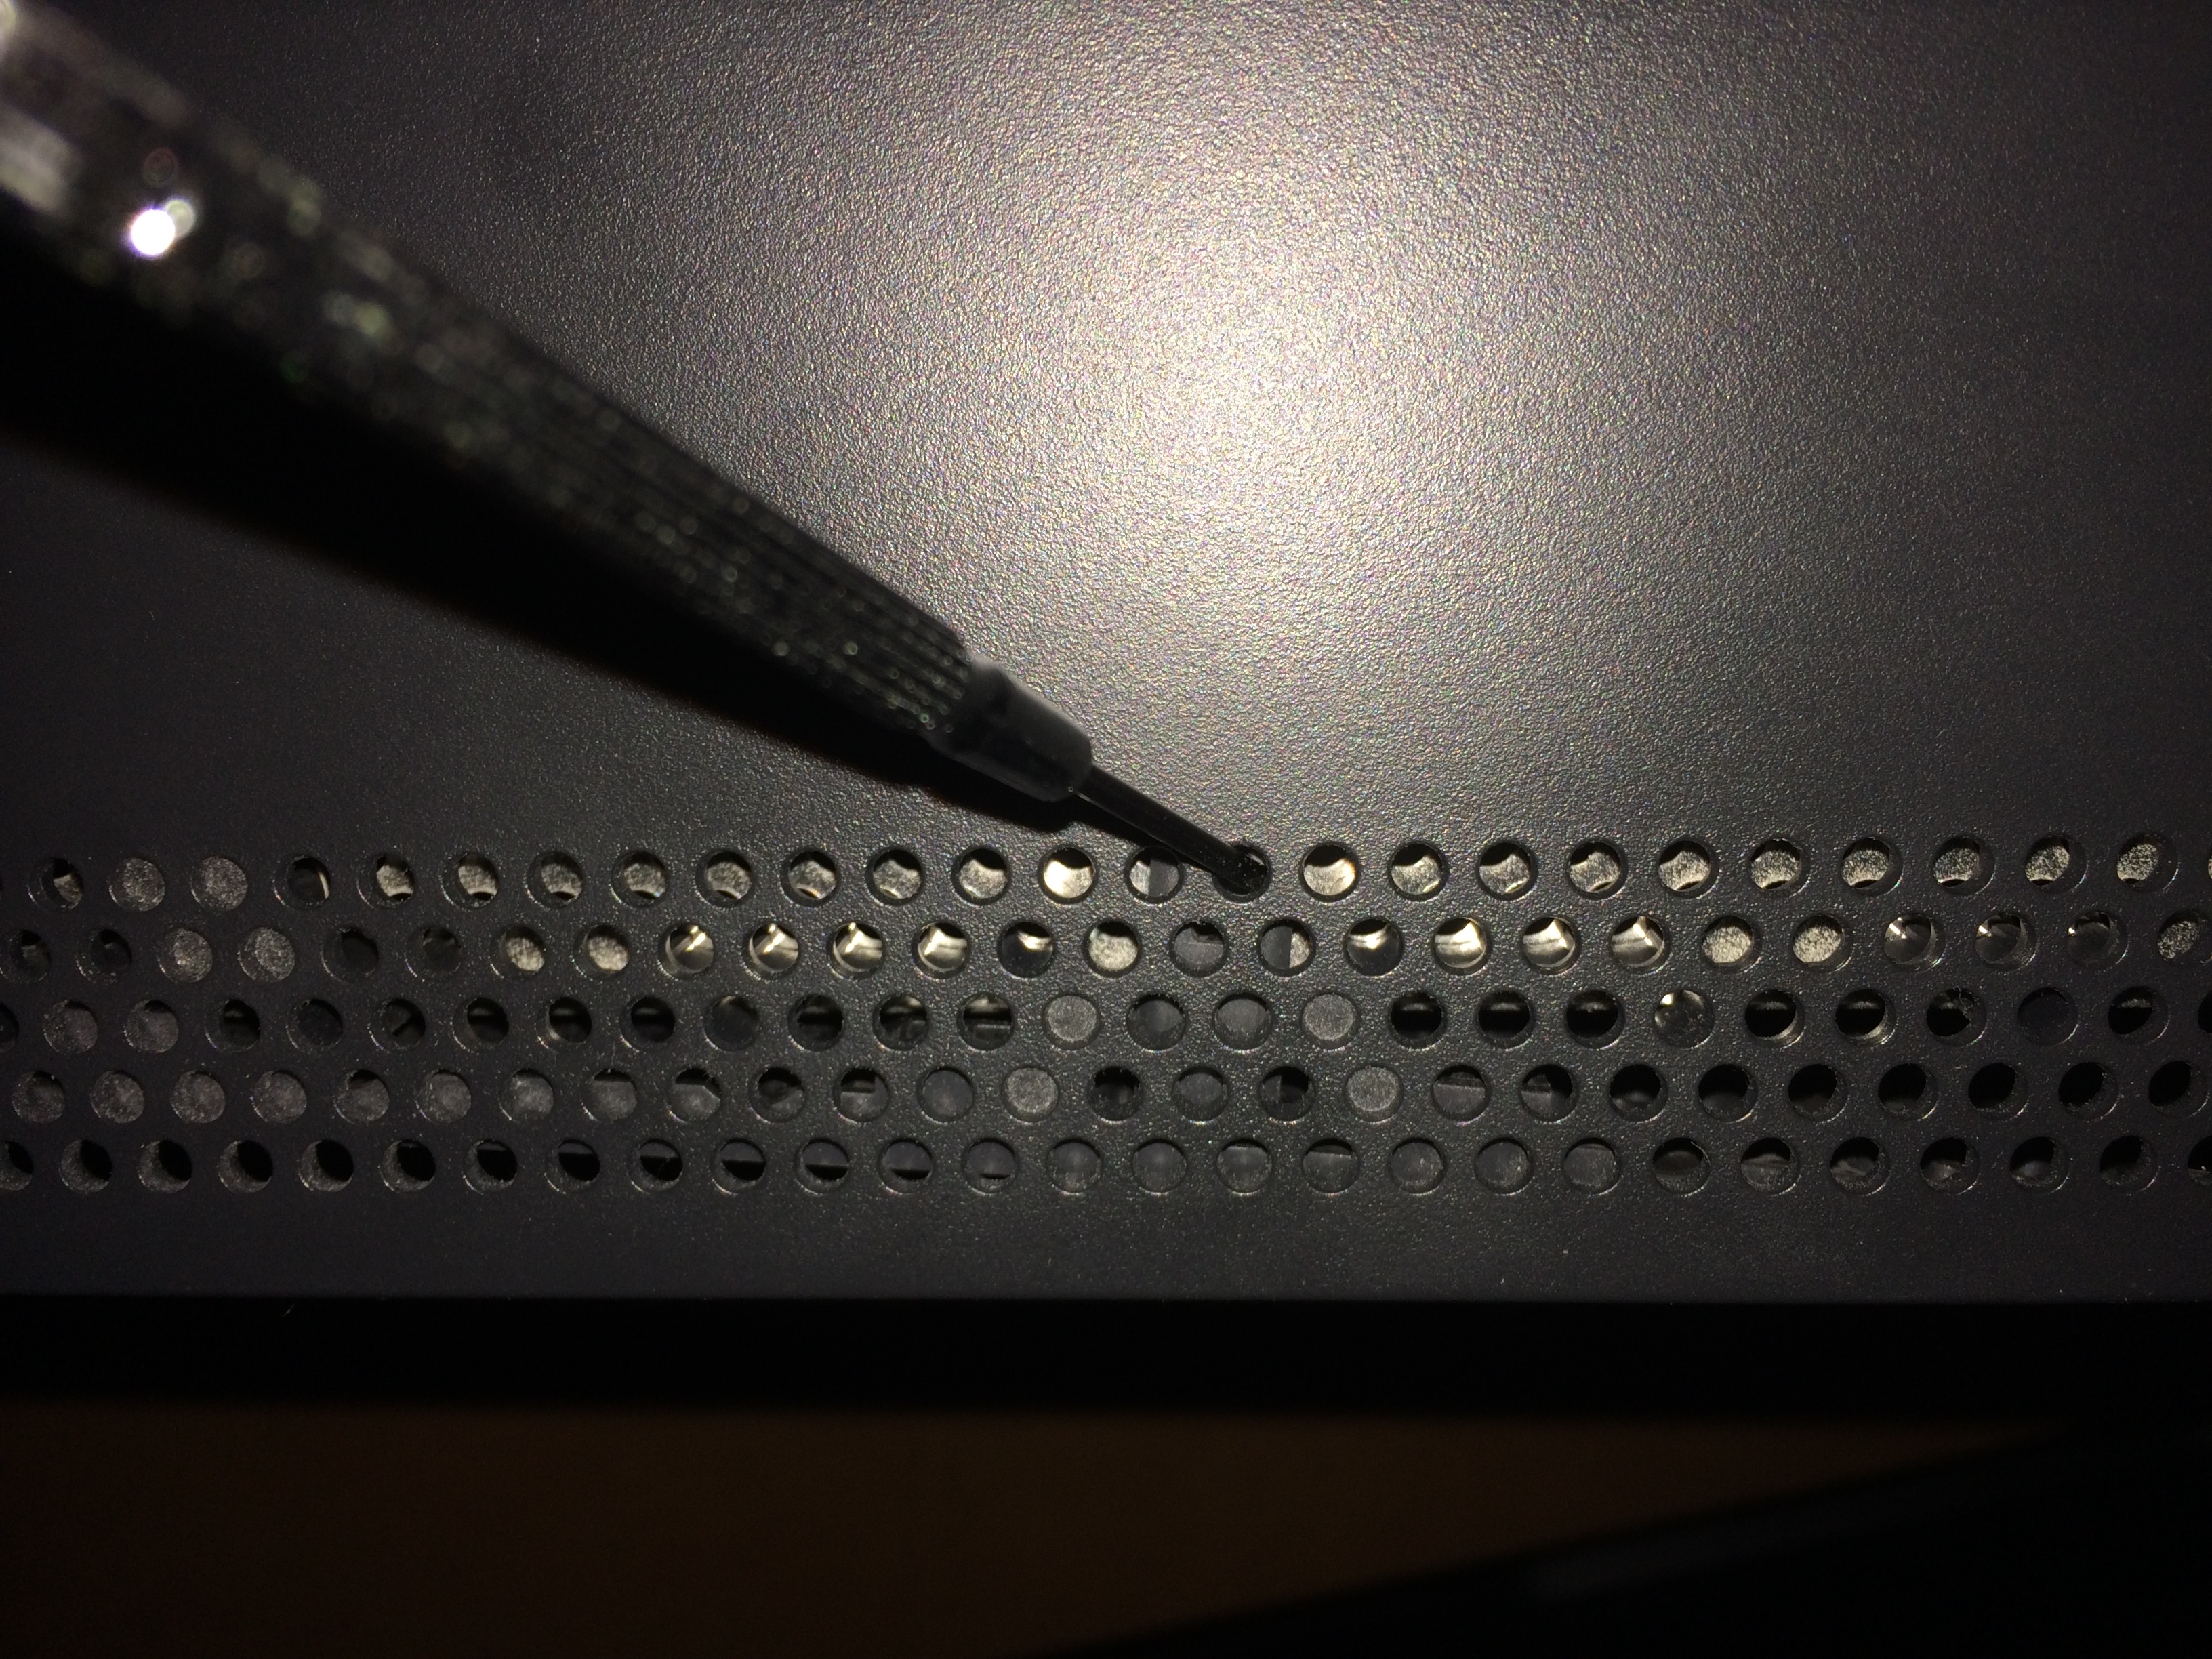
This is the tricky spot. It requires more force than feels comfortable as well as some finesse (and maybe luck), but it will come loose:
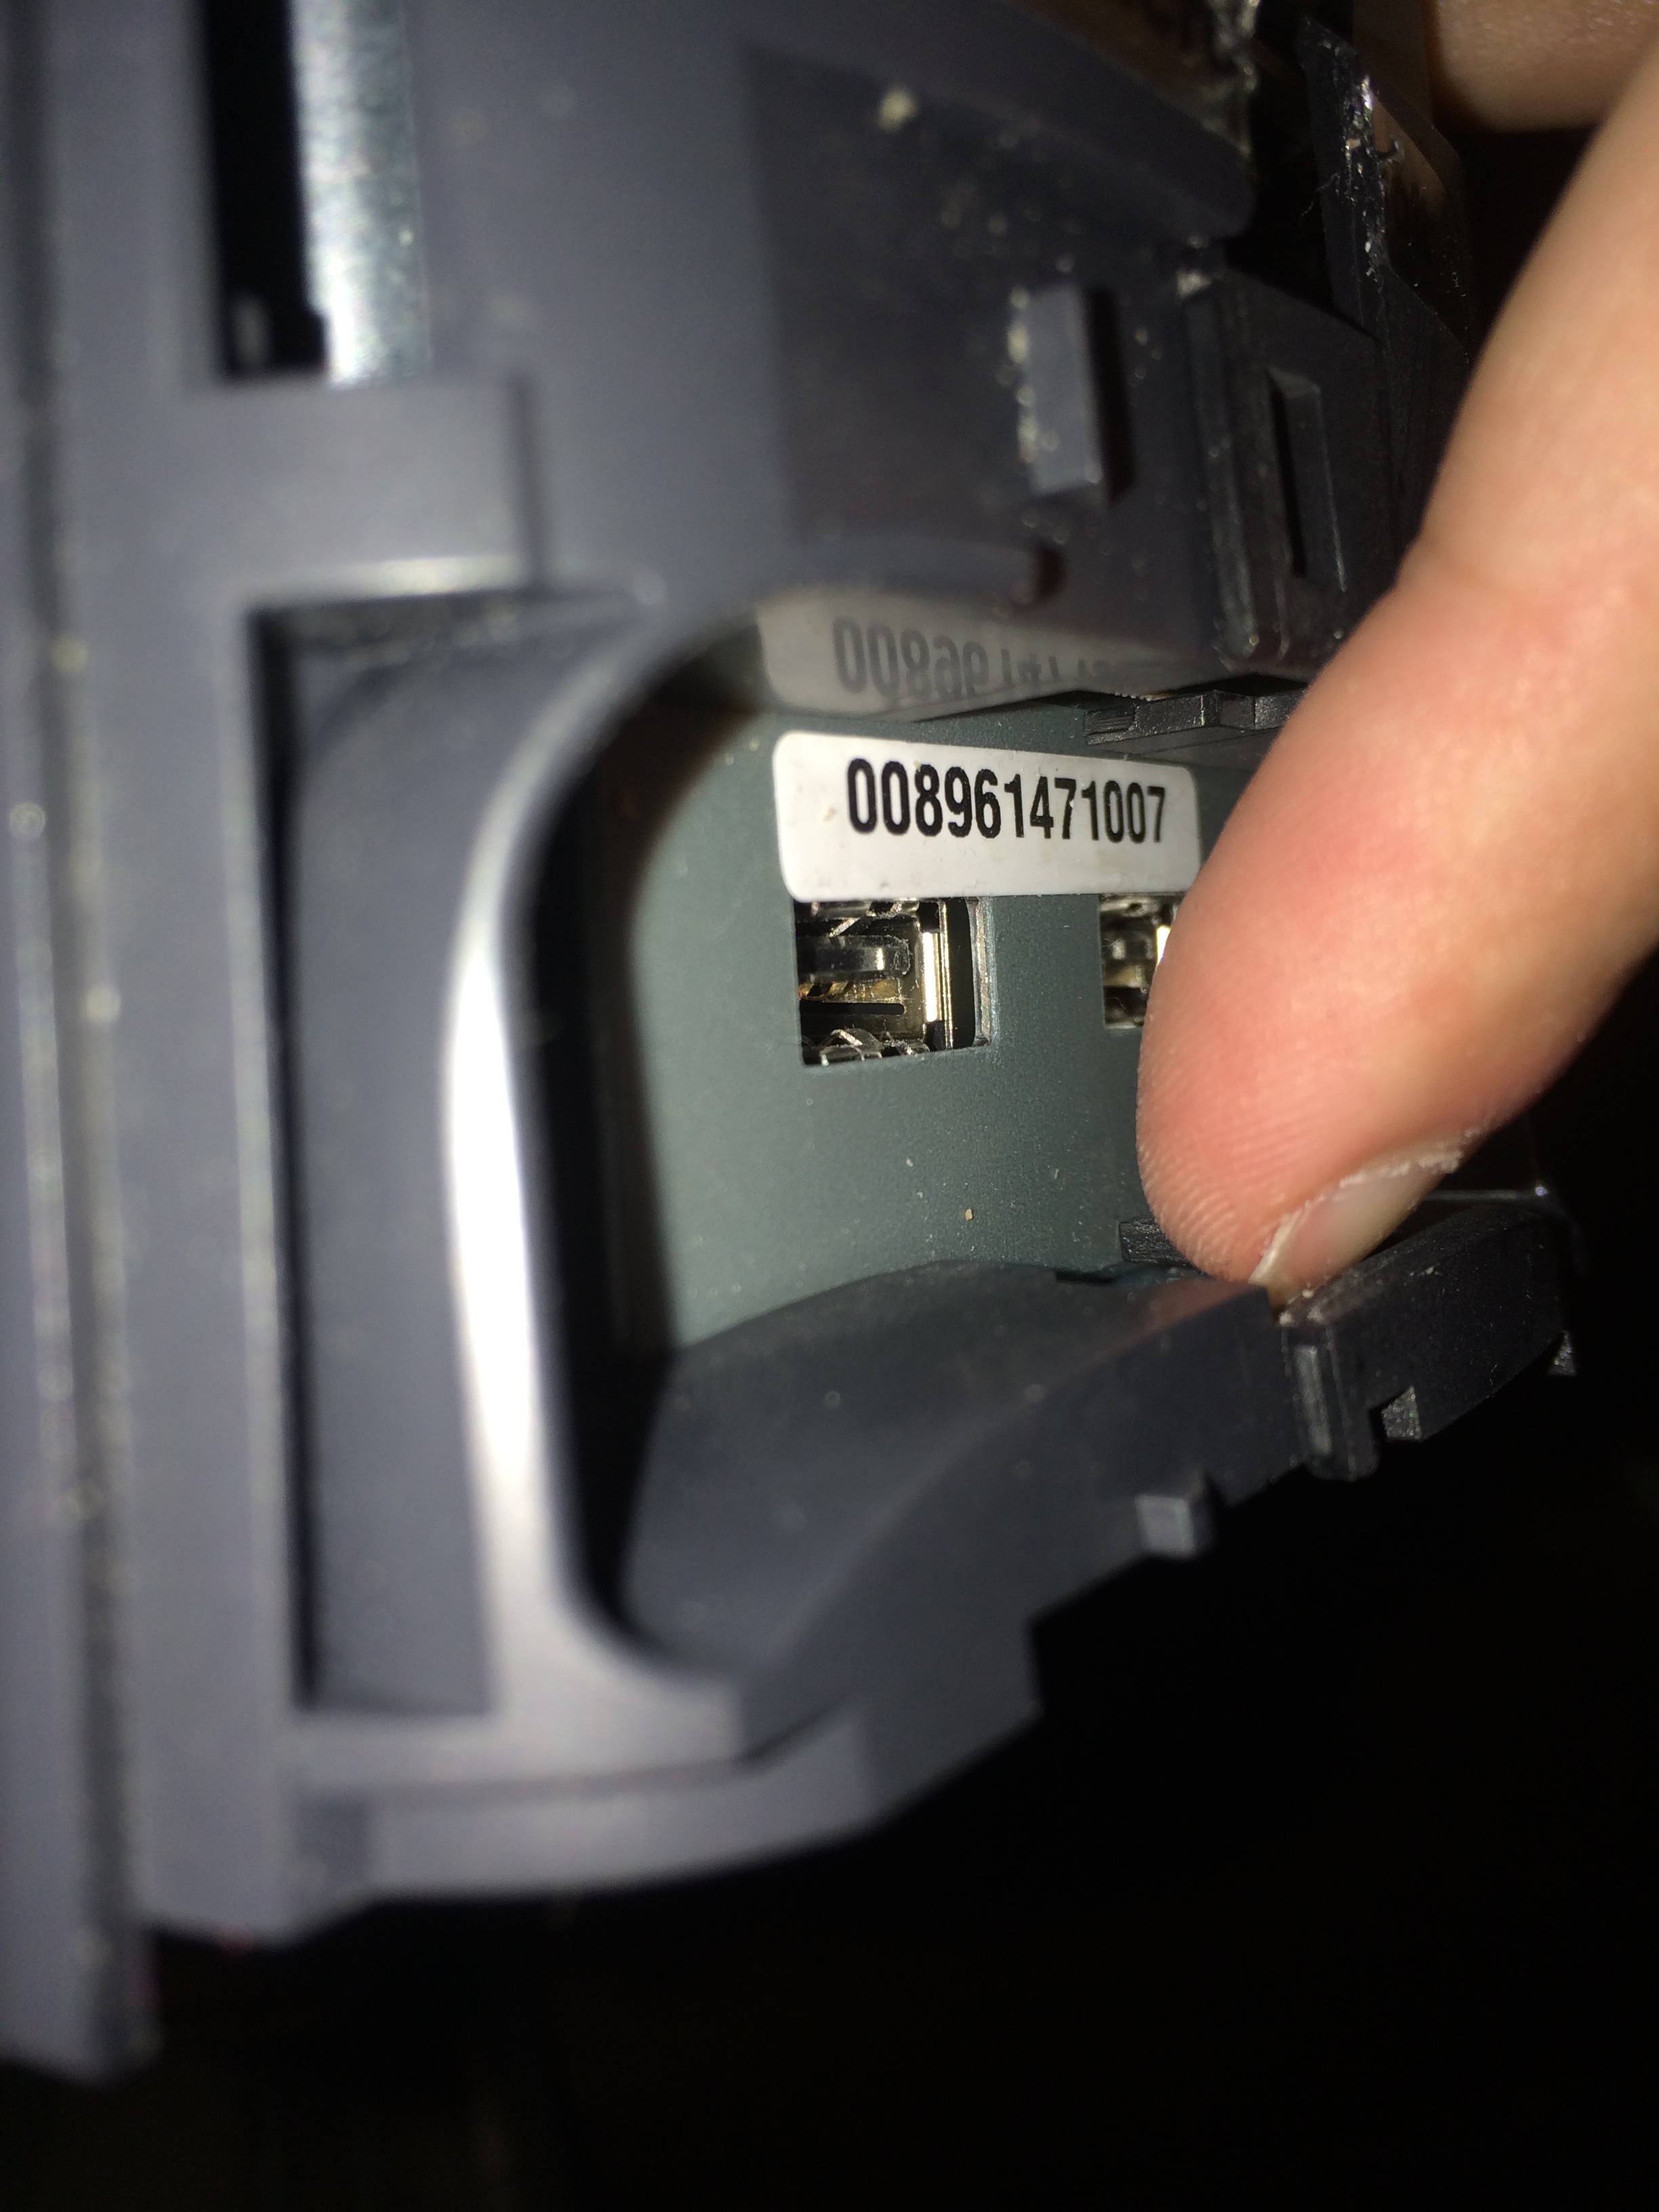
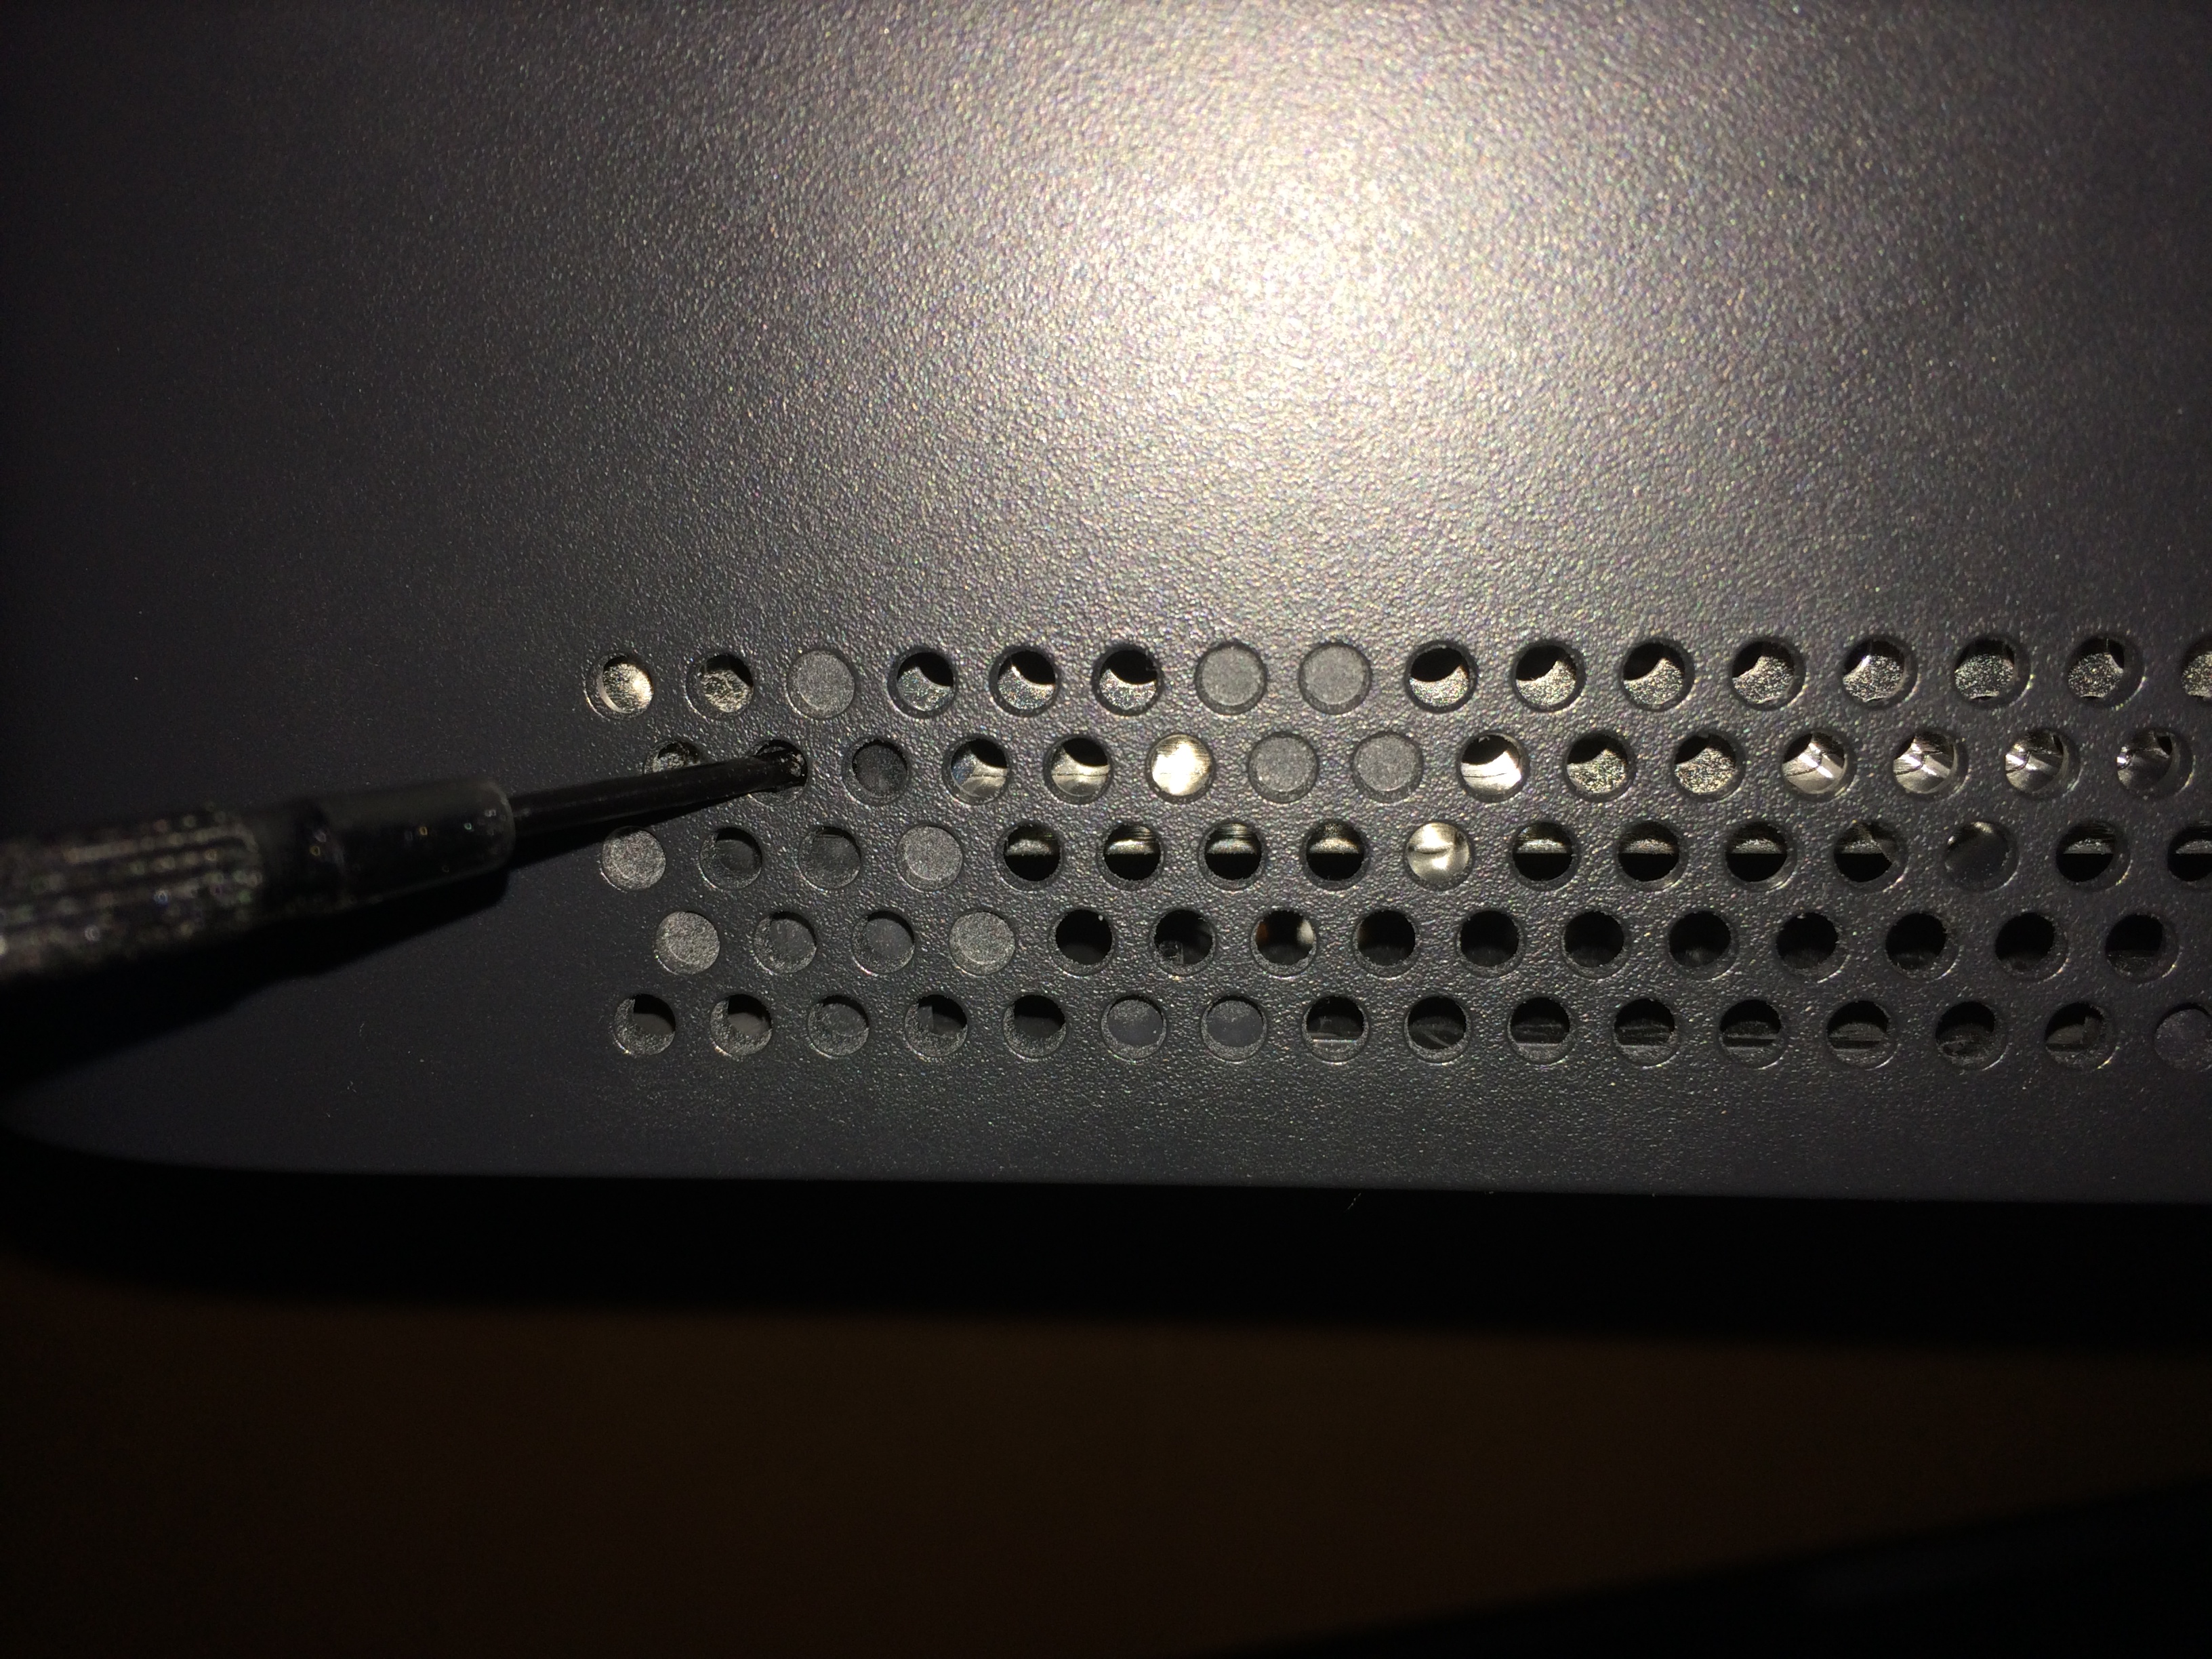
With the front unclipped, the back now needs to be popped. More tabs. And trickier tabs. Yeah, the console opener tool is definitely cool. With the tiny screwdriver we need to pry in a bit and release in the spots documented below:


Once again the last clip, but the power socket, is the trickiest:


Some super close ups of the tricky part from a different perspective:
With all of the clips finally released (or broken off!), the cover can now lift free:

Where we find… Screws! Finally! But oh noooooes! They’re torx!

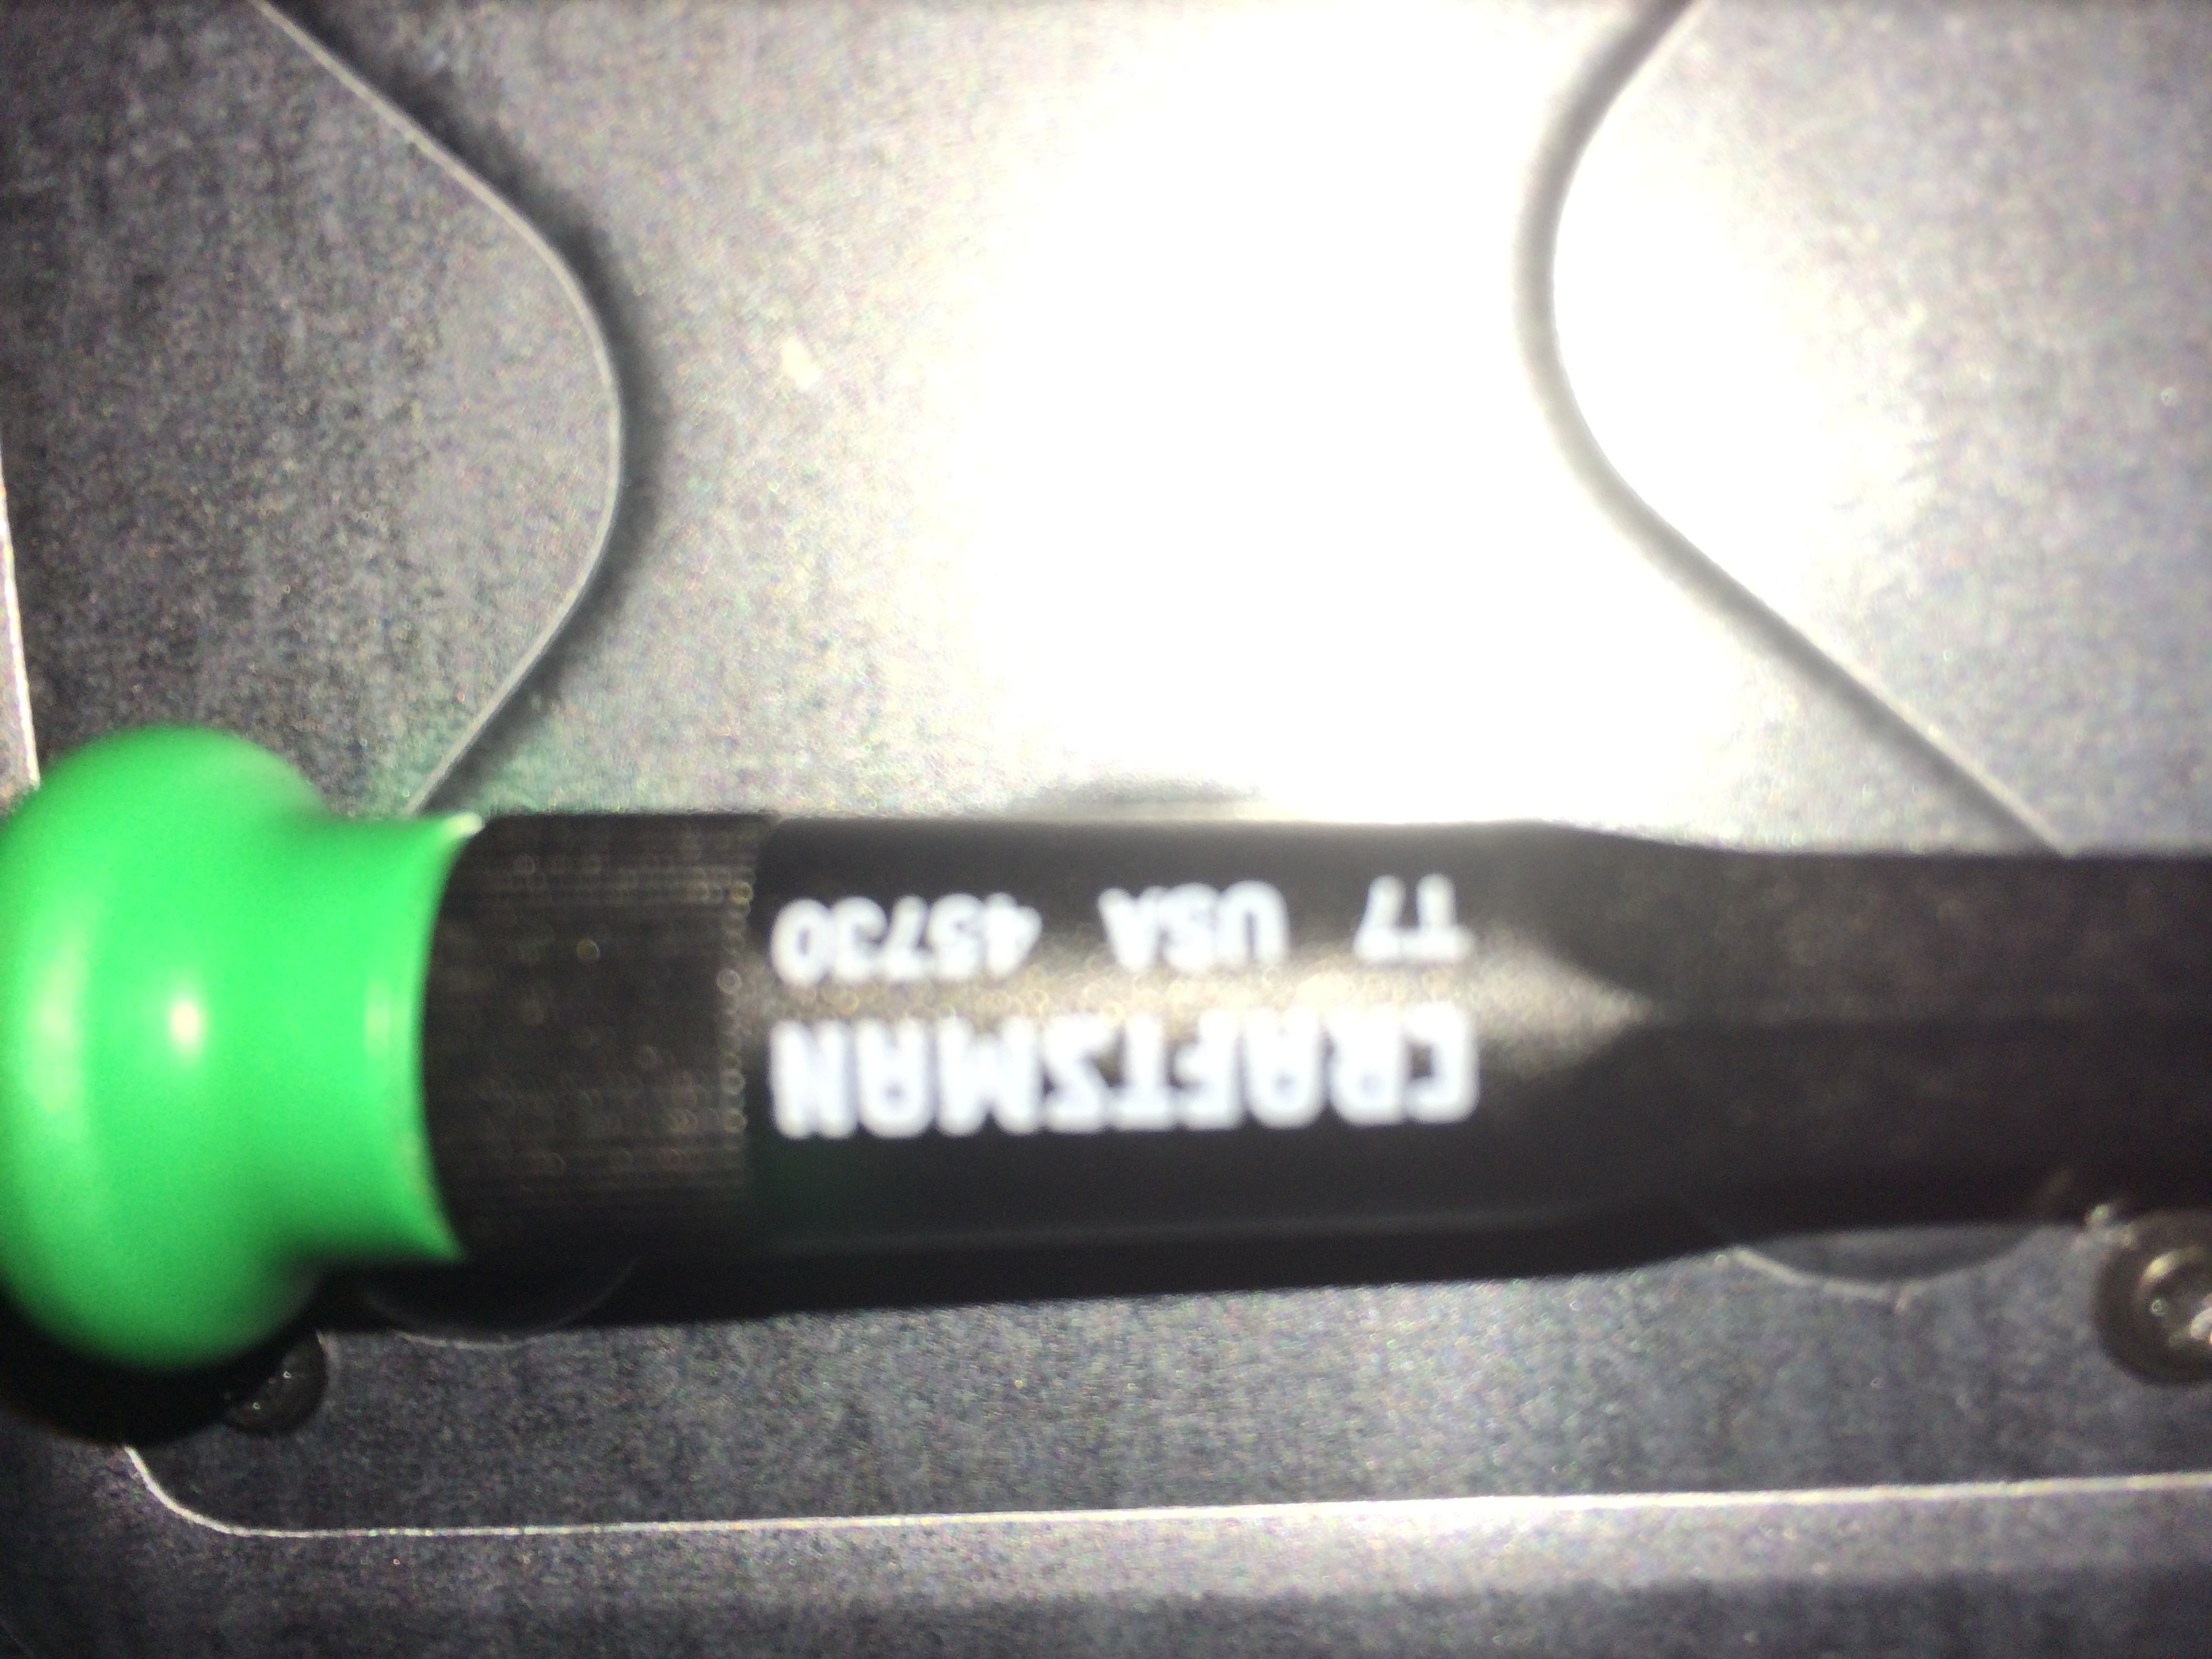
I was able to do the work with a T10, T7 and T7 x 2.5. T10 for the outer screws and T7 for the inner which we’ll see later:


Go around the edge and pull the screws:
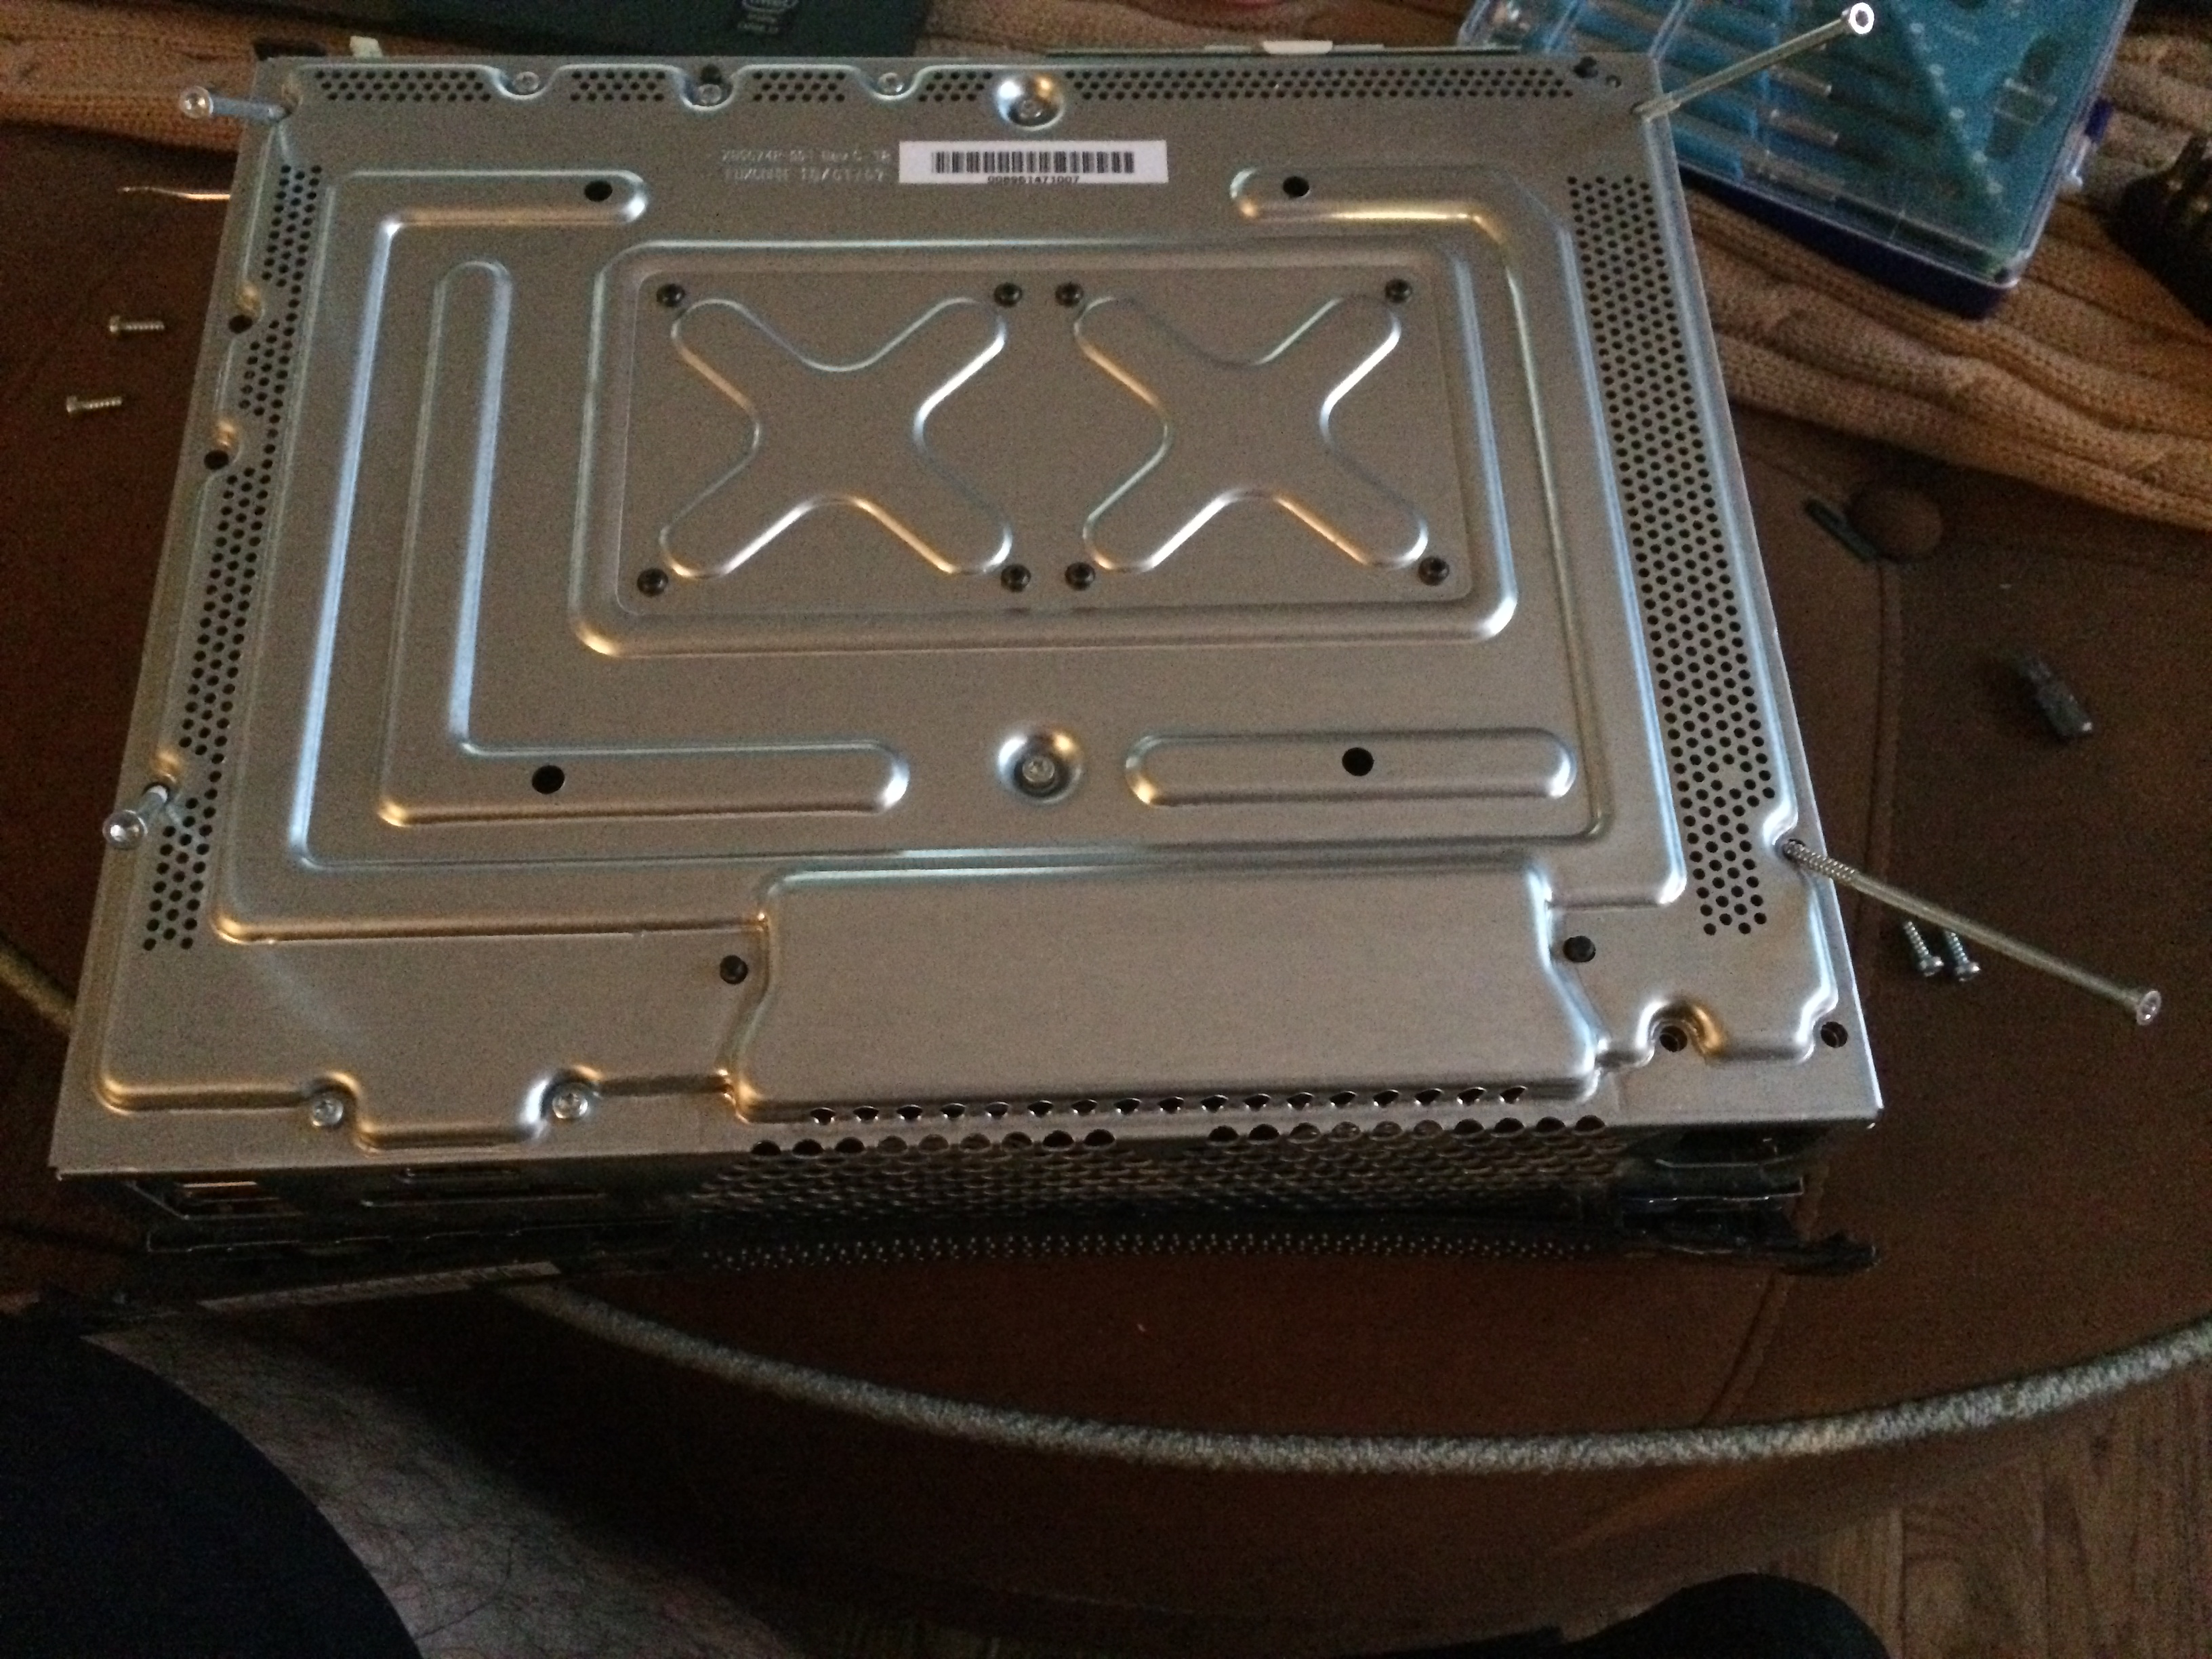
Five of the screws are extra long because they go straight through and hold the top cover in place. I have shown them below. Make a note of where they go when removing them:

With the cover off, a PC is revealed! Well a PowerPC based PC anyhow. A Mac running a variant of Windows! What a cool beast.

First step inside is to remove the optical. To do this we’ll need to break a seal (just a tape seal, but it’s a warranty killer):
The optical lifts right out:

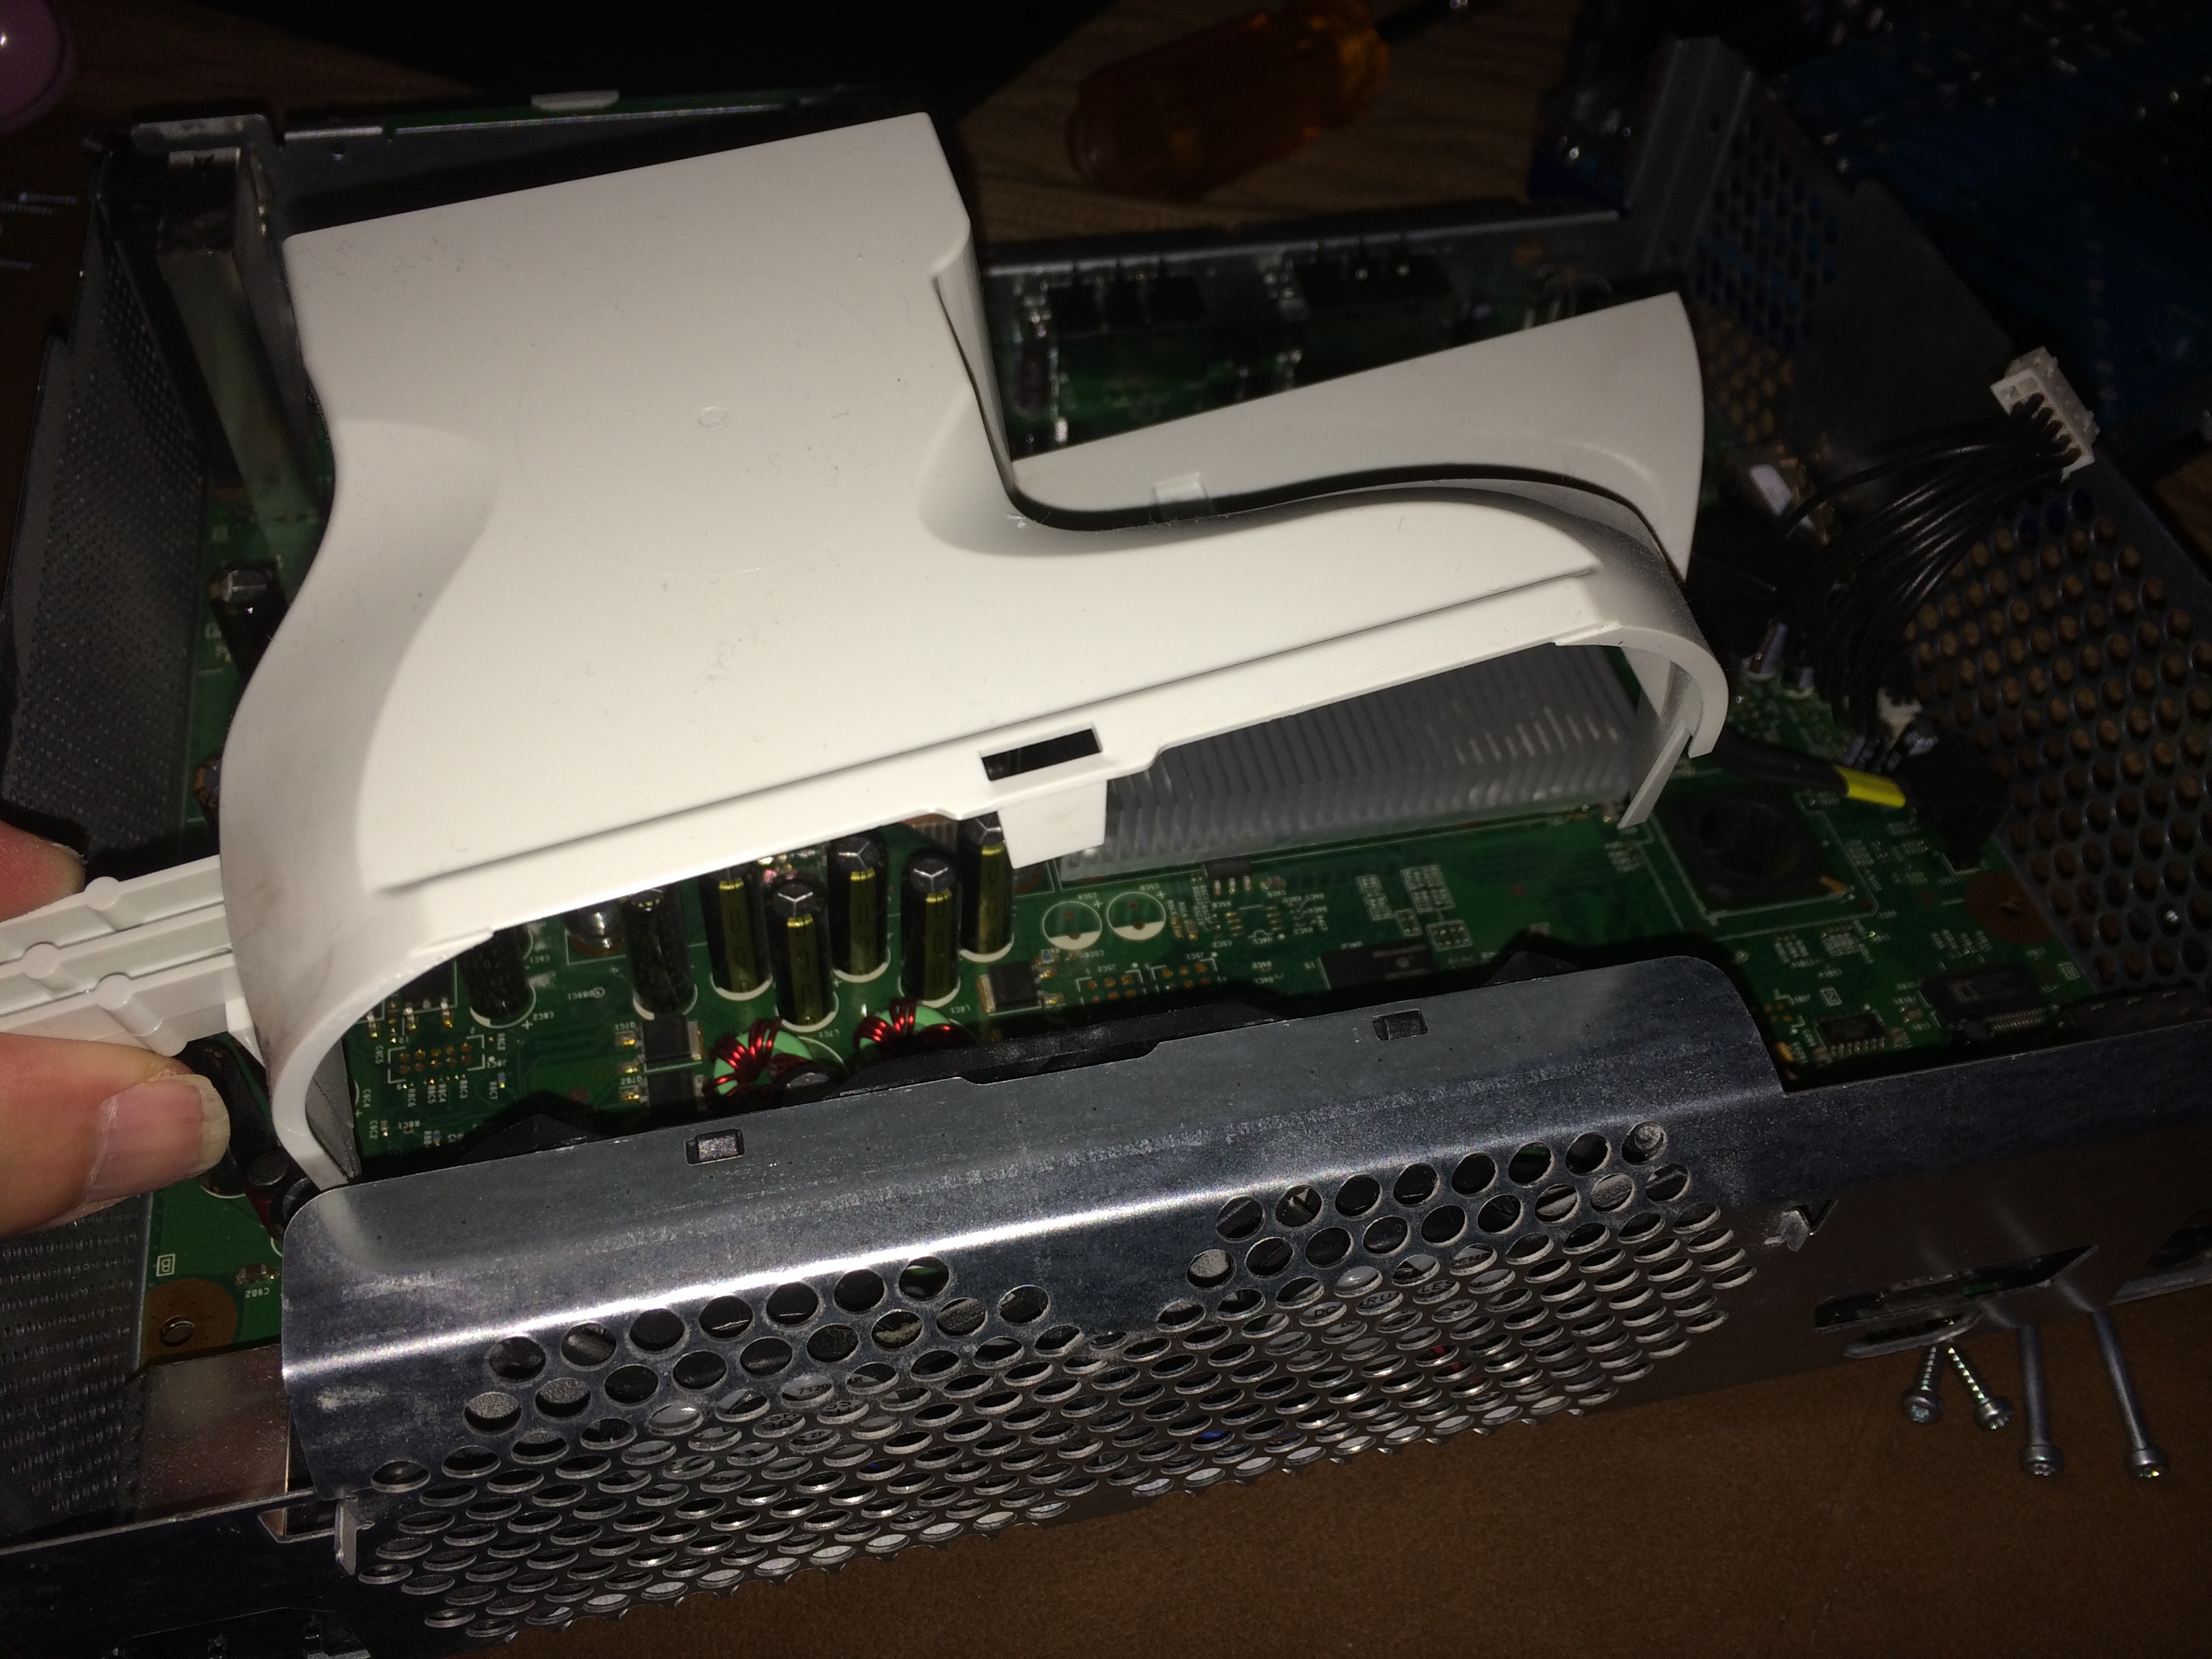
There is a plastic fan shroud channeling air from the two fans and, apparently, not doing a great job in the brutal thermal environments the XB360 tends to find itself. It is held on by one clip on the fan side which can be released and the entire shroud lifted easily out:
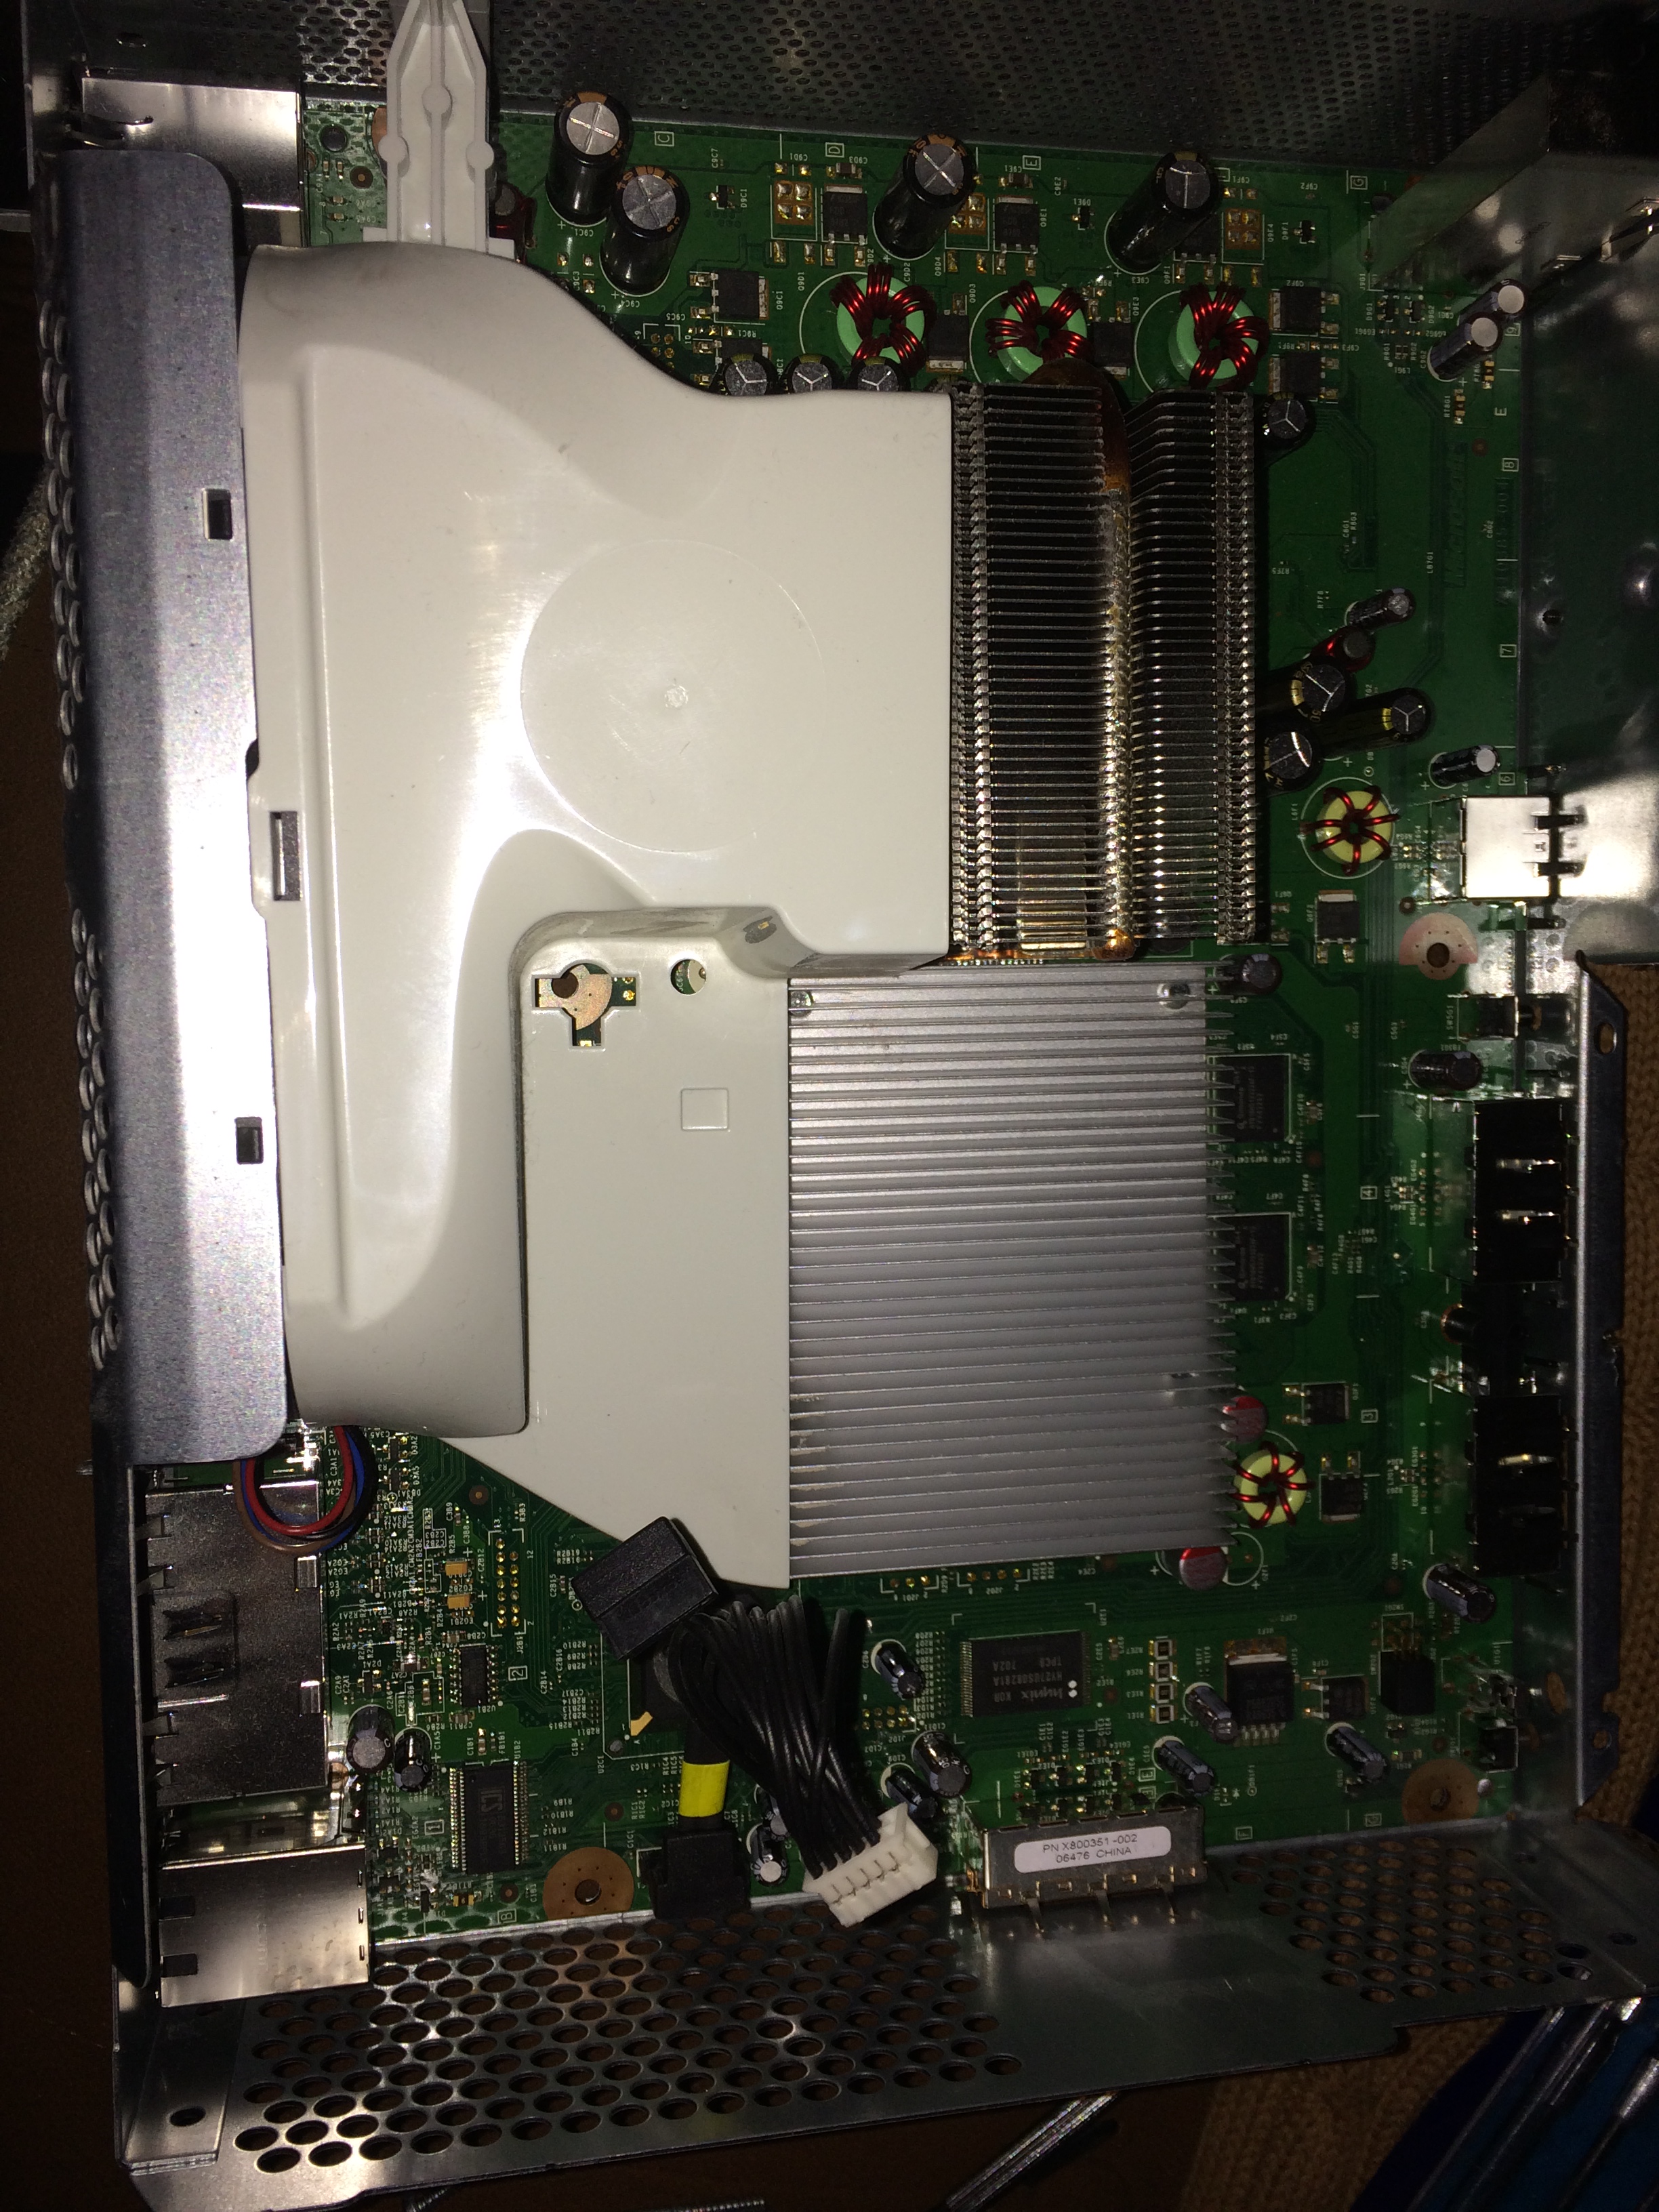
Business end of the shroud:
The motherboard in all of its glory! It must come out! Next we pull the fans. Very easy and held on by two clips. And now we lift the motherboard out. Kidding! Nothing is easy in the XB360! We’re almost there….
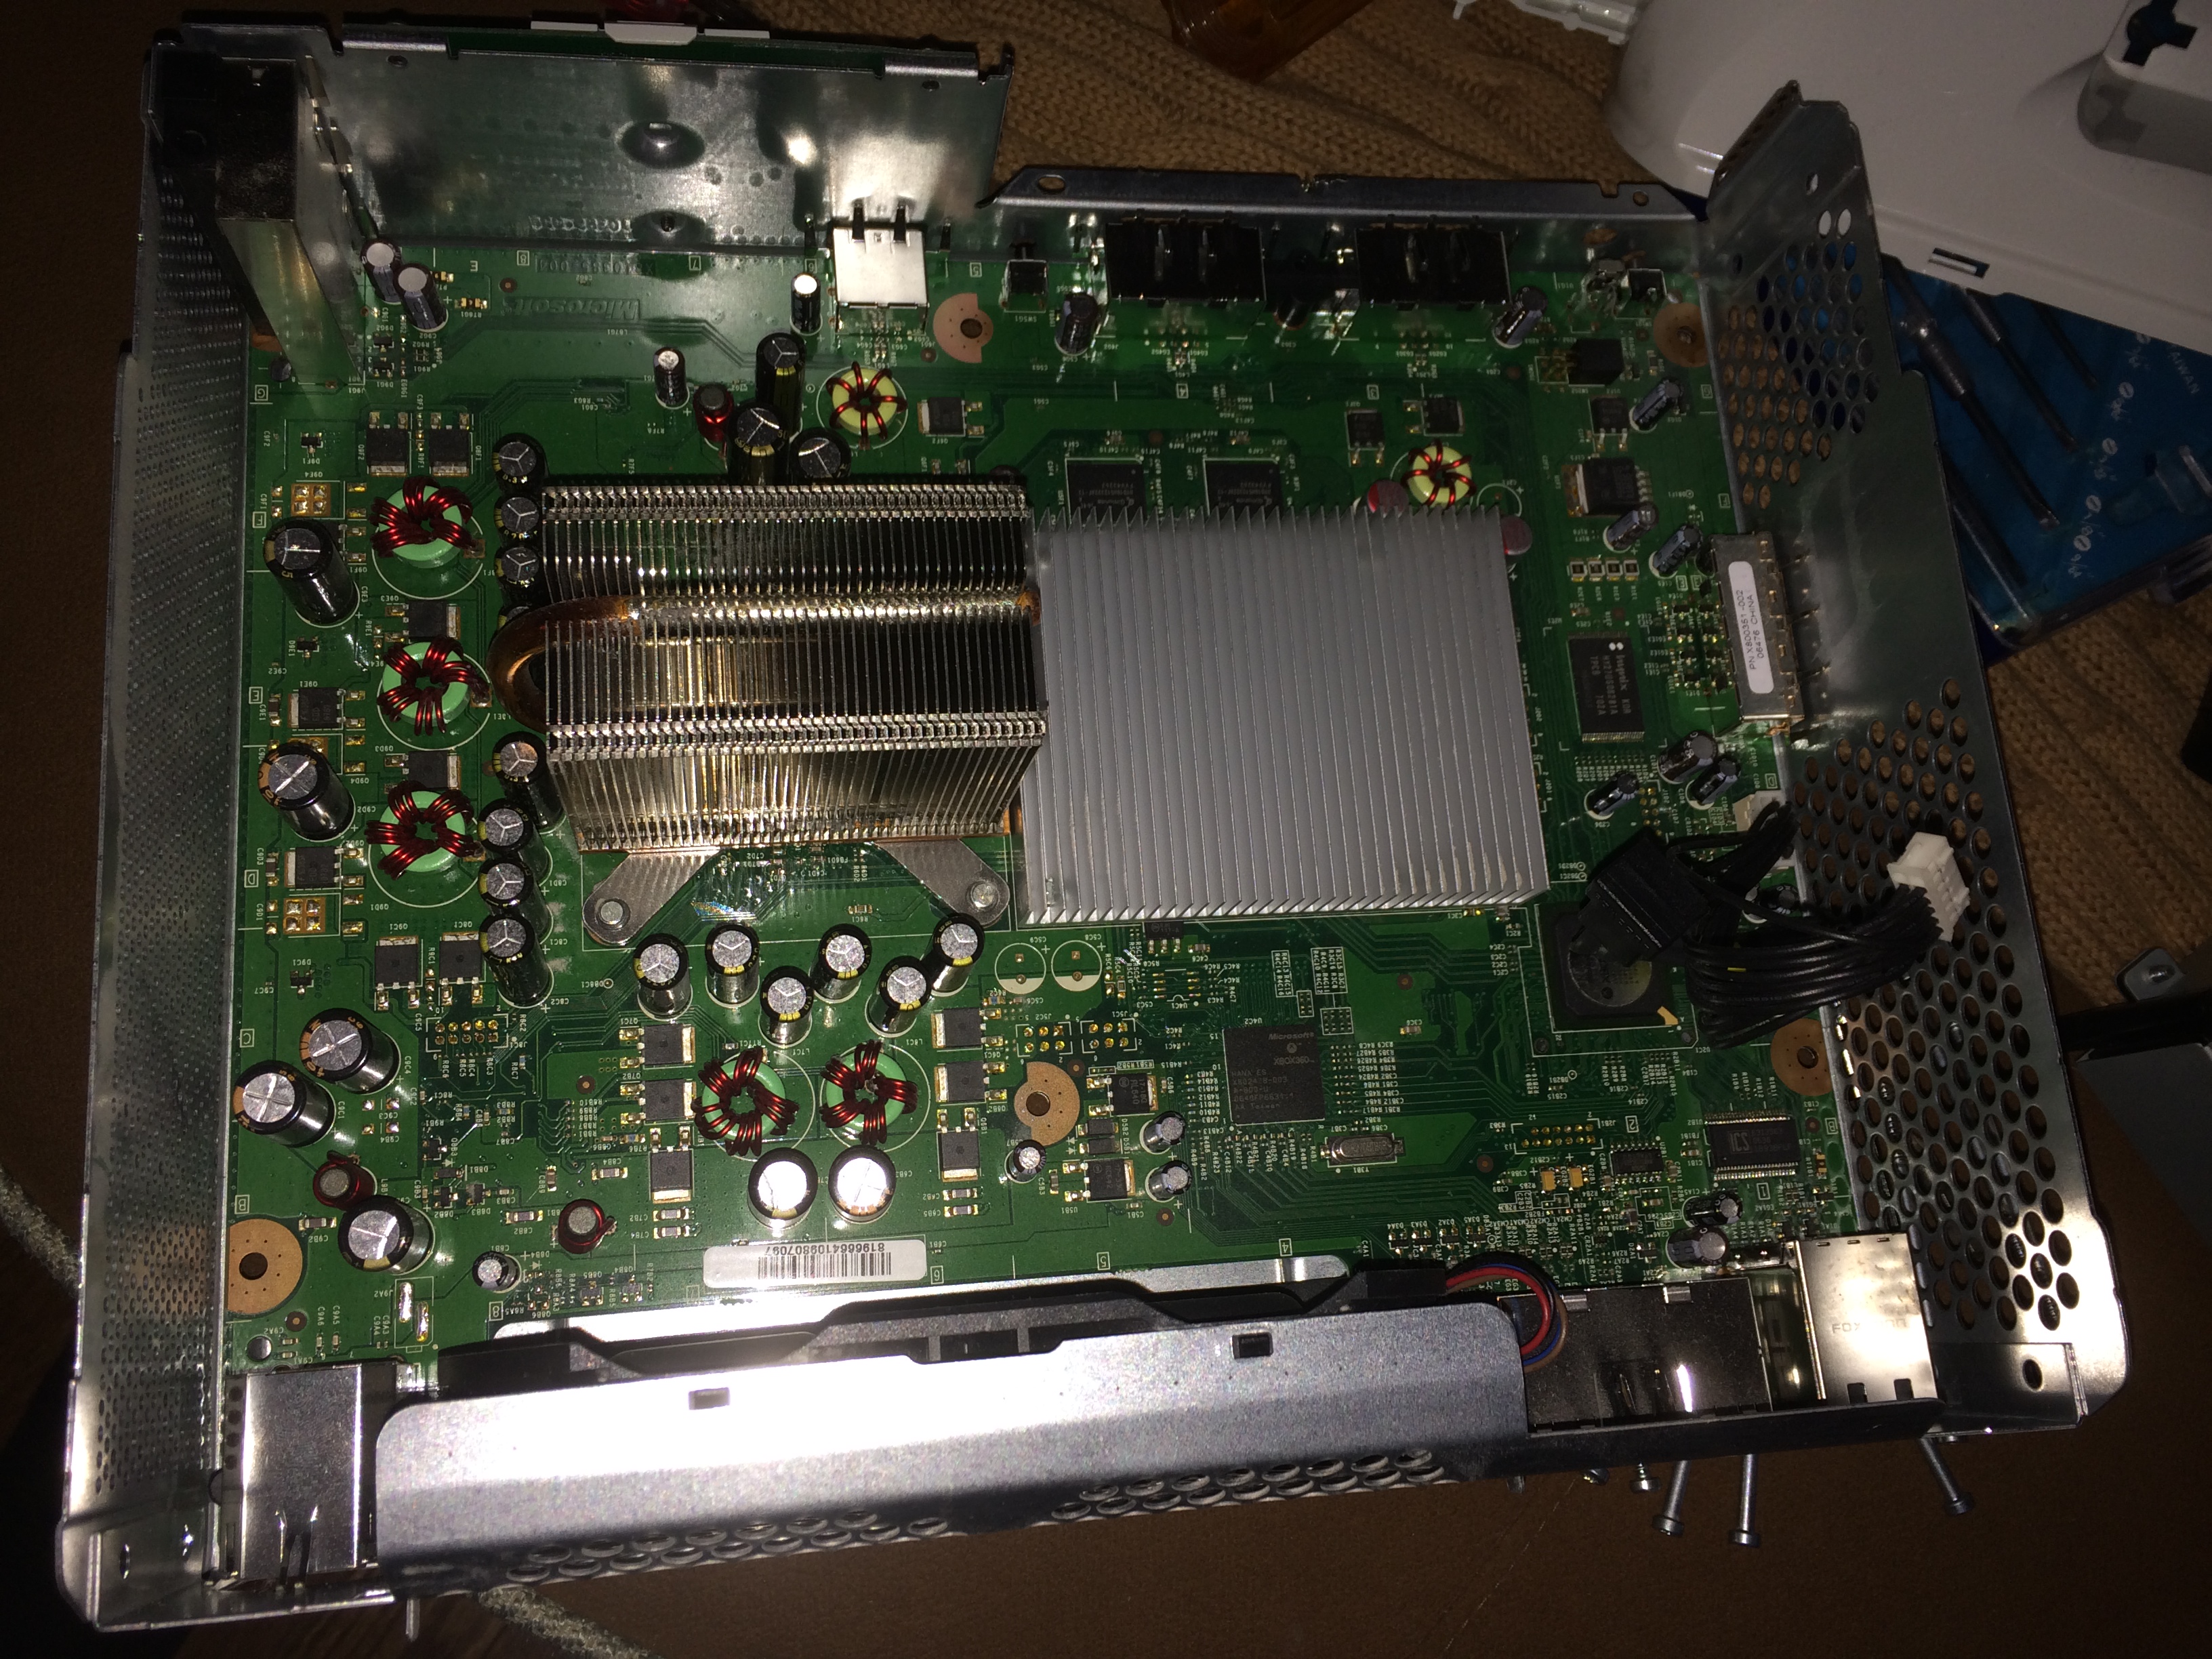
But first, more screws! More torx to be exact!
These screws actually hold the heatsink brackets in place. Once they’re off, there is only one more thing stopping us from pulling the motherboard: the power switch circuitboard. And more torx:

We need to decouple this connector to release the motherboard:

And with that done, we lift carefully and… Finally! It is free!

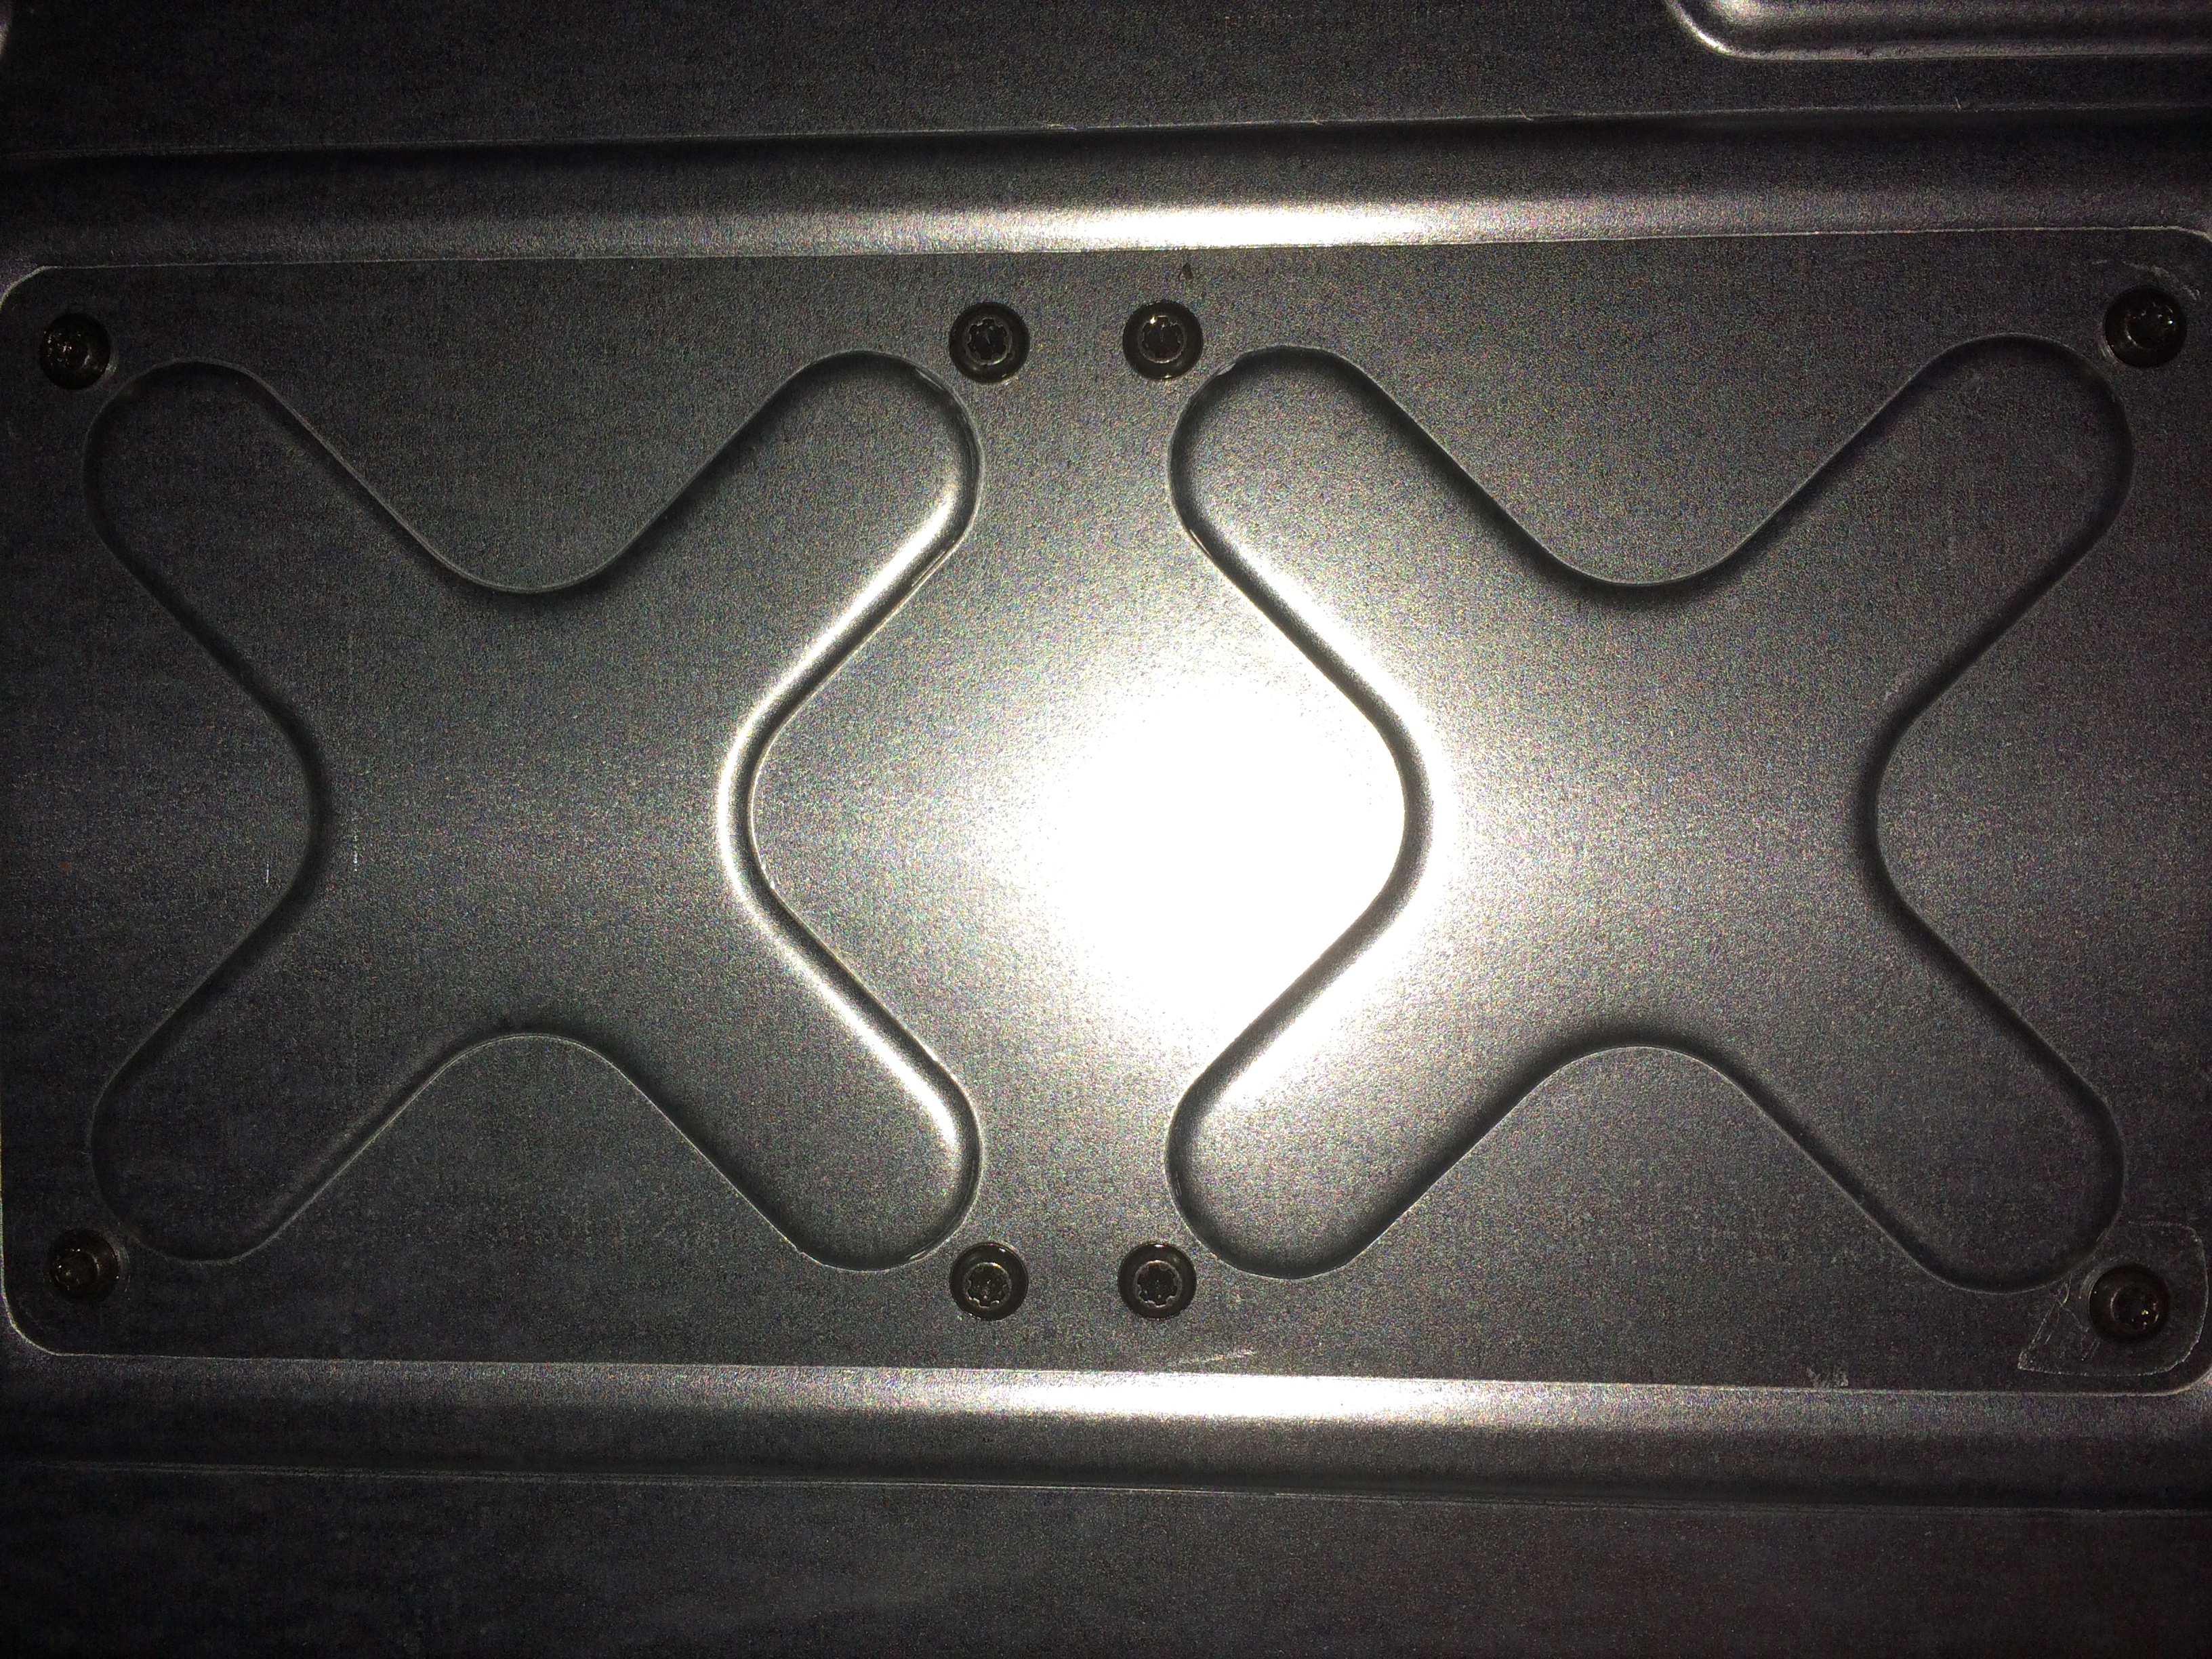
Next it is time to unclip the impossibly annoying heatsink brackets and remove the extremely cheap heatsinks. The brackets are a huge pain. No other way around but to get a very small screwdrive into the opening at each corner and gently pry them off of the post that they are clamped onto:
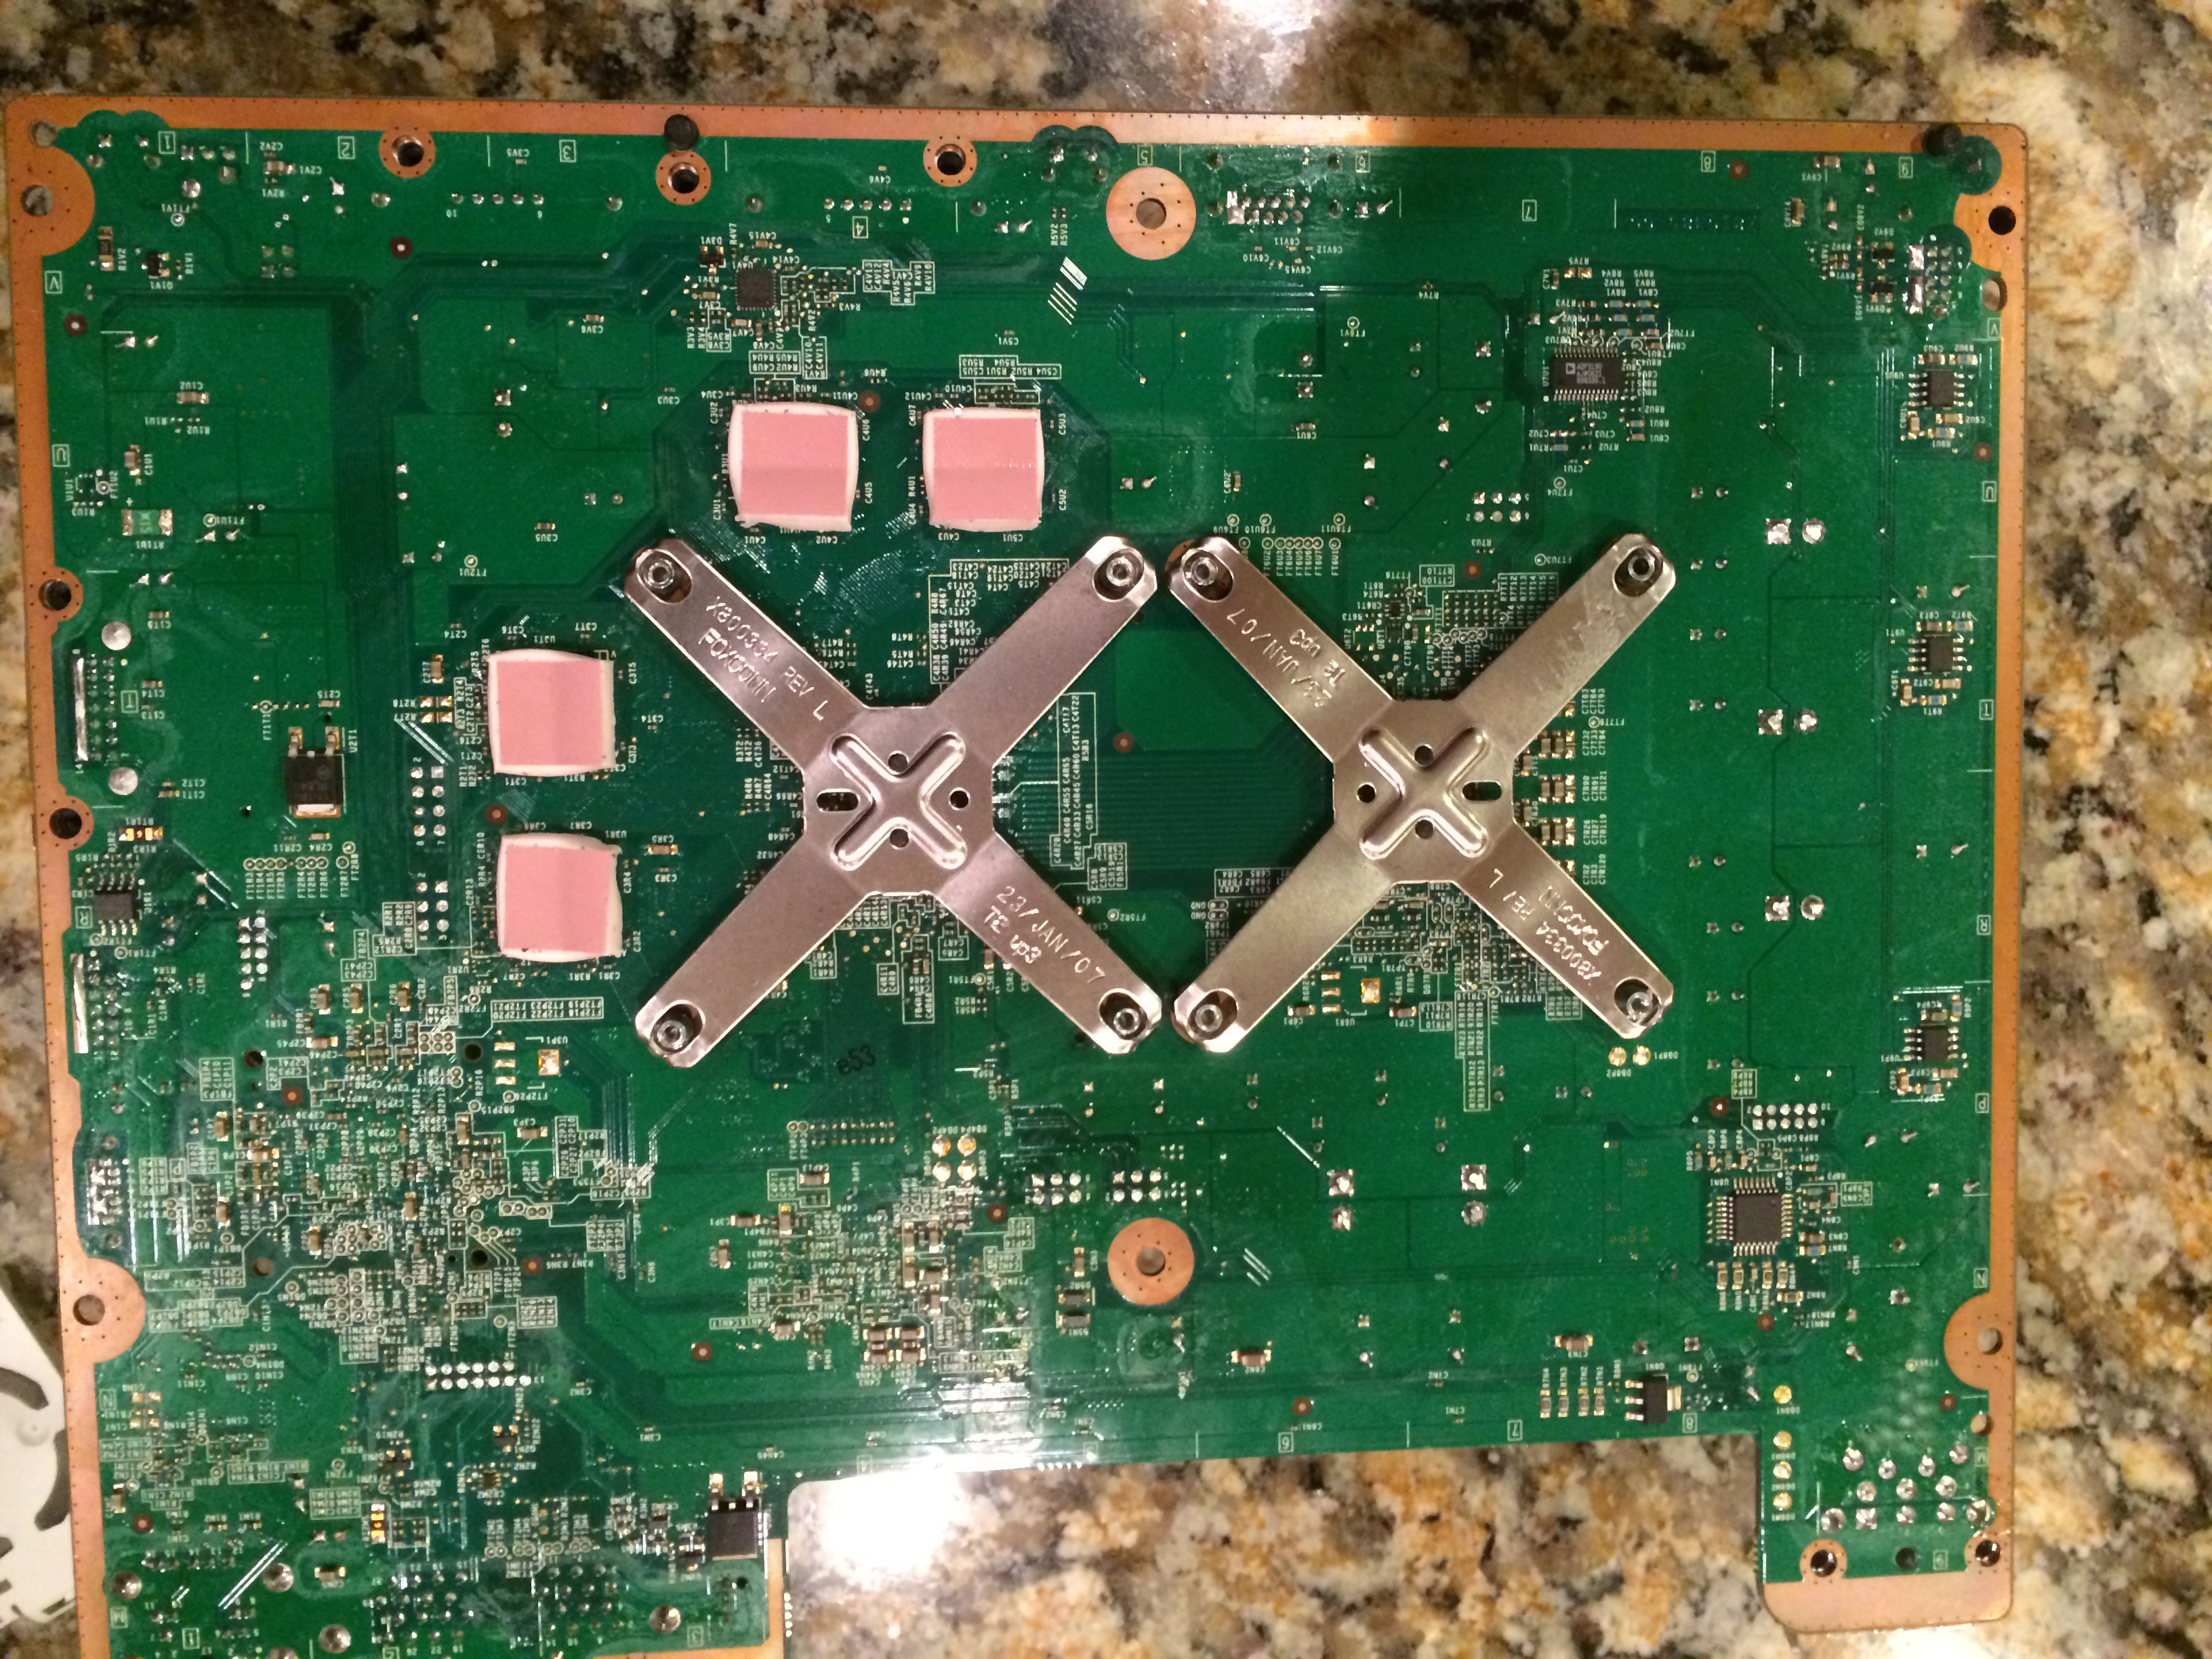
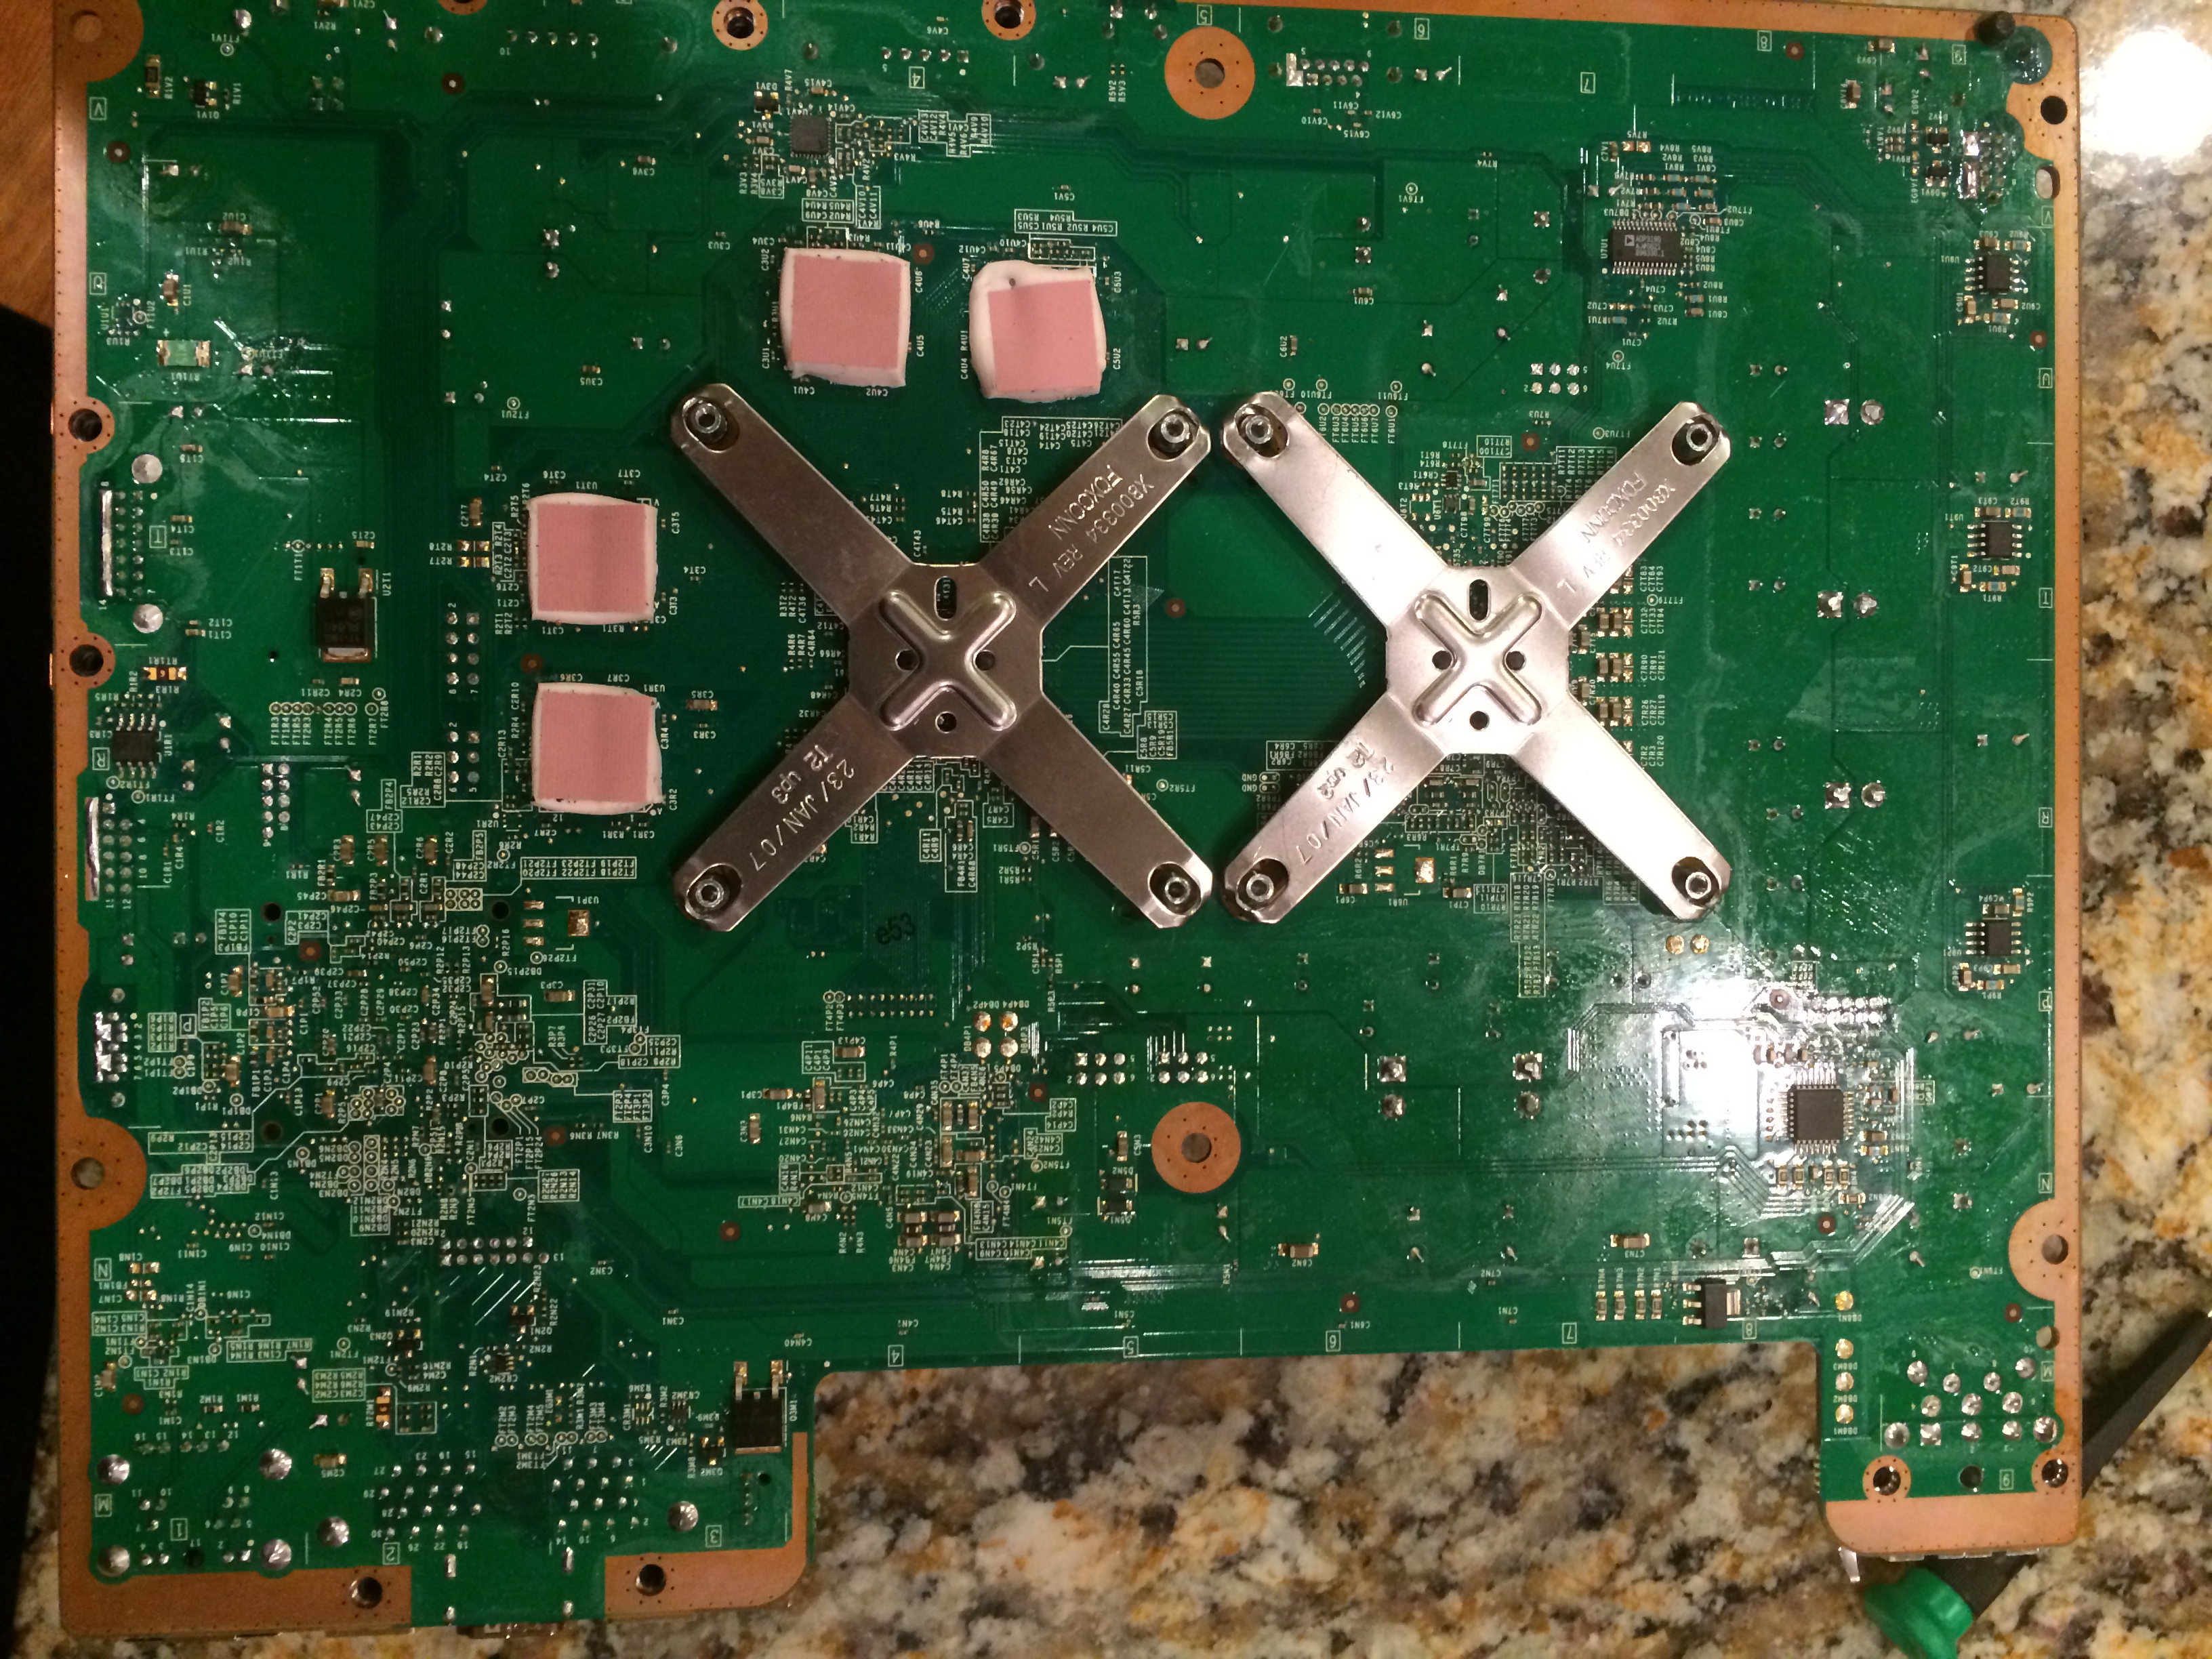
With the clips free, the heatsinks come right off revealing 6 years of congealed goop both on their underside and on the ICs ceramic covers:

Get some alcohol (rubbing variety) and a bunch of swabs and start cleaning. First, the CPU (top), then the GPU (bottom):
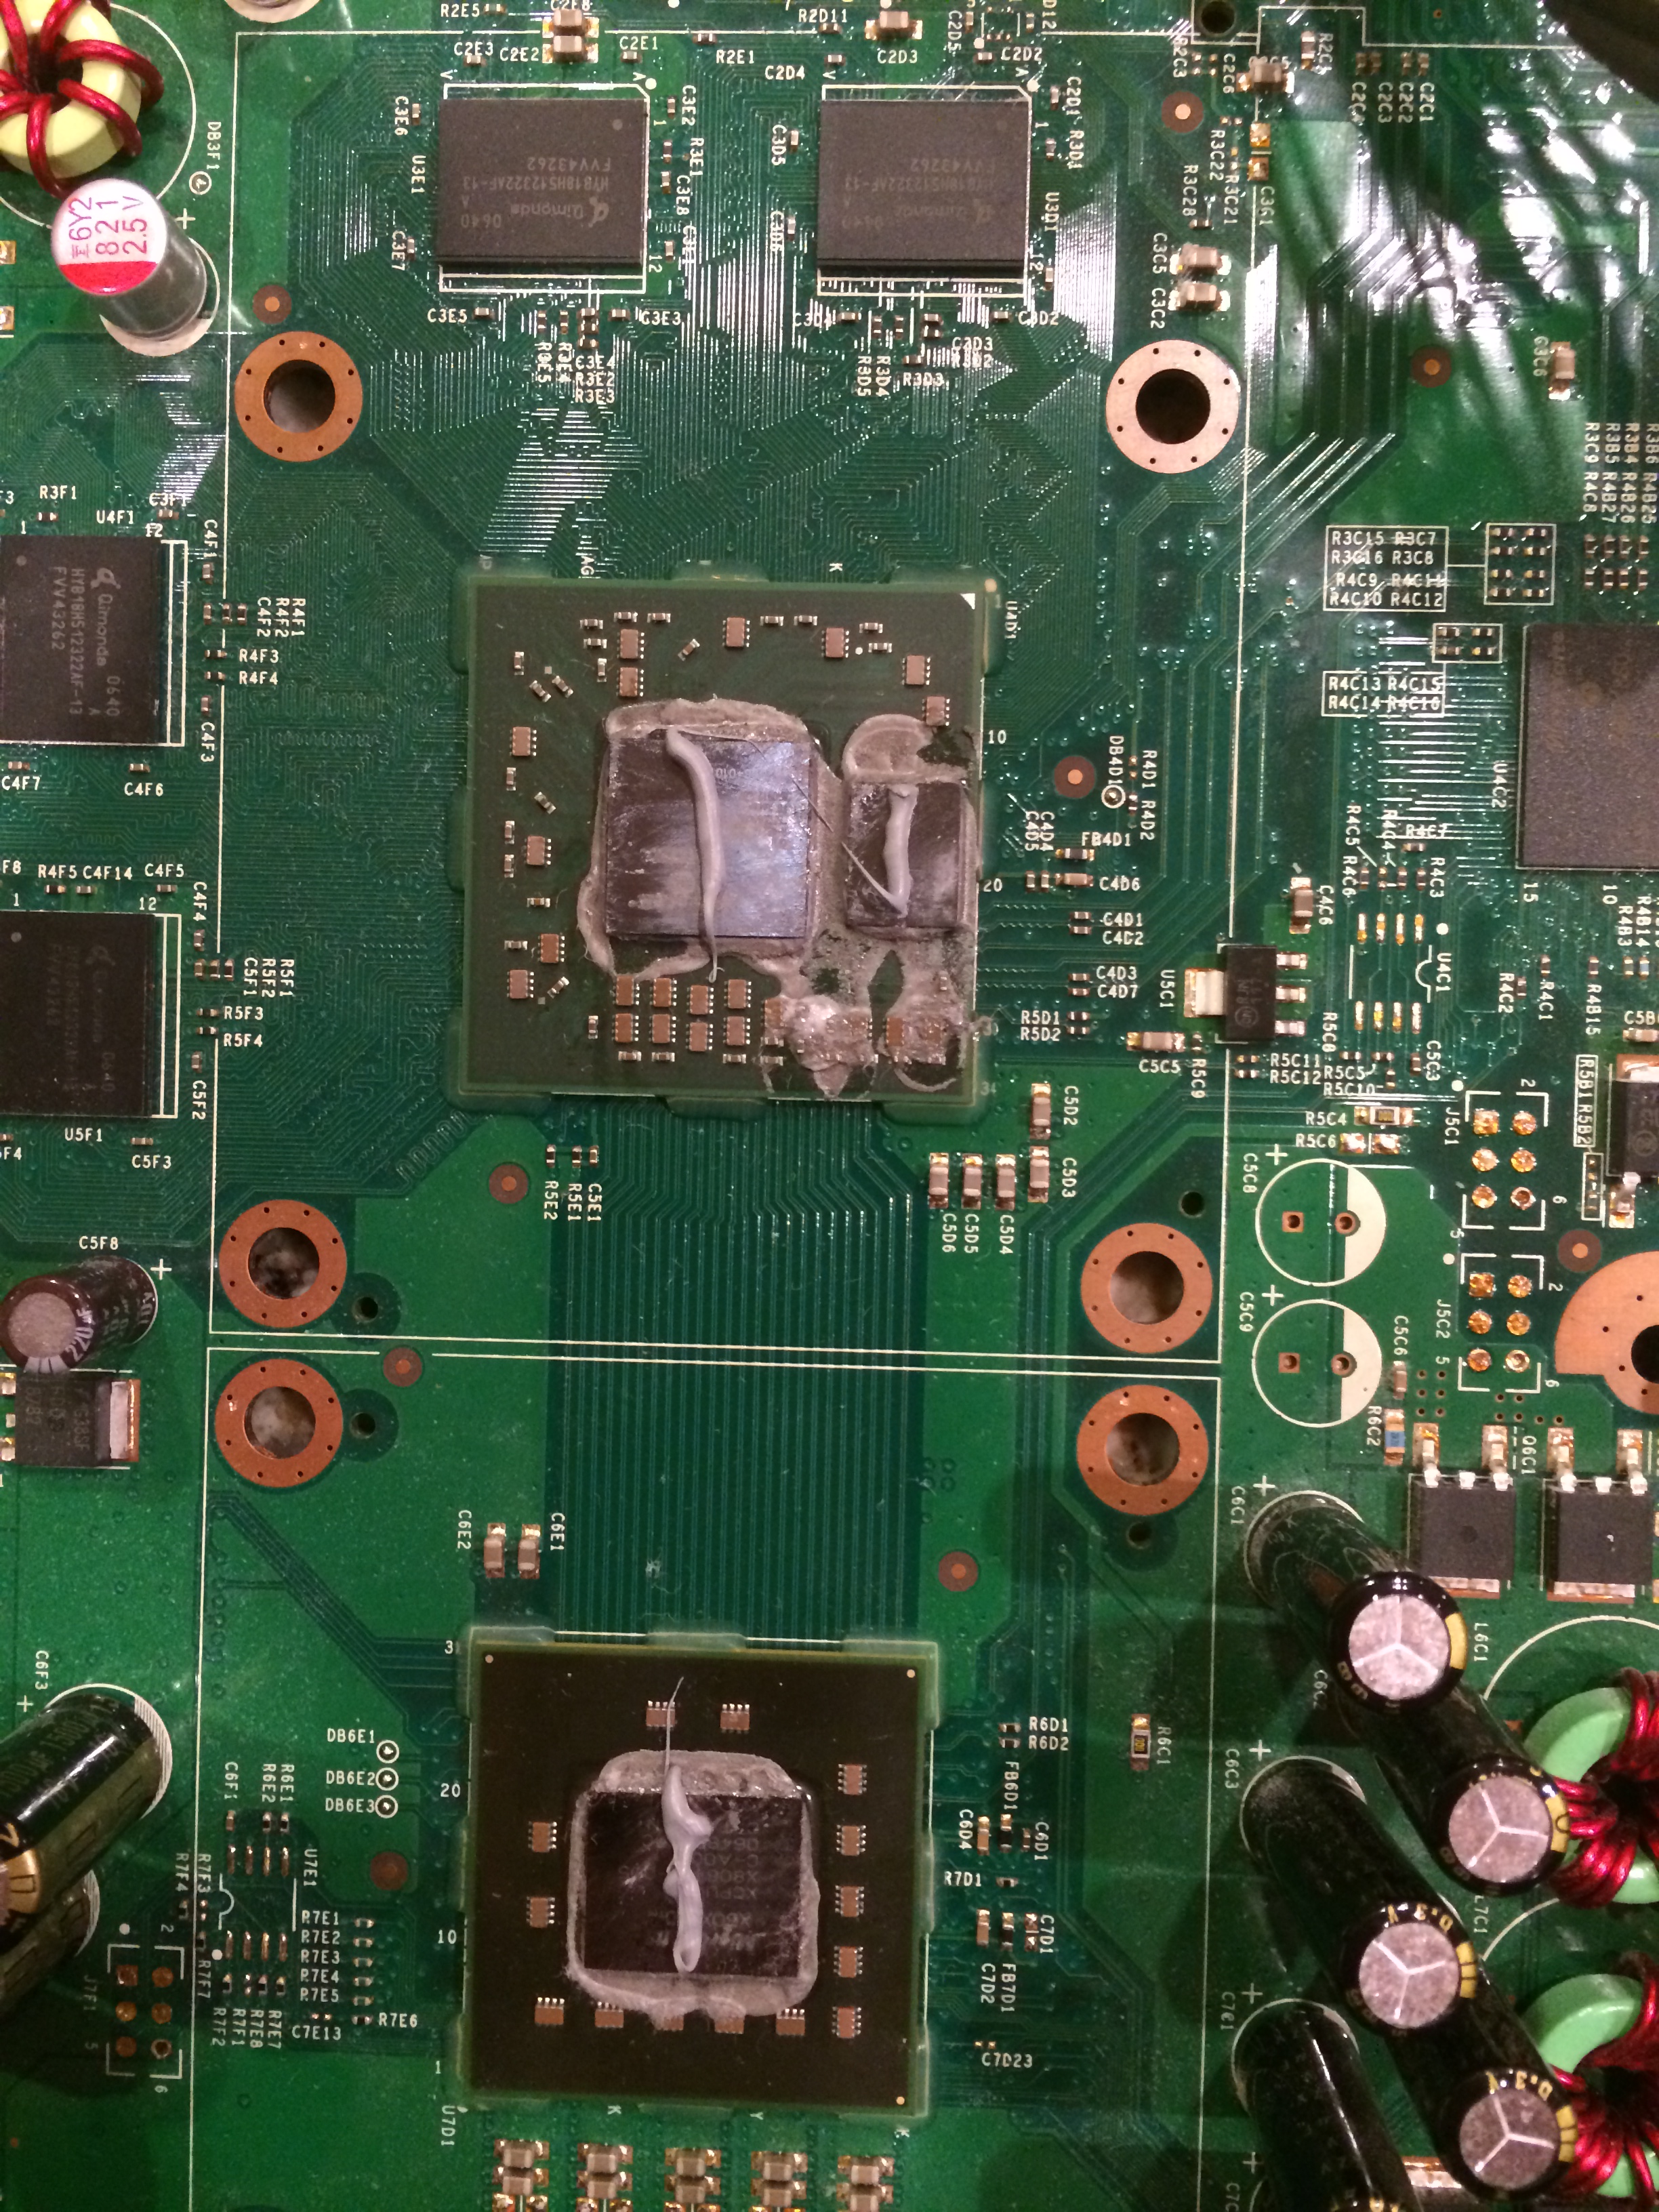
After cleaning the ICs, clean the heatsinks as well. Then apply some high quality thermal paste and reapply them one at a time (since you will need to flip the board over and clamp them back on… yikes!). i went with Antec 7 nano-diamond, but any high quality TIM is good. Reclamping is a bit easier than unclamping, but still takes a ton of patience. You’ll probably spend some time gaining and losing corners, but eventually will get a feel for it:
Once reclamped, simply reverse the above procedure and snap and screw everything back together. In my case it all came together just about as well as it started with everything looking basically tight (although not quite factory perfect).
I would love to say that all of this actually worked, but it would be a lie. She did power back up. Once. For 30 seconds. Before the Red Rings Returned. So no, this procedure didn’t do the trick in my case, but it was still interesting and might actually do it for someone out there so I thought it would be valuable to share. As for me, well I went ahead and bought that bundle!

Pingback: Project Destiny: Upgrading the 20GB PlayStation 3 Phat HD | Complaints Incorporated...