
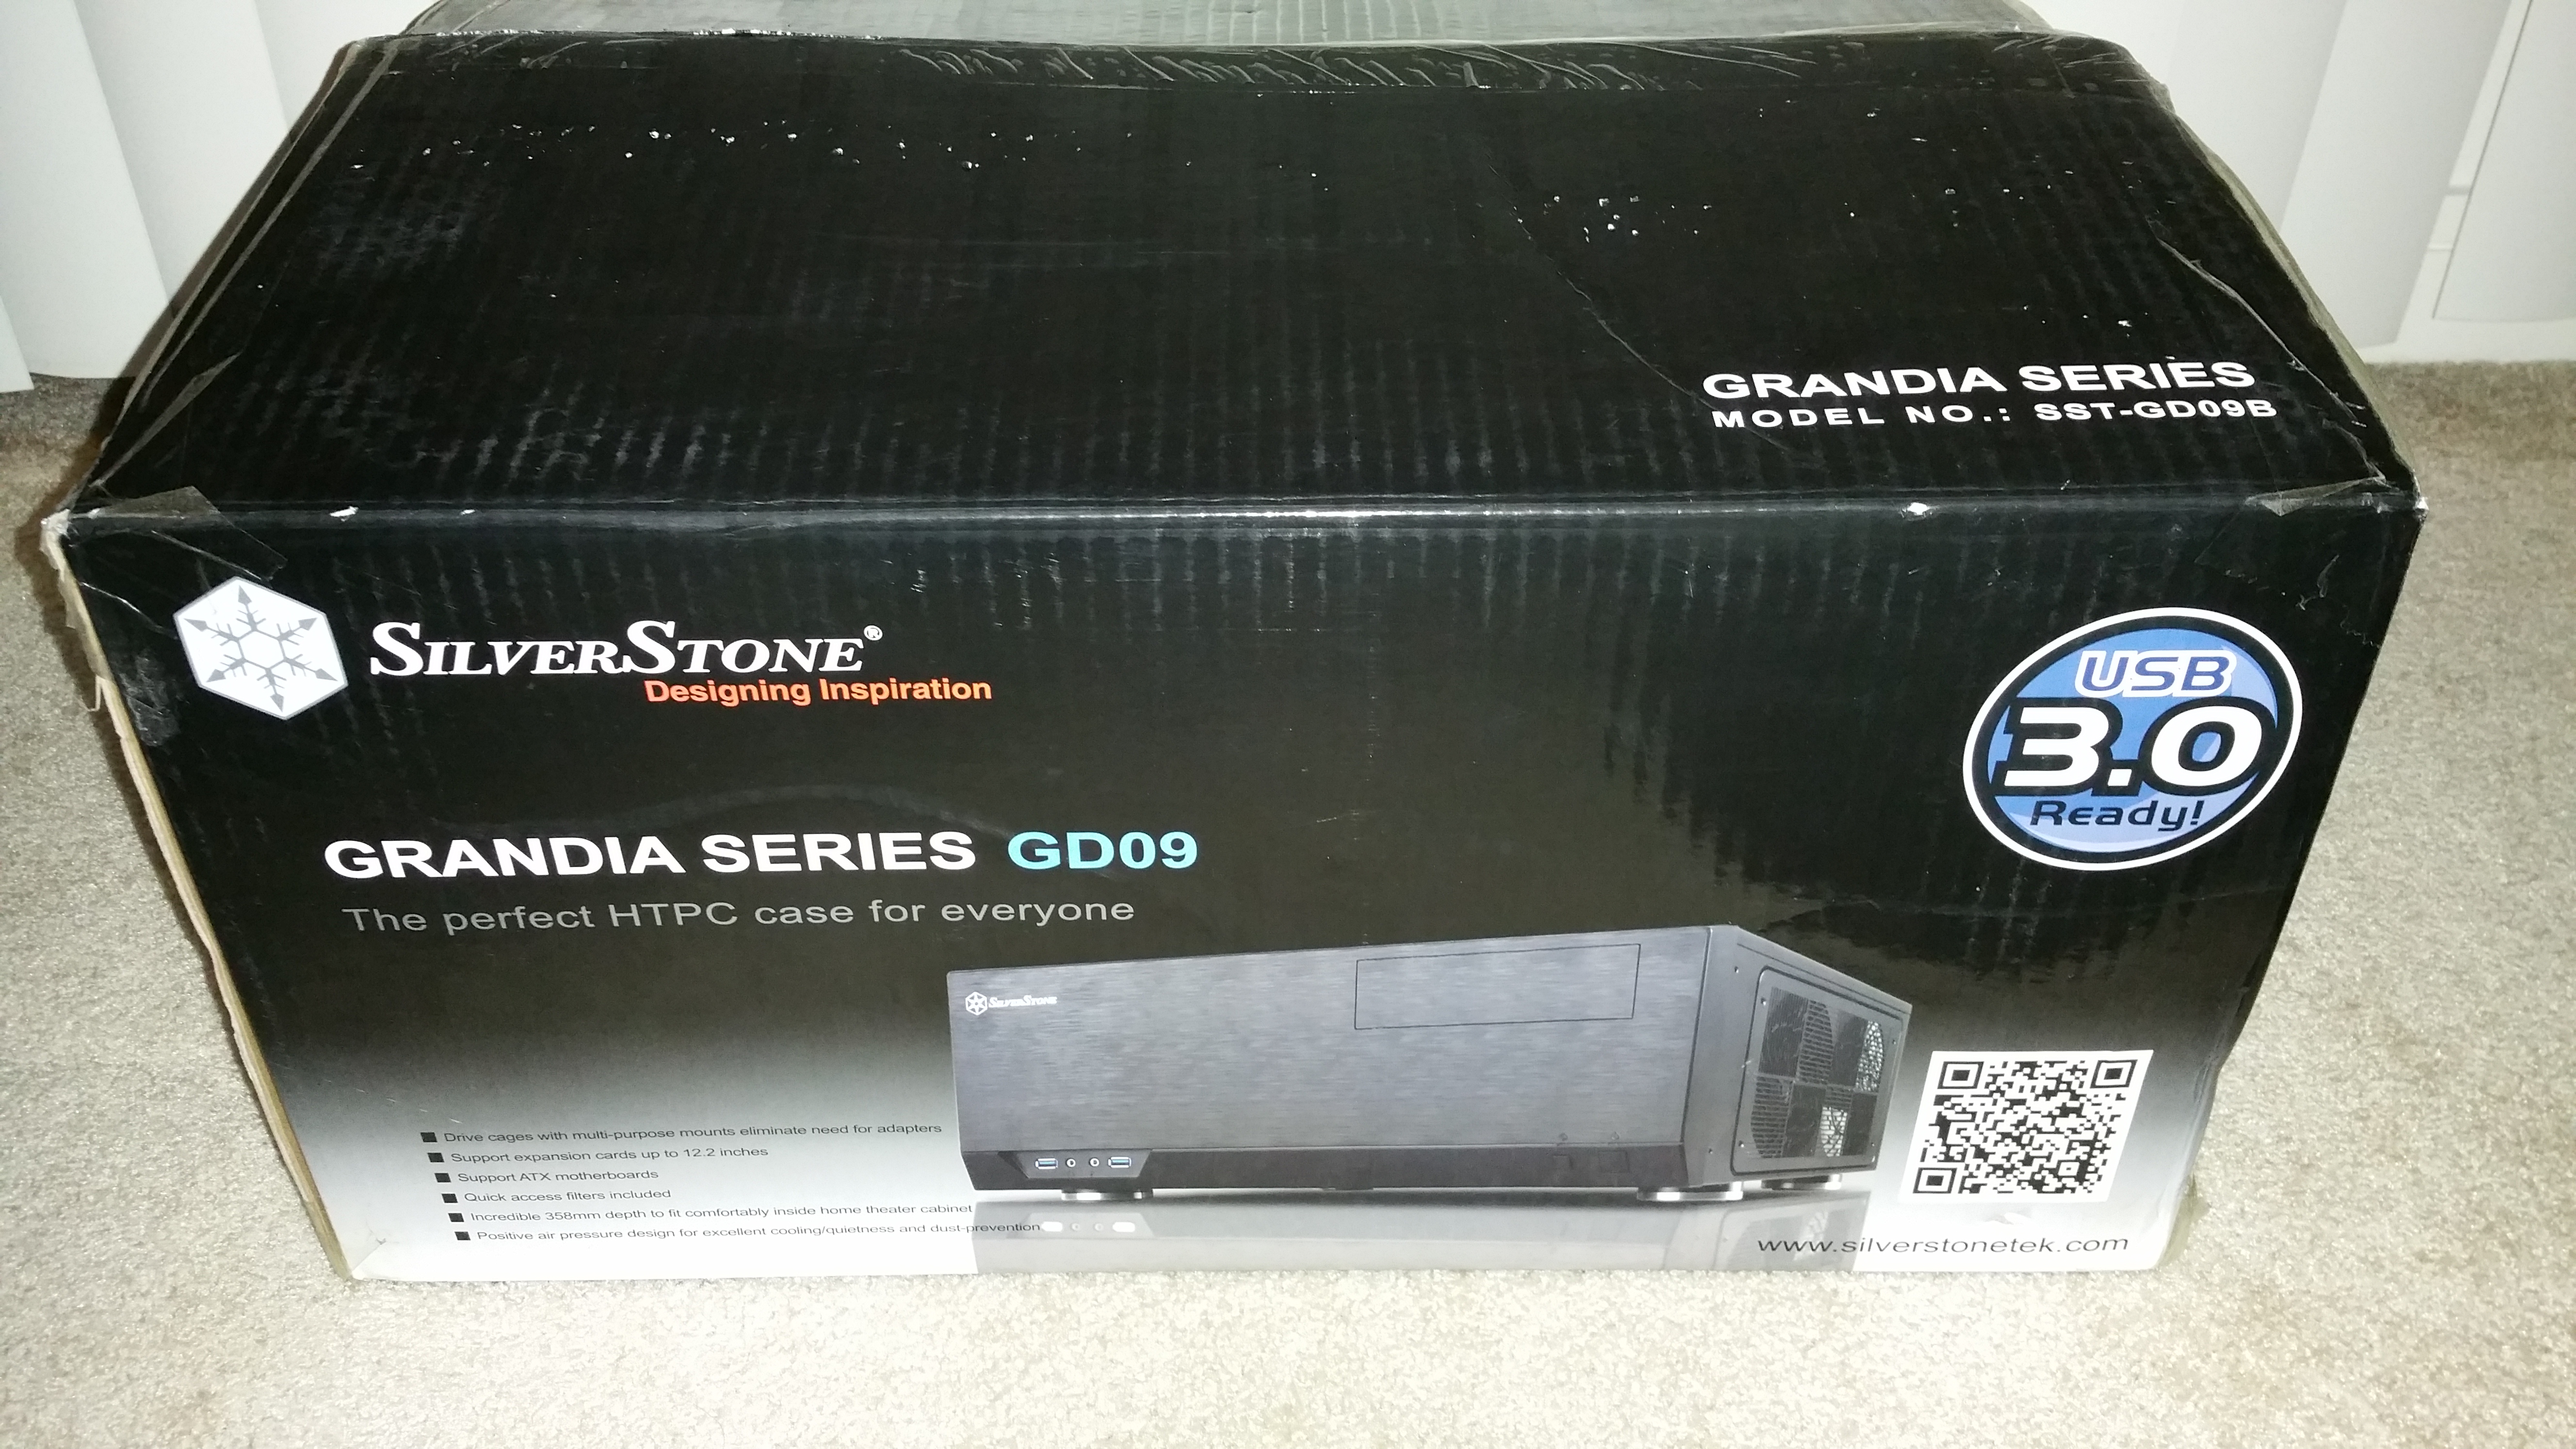
In the SFF gaming PC build entry I mentioned how the necessity of moving into a shoe box was the mother of the invention that lead to a full powered gaming PC in a SOHO NAS sized box. Astute readers may also remember that when I was less space challenged the Complaints HQ lab also included a pretty beastly server in addition to the gaming monster. Well obviously the Dell T620 isn’t apartment friendly and so had to go, but now that things have settled, I did discover about 2300 cubic inches of free space into which a server could potentially go (for the mathematically challenged this is roughly 16 x 20 x 7). Now this is admittedly not a lot of space, but as it turns out it is roughly the dimensions of the typical HTCP form factor. These cases also bring the benefit of being generally wife/living room/normal human friendly in terms of their design. After looking at a bunch of them, and factoring in a strong cost bias, I settled on the Silverstone Grandia GD09:
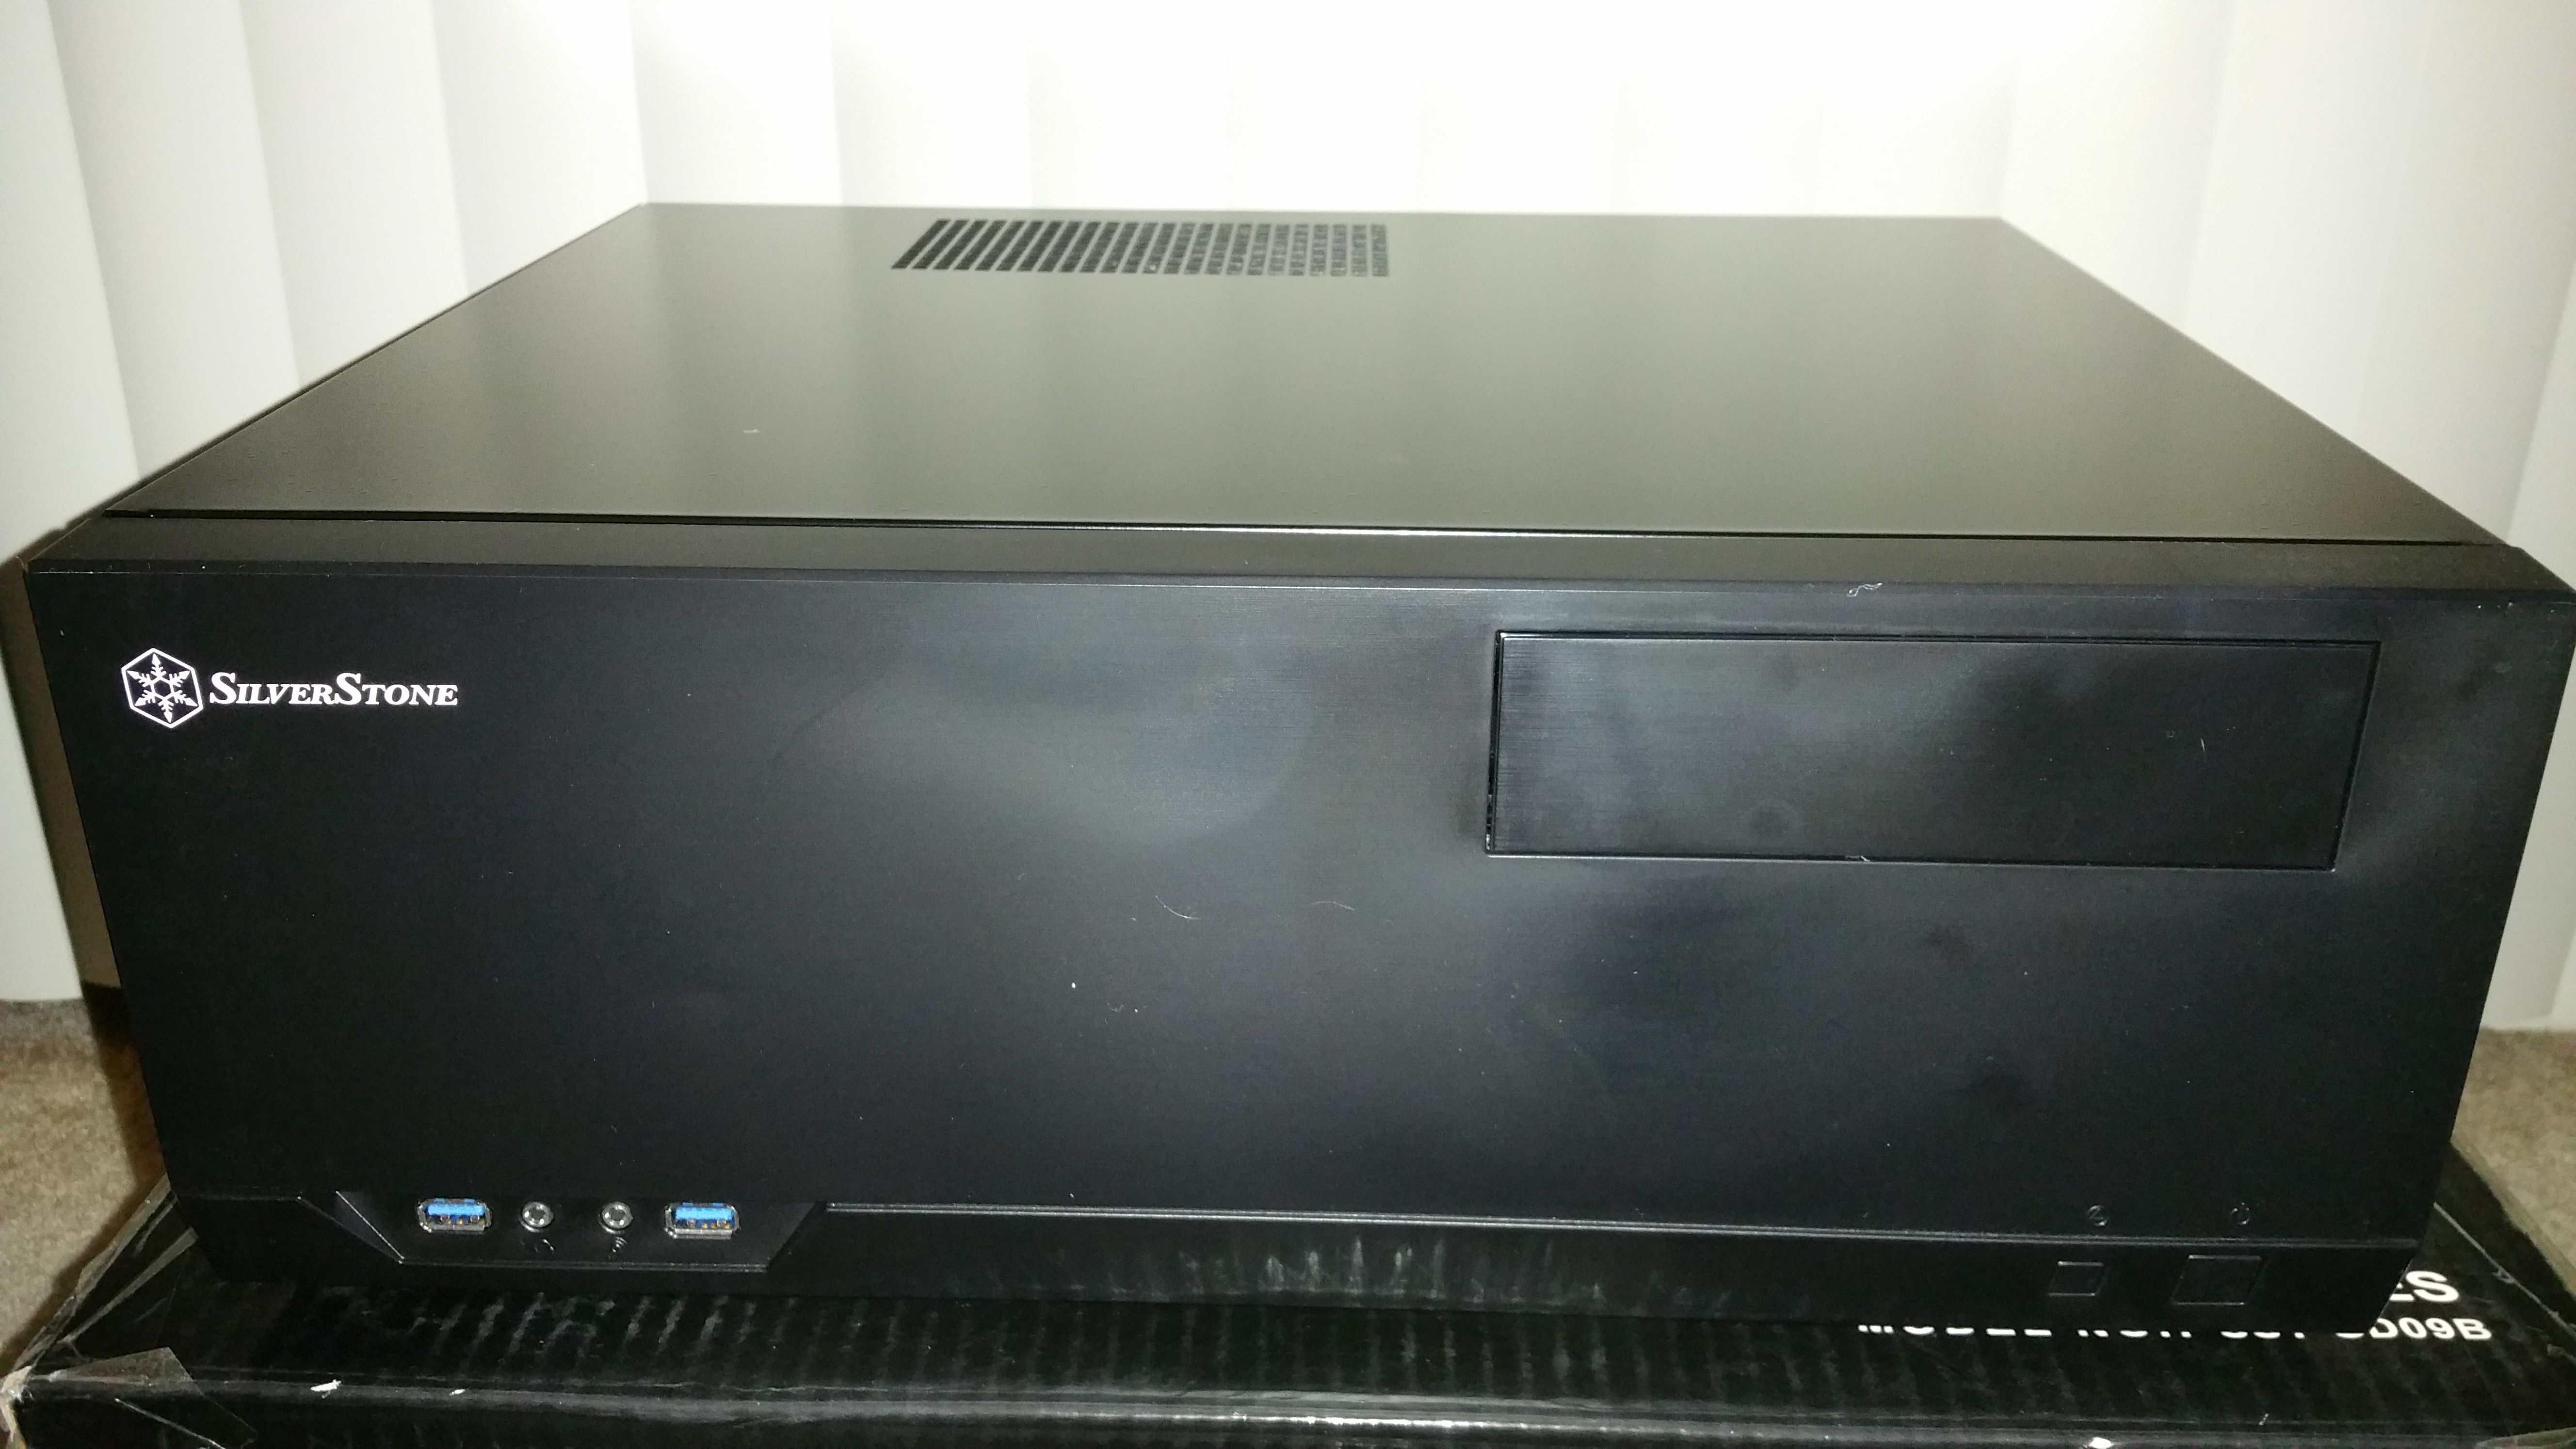
At $70 (open box at Fry’s) the case is surprisingly well constructed. Constructed of lightweight steel (weighing in at 9.25 lbs), and finished in a convincing faux matte aluminum with plastic front, this 17.3″ x 6.7″ x 14″ ATX chassis does a passing impersonation of a Lian-Li. Not bad at all:
Once inside, though, there is a bit of “you get what you pay for” going on, but not horrible:

Slot covers, a bag of screws, rubber grommets, and cable ties and a basic manual round out the included goodies. Nothing is toolless and the inside is essentially an empty box. That said, it’s perfectly functional and the 4 removable fan filters (mounted left and right) are very well designed:7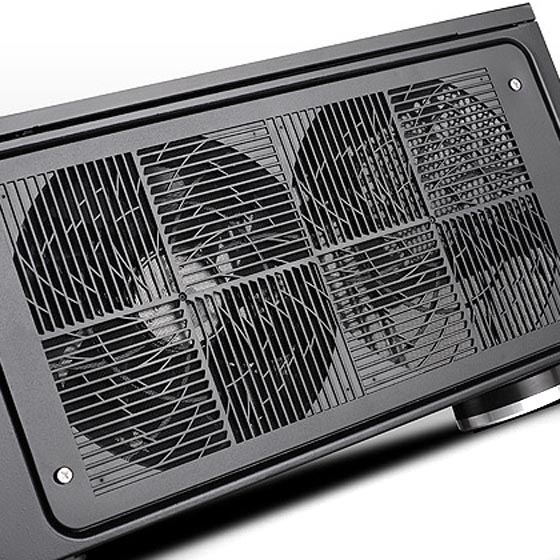
Where things get a little bit weird is in the drive bay configuration. I’ll try to explain this clearly for anyone interested as it was still confusing for me despite reading up online until I actually saw it. With this case, there are three drive “bays”. The layout is:
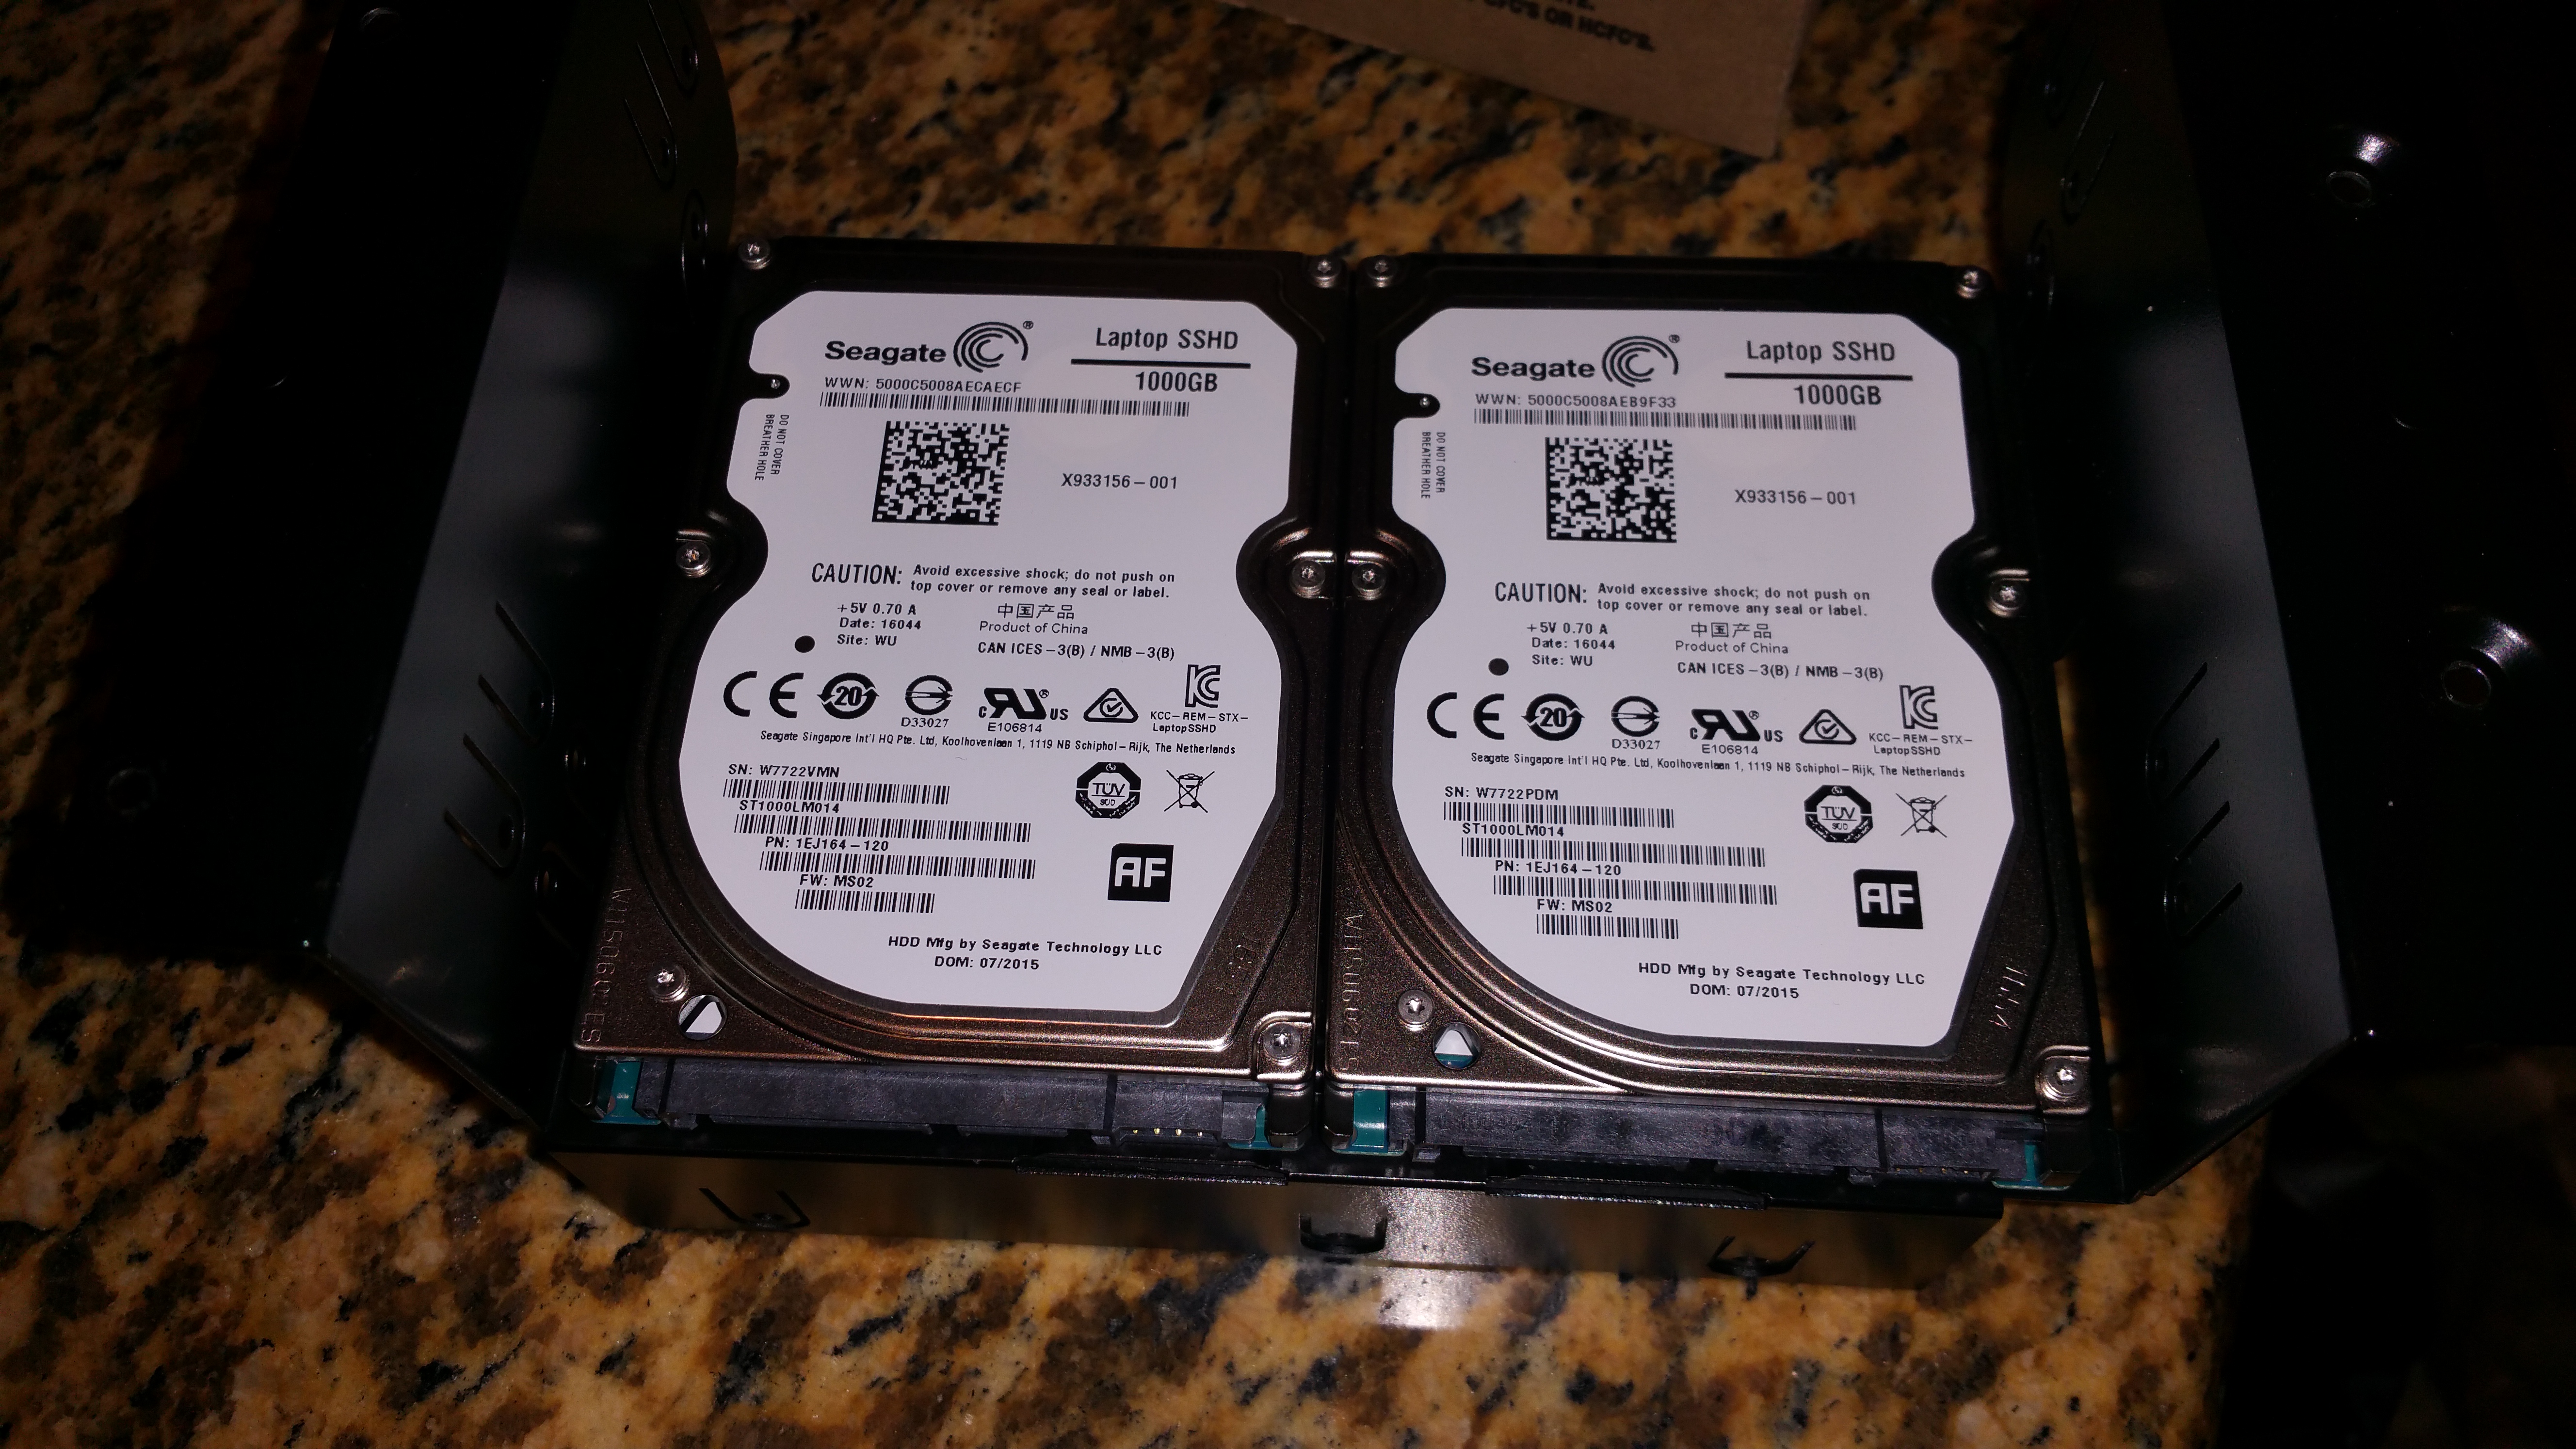
- 1 external 5.25 bay with a tray. This tray can hold either a 5.25″ device or a 3.5″ device or two 2.5″ devices. The photos below illustrate the 2.5″ config
- 1 internal 3.5″ bay which is part of the 5.25″ tray. Basically, the lower half of the 5.25″ tray is a 3.5″ bracket. I was able to successfully mount a 2 x 2.5″ to 3.5″ converter into this bay and also successfully fit 2 9.5mm 2.5″ devices into the converter
- 1 internal 3.5″ bay which sits vertically tucked in the front of the case under the 5.25″ bay/tray. I was also able to successfully mount the 2 x 2.5″ converter into this bay as well
- 1 internal 2.5″ “bay” which is really just an open spot and surface mounted screwholes toward the front left of the case in the blank space in front of the power supply and to the left of the motherboard.
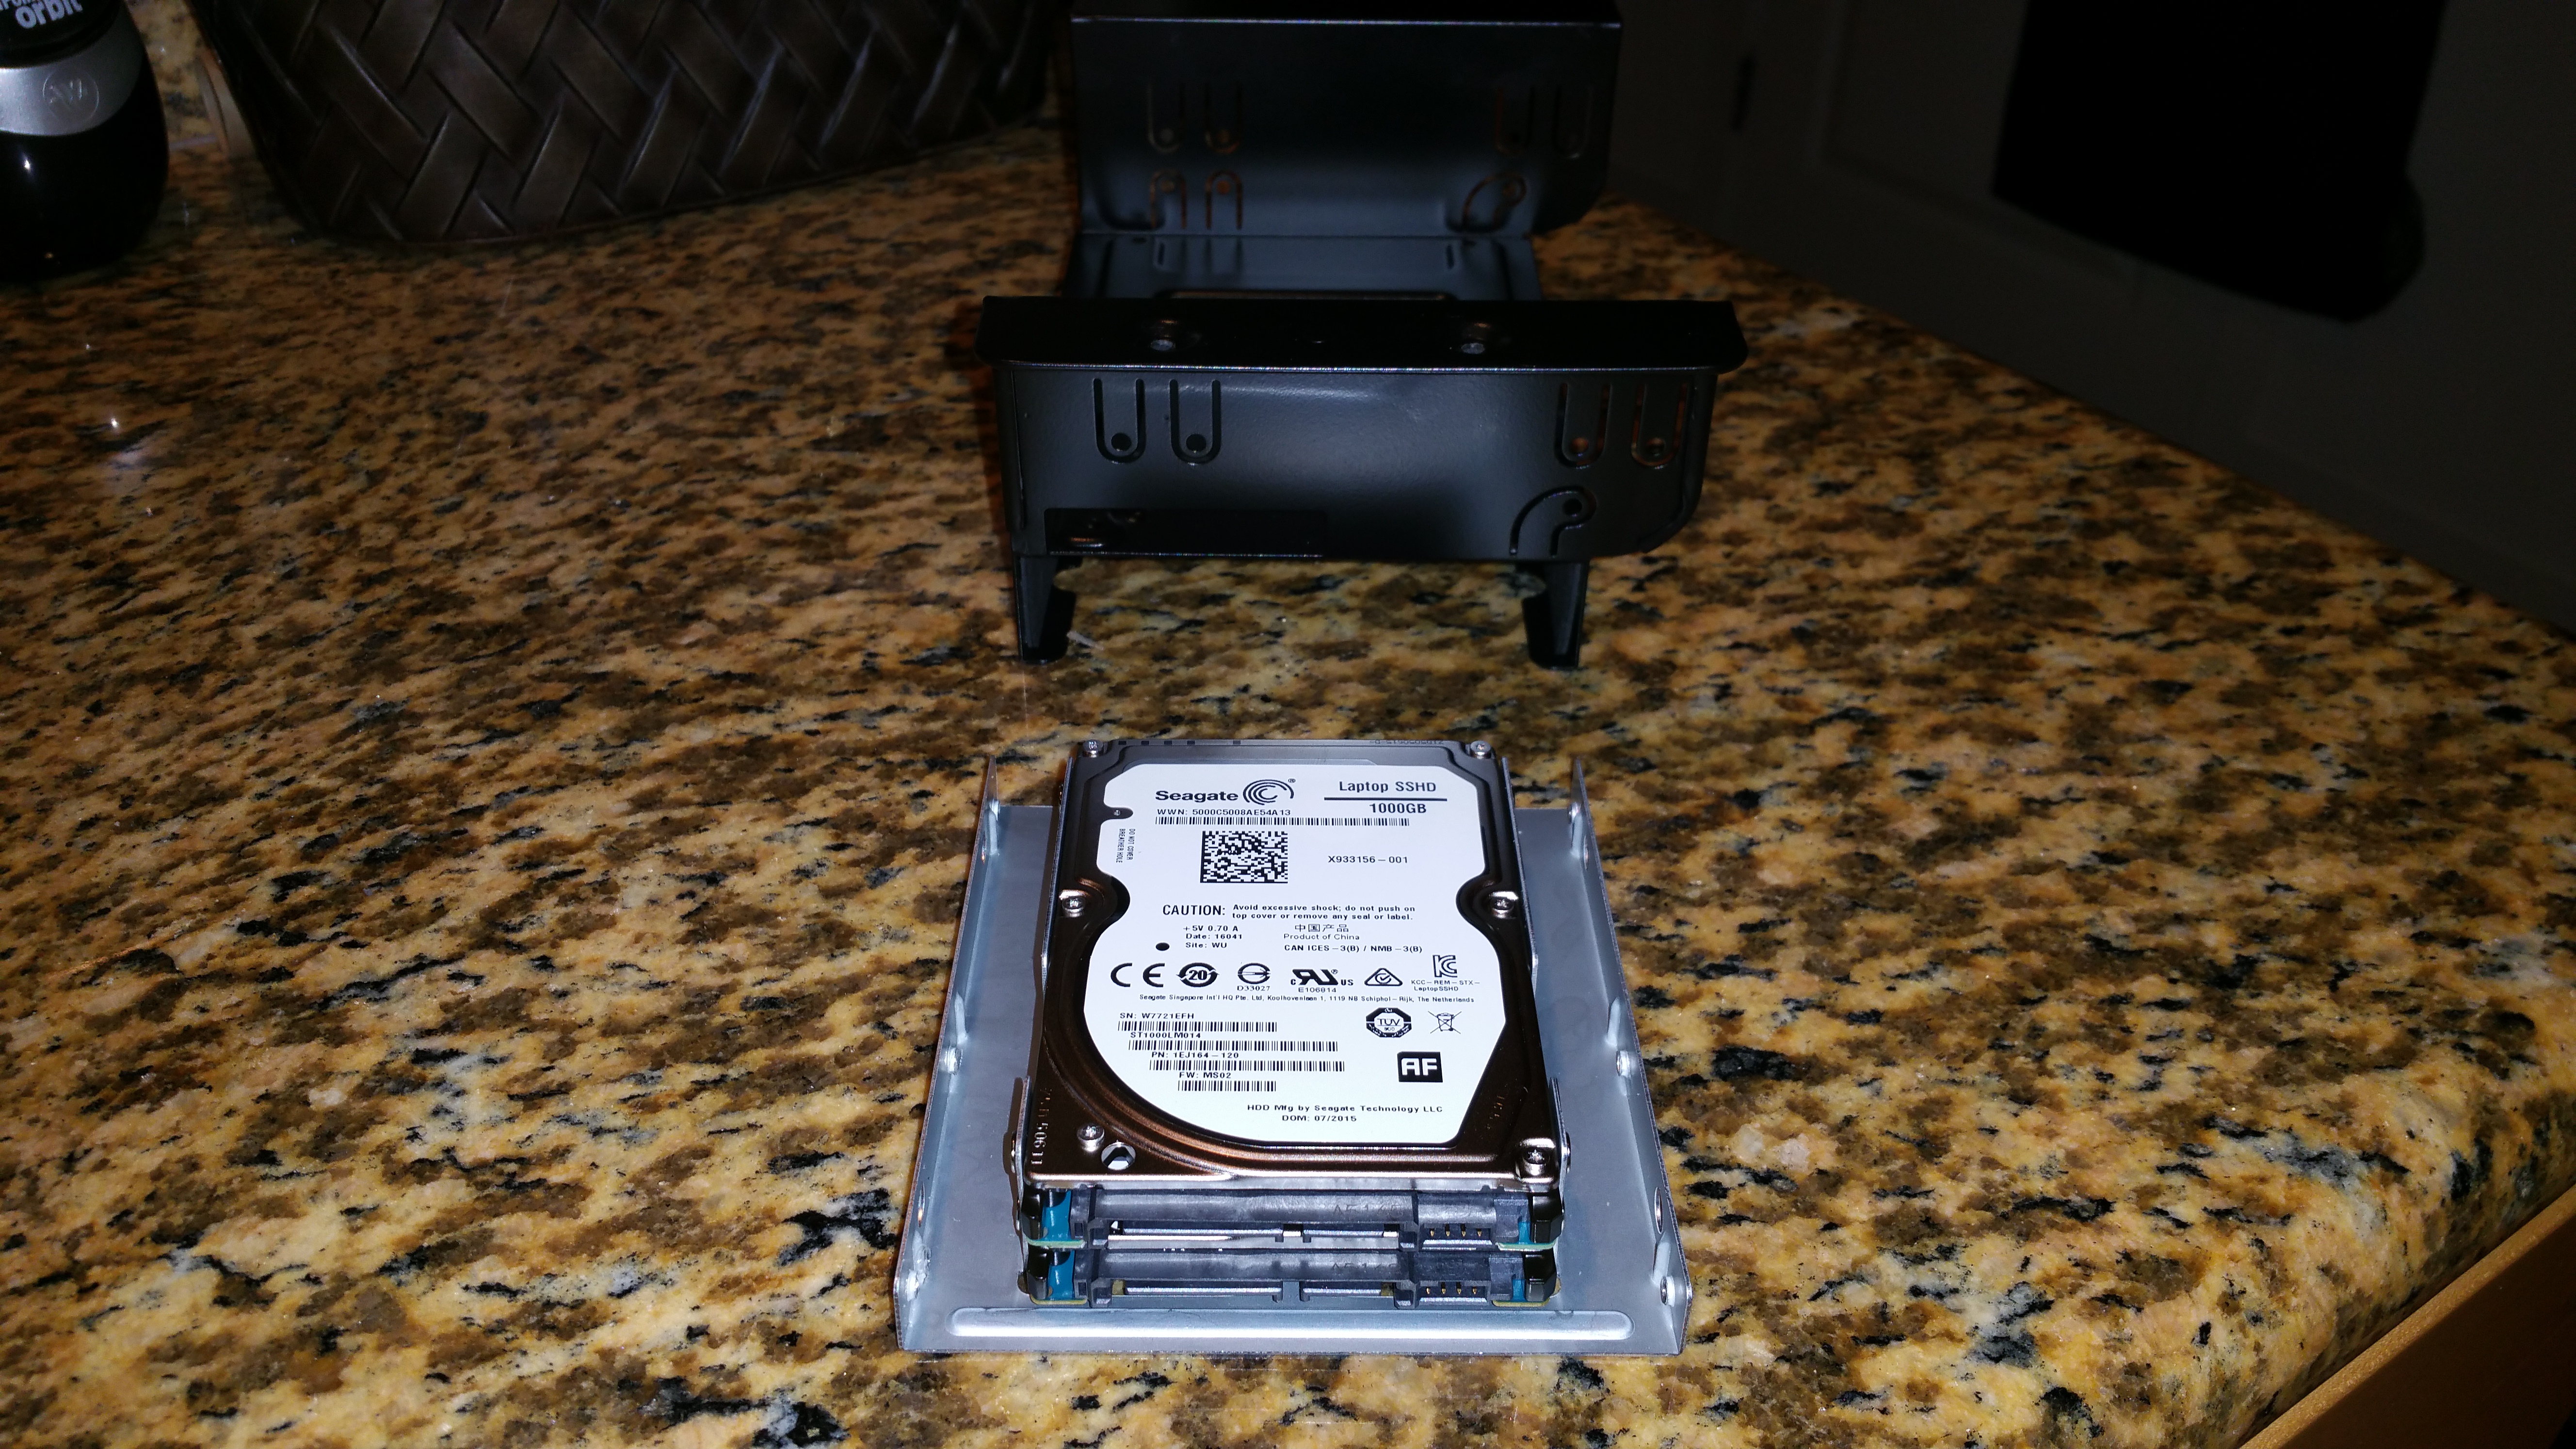
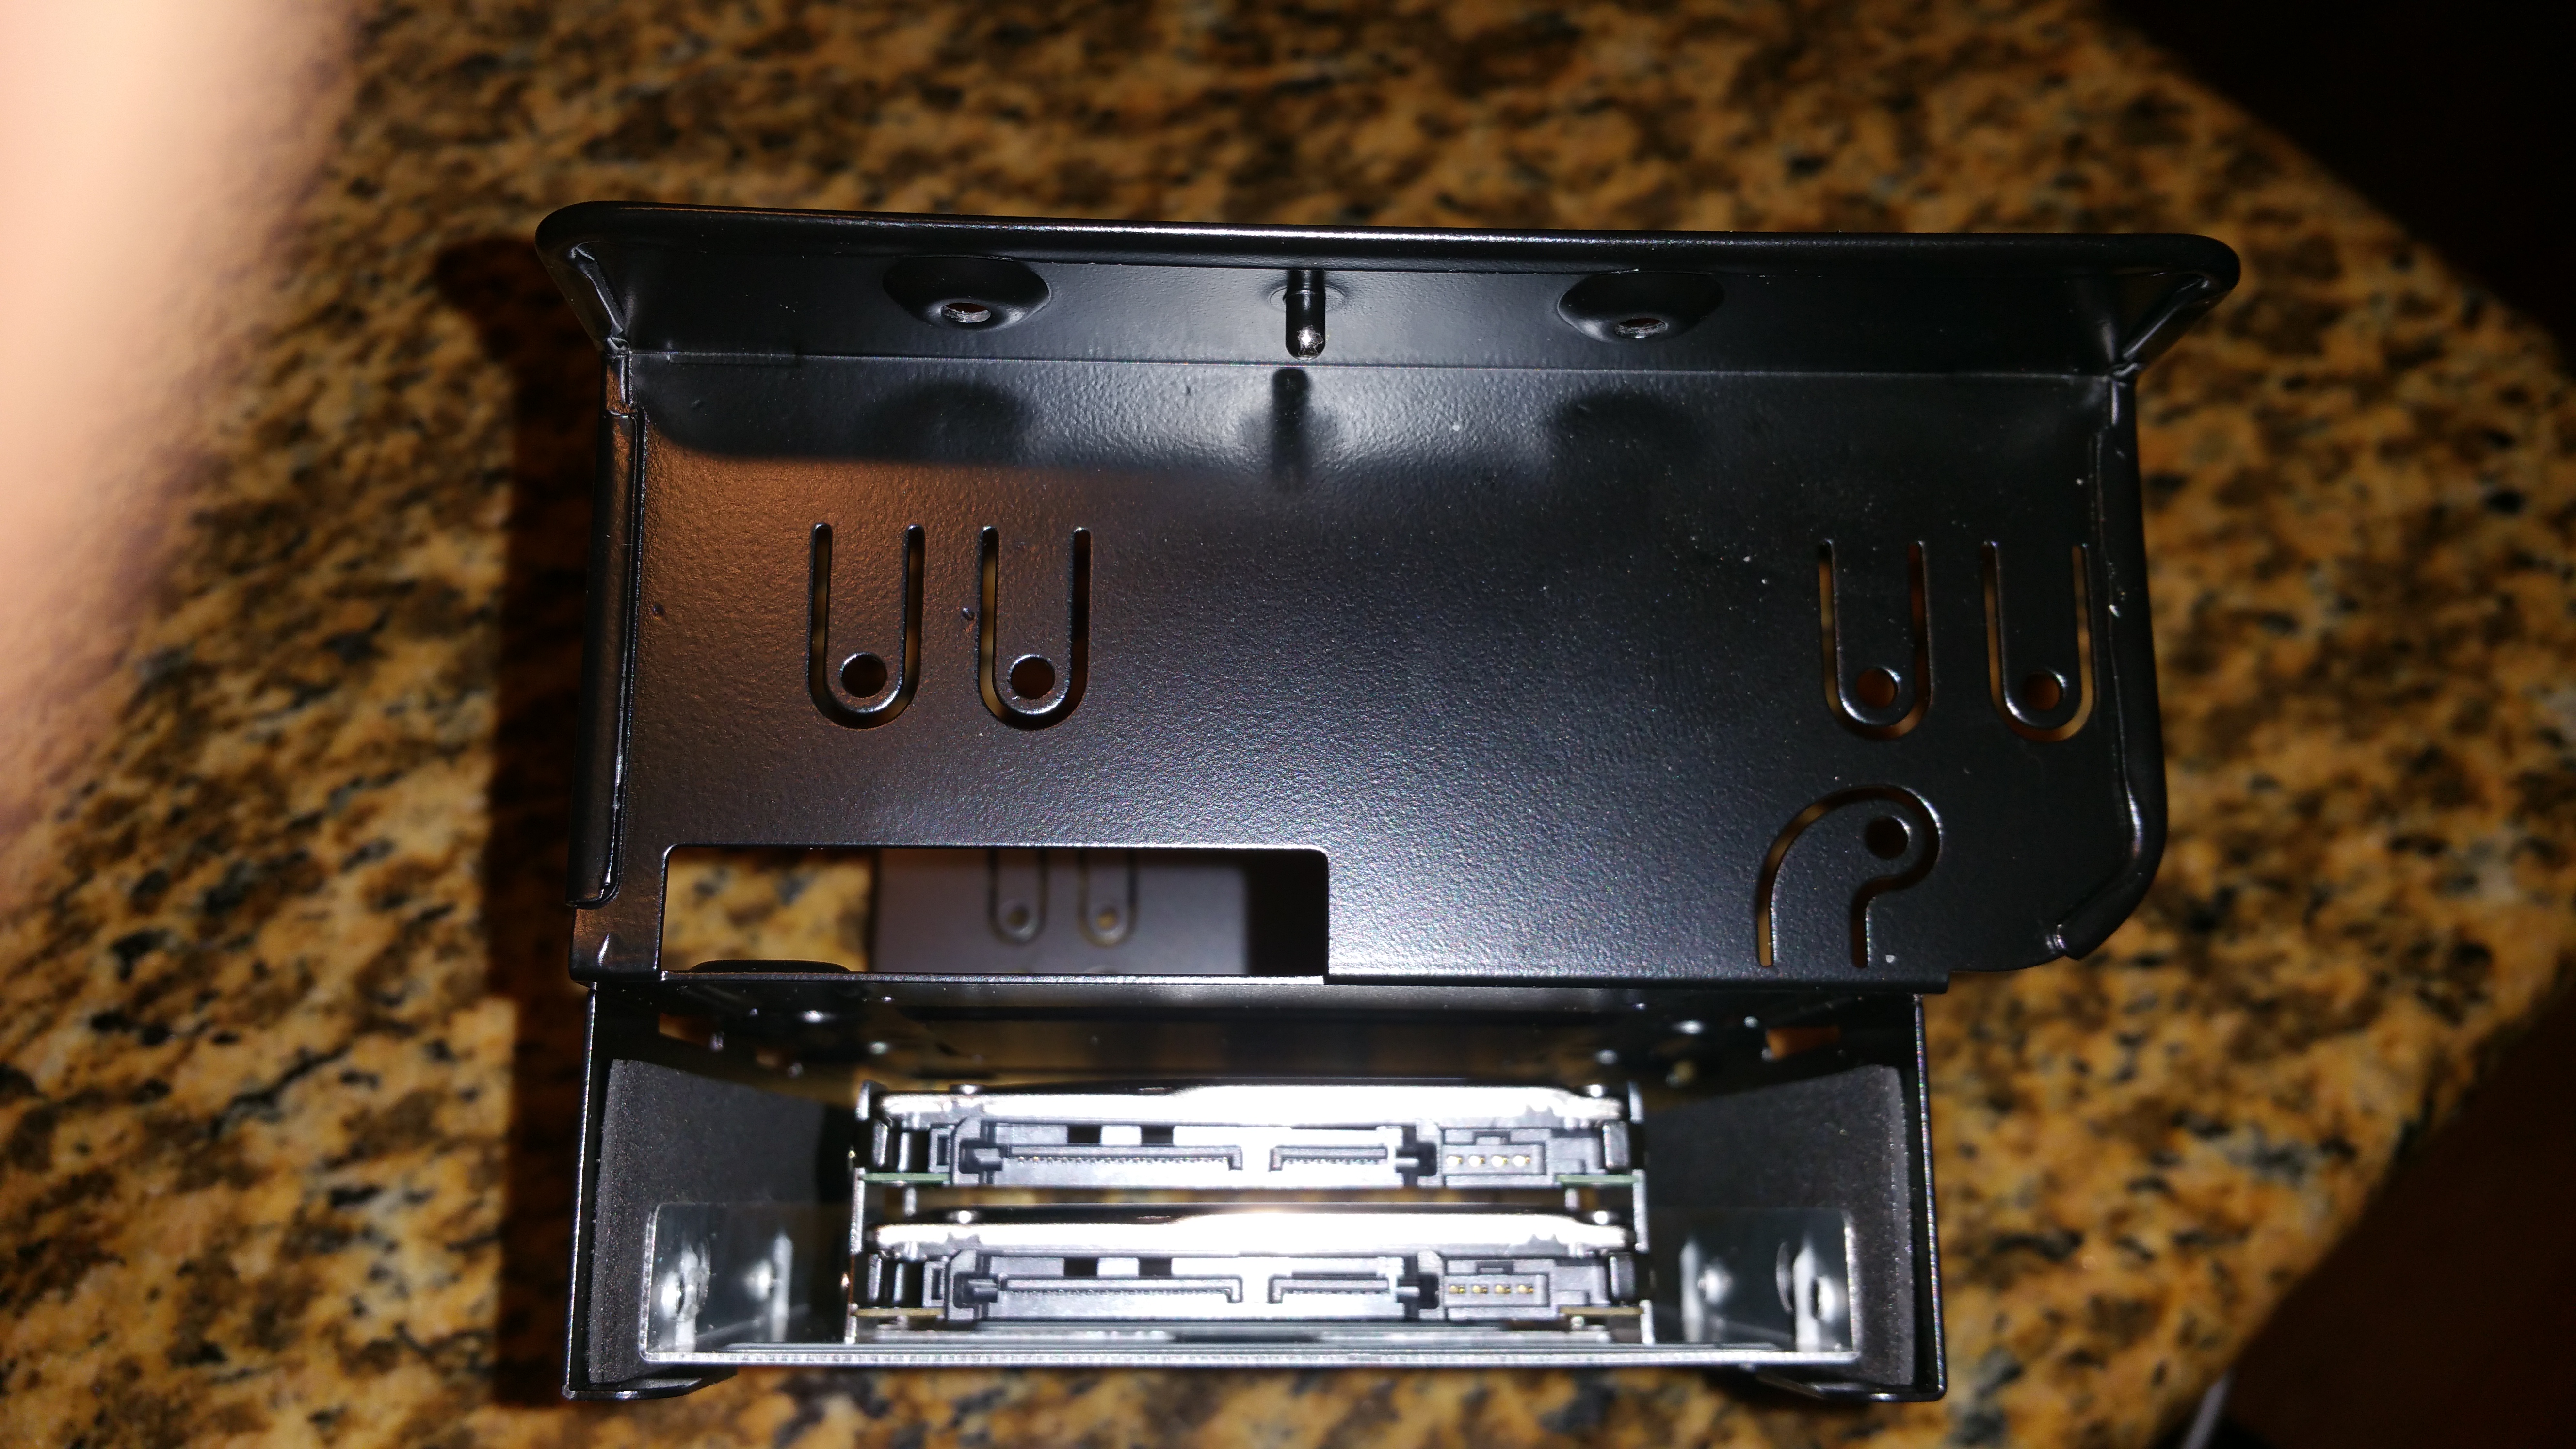
The 3.5″ bays include rubber sound dampening strips which is a nice touch for an HTPC. It’s a bit unorthodox, but in the end I was able to fit 6 Seagate ST1000LM014 1TB SSHD hybrid drives into the available slots. Yes these are odd drives to use in what is supposedly a “server” build, but I liked the combination of capacity, reasonable performance, silent operation, and low power draw. I wanted to have a fair bit of capacity, and RAID performance, but being limited by the HTPC (or smaller) form factor makes 3.5″ drives tough. Going SSD was an option, but the Seagates were only $77 each at Amazon which means $462 for 6TB (plus 48GB SSD cache). That’s really not bad and a fraction of the price of the same capacity in SSD (one quarter to be exact). Of course the SSHD array wont be able to come anywhere near the IOPS of an SSD array and will be louder (although that point is moot since even 6 ST1000LM014s are quieter than the case fans). Power is about a wash with each SSHD drawing 2.7W average for read/write and idling about .5W. For clarity, I’ve documented the physical install of the drives from end to end. First a view of the components. The black assembly is the aforementioned 5.25″ tray. The silver bracket is the 2 x 2.5″ to 3.5″ converter::

The ST1000LM014’s are a bit thicker than an SSD at 9.5mm, but two still fit nicely in the 3.5″ converter:
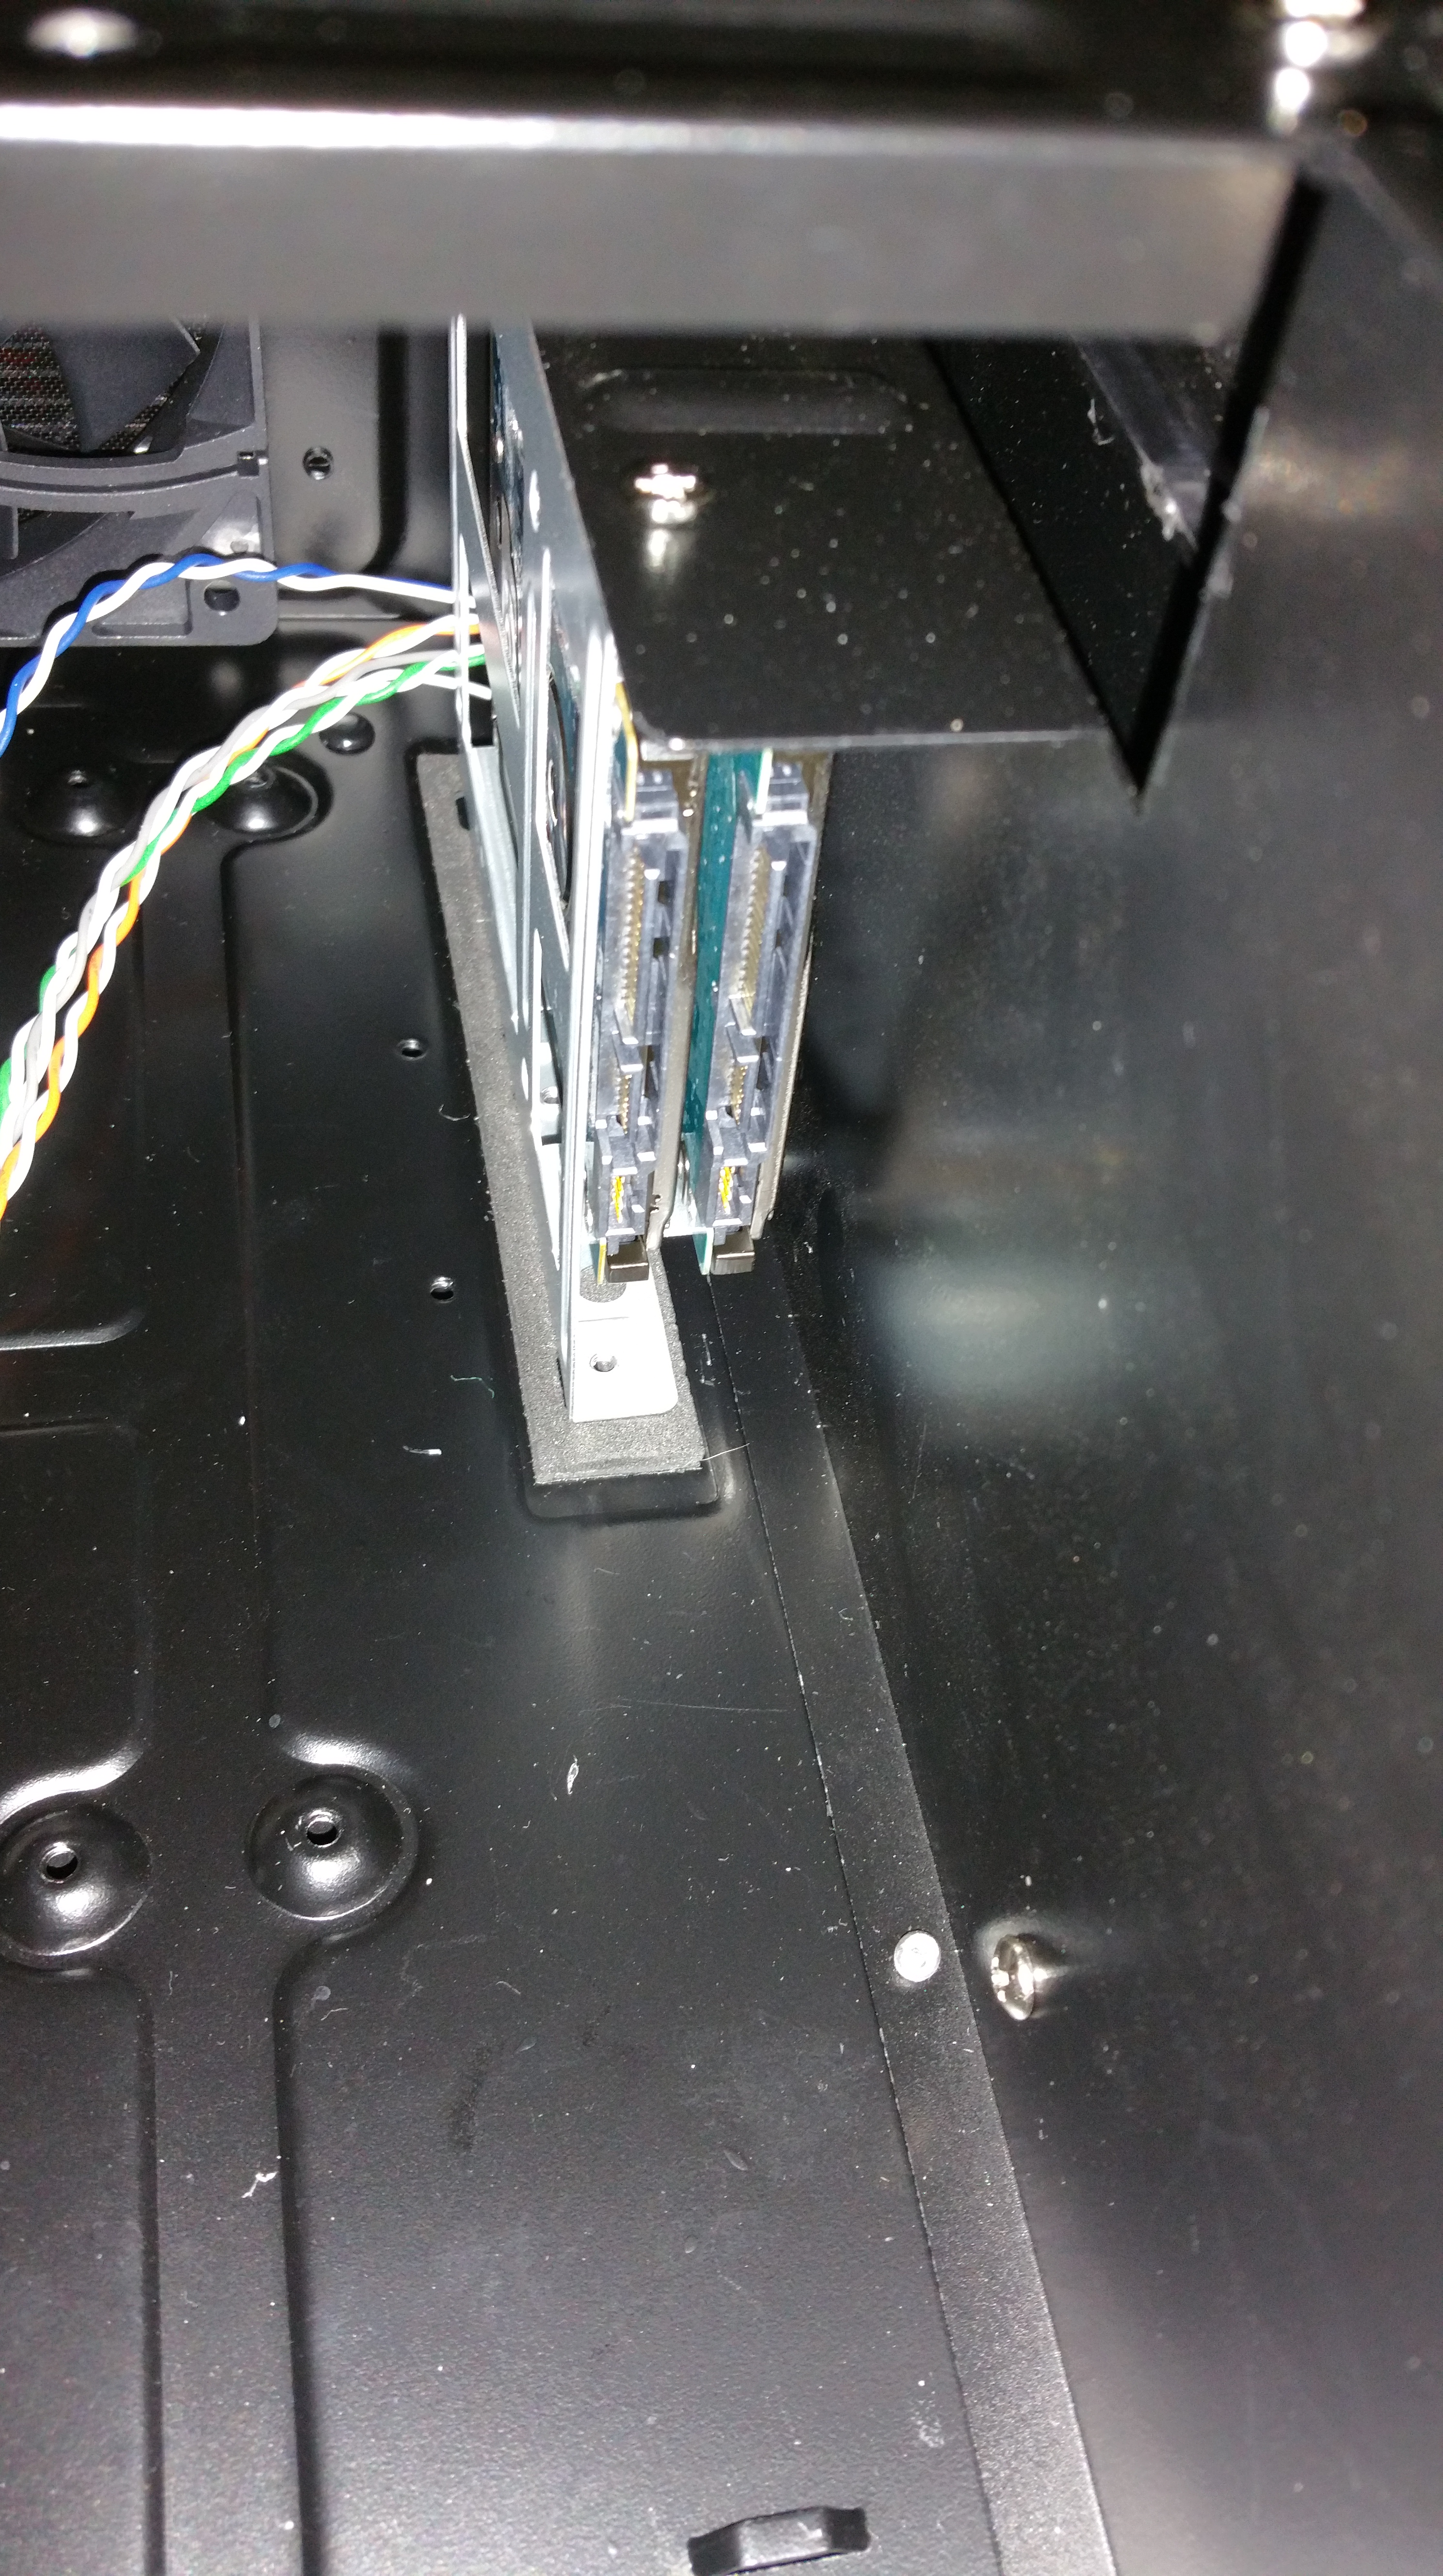
And the 3.5″ converter fits well in the 3.5″ bay that is mounted to the underside of the 5.25″ bracket. Note that the 3.5″ bay is horizontally opposed and the drives should be mounted so the connectors are towards the left side when looking at the case from the front:
The second 2.5 to 3.5 converter bracket mounts perfectly in the internal 3.5″ bay. Note that this is the bay which is mounted vertically below the 5.25″ bay. It sits tucked up against the front of the case. The 3.5″ bracket must be mounted with the flat slide flush to the edge otherwise it will block the 5.25″ bay:
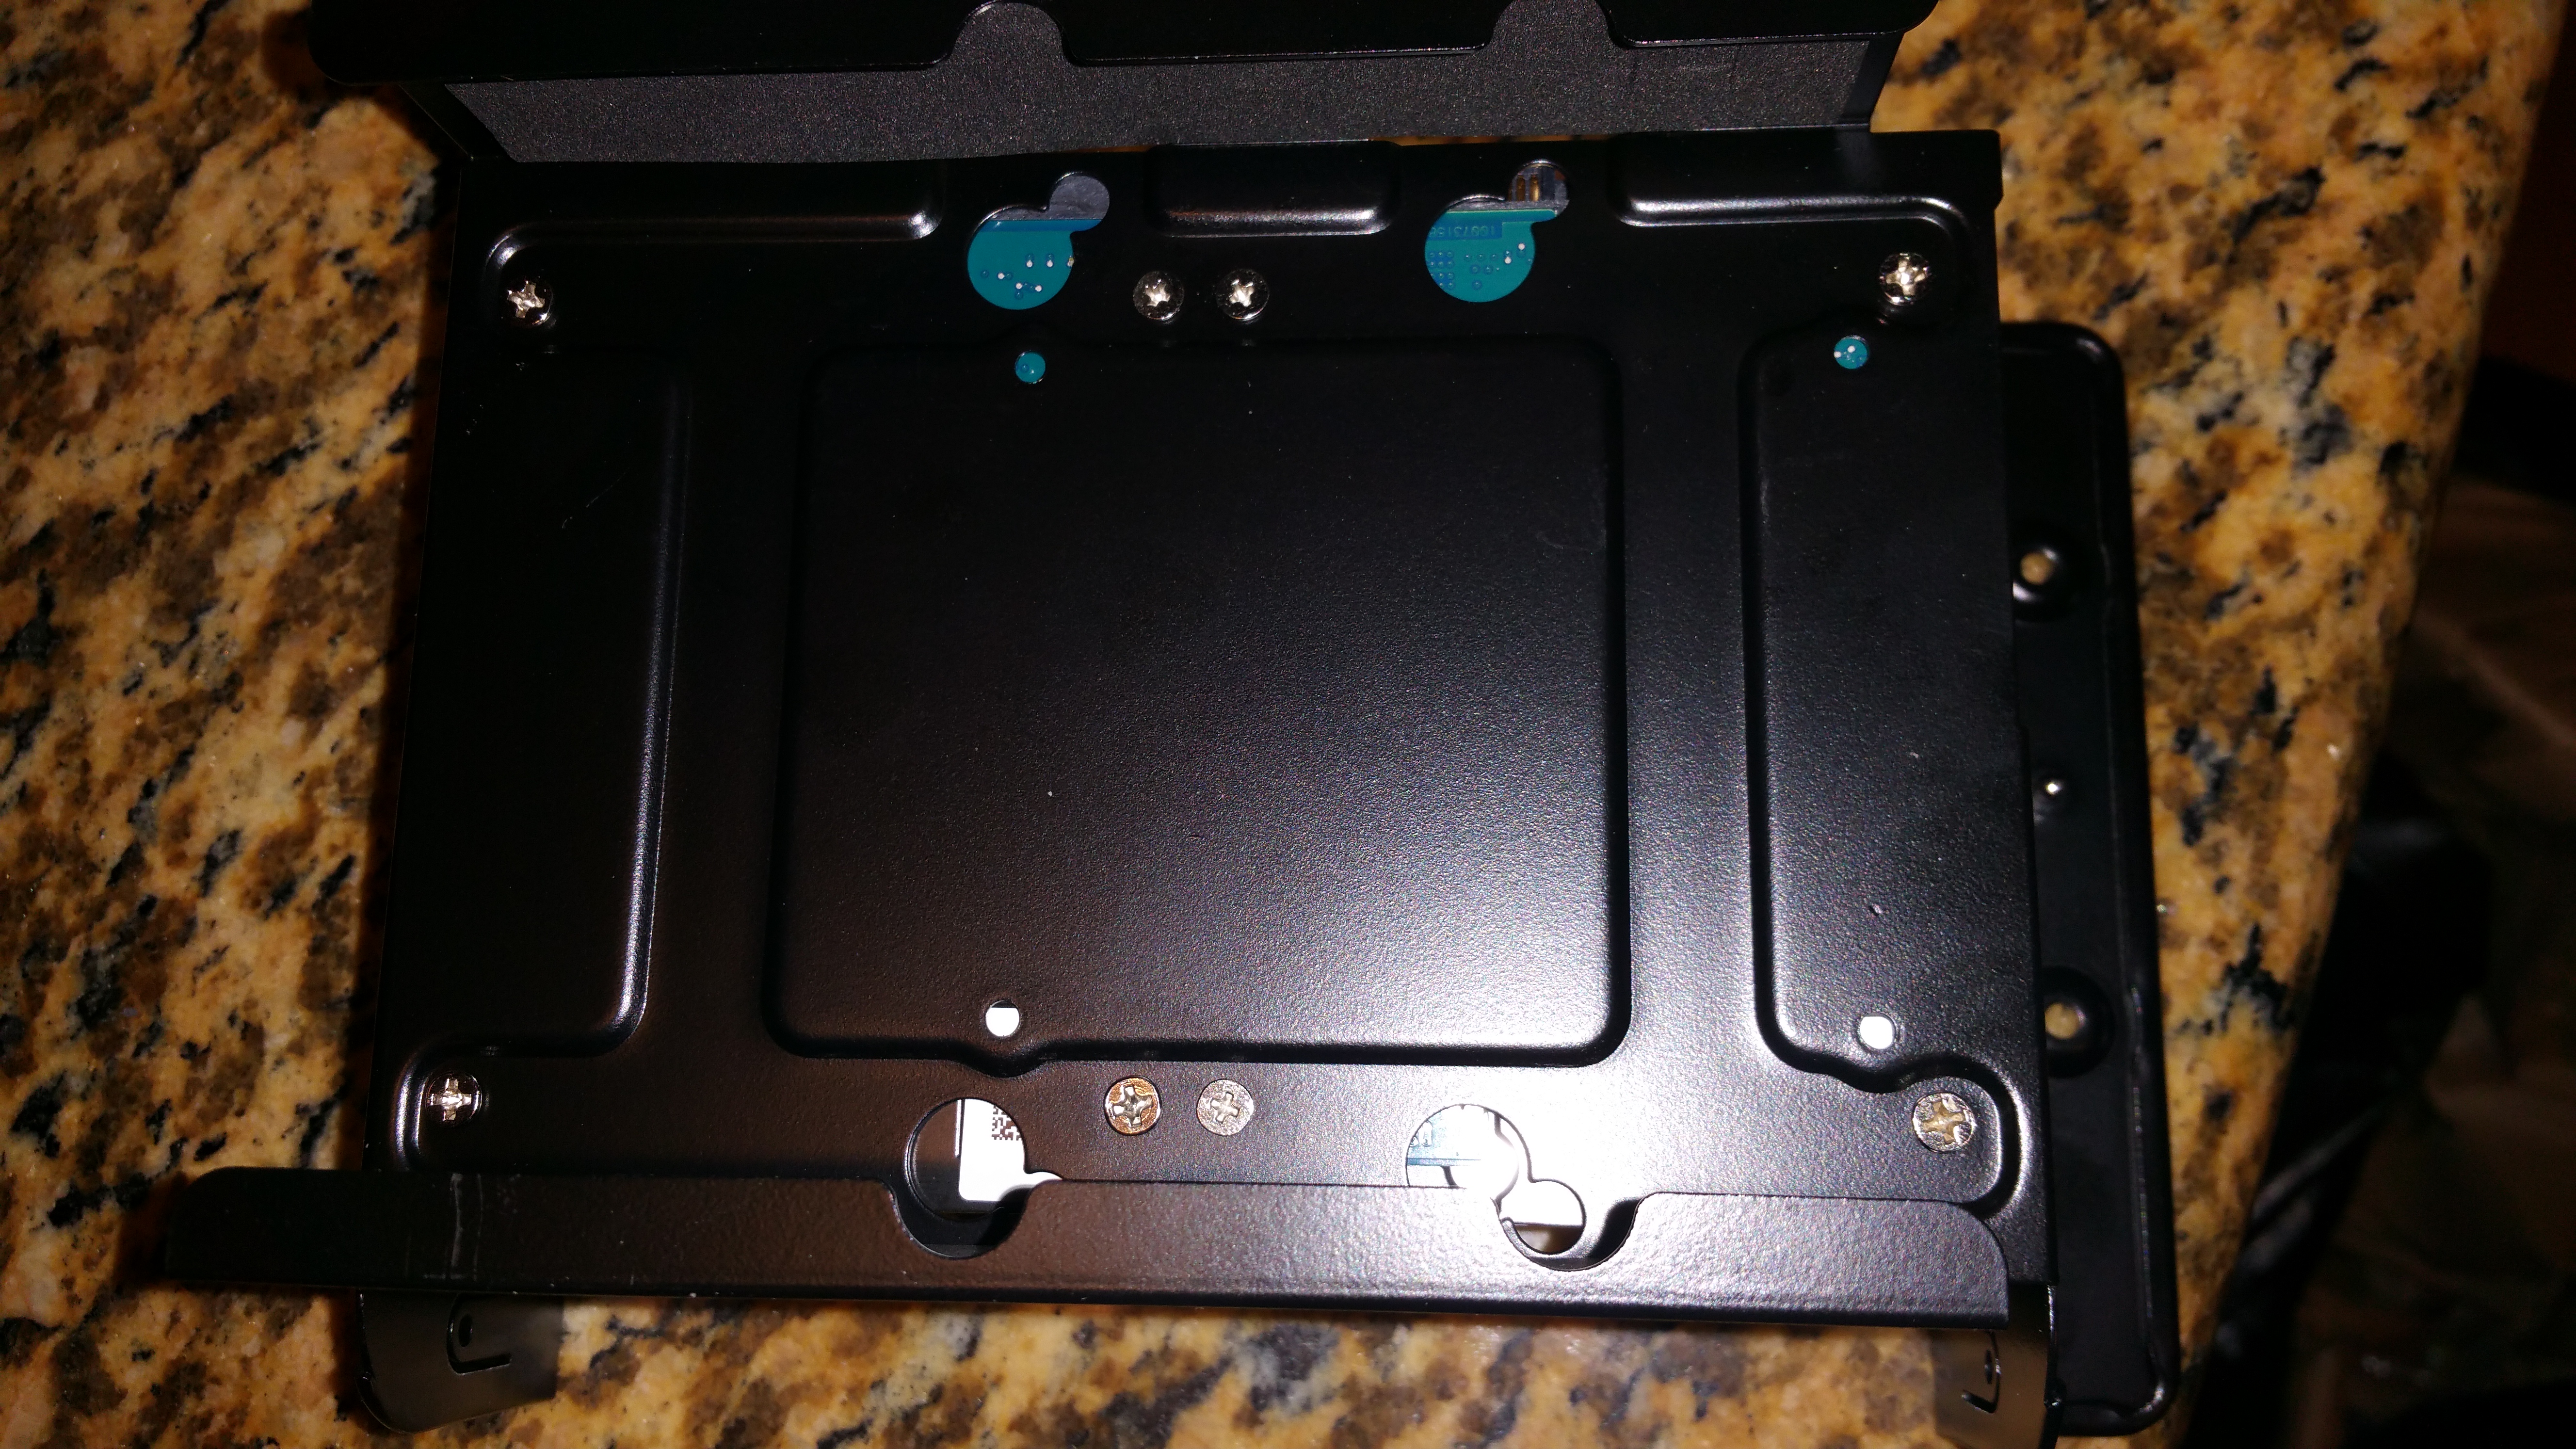
The 5.25″ bay also supports 2 2.5″ drives surface mounted side by side utilizing the drives bottom mount points:
Screwed in to the floor of the tray:
The entire 6 drive assembly installed. A snug fit, but clean:

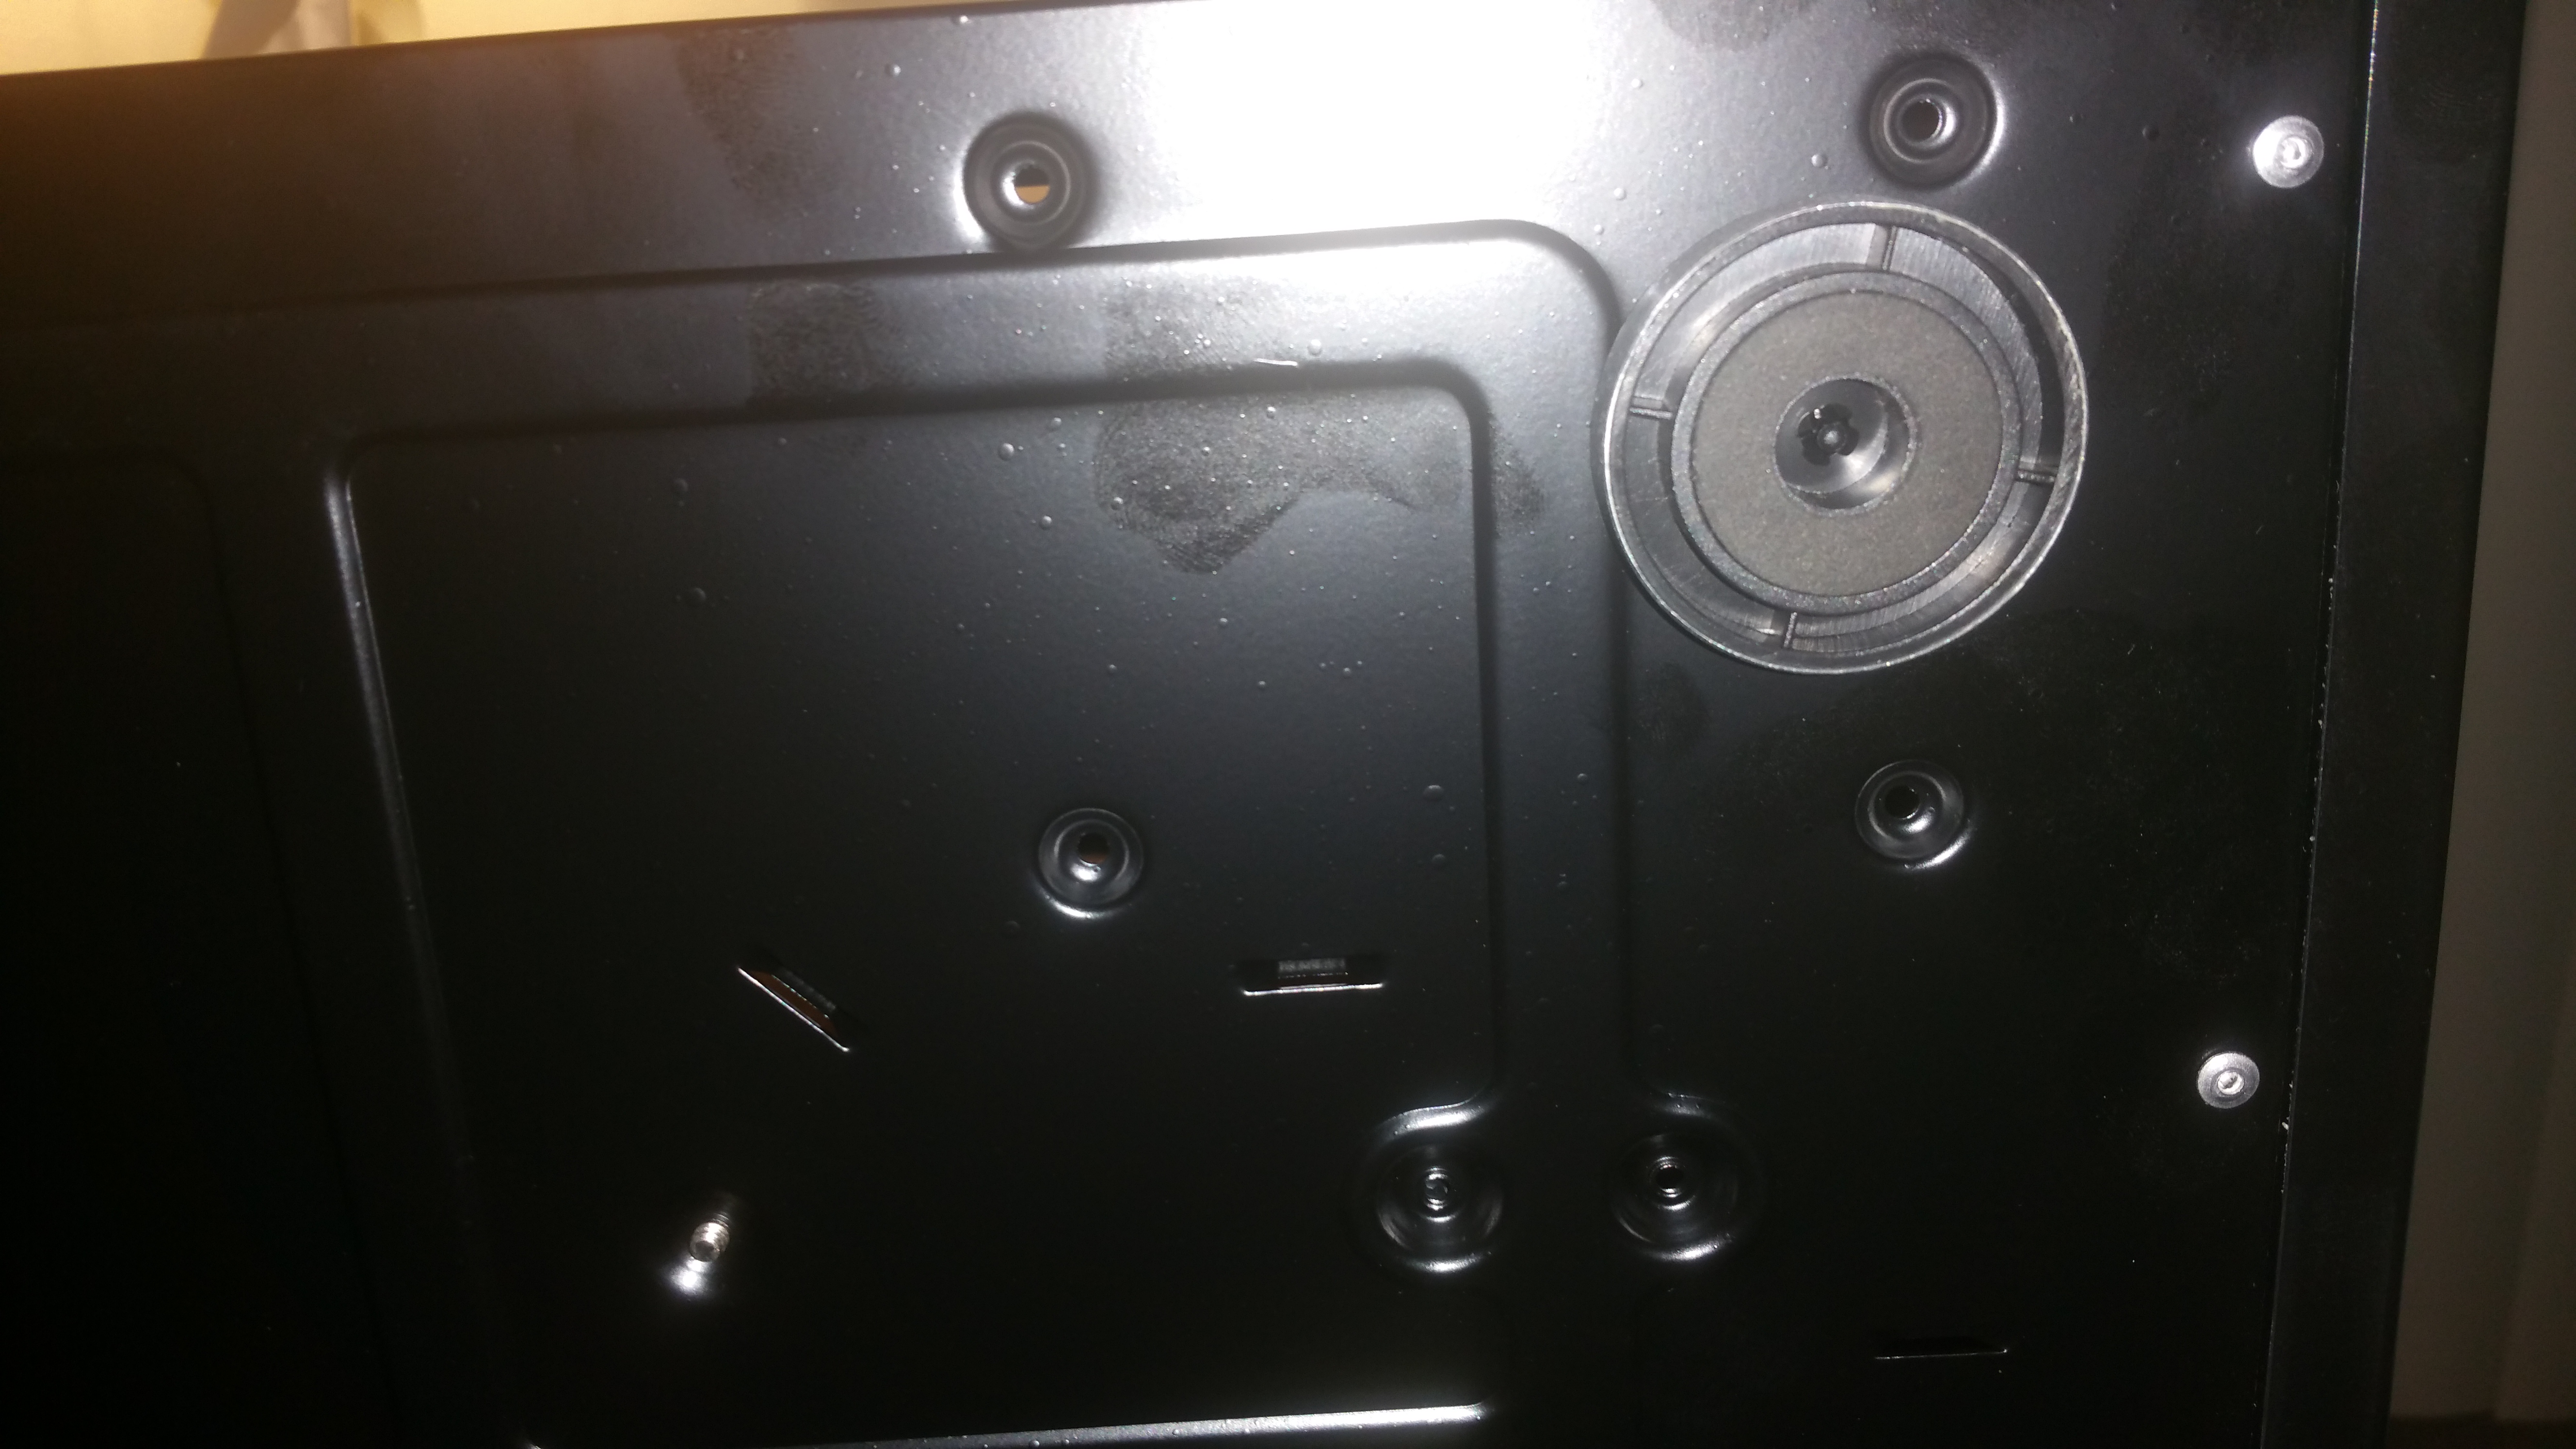
The last step is to add the boot SSD. As mentioned, this is really just some screw holes on the base of the case in the white space in front of the PSU mount point:
Mounting the drive is a bit tricky. You have to insert the screws from the bottom of the case while holding the drive in place, lined up, inside. The case is a bit bulky for this while the drive and screws are tiny:
With a bit of finesse it’s doable though, and the finished product with SSD surface mounted and the 6 drive setup in place looks like this:

That’s it for now. Next entry the motherboard and the rest of the components go in so stay tuned!
